
This APB Reloaded walkthrough is divided into 3 total pages.
You can jump to nearby pages of the game using the links above.
Missions
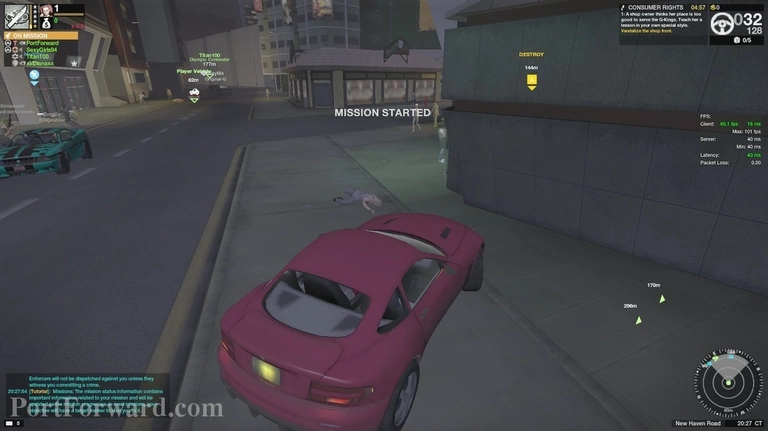
Eventually after pressing K and waiting, you will be assigned a mission and a HUD will pop up on your screen, showing exactly what you need to do and where you need to go.
At first, there will sometimes only be you and a couple of teammates, AKA fellow criminal players..
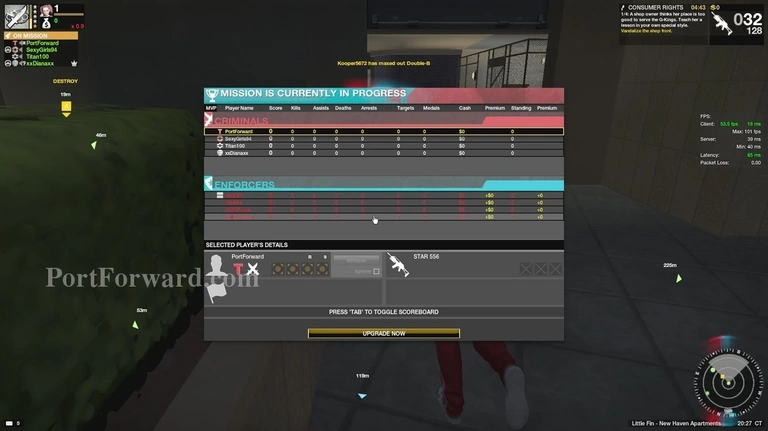
But after a short while, you will be assigned an opposition, in this case, my group of 4 criminals got matched up against 4 enforcers. The team sizes can vary greatly depending on what rank & threat level individual players are.
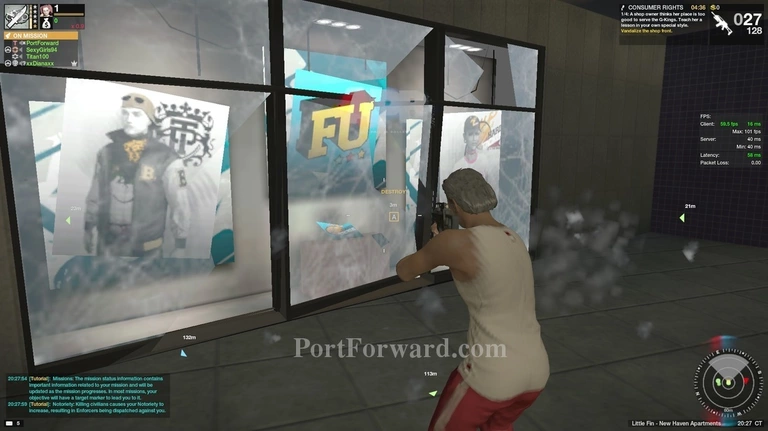
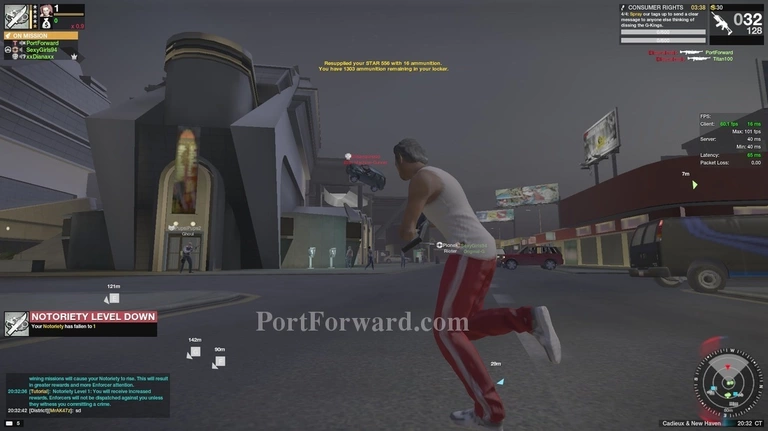
For this mission, I simply had to go to the (A) on my HUD and riddle a nearby store since the owner refused to pay "Protection money" to my associated gang. If I was an enforcer, my mission would have been to preventing this store from getting destroyed, which they could not succeed in doing this time.
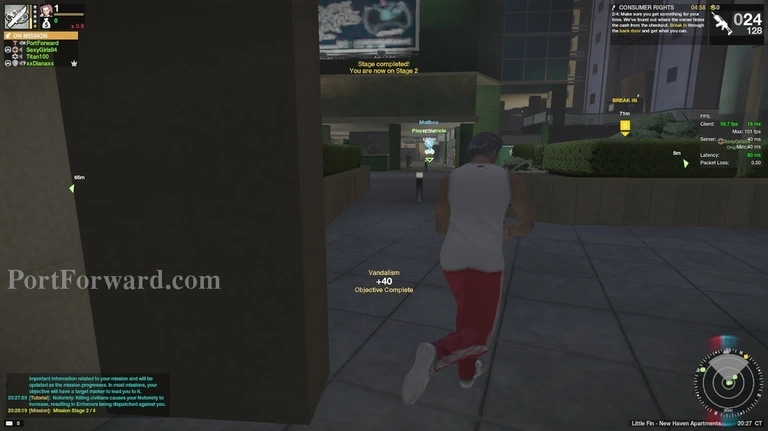
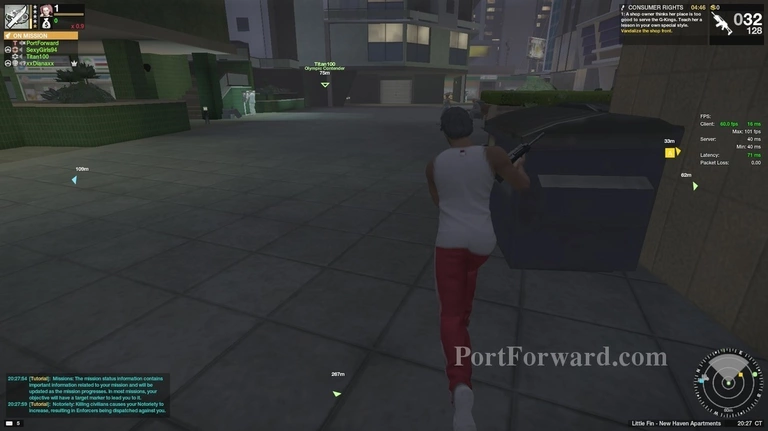
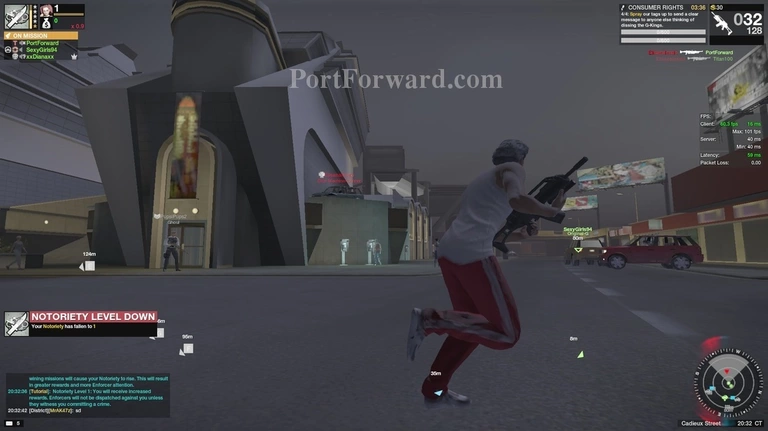
After completing your initial objective, you will be assigned a new one. With the same method of a HUD being ontop of your screen.
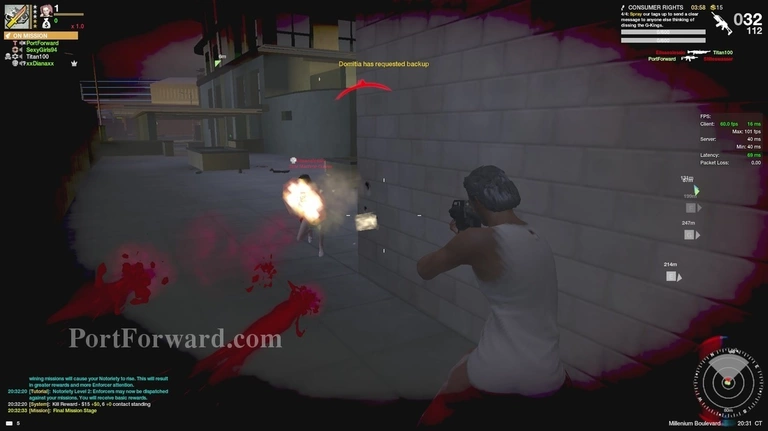
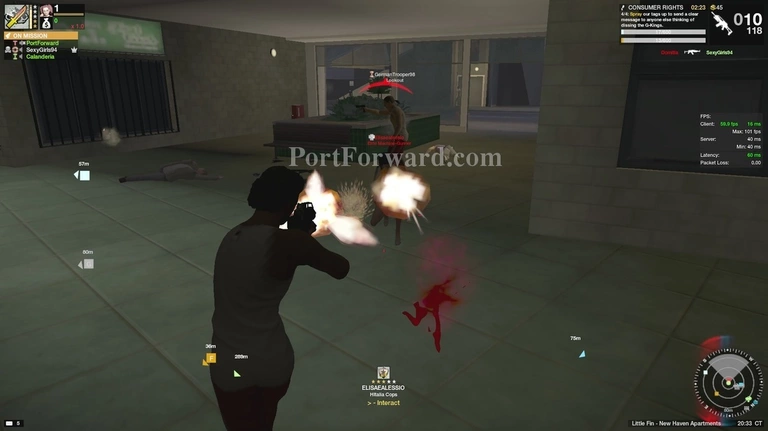
Eventually, I came across one of the enforcer who has the objective to kill me and guard the objective. You can differentiate between Ally & Enemy & Neutral players by the red name above their head and how your cursor turns red when aiming at them.
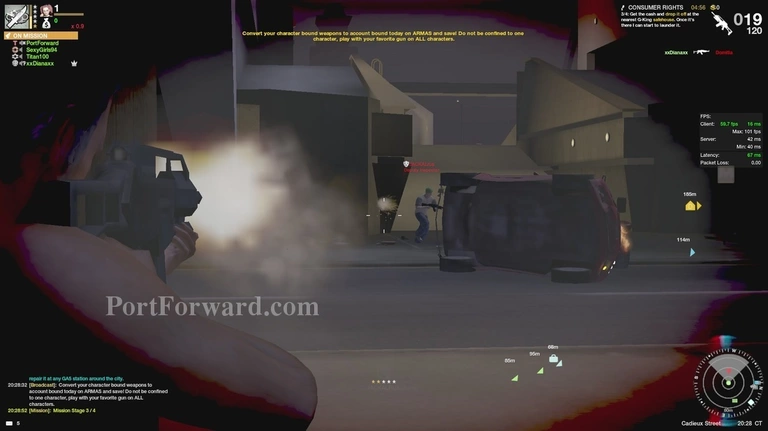
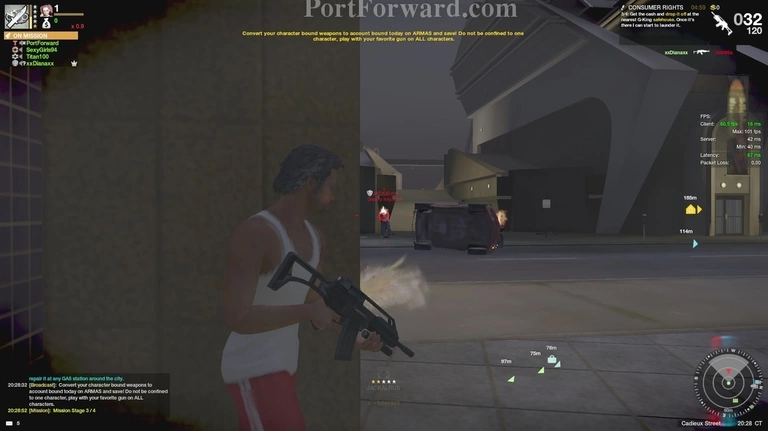
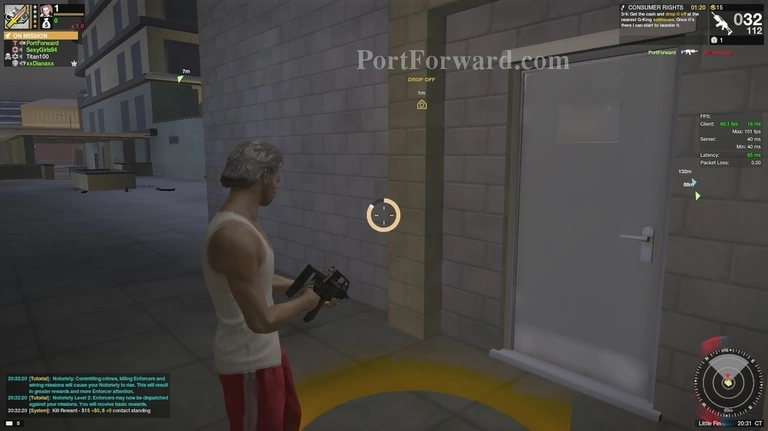
To begin with, the game gives you a STAR assault rifle. They are very recoil-heavy, fire relatively slow but do rather high damage per bullet, leaving them to be an odd-end medium-ranged weapon. I recommend replacing with another firearm to your preferred playing style since there are anything from bolt-action sniper rifles to fully automatic shotguns.
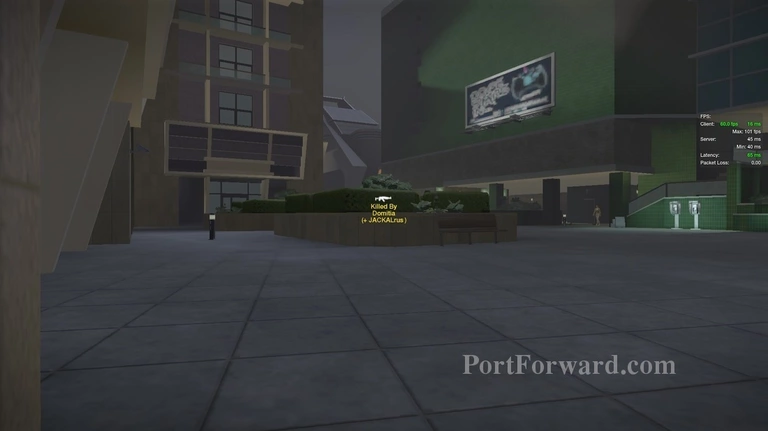
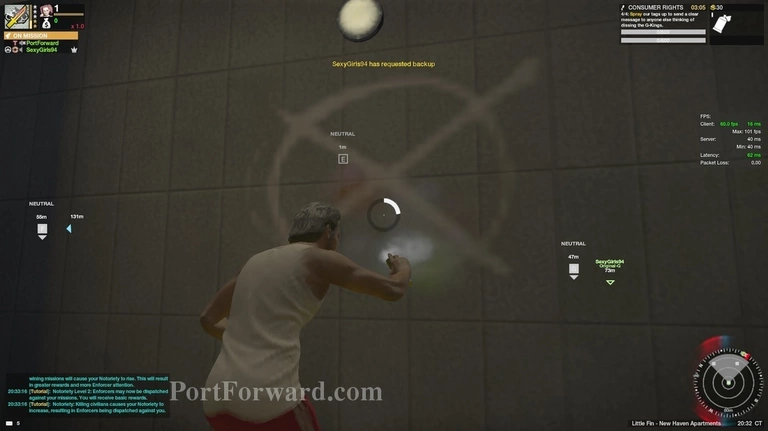
Eventually, you will die. In this case, because I was pinned down by two enemies alone. Dying is however, a part of the game.
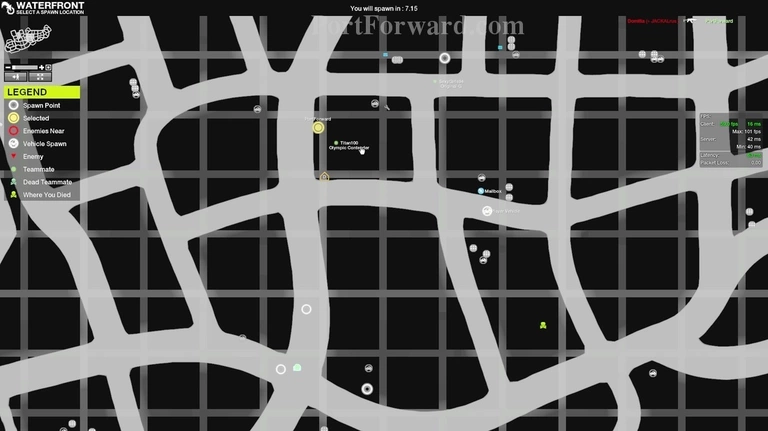
When dead, you will be brought to an improvised map-screen around the current mission objective. Here, you can see where all your allies are (Green dots with names), where you can spawn (Gray dots) and the Objective (Orange marker).
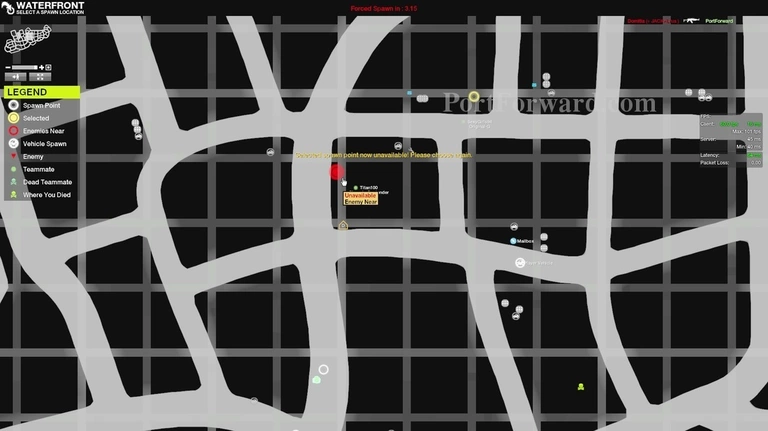
However, you may occur an error saying that you cannot spawn at a certain point. This normally means that an enemy is far too close to it and that you spawning there would mean popping up out of nowhere for him.
Obviously, nobody wants that to happen to them in an FPS so you are forced to either wait for the enemy to move away from the point or choose another spawn.
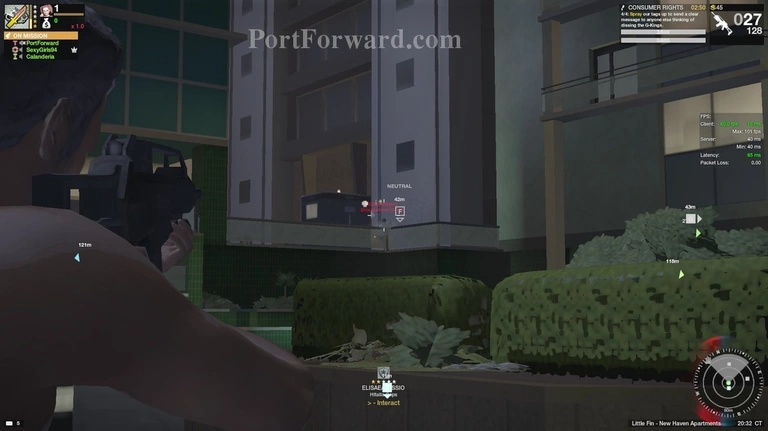
Going head-on into an objective is usually a very bad idea. Here you can see an example of where an enforcer is waiting around a corner for my teammates to try to drop off some goods in an alley.
He is quickly dispatched of as I decided to overlook the area from above rather than run into it.
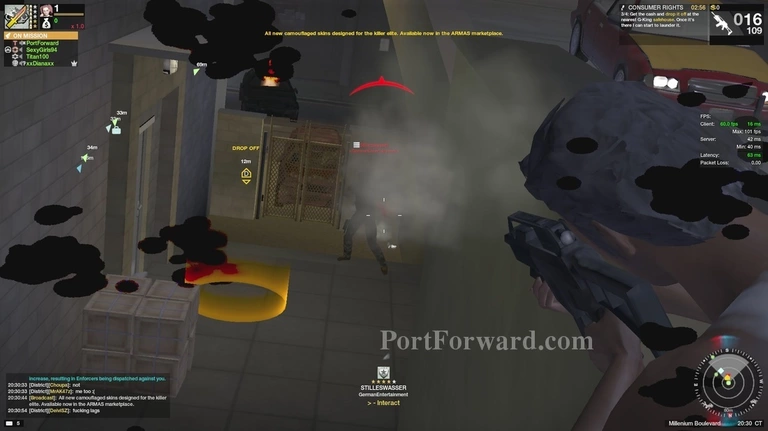
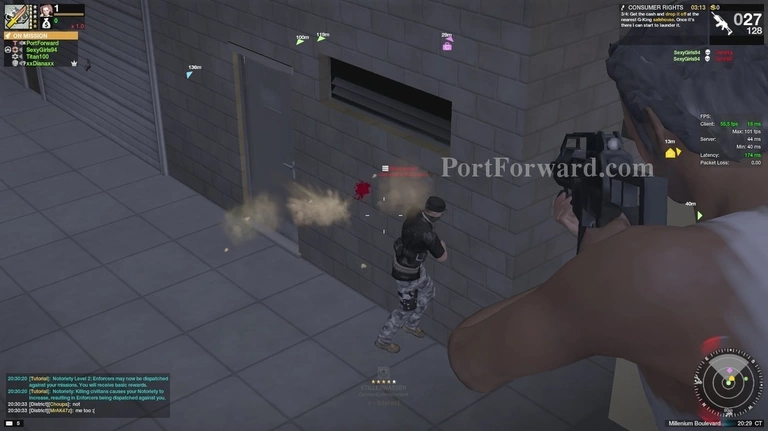
However, due to my slow-paced teammates, the enemy soon returns to the alley and I am forced to fight him again. Here you can see me taking use of the "Leaning" mechanic. You press Q or E to lean your character's upper body to peak around corners with your weapon to minimize exposure.
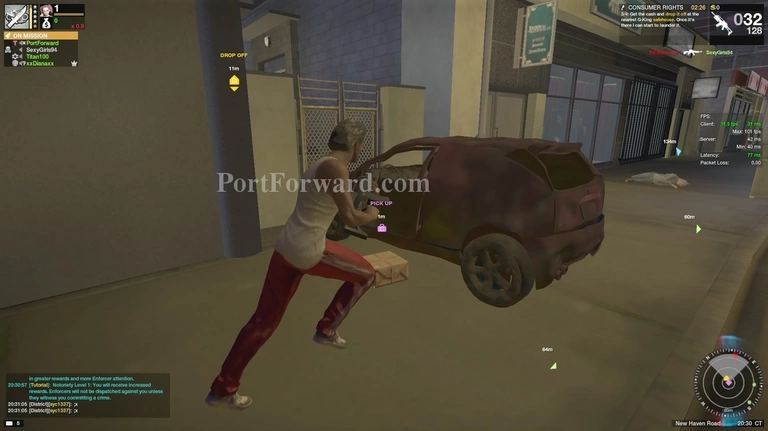
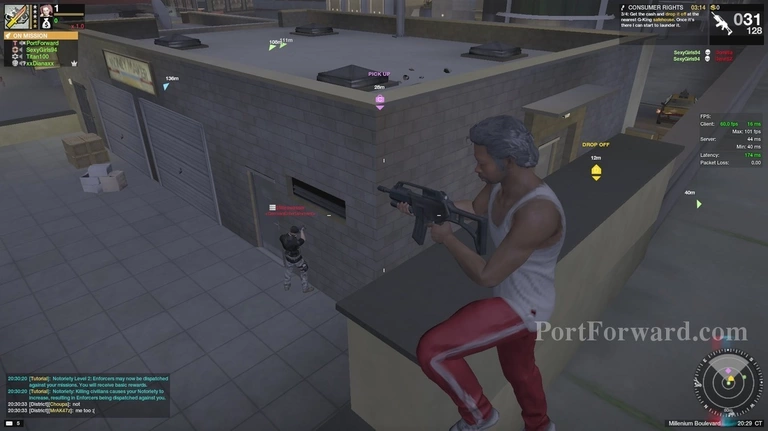
There are loads of way to improvise in APB. Here you can see the rubble of a destroyed car, blocking my access through the door and the quest-item next to it where my previous teammate failed and died.
After some struggling, we finally managed to secure the alleyway long enough to secure the loot. You do this by picking up the package you saw earlier and standing in the yellow targeting circle and waiting for approximately 5 seconds.
At the top right, you can see that there was only 1 minute and 20 seconds left for us, the criminals to finish this objective.
However, even after finishing an objective, you can still get killed by the enemies so there's no, true safe moments in APB.
APB has a rather wonky physics engine so flying cars are almost an every-day sight..
And can be abused by the players to get cars where they aren't supposed to be. Avoid them if possible.
The next objective is similar to a "Control point" mode. You spray-paint the wall to control "Territory". The more territory you hold, the more points you will get and the ones who has the most until the timer goes out at top right, wins.
It is a very skimrish-rich mode where the enemy can come from literally anywhere and rush-spray locations in order to win.
It's also always important to keep tabs on just who is who. Here you can see an enemy, crouching down while at the same time, having a natural player be right behind him, causing a potentially confusing effect with characters-relation to name-plates.
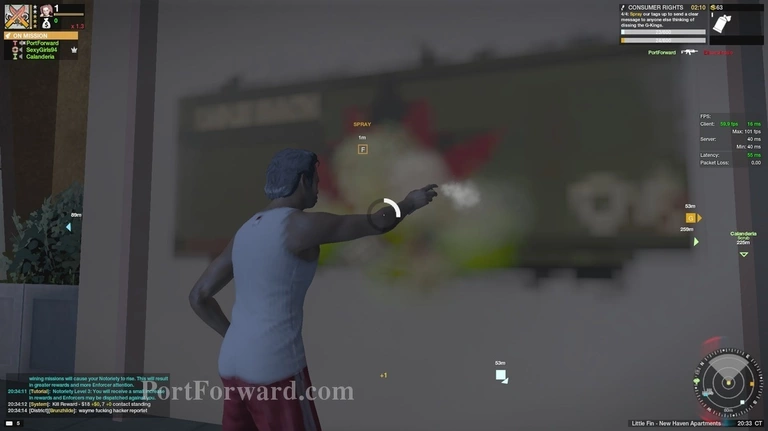
Overturning an enemy captured control point is very simple. Like with literally any other mission objective in the game, you run up to it and press F.
Clear instructions are also always available to you at the top right Incase you lose track on what to do in a mission. Just follow it and you'll either achieve victory or defeat with a reward of in-game $ currency and respect with the contractor/gang you are associated with.
More APB Reloaded Walkthroughs
This APB Reloaded walkthrough is divided into 3 total pages.


