Bionic Commando Rearmed Walkthrough Area 09 - The Waste Disposal Facility

September 12, 2016 (Last Updated: ) | Reading Time: 5 minutes

This Bionic Commando Rearmed walkthrough is divided into 24 total pages.

You can jump to nearby pages of the game using the links above.

Area 09 - The Waste Disposal Facility

Bionic Commando Rearmed Walkthrough - Bionic Commando-Rearmed 0388

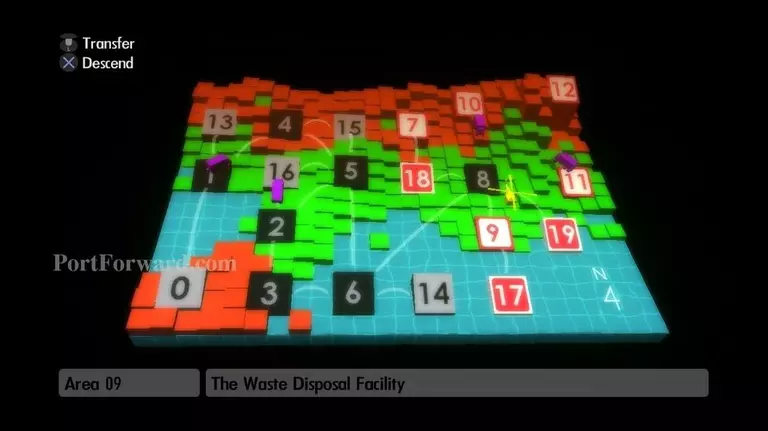
Descend into Area 09, The Waste Disposal Facility.

Bionic Commando Rearmed Walkthrough - Bionic Commando-Rearmed 0389

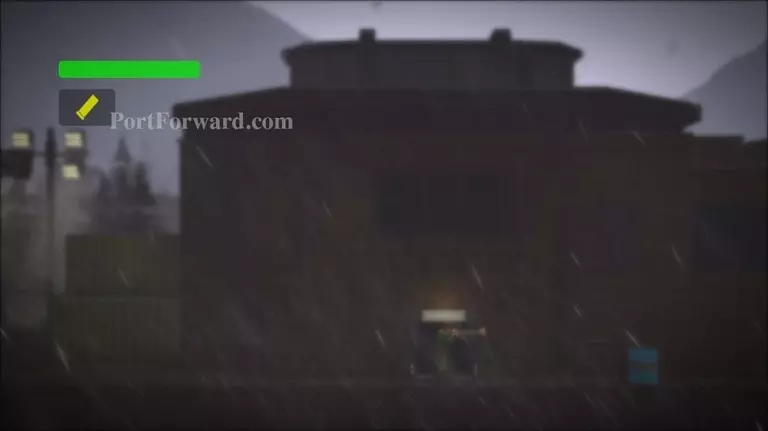
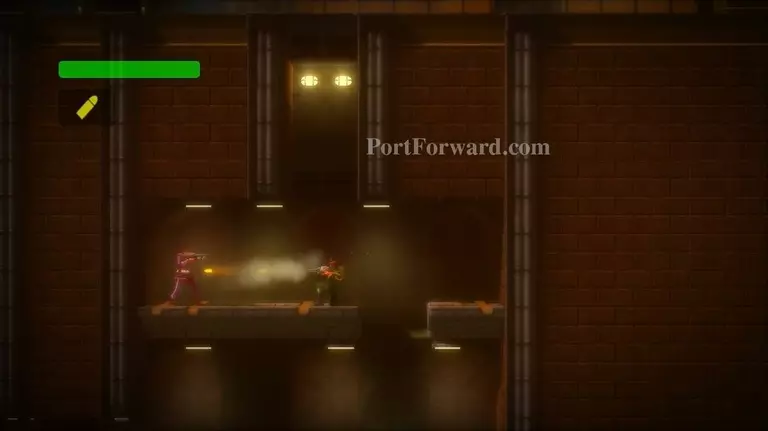
Enter the building on your right.

Bionic Commando Rearmed Walkthrough - Bionic Commando-Rearmed 0390

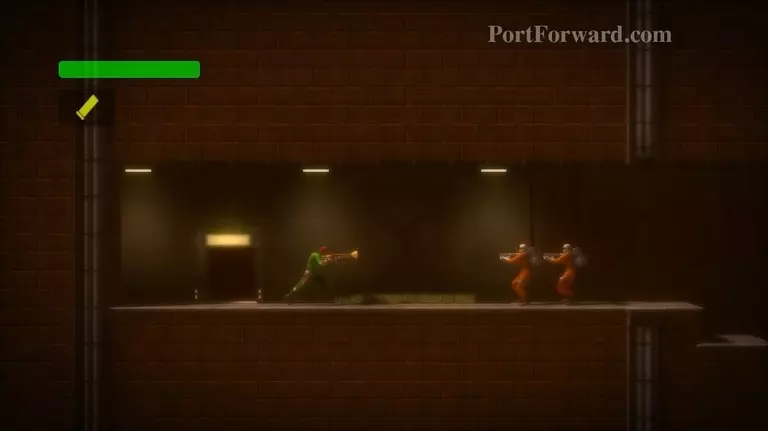
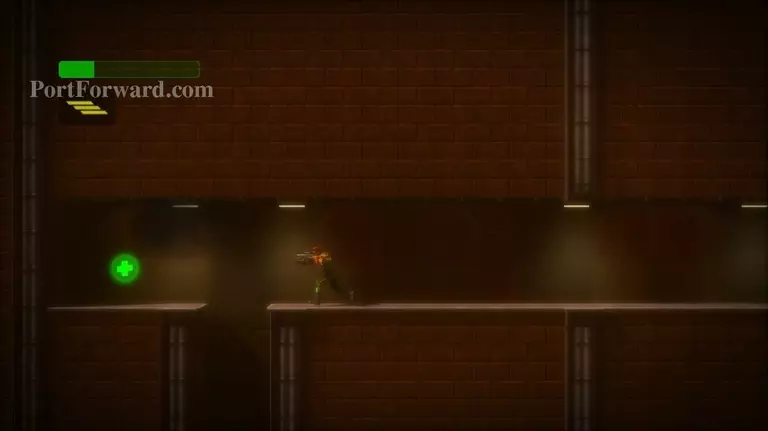
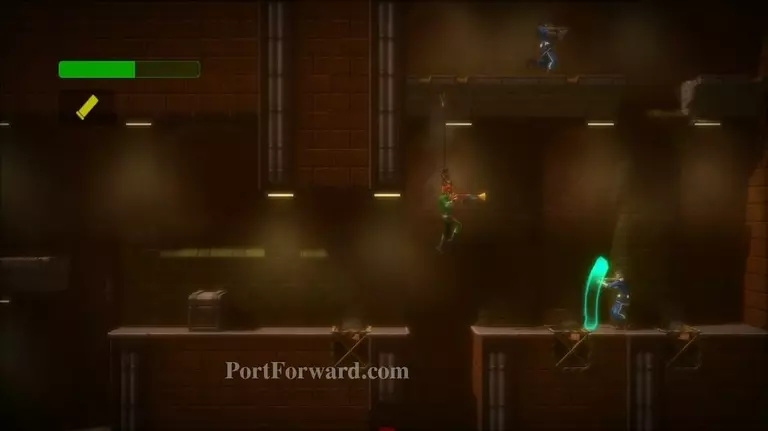
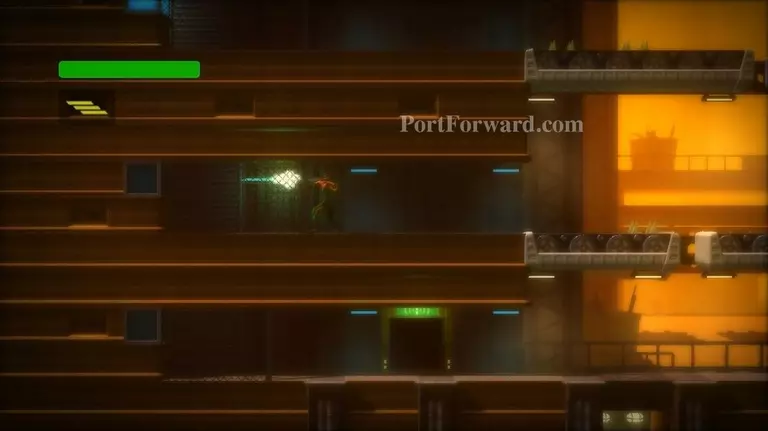
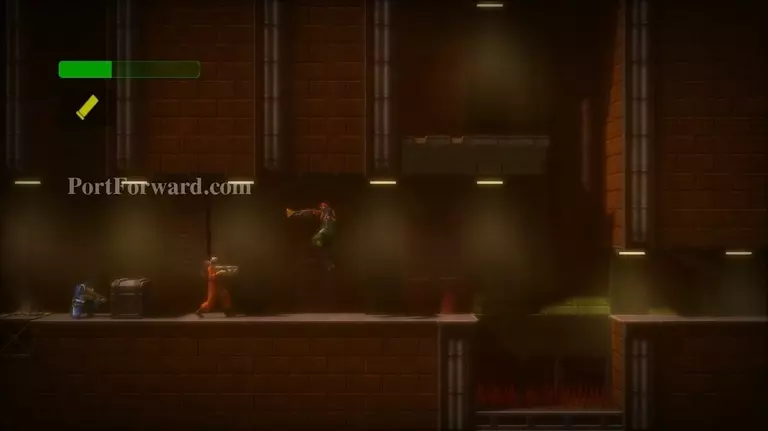
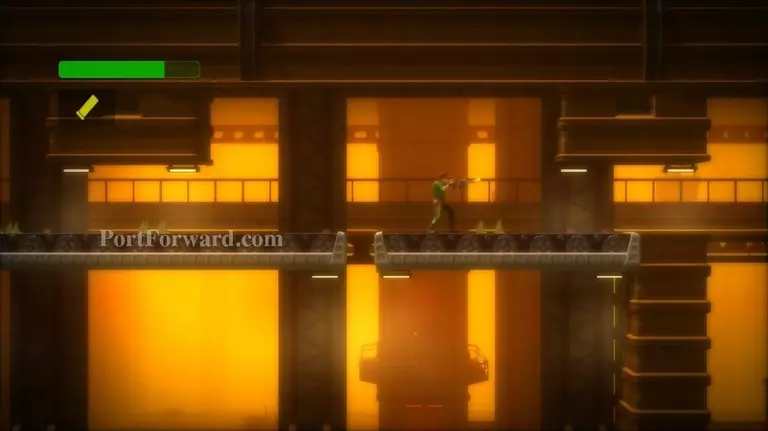
Equip your Shotgun to make easy work of these Cable Backpack Soldiers. Walk to your right and fall down the pit.

Bionic Commando Rearmed Walkthrough - Bionic Commando-Rearmed 0391

As you're falling, grapple to get into the tunnel on your left. If you miss you can call for extraction and try again.

Bionic Commando Rearmed Walkthrough - Bionic Commando-Rearmed 0392

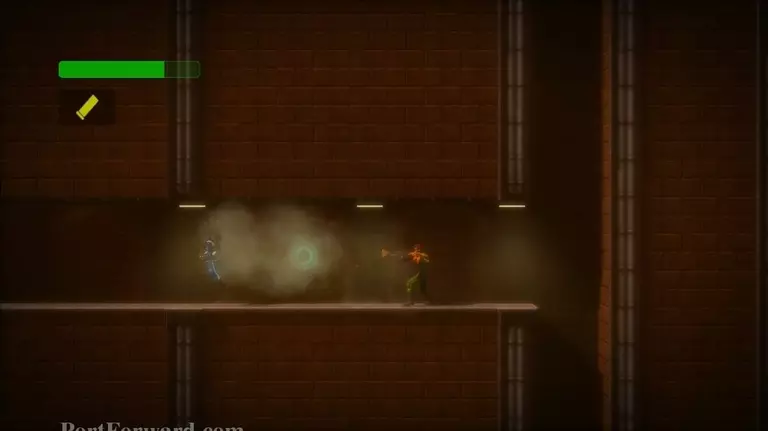
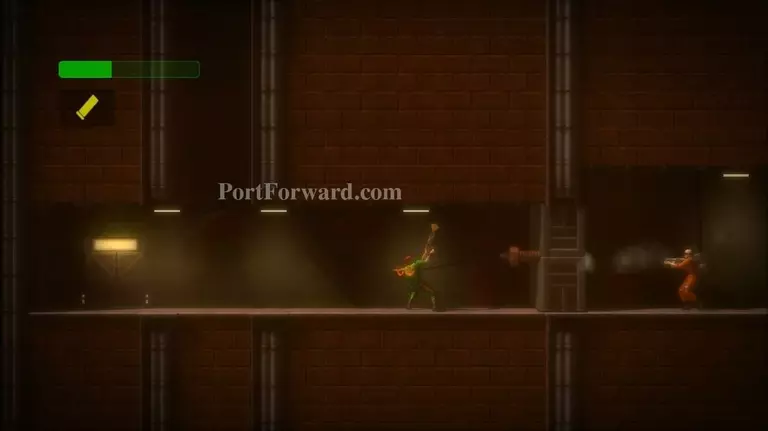
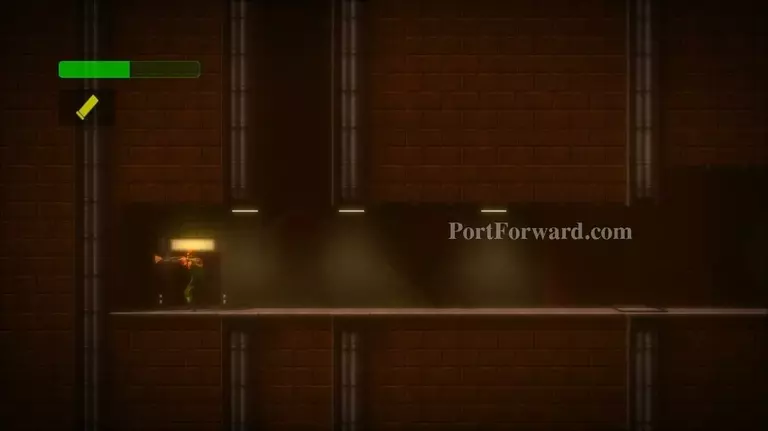
Take out the enemies and fall down the pit on your left.

Bionic Commando Rearmed Walkthrough - Bionic Commando-Rearmed 0393

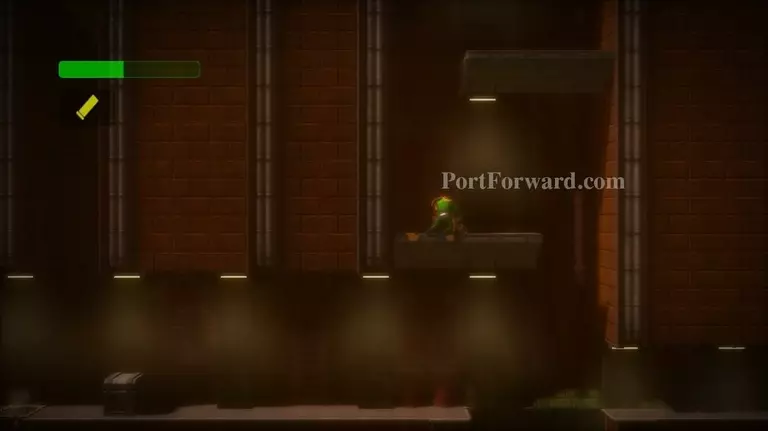
You'll find a secret door here, which is still locked. Use your claw to pull the bolt out of the door on your right.

Bionic Commando Rearmed Walkthrough - Bionic Commando-Rearmed 0394

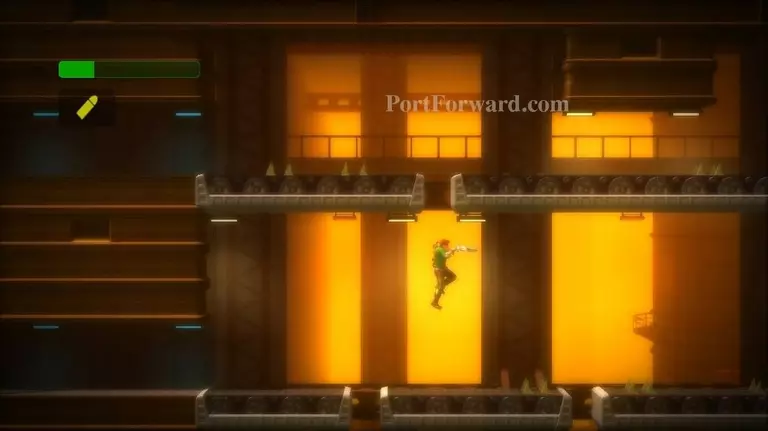
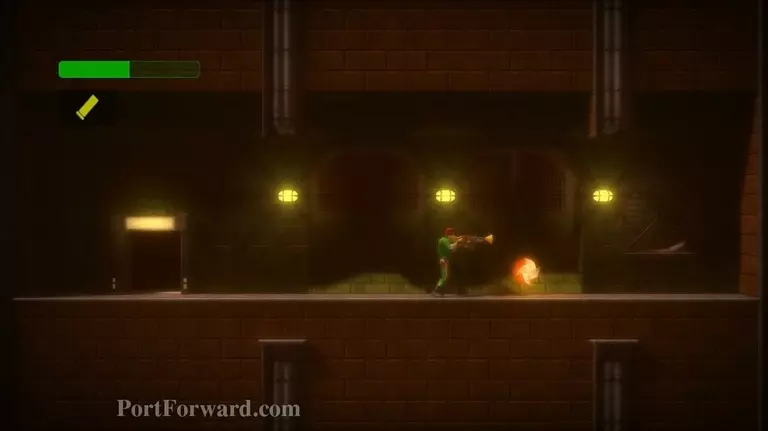
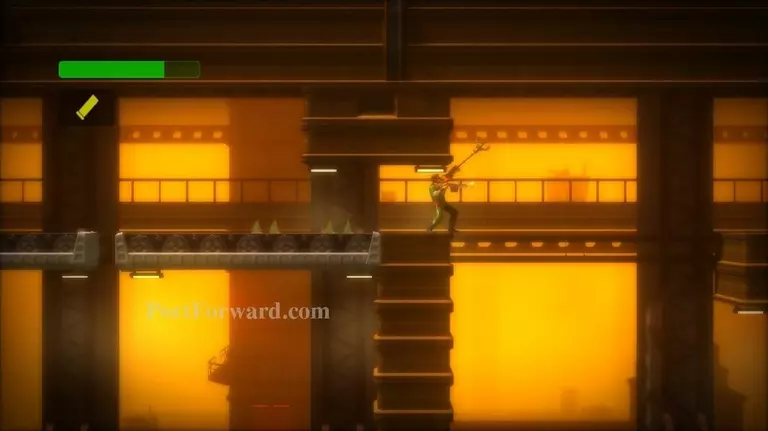
Continue right. Once you reach a spike pit, climb the platforms upward.

Bionic Commando Rearmed Walkthrough - Bionic Commando-Rearmed 0395

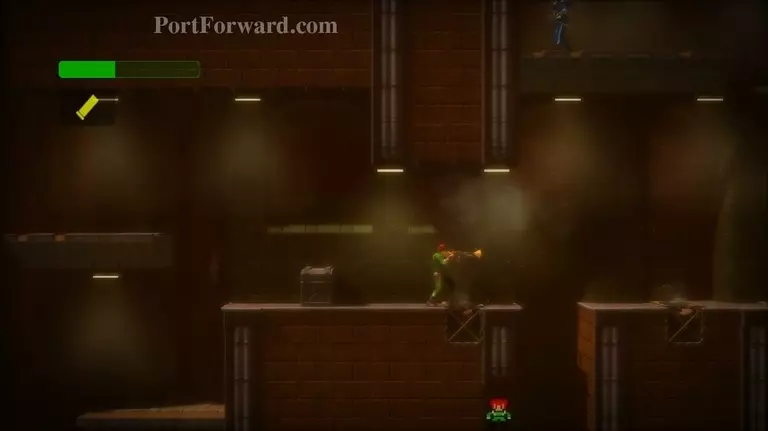
Defeat the enemies and swing over the block. You can fall down the pit and get the extra life if you want. If you do, all you have to do is climb back up a few platforms to get back here.

Bionic Commando Rearmed Walkthrough - Bionic Commando-Rearmed 0396

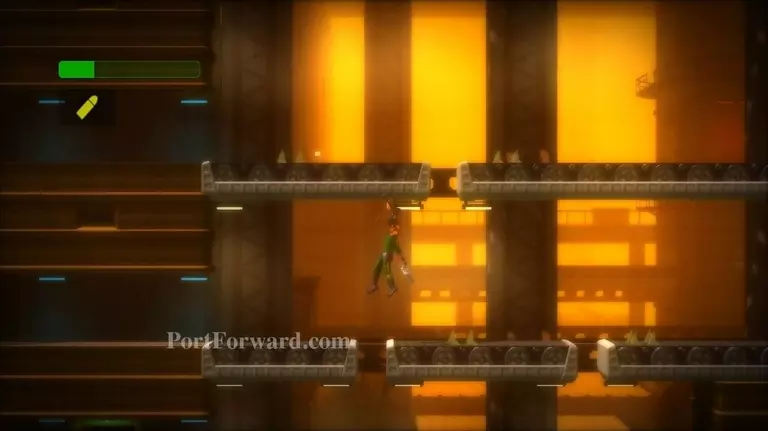
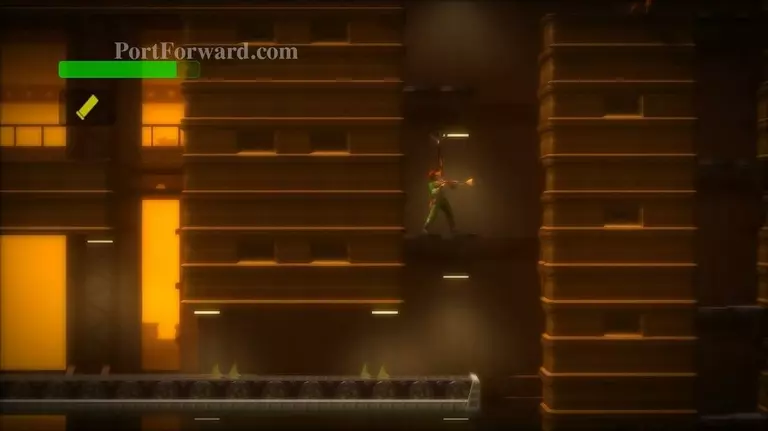
When the fan blows you upward, grapple the platform above you.

Bionic Commando Rearmed Walkthrough - Bionic Commando-Rearmed 0397

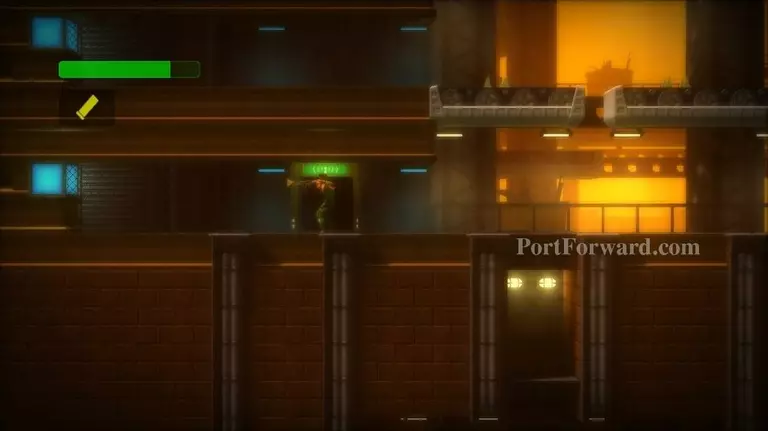
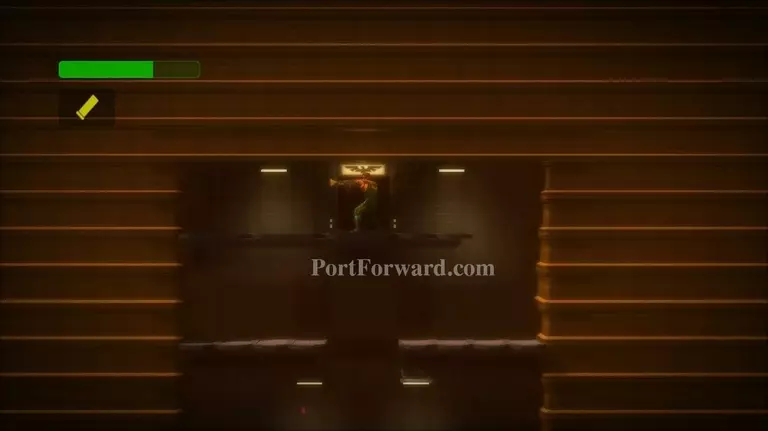
Continue upward. You'll reach a Communications Room. Enter the room and talk to HQ.

Bionic Commando Rearmed Walkthrough - Bionic Commando-Rearmed 0398

There are five blue switches. Shoot each one to turn them off.

Bionic Commando Rearmed Walkthrough - Bionic Commando-Rearmed 0399

Climb onto the conveyor belt. There are two sets of spikes that rotate around each conveyor. Watch the pattern to avoid touching them. As you climb higher, the conveyors spin faster.

Bionic Commando Rearmed Walkthrough - Bionic Commando-Rearmed 0400

Continue to climb upward and shoot each switch as you go.

Bionic Commando Rearmed Walkthrough - Bionic Commando-Rearmed 0401

After you hit all the switches, fall back down between the conveyor belts. Don't go too far right, or you might fall into molten metal.

Bionic Commando Rearmed Walkthrough - Bionic Commando-Rearmed 0402

It might be helpful to grab the bottom of the conveyor as you fall. Then time your fall when a spike won't hit you.

Bionic Commando Rearmed Walkthrough - Bionic Commando-Rearmed 0403

Stand on the platform where you climbed up. It will now retract off and on.

Bionic Commando Rearmed Walkthrough - Bionic Commando-Rearmed 0404

Take out the enemies as you go down.

Bionic Commando Rearmed Walkthrough - Bionic Commando-Rearmed 0405

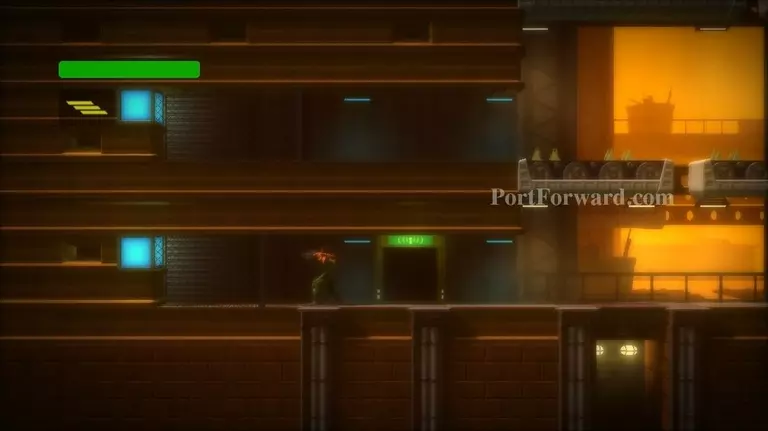
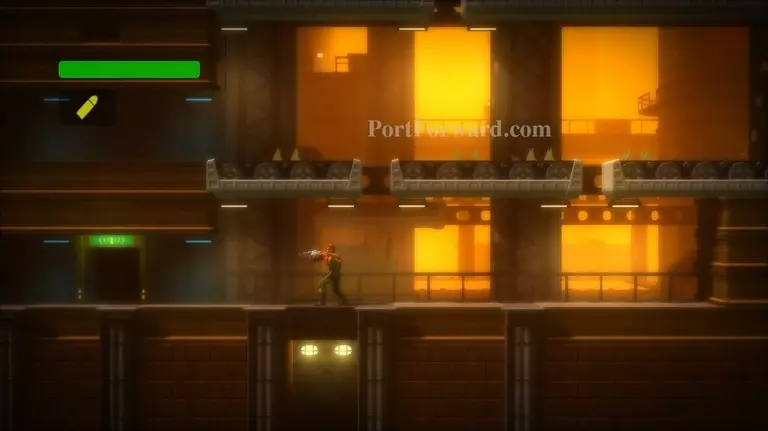
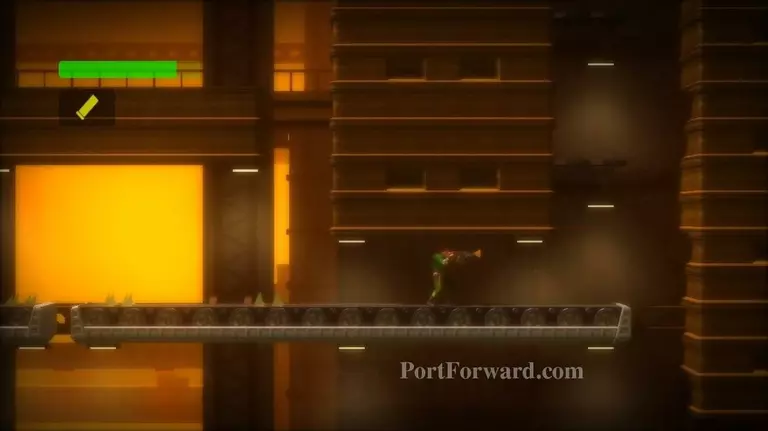
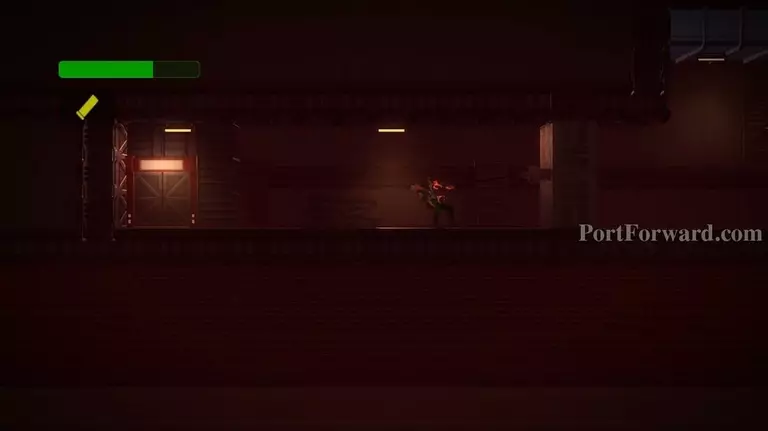
Once you reach the bottom, head left. Destroy enemies in your path.

Bionic Commando Rearmed Walkthrough - Bionic Commando-Rearmed 0406

Enter the secret door, which is now open.

Bionic Commando Rearmed Walkthrough - Bionic Commando-Rearmed 0407

You'll find a Yashichi inside. Grab it and then head back to the conveyor belts.

Bionic Commando Rearmed Walkthrough - Bionic Commando-Rearmed 0408

Climb the conveyor belts to the upper-right.

Bionic Commando Rearmed Walkthrough - Bionic Commando-Rearmed 0409

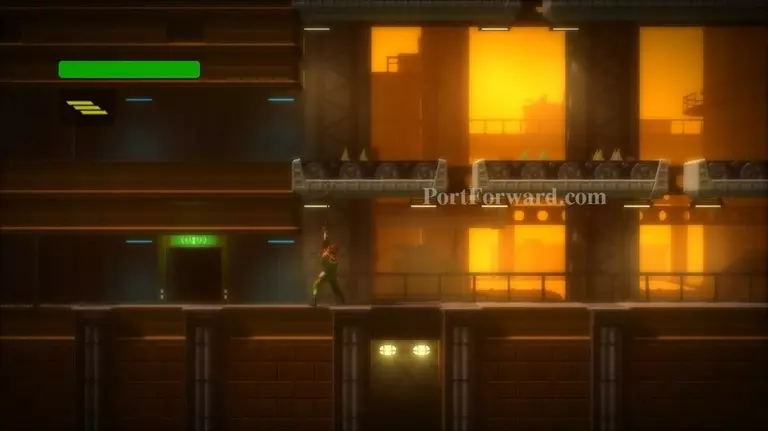
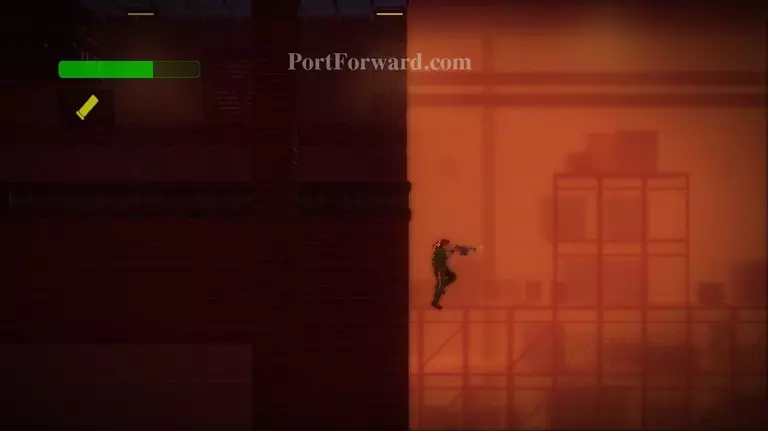
Once you are past the conveyor belts, swing across the gap to the platform on your right. Walk off the right side of the platform.

Bionic Commando Rearmed Walkthrough - Bionic Commando-Rearmed 0410

You'll fall onto another conveyor belt. Let it take you rightward, then grapple onto the platforms above you.

Bionic Commando Rearmed Walkthrough - Bionic Commando-Rearmed 0411

Climb upward.

Bionic Commando Rearmed Walkthrough - Bionic Commando-Rearmed 0412

You'll find the Boss Room at the top. Enter it.

Bionic Commando Rearmed Walkthrough - Bionic Commando-Rearmed 0413

Pull the bolt out of the wall.

Bionic Commando Rearmed Walkthrough - Bionic Commando-Rearmed 0414

Walk to the right and drop down.

Bionic Commando Rearmed Walkthrough - Bionic Commando-Rearmed 0415

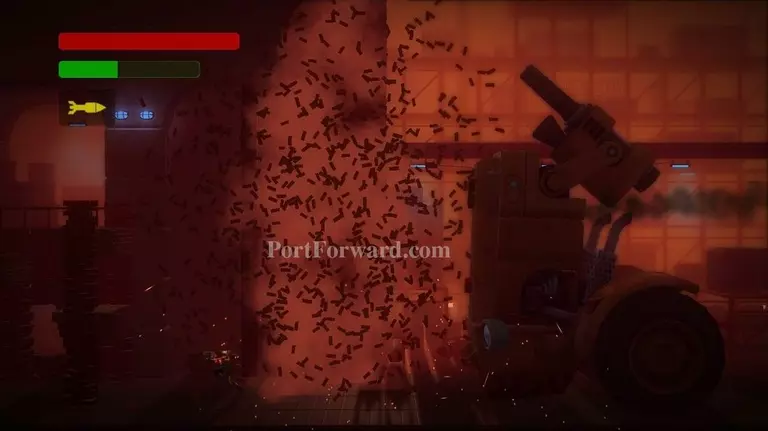
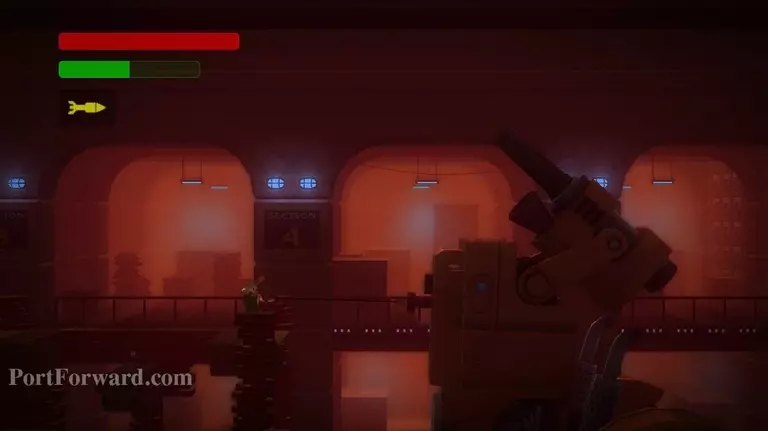
Continue to the right. You'll find the next boss, the Siege Machine v2.

Bionic Commando Rearmed Walkthrough - Bionic Commando-Rearmed 0416

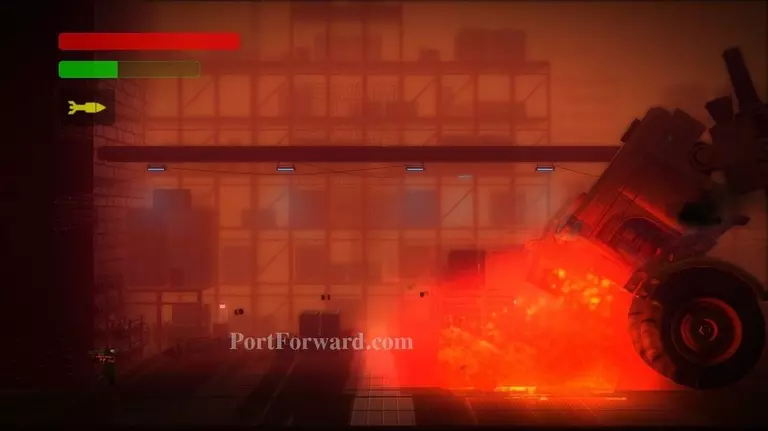
Like the first time you fought this boss, use grenades to take out the treads.

Bionic Commando Rearmed Walkthrough - Bionic Commando-Rearmed 0417

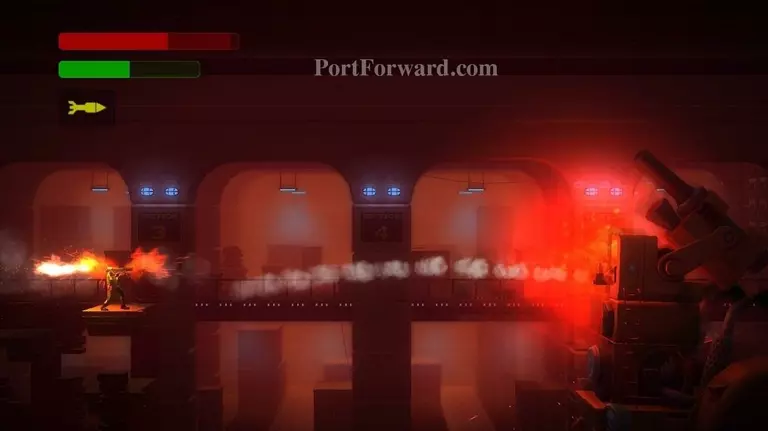
When the boss charges you, hug the left wall to keep from being ran over. The boss will break down the wall.

Bionic Commando Rearmed Walkthrough - Bionic Commando-Rearmed 0418

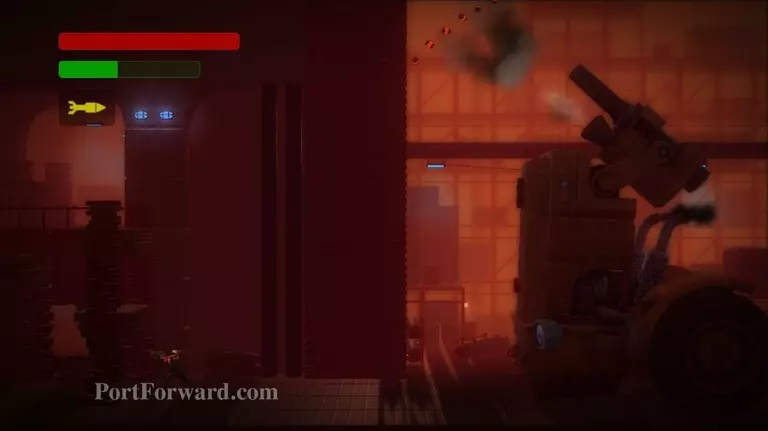
The boss will fire more powerful grenades at you than the first time. Avoid them the best you can. He'll also fire cannon balls like the first battle.

Bionic Commando Rearmed Walkthrough - Bionic Commando-Rearmed 0419

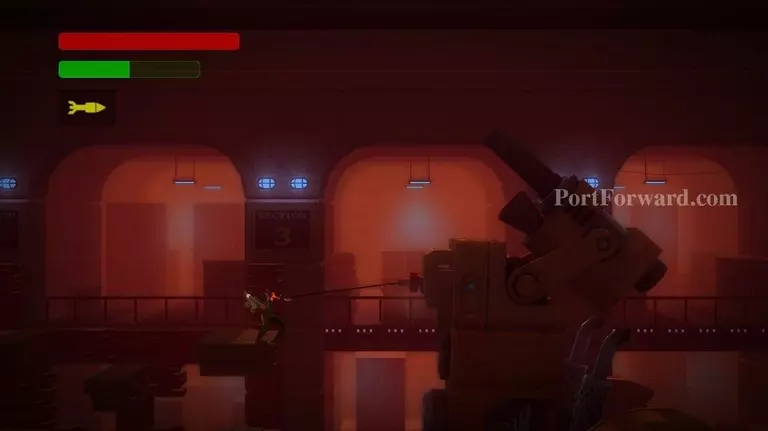
Try to get somewhat close to lure him forward. When you see the white smoke on the tires, you know he's getting ready to charge. Run left as soon as you see it.

Bionic Commando Rearmed Walkthrough - Bionic Commando-Rearmed 0420

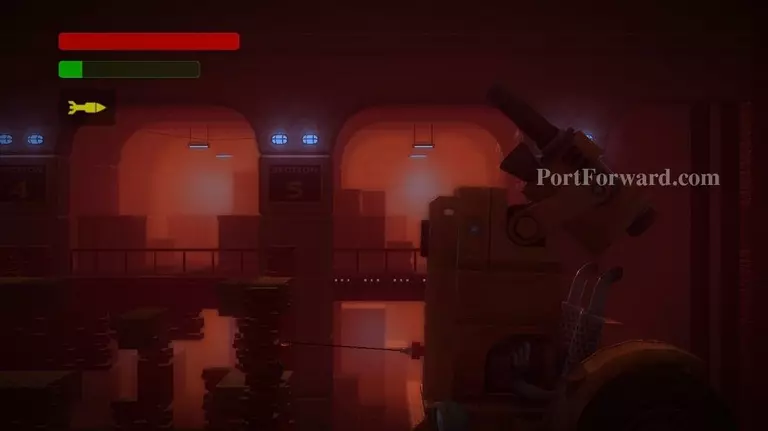
The boss will destroy some of the platforms as he charges, so make sure you run far enough left. After the machine stalls, pull a bolt out with your grapple.

Bionic Commando Rearmed Walkthrough - Bionic Commando-Rearmed 0421

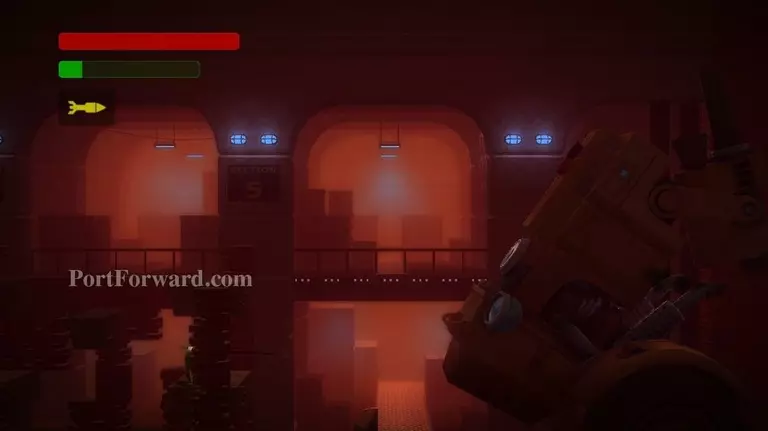
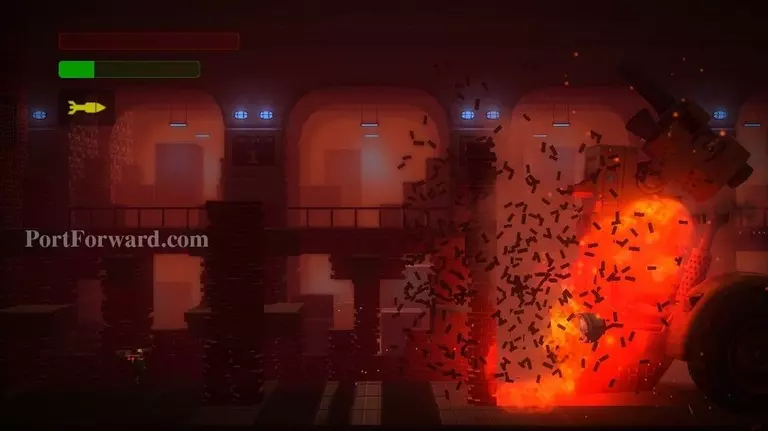
The boss will be knocked back.

Bionic Commando Rearmed Walkthrough - Bionic Commando-Rearmed 0422

Repeat until you can pull the second bolt.

Bionic Commando Rearmed Walkthrough - Bionic Commando-Rearmed 0423

Then finally the third bolt.

Bionic Commando Rearmed Walkthrough - Bionic Commando-Rearmed 0424

Now the driver is revealed. A few shots from your Bazooka will kill him.

Bionic Commando Rearmed Walkthrough - Bionic Commando-Rearmed 0425

As soon as you kill him, run left. He'll charge one last time.

Bionic Commando Rearmed Walkthrough - Bionic Commando-Rearmed 0426

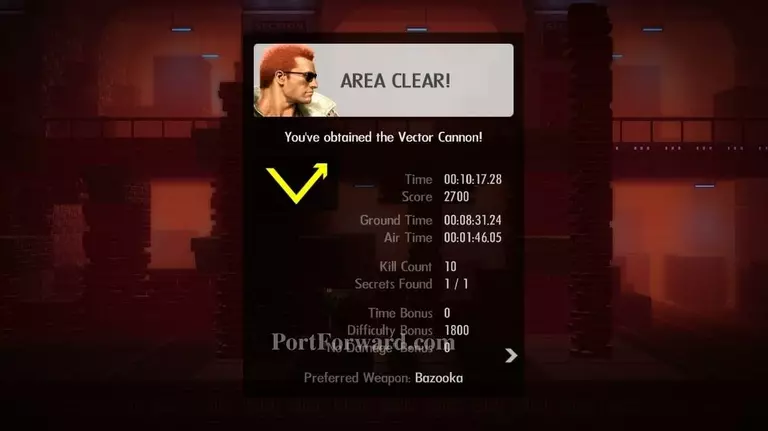
Area Clear! You now have the Vector Cannon.

Bionic Commando Rearmed Walkthrough - Bionic Commando-Rearmed 0427

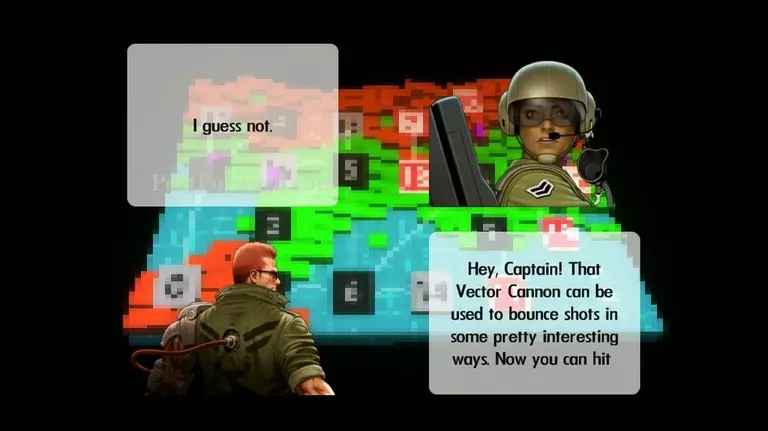
Haley will explain that the Vector Cannon can bounce shots around to reach things you couldn't before. She also mentions it will help you with a closed door in Area 07.

More Bionic Commando Rearmed Walkthroughs

This Bionic Commando Rearmed walkthrough is divided into 24 total pages.

More From Portforward