This Deus Ex: Invisible War walkthrough is divided into 11 total pages.
You can jump to nearby pages of the game using the links above.
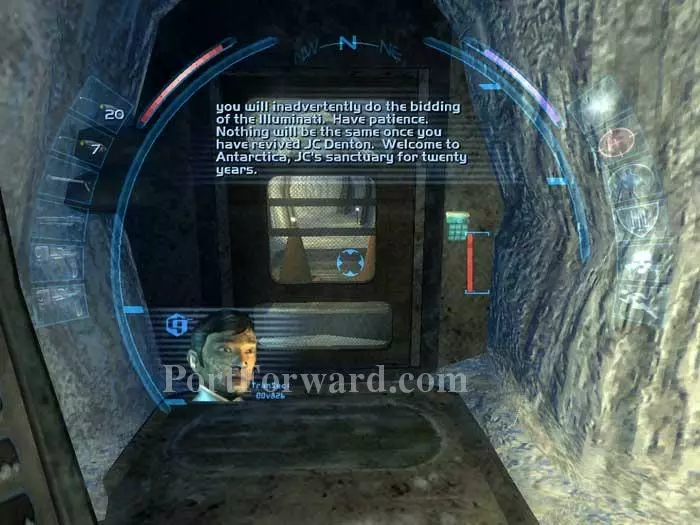
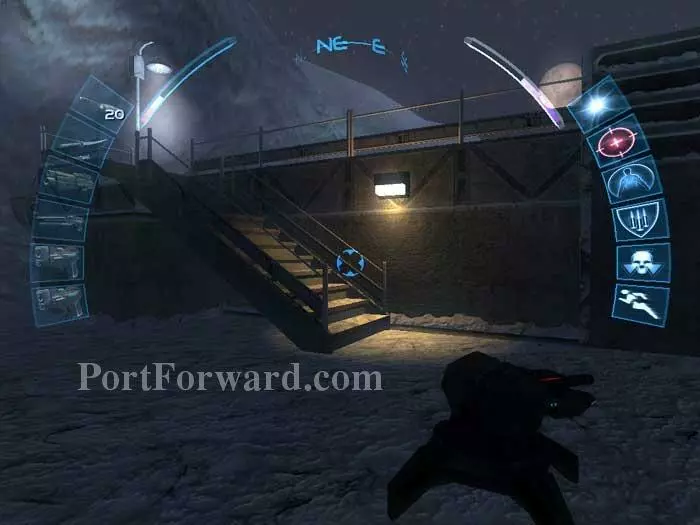
Anarctica
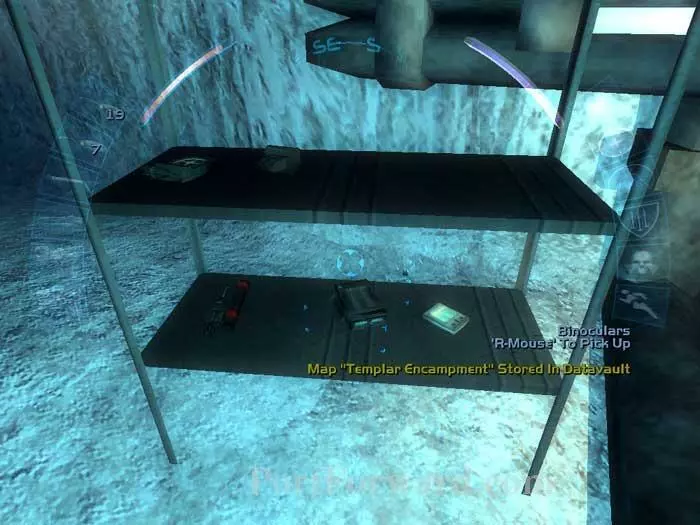
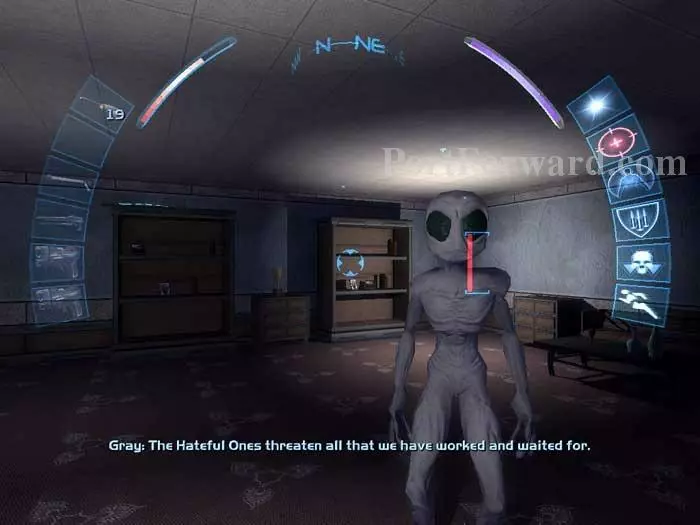
Speak with the Gray leader and receive two goals: free the captive Gray and revive JC Denton. Talk to him repeatedly to learn more about the history of the Grays and their relationship with the Dentons. Read the datacube for the area map. Also on these shelves is a medkit, an ammo clip, a multitool, a phosphorous flare and binoculars.

Use your speed enhancement to jump up to that ledge. You'll find an increased range mod, a scrambler grenade and a spiderbomb.
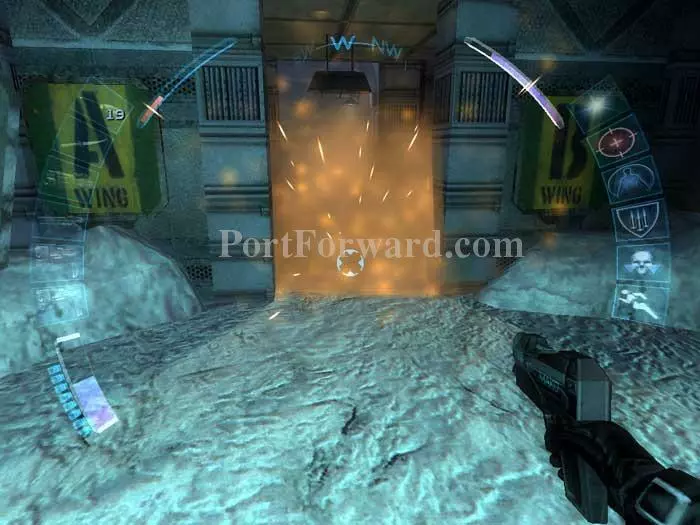
Exit out this door and push your way past the workhorse and hazard cones beyond.

Follow the tunnel and receive a new goal from Billie: view a holocomm message from her in tent 04.
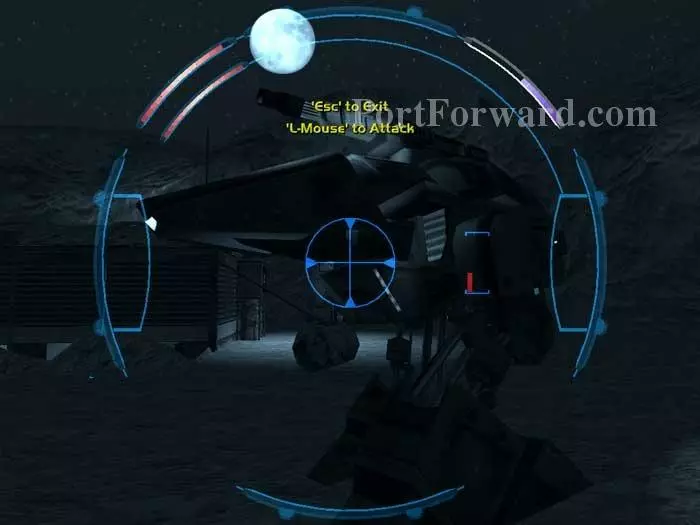
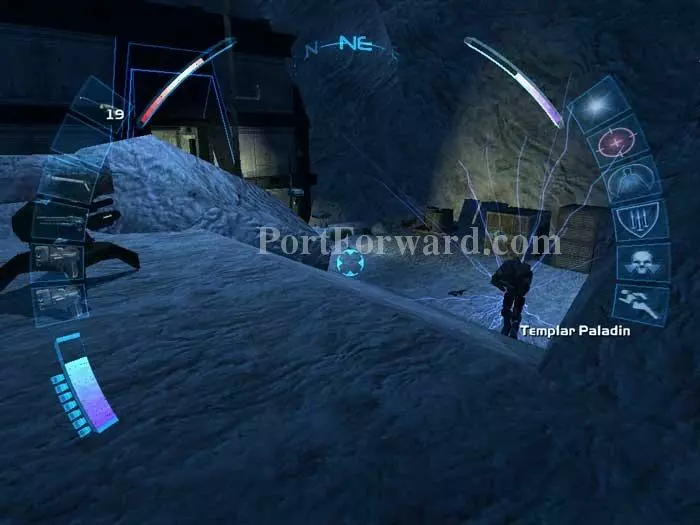
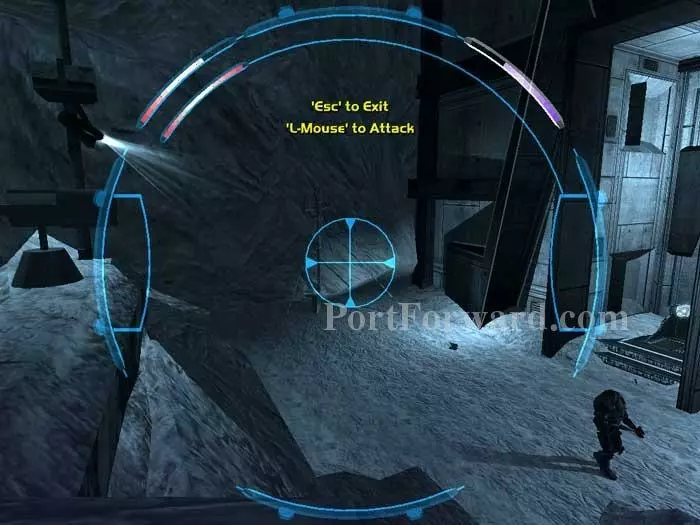
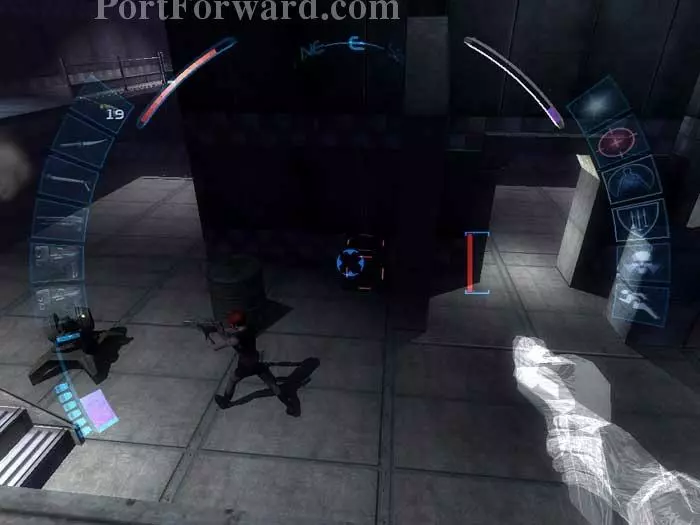
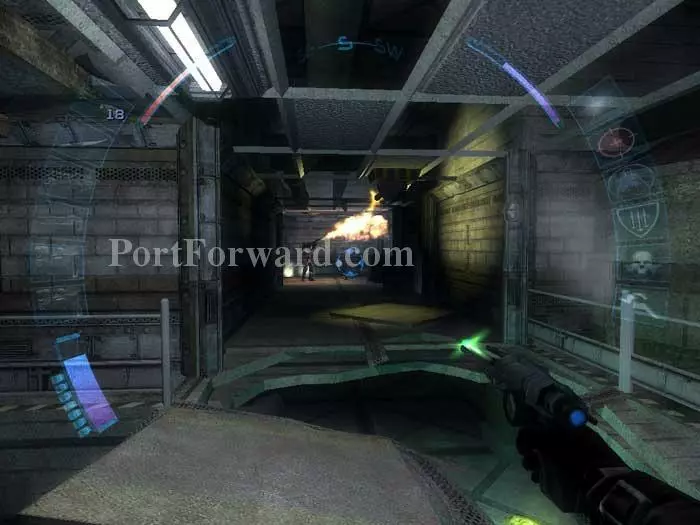
A military bot and two Paladins patrol the area. Bring them down with your method of choice.

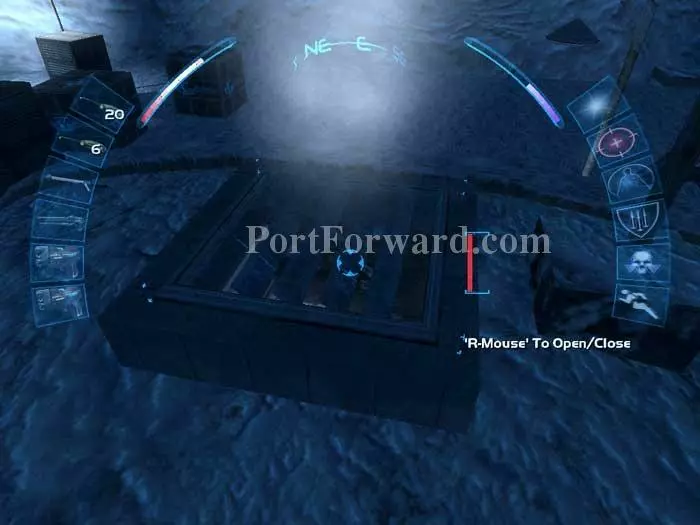
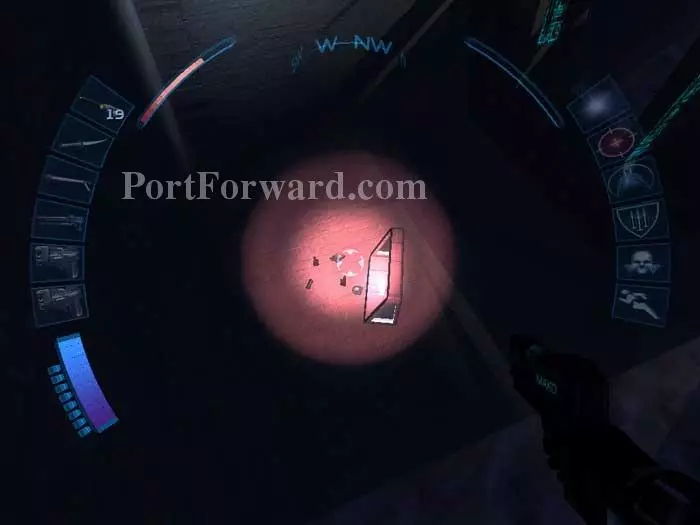
Complete the goal by using multitools on this cage to free the captive Gray. Read the datacube for some background.

Option (1) never prompted any action, so I just sent him home. You can also free the neighboring greasel -- he's harmless, too.
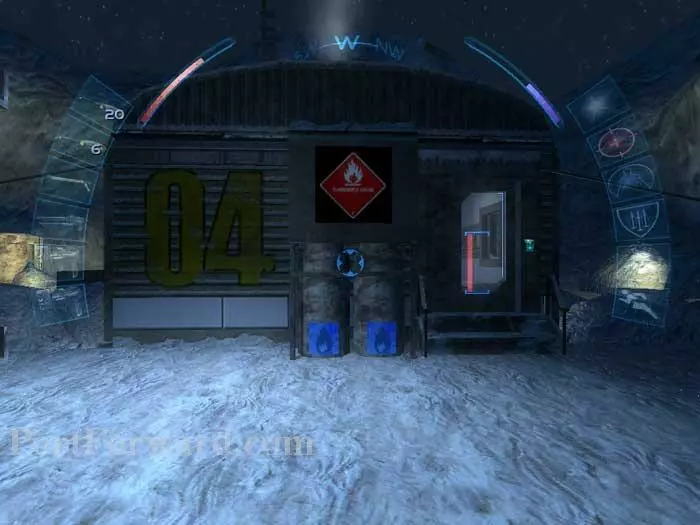
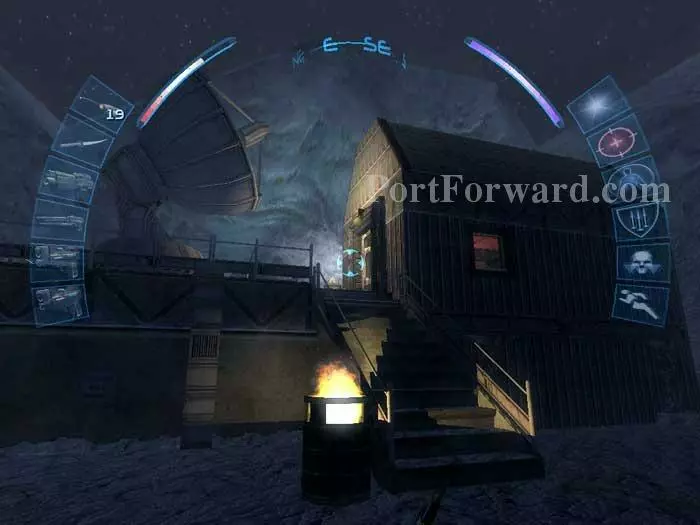
Here is tent 04. You could charge through the door, but a little exploration is always wise.

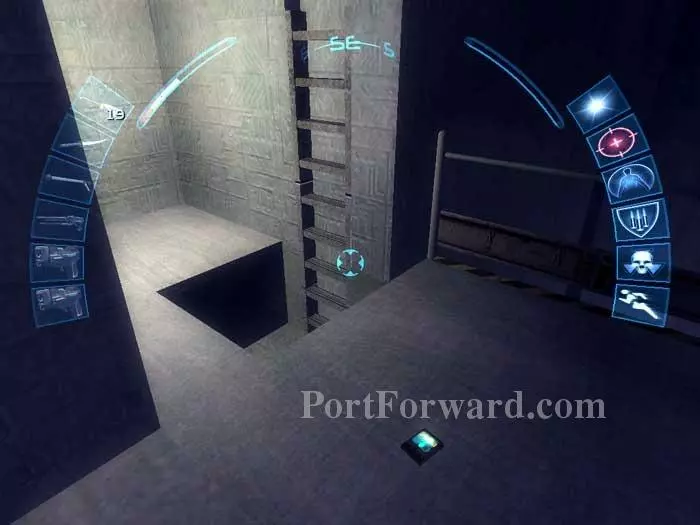
Underneath the structure you'll find this multitool and phosphorous flare. Climb the ladder ahead.
Drop through this air shaft.
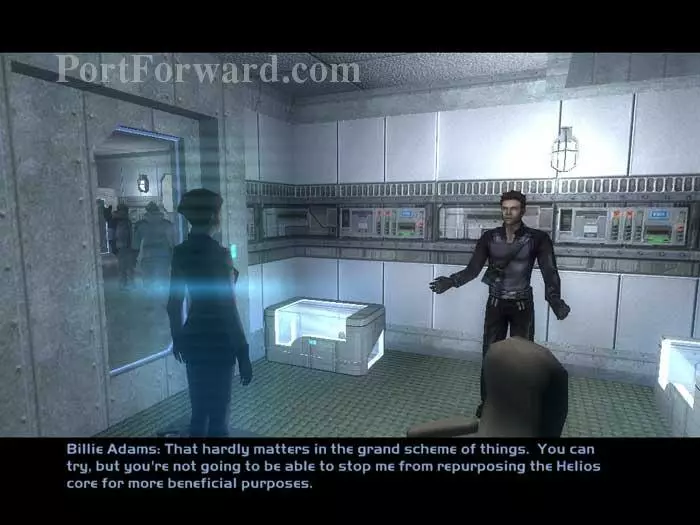
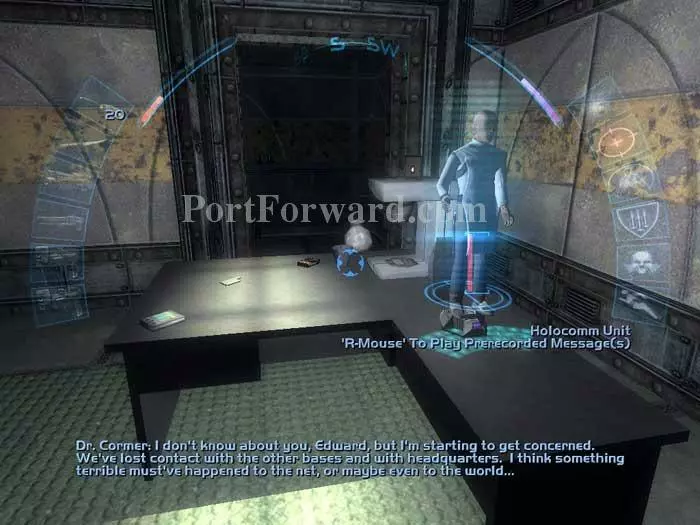
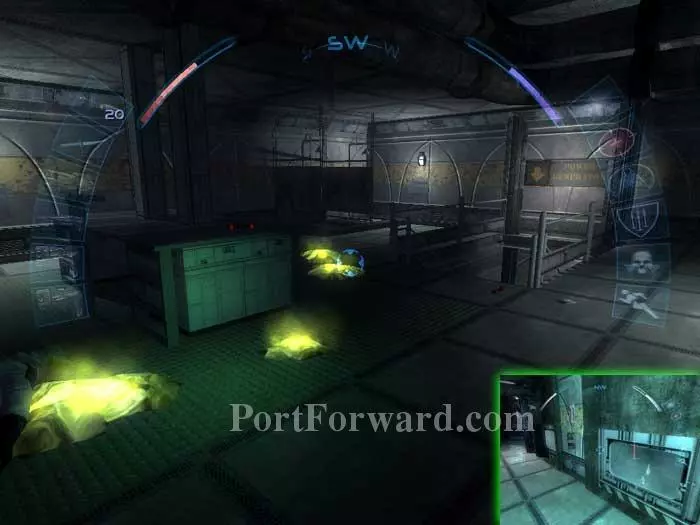
Talk with Billie Adams through the holocomm. The locked trunk visible on the left holds a medkit, a standard biomod canister, and a datacube revealing that the canister is intended for Billie. Ha! The locked trunk on the right holds an ammo clip, an EMP prox mine, and a noisemaker grenade. Grab the excavation site keycode from the desk. A multitool is on the floor to the left of the desk.
Send your spy drone into the next room to knock out both Templars and the security camera with a single blast. The soldiers will drop a flamethrower and an SMG, plus an ammo clip and concussion grenades. In addition to the datacube on this table, the lockers on the left hold, left-to-right, three ammo clips, an ammo clip and a datacube indicating the Templars have found JC's base, a spiderbomb and a scrambler grenade.

The security computer on the east wall can control two cameras and the military bot outside.

Continue to this tunnel marked, "Site X." Send in your spy drone to disable the flame turret ahead.

Use the excavation site keycode to unlock the door to the next area, where you'll find Paladins wearing power assault armor. This Paladin drops a flamethrower.
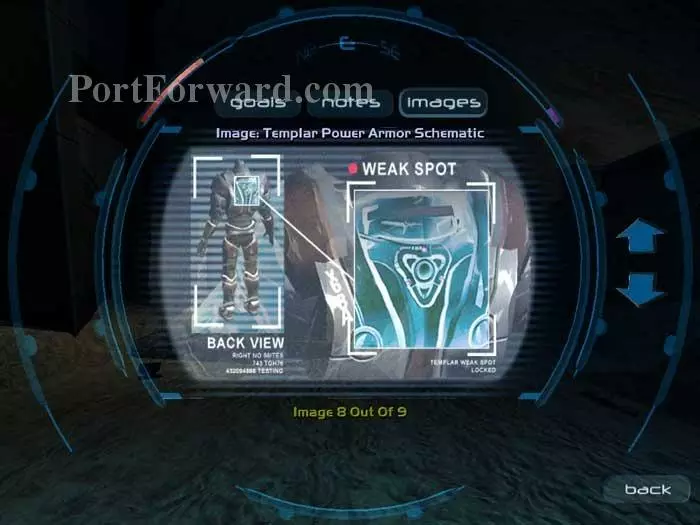
Here's the schematic. If you're a good shot, you can focus your fire on the triangular weak spot. There's a repair bot here, so your spy drone has all the power it needs -- that's my preference.

JC communicates with you for the first time.
A rocket turret and two more Paladins patrol the next area. They'll drop a flamethrower and a mag rail. This Paladin is sparking because my spy drone didn't give him quite enough juice - yet. Note that knocking the power-armored Paladins unconscious results in their self-destruction. A pacifist technique? In my mind they are killing themselves -- but if you want an extra challenge, ditch the spy drone tactic on the power-armored Paladins from here on.
Lastly, take out this security camera and another Paladin below. He drops a mag rail.
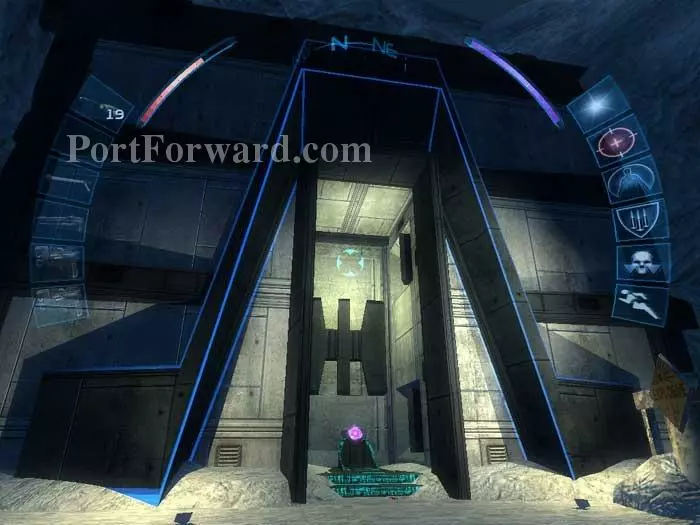
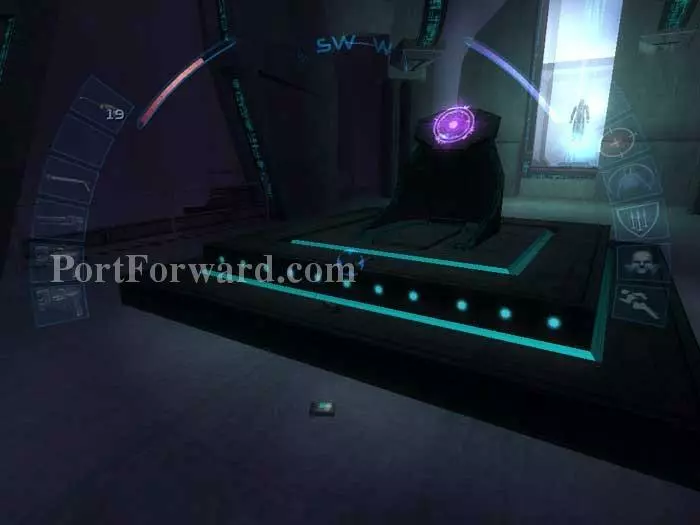
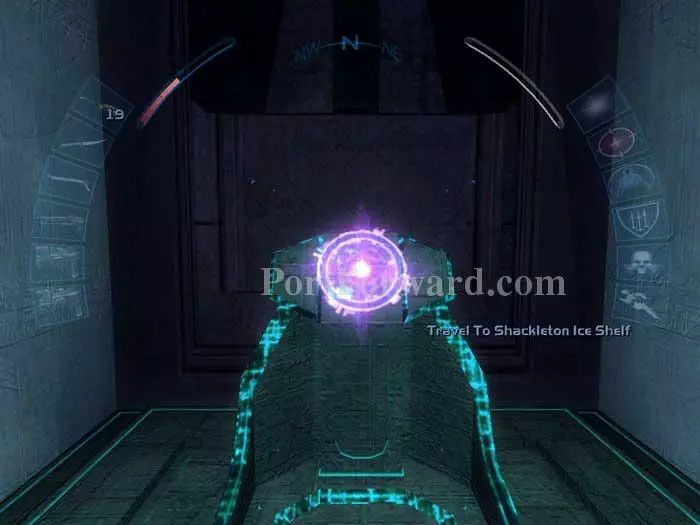
Use the purple orb ahead to travel to JC Denton's sanctuary.
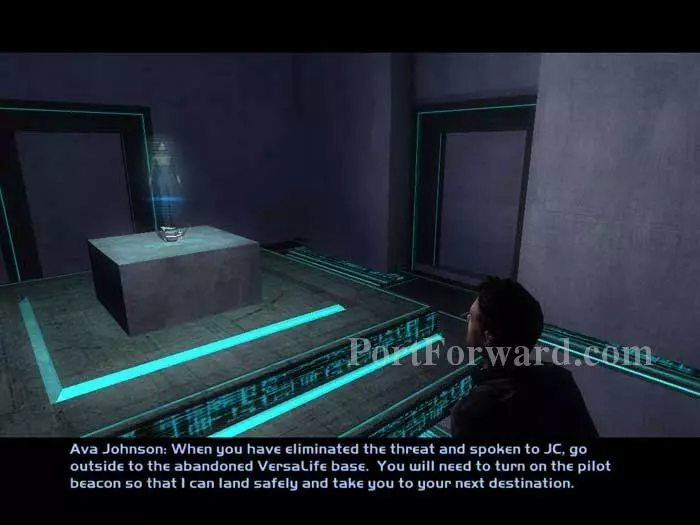
Receive a new goal from Tracer Tong: repair the JC-Helios core. Talk to Ava Johnson through this holocomm unit and receive yet another goal: meet her at her helicopter to return to Cairo. Ava must be your pilot, as Sid is currently booked up until after the summit.
Read this datacube to learn of a greasel threat before descending the ladder.
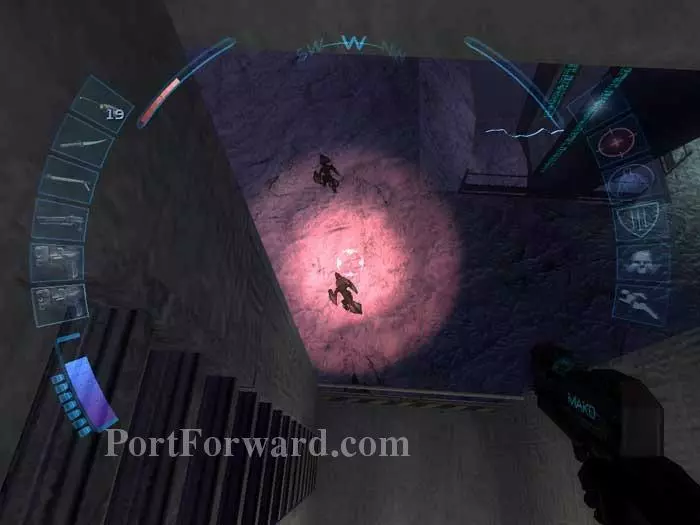
Yup, greasels. There are three of them. You can snipe them from above...

...but I think it's more in-keeping with the spooky atmosphere of this place to use the cloak/biotox attack drone combo to put the greasels to sleep.
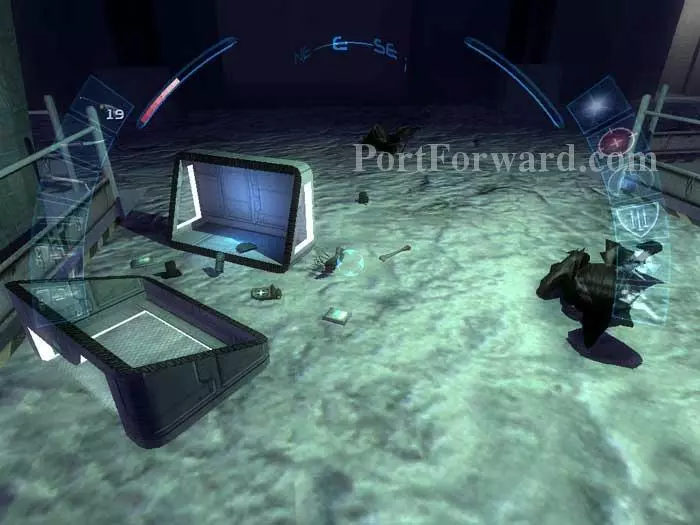
Rummage through this busted trunk to find two ammo clips, a medkit, an EMP grenade, an energy cell, and two journal entries from the VersaLife expedition.
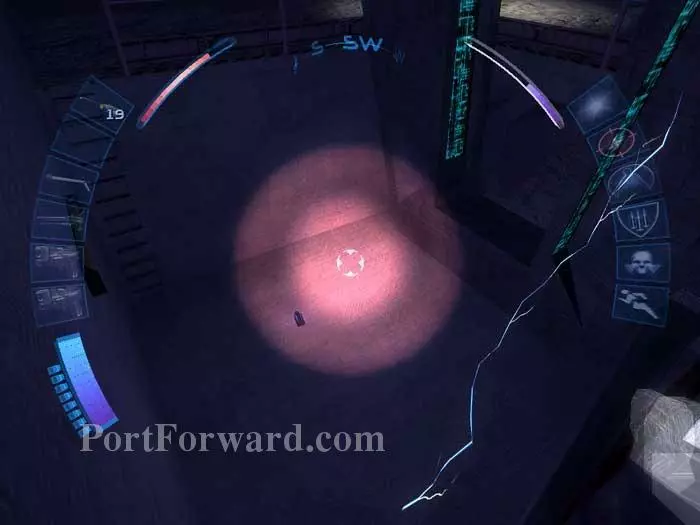
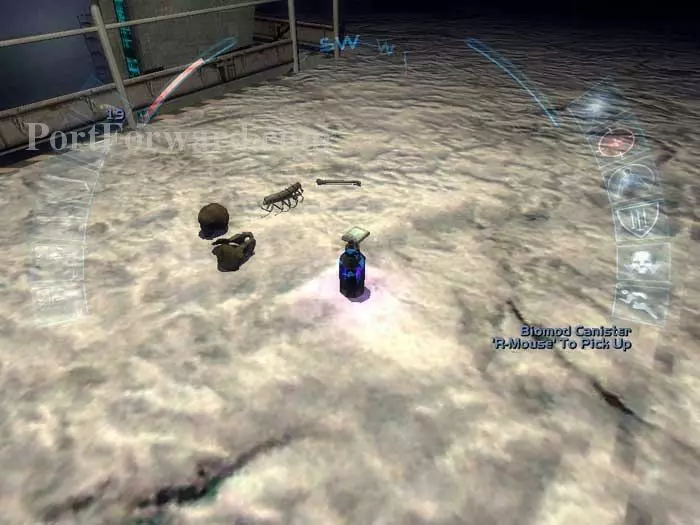
At the north end of the cavern is this standard biomod canister. The sparking arcs do not move -- just observe where they hit the ground and avoid them. A ladder leads to the canister.
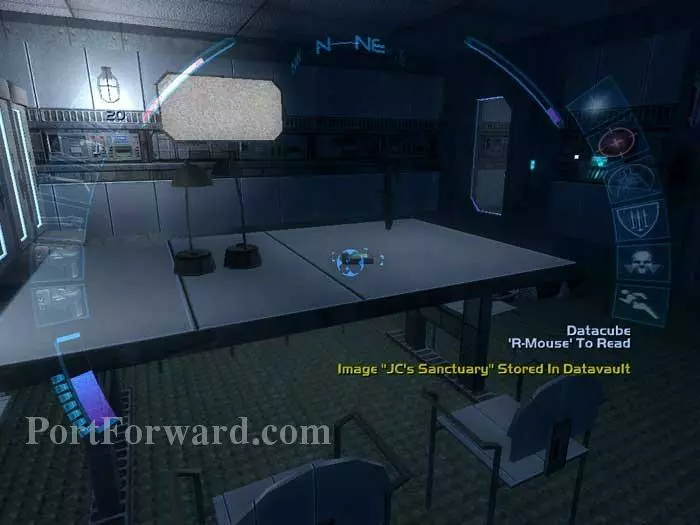
Return above and access the purple Helios module. The datacube holds a journal entry from the Versalife expedition.
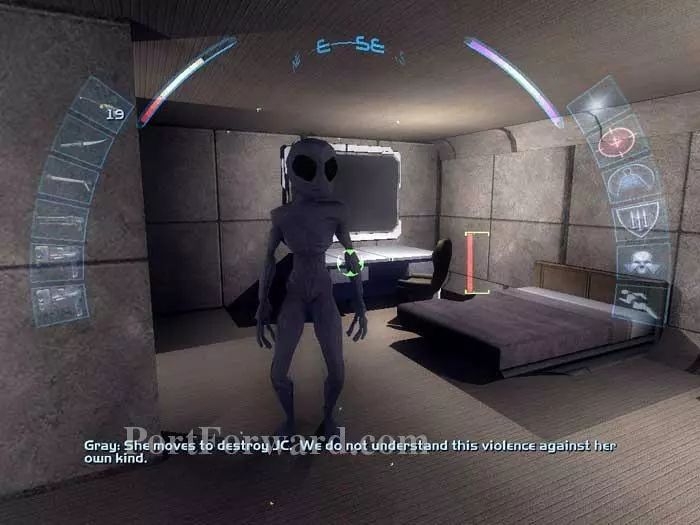
You're now traveling inside JC's memory of Maggie Chow's apartment. Talk to this Gray after a brief message from Billie. Note the game's fifth secret weapon - the Dragon Tooth Sword - atop the left bookcase. An energy cell can be found on the cabinet along the right wall.

The Dragon Tooth Sword was a powerful weapon from the original Deus Ex.
Head down the ladder in this level, similar to the one you descended before. This time you'll find two Karkians and a single Greasel protecting this broken trunk. Among the debris is an EMP grenade, an energy cell, ammo, two medkits and two journal entries from the VersaLife expedition.
At the east end of the cavern is another standard biomod canister.
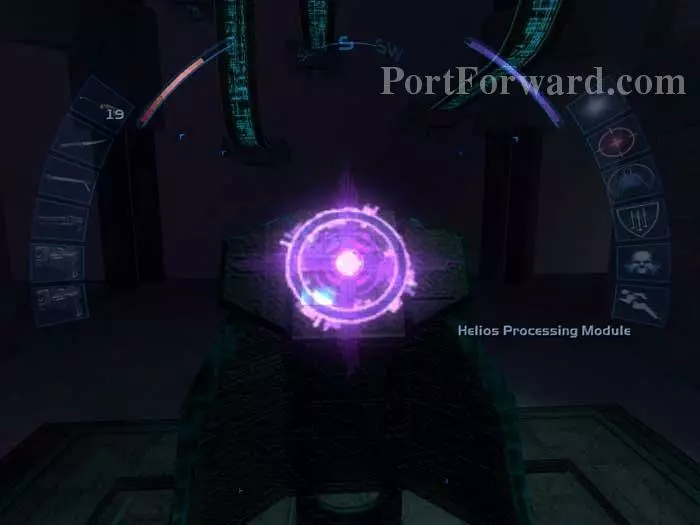
Ascend the stairs and access the next Helios processing module.
This time you're back at the UNATCO offices. Proceed through the door by the flag.
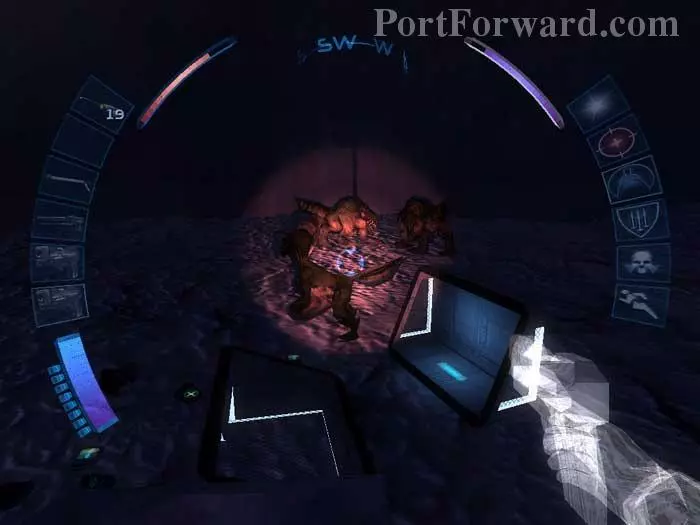
At the bottom of this ladder are two Karkians and a Greasel.
This time a biomod canister can be found above ground, along with another Versalife expedition log.
And below ground at the south end of the cavern is this trunk. You'll find an EMP grenade, two ammo clips, an energy cell and a medkit.
Follow the next Helios module to JC's memory of the 747.
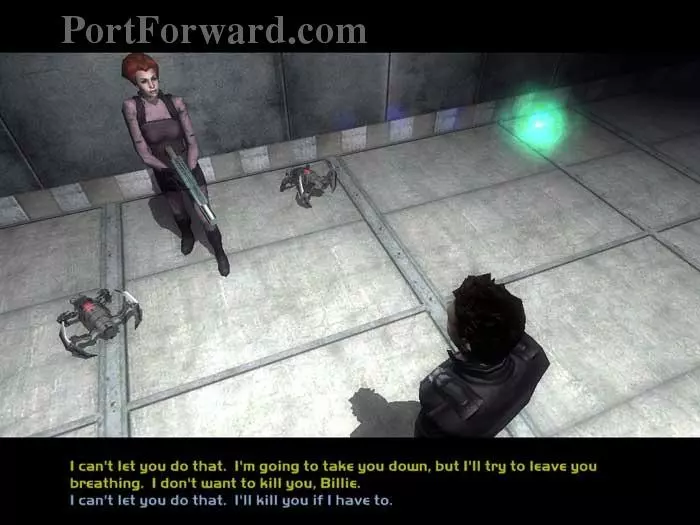
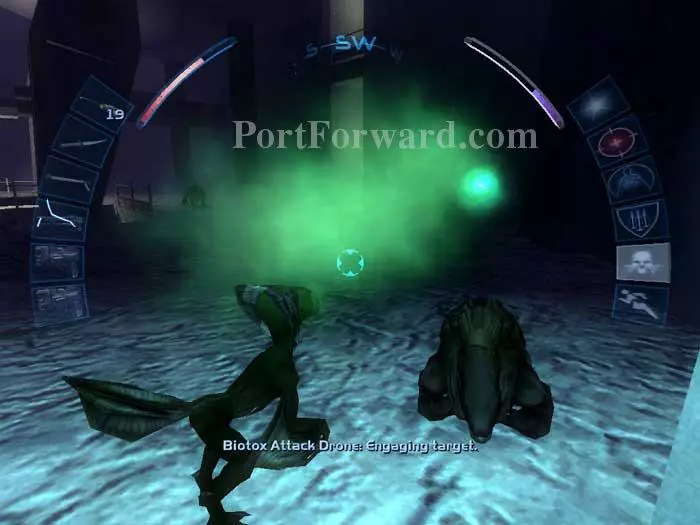
There's no ladder this time. (What, are ya greedy?) Activate the next Helios module and prepare to fight the Billie boss. Before you move, activate your cloak and biotox attack drone. She'll teleport in once you take your first step. Both dialogue options have the same result.
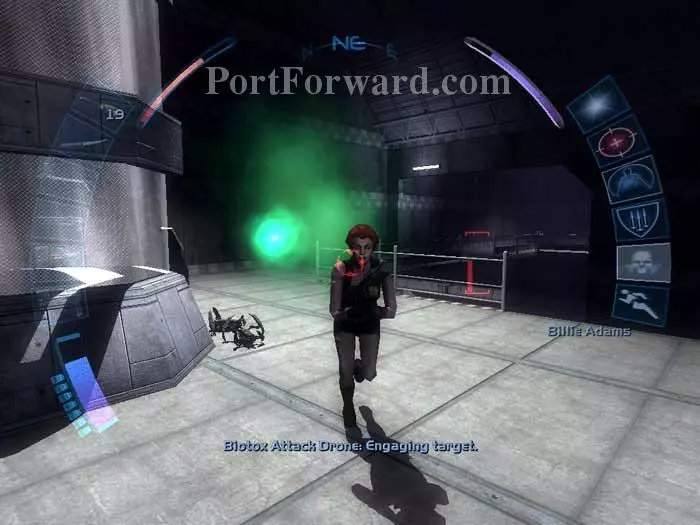
Take down the spiderbots with your spy drone, and remain cloaked while your biotox attack drone knocks Billie unconscious. This room is JC's memory of the cloning facility at Area 51.
Two rocket turrets can be found in the sunken area in the center of the room. You can take them out with your spy drone, or shoot the conveniently-placed explosives crates. You'll notice in this shot that Billie will curiously attack the turrets if she's hit by their splash damage.

Alternately, just make a mad dash for the final Helios module. The entrance is in the southeast corner of the room. Activating the module completes the goal of reviving JC Denton.

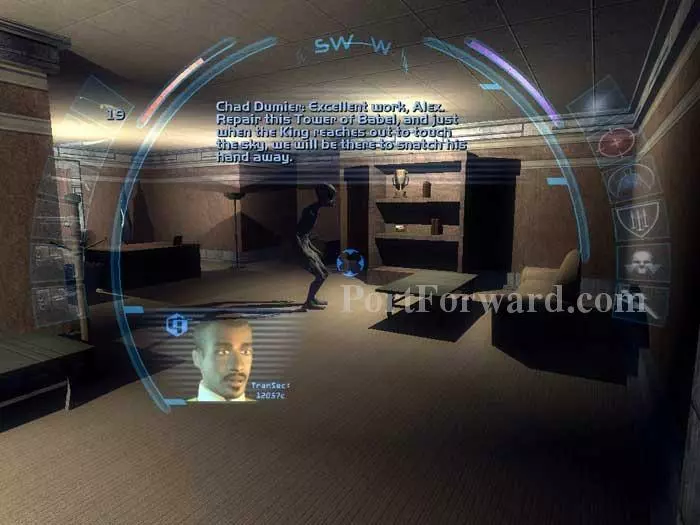
After activating the module, turn right and talk with JC.

You'll repeatedly have two dialogue options. Option (1) will end the conversation. Choose option (2) and JC will continue to explain his plan to merge humanity with the Helios AI into a single consciousness.
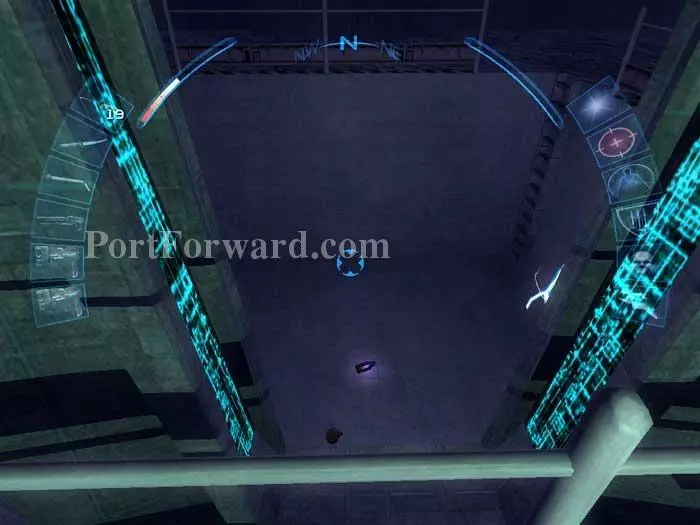
Head back up and activate this module to return to the Shackleton ice shelf.

Backtrack to the repairbot and Saman 'invites' you to meet him at tent 04.

Stay with the repairbot and send your spy drone through the tunnel. You'll find the place swarming with power-armor equipped Paladins. Send your drone repeatedly to bring them all down, including a light spider bot. The Paladins will drop rocket launchers. Pacifists who have accepted the challenge to avoid the spy drone on power-armored Paladins can walk among them undetected with the cloak. Combined with the thermal masking biomod, you will be invisible to bots as well.

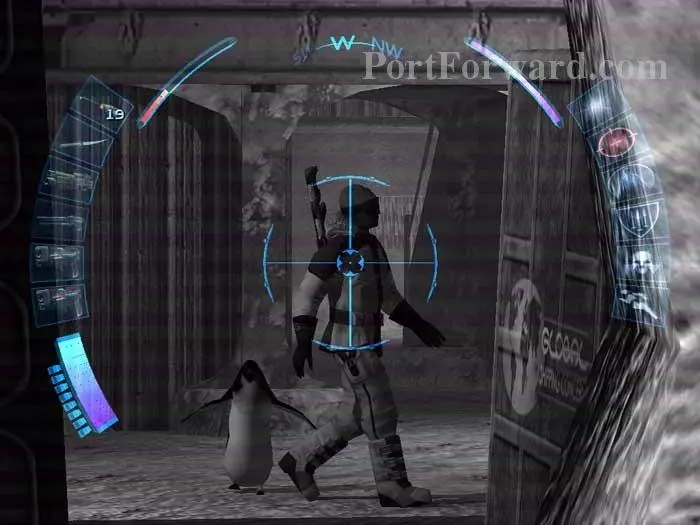
Just make sure you avoid the penguins.

Once the area is secure, return to tent 04 and talk to Saman through the holocomm. It was Saman who had Chicago destroyed, and he threatens to destroy more cities unless you help him.

Return to the Gray leader and learn that the Gray you set free is doing fine.

Next up: the VersaLife facility.
Before exiting the tunnel, spot the two guards crisscrossing with your boltcaster's scope. Their pattern is very repetitive, making them easy pickings. At least the penguin is paying attention.
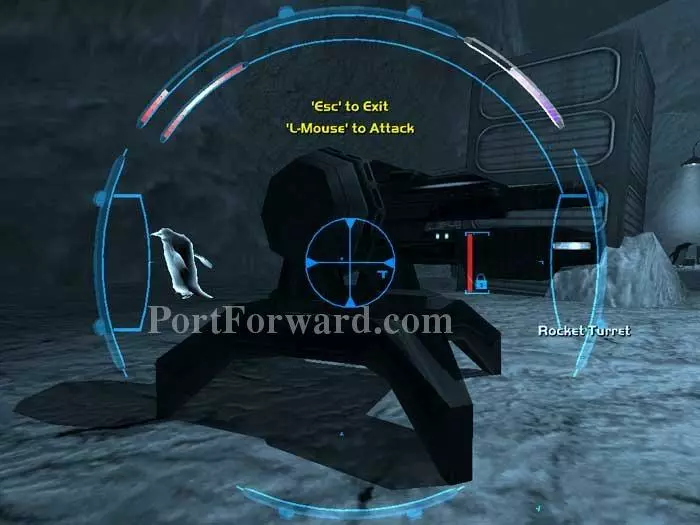
Disable this rocket turret in the southwest corner. As you enter the area, Tracer Tong advises that you need to power up the beacon with a generator in the B wing's lower level.
I've just brought down a Templar with my boltcaster, then destroyed this spiderbot with a pistol. Continue into the A wing.

Send your spy drone upstairs to knock out these two greasels. You'll find a multitool, a medkit, two ammo clips, a concussion grenade, and an SMG up here.

Two air vents can be entered here, leading to two locked rooms below. You'll find 25 credits, 2 phosphorous flares, an ammo clip, a medkit, and a holocomm from Dr. Fenning ending what seems like a tumultuous relationship. A locked chest holds a fragmentary round mod.
Also downstairs is this unlocked room, with the holocomm visible here, plus a VersaLife datacube claiming success on making meaner greasels, 50 credits, 2 ammo clips, and a multitool on the closet floor.
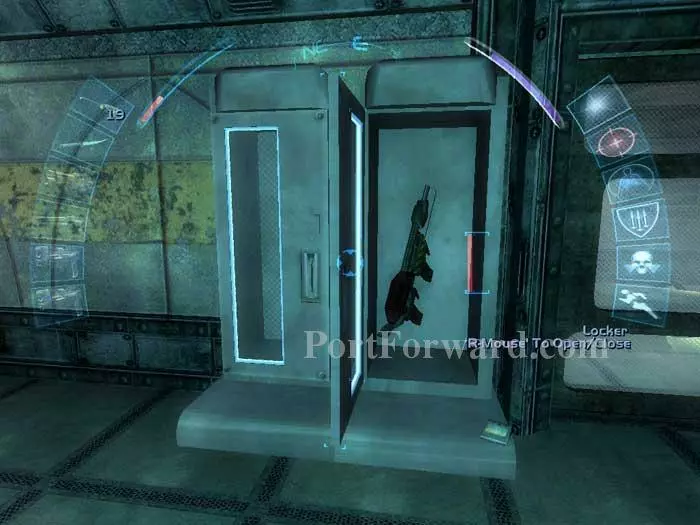
In the hallway are these lockers. The unlocked locker on the right holds a flamethrower. The locked locker on the left holds two ammo clips. The datacube holds interior and exterior maps of the base.
Head back outside and climb the barrel/boxes/pipe on the right to reach the vent on the left. You'll spot an energy cell just outside the vent and a multitool just inside.

You'll emerge in a room with a medkit, an ammo clip and two phosphorous flares. Open the door and take down two greasels with your method of choice. Beyond is an SMG, an ammo clip, and a concussion grenade.
Follow the helipad signs back outside to the west end of wing B. Descend these stairs and pass through a vent underneath. You'll find an ammo clip, a stun prod, and a security computer that controls this flame turret.
Backtrack across the helipad and into the building. Downstairs in this room you'll find a repairbot, two lockers with a medkit, two concussion grenades and an energy cell, a holocomm unit and datacube with some background, a riot prod, phosphorous flares, and a multitool. These two glass doors (inset) slide open. Behind the door on the right is some beer; the other is an alternate entrance through another air vent. Follow the Power Generator sign downstairs to the VersaLife base interior.
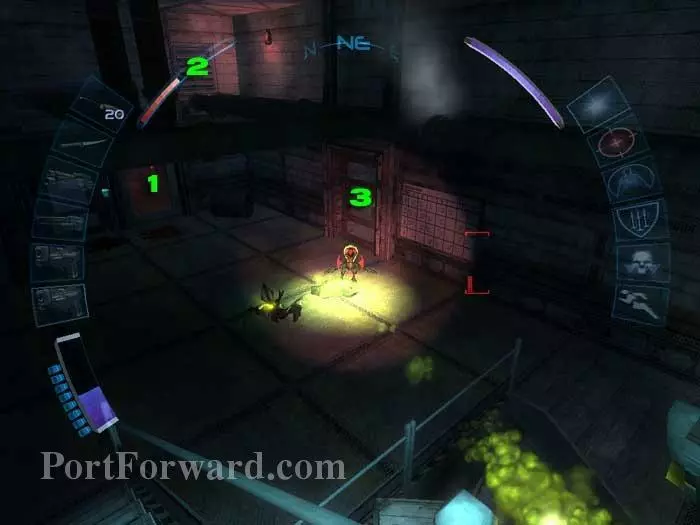
Head downstairs and Tracer Tong tells you that the generator is in the northeast corner of the complex. Get your Red Greasel Hunter ready, it's going to get a lot of use. Defeat these two greasels, then either destabilize the glass at (1), pick the keypad just left, or follow the pipes to the vent at (2). Behind the locked door at (3) is a datacube which hints at a black market biomod canister, a holocomm with some background, two ammo clips, a multitool, binoculars and an energy cell.
My preference is the vents. Two karkians and a greasel are roaming the area (inset). Continue to the next room via these vents, or the adjoining corridor below.
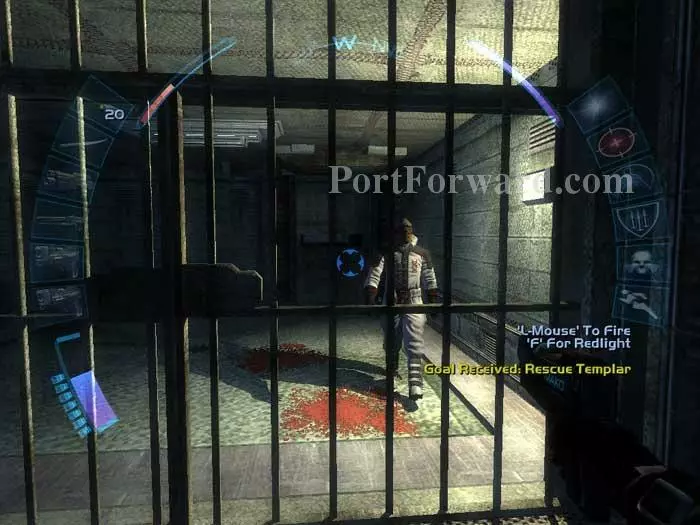
Follow this Templar's cries for help and receive the goal of rescuing him. Multitools on the keypad to the left will free him, but he'll turn on you and open fire.
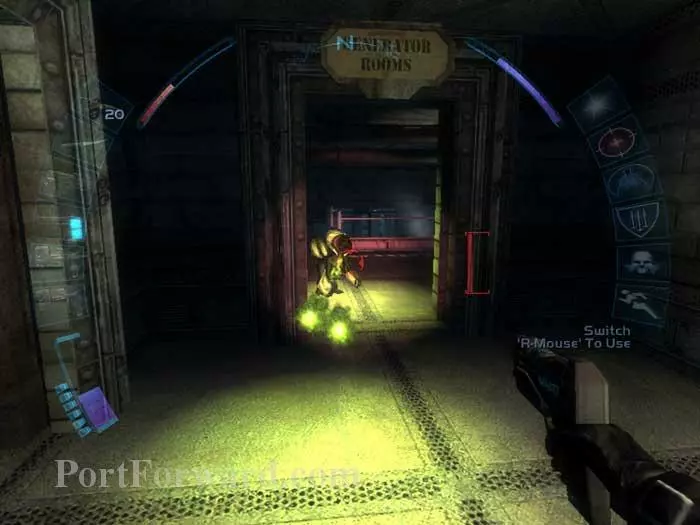
The generator is a short distance to the northeast of the cell, guarded by two very nasty greasels. A multitool is on the floor to the right of this door.
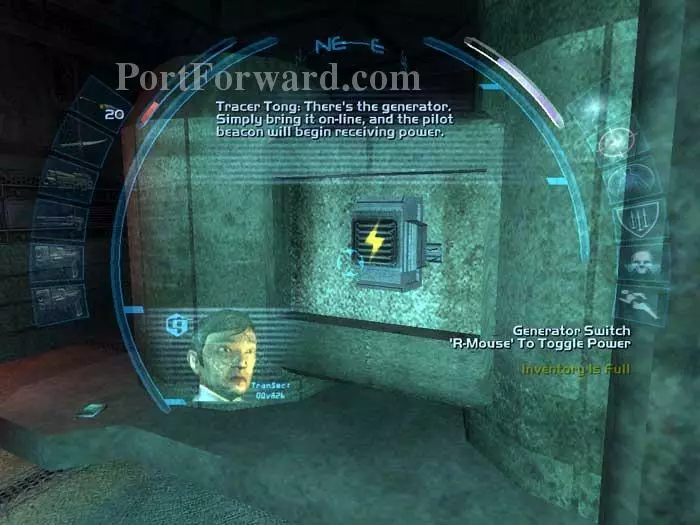
Activate this switch in the middle of the generator to turn on the juice. The datacube holds a VersaLife journal. Elsewhere in this room are two energy cells, a medkit, and a locked trunk with a refire rate weapon mod and two concussion grenades.

To the northwest of the cell is this ladder, leading to a locked trunk holding two ammo clips, a spiderbomb and a glass destabilizer. The door ahead and to the left has a medbot, an energy cell, two ammo clips, a locked trunk with two medkits, and a holocomm with some background - plus an exceptionally nasty greasel.
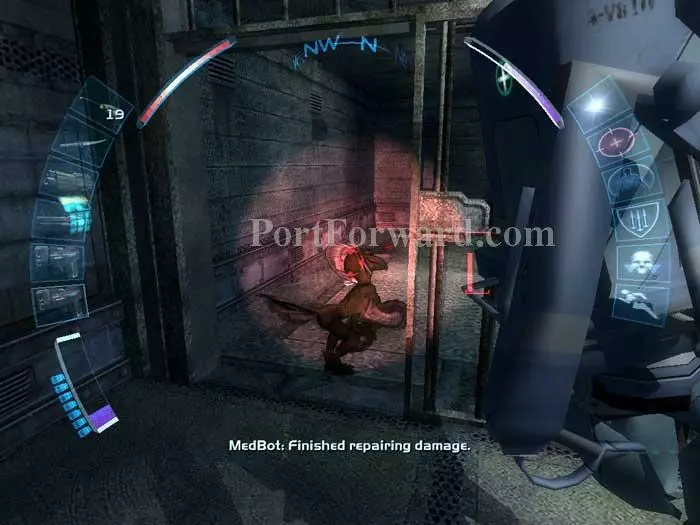
I recommend cloaking, cozying up next to the medbot and taking careful aim.
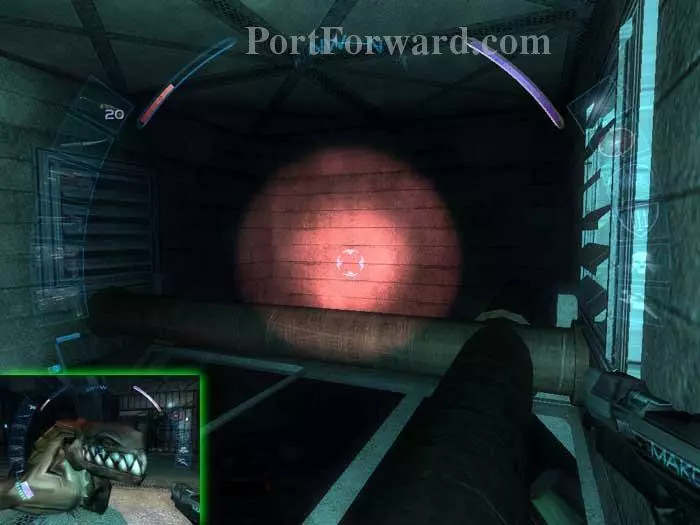
Follow the corridors further west then south to battle three Templars, one of whom is seen here flaming a security camera and turret. A locked room to his left holds a medkit, a scrambler prox mine, a concussion prox mine and two multitools. Drop through that hole in the floor, careful to avoid the greasel goo.
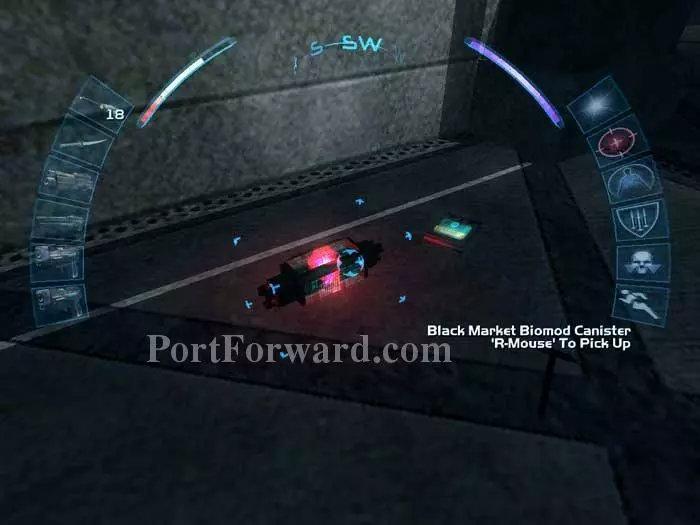
Follow the subfloor to this black market biomod canister. The datacube reveals that the canister was stolen.
Continue through this vent (inset) rather than climb the goo-covered stairs. The vent will bring you back here, where you began. Climb the stairs and return to the VersaLife base exterior.
Climb these stairs and activate the pilot beacon. A datacube with some background and a multitool are next to the beacon. Inside the structure is a sniper rifle, a locked trunk with two ammo clips, an energy cell, binoculars, and a security computer which controls the rocket turret.

Back at the helipad you'll find Ava Johnson. Board the chopper and return to Cairo.
More Deus Ex: Invisible War Walkthroughs
This Deus Ex: Invisible War walkthrough is divided into 11 total pages.