This Devil May Cry 4 walkthrough is divided into 20 total pages.
You can jump to nearby pages of the game using the links above.
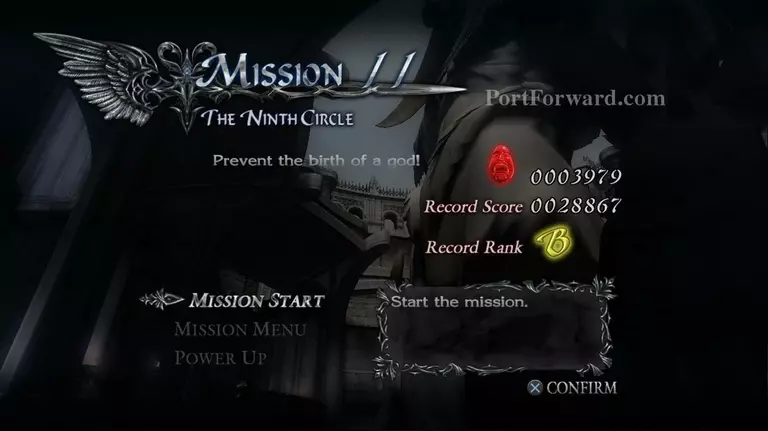
Mission 11 The Ninth Circle
Prevent the birth of a god
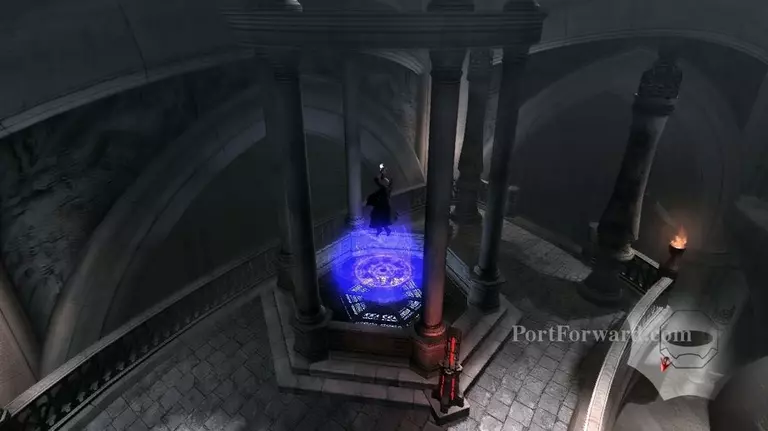
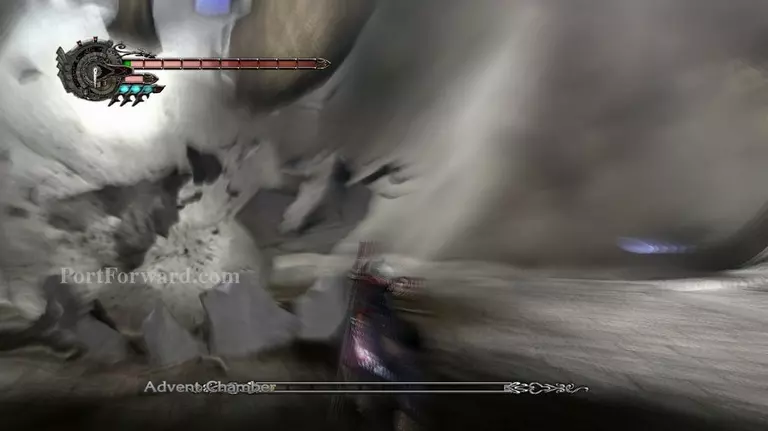
You will start out in the Advent Chamber, head up the stairs to the right to find the Combat Adj. (requires SSS)
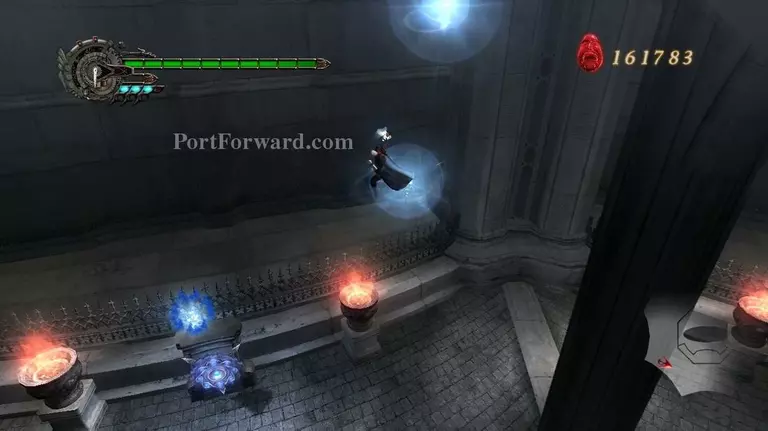
Then go beat up the blue switch to activate it and grim grip to the upper floor
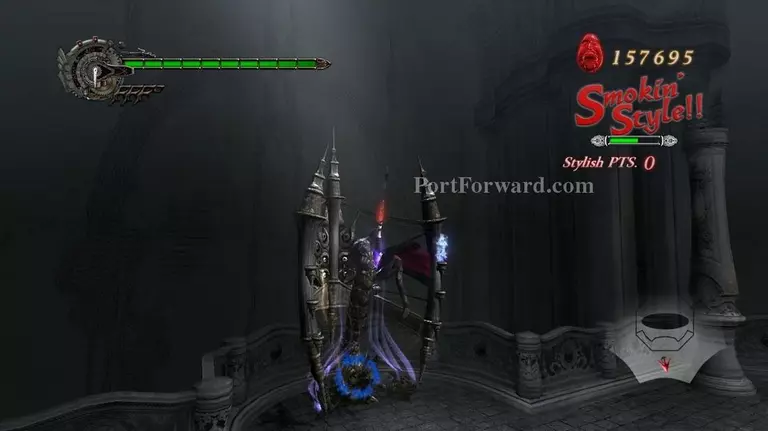
Up here the room will seal and you be forced to kill some Mephistos and a Faust
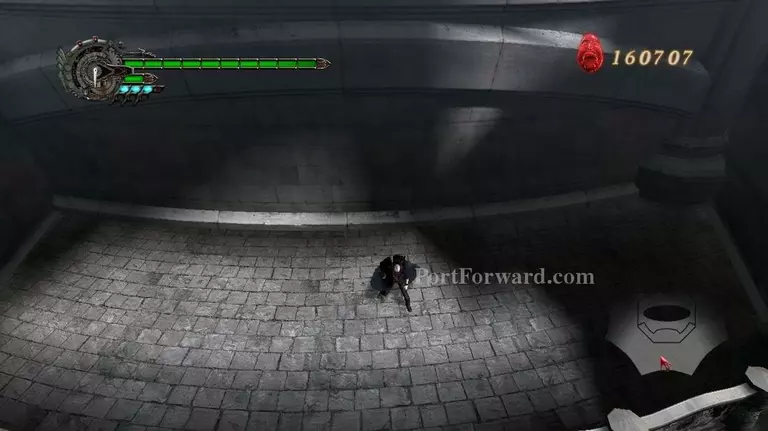
Use the elevator and head up
Now youll be on the 3rd floor head over to the tablet on the wall and read it

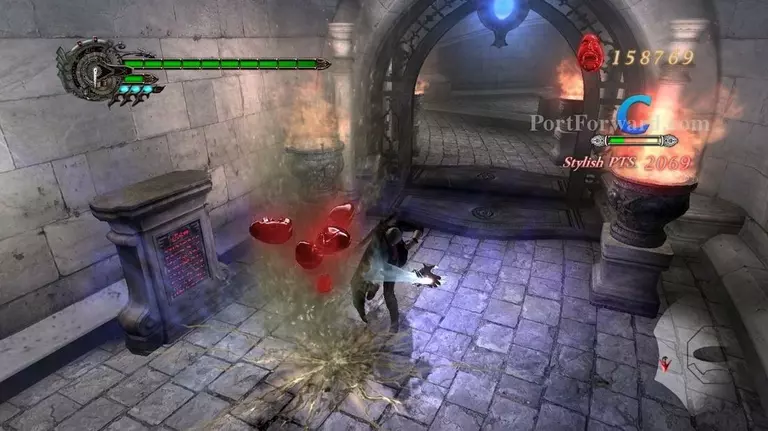
Step on the switch and buster a scarecrow so you can open the door
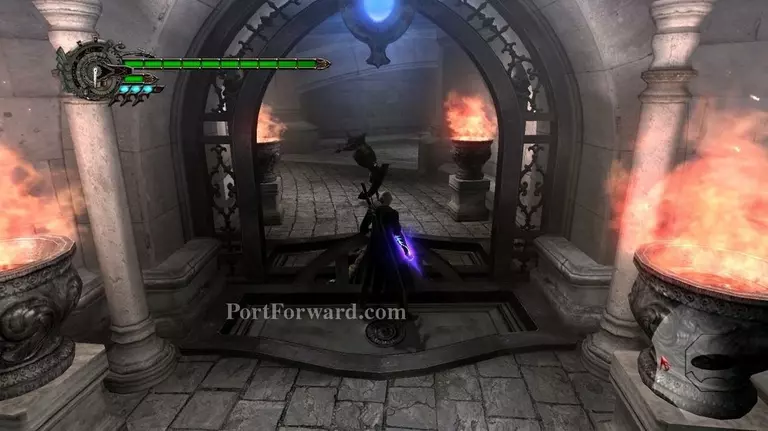
More scarecrow to kill
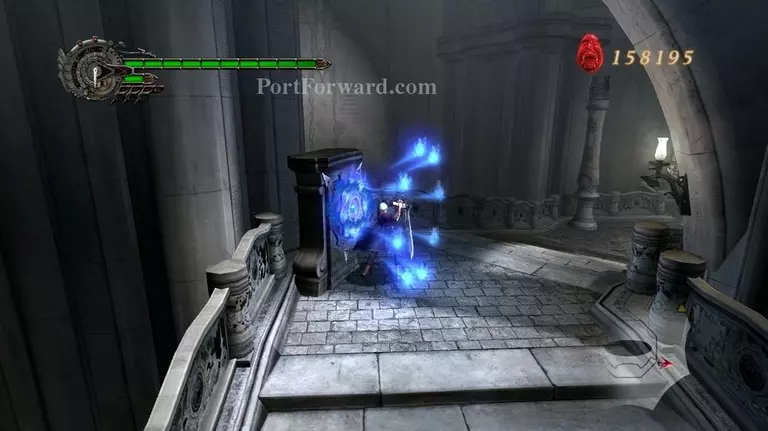
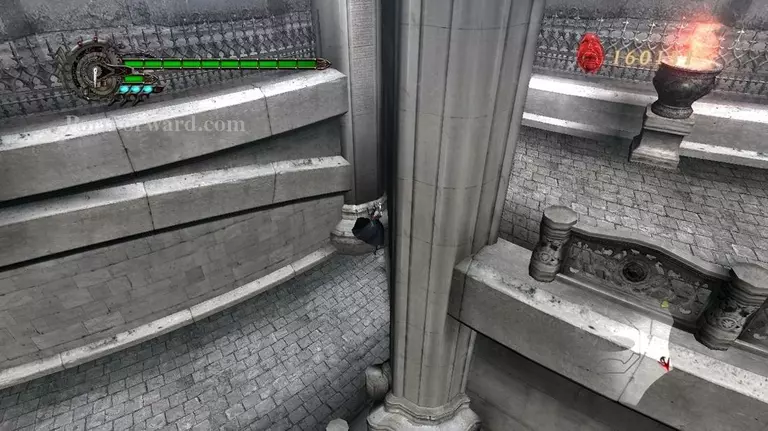
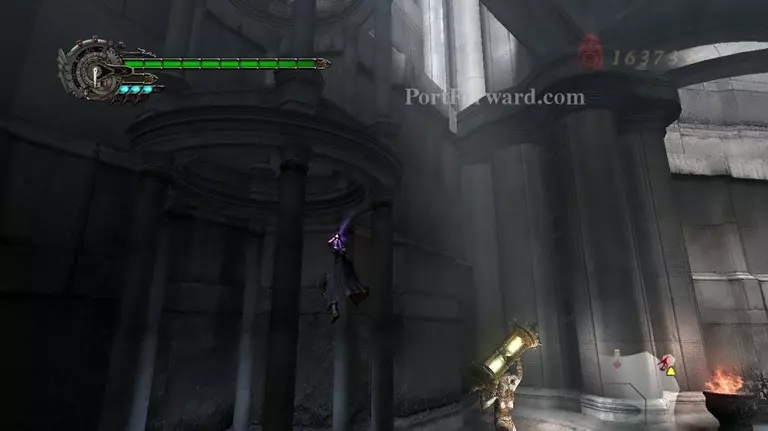
After they are down move forward, youll come to a hole with some grim grips
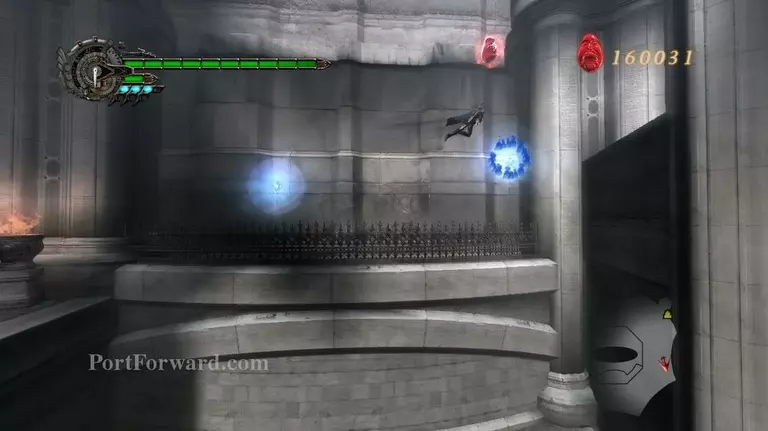
Jump down into the hole and grab the orb then head back up top, use the grim grips to cross the hole
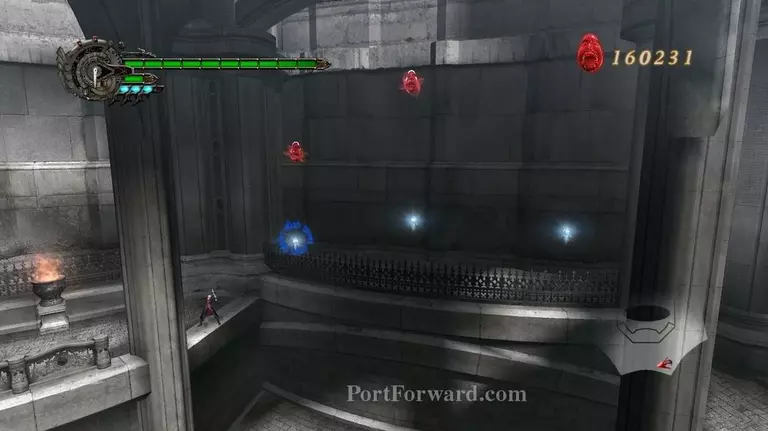
Make sure you get the orbs above the grips as well, you will have to wall jump after the last grip to clear the wall, this can be quite a pain to time but youll get it eventually picture- 2775 Jump down the other side you will see another grim grip hole, same thing need to be done here, in the hole is a Devil Star (s) nab it
Get all the orbs and again wall jump at the end
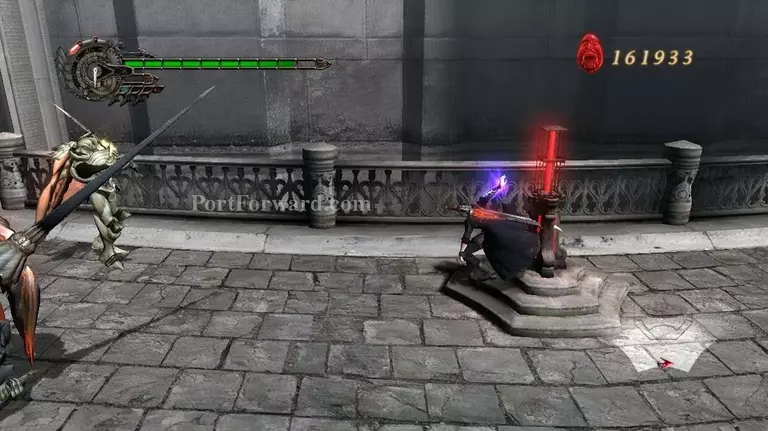
On the other side and Alto will attack kill him and use the blue switch
Grim grips will spawn use them quickly to get up top as they disappear on you quite fast
Use the switch to activate the elevator you passed earlier
Jump back over to the elevator you just activated
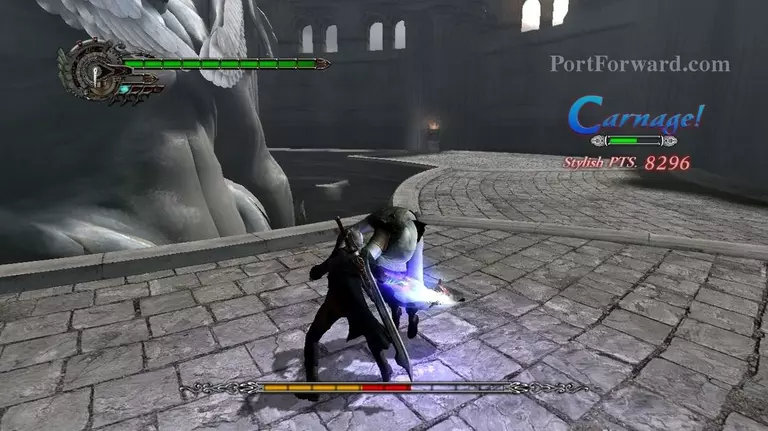
Once there scarecrow and some Angelos will attack kill them if you need style or orbs as they never stop coming
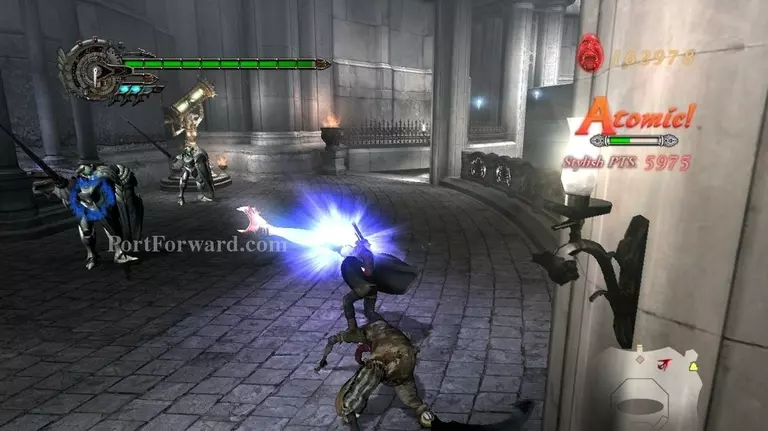
After you have your fill of murder get on the elevator
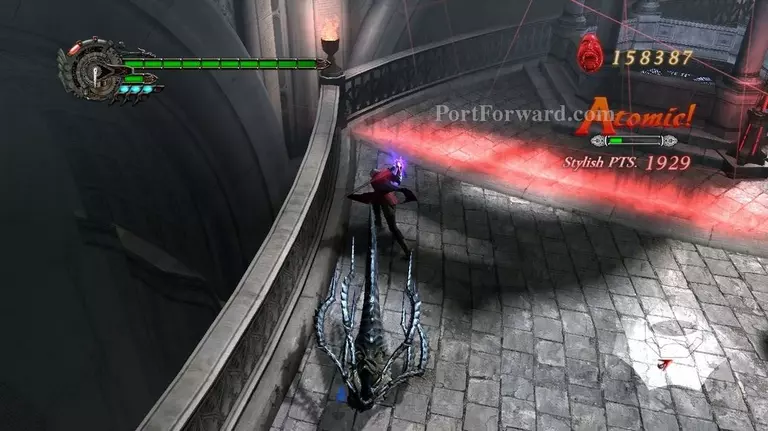
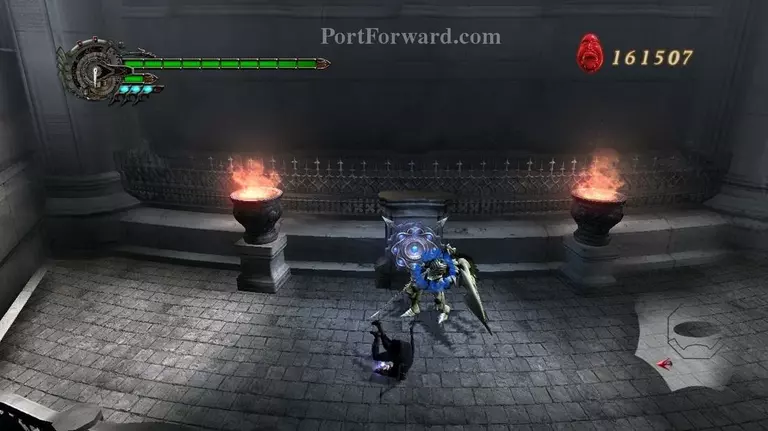
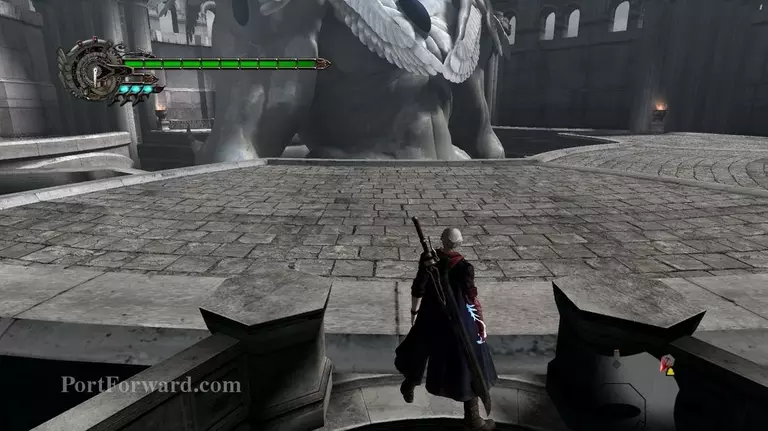
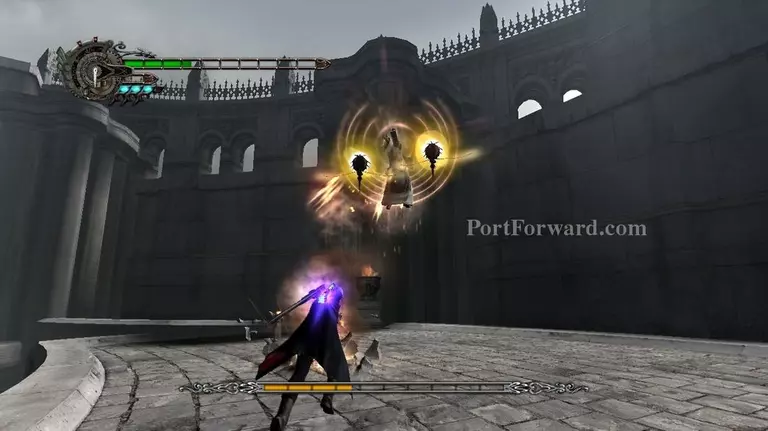
At the top walk forward for a scene and. A Boss Battle Sanctus
After the scene the fight is on! Your objective in this fight will be to keep grabbing Sanctus to get close to him, once near him attack with the red queen to break his shield
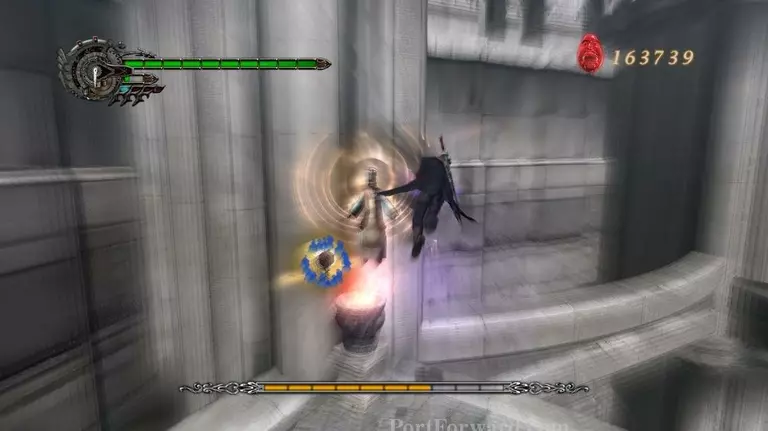
It will take a few hits to break, once it break he will fall to the ground and be open to a buster
Doing this will take quite a bit of damage from his bar remember to keep tapping O button during the action
After you do this he will regain his shield and you will have to repeat the process
Eventually hell use a lighting move try to stay up in the air with him while he does this
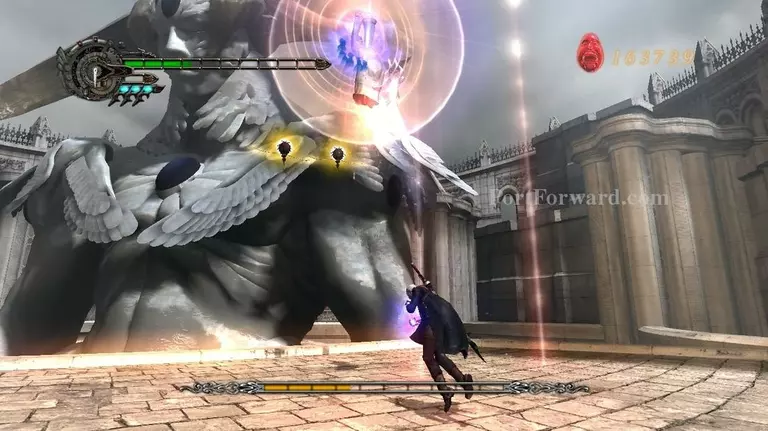
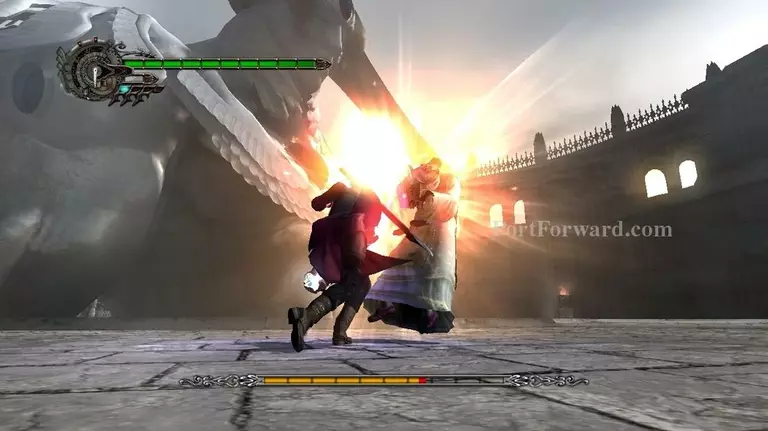
After he has only about 2 bars left a scene will kick off
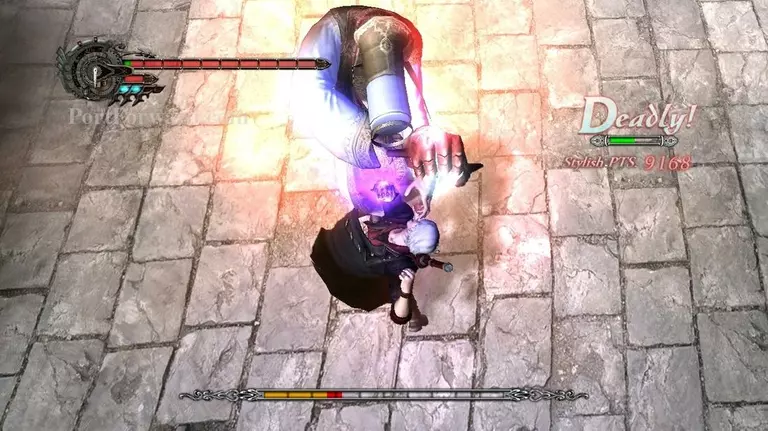
After it is over try and buster the saviors hand timing is key, eventually Sanctus will re-appear
Same thing here break his force field and buster him when he falls(he is a little more cautious this time around he will be hard pressed to get caught youll need to corner him somehow)

After he finally falls a scene will play which again will end Mission 11.
More Devil May Cry 4 Walkthroughs
This Devil May Cry 4 walkthrough is divided into 20 total pages.