This Gone Home walkthrough is divided into 3 total pages.
You can jump to nearby pages of the game using the links above.
Part 3: Exploring the House
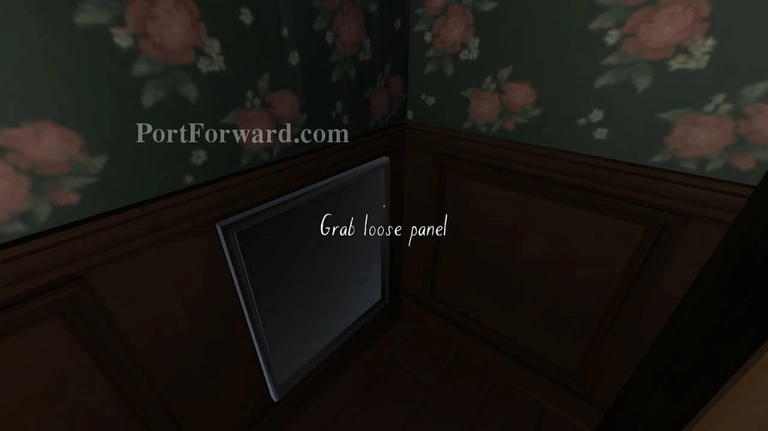
Turn right and open the panel on the left side of the wall. You'll exit into the library. Now go back to the bookshelf that has the folder where the filing cabinet code was written on. The panel right beside the bookshelf can be taken down.
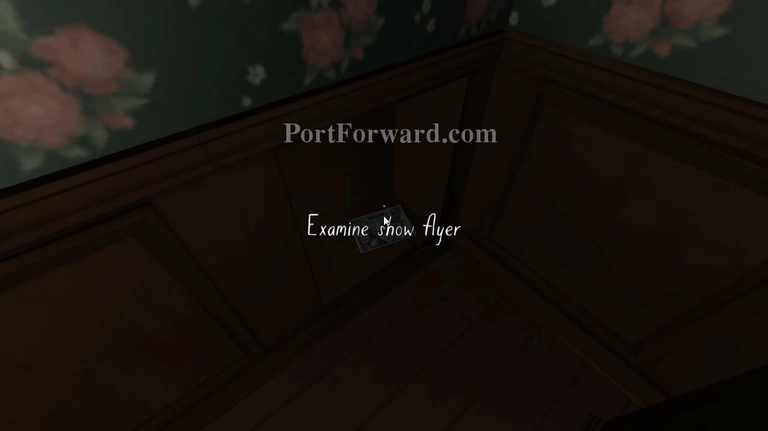
Take the panel down and examine the flyer that's hidden inside. You'll receive another journal entry afterwards.
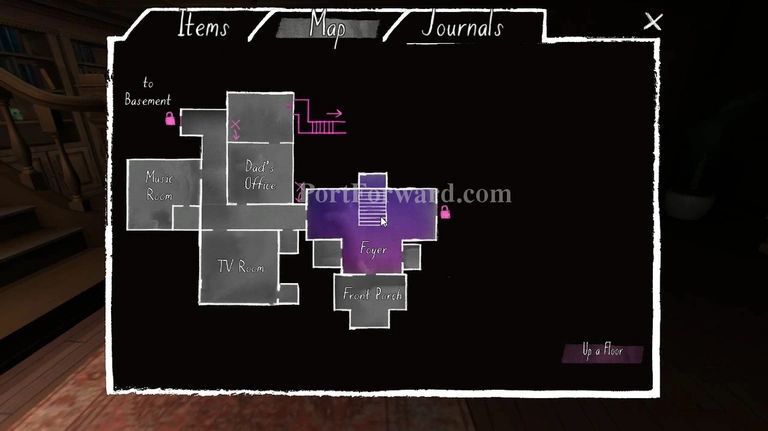
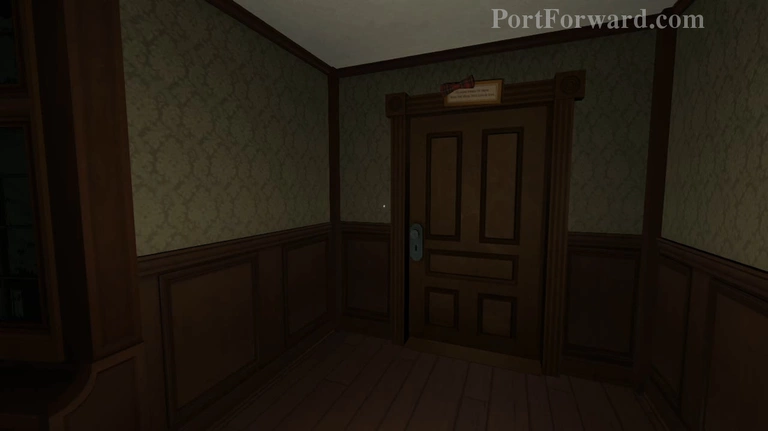
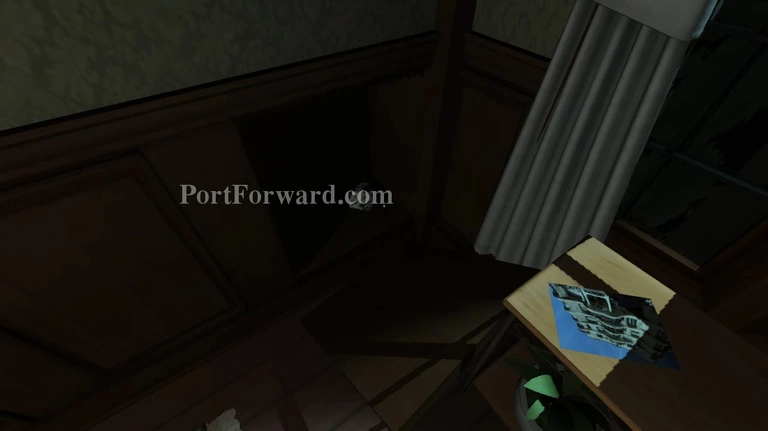
Leave your dad's office and turn left towards the foyer. Stop walking just before you exit into the foyer and look to the left wall. The last panel is loose.
Take down the panel and you'll find half of Sam's locker code as well as Sam's novel manuscript.
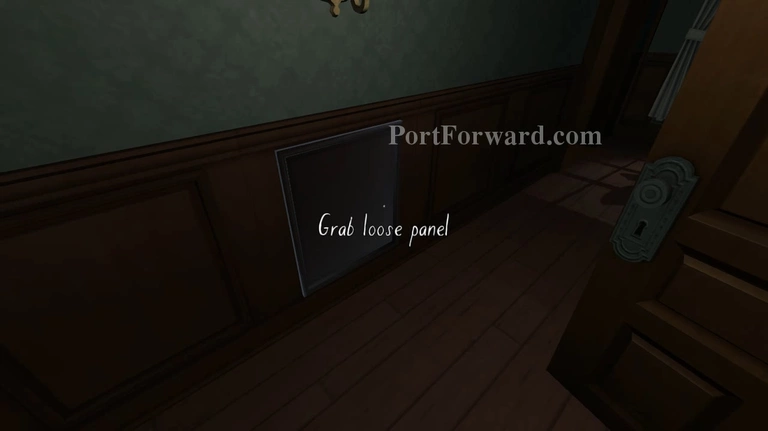
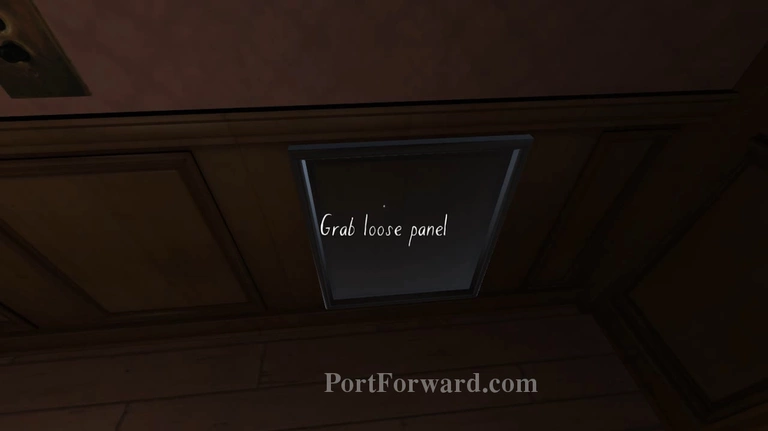
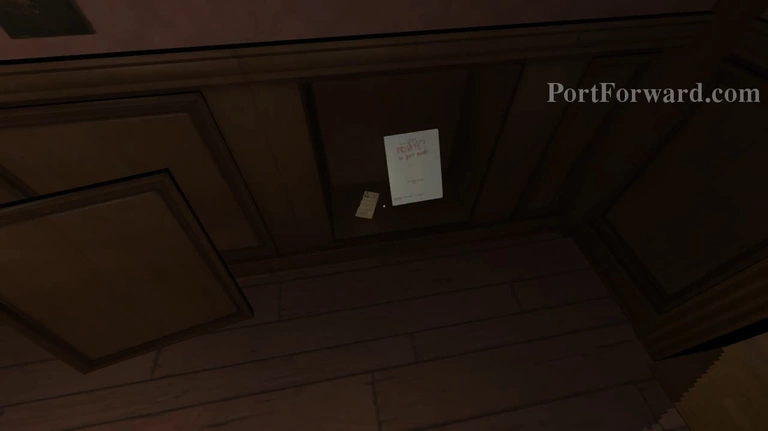
Now go back upstairs and head for the corridor that leads to the toilet (where you found the hair dye) and examine the panel in front of Sam's bedroom door.
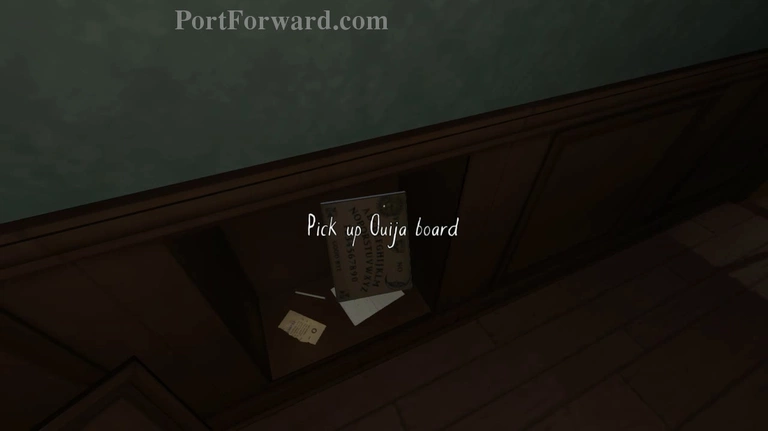
Inside the panel space you'll find a ouija board, the other half of Sam's locker code and another piece of paper.
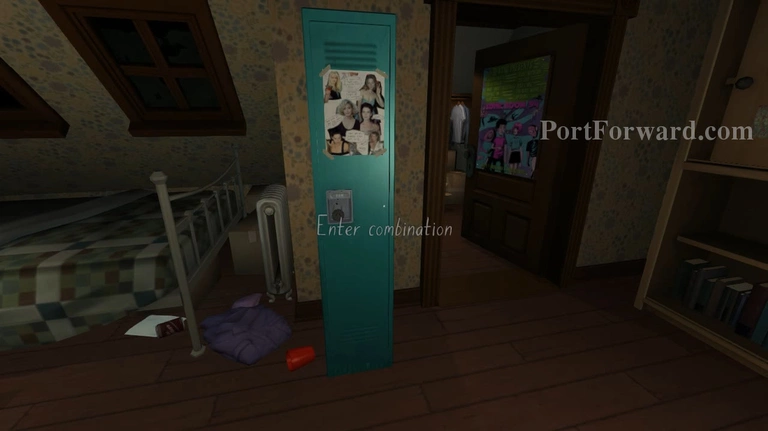
go inside Sam's room and open your inventory. Check the numbers for her locker code and punch it into the locker to get it open.
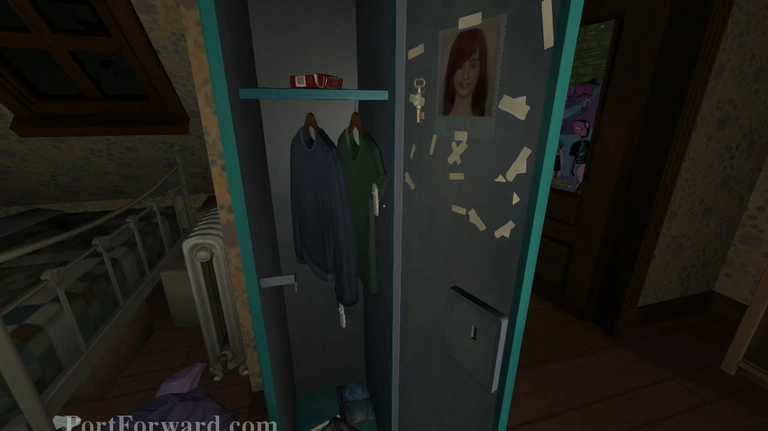
Inside the locker you'll find a picture of a red headed girl. Examine it and you'll receive another journal entry. Then take the basement key that's taped beside it.
Now head down to the first floor and open your map. Go to the western corridor and walk all the way to the end of it past the music room.
Make your way to the last door and open it. It should open now that you have the basement key. Enter the room and descend down to the basement.
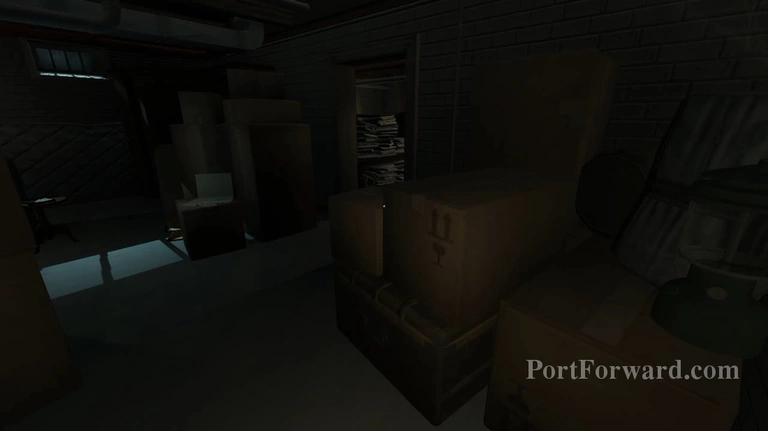
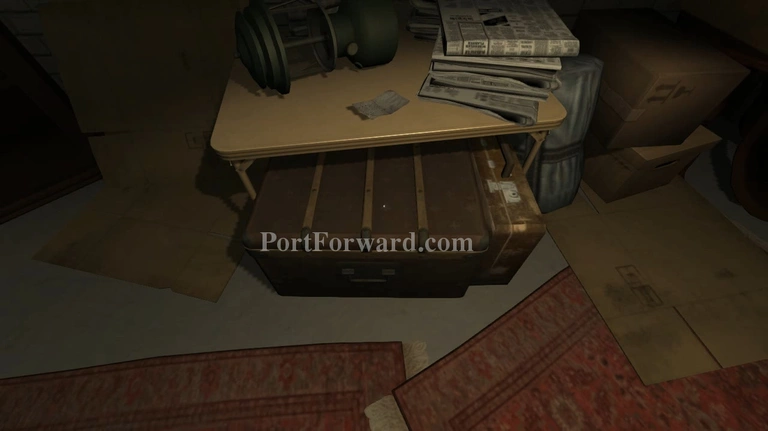
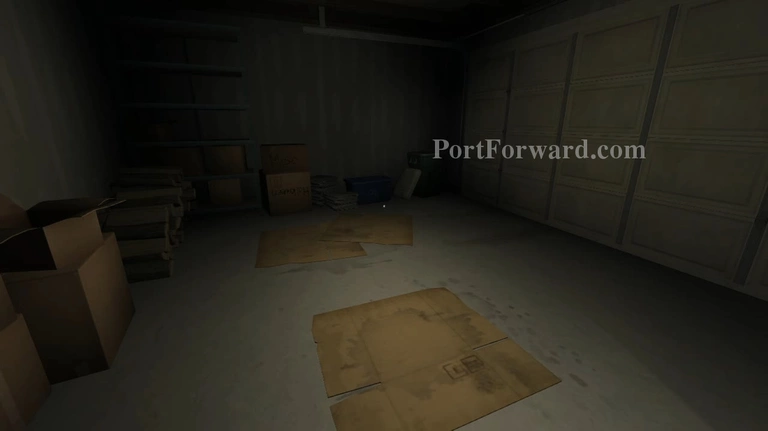
Pull the string to turn on the basement light and turn around then approch the circular side table. Lift the 3 ring binder and you'll find some notes underneath it.
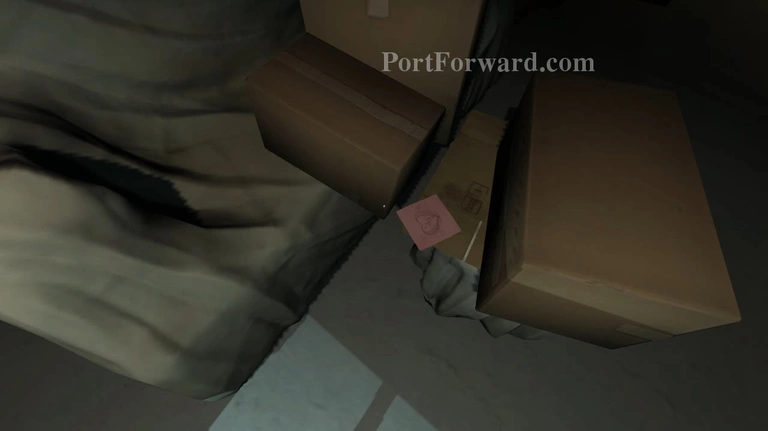
Go back near the light string and you'll see a pink paper sitting on top of the on of the boxes that are stacked up. Examine it and you'll receive another journal entry.
Proceed further inside the basement and turn left when you see some light streaming from the door. Turn left again when you see the heater and turn on the fallen lamp in the middle of the room. Diagonal to the light you'll find a piece of paper. Examine it and you'll receive another journal entry.
In front of the table there's a suitcase. Open it and you'll find a small article clipping.
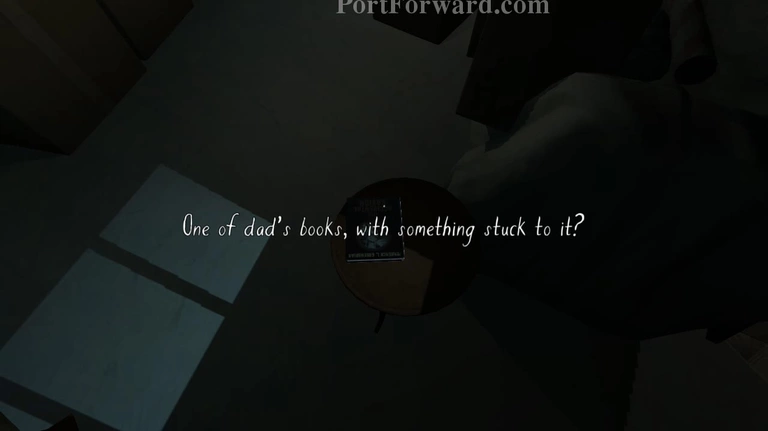
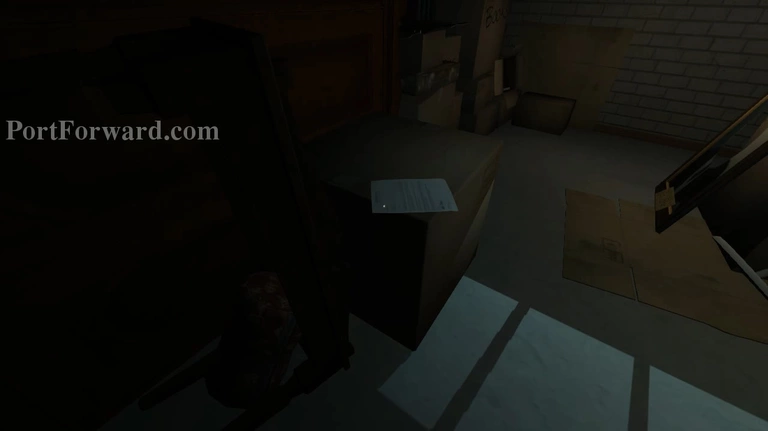
Further down the path there's a book sitting on top of a round side table. Examine it then put it back down and it will reveal a note attached to its back.
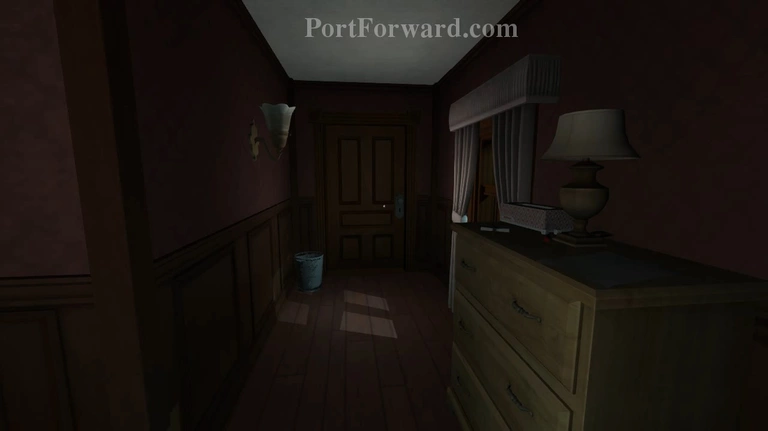
Head for the door that's slightly ajar at the end of the hallway and you'll find yourself inside a room. Take the cassette tape from the floor on the right side and place it in the cassette player.
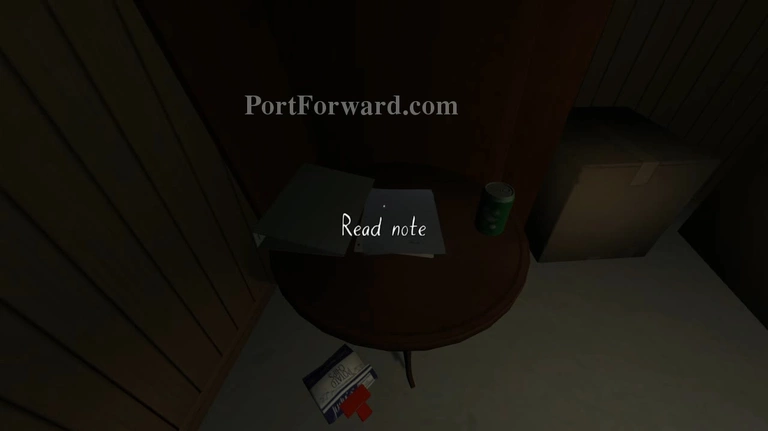
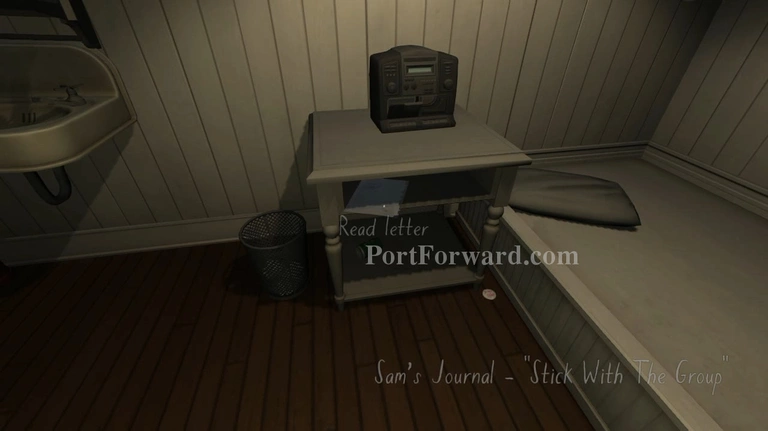
Also examine the letter inside the nightstand and the note that's tapped near the back room entrance.
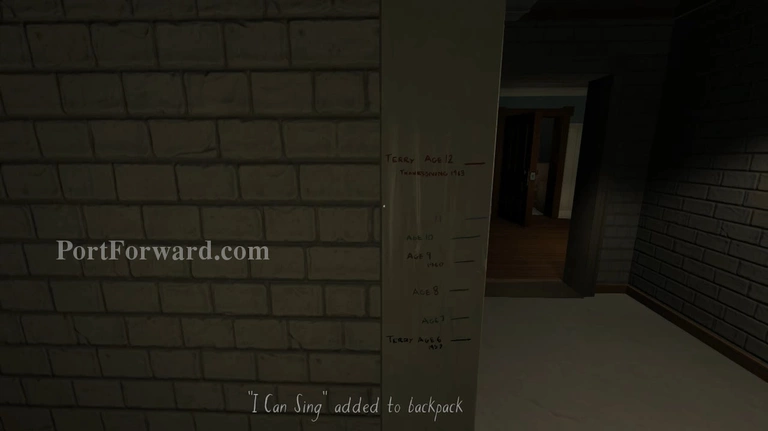
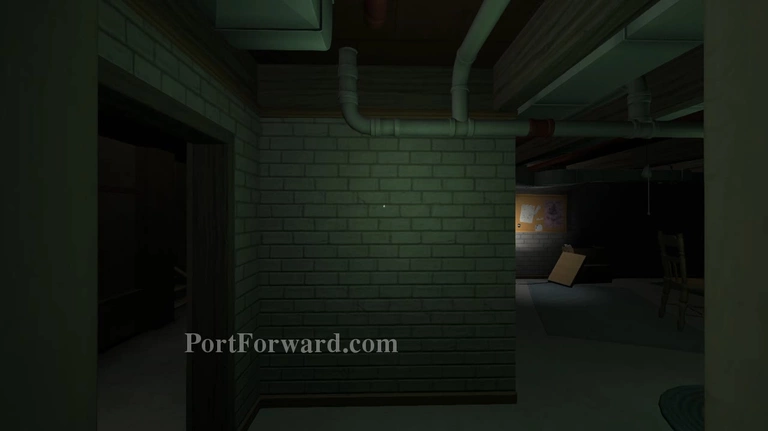
Head towards the back room and open the light. Examine the height chart at the wooden panel at the side and punch in the latest date onto the safe that's behind you.
Now leave the room and enter the door that's diagonal from the one you just came out of.
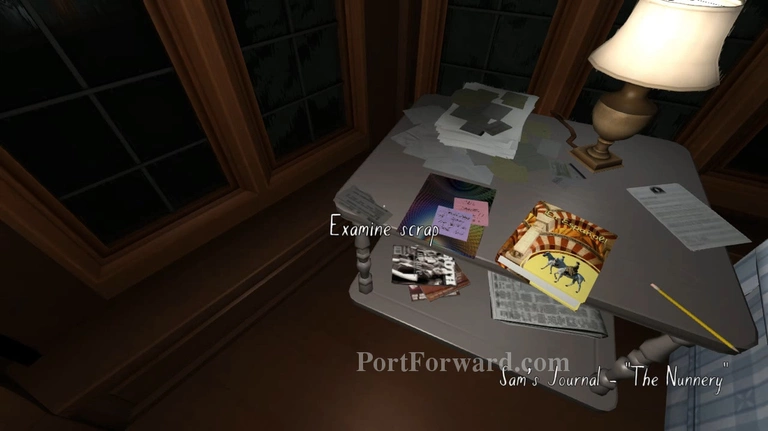
You'll find a scrap of paper on top of the table. Examine it to receive another note. Then look to the left and you'll see a bookshelf that's slanted.
Head inside the path that's behind the bookshelf and keep going until you get to the next area. Here you can either turn left or right. We don't really need to go left since this will take us to the second floor.
You can go up the second floor first and open the door via the left way first, then come back down the basement and continue exploring if you want to.
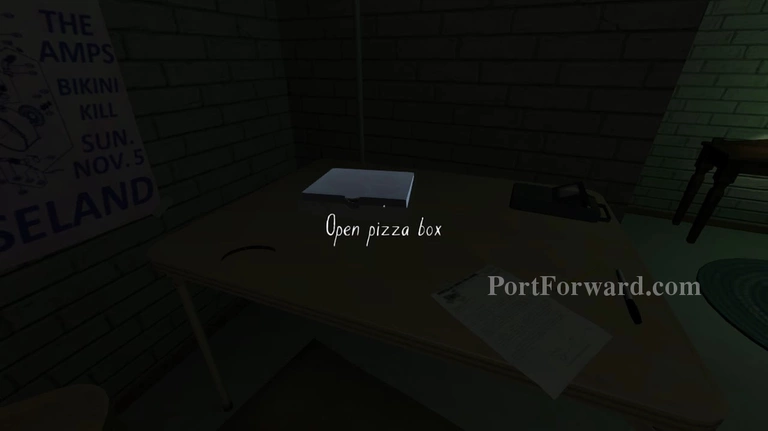
Go into the room and approach the table with a pizza box on top of it. Examine the letter on top of the table to receive another journal entry.
Open the panel at the end of the room (to the right side of the board on the wall). Then turn on the light switch to the right side of the panel. The door near it leads to the foyer. You can unlock it now or leave it for later.
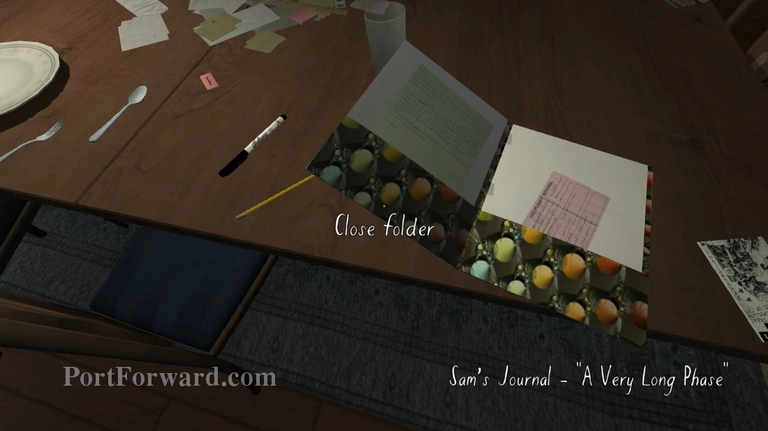
On the table beside the sofa you'll find another folder. Close it and examine the torn piece of paper that was hidden beneath it. You'll receive another journal entry.
Then open the folder again and read the letter inside it.
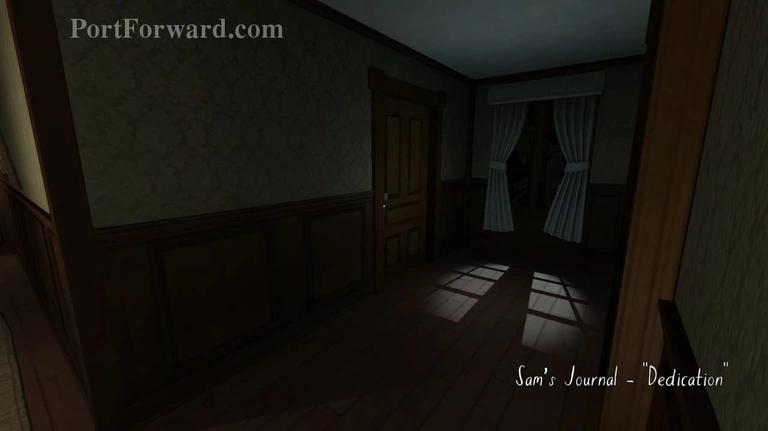
Head into the last door at the end of the corridor before you go into the corner.
Turn on the lights in the dining room and approch the colorful folder that's on top of the dining table. There's a note inside. Read the white one then examine the pink one and you'll receive another journal entry.

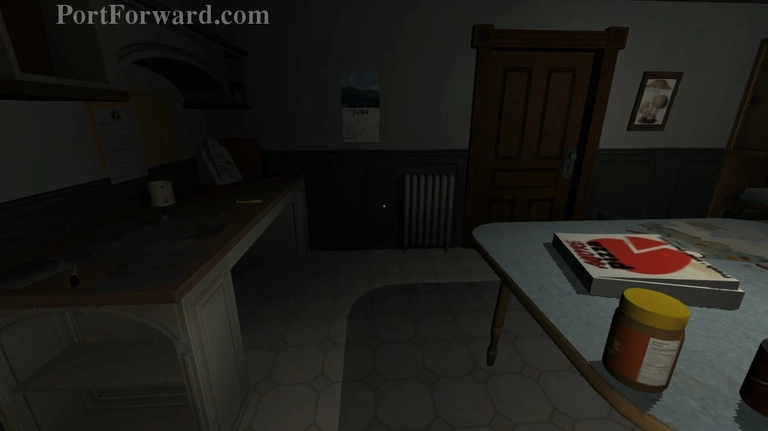
Leave the dining room through the other door in the dining room. Turn left and switch the lights open and get inside the kitchen. There's a note on top of the table. Examine the note and you'll receive another journal entry.
Enter the other door inside the kitchen. It leads to the garage. There's a note on top of the table. Read it then pull the light string in the middle of the room.
Inside the garage there's a note on the left side wall near the bike. After reading that note head for the green trash bin at the other end of the garage and you'll find a crumpled paper inside it. Read that and leave the garage and get back outside the kitchen.
After exiting the kitchen turn left and keep going until you see a loose plate at the end of the corridor. Approach it and read the crumpled piece of paper that's inside it. You'll receive another journal entry after reading it.
Now turn around and go right into the corner and enter the last door on the left side near the window.
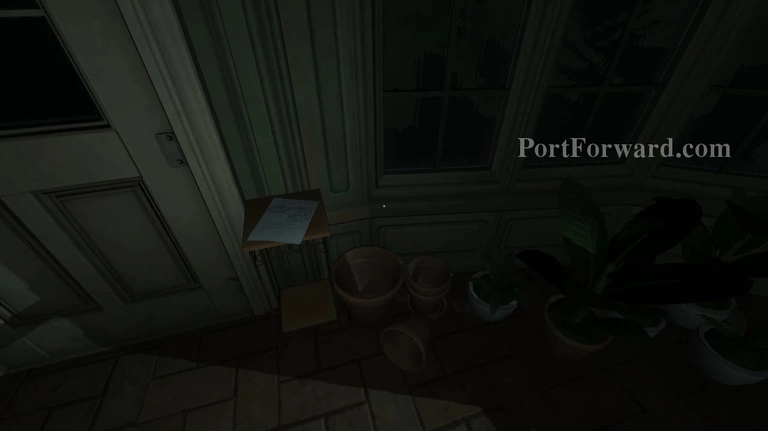
Turn on the lights and make your way to the next door and into the greenhouse. Go towards the white door at the other side of the area and you'll see a piece of paper sitting on top of the side table. Examine it and you'll receive a new hidden place in the house.
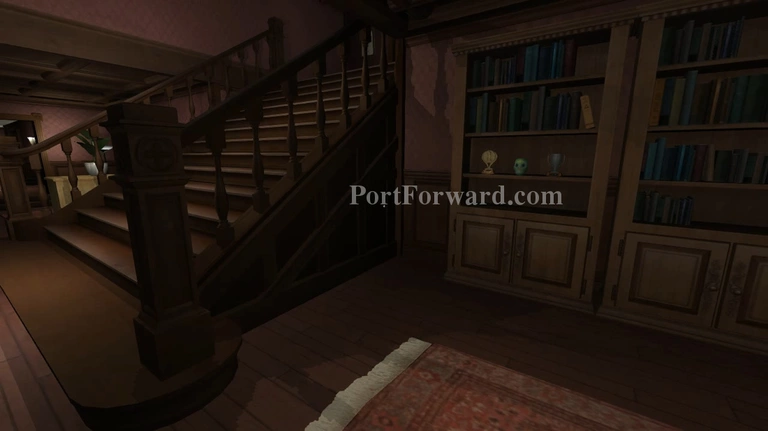
Leave the greenhouse and back track to the foyer. You can open the door that connects the east wing and the foyer now. The secret panel is between the cupboards and the stairs. Examine it and it will open.
Now enter the secret room and take the attic key. You'll receive antoher journal entry after taking the key. Now head back outside and up the second floor.
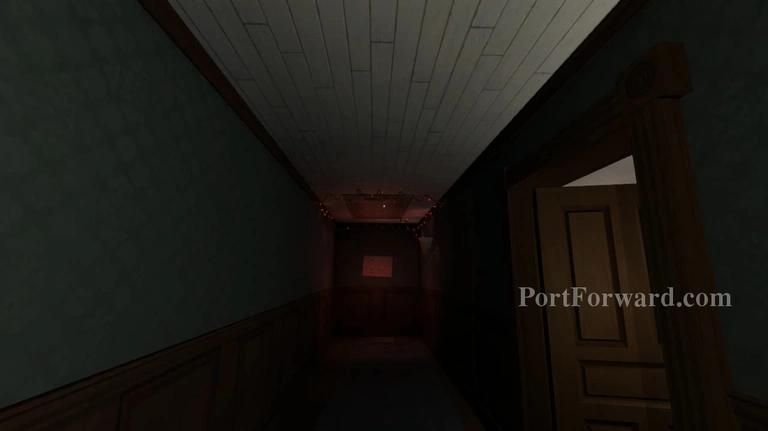
You can find the attic to the left of the guest room. You can't miss it there's red lights glowing around it. Approach it and use the attic key to open it.

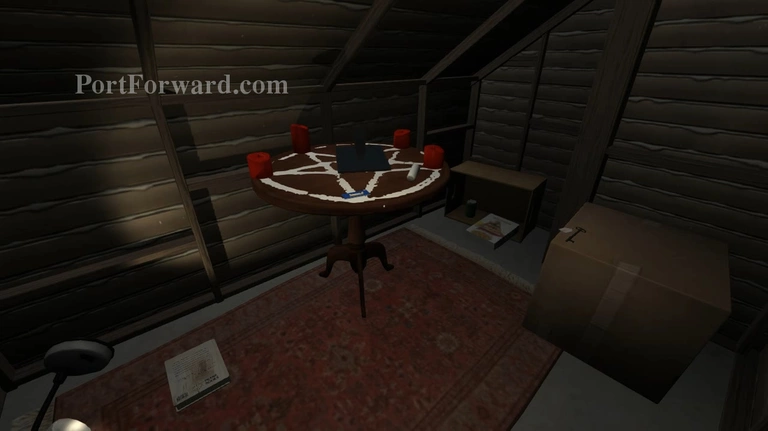
Climb up the attic stairs and turn left. You'll see a makeshift bed in that direction. Turn on the desk lamp and examine the piece of paper that's on top of the bed to receive another journal entry.
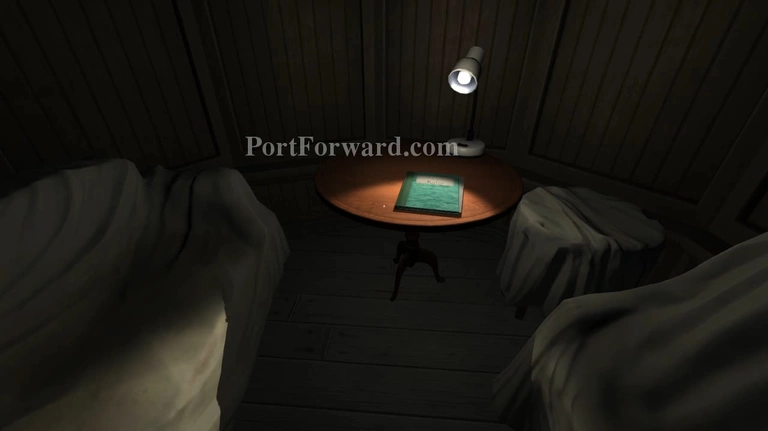
Turn left from the bed and continue following the path until you reach the back room of the attic. You'll find a notebook sitting on top of the side table.
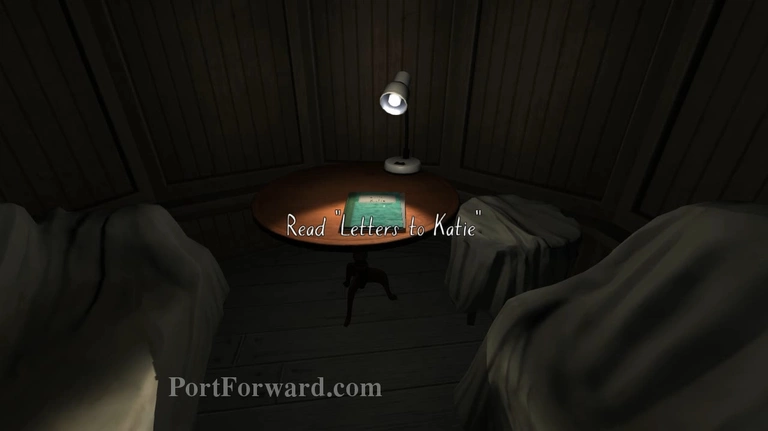
Examine the book and you'll start reading everything that Sam wrote to you and the game will end.
More Gone Home Walkthroughs
This Gone Home walkthrough is divided into 3 total pages.