
This Ninja Gaiden II walkthrough is divided into 24 total pages.
You can jump to nearby pages of the game using the links above.
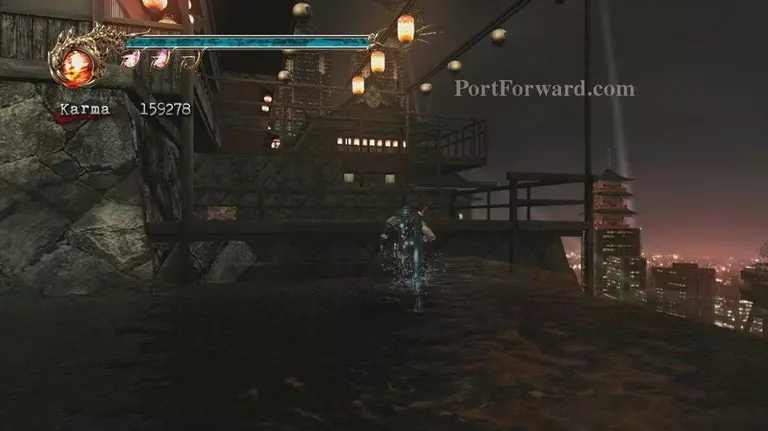
SKY CITY TOKYO - Part 1
After choosing your game difficulty, there will be an introductory movie sequence, afterwards you will begin your first battle.

It is important to utilize both blocking and evasion in this game, otherwise you will have trouble getting anywhere.
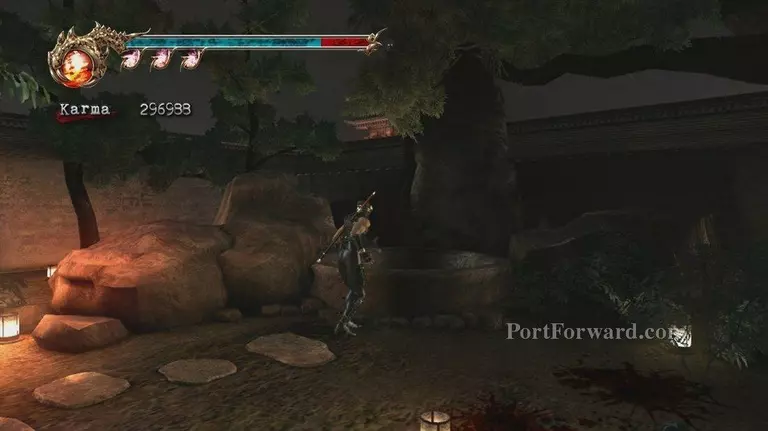
Go inside the building. After a short movie sequence, go back in the building and get the chest in there. Outside, face the building and go to path to the left of it, which will lead you to the first save point.
Save, then go down the path, get the chest next to the building entrance and go into the building.
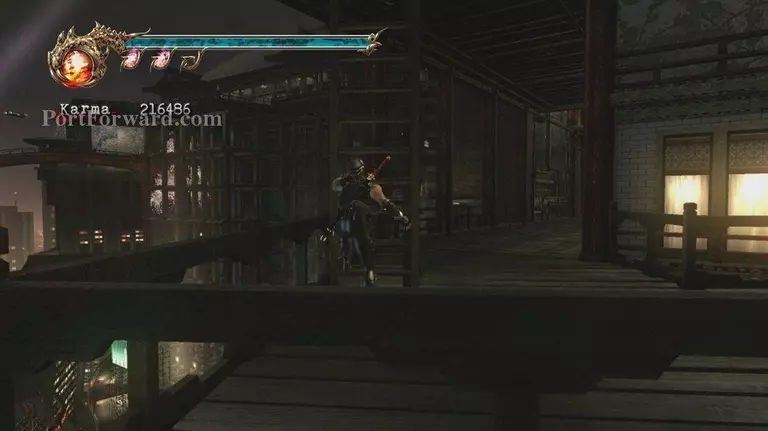
You will come to a point where there is a gap in the floor as well as a small group of black spider ninjas. You must run along the side of the wall to make it across.
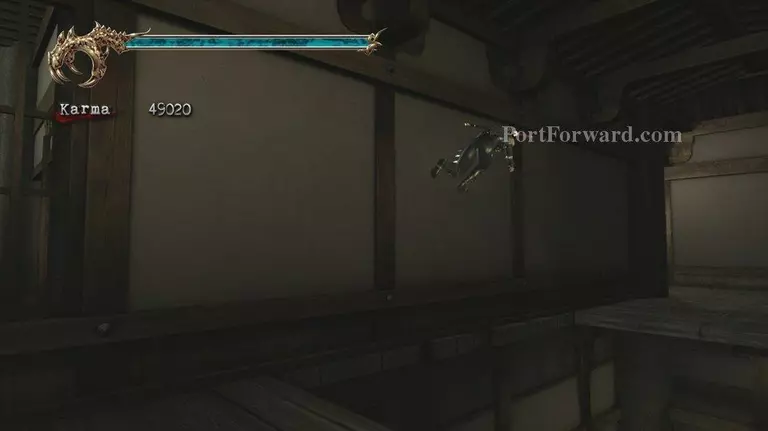
To run along the wall, you must run at an angle into the wall and press the A button. If you fall, there will be a chest down there explaining how to run along walls.
After crossing, get the 2 chests. One of them is The Art of the Inferno Ninpo.
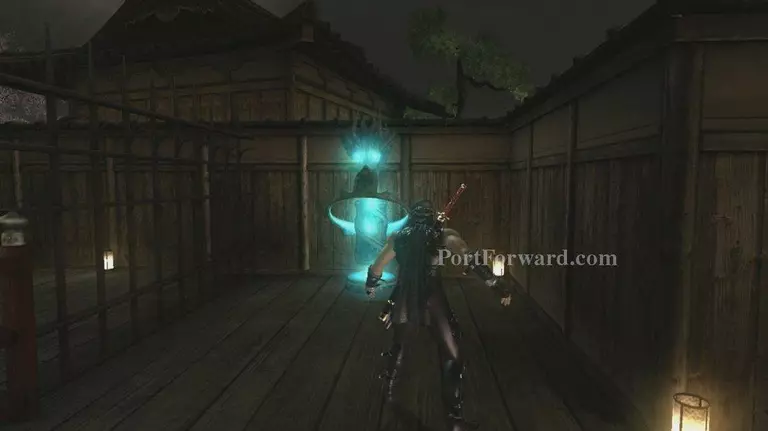
Ninpo will be very useful throughout the game. On the other side of the drop off next to the chest containing ninpo is a glowing object.
Run forward and jump across and get the skull then drop down below.
Go up the stairs and you will see a group of enemies and a chest. The chest contains Lives of the Thousand Gods which will both increase your max health, and heal you completely.
After going up the next set of stairs, open the chest at the end, then open the door on your right. There you will find another broken floor that requires running across the wall.
Climb the stairs on the other side. There will be yet another chasm, except this time you are supposed to run and jump onto the pole that is extended out halfway across.

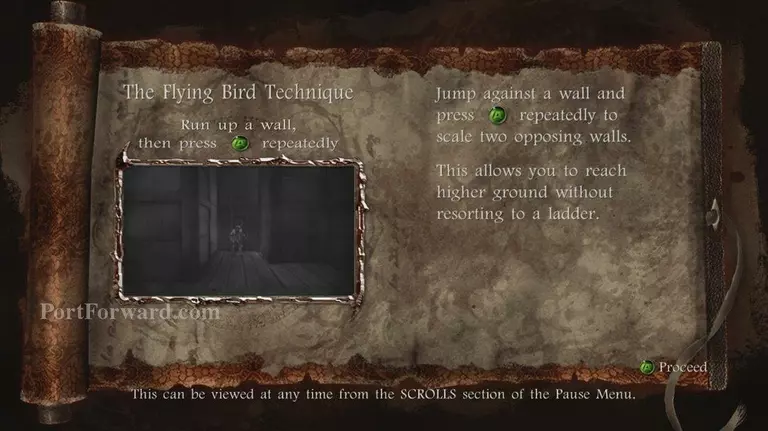
Take the item from the dead guy and move on. Grab the item from the next dead guy next to the save point, and then heal and save. To climb the wall you must do the Flying Bird Technique, as it is shown on the scroll the dead guy next to the save point had.
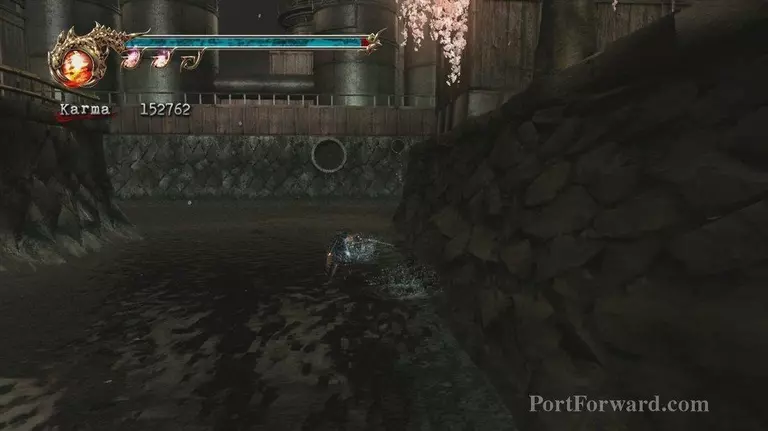
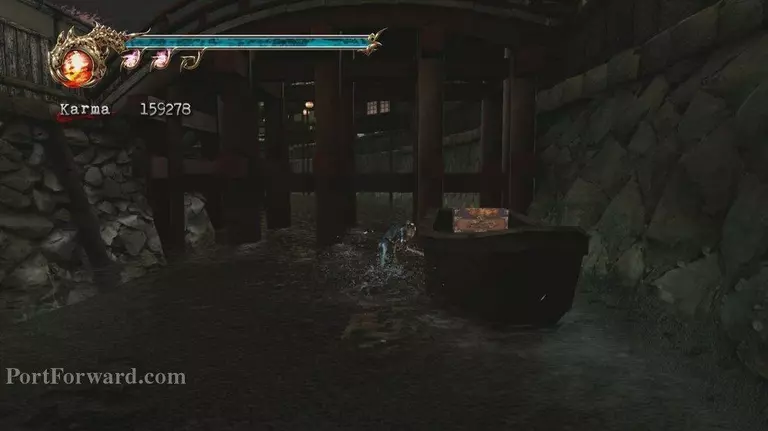
Once you get to the top, face the bridge. Instead of crossing it, hop down into the water and head for the big open area.
Head toward the drop off point and turn to your left and grab the chest on that platform.
Head back toward the bridge. Get the chest on the boat at the path in the water.
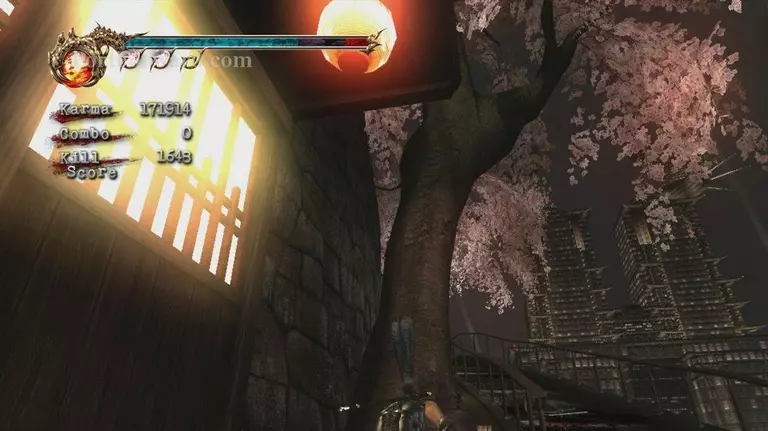
Run up the wall, and get back onto land. A short distance after crossing the bridge, you will run into a group of ninjas and some archers. Kill the ninjas around you then run up the tree next to your path to reach the archers as well as getting another skull.
Go across a couple of drop offs. When you're at the second drop off to cross, go ahead and drop down after finishing off any ninjas around you.
Open the chest at the end of the lower area, then head in the opposite direction. Get the chest and climb the ladder.
Go across the top again, this time don't drop down. Once you get to the end, save and then climb the ladder. Do directly to your right and get the chest. Then get the scroll from the dead guy.
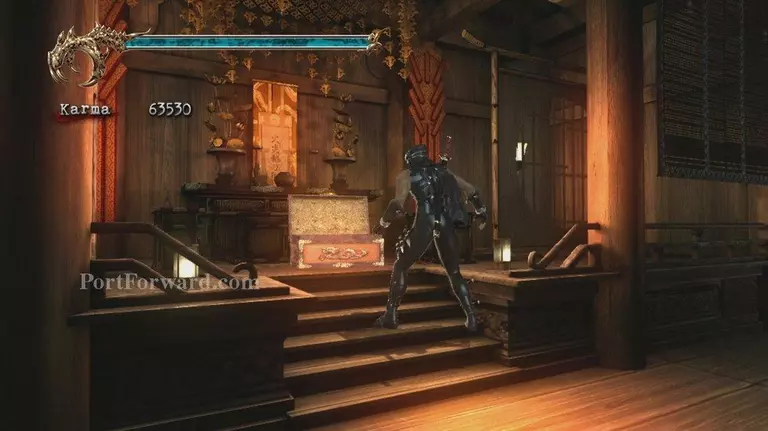
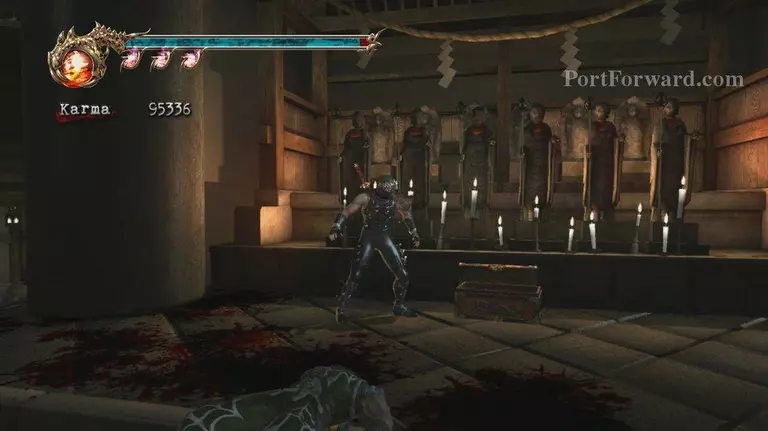
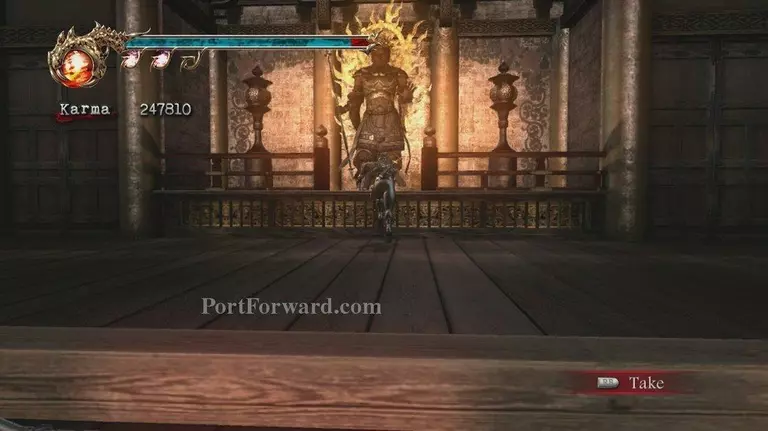
When you reach a big open area, kill all the black spider clan ninjas in the area then a large door will open up displaying a statue inside. Go up to the statue and take the lunar staff from it.
On the left of the statue is a chest, and on the right is a save point. After saving, Go down the pathway and go down the stairs. Take the scroll from the dead guy and cross the bridge. On the other side, take the scroll from the dead guy there. Once you reach the building, go inside and get the scroll from the dead guy in there.
In the beginning area of the building there is a somewhat hidden room, find the part on the wall that has a picture on it and break it down to go through.
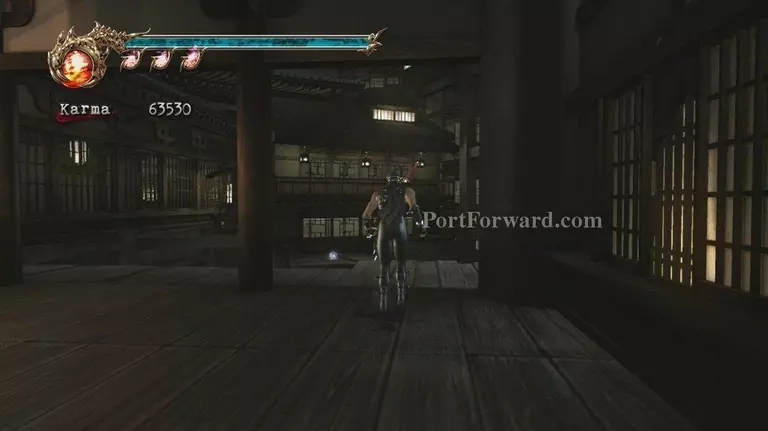
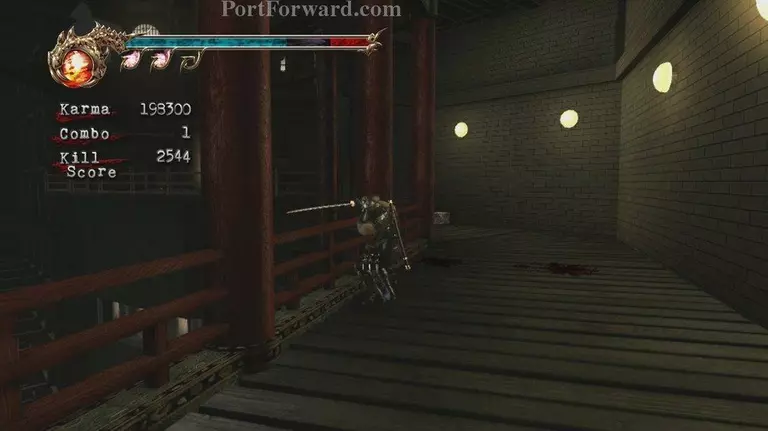
Go out the building through the entrance you didn't go through. Kill the ninjas in the big open area and then go through the next doorway. Open the chest then move toward the decorated walls.

A couple ninjas will break down the walls, kill them and move on. You will exit the building and come into an open area. Once you finish the enemies, go to Muramasa's shop.
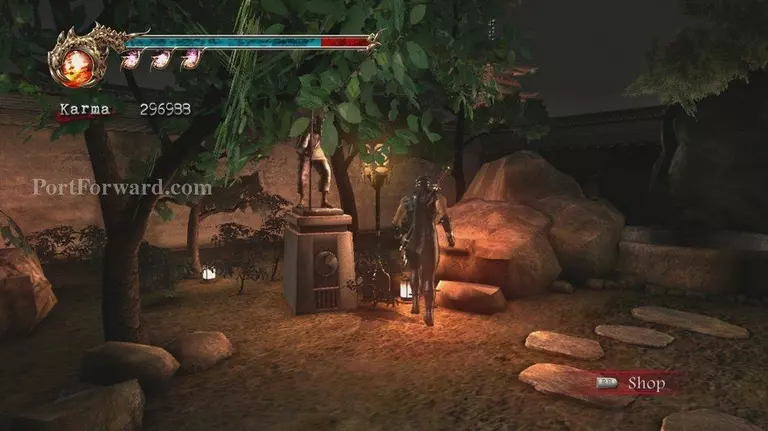
If you can, upgrade a weapon(probably the dragon sword).
Jump into a well which is just to the right of Muramasa's shop.
Now, go through the door.
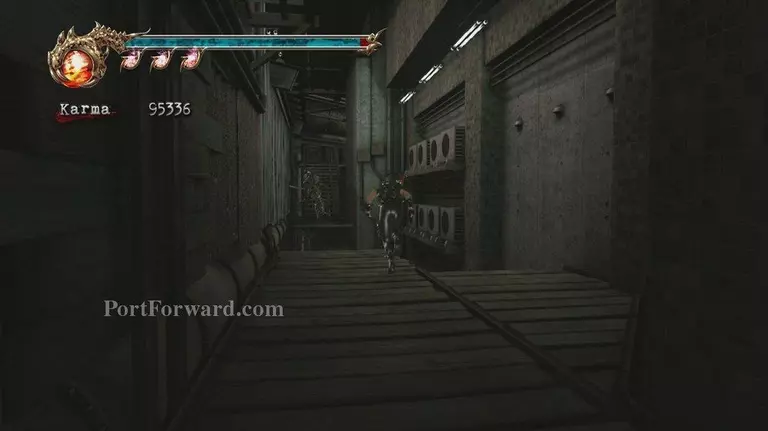
As you move on, take the scroll from the dead guy. A little further and you will reach a point where you cannot reach the next part of your walkway without running along a panel on the side of the walkway. Get the chest down below, then run across the panel.
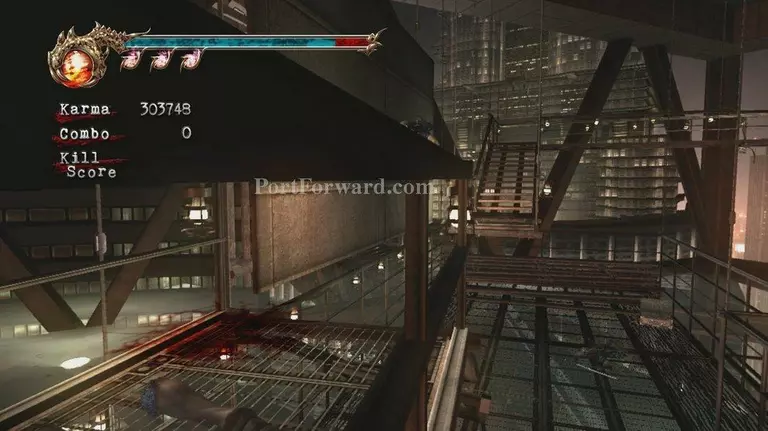
You will reach a part where the railing is broken.
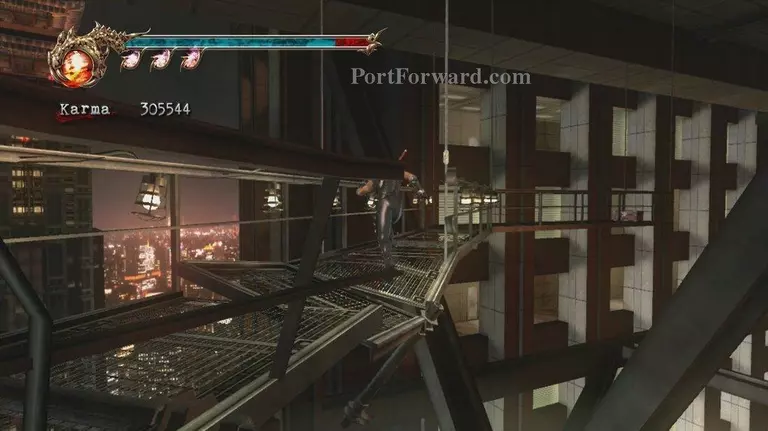
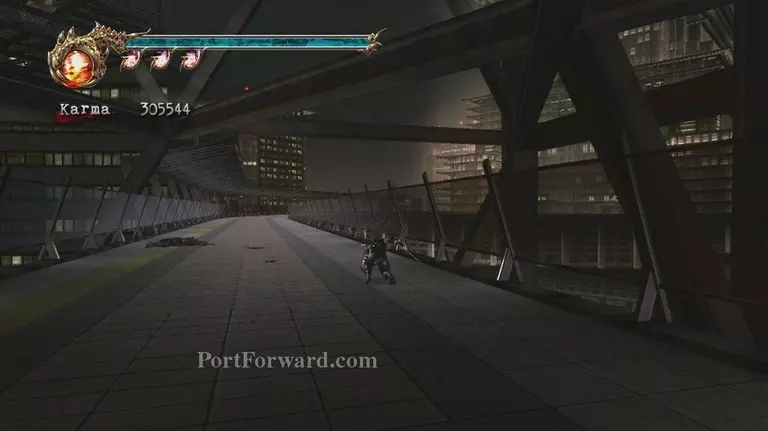
Run past that point and open the chest, then go back to the broken railing and drop down below.
Head down the road below toward the part that you can not immediately see an end to.
Grab the item from the dead guy, kill some more ninjas. Run a ways to initiate a movie sequence. You have now finished part 1 of the first chapter.
More Ninja Gaiden II Walkthroughs
This Ninja Gaiden II walkthrough is divided into 24 total pages.


