
This Space Marine walkthrough is divided into 17 total pages.
You can jump to nearby pages of the game using the links above.
Chapter 13 Wake the Sleeping Giant
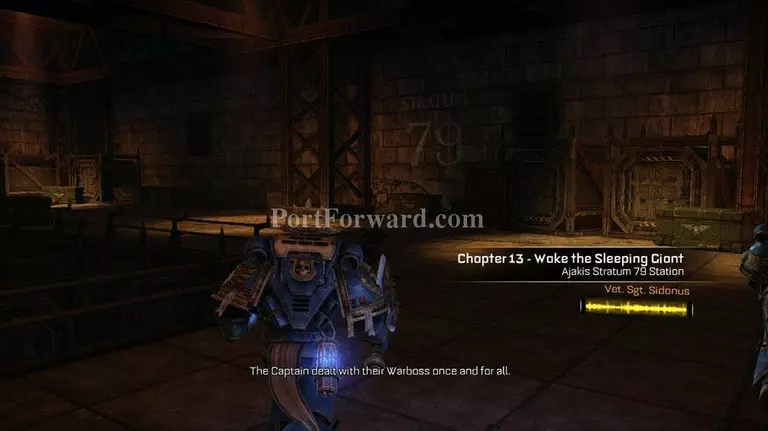
Chapter 13 Wake the Sleeping Giant
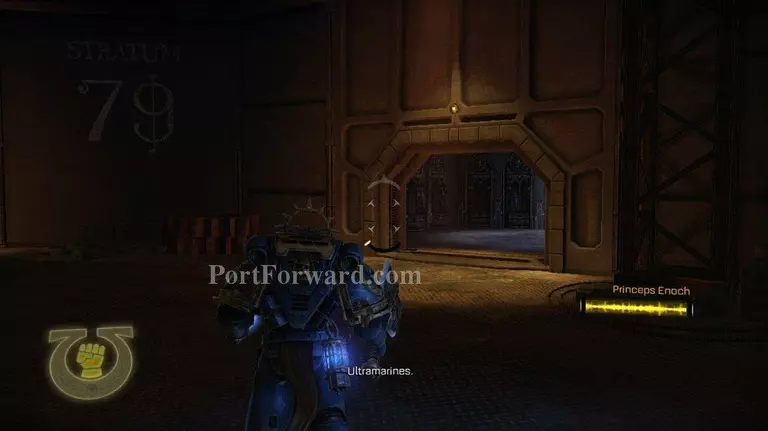
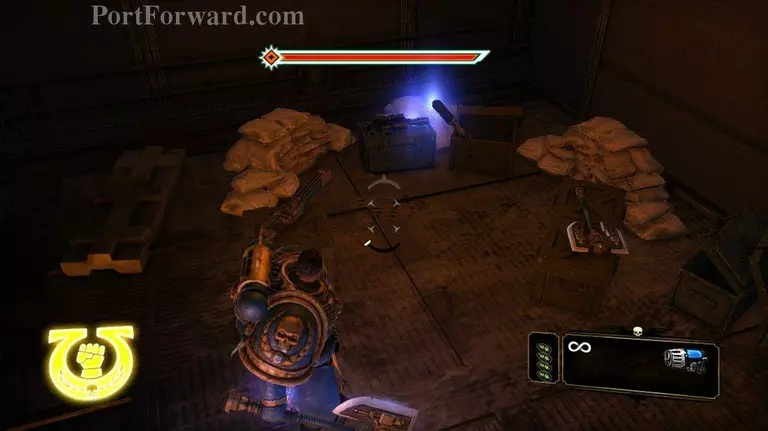
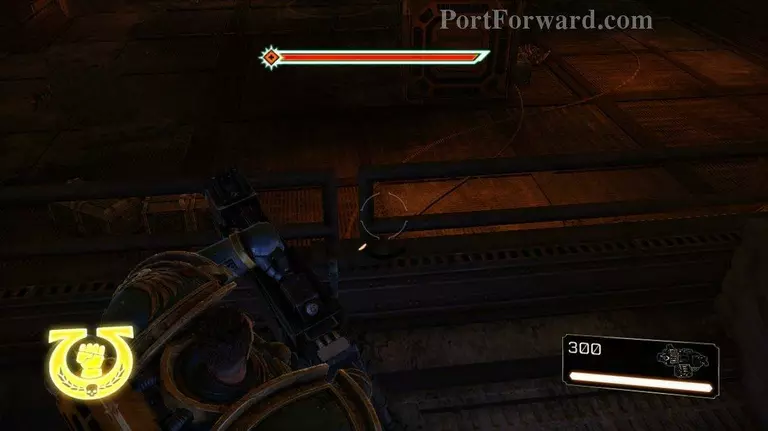
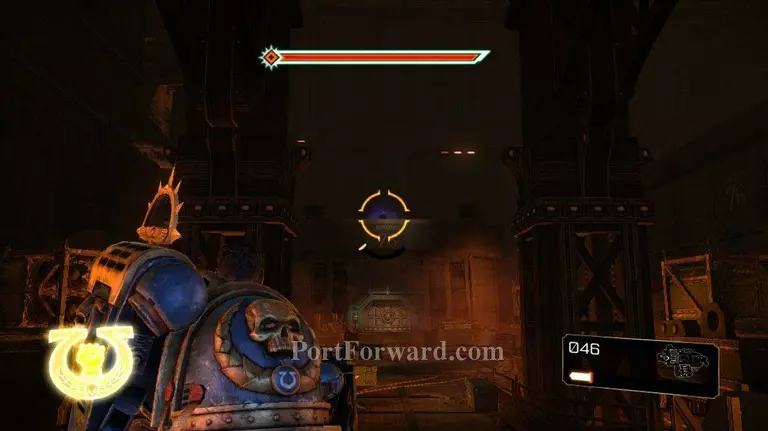
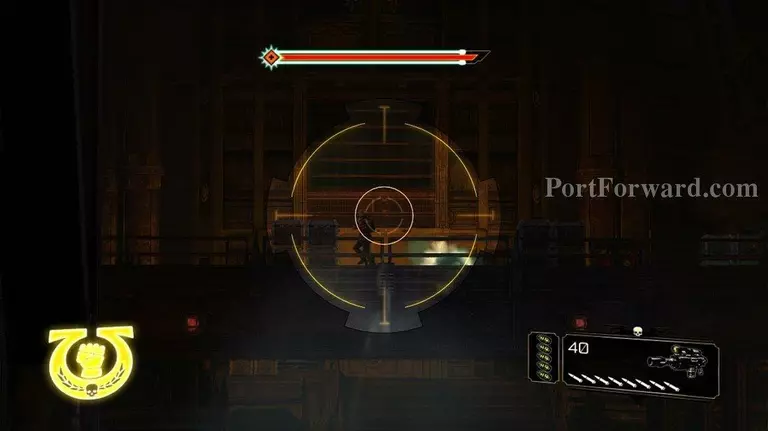
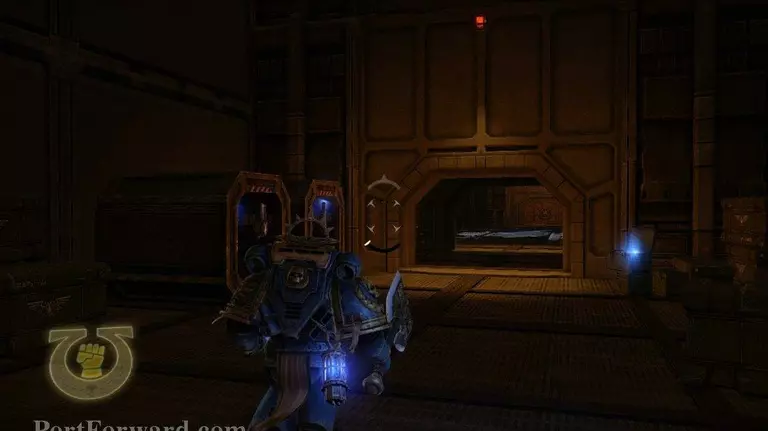
Moving forward you will come to a room that opens for you. It is basically a giant weapons locker. In the rooms further in you will find Chaos Gaurdsmen and Marines. Pick what weapons you will. Something long range would be good.
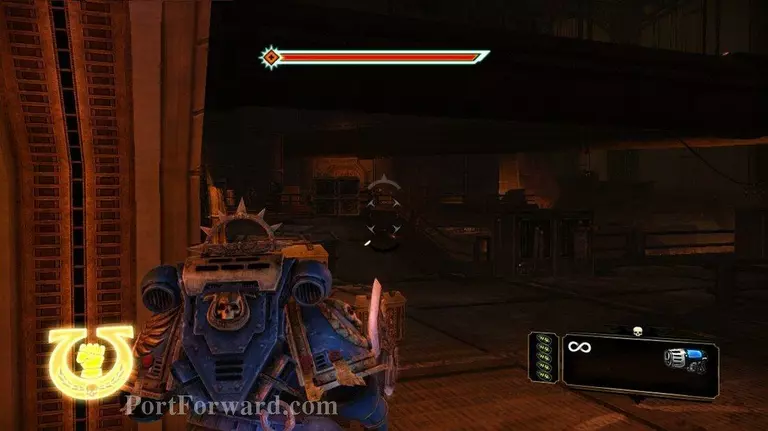
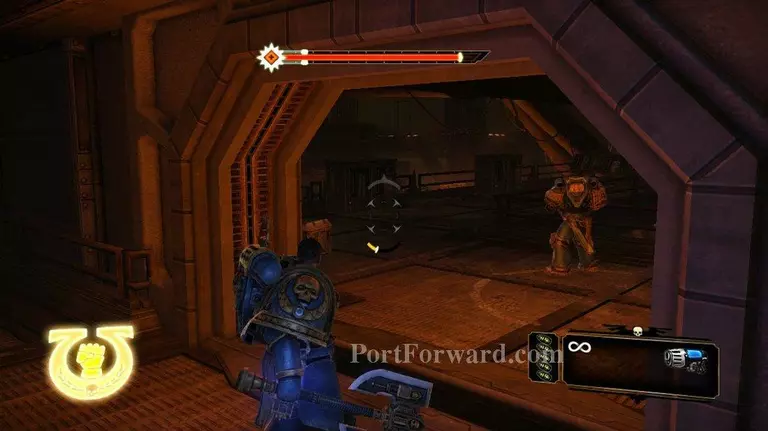
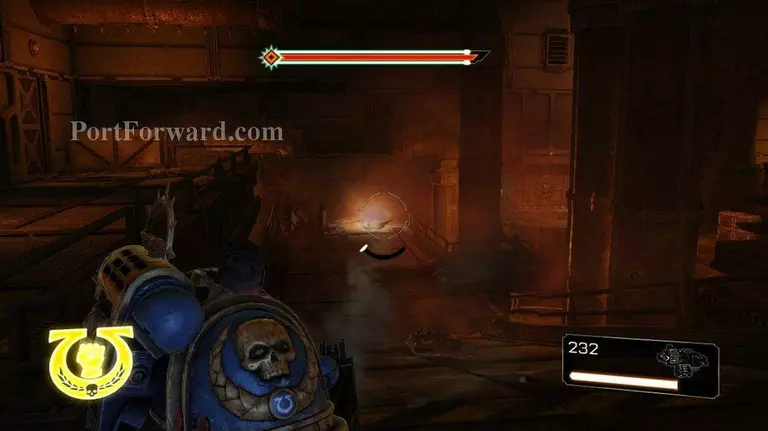
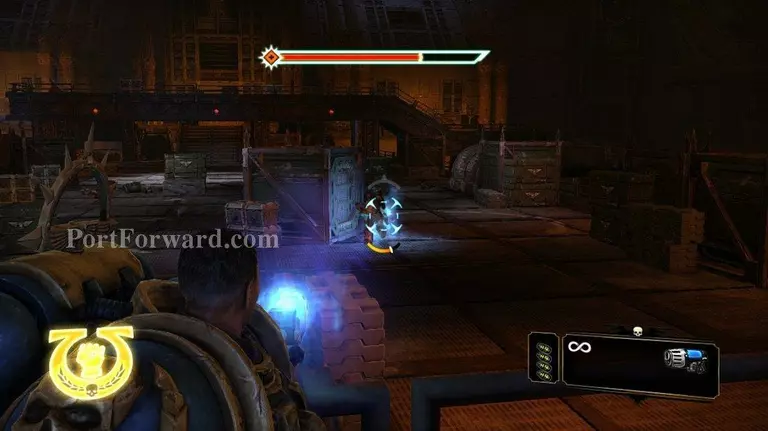
You'll walk out into this area, and be attacked by a bunch of Chaos Guardsmen and one Chaos Marine.
Their fire is pretty heavily concentrated so they will keep you pinned down fairly well. Just keep picking off guardsmen. When they are all dead focus on the Chaos Marine.
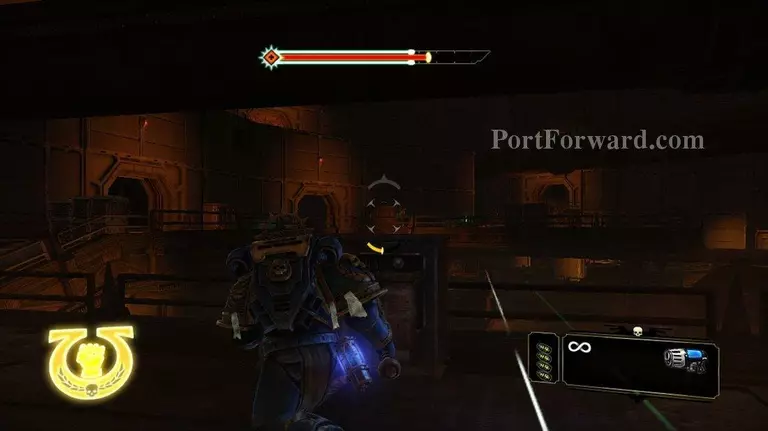
Duck back behind cover when your shields get depleted.

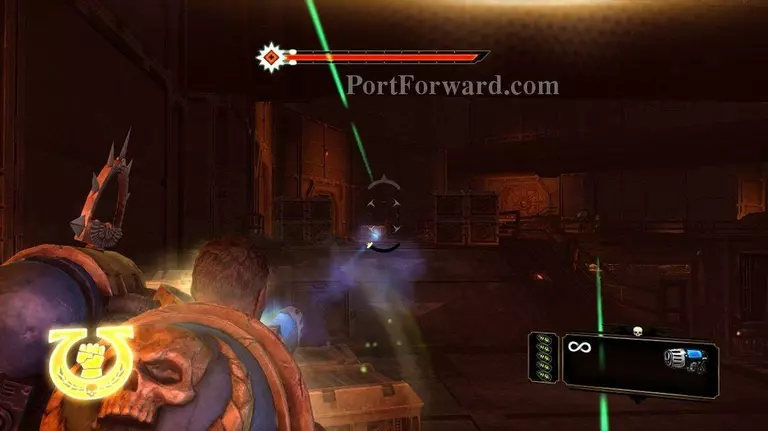
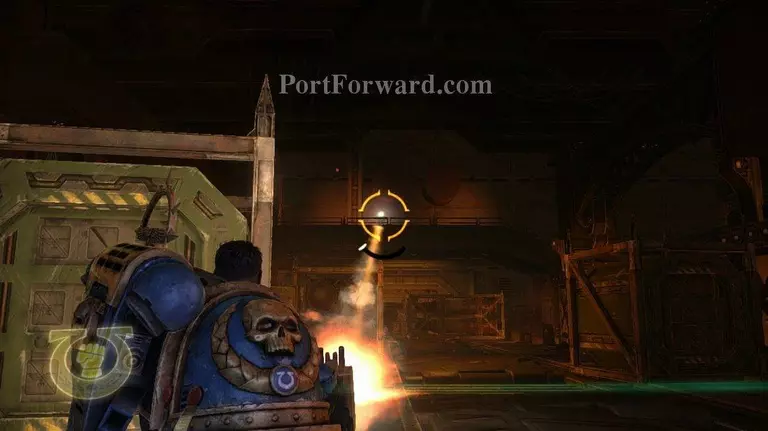
I finally got tired of messing around and took one of the Chaos Marines down with my stalker bolter.
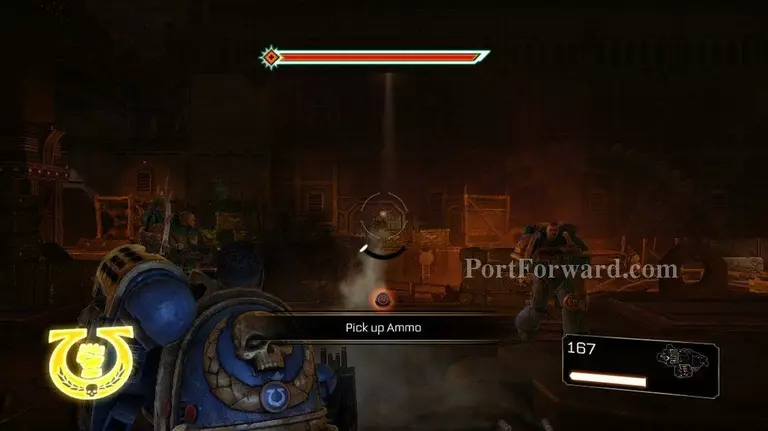
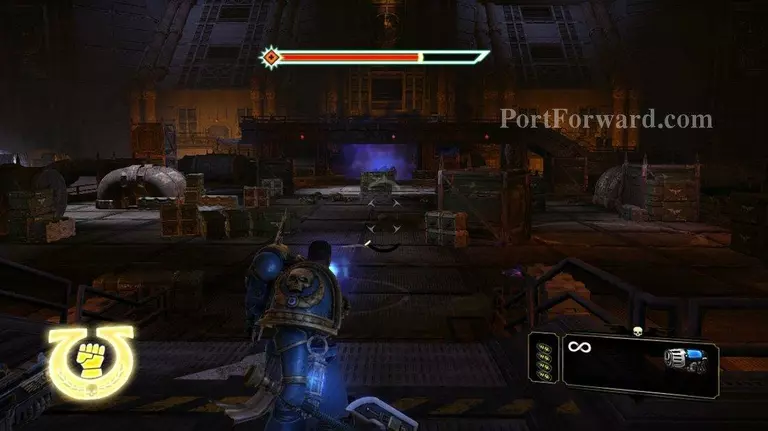
After you get the first batch of guards taken out, a door will open and more guardsmen will pour out. Along with two more Chaos Marines.
When you get all of the guardsmen killed run up and melee the Marines.
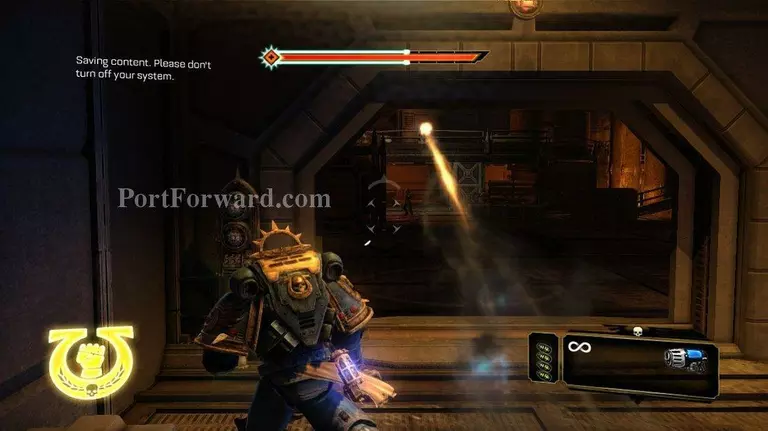
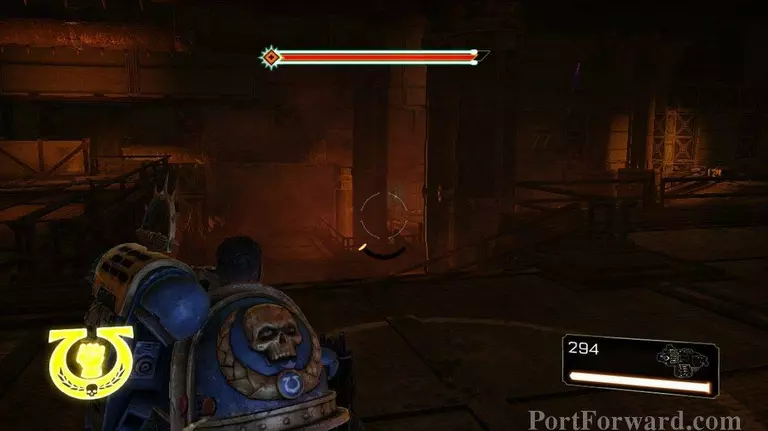
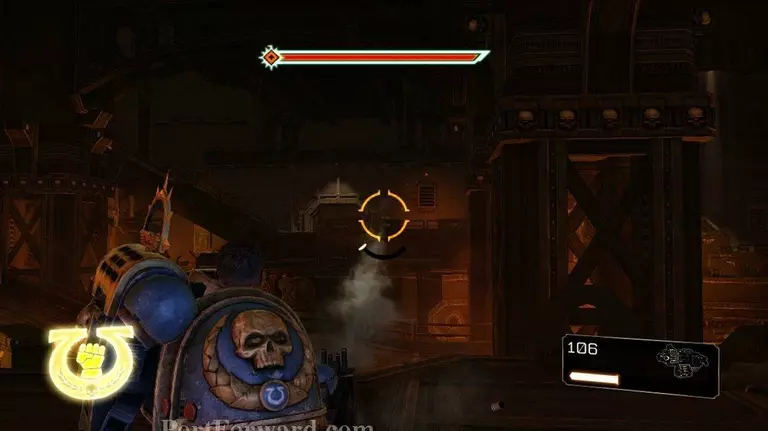
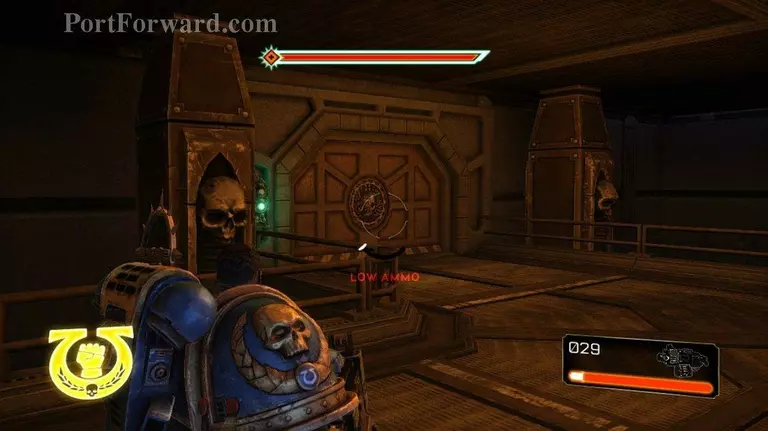
When all Chaos troops are dead move forward.
There's a spot where you can rearm on to the next battle.
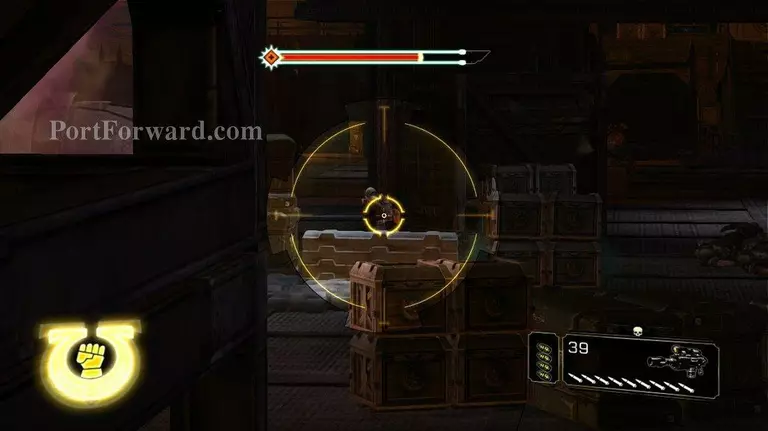
In the next fight you will find a large number of guardsmen. One of them will be manning a heavy bolter. Take him out first, and then work on taking out the rest of the guard.
I usually take out the guy manning the heavy bolter and then move in to the right. The heavy bolter can't make very wide swings when it is mounted on the tripod. These guys are too weak to rip it off the tripod, and there's no cover for you out here anyways.
The fight is easier once you are inside.
It's even easier once you've ripped that heavy bolter off of it's tripod.
Most of the chaos forces have run down this ramp. Don't chase them down there yet. Just walk around the platform you've got and take them out with your huge gun.
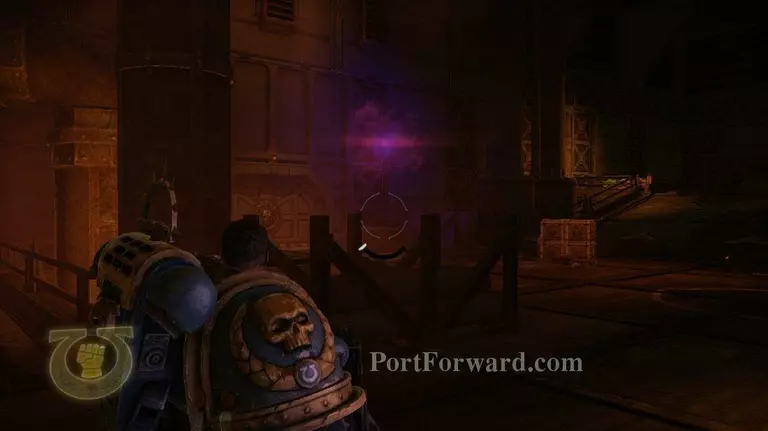
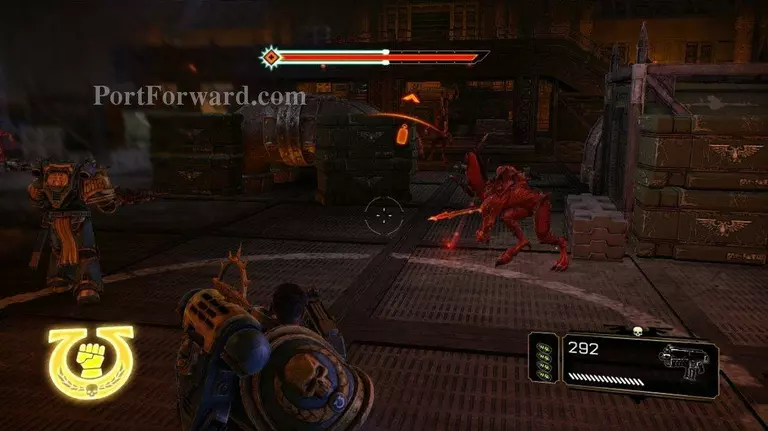
When you go down the ramp you'll get a cutscene, and a new type of Chaos scum will appear. This one is a summoner like the orc summoner.
This guy kind of floats in the air. Anyways just open up on him with the heavy bolter and he'll be toast.
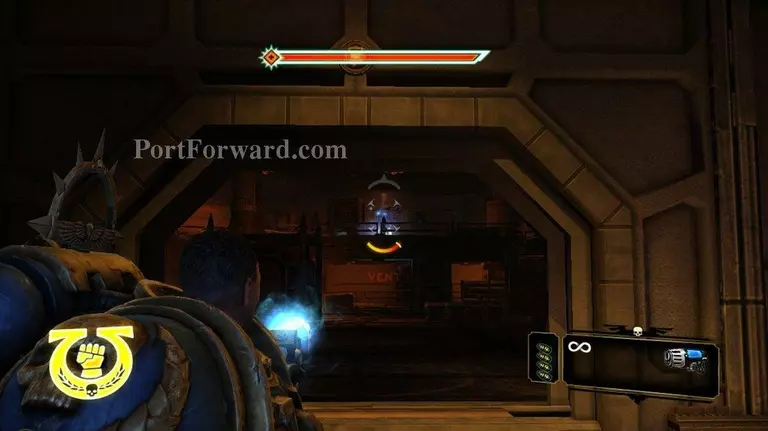
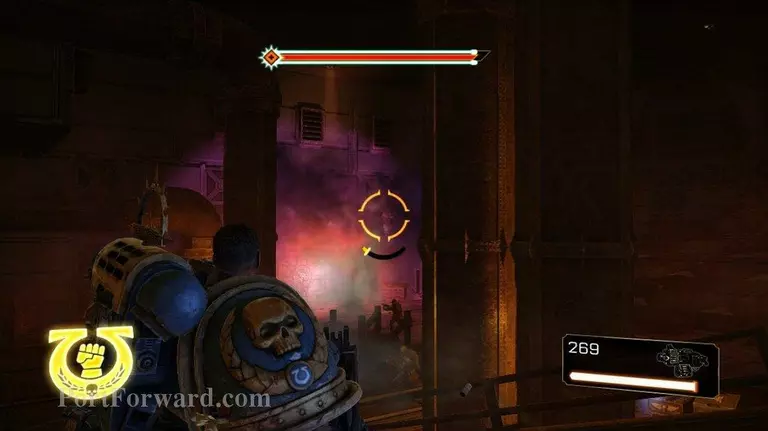
Then mop up the rest of the Chaos forces before going through the green door down there.
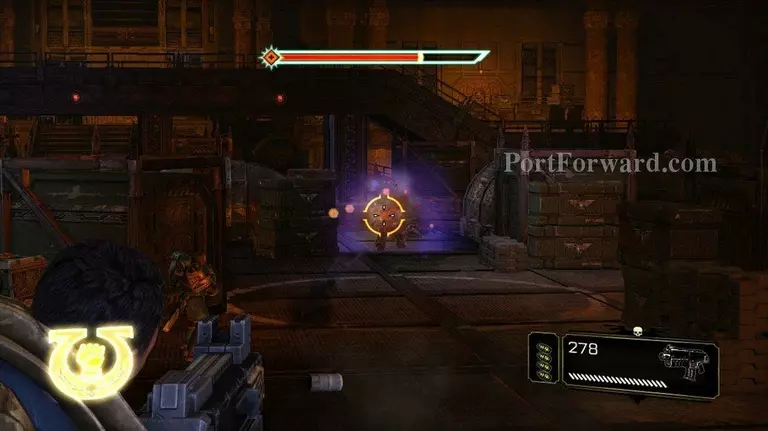
The next room is full of Chaos marines with laz guns. The guy on the walkway is the first one I took out. It's pretty easy to take them out when you have a heavy bolter.
There's another one straight across from you. Take him out next.
Move down the ramp a little ways. There's another Chaos Marine down here. Take him out.
The last one is on top of the platform above the door you have to go through. I would take him out before moving on. These guys have lazguns. So two hits will kill you outright.
After that move forward. You'll have to go quite a ways before you get into another combat.
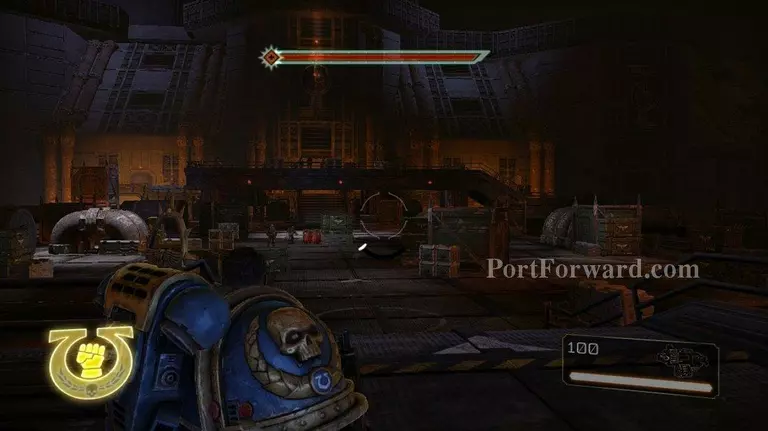
Your next combat comes in an area that looks like this. There will be tons of guardsmen here.
After you start the combat a Chaos portal will open up. Six more guardsmen will step out along with a Chaos Marine.
The key to the first part of this battle is to take out the guardsmen.
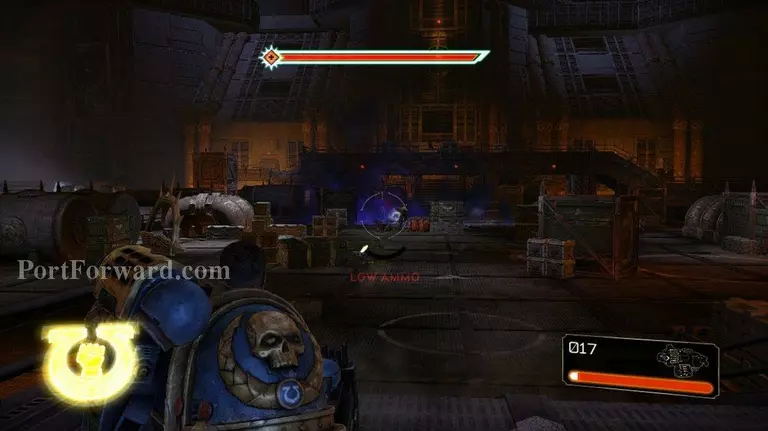
When you take out enough guardsmen, Chaos demons will appear. Take them down next.
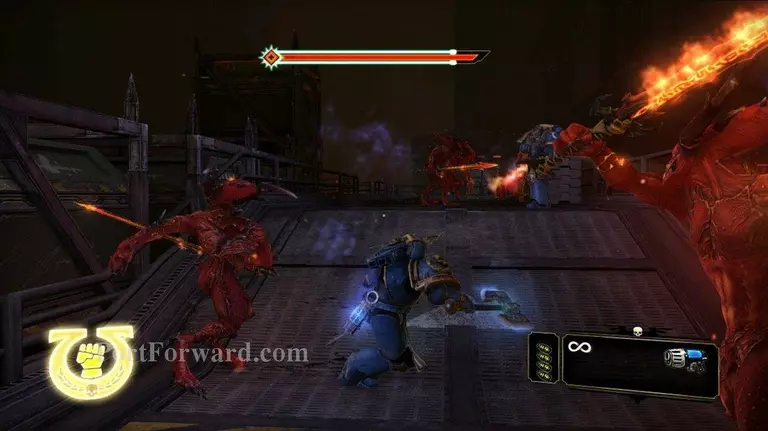
There's quite a few of them, but they really are not that bad. Just keep at them until they are gone.
Now focus your attenshions on the Chaos Marine that is wander around back there. If you can draw him to you, melee him. If you can't, do not approach him. Moving towards him will summon more stuff to fight.
When the Chaos marine gets low on health he will charge you. Just take him out, and the next round of Chaos troops will spawn.
This wave will consist of two Chaos marines and about six guardsmen.
Take out the guardsmen first.
Then blast away at the marines. When they get low on health they will come running at you. When they are both dead move forward.
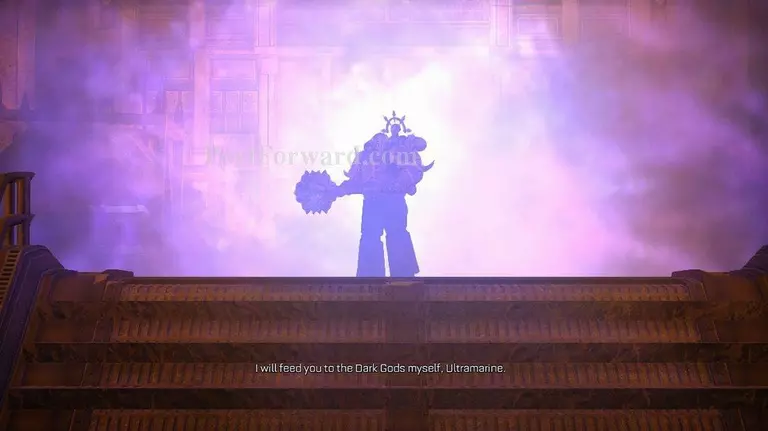
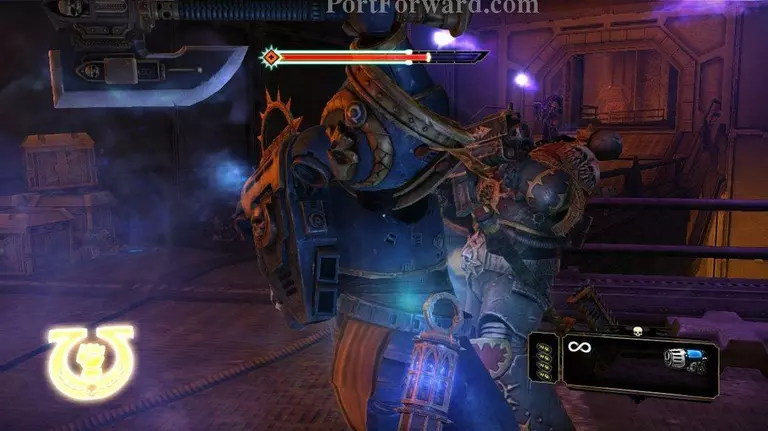
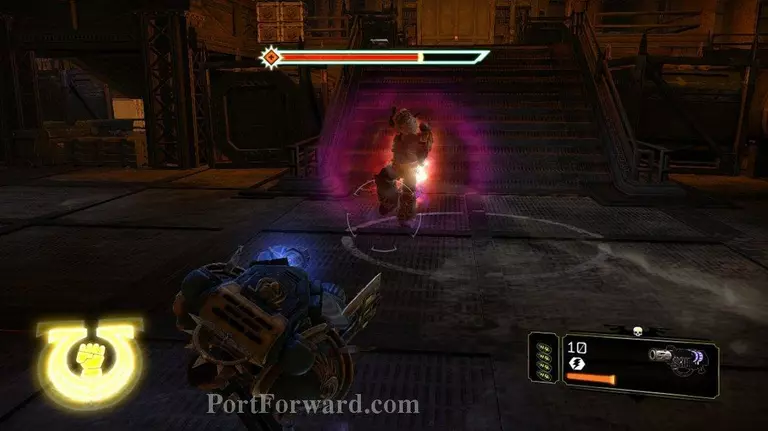
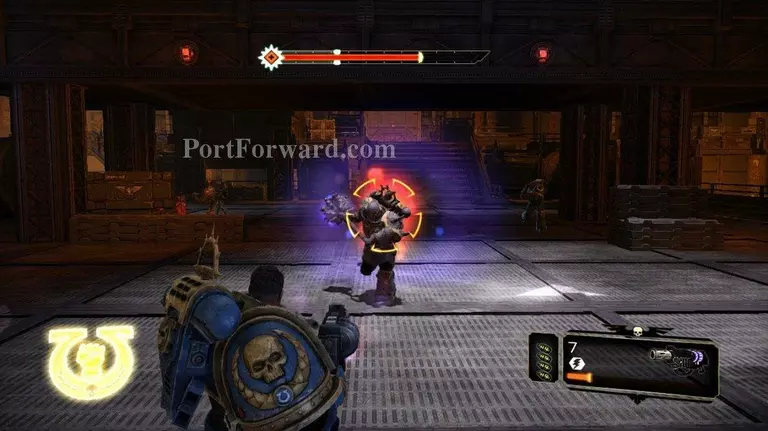
When you get close enough this guy will spawn. He's a chaos captain, and he's got a wicked looking mace.
I tend not to mess around with this guy. When he swings roll backwards. I use my Melta Gun on him. Takes him down to execute mode in about three shots. Really works well. Yeah it might be cheese, but the melta gets you through the tough parts.
This guy will still be moving when he is ready to execute. So when you see the red dot, just move up to him and hit circle. Then pound circle to execute him.
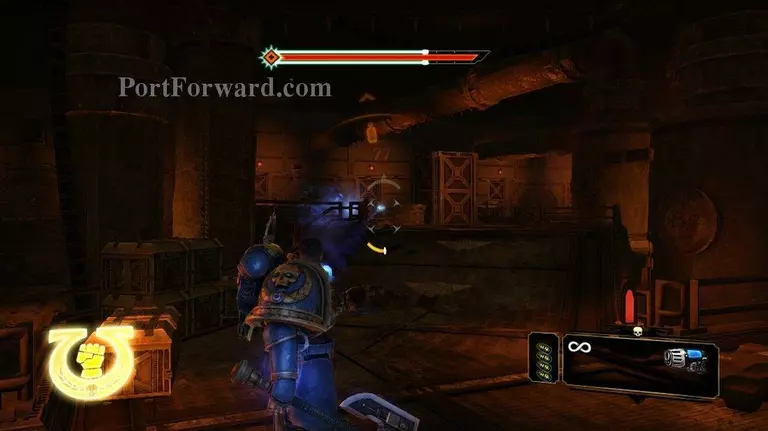
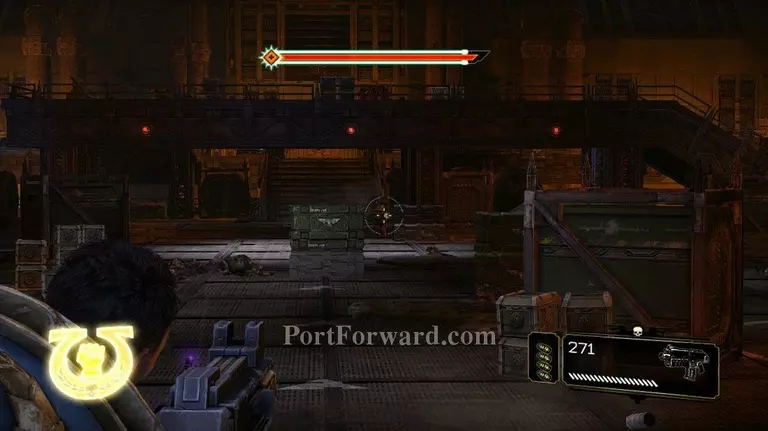
When they are all dead gather some ammo and move forward.
Move forward and you will come to a room full of weapons. The next thing you fight does not go down to heat or plasma. So you want to have some kind of shells to hit it with.
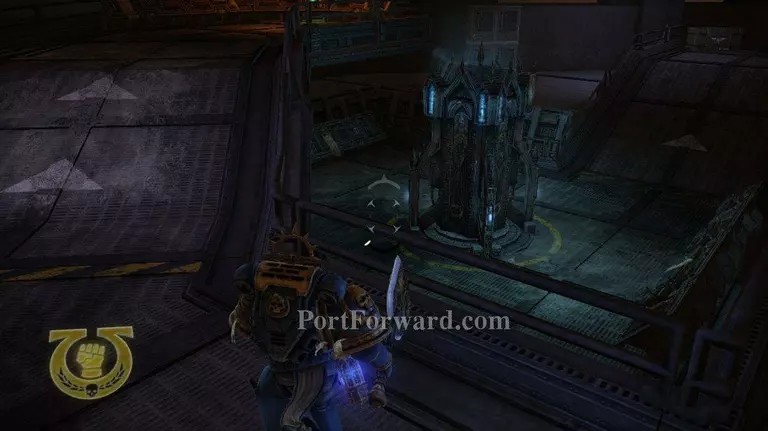
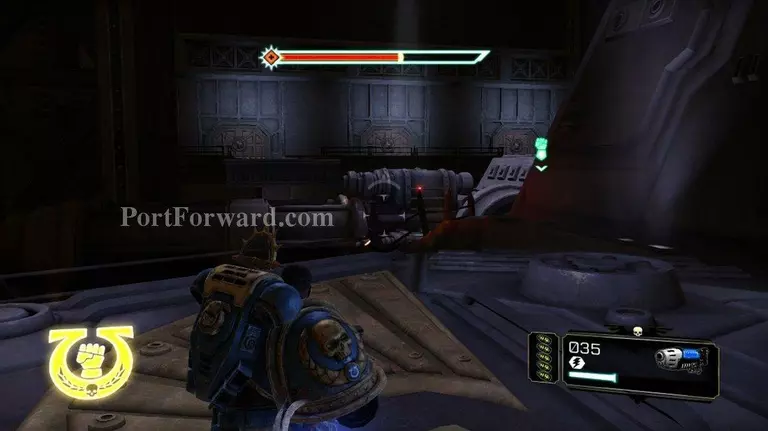
Eventually you will come to a room with a weapon pod below you.
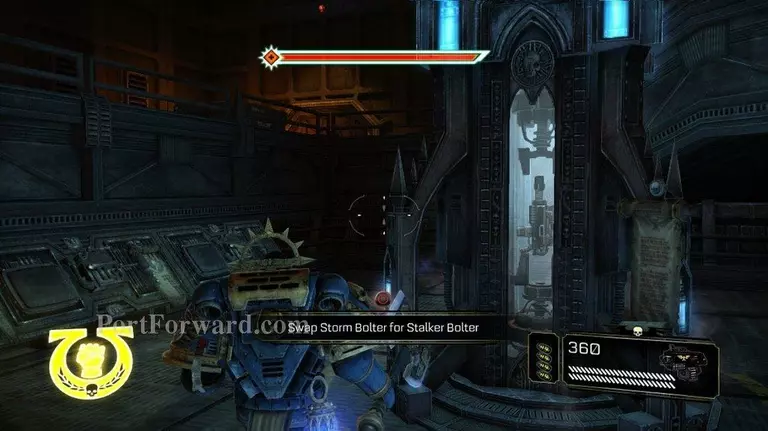
The weapon in the pod is called a storm bolter. It's a very high rate shelled weapon. It might work nicely on the next Chaos scum you find.
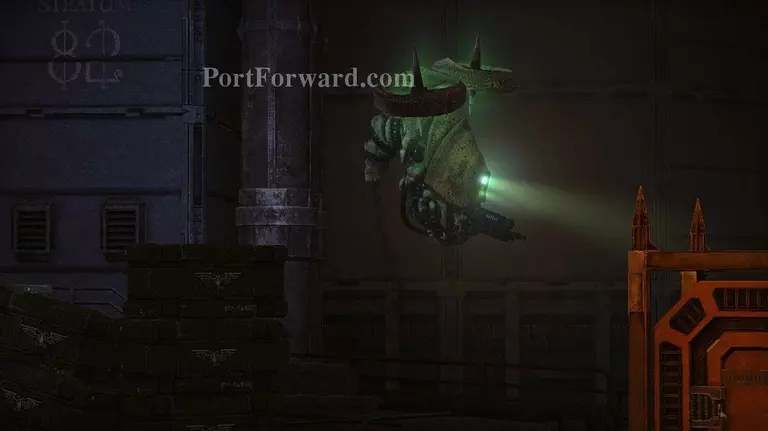
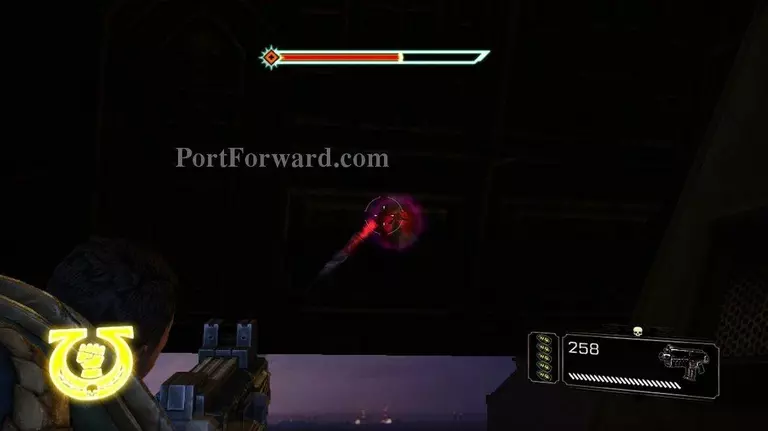
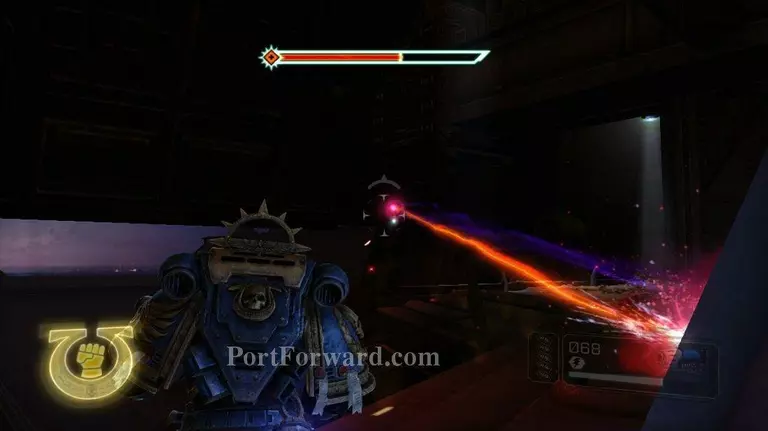
Continuing onward you'll find these hovering Chaos drones. They are very tough and can do some damage with the cannons that are mounted on the front of them. They are also fairly hard to hit.
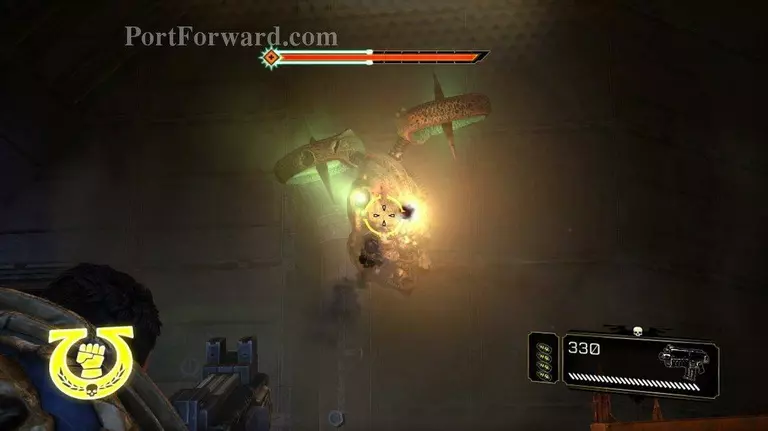
I used my regular bolter to take this guy down. It took about half of all my ammo to do it.
When the drone is dead move forward again. You'll come to a lift that will take you to the top of the titan.
You can walk around a bit, but really you want to fight from where you started out on the titan. It provides a little bit of cover for you.
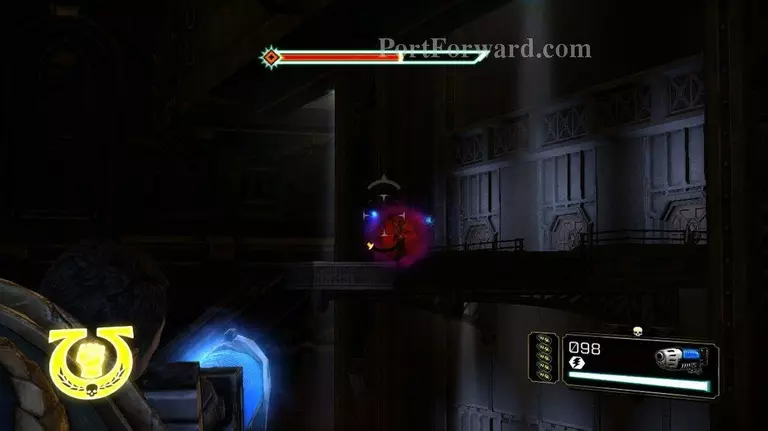
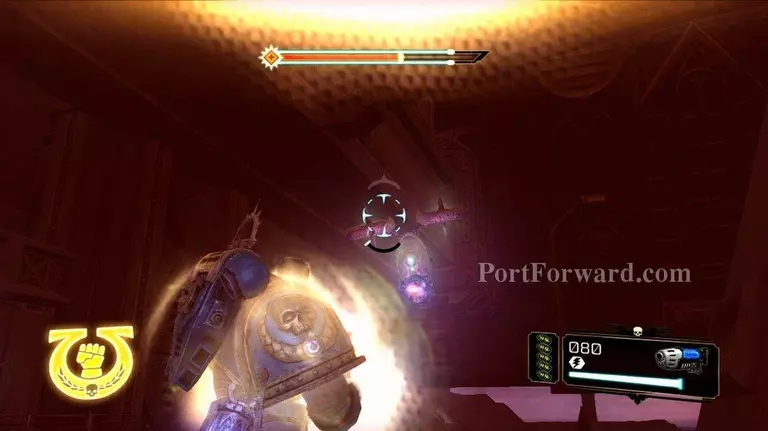
Three of these summoners will spawn. Fortunately they will not summon anything. They will simply try to shoot lazers at you.
Go back to where you started on the titan. Now you'll only have one of those summoners to worry about. Quickly take it out.
Hopefully you manage to kill it before the drone arrives. The drone will hover over you peppering you with shells. Use whatever shelled weapon you want to take it down.

When it is dead move back out to the front of the titan.
There should be two summoners left. They are stationary so they are pretty easy to kill. Take them down.
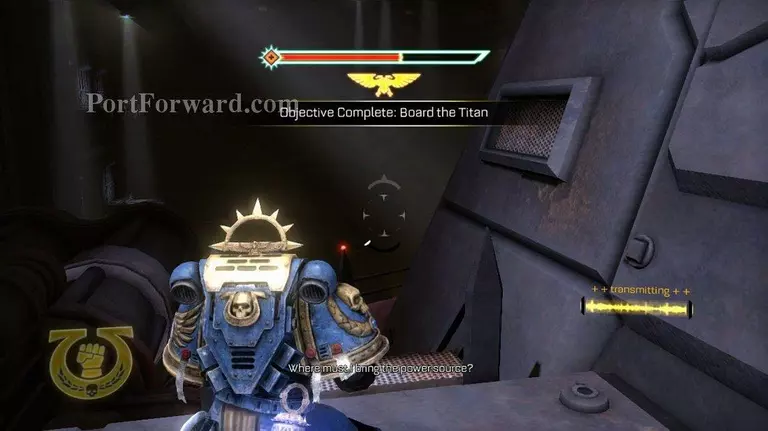
You will finally get a way to get off of this titan. Go over to the green hand to receive the next cut scene.
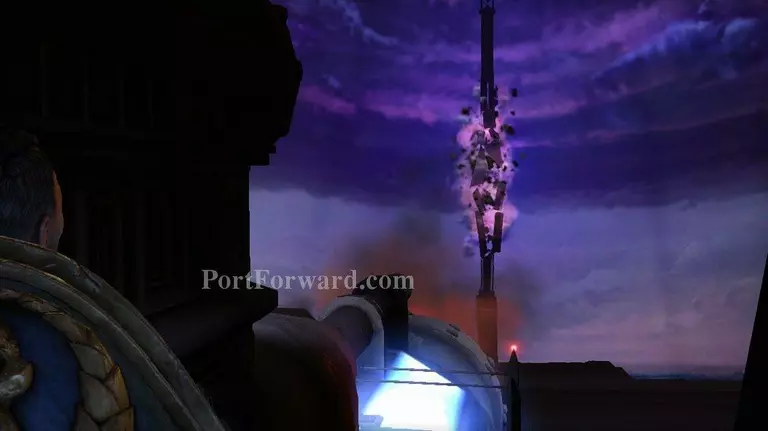
Well great you've blown up the orbital tower.
More Space Marine Walkthroughs
This Space Marine walkthrough is divided into 17 total pages.


