
This Space Marine walkthrough is divided into 17 total pages.
You can jump to nearby pages of the game using the links above.
Chapter 4 Titans of Craia
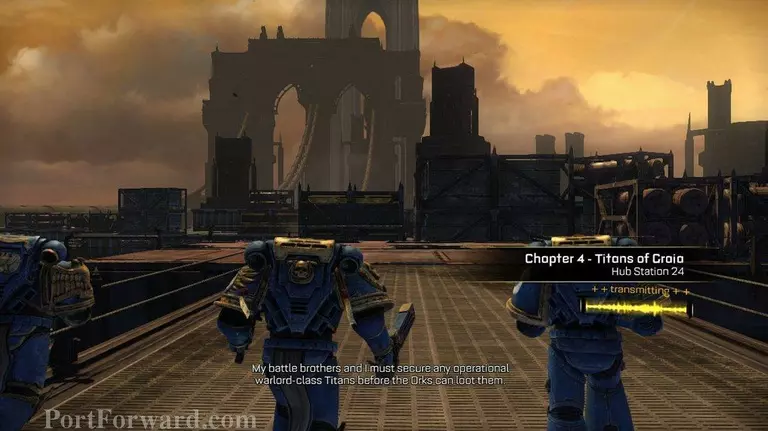
Well we've made it to Chapter 4.
You'll eventually come to an area with a bunch of orcs trying to regroup. You don't even have to kill them if you don't want to. They will mainly run away through the two doors at the far end of this section.
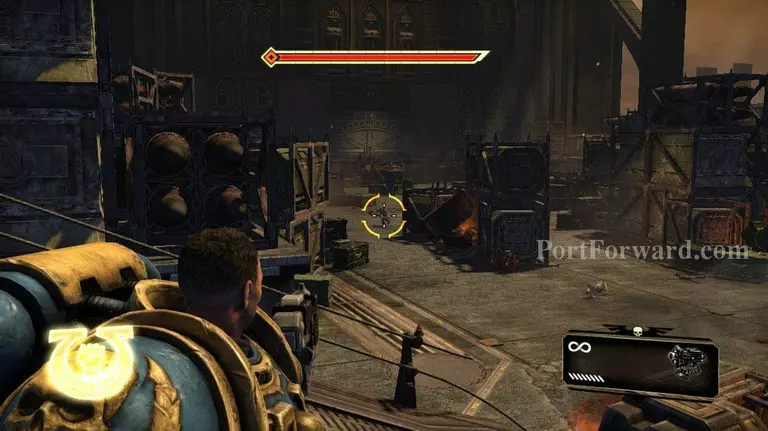
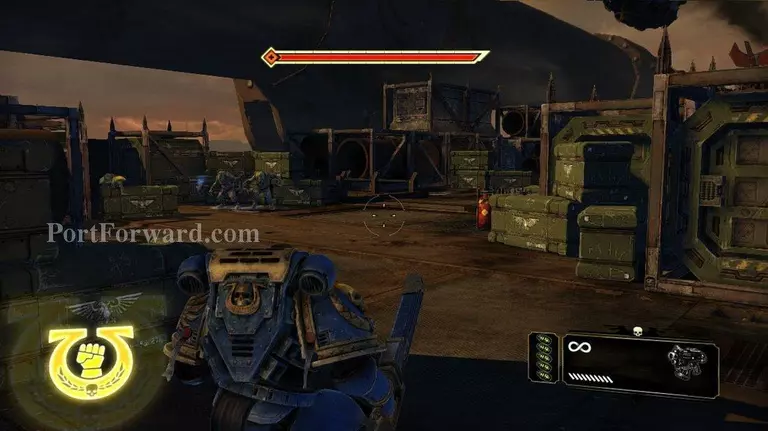
There are some ammo and grenade crates here. Refill your stockpile here, and then move on through the double doors.
Once again there is more ammo to refill your stock pile with.
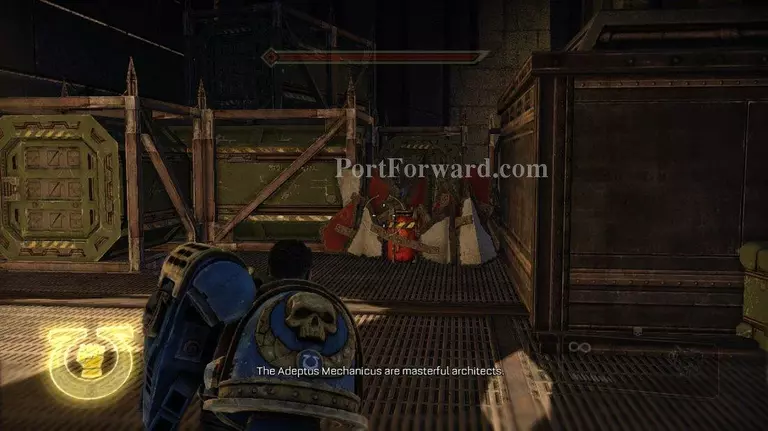
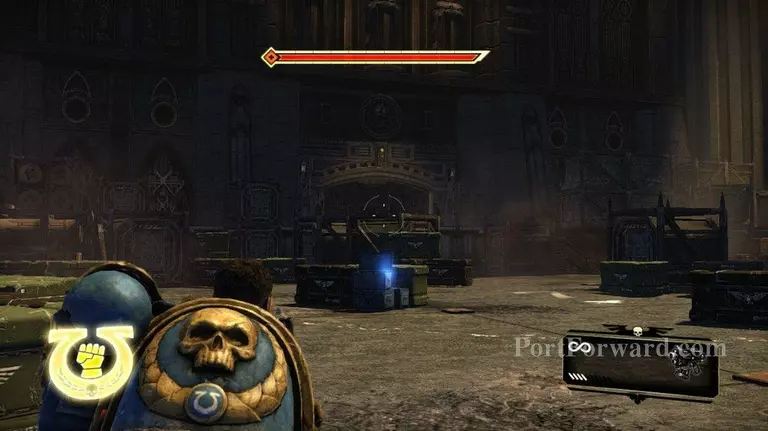
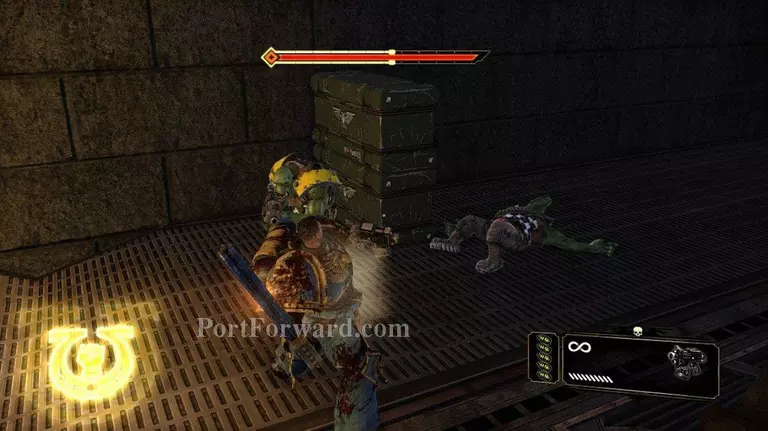
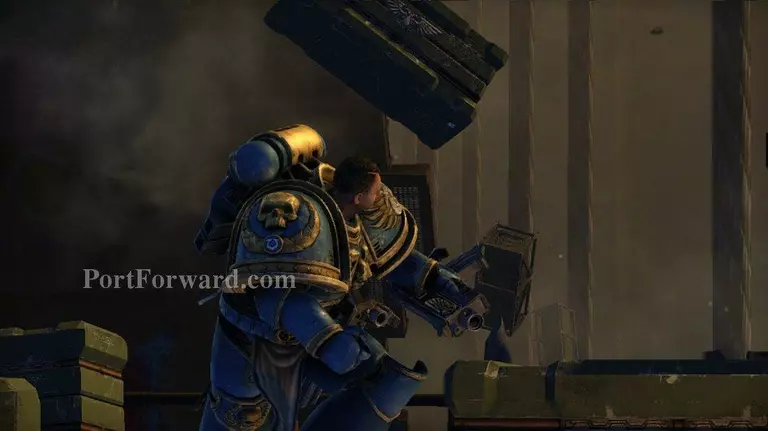
There is also a red can next to a baricade. Blow it up for some more grenades and probably a servo skull.
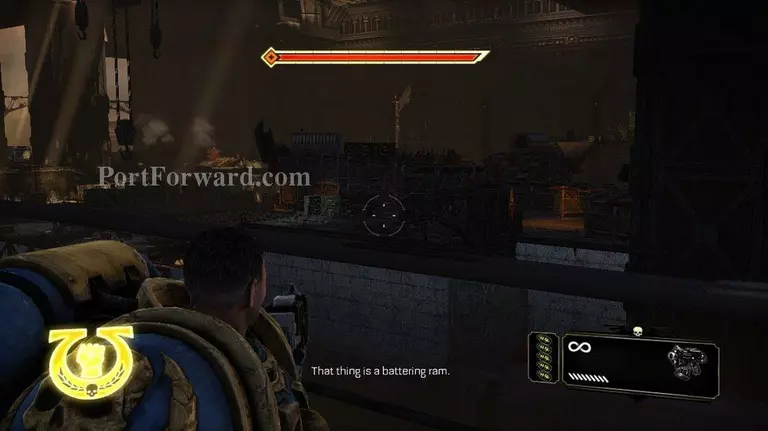
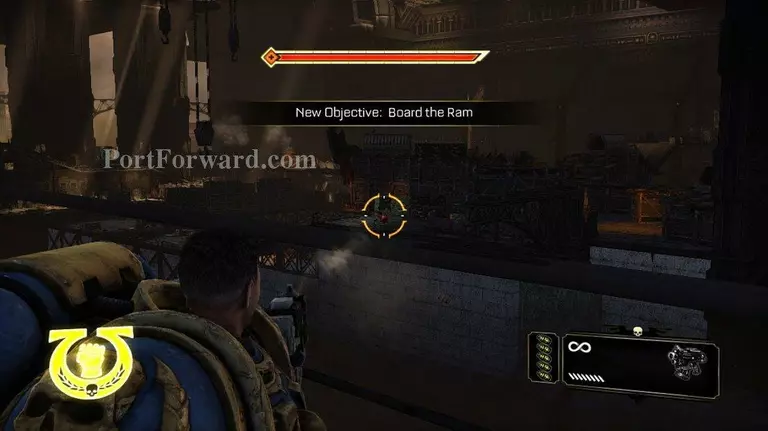
You need to board the Ram train before it takes off. Don't worry. Take your time through this section, and the train will wait for you.
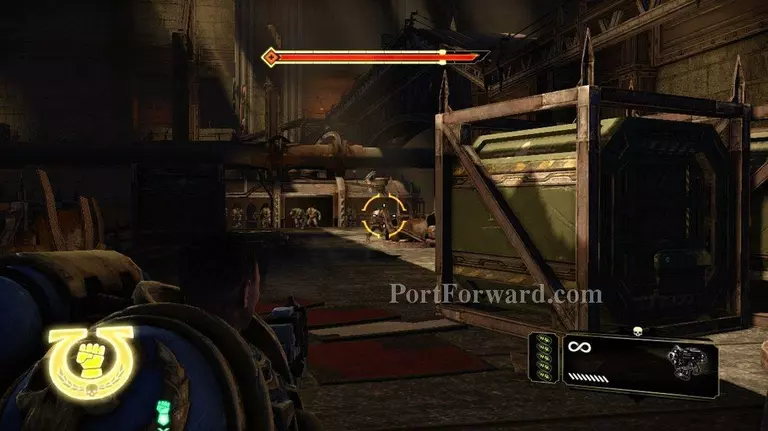
There are a couple of orcs and a couple of squigs you can kill across the way. I like taking the squigs out from a distance, because when they get right up on you they can be a pain.
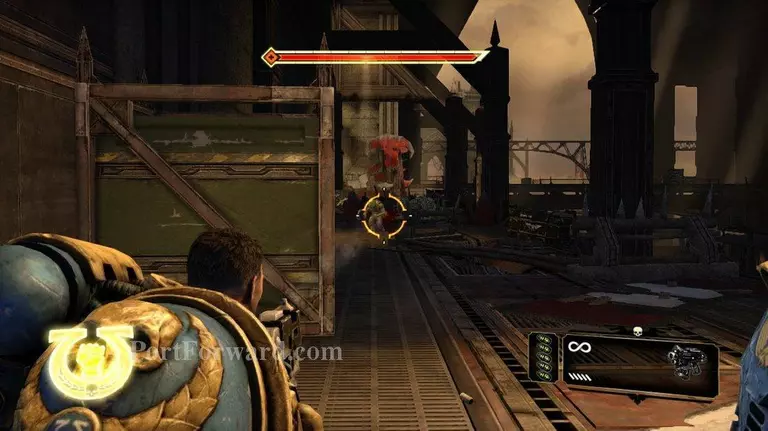
Grunts, shooters, and the occasional squig will rush you as you move forward. There are not too many of them, and I was able to make my way through this section with only my pistol. That's me. Ammo conservation king.
As I said shooters, grunts, and squigs.
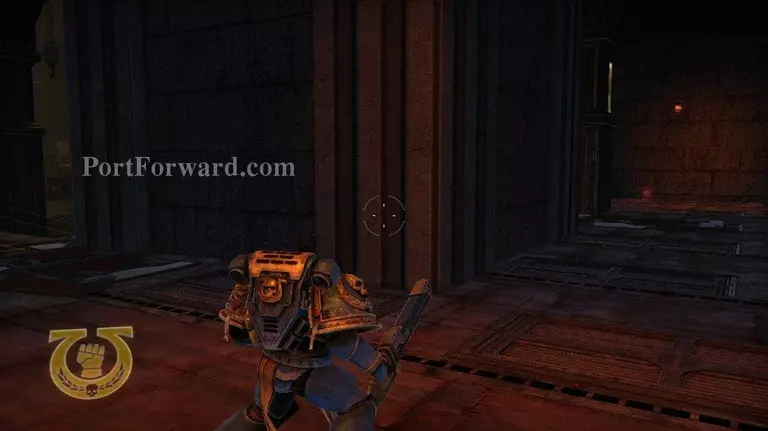
If you look around here, you will see that there is a hidden servo skull.
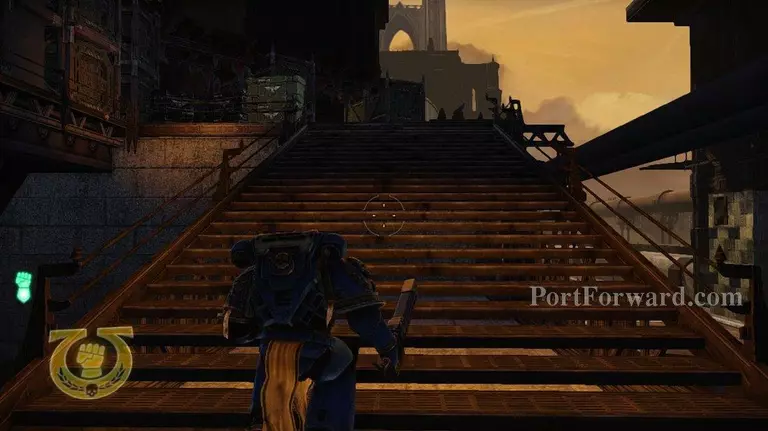
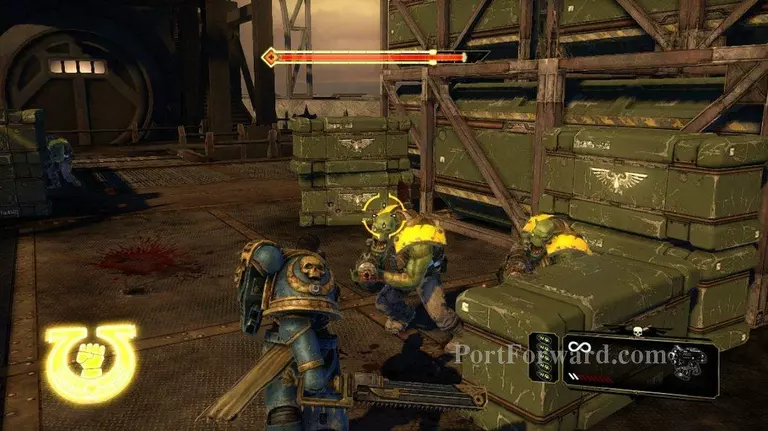
As you cross this bridge you will be rushed by a bunch of grunts. Take them out and move forward.
When you head down the stairs you will be attacked by a couple of shooters. Take them out quickly.
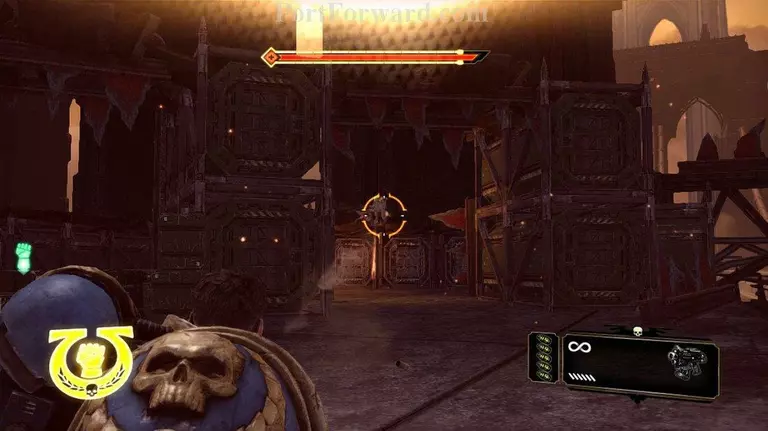
A train will pull up with some grunts on it. They will be easily dispatched. Keep you eyes open for squigs here. If you take too long finishing the grunts, a squig or two will show up.
Keep moving forward. You will be rushed very often by squigs at this point. There are a couple of shooters up ahead as well.
If you are careful you can use the squigs to take down the shooters.

As you move forward be very careful of squigs. They will be coming from in front of you and up above you. When they are all gone move forward and board the train.
Now that you are on the train open up the door and move forward.
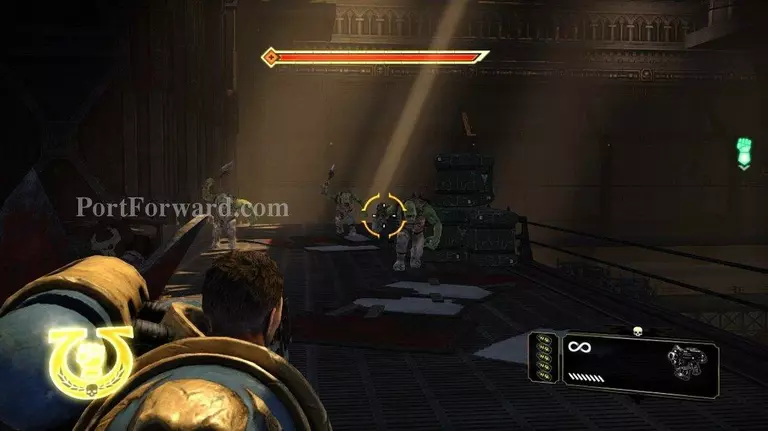
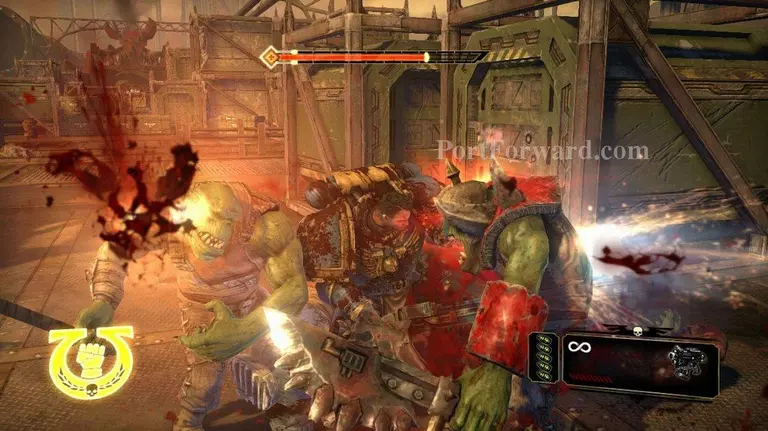
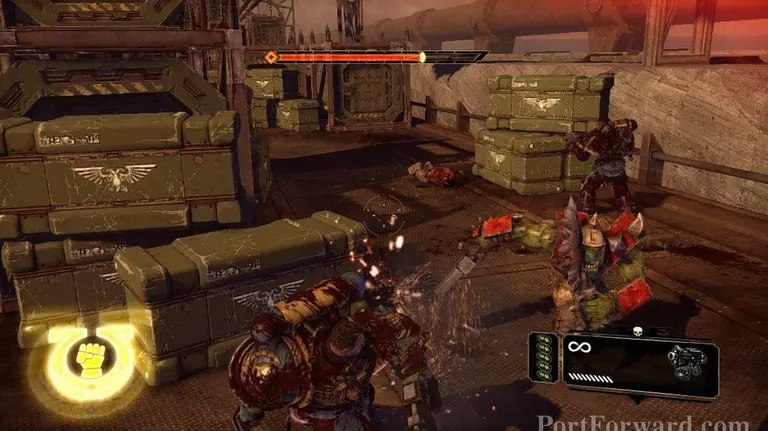
Move forward. You will be attacked by several grunts and a chainsword orc. Use a combo to stun the chainsword orc if he gets too close.
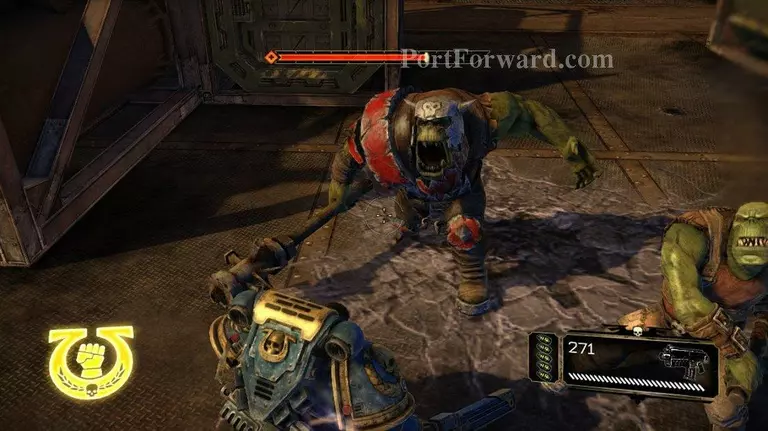
After you finish off that wave of Orcs you will be attacked by a Nob and several grunts. Dump fire into the Nob, and worry about the grunts later.
You might have to combo the Nob, but you might not. I dumped enough bullets into him that he went down right after he got to me.
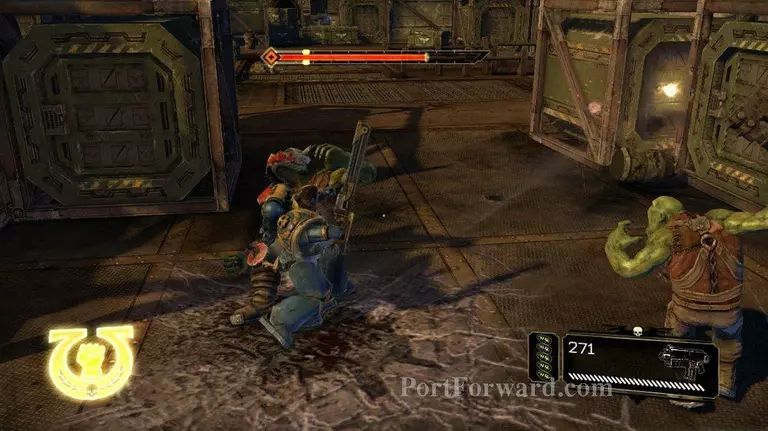
The next wave of orcs will consit of some grunts and another chainsword orc. Consentrate on the chainsword orc.
You might have to combo him like I did. These guys fall pretty easily.
Next up we have some shooters along with some grunts. There are quite a few shooters here, but you come across them one or two at a time. So they aren't too hard to kill.
Oh I guess there's also another chainsword orc here. You know what to do on these guys by now.
As I said there's quite a few shooters here. I ended up putting them to the sword. Sometimes a bit of melee practice will keep your skills sharp.
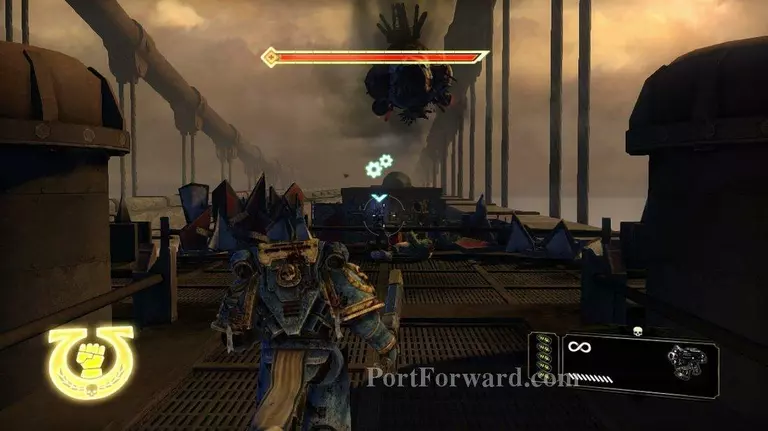
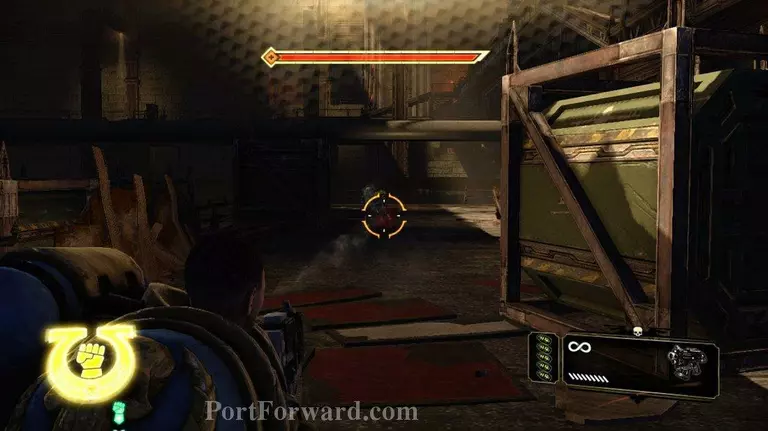
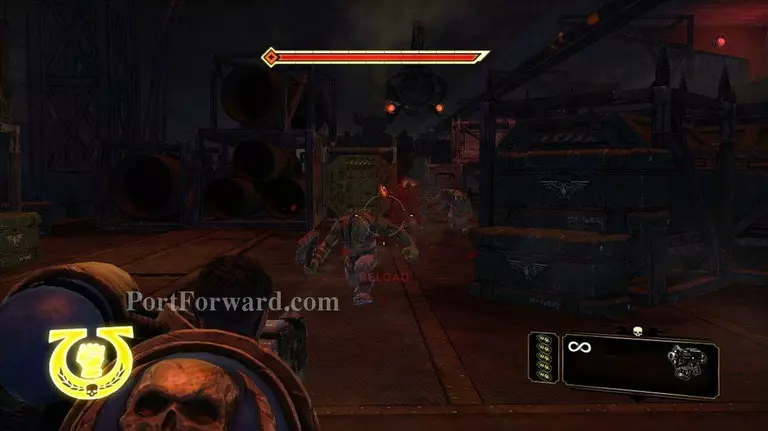
Okay, you are now at the end of this section. On top run up and man the plasma cannon. Rip it off and walk backwards towards the wall.
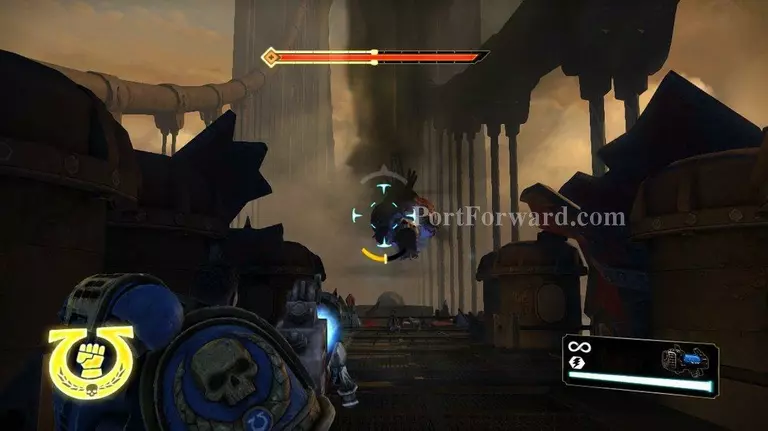
When you are about where I am in this photo, you are in the right place. Take pot shots at the ship you are trying to destroy. Don't worry about trying to take it out too fast. Just take your time aim and fire.
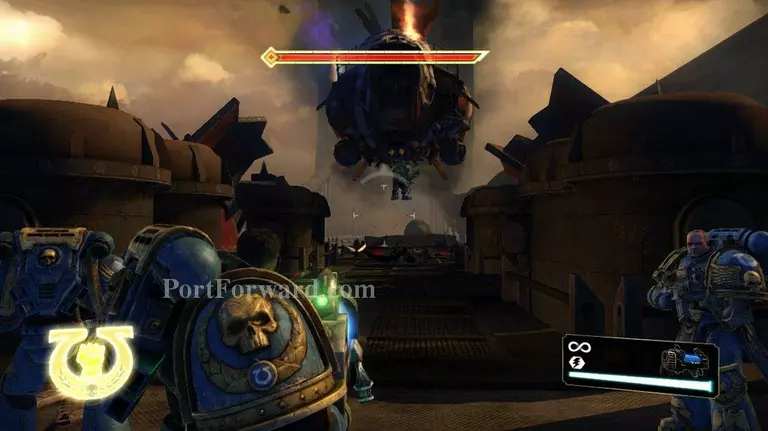
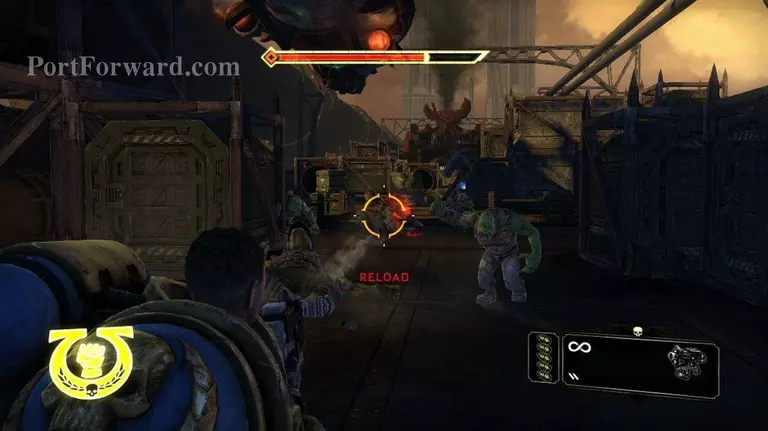
Eventually the ship will come up and drop a couple chainsword orcs and a Nob on the deck in front of you. That's why we chose this position to fight the ship. You don't want those guys dropped on top of you. I found that out the hard way.
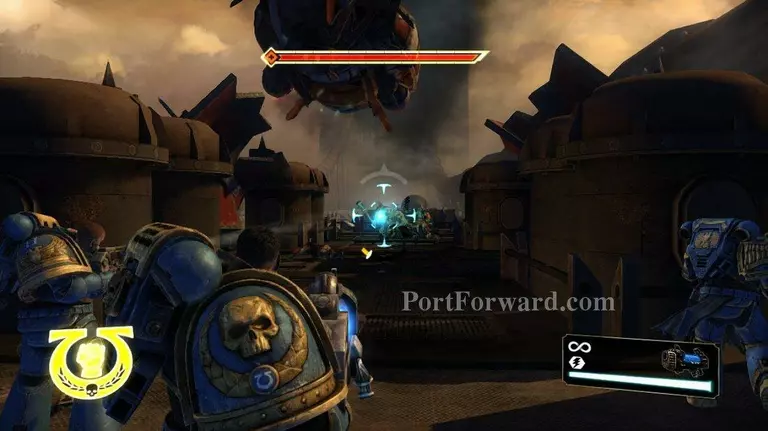
When they land on the deck forget about the ship until the orcs are dead. Your plasma cannon will take them down fast, but you can't let those guys run around unchecked. You've got to take them out right away.

When they are gone, go back to working on the ship. If your shields get low at any point, take cover behind the walls and let them regen. This section is really easy once you know what to do. Prior to that though it's pretty tough.
When the ship is dead, you will get a cut scene. The ship will end up taking out the train, and that's that.
More Space Marine Walkthroughs
This Space Marine walkthrough is divided into 17 total pages.


