Splinter Cell: Double Agent Walkthrough Iceland

September 12, 2016 (Last Updated: ) | Reading Time: 8 minutes

This Splinter Cell: Double Agent walkthrough is divided into 11 total pages.

You can jump to nearby pages of the game using the links above.
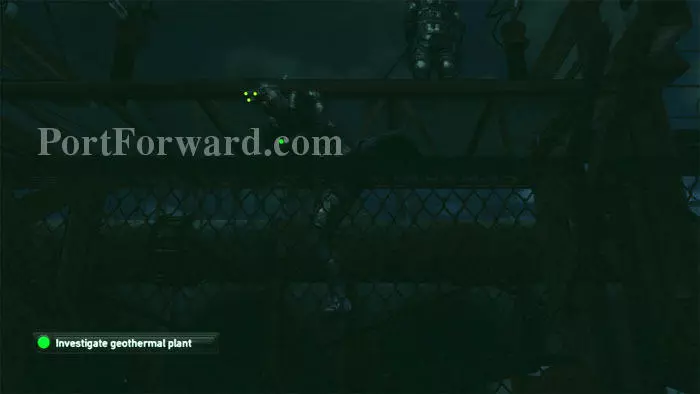
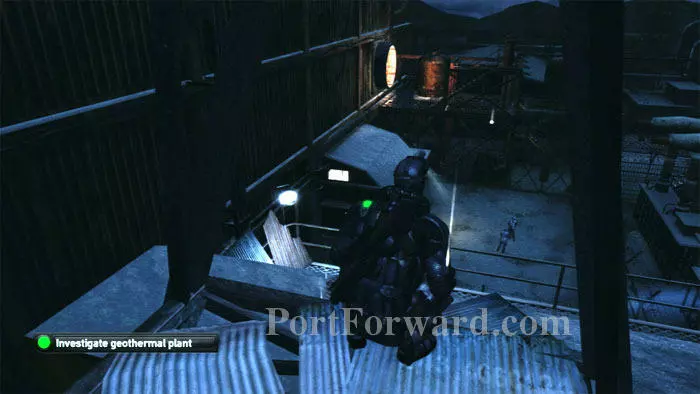
Iceland

Splinter Cell: Double Agent Walkthrough - Splinter Cell-Double-Agent 0

Read this final email from his daughter, Sarah.

Splinter Cell: Double Agent Walkthrough - Splinter Cell-Double-Agent 1

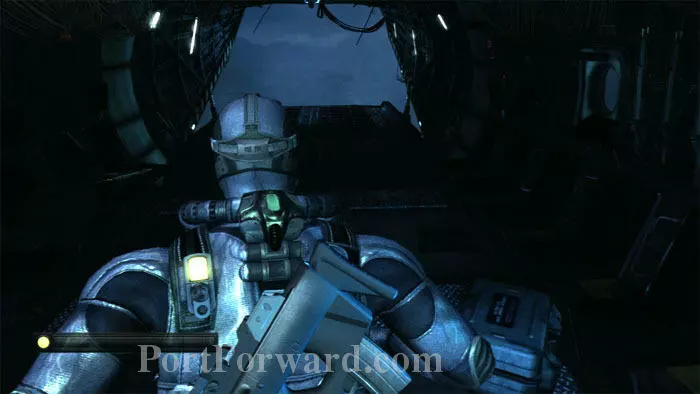
Now you can jump out the back of the plane.

Splinter Cell: Double Agent Walkthrough - Splinter Cell-Double-Agent 2

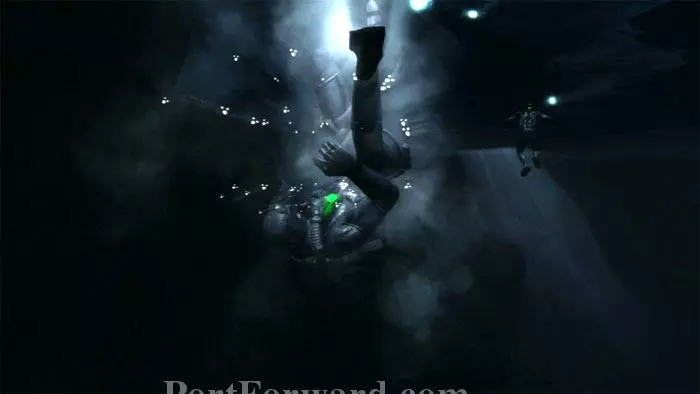
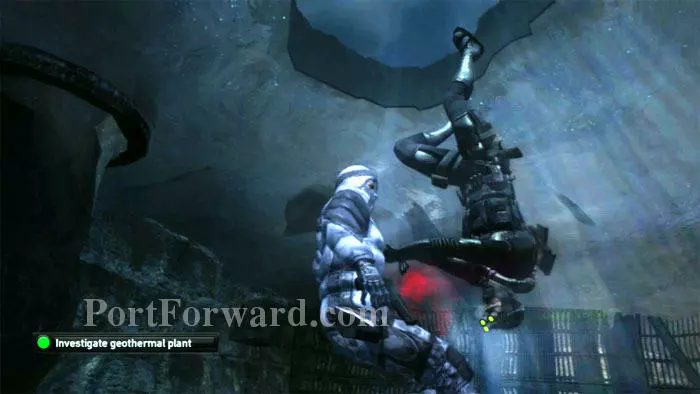
You'll splash into the water. Swim toward John to reach the first checkpoint.

Splinter Cell: Double Agent Walkthrough - Splinter Cell-Double-Agent 3

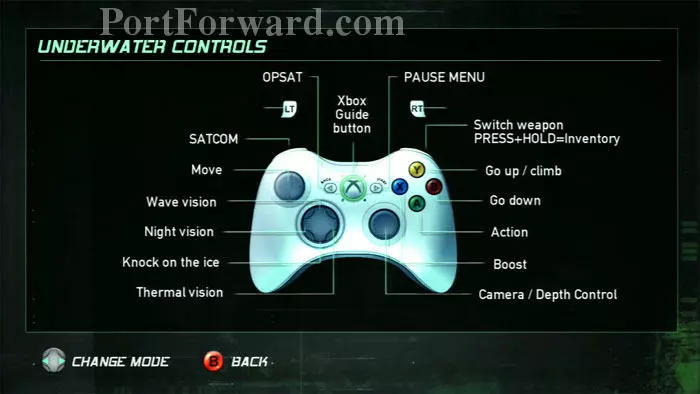
John swims ahead. This is a good time to learn the controls as there are no enemies in the immediate area.

Splinter Cell: Double Agent Walkthrough - Splinter Cell-Double-Agent 4

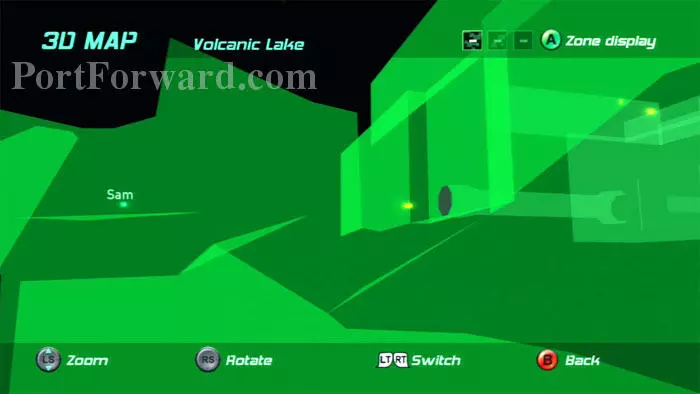
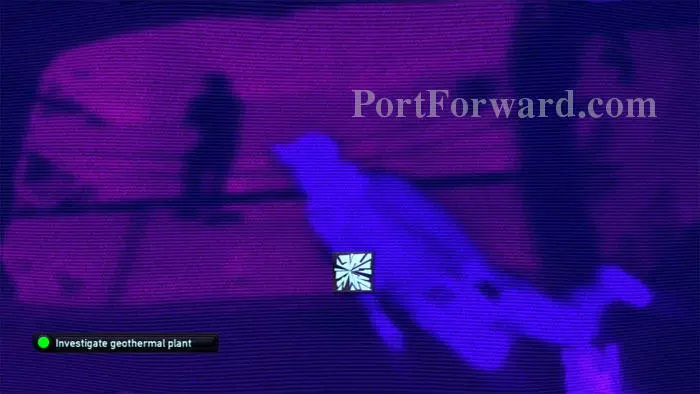
Pull up the 3D Map. John is represented by the yellow dot near the center of this screenshot. Sam is the green dot. The tunnel opening next to John is your immediate destination.

Splinter Cell: Double Agent Walkthrough - Splinter Cell-Double-Agent 5

Be careful to avoid the search lights above. Follow John through the tunnel.

Splinter Cell: Double Agent Walkthrough - Splinter Cell-Double-Agent 6

Two guards patrol the ice. John kills this first one by cutting the ice and pulling him through.

Splinter Cell: Double Agent Walkthrough - Splinter Cell-Double-Agent 7

Taking out the second guard is up to you. Swim toward this lighted area, indicating a thinning of the ice. (Pressing "Y" will swim up, "B" will swim down.) When you see the icon above, pressing the whistle key will instead tap on the ice.

Splinter Cell: Double Agent Walkthrough - Splinter Cell-Double-Agent 8

This attracts the guard, allowing you to pull him through.

Splinter Cell: Double Agent Walkthrough - Splinter Cell-Double-Agent 9

If you prefer a non-lethal alternative, your Wave-vision mode helps spot the guard above the ice, allowing you to break the ice while he's at a safe distance.

Splinter Cell: Double Agent Walkthrough - Splinter Cell-Double-Agent 10

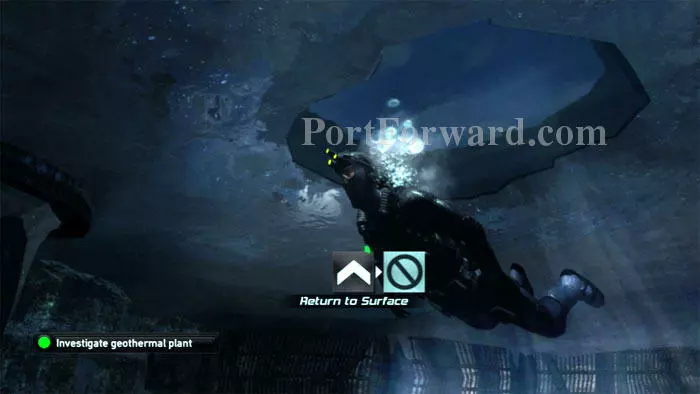
Select this icon to return to the surface, then press "Y" to pull yourself onto the ice.

Splinter Cell: Double Agent Walkthrough - Splinter Cell-Double-Agent 11

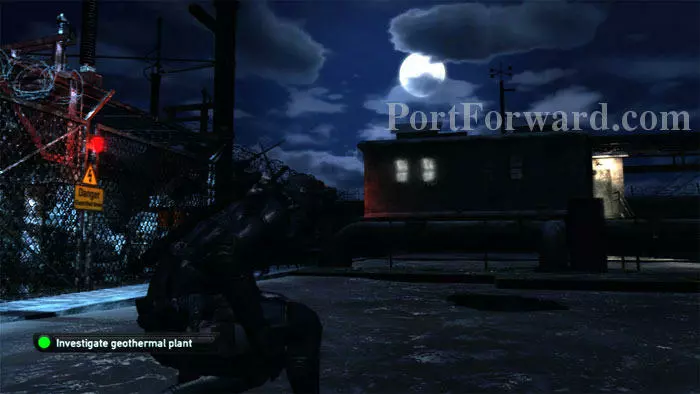
Pause here and listen to Lambert. Note the electrified fence on the left; you must deactivate it. The lighted doorway on the right is your next destination.

Splinter Cell: Double Agent Walkthrough - Splinter Cell-Double-Agent 12

This is a good time to check out the above-water controls.

Splinter Cell: Double Agent Walkthrough - Splinter Cell-Double-Agent 13

Your SC Pistol's alternate fire will temporarily disable the light above the door. This isn't necessary as the immediate area is clear of guards but it's good practice in case you're rusty.

Splinter Cell: Double Agent Walkthrough - Splinter Cell-Double-Agent 14

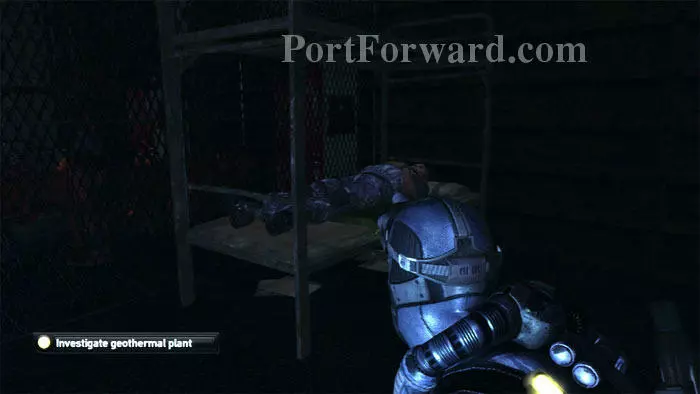
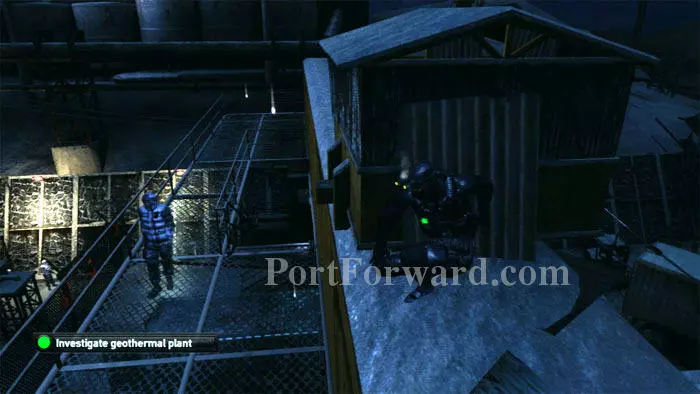
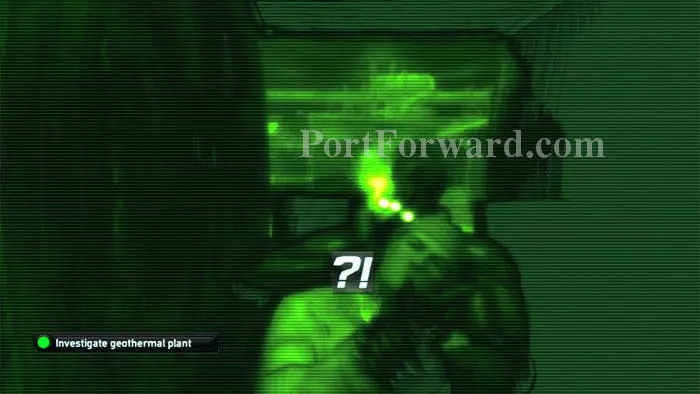
Beware this sleeping guard. Using a light switch to the left will darken the room if you like, but isn't necessary.

Splinter Cell: Double Agent Walkthrough - Splinter Cell-Double-Agent 15

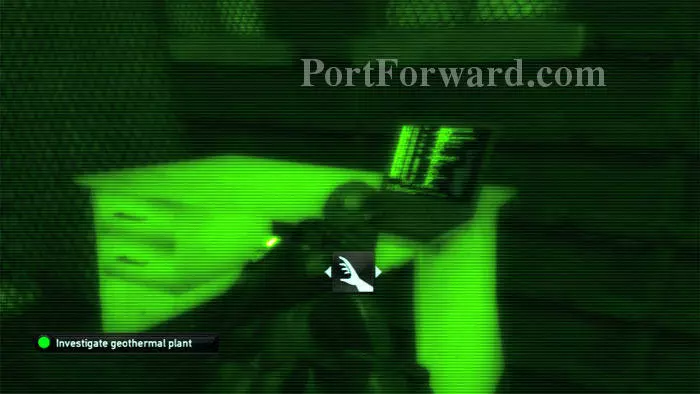
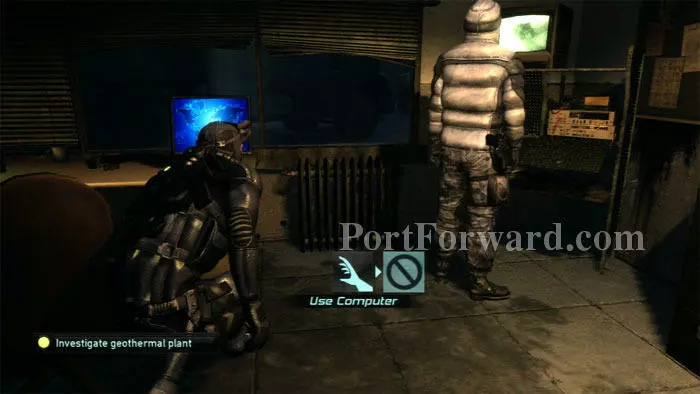
This computer has an email about the electrified fence. It mentions a power box inside this guardhouse that can power down the electrified fence.

Splinter Cell: Double Agent Walkthrough - Splinter Cell-Double-Agent 16

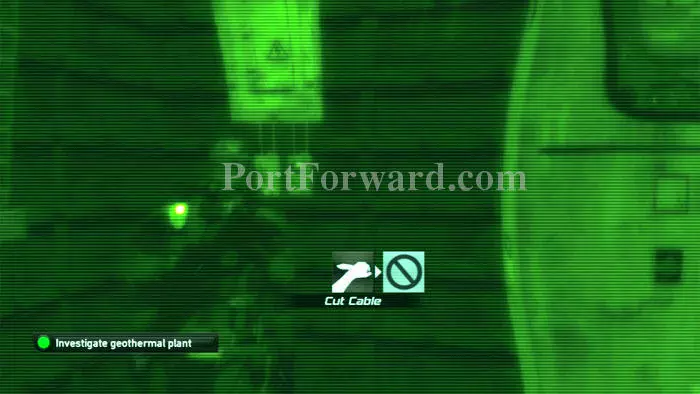
The power box is to the right. Cut the cable to power down the fence.

Splinter Cell: Double Agent Walkthrough - Splinter Cell-Double-Agent 17

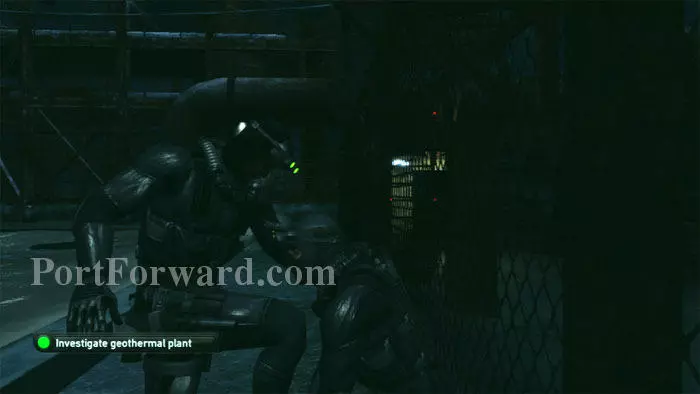
Exit the way you came then find John along the fence on the right. Approach and Sam will hoist him over the now-deactivated fence.

Splinter Cell: Double Agent Walkthrough - Splinter Cell-Double-Agent 18

Climb the fence and move slightly to the left to reach the other side.

Splinter Cell: Double Agent Walkthrough - Splinter Cell-Double-Agent 19

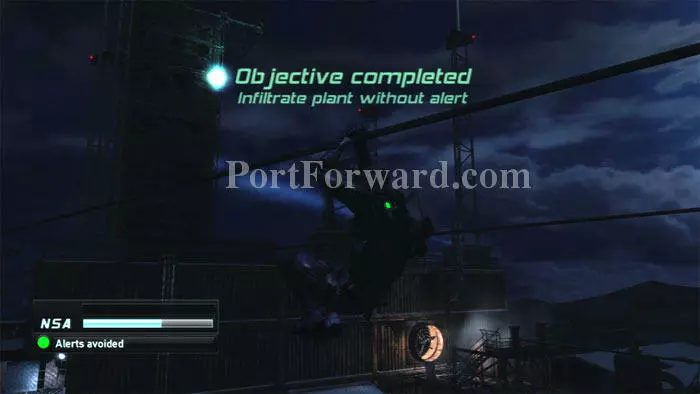
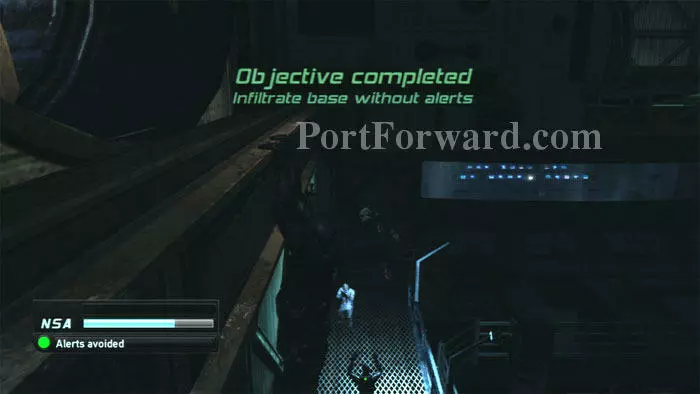
Climb a ladder to your left then use this zip line to complete the objective.

Splinter Cell: Double Agent Walkthrough - Splinter Cell-Double-Agent 20

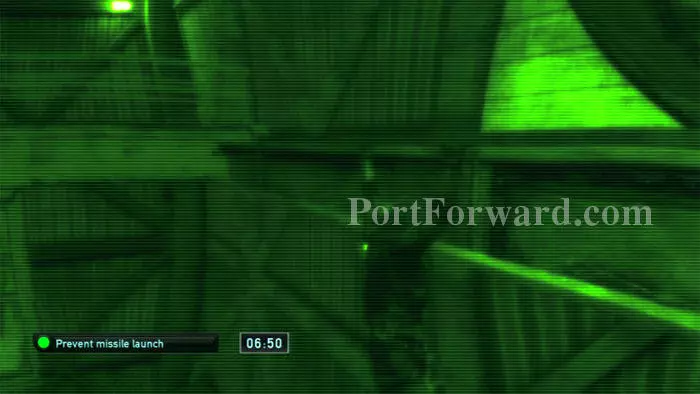
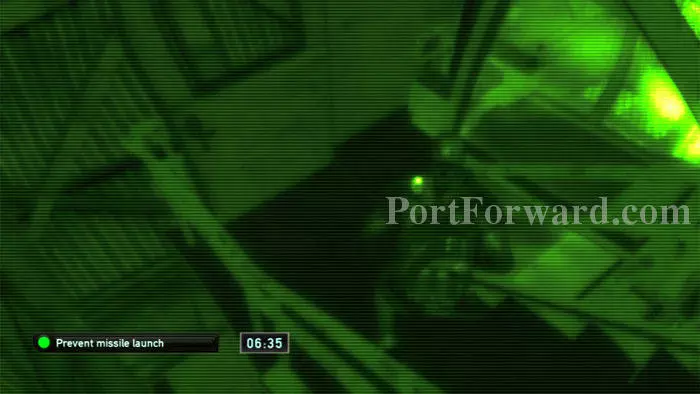
Pause here and listen to Lambert order John to interrupt the air vent (the large circle lit up straight ahead).

Splinter Cell: Double Agent Walkthrough - Splinter Cell-Double-Agent 21

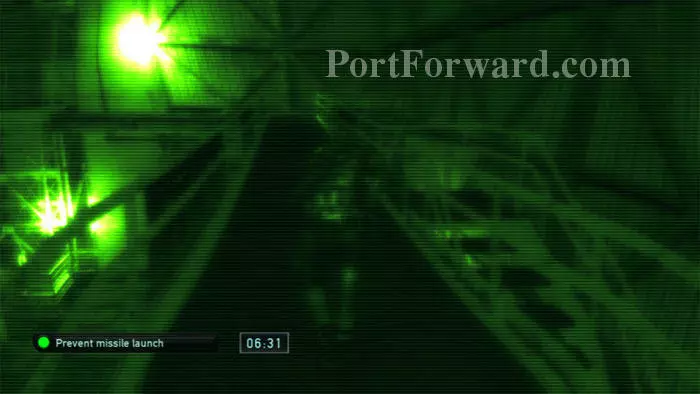
Drop to this position and observe the guard below. You can jump him when he's directly beneath you. If you're going for a perfect stealth score, wait until he's a safe distance then quietly drop below (press "B" before your feet touch down). Quietly descend the first flight of stairs.

Splinter Cell: Double Agent Walkthrough - Splinter Cell-Double-Agent 22

Rather than continue down the well-lit stairs, jump over this railing.

Splinter Cell: Double Agent Walkthrough - Splinter Cell-Double-Agent 23

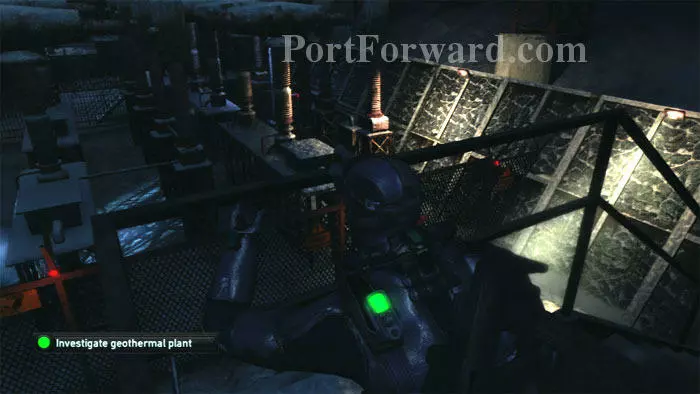
Drop to the top of the shipping container below, then patiently wait for the guards to walk a safe distance before dropping to the ground. There are now three ways to proceed. The first is quite difficult, and requires you to enter through the indicated doorway.

Splinter Cell: Double Agent Walkthrough - Splinter Cell-Double-Agent 24

Slowly approach the computer, keeping left so as not to allow the guard to see you or your shadow. Use the computer to read an email and open the gate outside.

Splinter Cell: Double Agent Walkthrough - Splinter Cell-Double-Agent 25

Then, the gates will open.

Splinter Cell: Double Agent Walkthrough - Splinter Cell-Double-Agent 26

The second option is to interrogate one of the guards to learn the gate code 1977. The guard posted at the shipping container is easiest to grab, and his body can be concealed inside the container. Remember Left Trigger will knock him out, Right Trigger will kill him.

Splinter Cell: Double Agent Walkthrough - Splinter Cell-Double-Agent 27

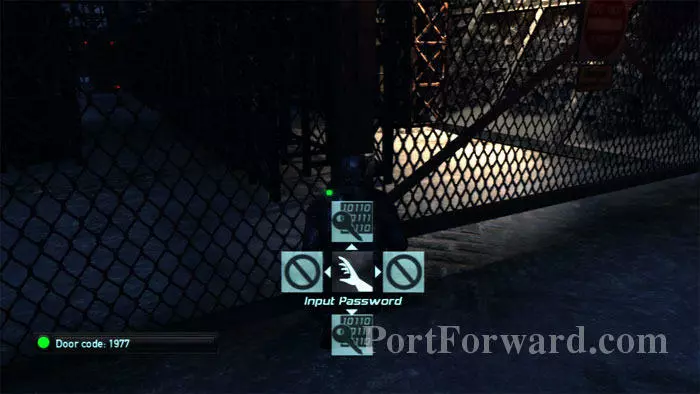
You can then enter the code 1977 into the keypad here, and the gate will open. You may wish to disable the nearby light, first.

Splinter Cell: Double Agent Walkthrough - Splinter Cell-Double-Agent 28

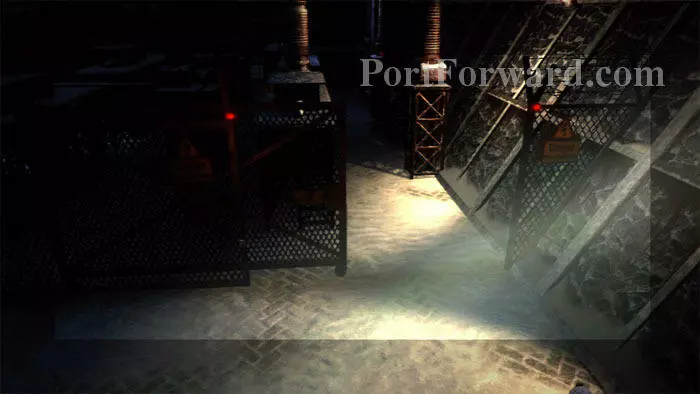
The third option (my favorite) is to cut the cable indicated ahead. Note the light directly above the cable.

Splinter Cell: Double Agent Walkthrough - Splinter Cell-Double-Agent 29

Cutting the cable disables this electrified fence to the right. Climb over to avoid the gate altogether.

Splinter Cell: Double Agent Walkthrough - Splinter Cell-Double-Agent 30

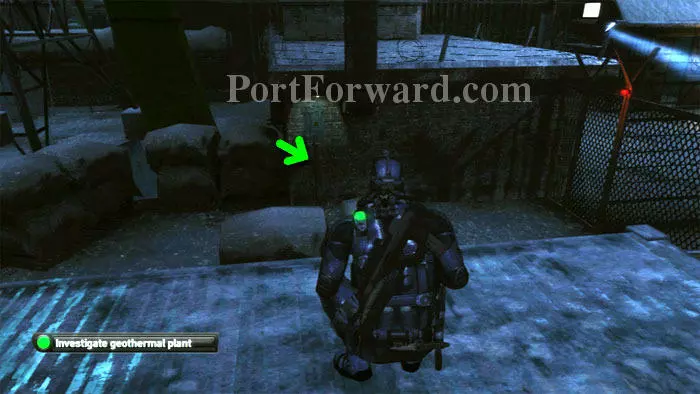
Wait for the search light to move on, then scurry to the far corner, straight ahead.

Splinter Cell: Double Agent Walkthrough - Splinter Cell-Double-Agent 31

Wait for the guard to move on, then climb the indicated ladder.

Splinter Cell: Double Agent Walkthrough - Splinter Cell-Double-Agent 32

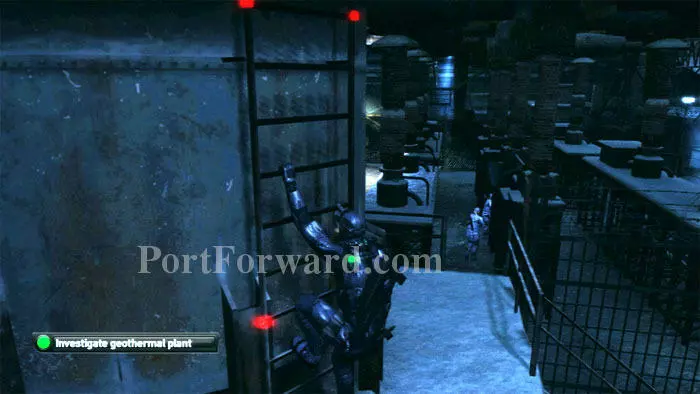
Climb this ladder as well.

Splinter Cell: Double Agent Walkthrough - Splinter Cell-Double-Agent 33

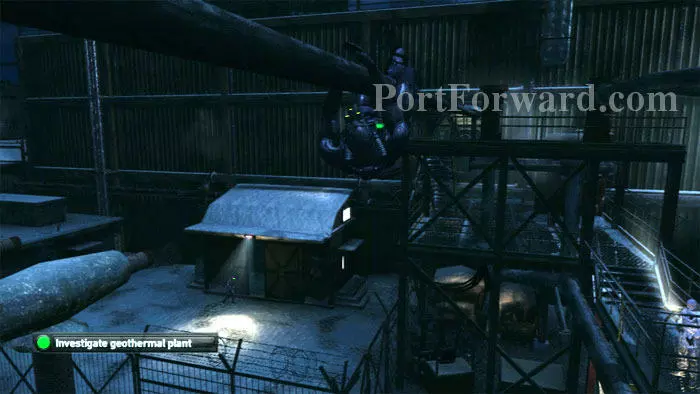
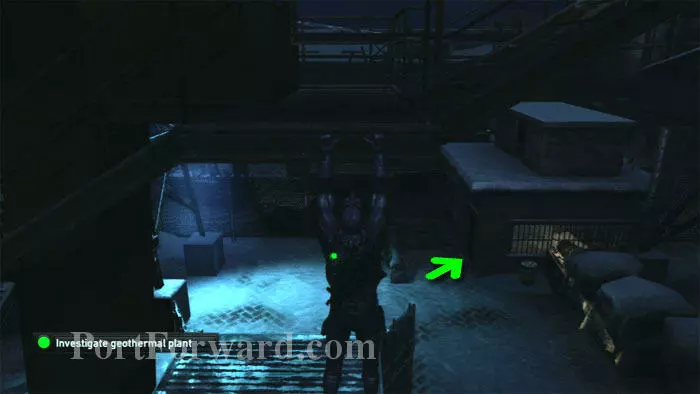
Jump up to this pipe, then follow it across to the other side then climb over the railing to the checkpoint. You can just see John cutting a dangerous path to the doorway below.

Splinter Cell: Double Agent Walkthrough - Splinter Cell-Double-Agent 34

Climb through the fan to complete the objective - and to witness John's foolish fate.

Splinter Cell: Double Agent Walkthrough - Splinter Cell-Double-Agent 35

Shimmy left, then climb over the railing.

Splinter Cell: Double Agent Walkthrough - Splinter Cell-Double-Agent 36

Two stairways are found here, each leading to a different solution. My preference is to take the nearby stairs, but I'll start by showing you the path that follows from the stairs at the far end of the walkway.

Splinter Cell: Double Agent Walkthrough - Splinter Cell-Double-Agent 37

Follow the stairs all the way to the bottom, careful to shadow the patrol. Once you reach the bottom, proceed as indicated.

Splinter Cell: Double Agent Walkthrough - Splinter Cell-Double-Agent 38

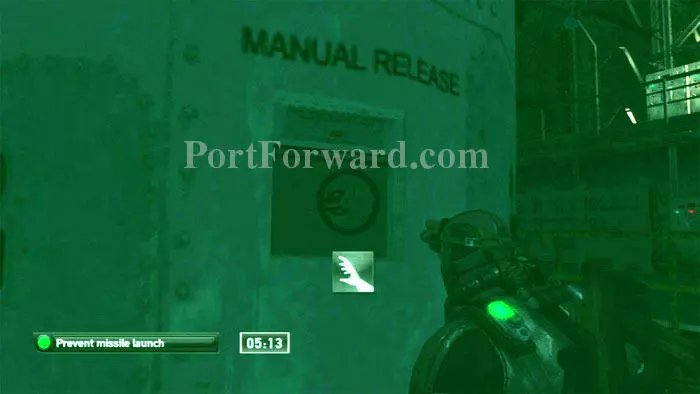
Use this valve to activate the manual release.

Splinter Cell: Double Agent Walkthrough - Splinter Cell-Double-Agent 39

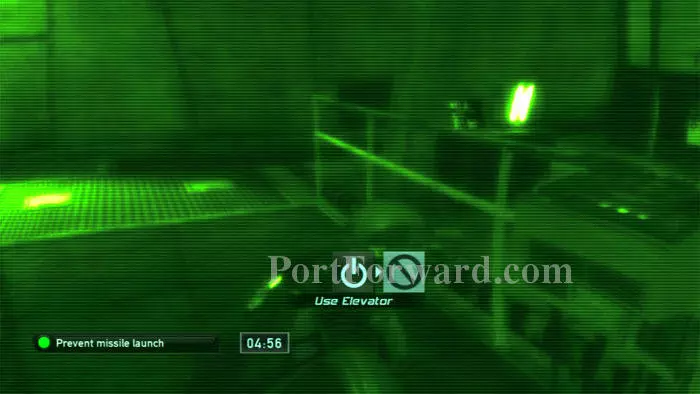
Backtrack a short distance to use this elevator.

Splinter Cell: Double Agent Walkthrough - Splinter Cell-Double-Agent 40

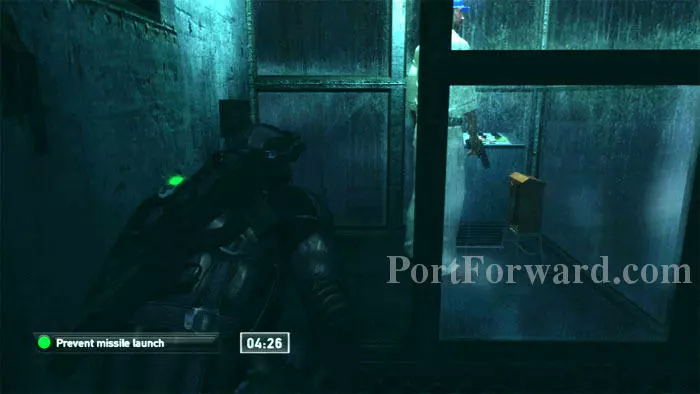
Enter this nearby booth and either grab the guard inside or distract him with a whistle. Use the console to extend the missile bridge.

Splinter Cell: Double Agent Walkthrough - Splinter Cell-Double-Agent 41

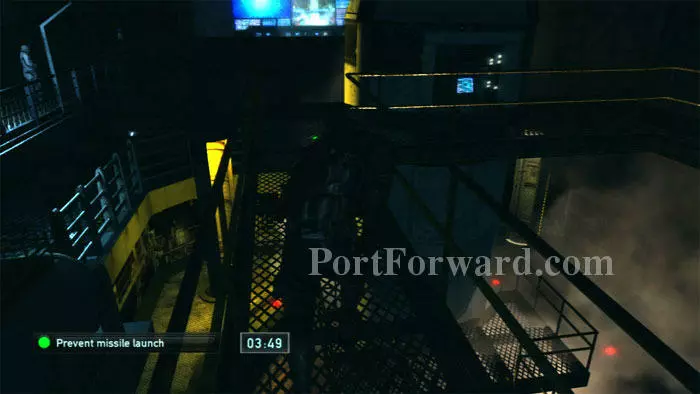
Walk across the bridge to the console ahead/right. You can now jump ahead as this is where the two paths converge.

Splinter Cell: Double Agent Walkthrough - Splinter Cell-Double-Agent 42

Here's the second path, preferred by me. Descend the nearby stairs and enter the crane control booth. Use the control to move the crane.

Splinter Cell: Double Agent Walkthrough - Splinter Cell-Double-Agent 43

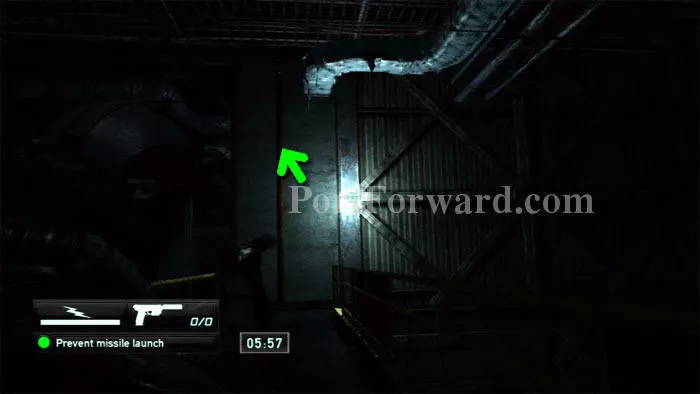
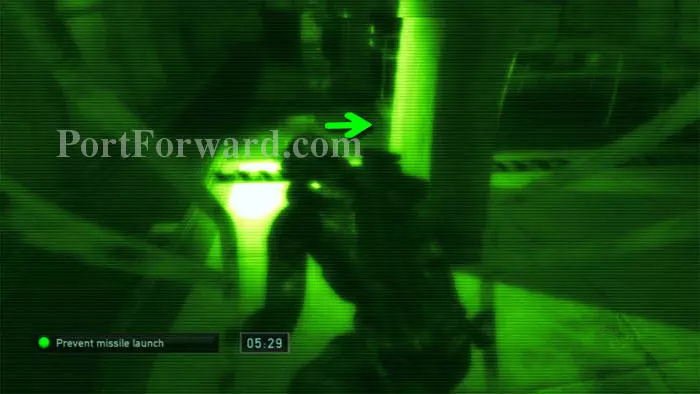
Wait for the crane to stop then climb the stairs and turn right. Disable this light then climb the indicated pipe.

Splinter Cell: Double Agent Walkthrough - Splinter Cell-Double-Agent 44

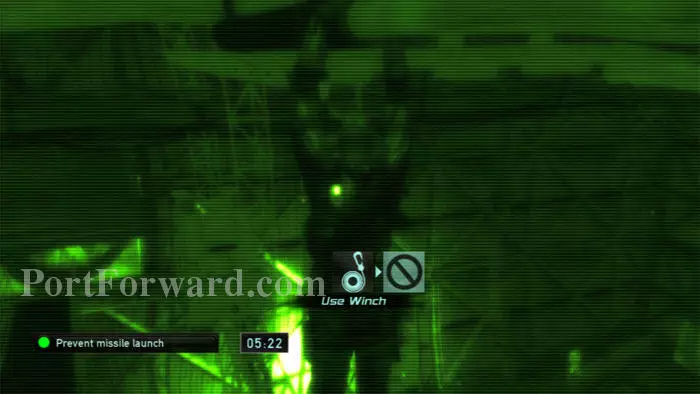
Follow the pipe to this position where you can use your winch.

Splinter Cell: Double Agent Walkthrough - Splinter Cell-Double-Agent 45

Descend the winch carefully. This guard has moved into position directly beneath you. You can either grab him and kill him, or repeatedly whistle and ascend the winch until he moves away. I found it helpful to return to the pipe and continue left and whistle to get him to scoot.

Splinter Cell: Double Agent Walkthrough - Splinter Cell-Double-Agent 46

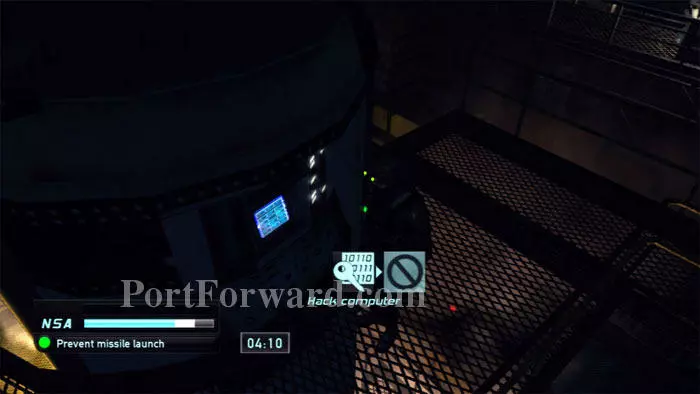
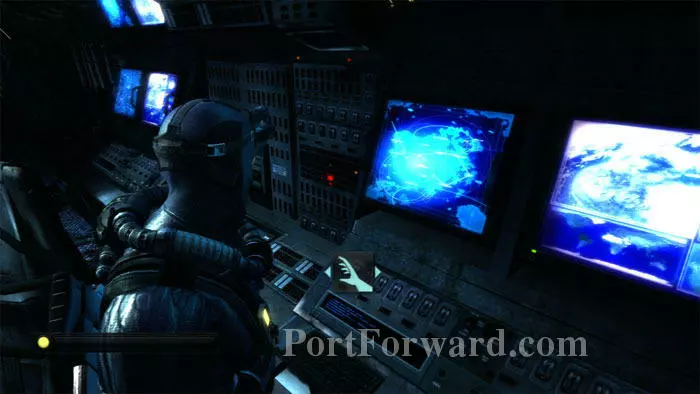
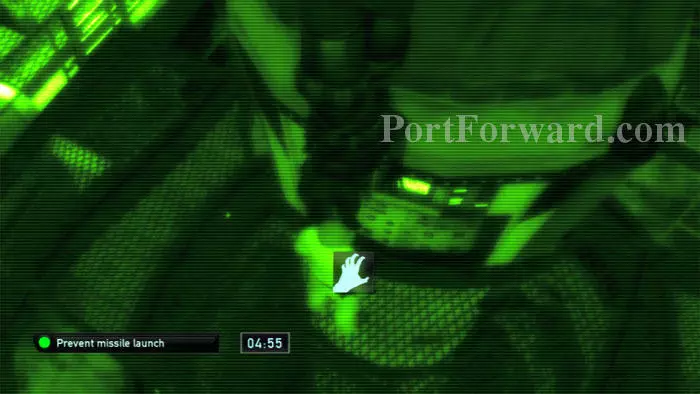
You're now at the same spot regardless of which path you chose. Hack the computer to prevent the missile launch and complete the objective.

Splinter Cell: Double Agent Walkthrough - Splinter Cell-Double-Agent 47

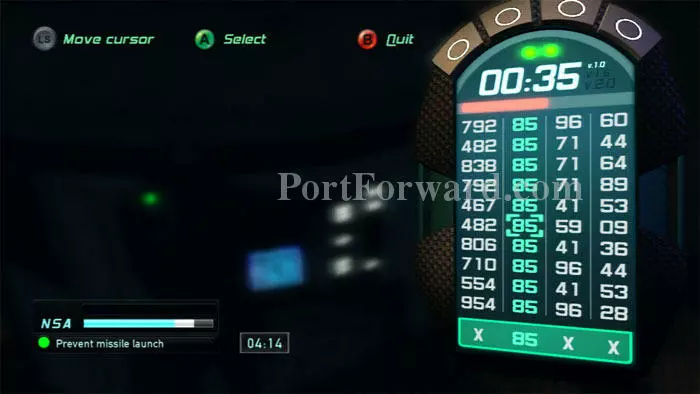
To hack the computer, select the static number in each column.

Splinter Cell: Double Agent Walkthrough - Splinter Cell-Double-Agent 48

Climb this ladder to the right.

Splinter Cell: Double Agent Walkthrough - Splinter Cell-Double-Agent 49

Head left then wait for this rope to be drop to get out of there.

More Splinter Cell: Double Agent Walkthroughs

This Splinter Cell: Double Agent walkthrough is divided into 11 total pages.

More From Portforward