
This Dark Souls walkthrough is divided into 9 total pages.
You can jump to nearby pages of the game using the links above.
Dark Souls Basics & First Bell
"Welcome to Portforward's Dark Souls guide. In this guide I'll go through on just how to get to the game ending along with including a few pointers towards some powerful, hidden items.
When you're all done remembering the controls, go ahead and click "New Game" to come to the character creation screen.
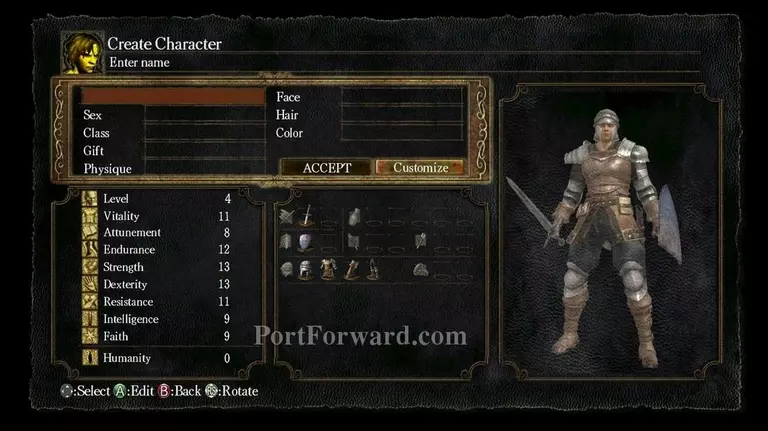
In this window, you'll be able to customize your characters apperance, gender, pick his/her class and more.
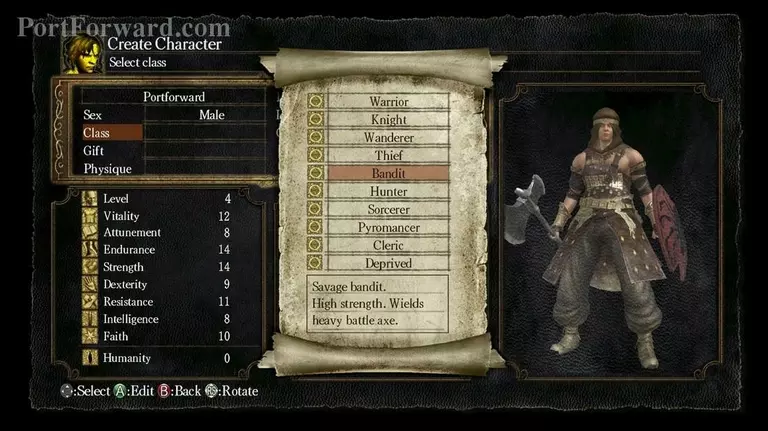
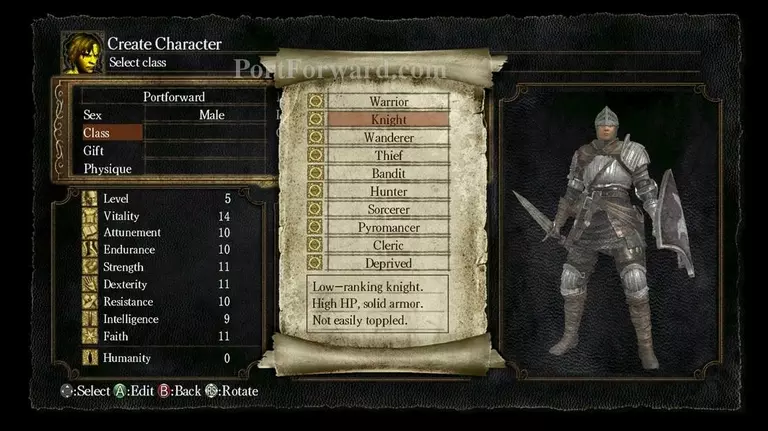
"There are a large variety of "Classes" although Dark Souls is a game where you develop your character by playing him/her, so your class choice does not matter that much apart from some minor starting stats and gear.
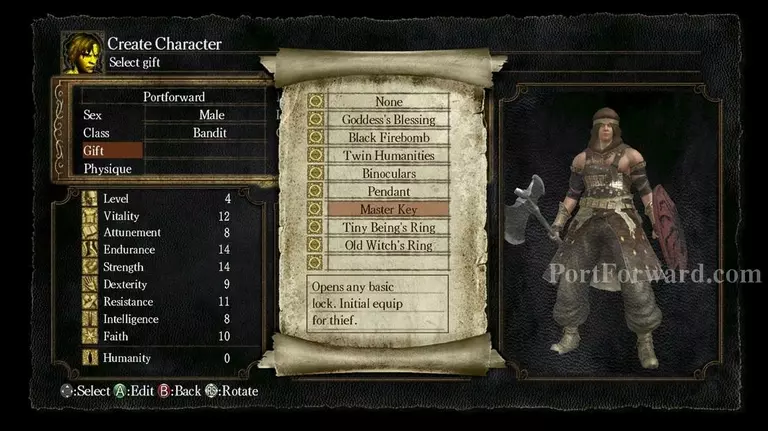
"IMPORTANT: Be SURE to choose Master Key when picking out your Gift. Gifts are starting items that can be aquired in-game but can also be chosen here in this screen to be available the moment you start.
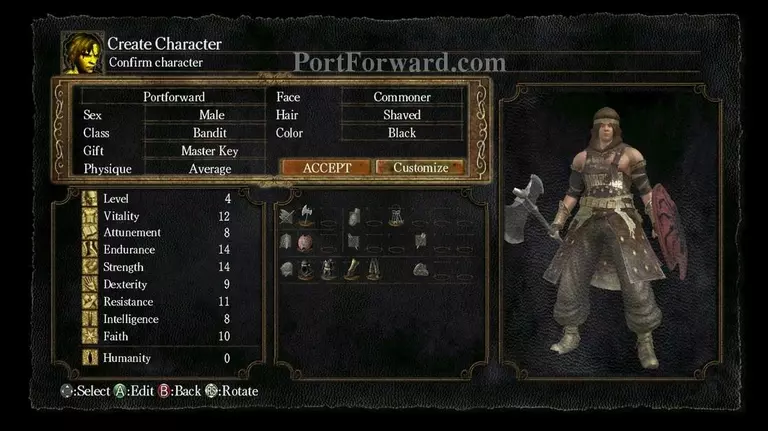
When done creating your character, go ahead and Accept the changes and start the game.
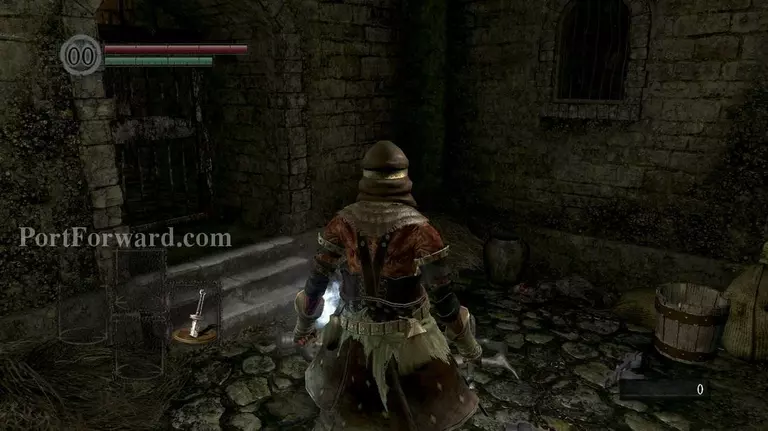
You start out by being locked into a small jail cell. Luckily, a stranger just threw down a corpse through a hatch in the ceiling. Loot the corpse and get the key.

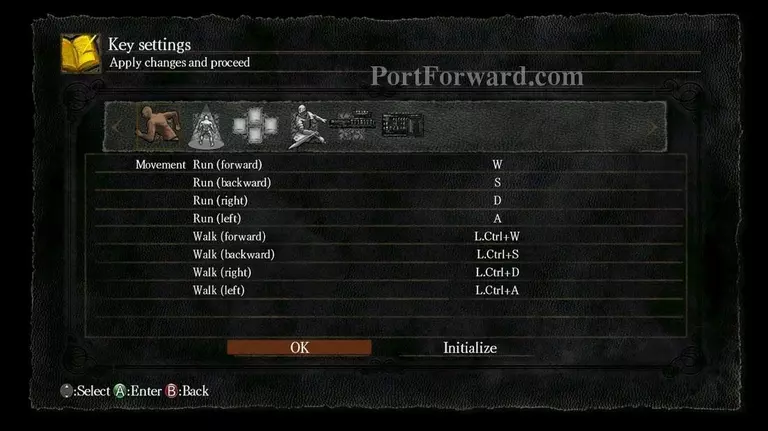
If on the PC, (Q) should be your default interaction key. Open the cell door and move on ahead.
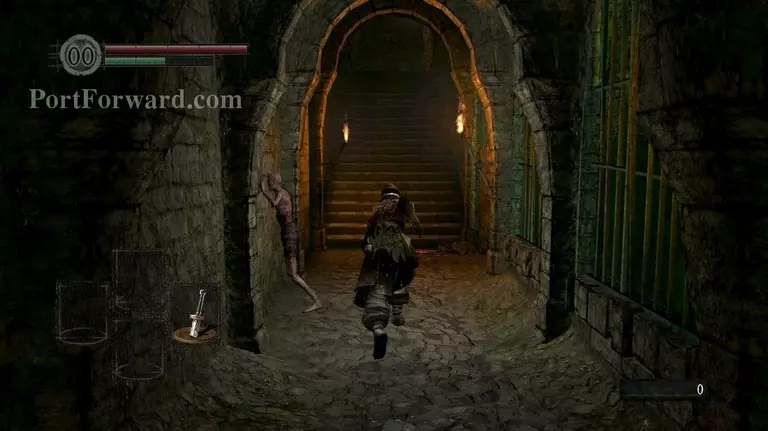
The creatures you see are fellow "Undead". They are humans killed and then cursed with immortality which has corrupted their minds. These in particular are not hostile but future ones will be.
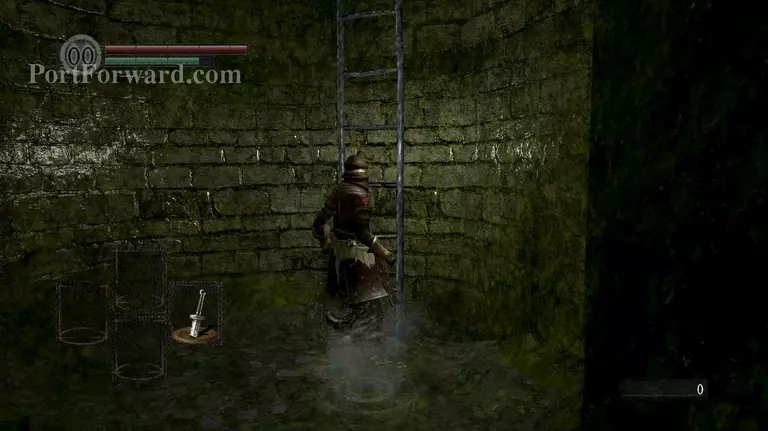
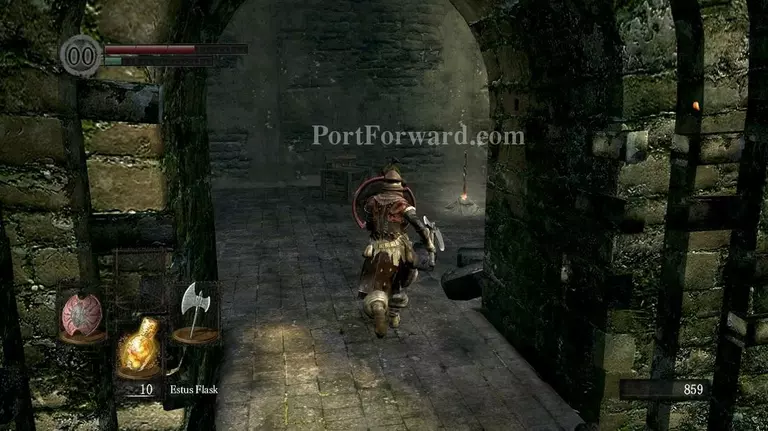
"Move through the sewers and climb up the ladder.
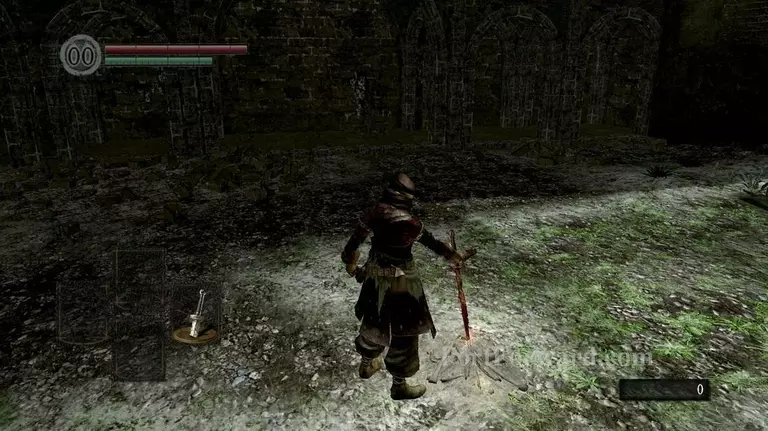
"There will be a pile of ashes along with a glowing sword stuck in it. Run up and interact with it to "Light" the bonfire.
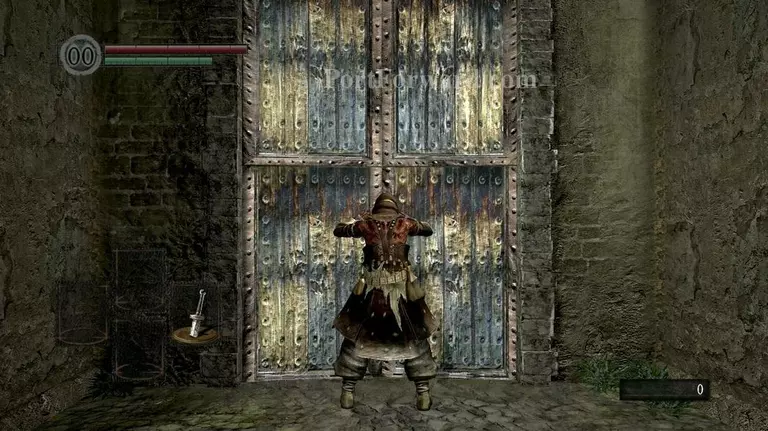
Run up to the gate and open it.
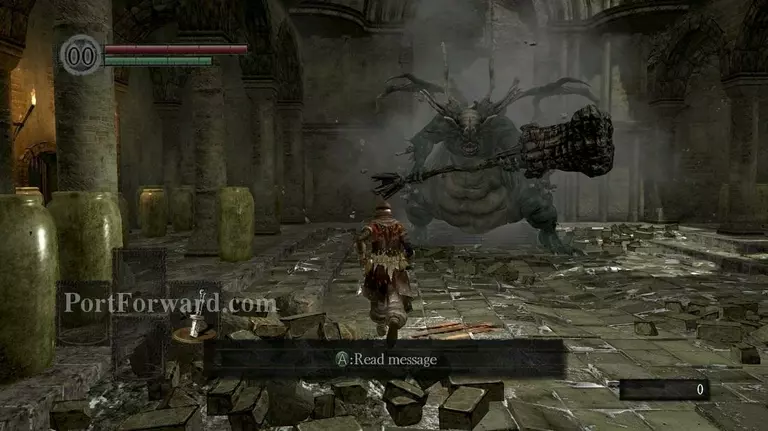
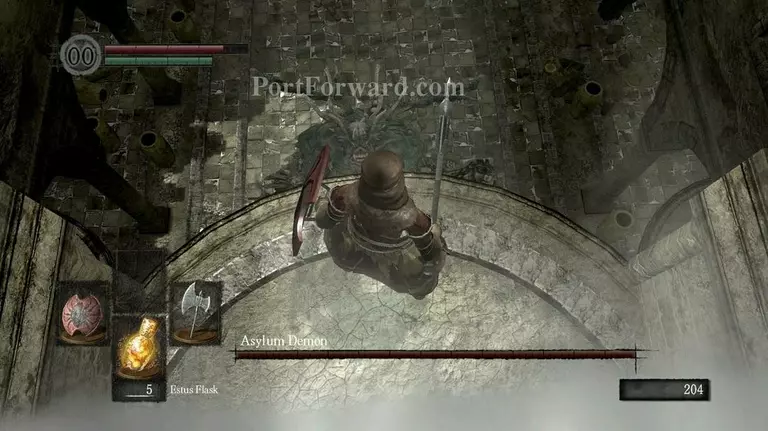
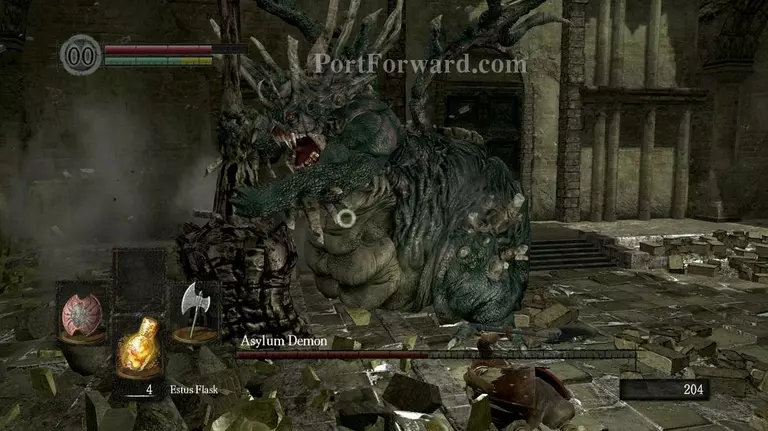
A giant boss-demon appears once you enter inside. Just run to the left for now as he is too much for you to handle right now.
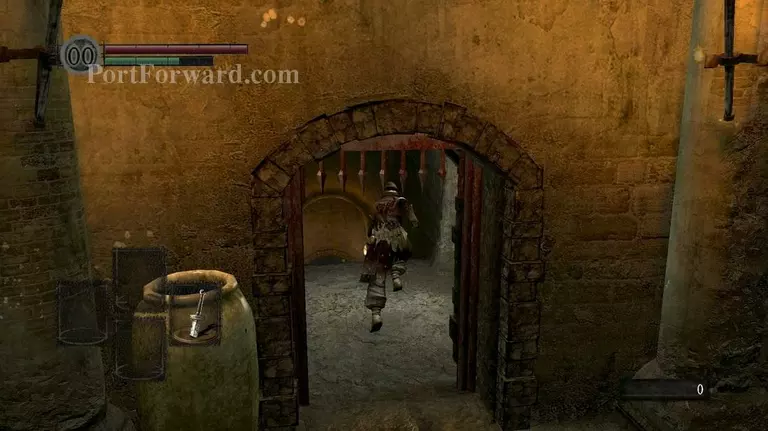
There's gonna be a gate and a small tunnel leading down, enter it quickly or die by the demon.
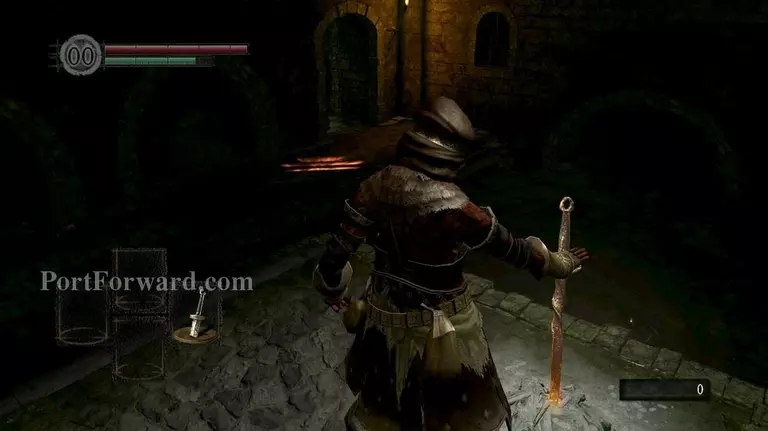
Light the bonfire.
Run up ahead and avoid the arrows being shot at you and loot the nearby corpses.
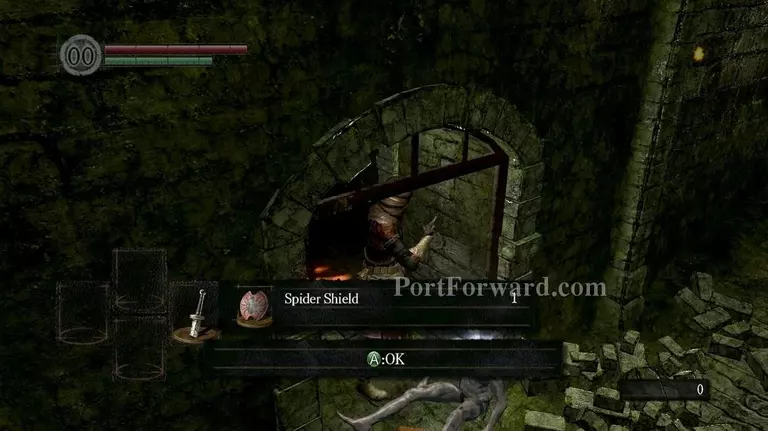
They will contain one shield and one weapon, each being different depending on what class you chose.
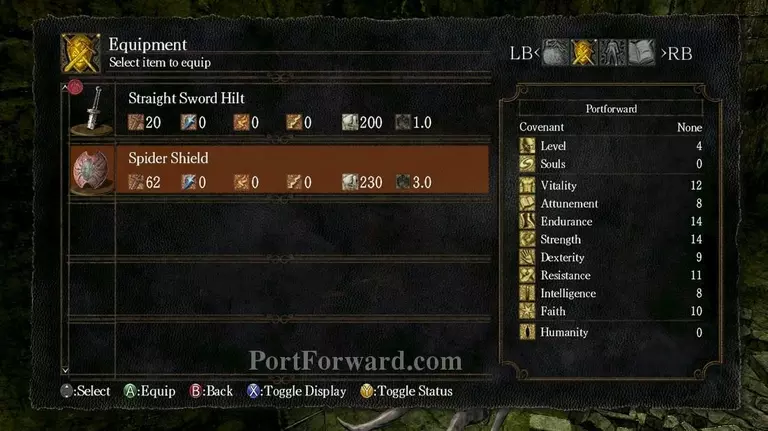
Open up the menu by pressing (END) and equip your newly found goodies.
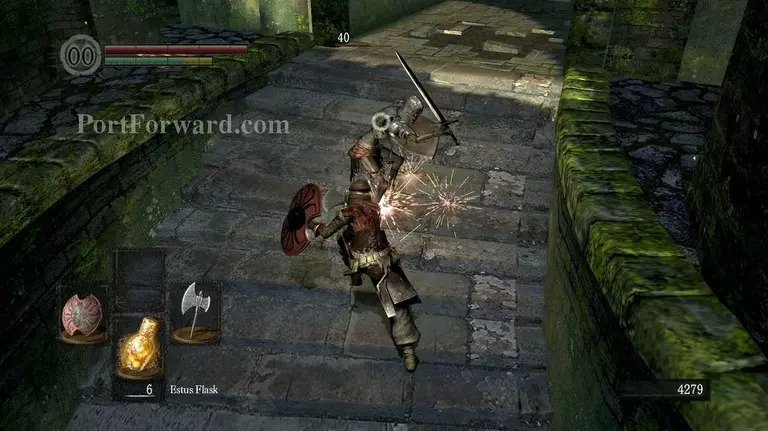
This arrow-shooting enemy will be your real, first killable foe. Enemies in Dark Souls have an extremely complex and random AI that adapts itself to a wide variety of different situations and conditions. Although all enemies have strengths and weaknesses, they are still very unpredictable and you'll have to simply adapt yourself as you play.
One particularly powerful strategy you can use by timing things is a "Backstab". They are executed by running up straight behind an enemy and pressing (M1/Light Swing). This will lock you and a humanoid enemy into an animation..
That leaves you invulnerable while doing massive damage to the foe you're backstabbing, all depending on your current weapon.
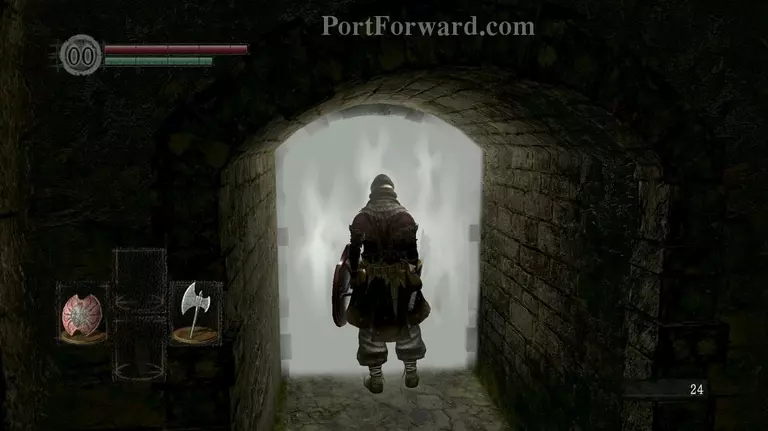
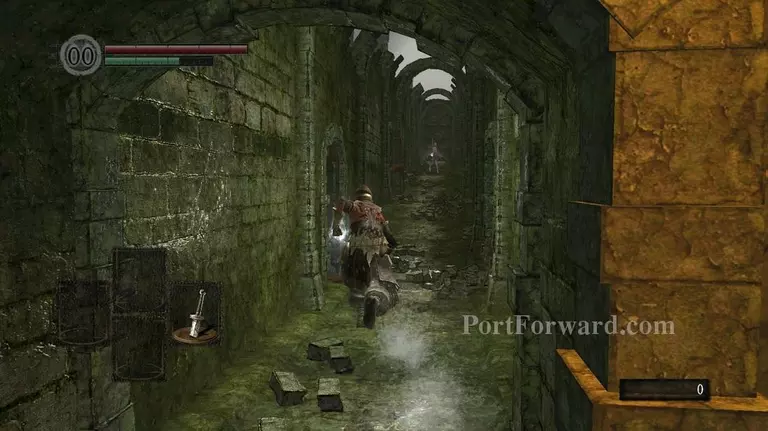
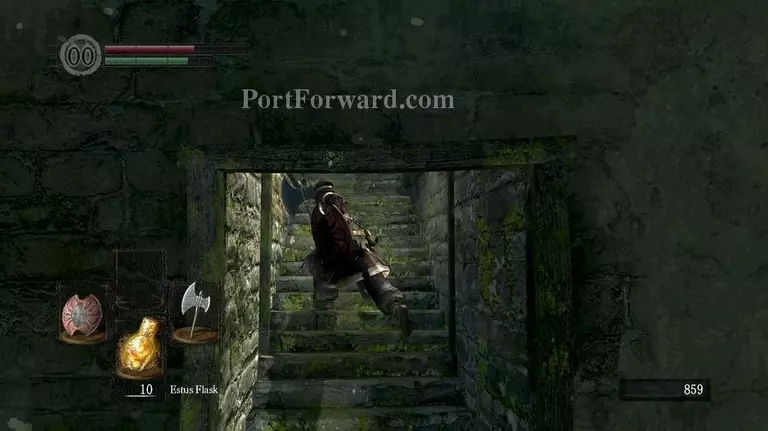
Traverse through the white smoke by pressing (Q).

Go to the right.
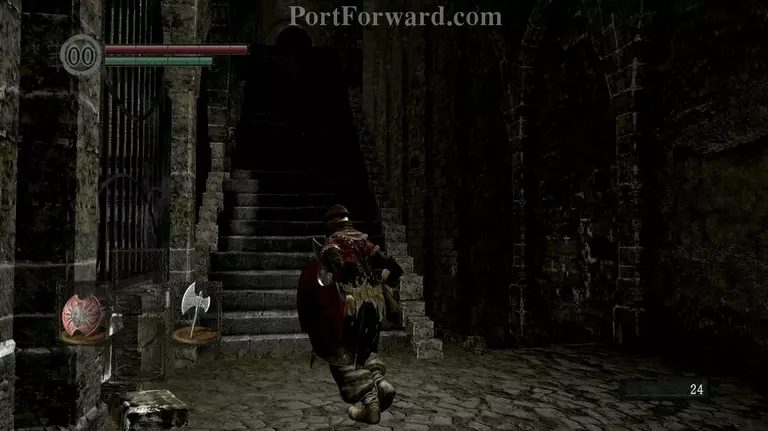
Run up the left pair of stairs about halfway while pressing yourself to the right and then run quickly down again as a huge boulder will suddenly roll down.
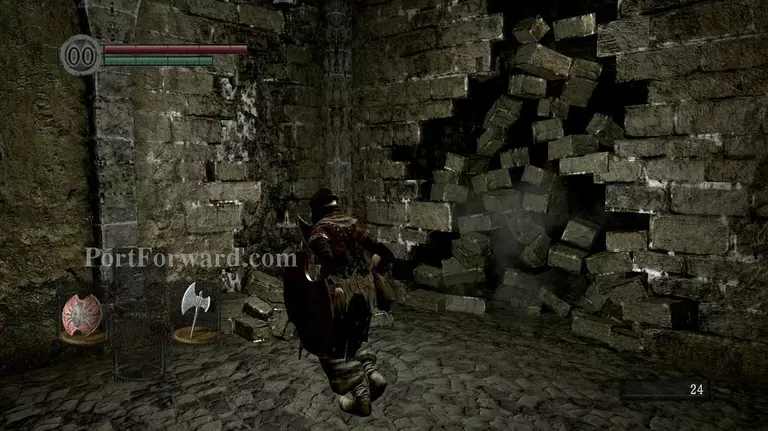
The boulder will smash a big hole into a wall, revealing a secret room.
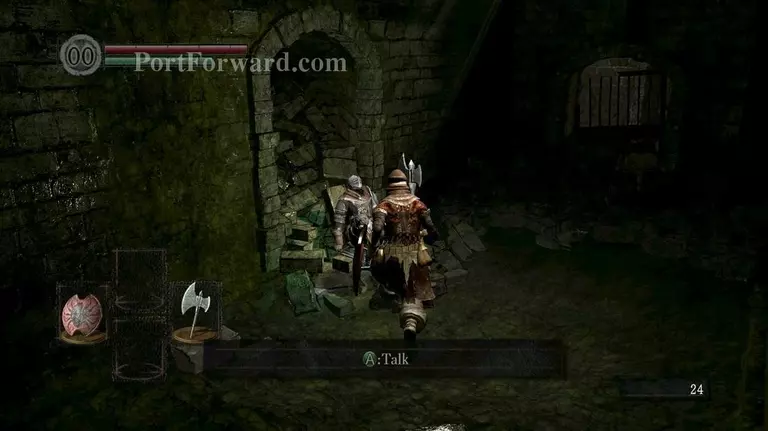
Interact with the NPC there and go through the dialoge. Choose "Yes" when prompted or simply kill the NPC.
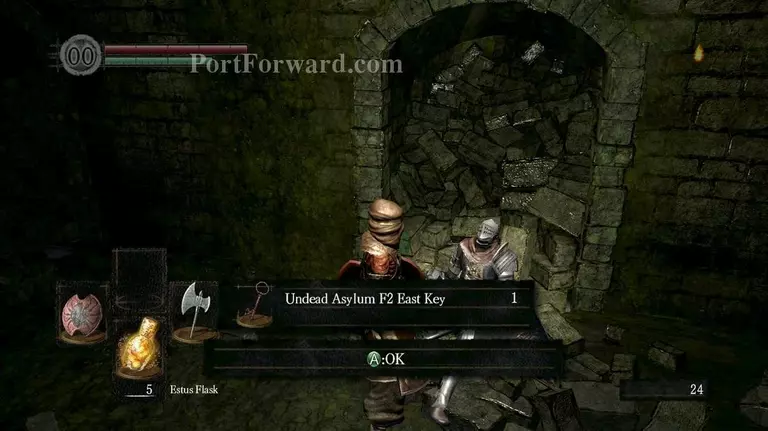
He will give you an item that is essential to your success in this game. An "Estus Flask". It is an repeatedly useable consumable item that heals you when used, restoring precious HP. It is refilled by resting at campfires.
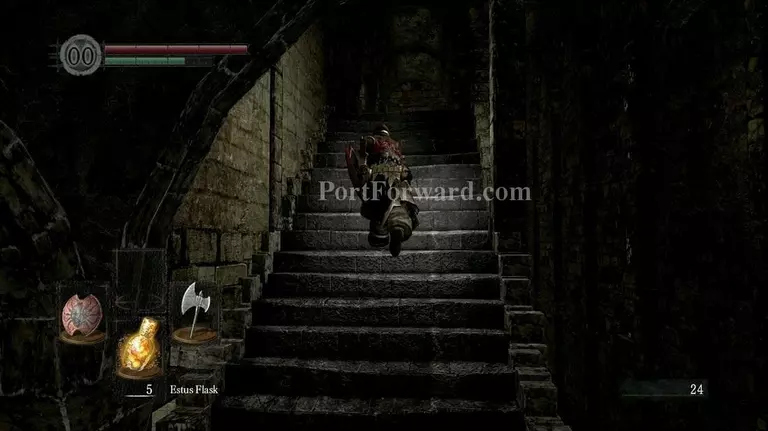
When done at the NPC, run up the stairs and kill the undead that pushed the ball onto you before proceeding through the gate.
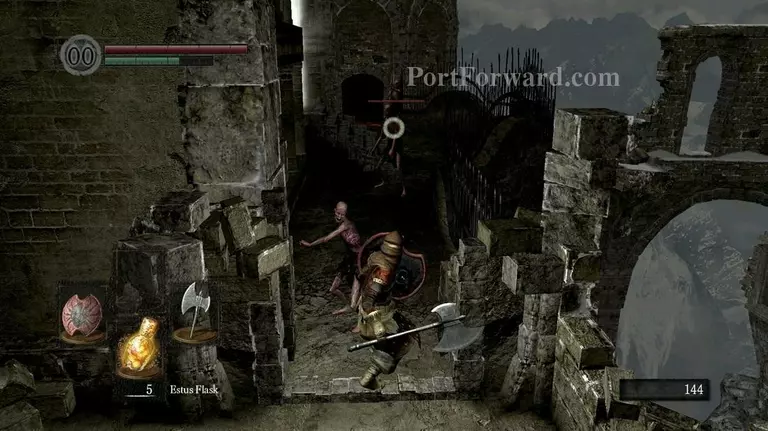
The area ahead will be tricky as your weapon will connect to the wall if you try to swing it vertically. Back off a bit after aggroing the Undeads to have some fighting space.
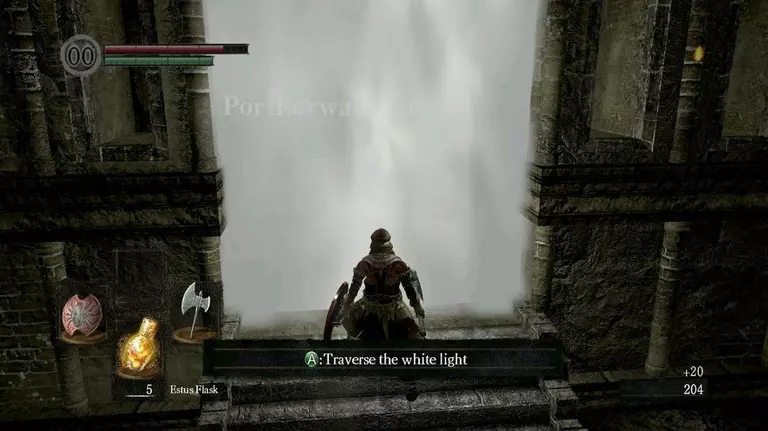
When ready, traverse through the white smoke.
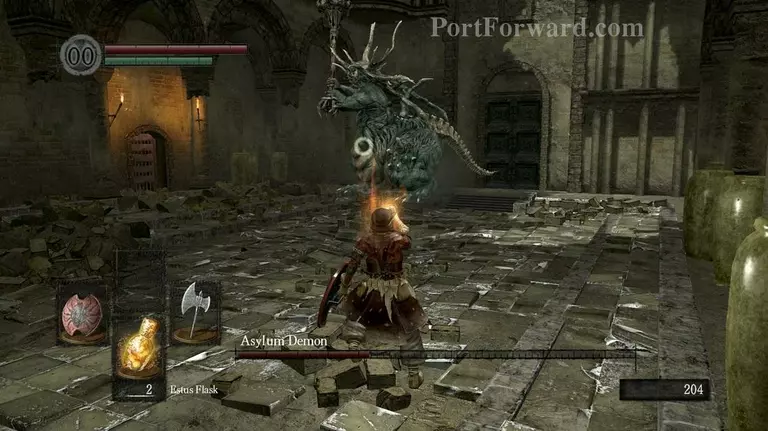
As you traverse, you'll appear on a balcony, staring over the boss you previously ran off. Quickly run off the balcony and press (M1) to execute a dive attack.
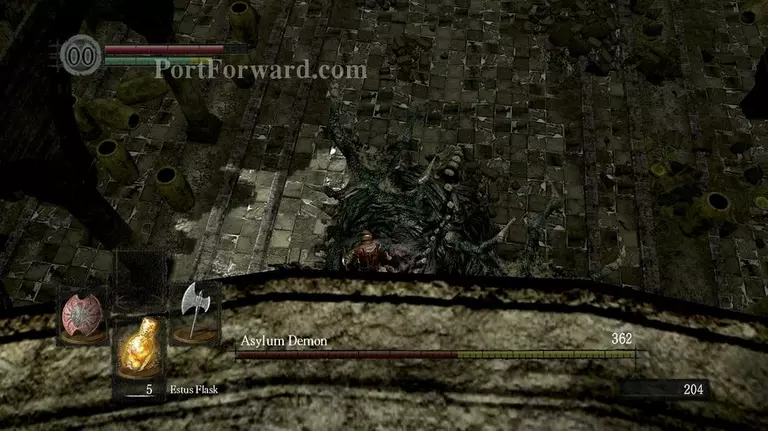
If successfully done, you'll do a massive amount of damage onto the boss while also saving yourself some falldamage.
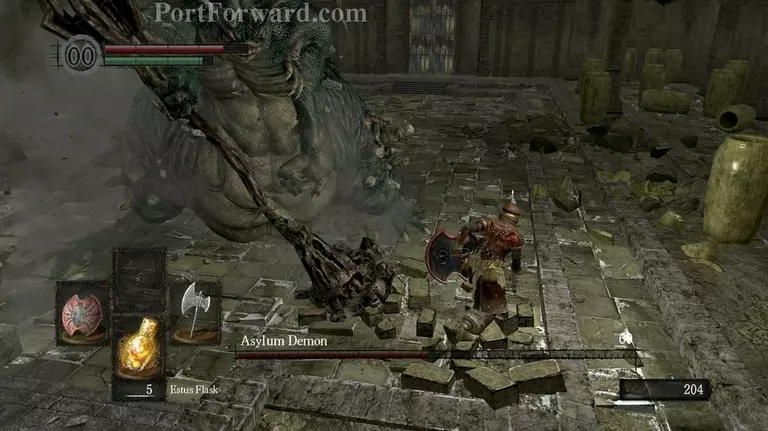
You'll eventually be forced off him to fight on foot. Keep your distance and have your (SPACE) bar ready to do rolls, making you invincible for a short period of time while also quickly relocating your character.
Failing to master the art of rolling will end up with you taking a lot of damage which leads to evident death.
A golden rule in Dark Souls is that knowledge is power. Keeping your distance and learning the moveset of each enemy in the game is invaluable to success.
If you have taken damage, don't hesitate to drink from your Estus flask to restore HP. Just make sure to have some distance between you and the things trying to kill you as you are vulnerable when drinking.
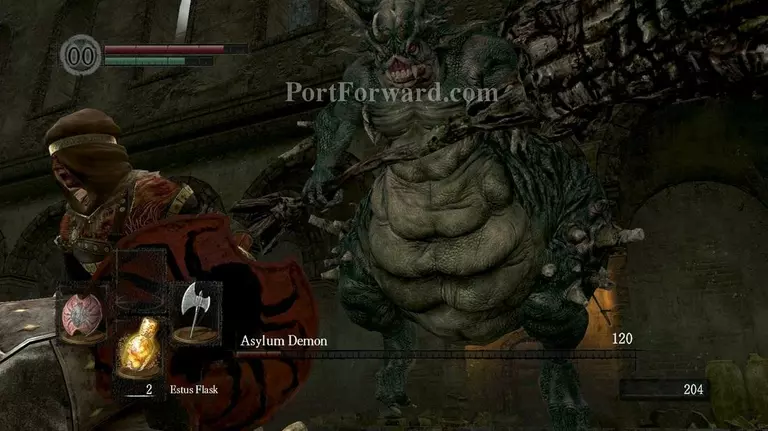
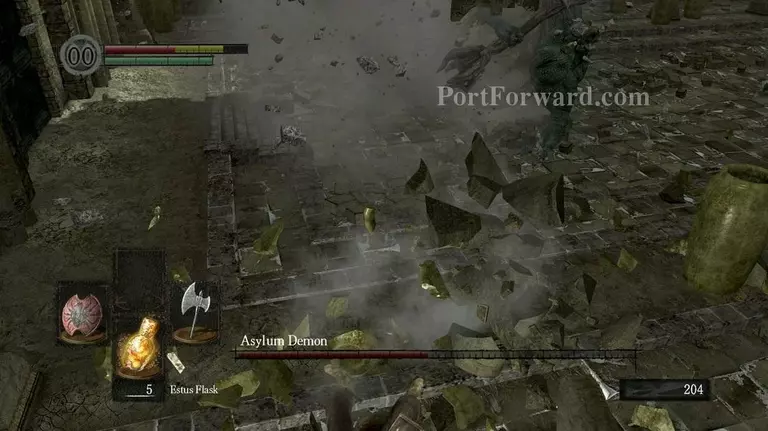
An easy way to defeat the Asylum Demon is to wait for him to fly up into the air for a couple of seconds before clumsily bashing himself down. It leaves you with tons of time to back off a bit before running up and smashing him.
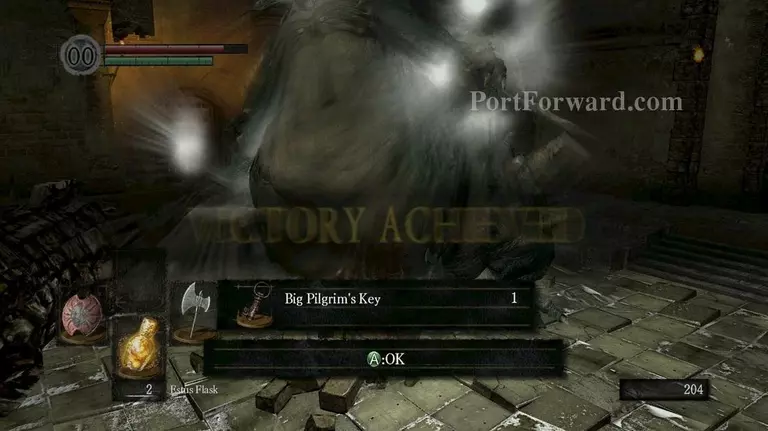
Once defeated, he'll drop a Key.
Go up to the gate behind him and open it up.
Proceed up the hill to escape the Asylum
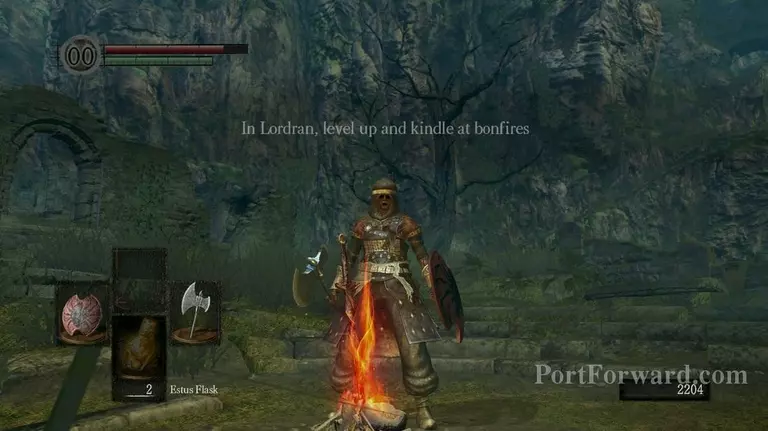
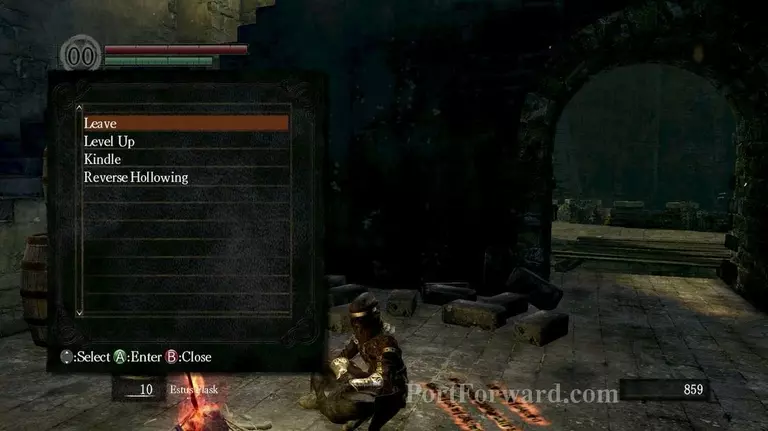
"Once the cinematic is over, you'll find yourself at the Firelink Shrine. It is arguably the center of Dark Souls 1. Rest up at the campfire and feel free to "Level up" by spending some Souls.
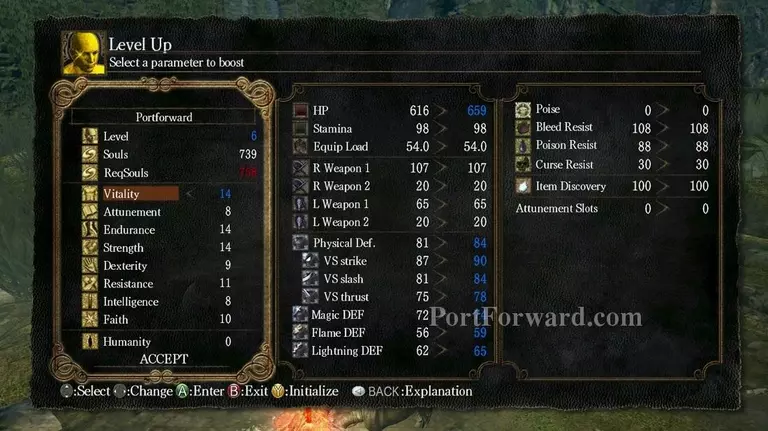
"Dark Souls features a lot of different stats. What you mainly want to focus on is upgrading either Vitality for more HP or Strength so you can use heavier weapons. Endurance is also very useful If you find yourself running out of breath swinging said weapons. It also makes you more able to wear heavier armor.

If you want to follow this guide by a 100%, start out by upgrading your strength a bit.
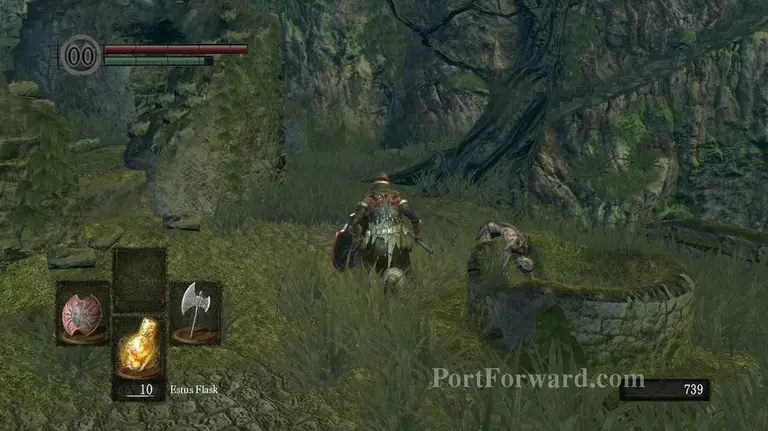
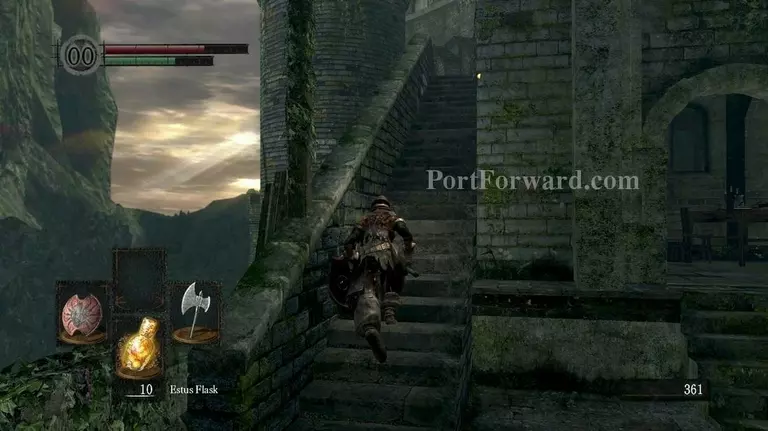
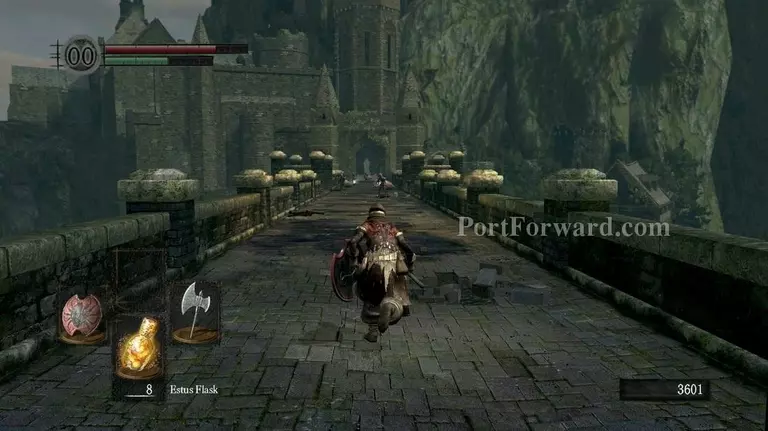
When done, head towards the mountain and take a right.
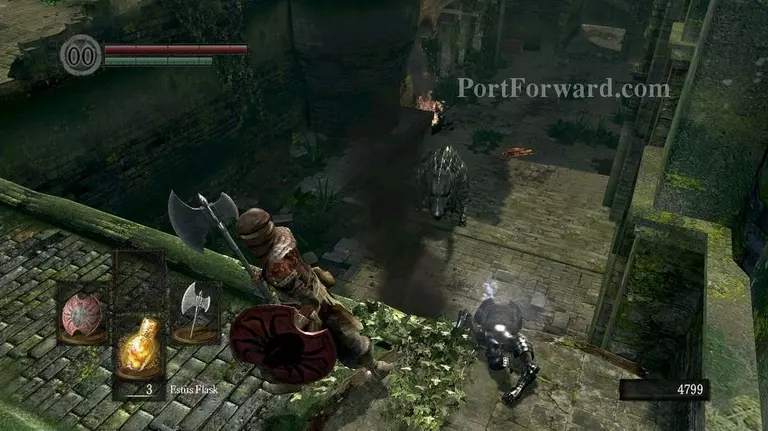
You'll come across an aquaduct sewer with a couple of enemies along the hill. Watch out for the one throwing Firebombs at you.
Always blocking with your shield can save you a LOT of pain. Even from magical/elemental attacks.
Run into the sewers and go ahead. Take a left.
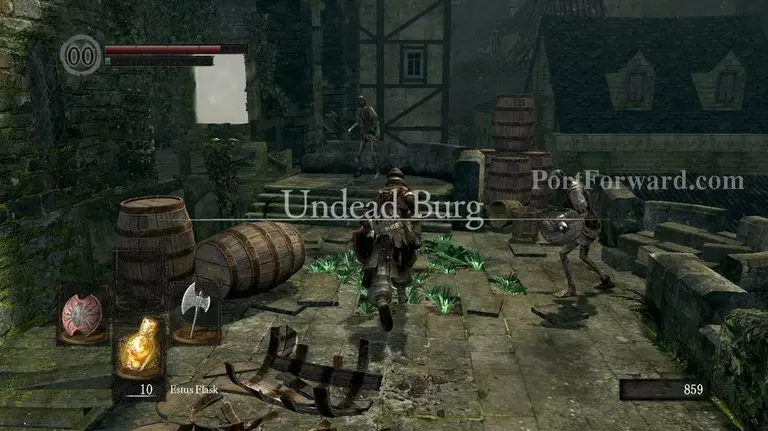
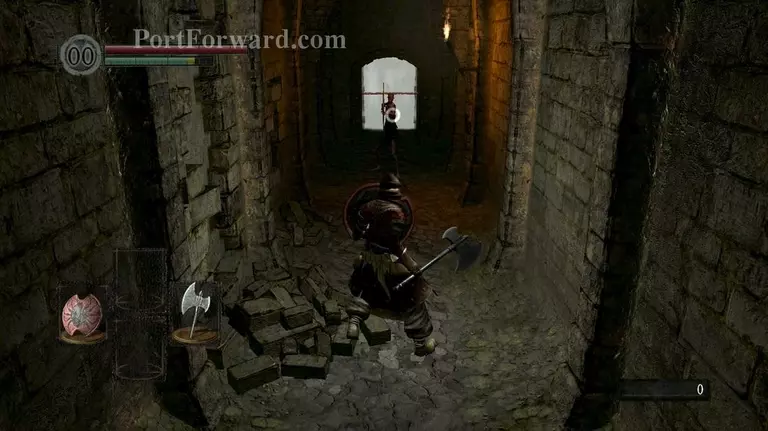
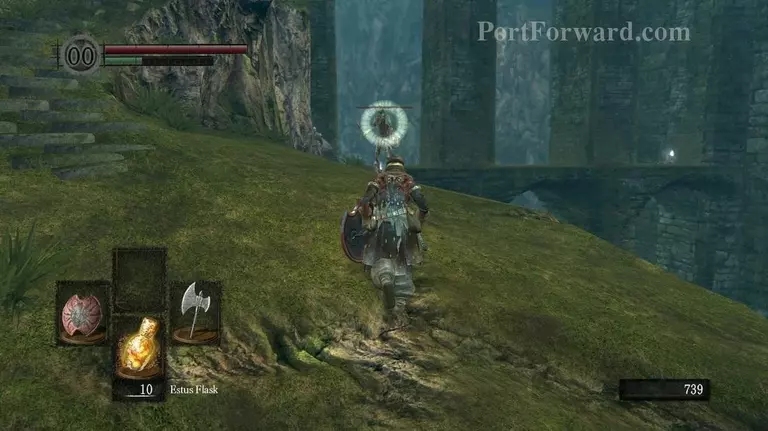
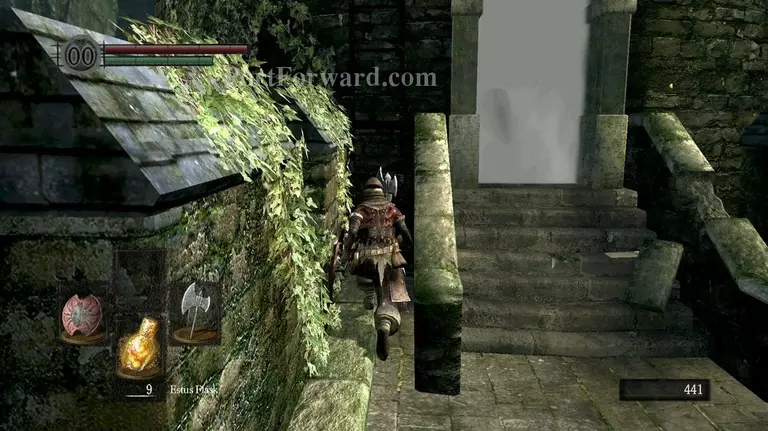
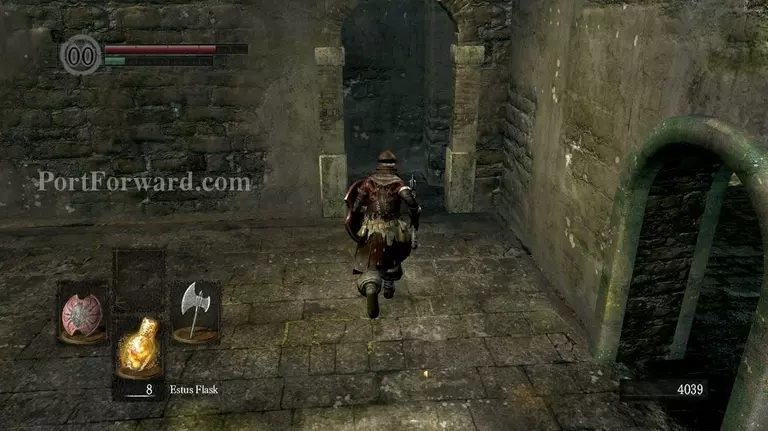
This is Undead Burg. It's a place filled to the brink with your fellow Undeads, all unfortunately being hostile. They have no real value of killing besides a handful of souls and are mainly just an overall pain. Run past them if you can and traverse through the white smoke.
Go up the stairs and head back out.
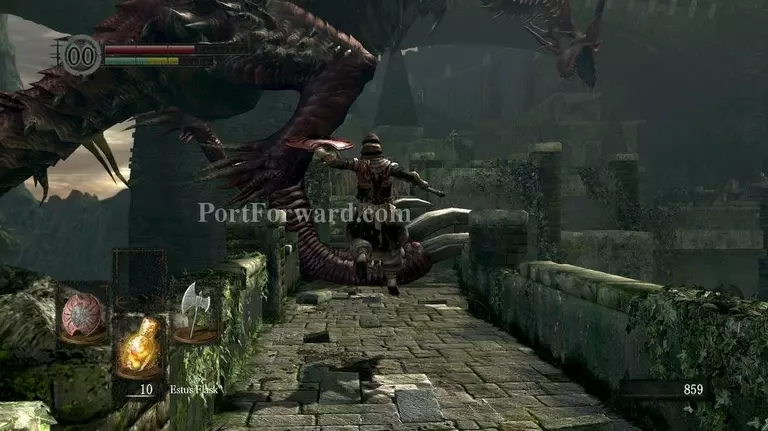
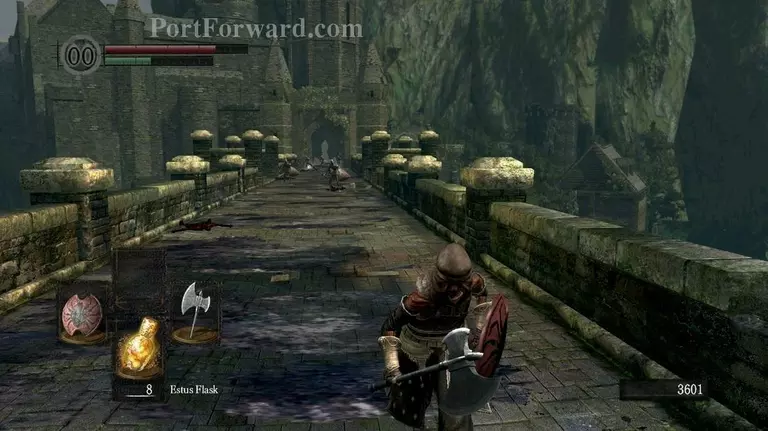
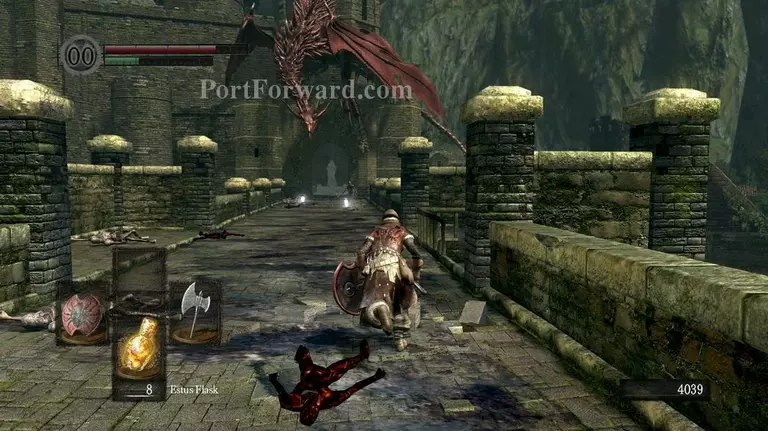
You'll almost be stomped by a gigantic red dragon. Don't worry, you can't die of him right now.

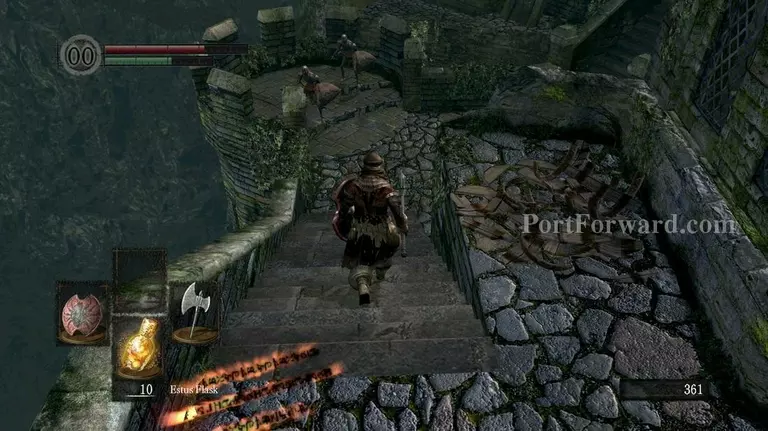
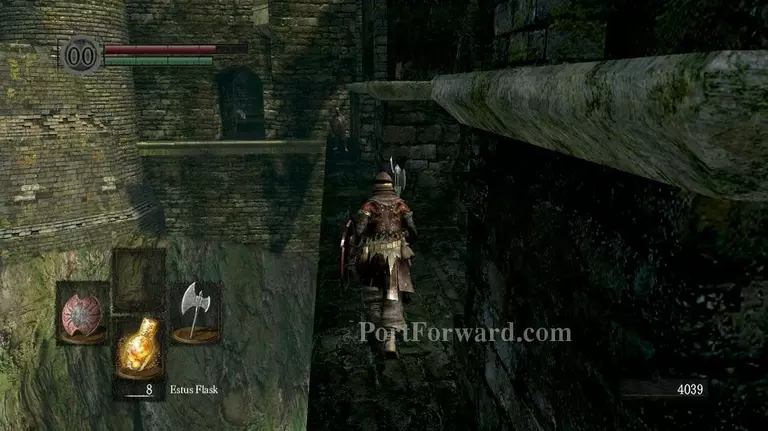
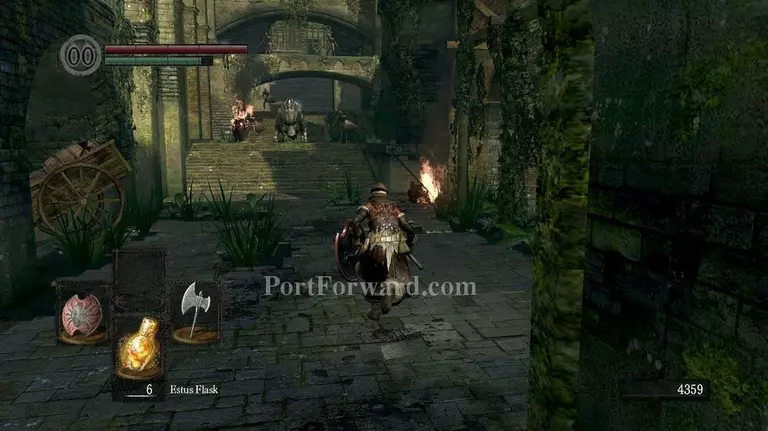
Up ahead are several de-bunkered and fortified Undeads, all being covered by a sniper. It's best to simply run ahead at this point.
Remember to block as any hits at this point will most likely "Stagger" you. Staggering is when your character receives too much damage adjacent to his current armor/endurance and gets stunned due to pain.
Run into the tower to your left and Rest at the campfire.
When you rest at campfires, two things happen. One. Next to all of the enemies in the game are reset and respawned to their original, unaggroed positions and Two. You are fully healed and resupplied with a full capacity of Estus Flasks.

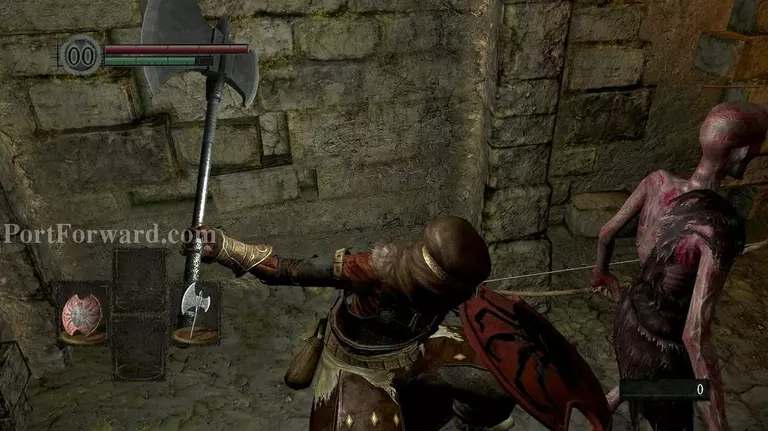
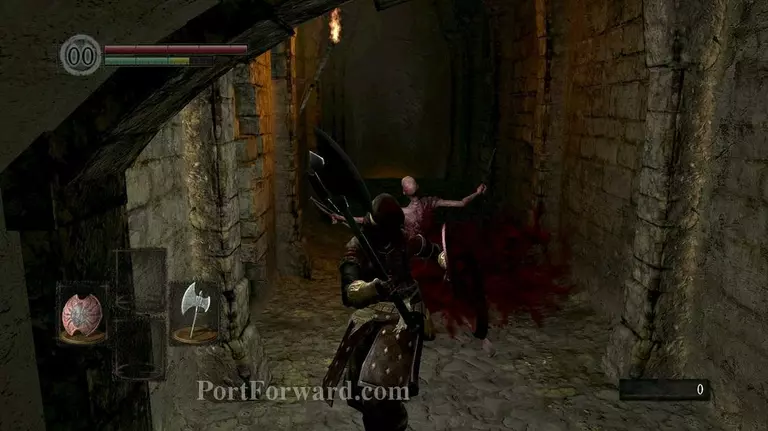
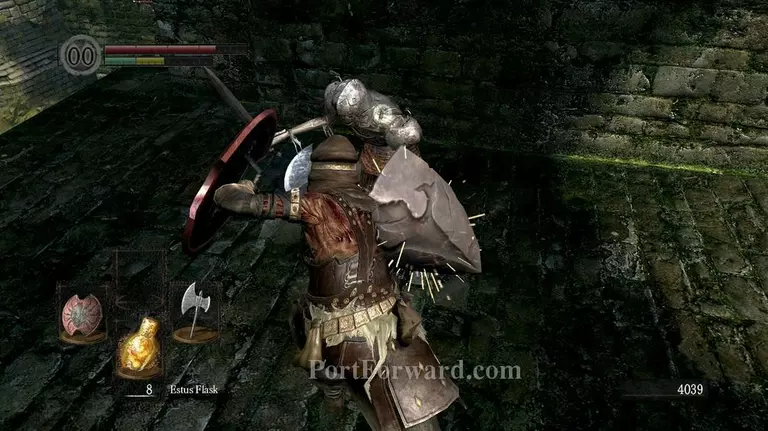
Go up ahead into the building and start taking these two guys out as more enemies will burst through the door to the left.
When done, move on ahead upwards.
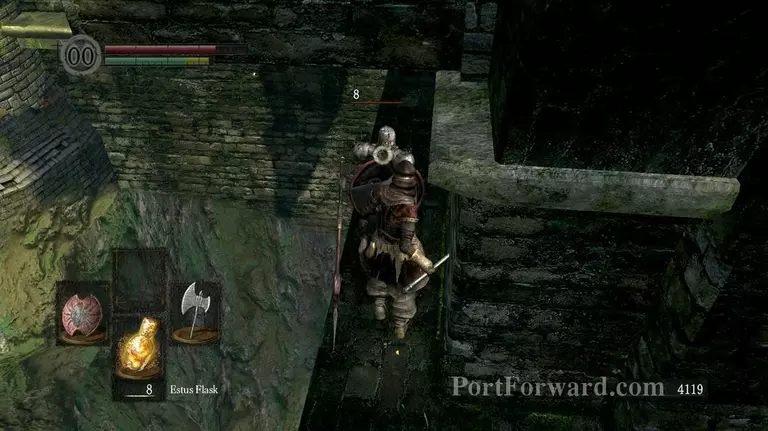
I heavily recommend running through the rest of these mobs as they are again, covered by snipers while all being rather tanky.
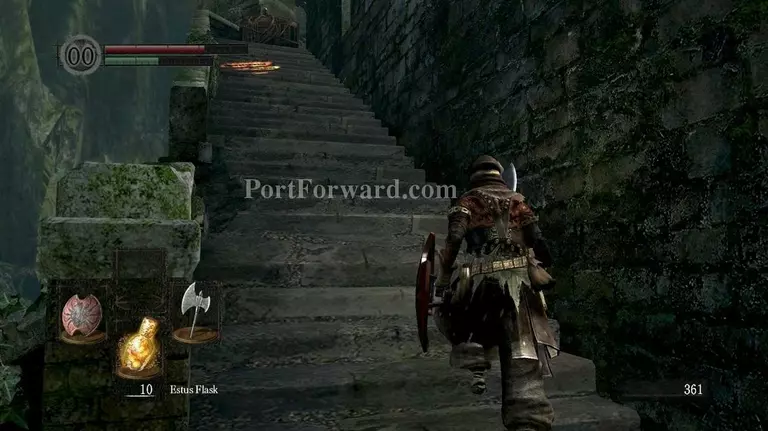
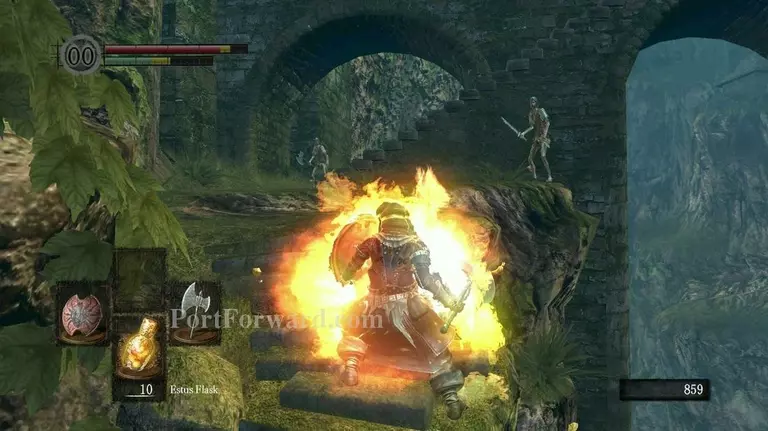
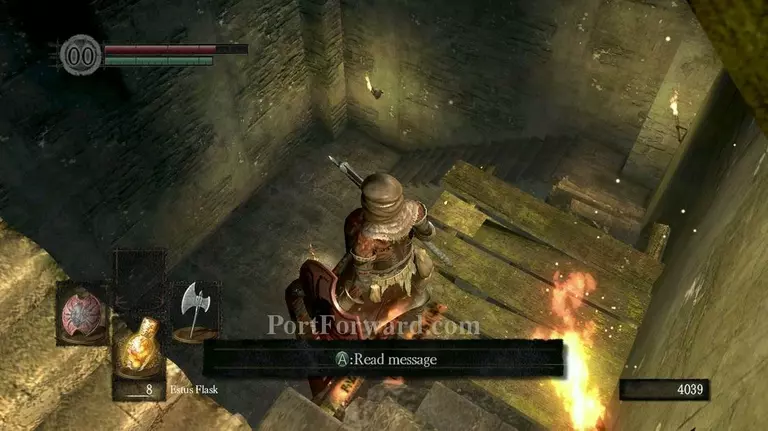
When faced with these stairs, another hostile Undead will set a pair of barrels aflame and roll them down the stairs towards you. It is highly unavoidable damage unless..
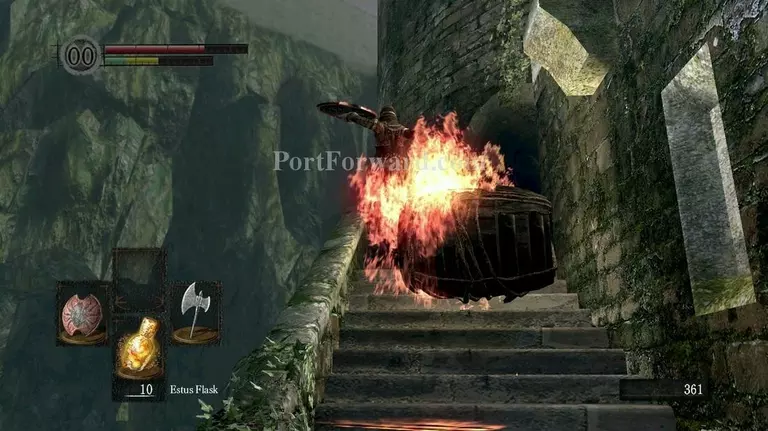
"You press yourself up against the left corner of the stairs and Sprintjump right before the barrel hits you.
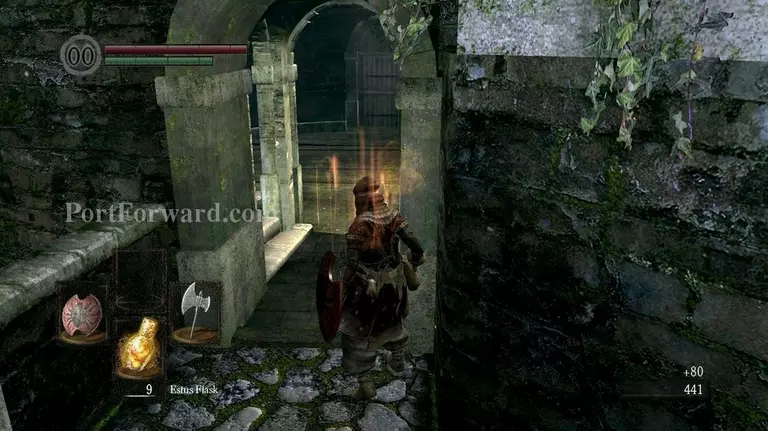
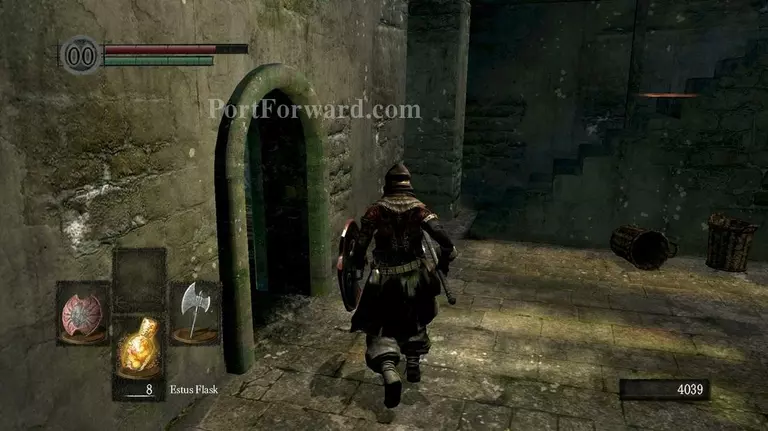
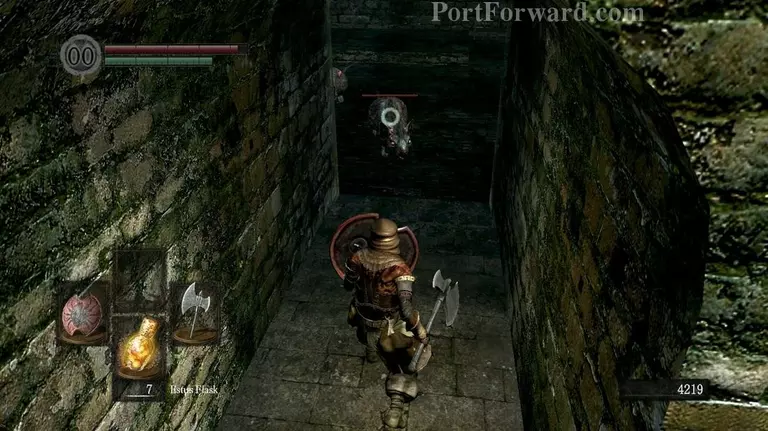
Heal up and move on to the left, going up the stairs in the tower. Ignore the door ahead of you as an extremely powerful foe is behind it.
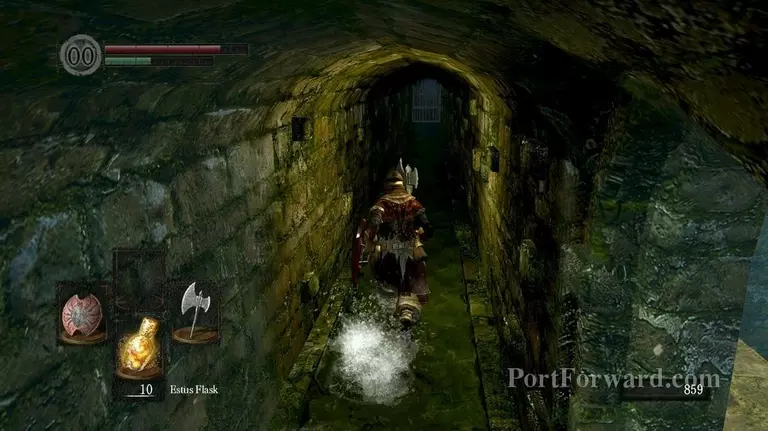
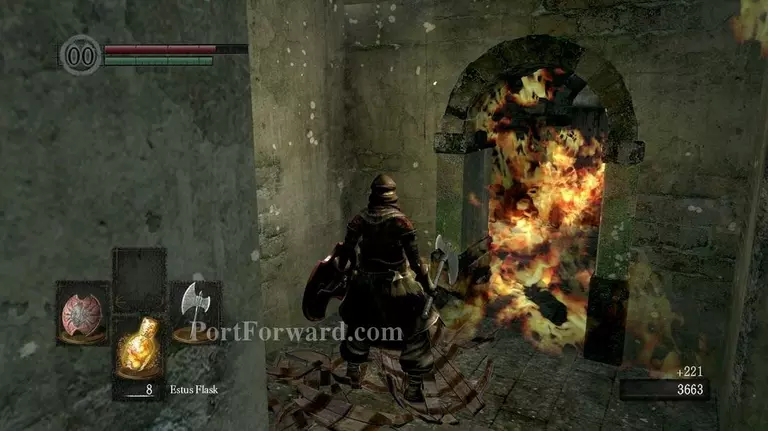
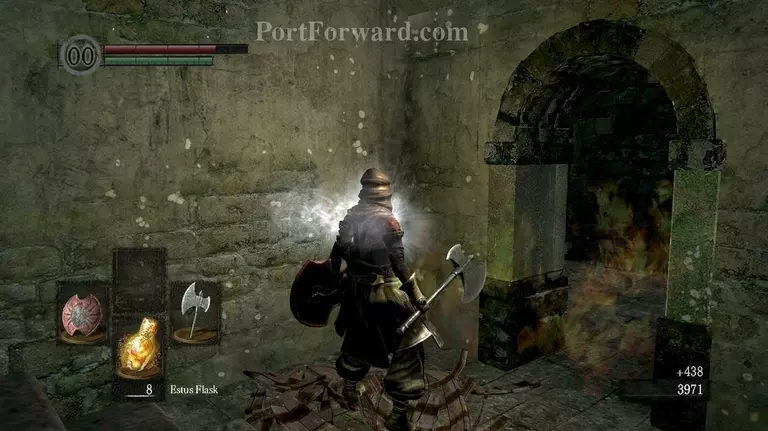
Traverse the smoke..
And head up the ladder just left to the smoke
There will be two Undeads with crossbows. Go ahead and kill them both before going back down the tower.
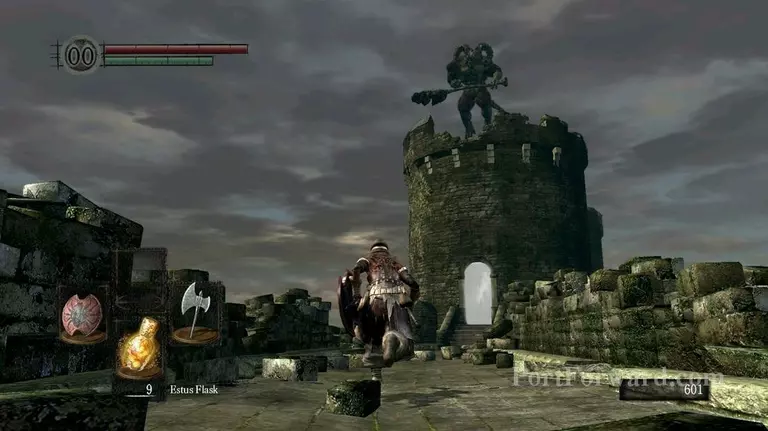
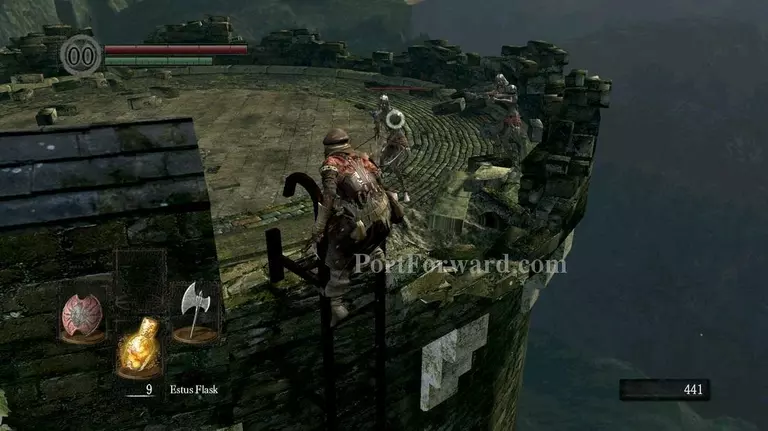
Once you are about halfway onto the bridge, a massive, horned demon will suddenly jump out from one of the nearby towers. When this happens, turn around and immediately run towards the ladder.
Quickly climb back up..
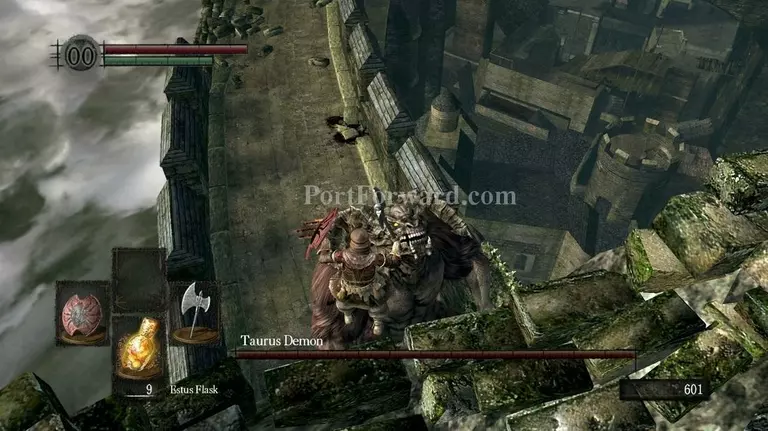
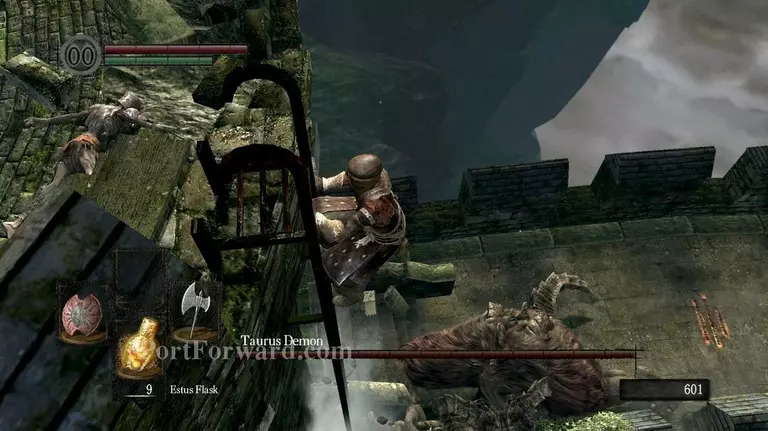
And jump off the ledge towards the Taurus Demon, pressing (M1) while you are in mid-air to do yet another lunging attack for massive damage..
Once on your feet again, Be very wary of being close to any ledges as falling off the wall will instantly kill you, if the Taurus demon does not do it himself first.
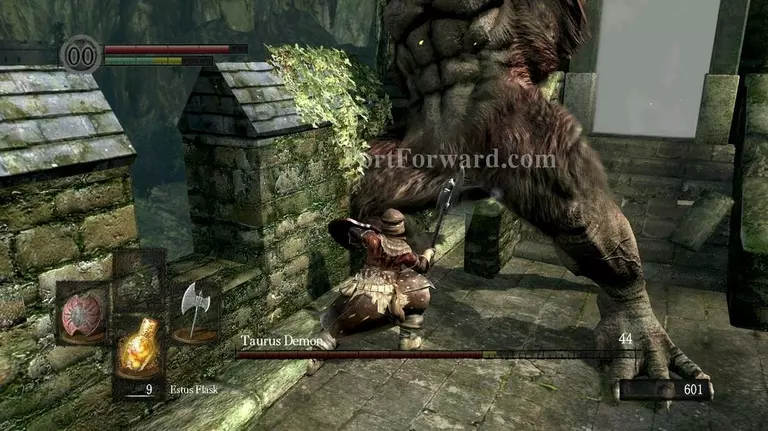
You will generally want to be either straight under him or roll around very close to him whenever possible. Most of his attacks won't hit you this way.
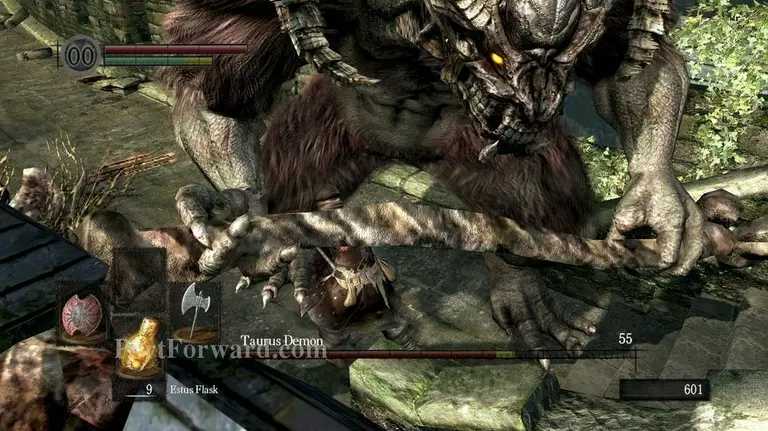
Don't hesitate to back off and heal while learning of his movesets if you take too much damage.
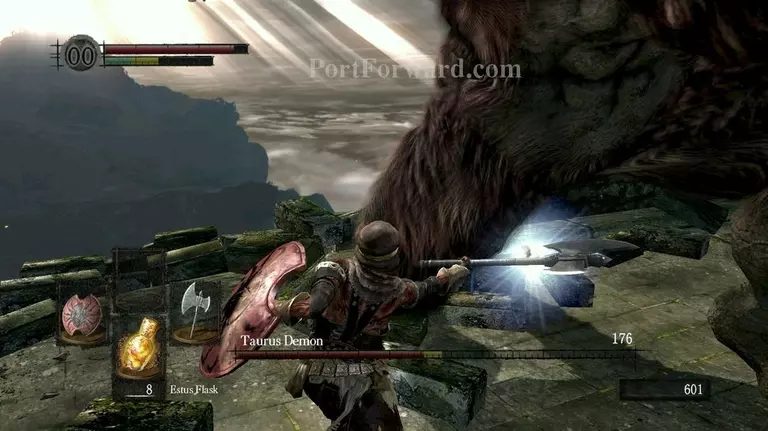
As he moves around quite a bit while attacking, It's recommended to do horizontal weapon attacks.
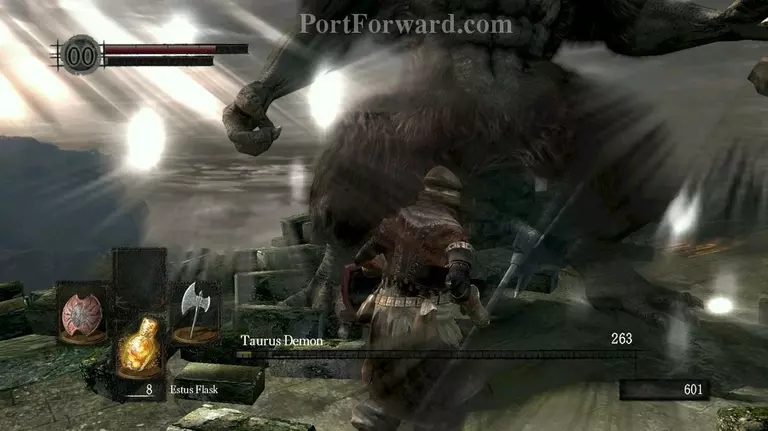
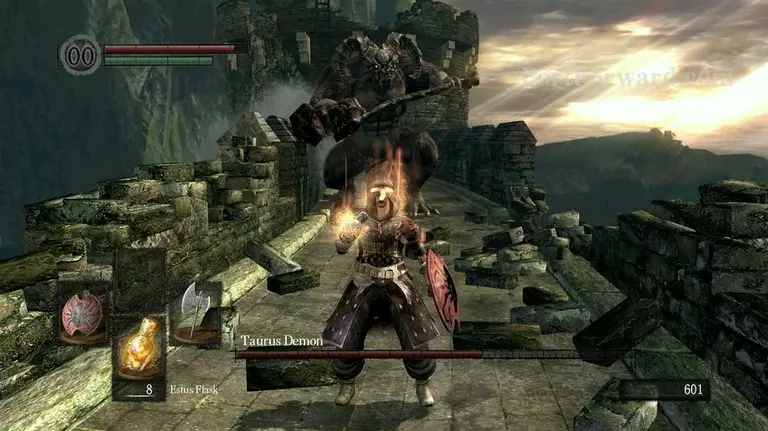
He may take a couple of tries to get down but eventually, you'll get his moveset and defeat him with ease.
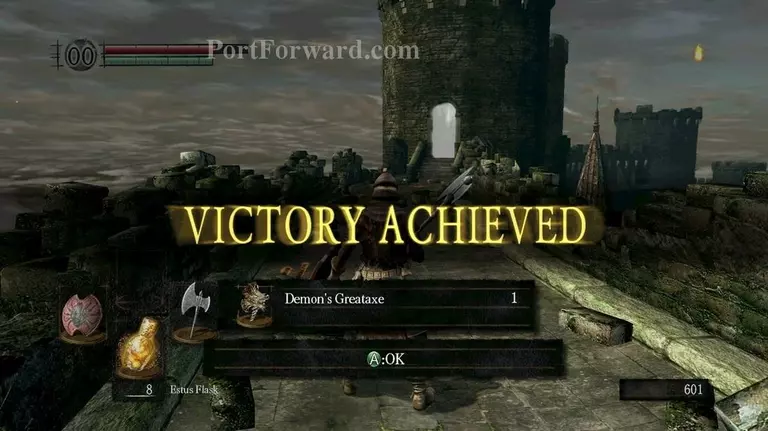
"If you are really lucky, he might very rarely drop a Demon's Greataxe. This is one of the most hard-hitting and strongest weapons in the game and should be saved If you get one.
Move on up ahead..
And carefully run out on the bridge to the big, black spots.
Then quickly run backwards and get back into the building.
A massive dragon will fly over you and breathe fire down onto the entire bridge, doing major damage to everything on it.
The other Undeads on the bridge will mostly die, giving you free souls.
When the fire dissipates, hurriedly run back onto the bridge and go down the right pair of stairs.
Head straight forward..
And you'll be back at your previous campfire. Kick the ladder down to have a back-track access path up to the Bridge incase you die.
When the ladder has been kicked, go back and head to the left.
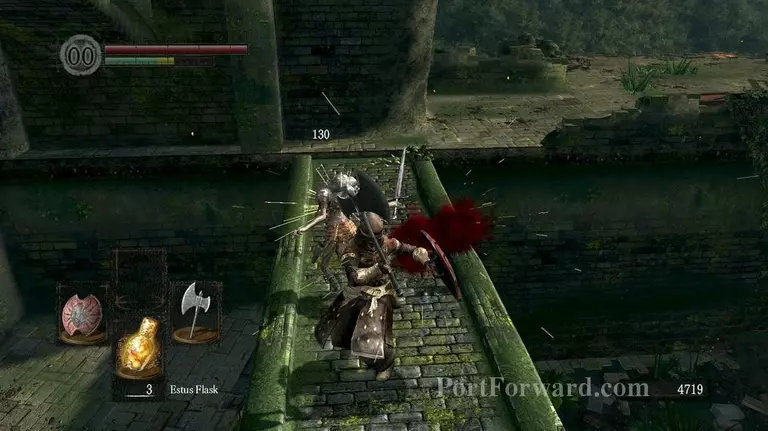
You'll be under the bridge and greeted by more hostile undeads. Take great care fighting them here as death is just inches away.

There will be one in particular ambush to the right here.
Move in and fight them while reserving plenty of space between you and the imminent falling death.
This guy, however, can be a pain and you'll be mainly forced to bait him away from the small ledge or bash against his shield repeatedly until he falls off.
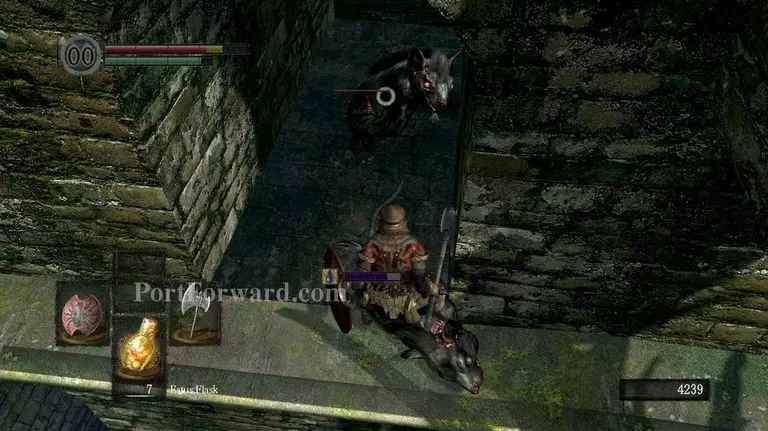
Once he is dealt with, move on ahead and go through the small gap. You'll come across a room filled with rats. Be wary of letting them attack you..
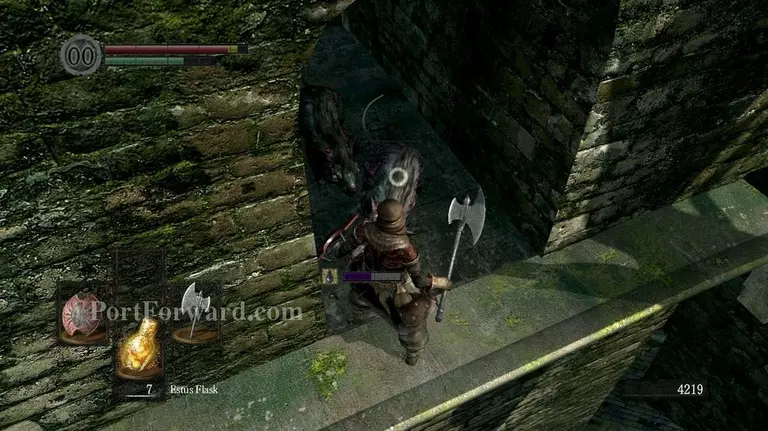
As they have the capability to make you poisoned.
Debuffs in Dark Souls are mostly Damage over Time things that needs to have enough build-up in order to take effect, signified by the Purple Bar.
The third rat will be to your right.
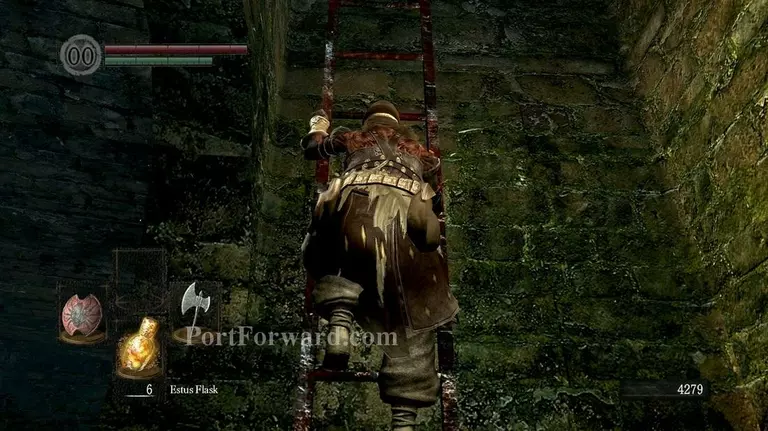
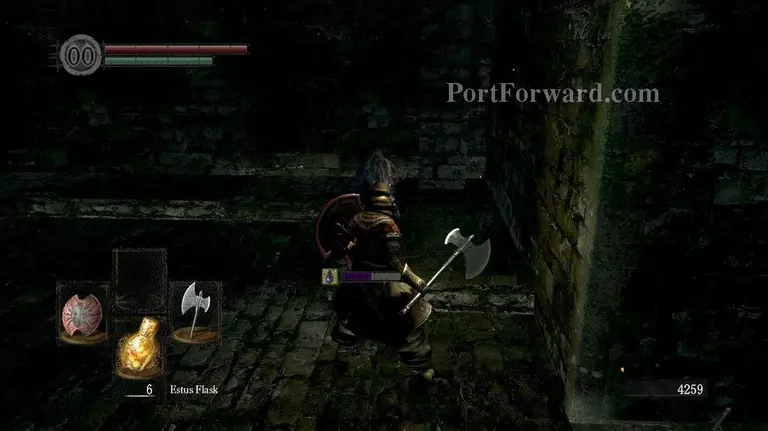
Once done, move on ahead and climb the long ladder up.
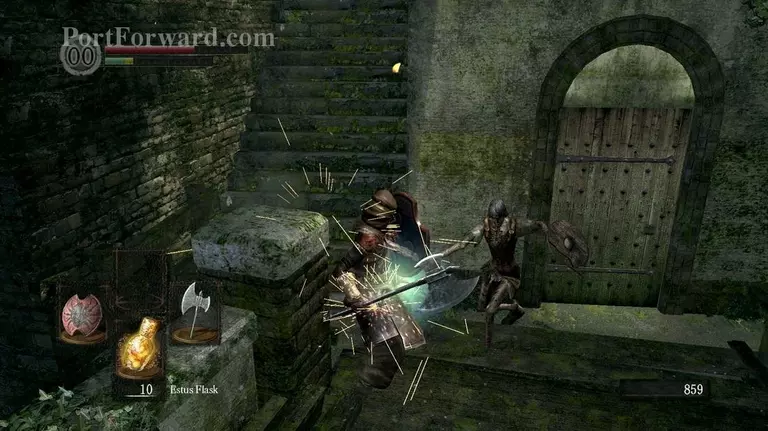
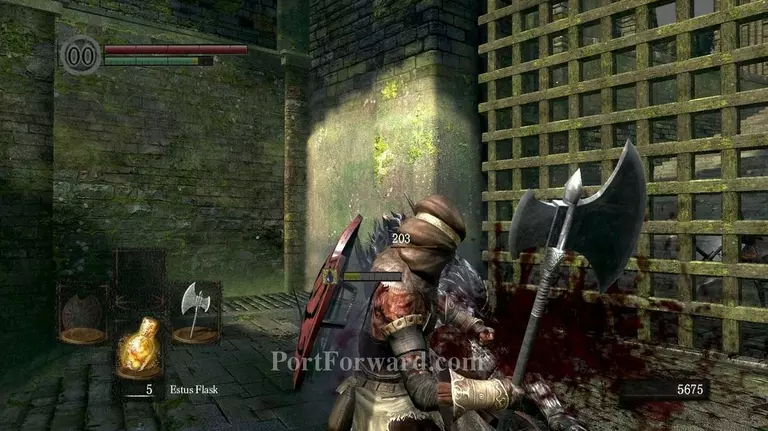
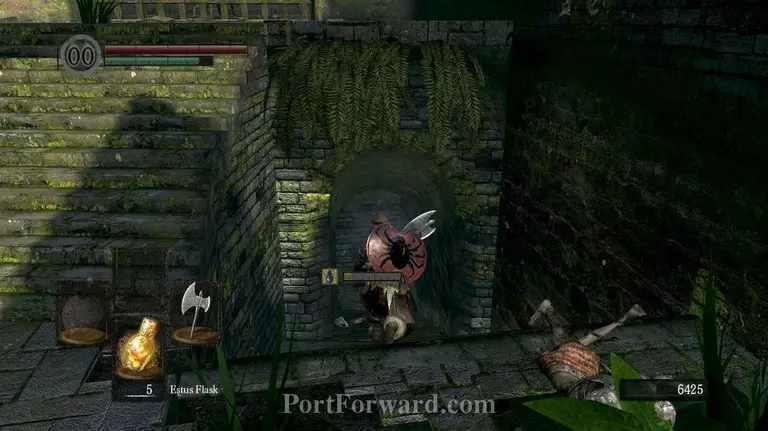
There will be more Undead ahead..
Along with a huge metal-covered boar. It's a rather fearsome foe that can easily one-hit you, so for now, run straight to the right and go up the stairs.
Take these Undeads out, especially the snipers.
They're a good opportunity to practice Backstabbing.
When done, head back down to the patiently waiting Boar.
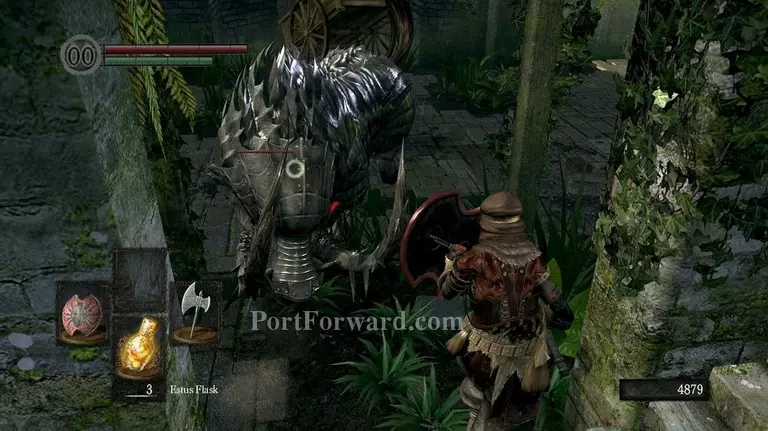
The Boar is a heavily armored Miniboss that can almost exclusively be damaged..
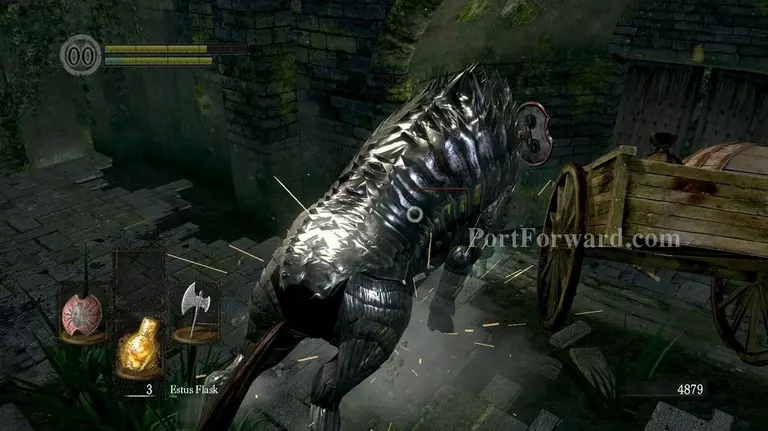
From behind, where there is a small gap in the armor, allowing you to backstab him for massive damage. In this case however, I got rammed up against the wall and died instantly.
Backstabbing the Boar once with any decent weapon will almost one-hit him. You can normally attack him for the rest..
Or directly run down this path here.
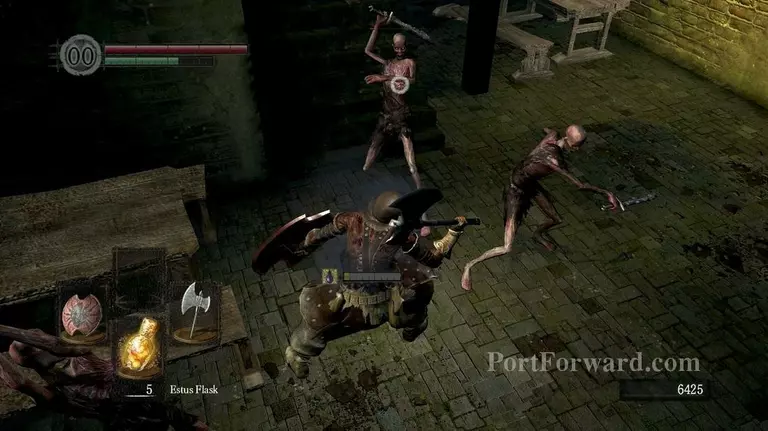
There will be a whole bunch of ragged Undeads, waiting in ambush and even luring you in initially for a double-backstab. img(161292); They are however, unarmored and can easily be chopped down to size with single swings. img(161293); Climb the ladder up ahead, killing them doesn't really matter. img(161294); Run up and traverse the smoke. img(161295); Take a left. img(161296); You'll come across some new, stronger foes. Undeads in capes and fencing swords can be particularly deadly if underestminated, like with any other enemy in Dark Souls but are relatively harmless If you block their attacks. img(161297); You'll come to a big stone veranda, filled with even more undead. Feel free to run past them. img(161298); And head down the vegetated stone-path, surrounded by pillars. img(161299); Head downstairs.. img(161300); Light the campfire on your way.. img(161301); And head further down to meet your first Blacksmith/NPC Vendor in Dark Souls. img(161302); Here you can upgrade your weapons and armor, repair any broken gear and even purchase new items. img(161303); They are mostly however, rather expensive and poor in performance so your souls are better spent on leveling up. img(161304); Head back up and run into the building straight ahead. img(161305); It's a large cathedral with many key features. Straight ahead you have an elevator that leads to Firelink Shrine. To the right, you have a miniboss. img(161306); He is heavily armored but rather clumsy, so killing him Is not much of an issue If you have a shield to hold up. img(161307); It is worth killing him since he has a chance to drop the Tower Shield. It is one of the best shields in the game for soaking up physical damage. Unfortunately, It did not drop for me. img(161308); On the altar that the boss was guarding is a Fire Keeper soul. You spend these at special NPC's sometimes close to campfires in order to upgrade your Estus Flasks so they'll heal more. img(161309); This is the elevator that leads down to Firelink Shrine. Step on the platform to activate it. However, we are simply going to move on up to the right, going up the stairs. img(161310); You'll find another fancy Undead, waiting upstairs. It's a tight space so stay back and use M2 for vertical, heavy strikes If you have any two-handed swords or a battle axe. img(161311); Up ahead will be a room filled to the brink with ragged Undeads, all being minions of a vile summoner. They are generally a very big pain and are best ignored to simply run ahead. img(161312); Rolling is often necessary here to completely avoid all damage. img(161313); Climb up the stairs and head through the Smoke. img(161314); This will be the first boss story that is vital to the very vague story whereas you'll need to ring two bells in order to have something happen. These Gargoyles are defending this first Bell of Awakening. img(161315); It will first only be one Gargoyle, equipped with a shield, a massive halberd.. img(161316); And a fearsome Axe-piece adorned to It's tail. The tail can be cut off with vertical slices in order to aquiare an unique weapon. img(161317); This boss-battle can be either very easy or an insane pain. It is a generally good idea to just try to do as much damage as possible.. img(161318); Before a second gargoyle is introduced into the mix and starts to breathe fire everywhere. img(161319); Once the first one is dead, It's usually an easy path ahead of killing the other one. img(161320); As It is already damaged at 50% HP and also missing a tail. But it can however, breathe fire so watch out. img(161321); Once they are both dead, proceed up onto the tower. img(161322); And pull the lever in order to have the first bell rung. img(161323); This concludes the first major game progression.
More Dark Souls Walkthroughs
This Dark Souls walkthrough is divided into 9 total pages.


