This Deus Ex: Invisible War walkthrough is divided into 11 total pages.
You can jump to nearby pages of the game using the links above.
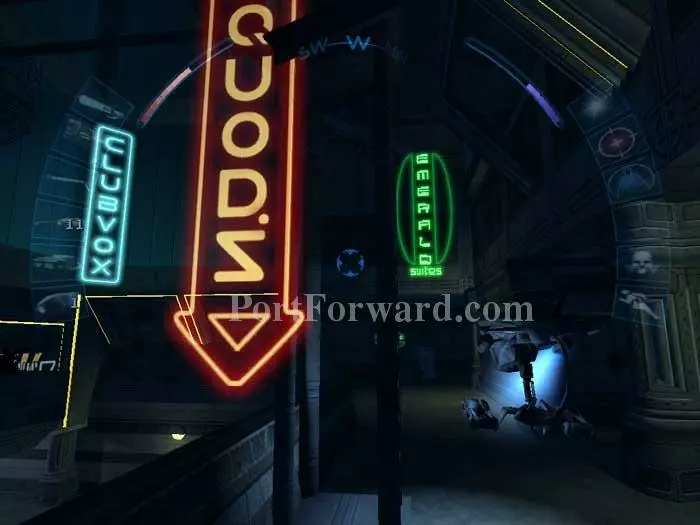
Seattle
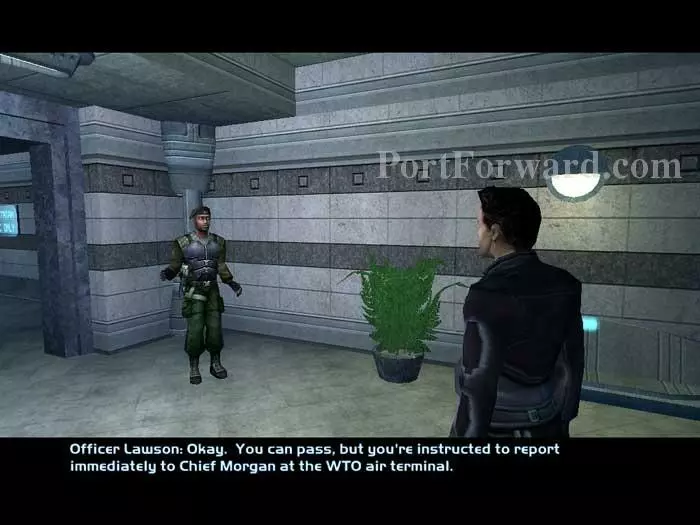
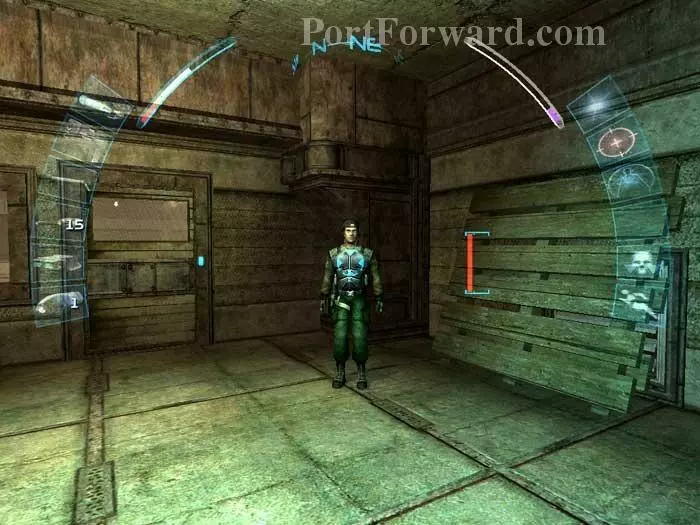
The elevator brings you to the upper Seattle city center. Your primary goal is to report to the Order Church in lower Seattle. Approach the guards ahead. After a brief tutorial screen on how to access your data vault (default 'N') you are given your second goal: report to WTO chief Donna Morgan.
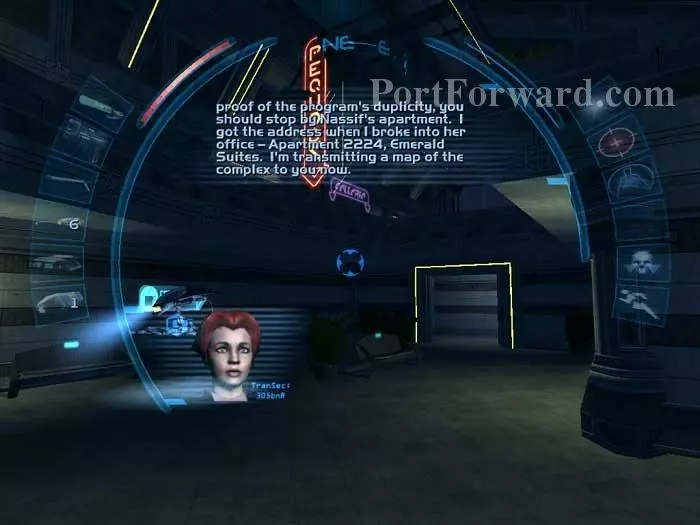
Billie Adams gives you a map and your third goal: investigate Dr. Nassif's apartment.
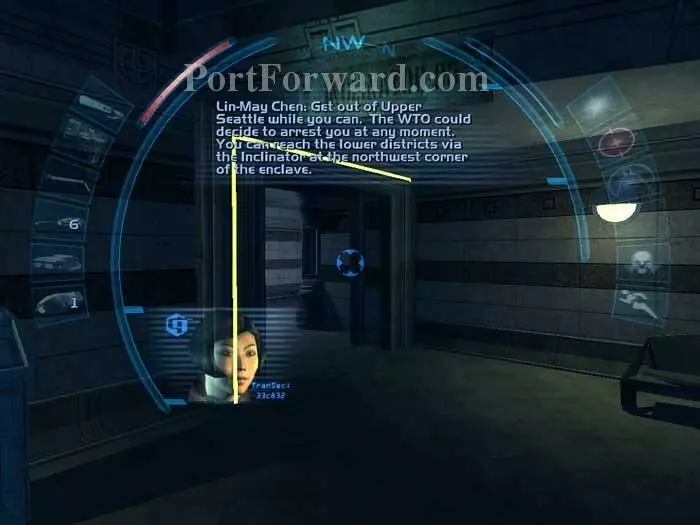
Lin-May urges you to leave upper Seattle via the Inclinator. Here is the way there -- but we're going to explore our options in upper Seattle first. (If you like, you can jump ahead.) At this stage you can complete goals for any of the factions without dedicating yourself to one particular path.
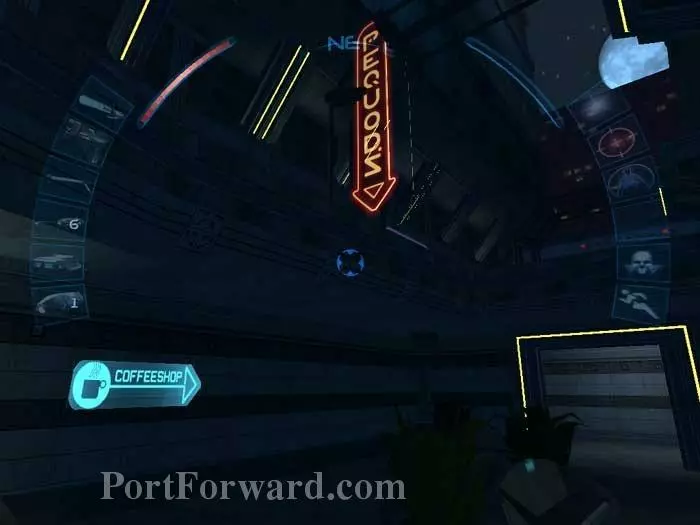
As if there aren't enough factions to take goals from, we're about to get involved in the 'Coffee Wars.' Follow the COFFEESHOP sign.
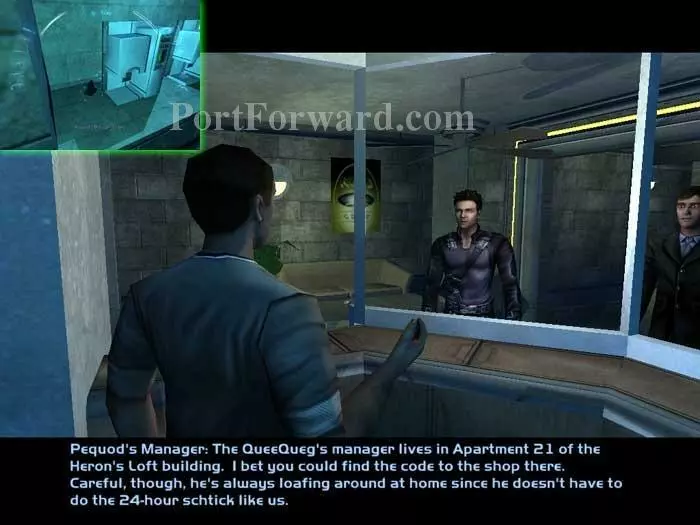
Talk to the Pequod's manager. He's full of self-pity because his expenses in upper Seattle are higher than his competitor's at QueeQueg's in lower Seattle. He'll reward you if you destroy the QueeQueg's beans. Grab the ammo from the counter (inset).
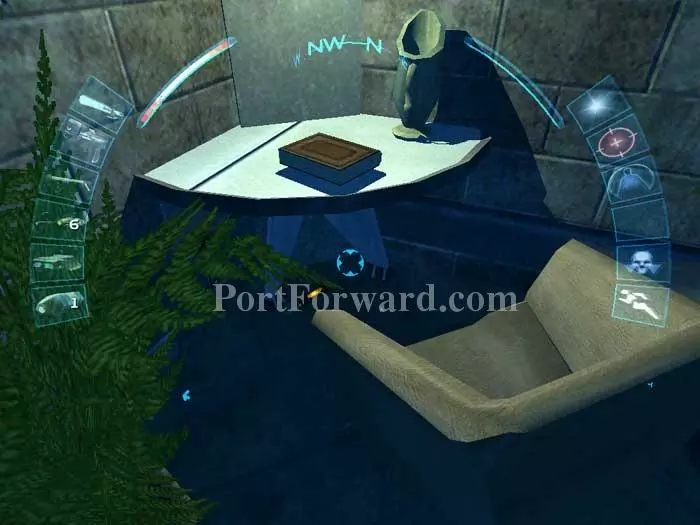
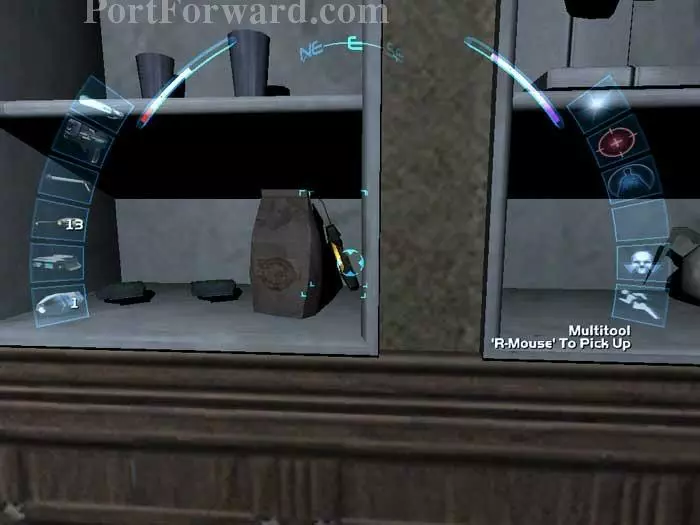
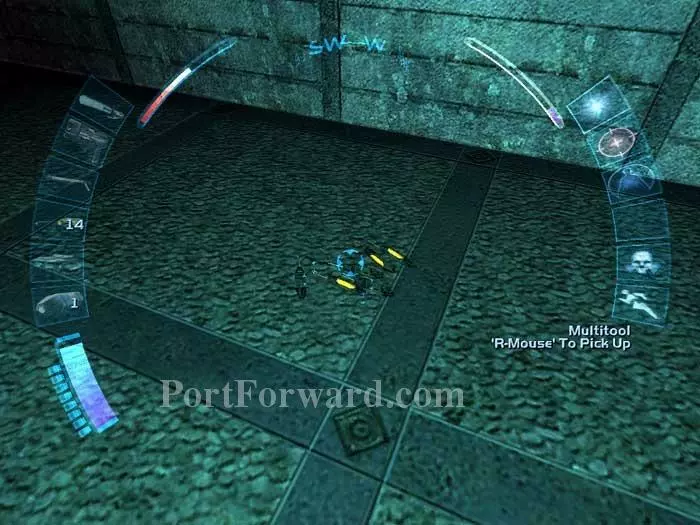
Proceed to the back room and swipe this multitool from under the corner table.
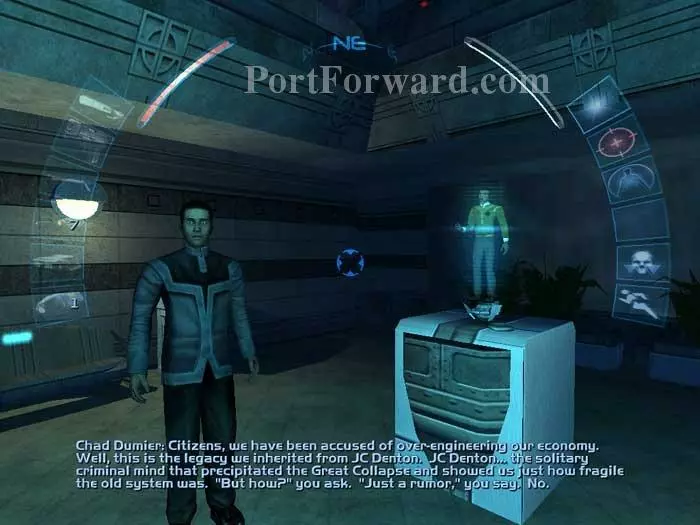
Upper Seattle is an enclave for the WTO. Return outside and watch this hologram of WTO leader Chad Dumier defending his meticulous economic planning - by blaming JC Denton for the Great Collapse.
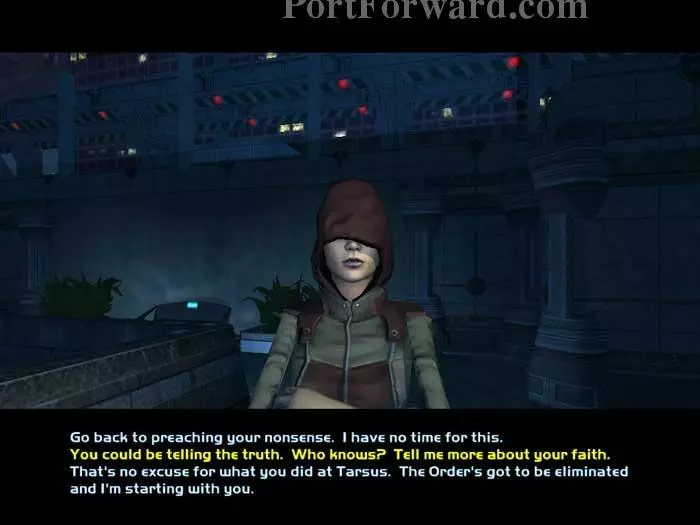
Ascend the nearby stairs to the second level and approach this Order Seeker. You'll have three dialogue options. Option 1 has no result. Option 2 prompts her to reveal more about the Order and its belief that the WTO is more interested in consolidating wealth than in promoting free trade. Option 3 results in a battle with the Seeker. Here I pick option 2.
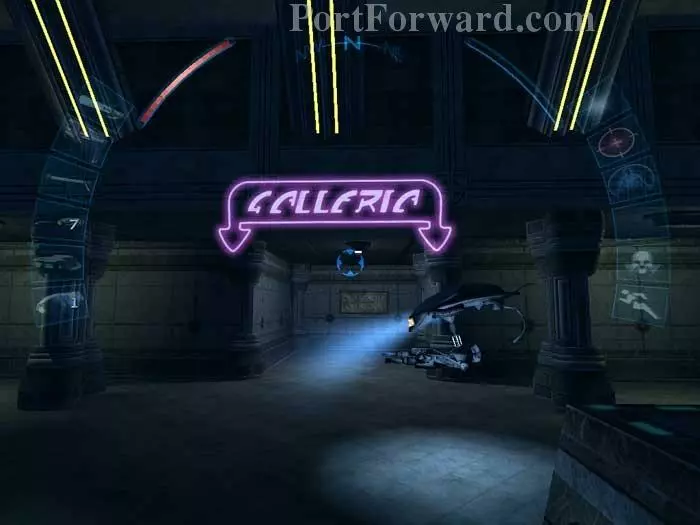
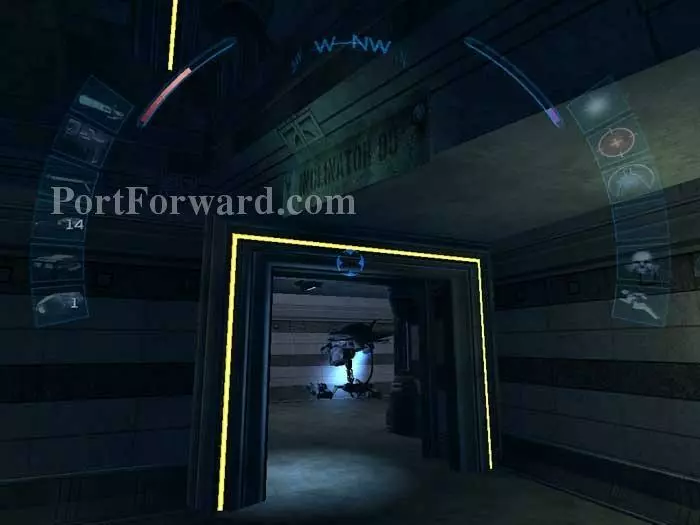
Head over to the Galleria. I think these aerial security bots look like a cross between the alien and those floating light things from Dune.
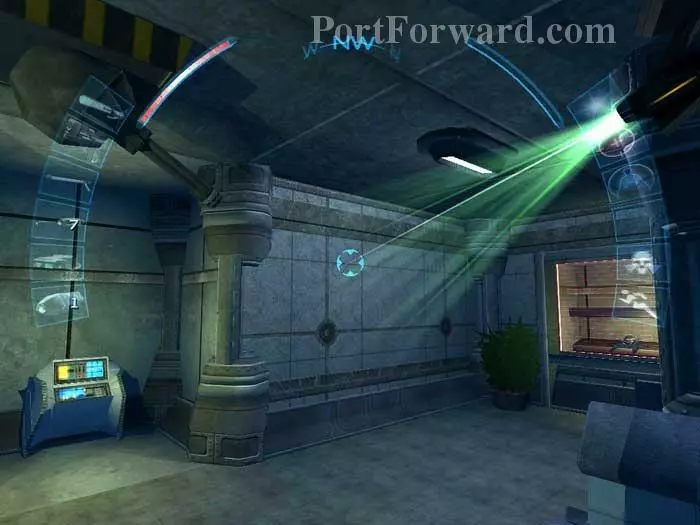
If you're feeling naughty you can use your Spy Drone to disable the camera then shoot out the glass on the right for a multitool and an energy cell -- but you'll attract a guard and the security bot. If you have a neural interface you can hack the ATM on the left.
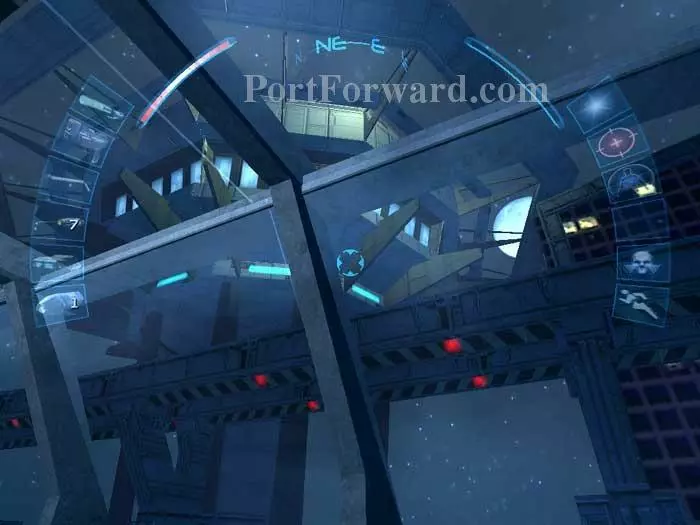
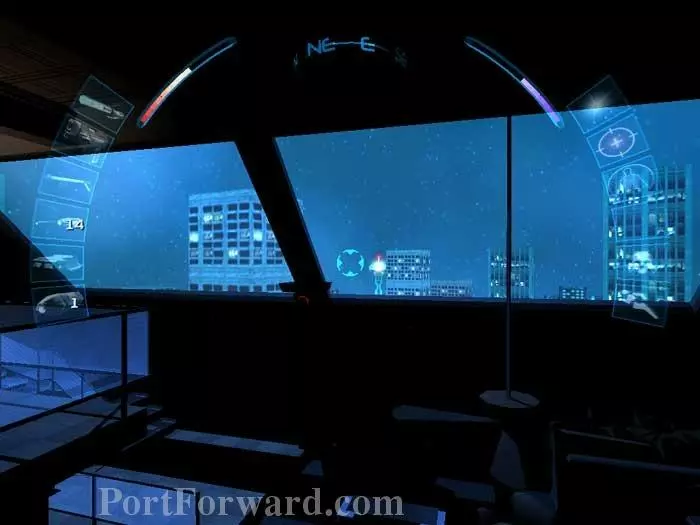
The Galleria's main attraction is this view of the Seattle Space Needle.
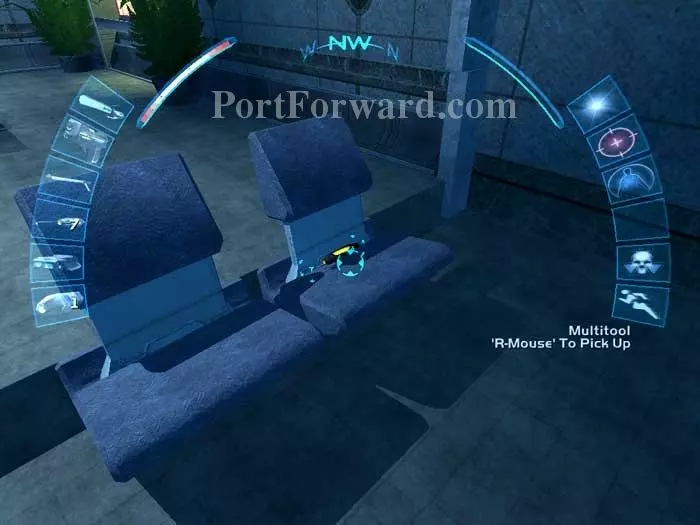
You'll find a multitool on this seat.

Next up is Club Vox in the southwest corner.
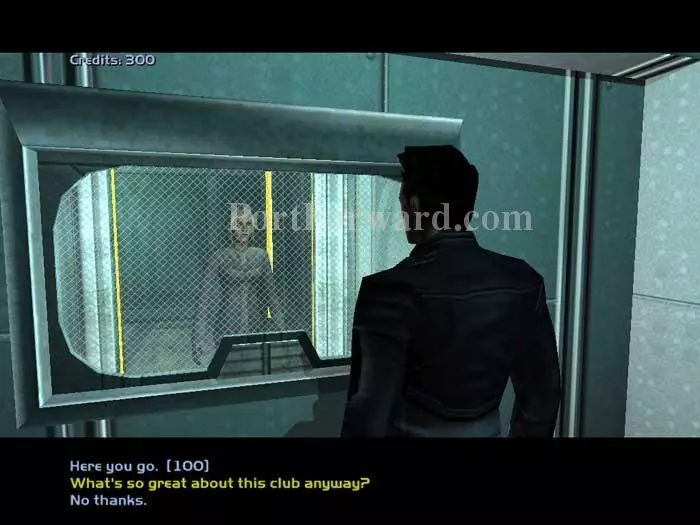
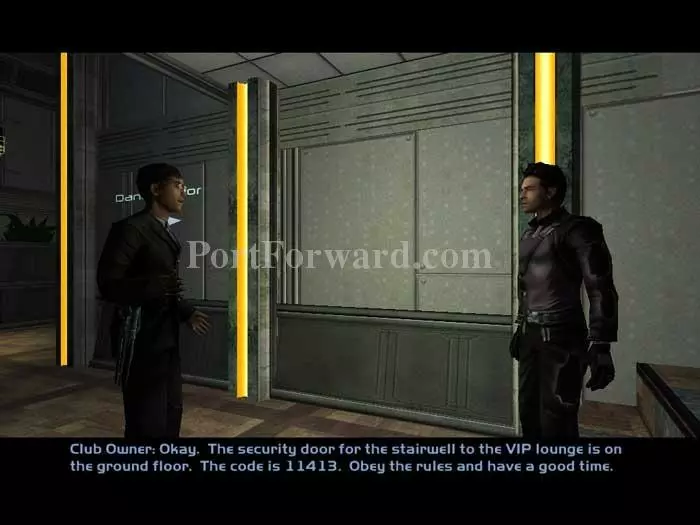
Before coughing up the 100 credits to enter the club, ask the door guard, "What's so great about this club anyway?" and she'll give you two goals: meet the Club Vox owner and talk to the NG Resonance sim.
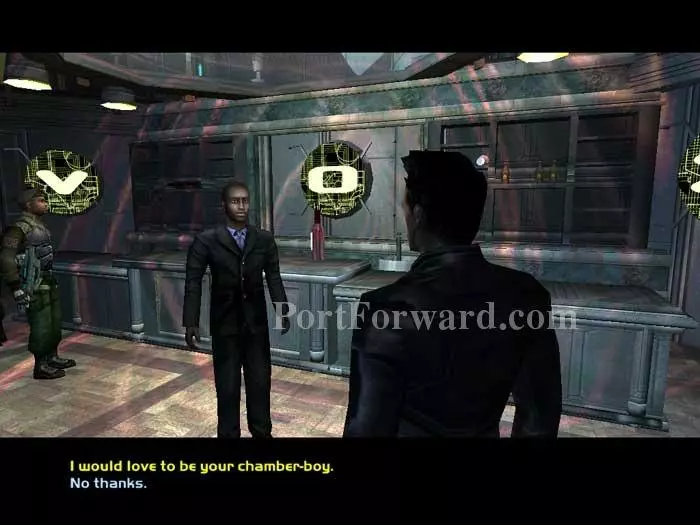
To the immediate left is the VIP room -- we'll be heading there later. Instead, continue to this room on the same floor where you'll find the Culture Minister. Play cupid for him by arranging a date with Lionel in the corner, then offer to be the Minister's chamber-boy. You'll be rewarded with the key to the back stairwell of the Minister's apartment at the Emerald Suites. Note that if you chose to play as a female then you will have to pay Lionel 300 credits to get the key instead.
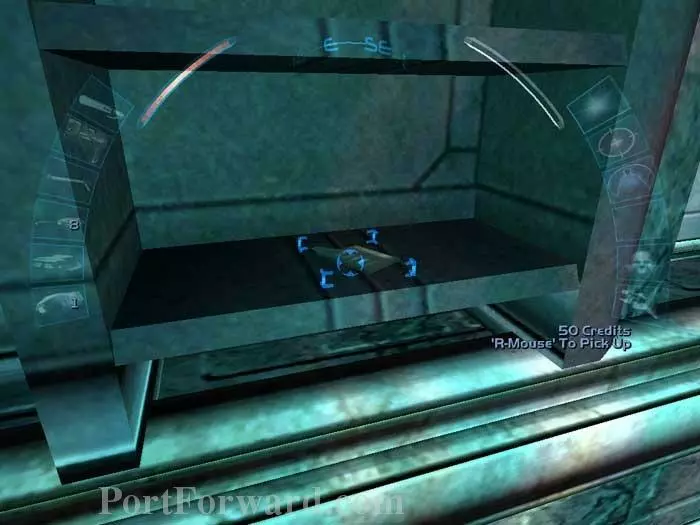
Grab these 50 credits from behind the bar.
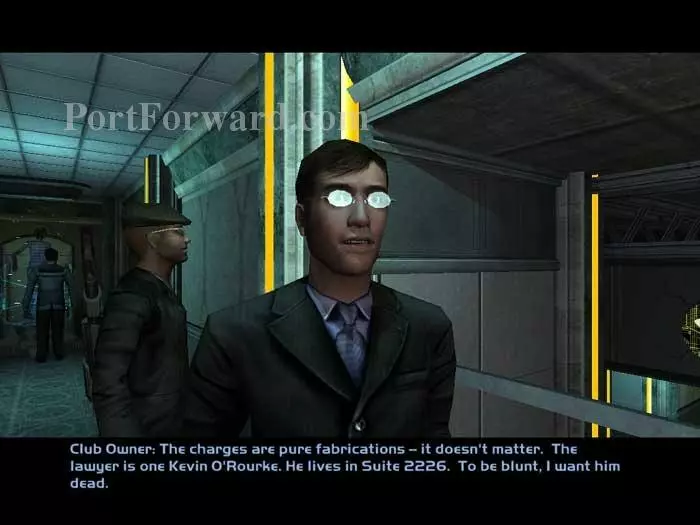
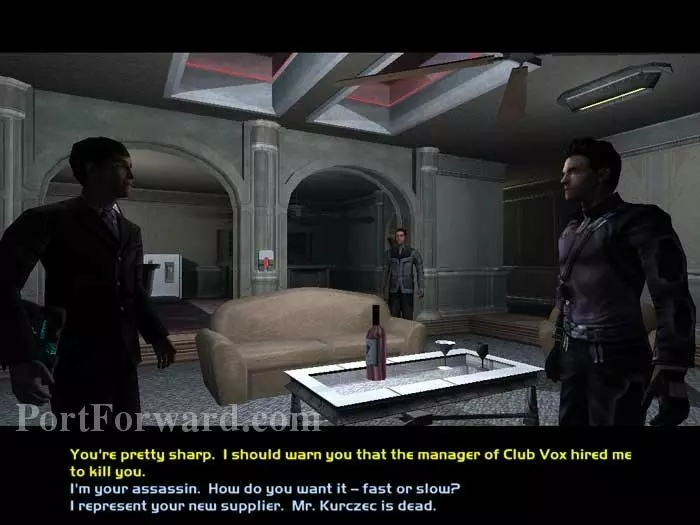
You'll find the Club Vox owner upstairs. Talk to him and he'll notice your augmentations, then offer you an assassination job for 300 credits. He suggests that the name, "David Kurczec" will get you into the lawyer's apartment.
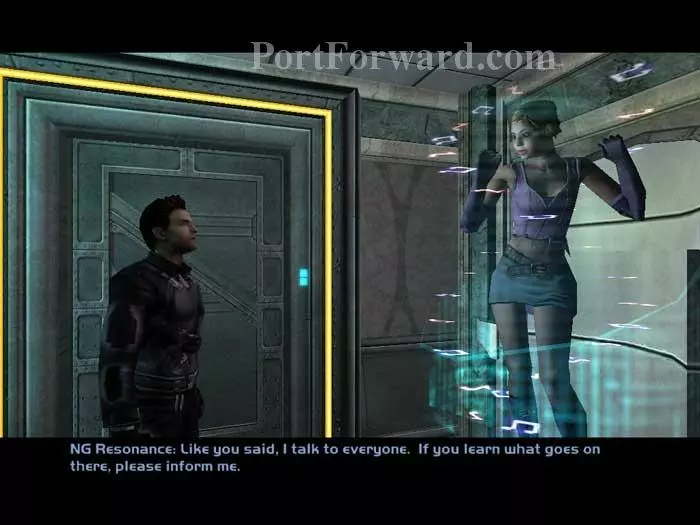
Continue down the walkway to find one of the most fascinating characters of the game - NG Resonance. Talk to her repeatedly and receive the goal of finding out what goes on in the VIP room. NG is a more disarming version of Orwell's Big Brother.
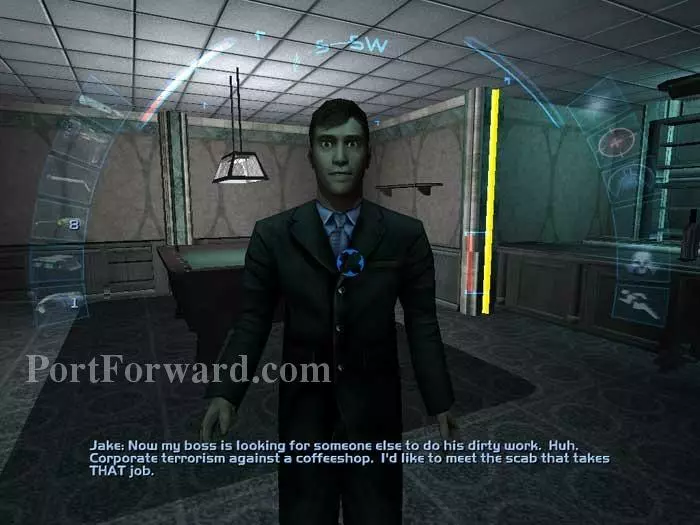
Also up here is this poor soul who was fired from Pequod's for refusing to sabotage the QueeQueg's beans.
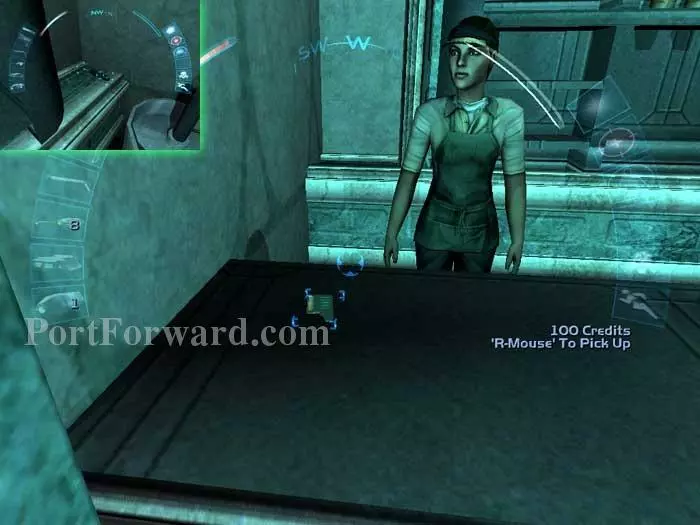
Grab this 100 credits from the bar, and the multitool from the counter behind the keg (inset).
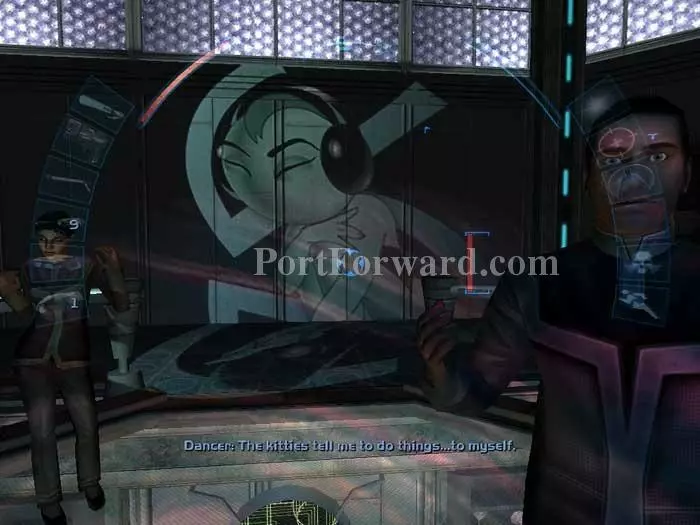
These dancer's won't offer you any quests but it's fun to talk to them.
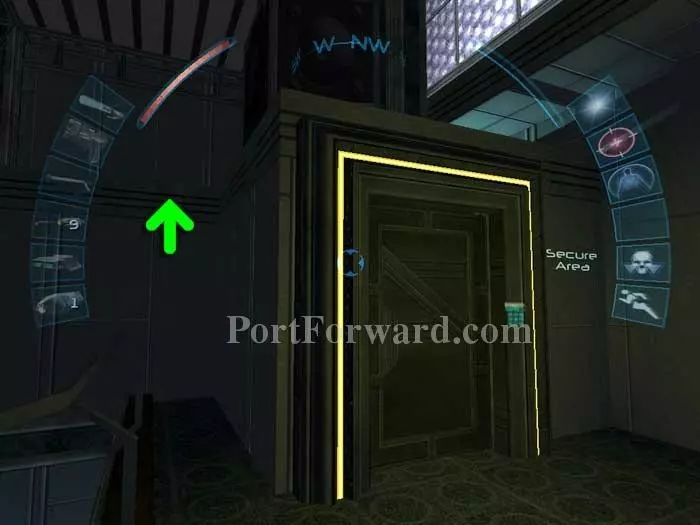
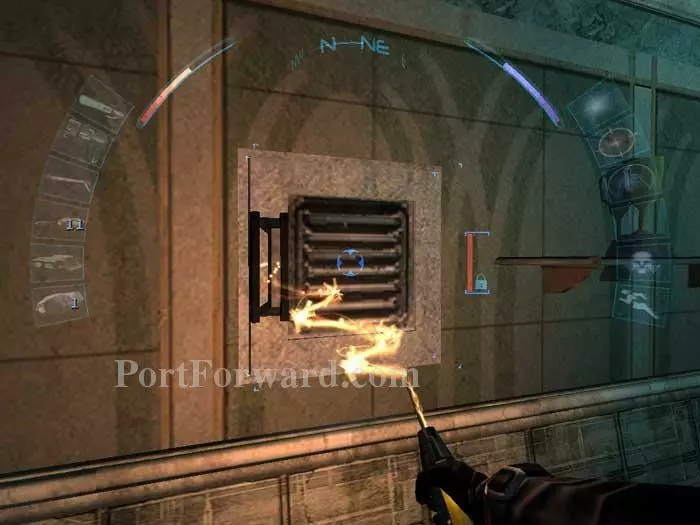
Don't waste a multitool breaking into the secure area. Instead, mantle up as indicated.
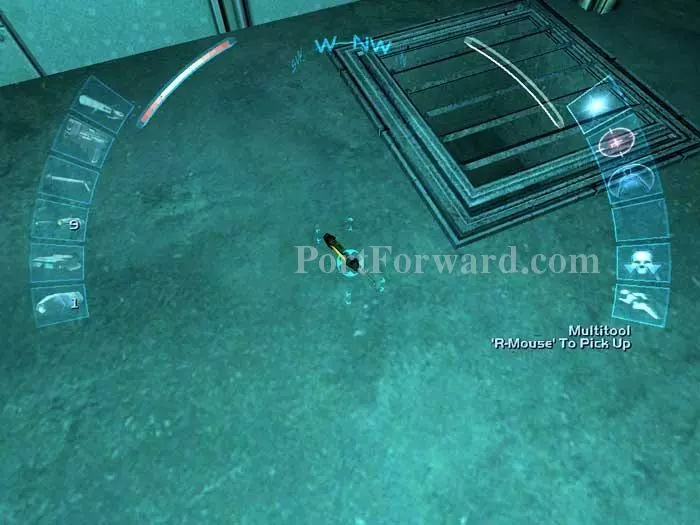
Grab this multitool then drop through the vent, where you'll find another multitool.
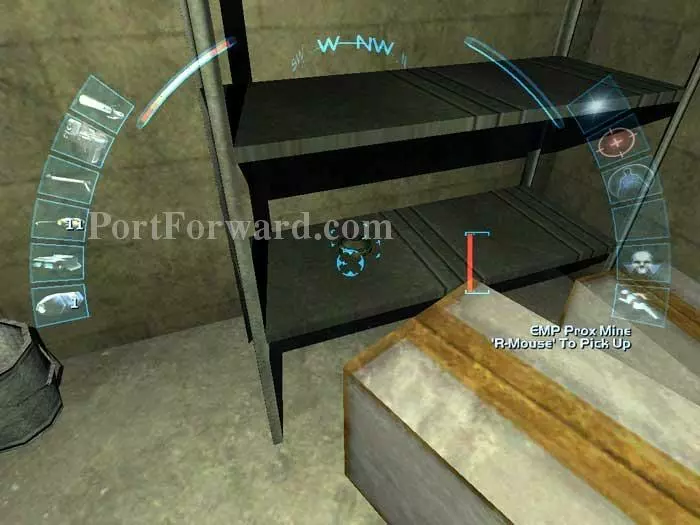
You'll emerge in this room where you can grab the EMP prox mine seen here.
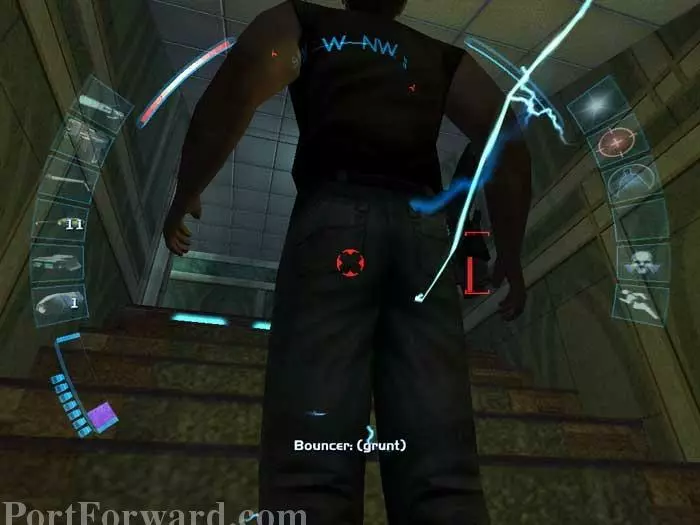
Quietly exit to the hallway -- you are now in the VIP area. Zap the bouncer with your stun prod. Continue up the short stairs.
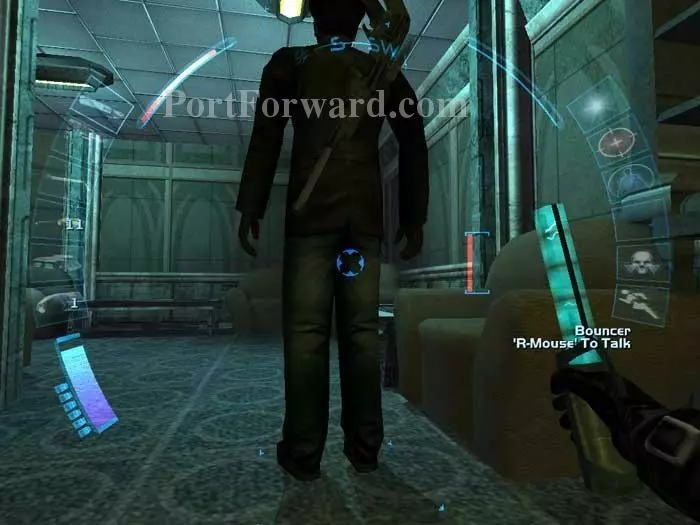
Quietly pass through the next door and stun this bouncer as well. He'll drop a sniper rifle.
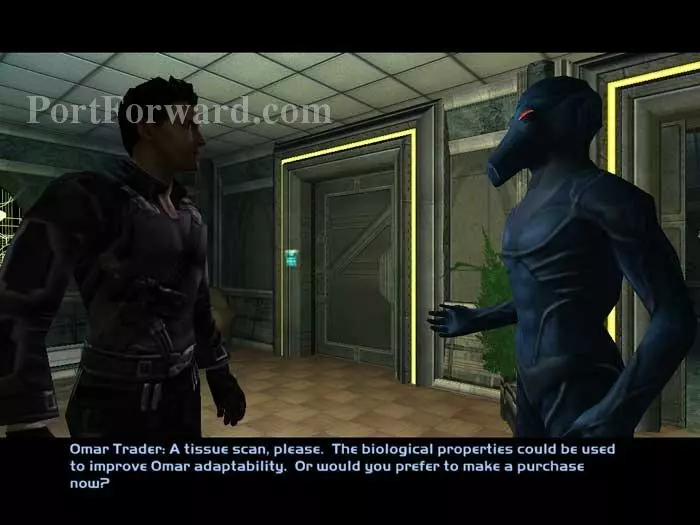
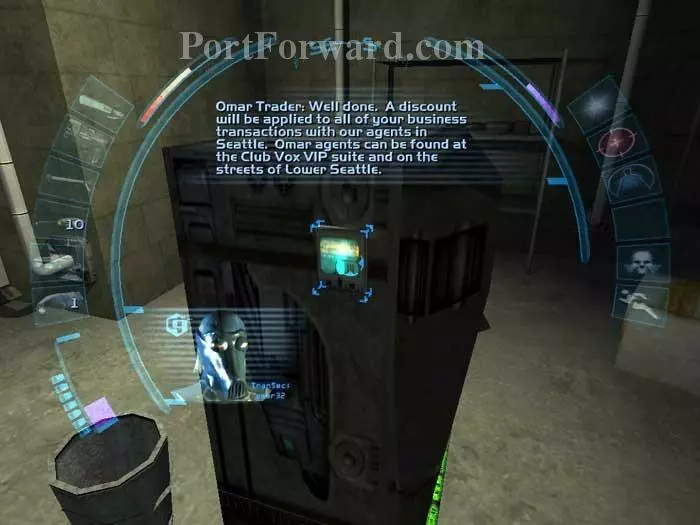
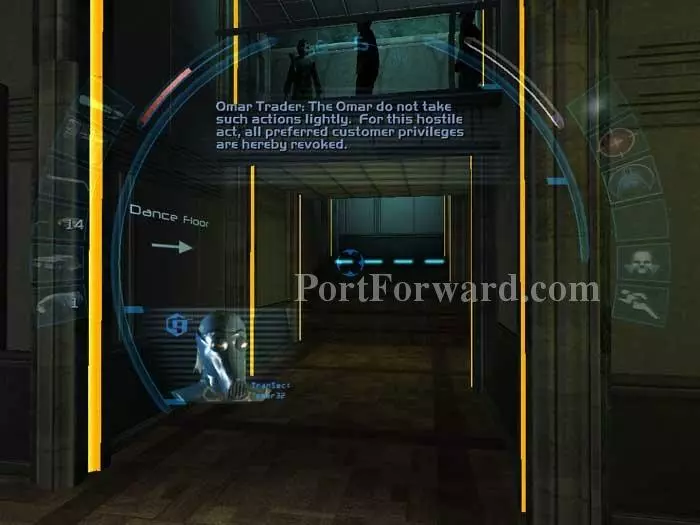
Talk to the Omar Trader and he offers you a discount if you'll obtain a tissue sample from a body hidden in the basement.
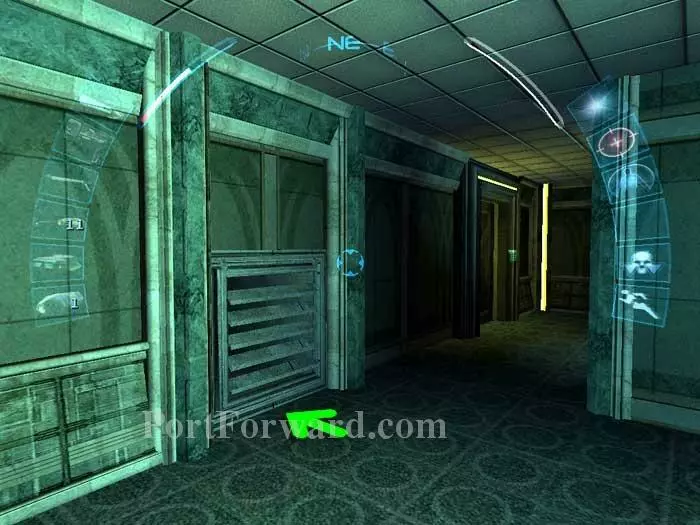
Backtrack down the short stairs then open this vent. Use an EMP grenade or your spy drone to disable the spider inside.
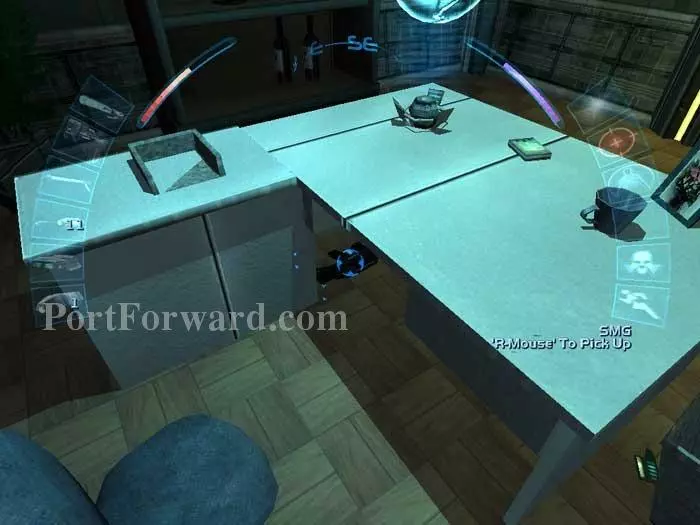
Follow the ventilation shaft to the Vox owner's office. Under his desk is this SMG, and you can just see the 25 credits to the left of the garbage can on the right. Read the data cube on the desk to learn that the strange appearance of the Omar is freaking out the customers.
Grab the energy cell from the nearby shelf then use a multitool to open this safe. Inside is a concussion grenade, an ammo clip, and a data cube with evidence that the WTO wants.
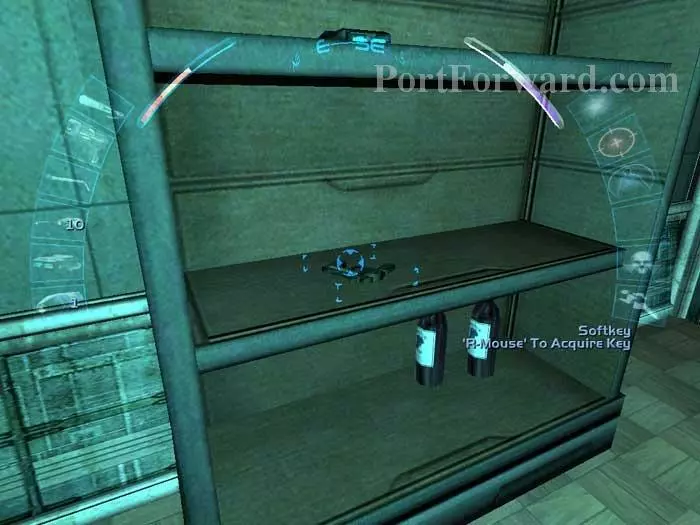
Swipe this Club Vox basement key before leaving.
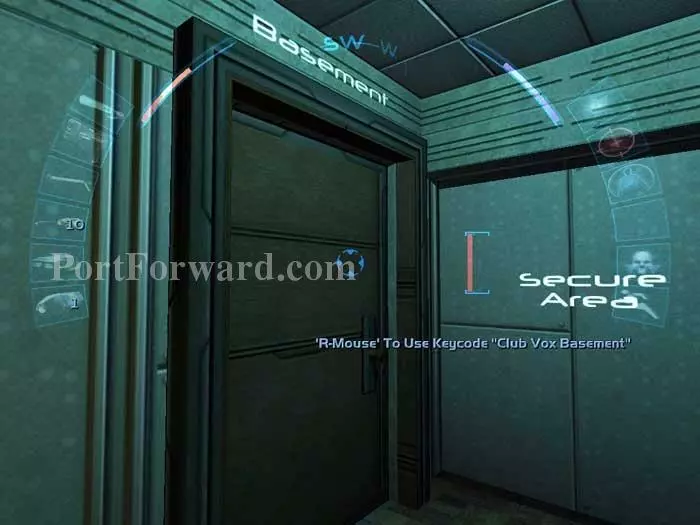
Head downstairs and use your newly-found key on this basement door.
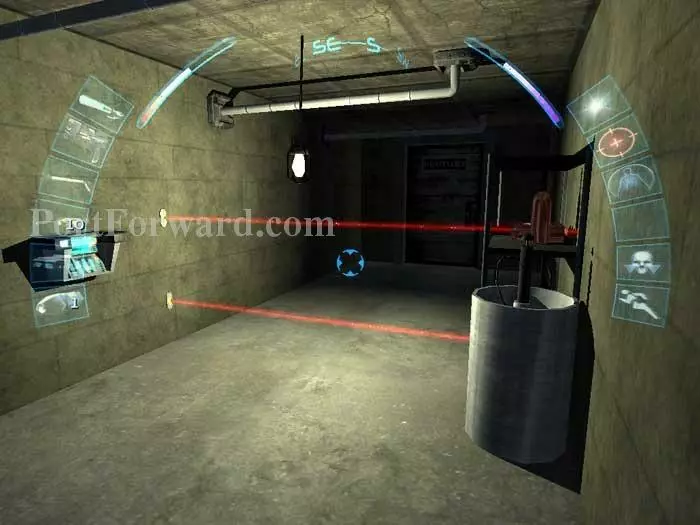
Pass through the maintenance door and you are presented with this red laser obstacle. You can place the keg as I have here to help you climb onto the shelves (tricky, but it does work). You can alternately use your spy drone's EMP blast or the terminal on the left to disable the lasers. Pass through the door beyond.
Read this datacube to obtain the Gray tissue sample for the Omar and complete the objective. On the nearby shelves you'll find a glass destabilizer, an energy cell, two ammo clips and a shotgun.
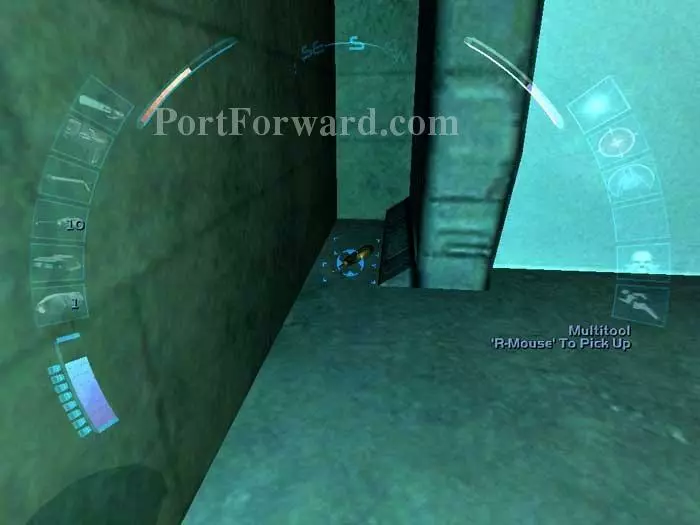
Don't miss this multitool on the floor.

Return to NG and inform her that the VIP area is an Omar black market. You'll receive a reward of 300 credits plus a free ticket to see NG in concert. If you lie and tell NG that the VIP area is no big deal you will not receive a reward as no crime has been committed. Note that if you rat out the Omar then you will lose the Omar's preferred customer status.
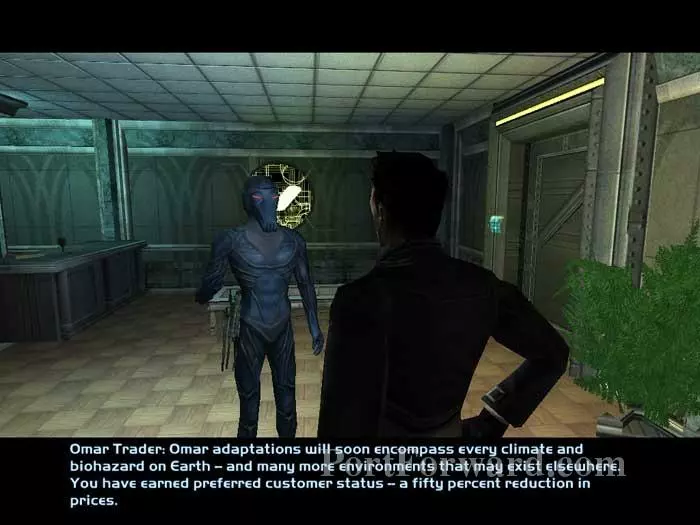
Return to the Omar to collect the 50% discount and a free black market biomod canister.
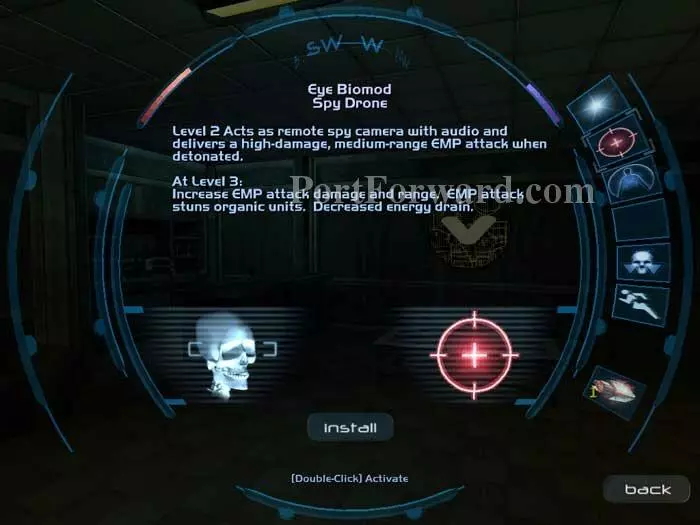
Here I use the black market canister to upgrade spy drone to level 2.
Exit the club then head over to the Emerald Suites in the northwest corner.
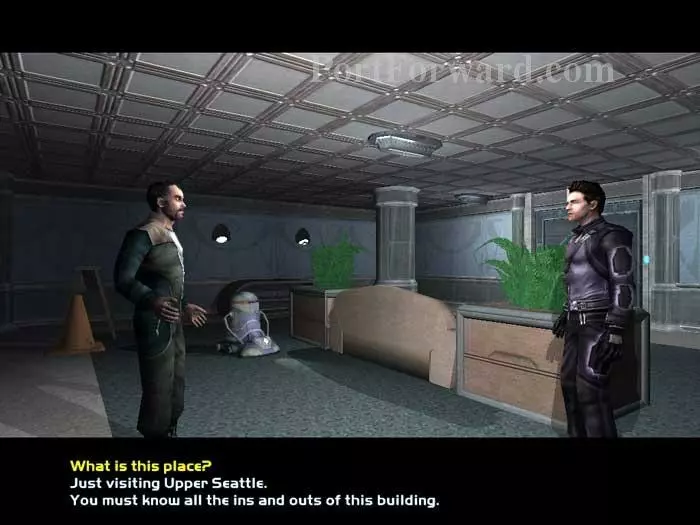
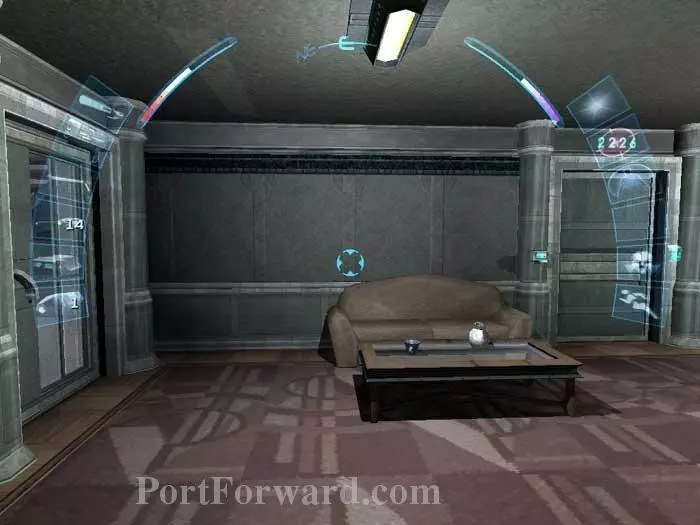
Ask the janitor, "What is this place?" and he'll tell you that the Culture Minister lives in the penthouse, that there's a research scientist in 2224 and a lawyer in 2226. Tell him you're just visiting and he'll whine about his job. Flatter him that he must know all the ins and outs and he'll offer to sell you the Penthouse key and the building's master key -- save your money.

Take the multitool seen here.
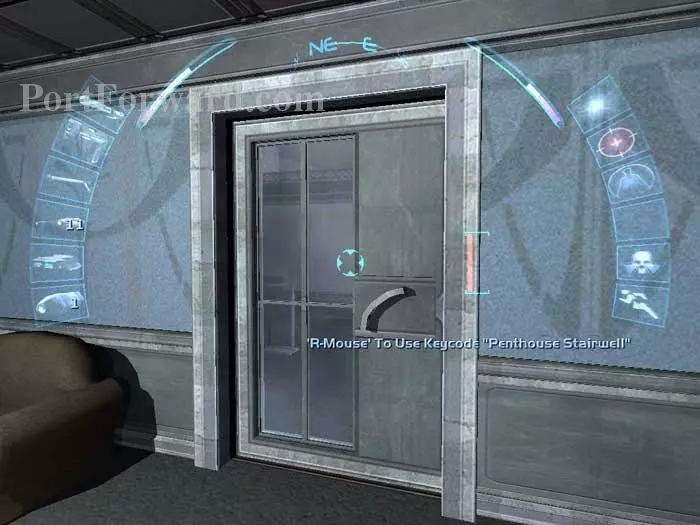
Use your penthouse stairwell key on this door.
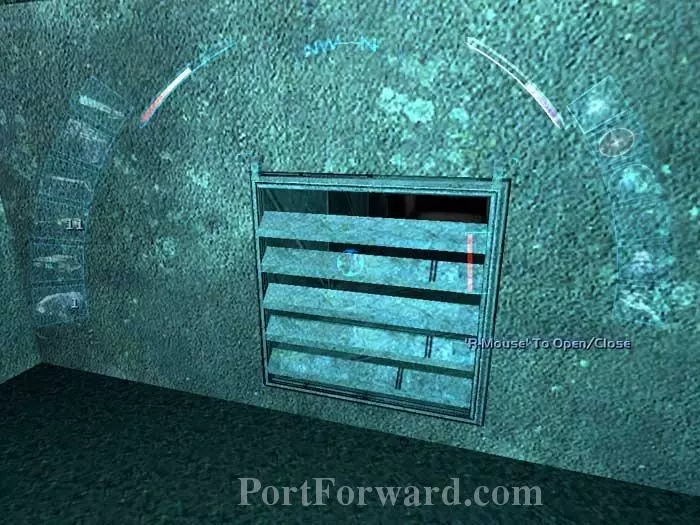
Slip through this vent.
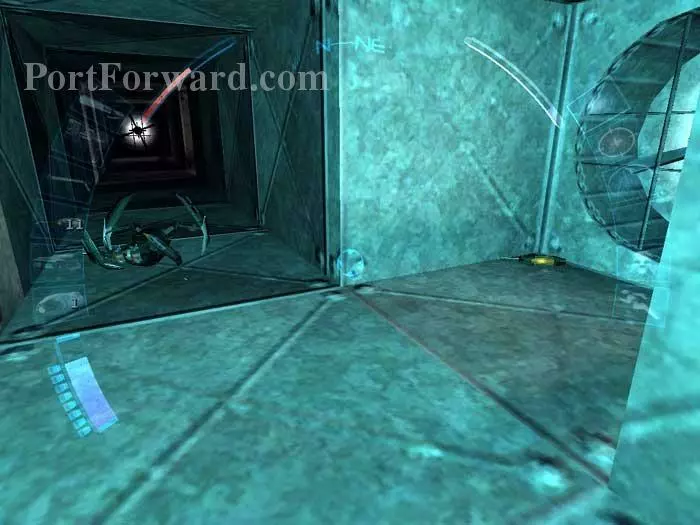
Bypass the first vent and keep right. Disable this spider with your spy drone and grab the multitool seen here.
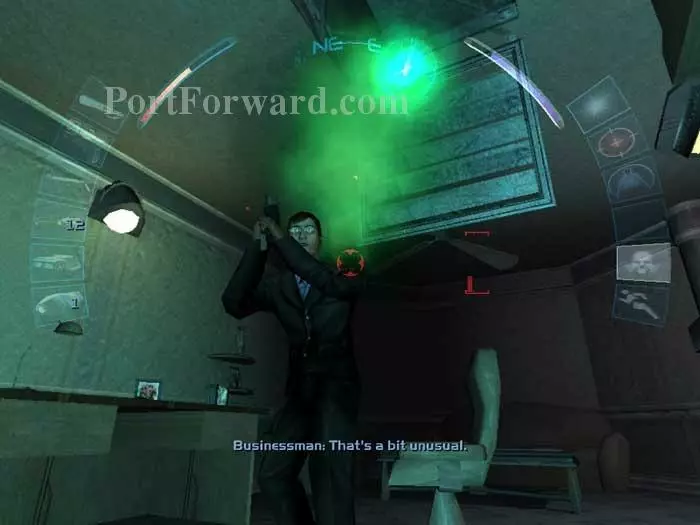
Activate your biotox attack drone before dropping through the vent to suite 2225. Your drone will put this businessman to sleep. On the desk behind him is an image of the culture minister's secret vault, a concussion prox mine, an ammo clip, and a silencer mod.
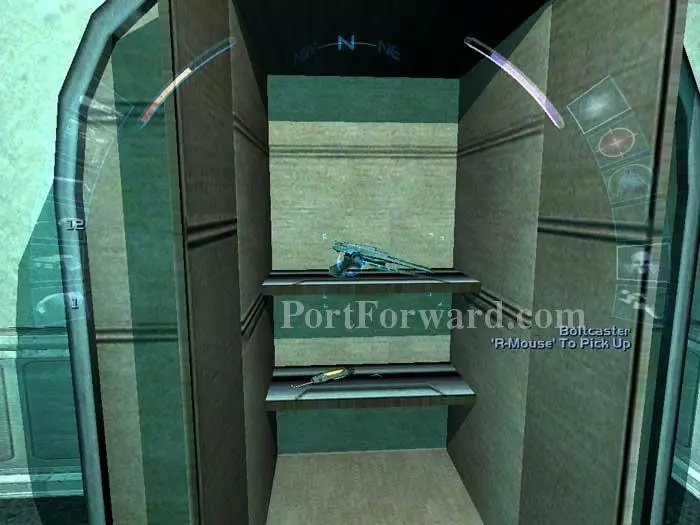
Continue to the bedroom where you'll find this armoire with a boltcaster, 100 credits and a multitool.
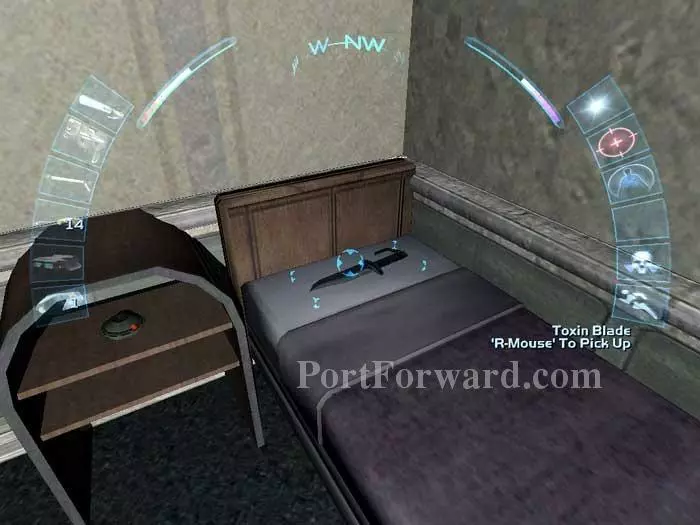
Here is your first secret weapon of six in the game. Move the pillow to reveal the Toxin Blade. On the night table is a concussion prox mine.
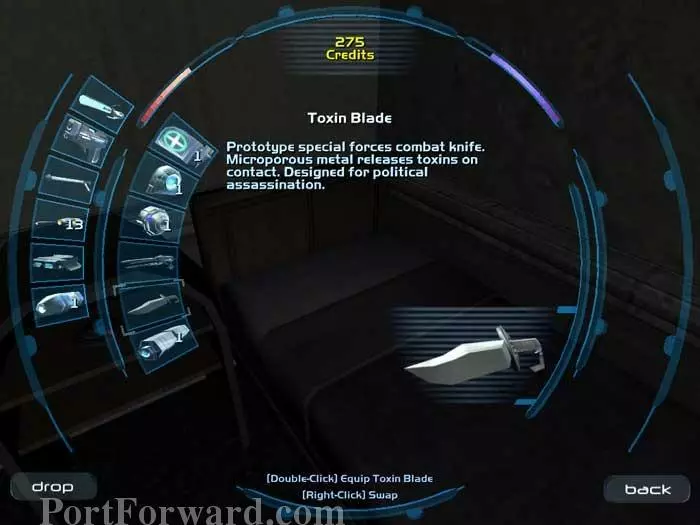
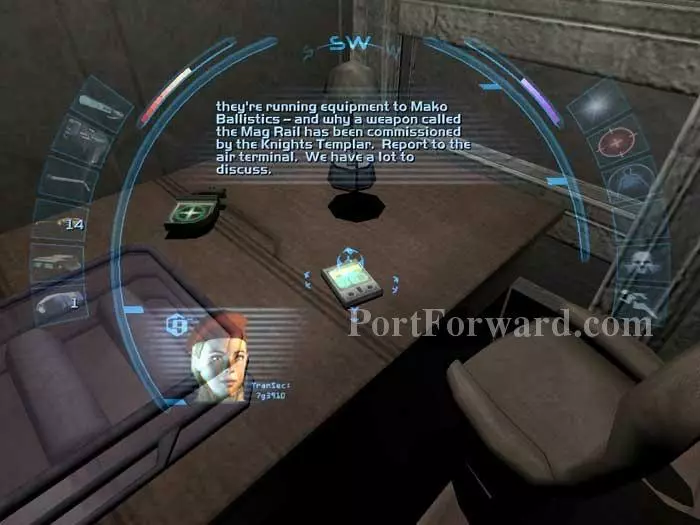
The Toxin Blade releases toxins on contact.
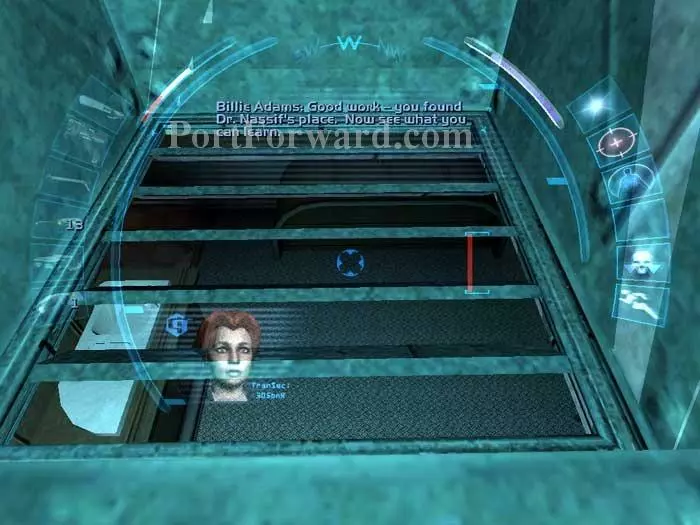
Climb up the grate to return to the vent by holding the jump key (default space). Again keep right and you'll come to this grate. Billie Adams congratulates you for finding Dr. Nassif's apartment.

Approach this holocom unit for a conversation with Billie. Grab the EMP grenade from the nearby shelf.
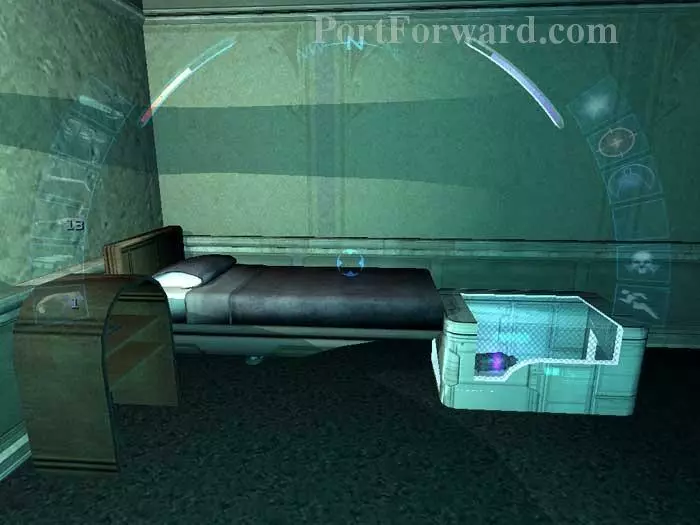
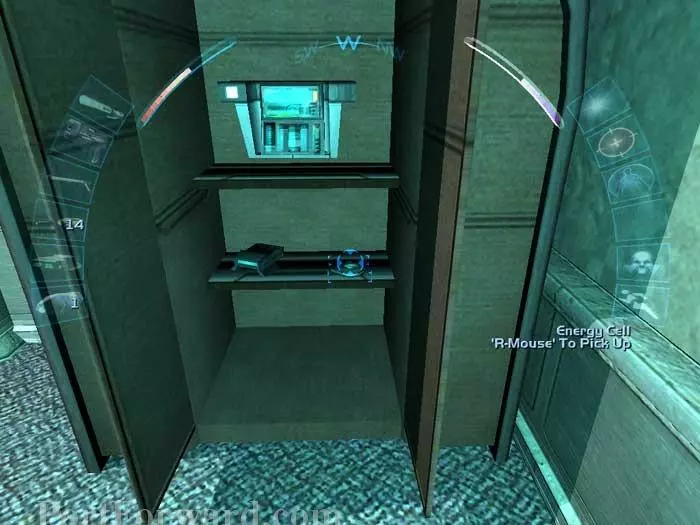
Continue to the bedroom where you'll find an energy cell under the bed and another in the night table. In the trunk is a biomod canister and a scrambler grenade. I use the canister to upgrade cloak to level 2.

This datacube is what you're really here for. Read it to complete the objective to search Dr. Nassif's apartment.
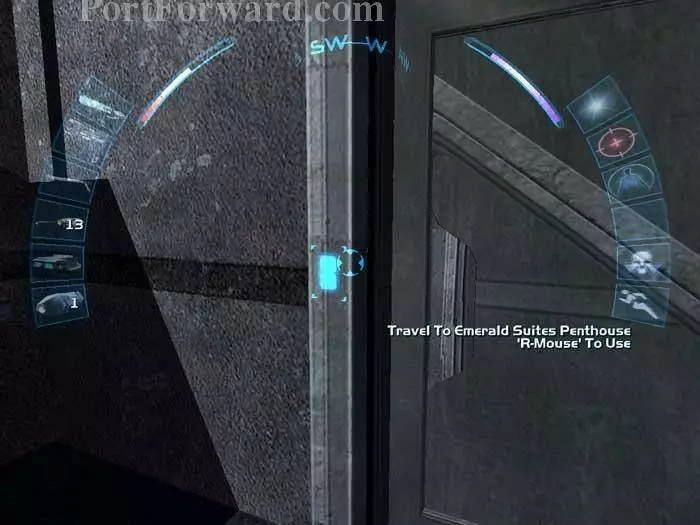
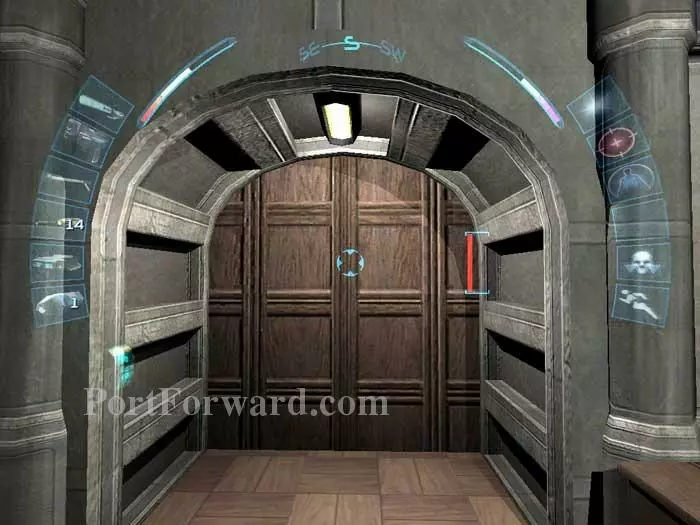
Exit the apartment through the front door and return to the stairs, this time ascending to the top floor. Pass through this door to the Culture Minister's penthouse.
Once inside the penthouse this multitool can be found here.
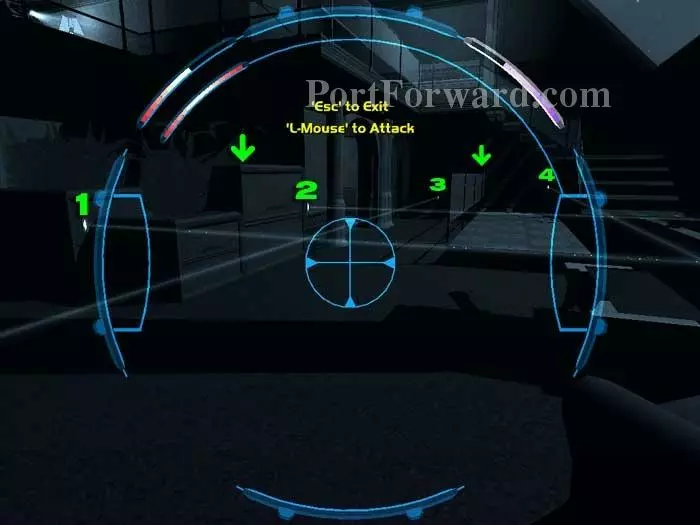
In the neighboring room is this laser field. The beam generators are numbered for emphasis. Detonate your spy drone where the two arrows are and eliminate two beams with each blast. If you are lucky and time the blasts right you can also disable the spider on patrol.

That leaves this turret...
...and the security camera seen on the upper level. Alternately, the beams can be disabled by hacking the security terminal seen here on the left.
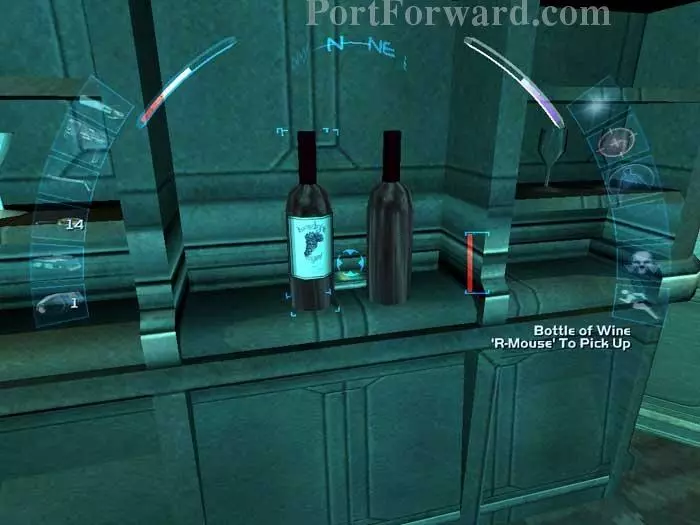
Head into the bar. Behind these two wine bottles is the penthouse vault access key.
Ascend the stairs and enter the bedroom. Here you'll find this vault which matches the image you picked up earlier.
If you missed the penthouse vault key behind the wine bottles you can instead open the vault by hacking the terminal hidden in this armoire on the right. Also on these shelves is an energy cell and binoculars.
Once inside the vault you can read this data cube for evidence that is of interest to the WTO. Also on this desk is a medkit. Two of the display windows hold items of interest: an EMP converter and an energy blade. The glass is easily shattered with your baton.
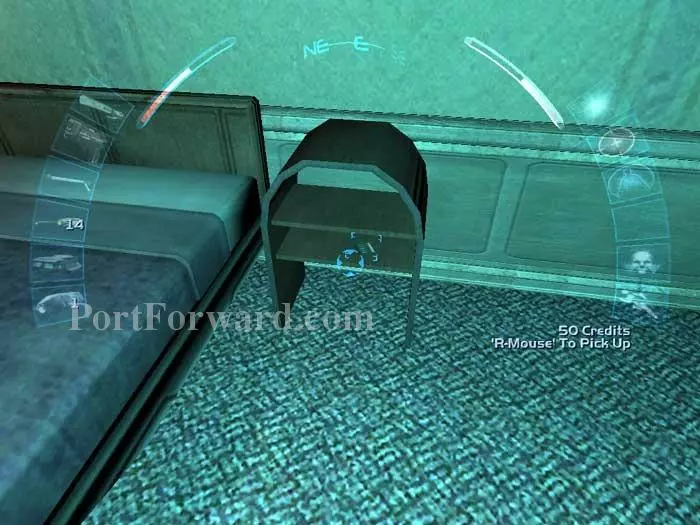
Swipe the 50 credits from this night table.
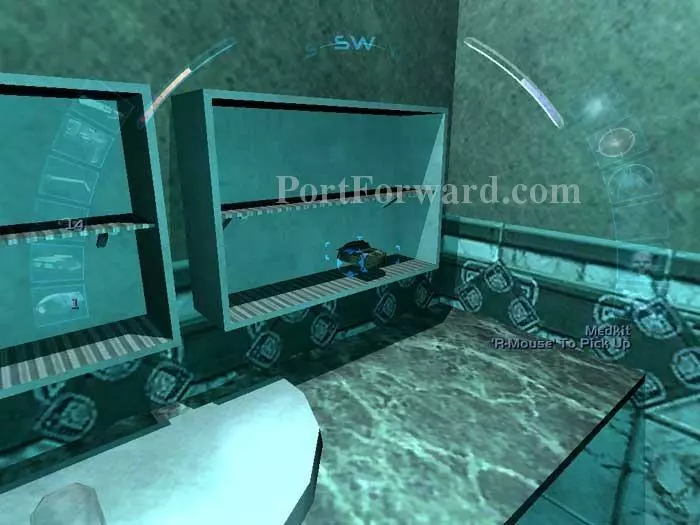
Inside the bathroom you can retrieve this medkit.
Adore the penthouse view before exiting the way you came.
If you're hell-bent on seeing everything, take this vent on the right which leads to the malfunctioning elevator shaft. A multitool on the power box will stop the sparking -- this is an alternate entry to the penthouse from below. Continue down the stairs to the lower level.
Pass through this unexplored hallway, passing suite 2225 on your left. Continue up the stairs ahead.
Suite 2226 on the right is where the lawyer resides that the Club Vox owner has asked you to assassinate. Before we head that way, let's pass through the stairway on the left.
Ascend the stairs and open the maintenance door. The security bot beyond is easily disabled with your spy drone.
Here's the multitool jackpot of all time -- grab all six!

The yellow security box on the right can be disabled with multitools, deactivating the red security grid on these skylights. If you intend on assassinating the lawyer, this would be a wise move.
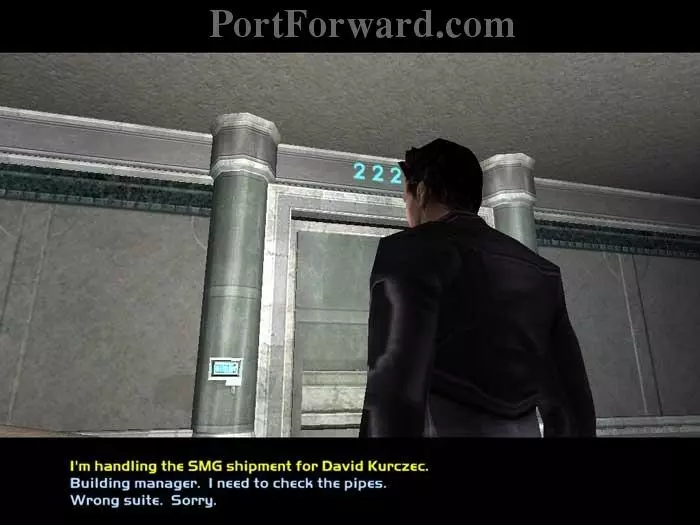
Everyone else can use the front door. The appropriate response is, "I'm handling the SMG shipment for David Kurczec," as you were instructed earlier.
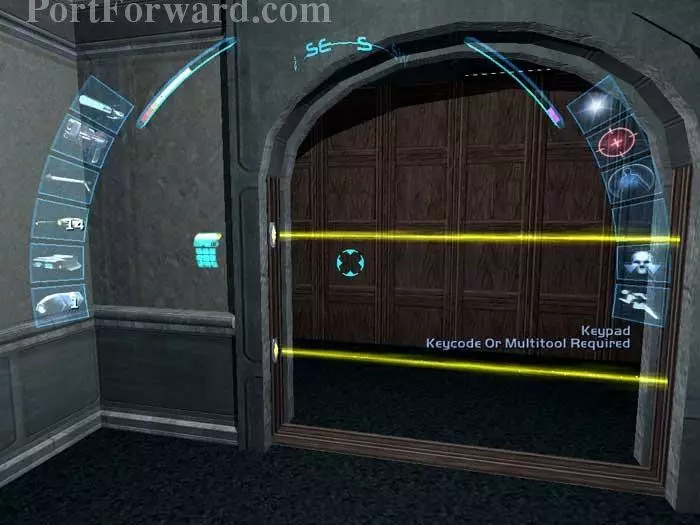
Proceed through another door and you are met with these gold lasers. Bypass them with a multitool to reach a sniper rifle, an ammo clip, a spider bomb, an EMP grenade, a scrambler grenade, a concussion grenade, a medkit and a legal retainer between the lawyer and Chairman Chris Ubair.
Approach the lawyer, Mr. O'Rourke, here. The combinations that result from response option #1 depend upon whether you told NG Resonance the truth about the Omar black market in the VIP lounge. If you told the truth, then you will be rewarded with 450 credits . If you lied, O'Rourke will offer to pay you 450 credits to kill the Omar trader in the VIP lounge. Response option #2 results in a fight. Response option #3 gives you the option to bilk O'Rourke out of 200 credits.
If you killed O'Rourke, return to Club Vox and retrieve your reward. If you lied to NG Resonance about the Omar black market, the Club Vox owner will honor his commitment in full by paying you 300 credits and giving you the VIP lounge code.

If you told NG the truth about the Omar black market, Club Vox is shut down by the WTO. The club owner will reluctantly pay you the 300 credits but will not give you the VIP club membership.
Also, if you told NG the truth about the Omar black market, the Omar will revoke your preferred customer privileges - but only if you return to Club Vox as seen here. If you avoid Club Vox you will keep your preferred customer privileges.
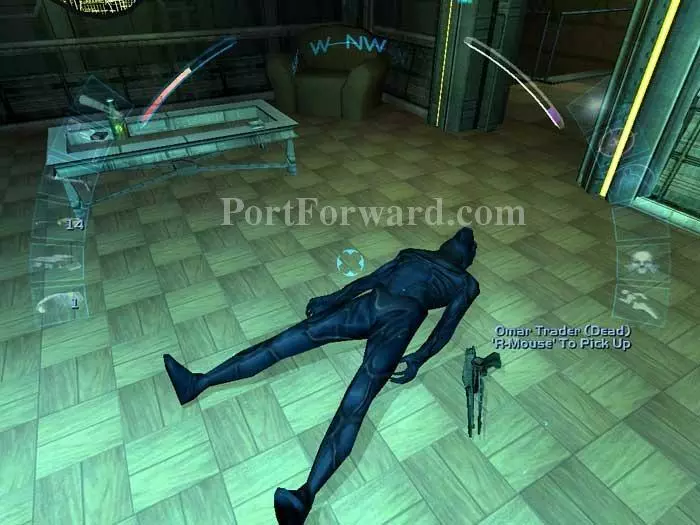
The reason is here in the VIP lounge. The Omar Trader was killed by the WTO while resisting arrest. A data cube on the coffee table visible behind the Omar explains what happened.
Exit the club and return to the lower level of the city center. We're heading to the inclinator.
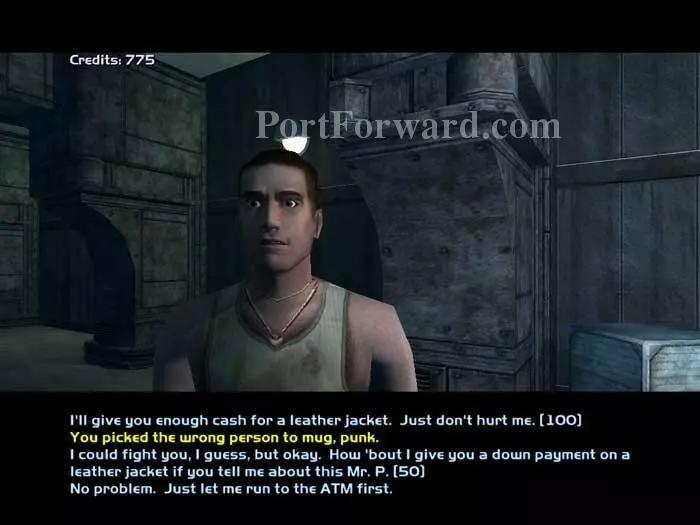
But first, we have to deal with some thugs. Response #1 resolves the mugging peacefully. Response #2 results in a fight. Response #3 reveals that the thugs are involved in a jail break for a "Mr. P." Response #4 delays the fight for another day.
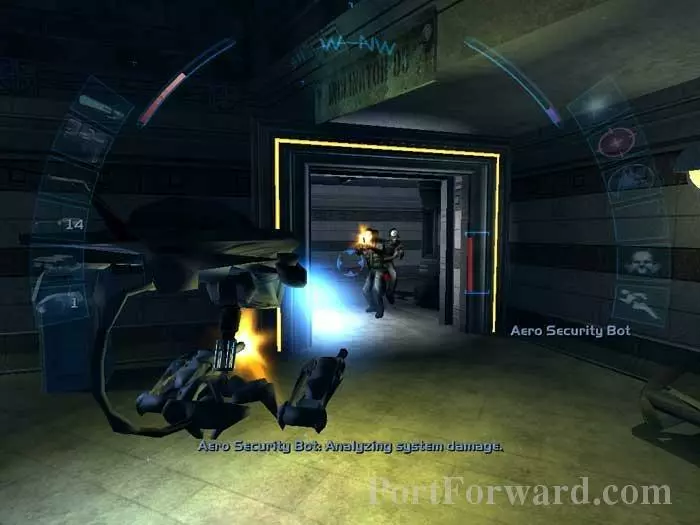
If you choose to fight you can lure the thugs to the security bot and WTO forces for an easy victory.
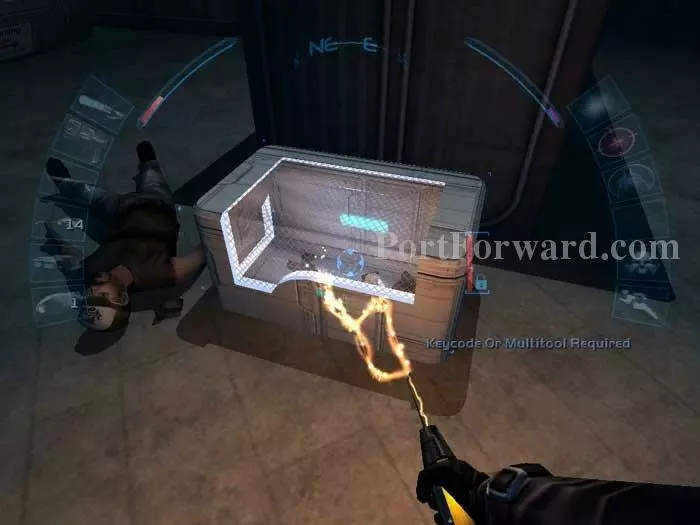
Once the thugs are dispatched you can unlock this chest for a glass destabilizer, an ammo clip, and a boltcaster.
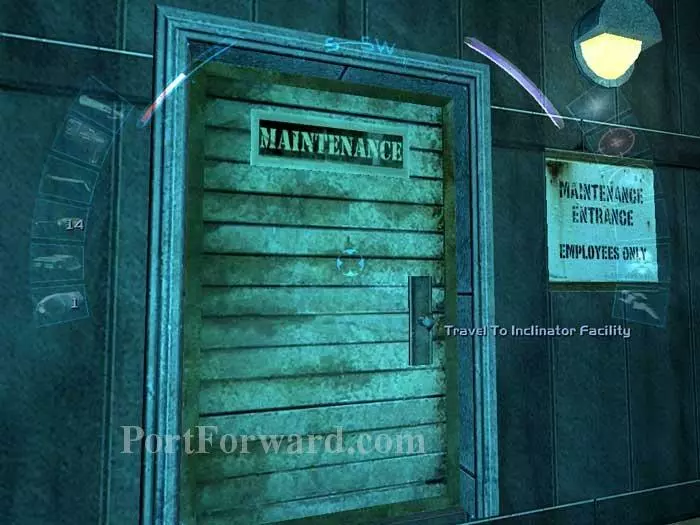
Pass through this maintenance door to travel to the inclinator.
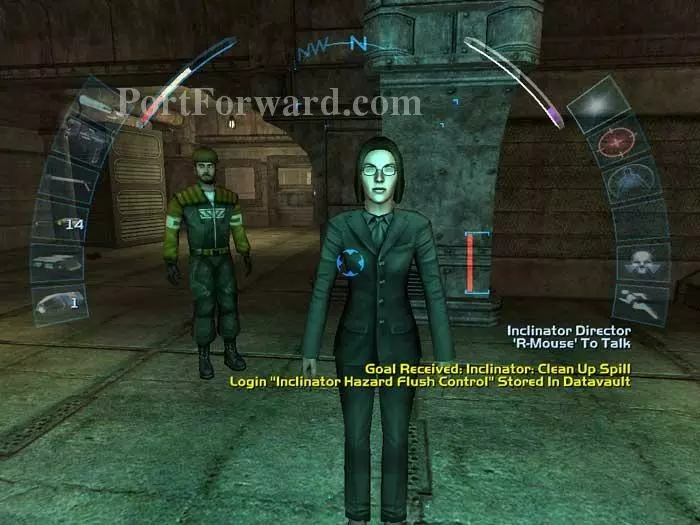
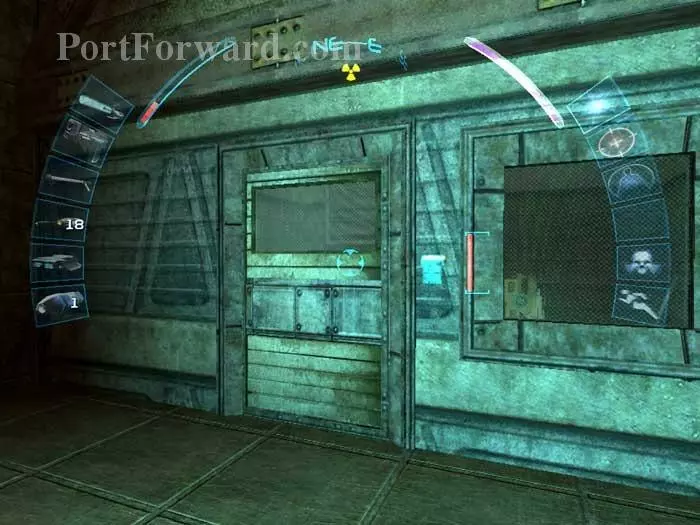
Talk to the inclinator director and learn that the facility is shut down until a toxic spill is cleaned up. She offers the clean-up job to you for 100 credits.
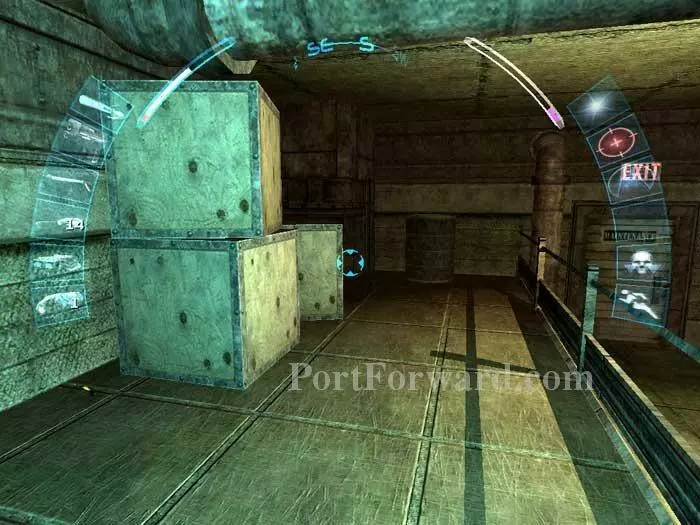
Up these short stairs is a multitool (visible to the left) and an EMP prox mine is to the right of the crates.
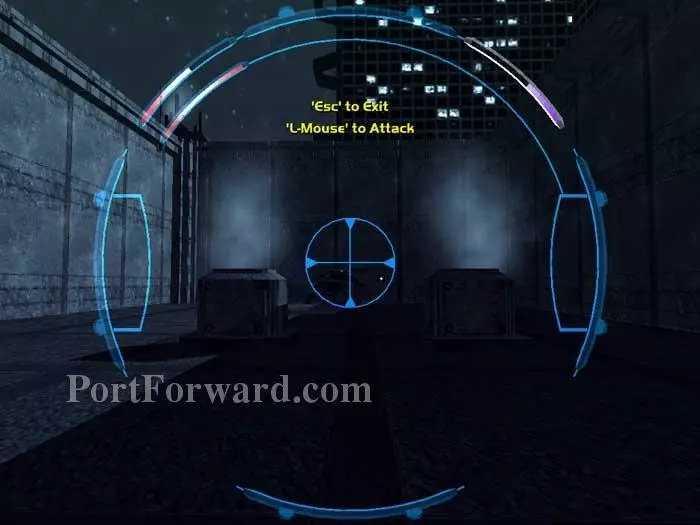
The WTO soldier warns you of the bots beyond. You can move the wooden pallet on the right and proceed through the ventilation shaft, but my preference is to just open the door on the left and send in your spy drone to disable the bot.
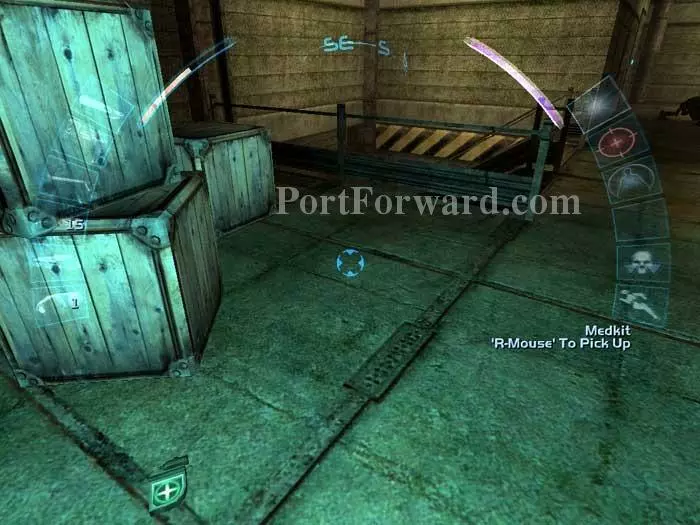
Once inside you can grab this medkit then send your spy drone downstairs to disable the second bot. Descend the stairs to the area below. Alternately, climb the crates seen on the left and crawl through a ventilation shaft. You will emerge here at (2).
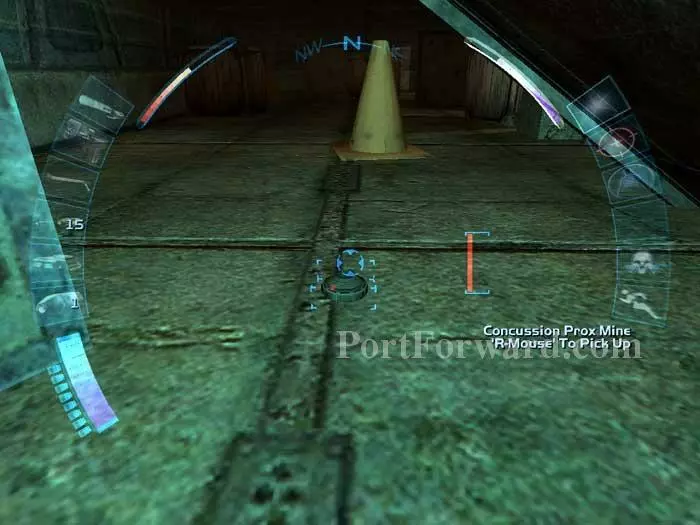
In this alcove below you'll find this concussion prox mine, a multitool and an EMP grenade.
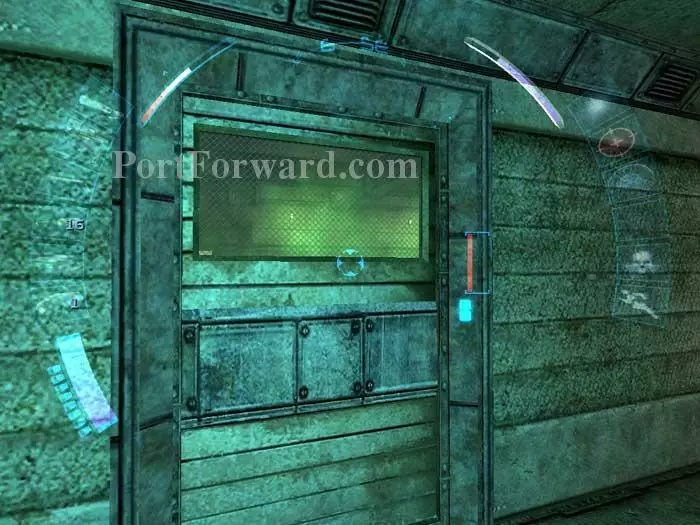
The toxic spill is behind this door -- don't go there.
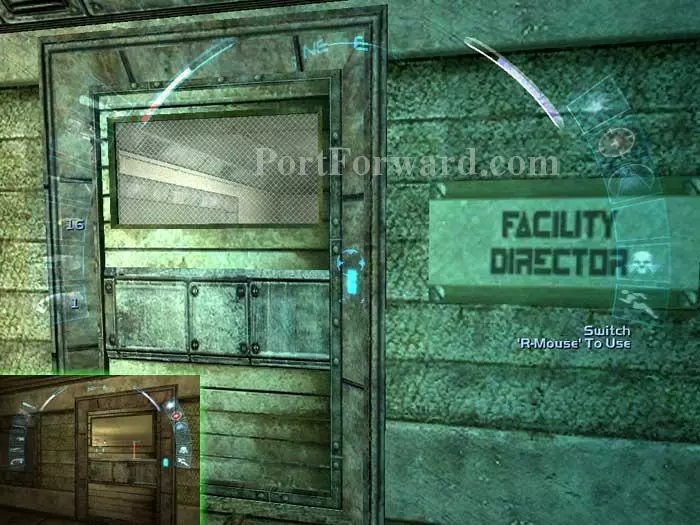
Instead, return upstairs, pass through a door (inset) and then pass through the door to the facility director's office.
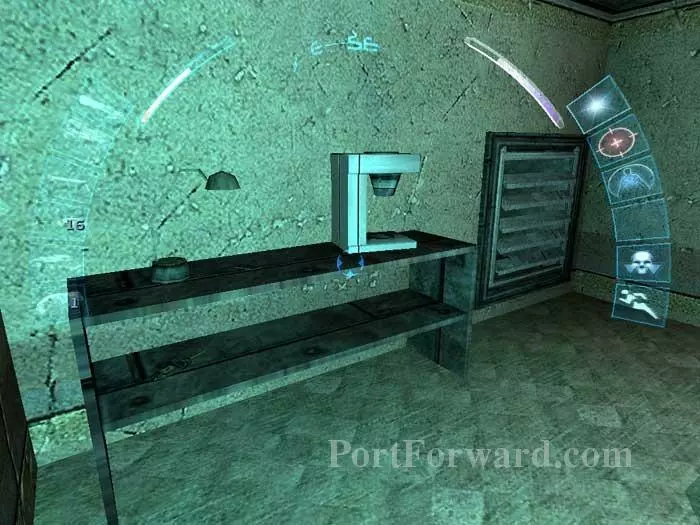
Before entering the vent on the right, grab the 100 credits and the multitool from these shelves on the left.
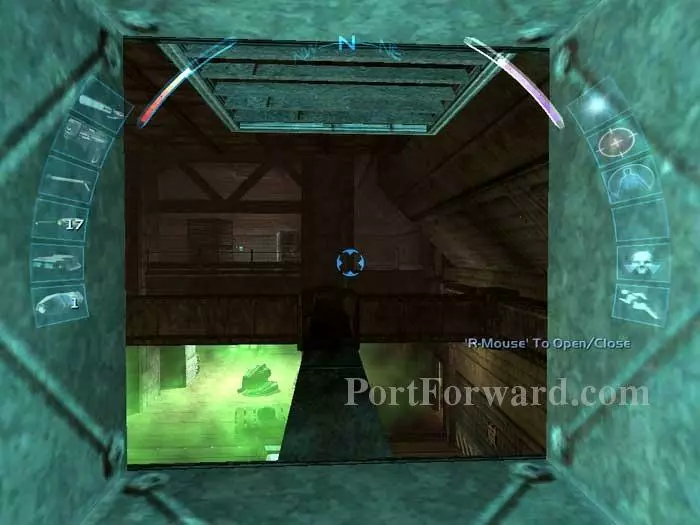
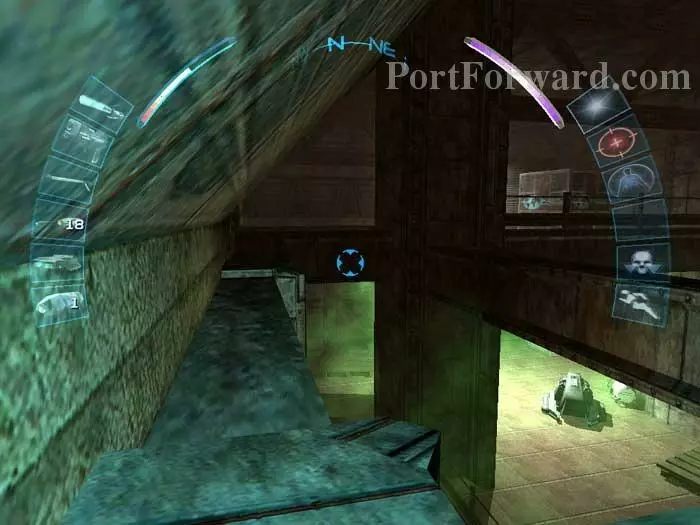
Climb the ventilation shaft and you'll emerge here, above the toxic spill.
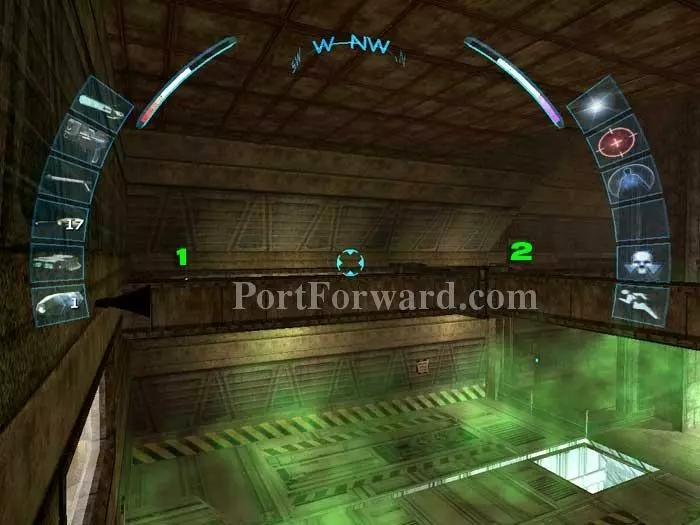
Here's the view to your left. Follow the beams to a multitool at (1). At (2) is the air vent which leads to these boxes.
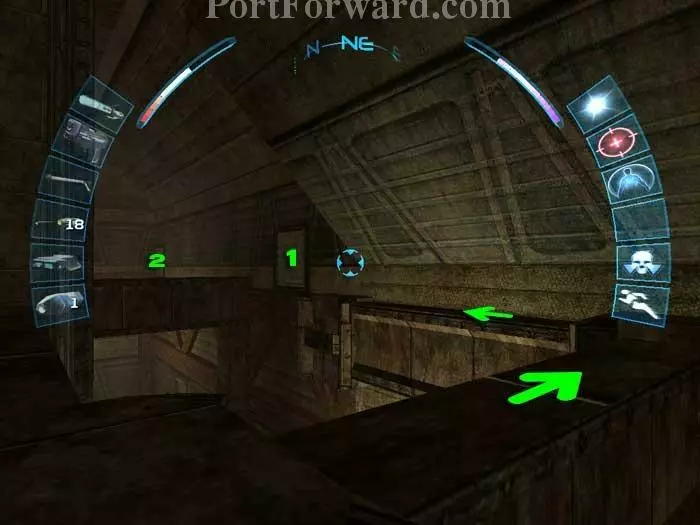
Follow the beams along the right as indicated to the vent at (1). The vent at (2) leads to the same shaft.
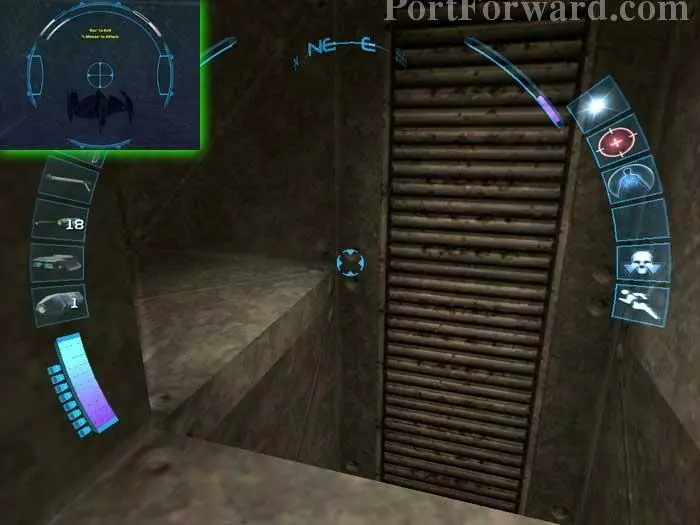
Open the grate and send in your spy drone through the left vent to disable this spider beyond (inset). There are several ways to proceed at this point. If you'd like to see everything and you have speed or strength enhancement, descend the ladder-like vent on the right. Otherwise, skip ahead.
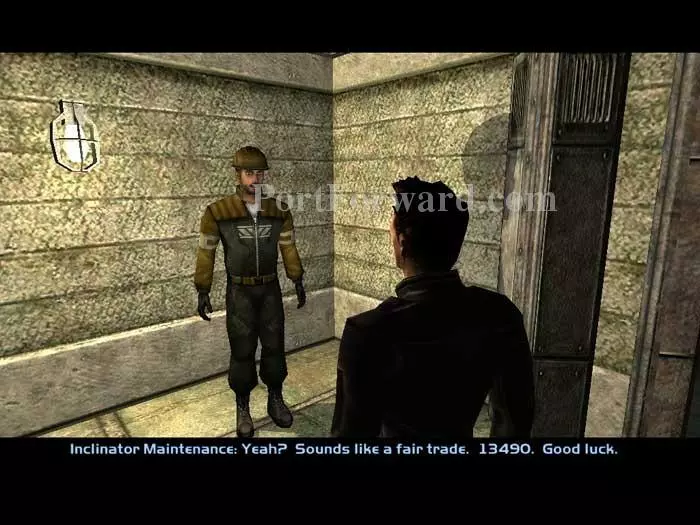
Open the grate and descend the stairs to find Mathers, the maintenance technician that the inclinator director told you about. Talk to him to get the repair bot kennel code.
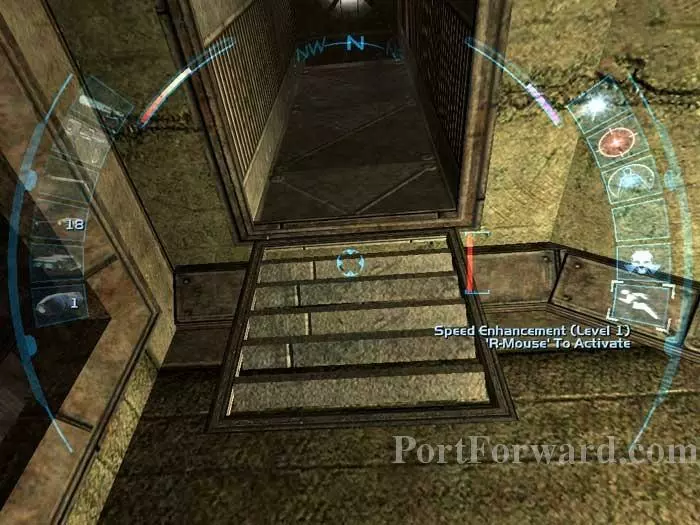
Use your speed enhancement to jump back into the ventilation shaft. Alternately, if you have strength enhancement, move the barrel downstairs into position to hoist yourself up.
If you have neither enhancement you can make a mad-dash to the repair bot kennel next door, using the code just given to you by Mathers.
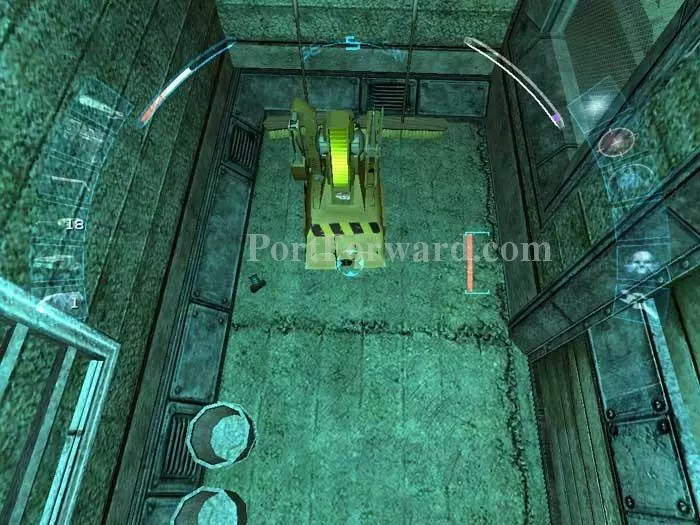
Everyone else, descend the other ladder-like shaft down to the repair bot kennel. The repair bot will recharge your energy for you. Note the ammo clip to the bot's left.
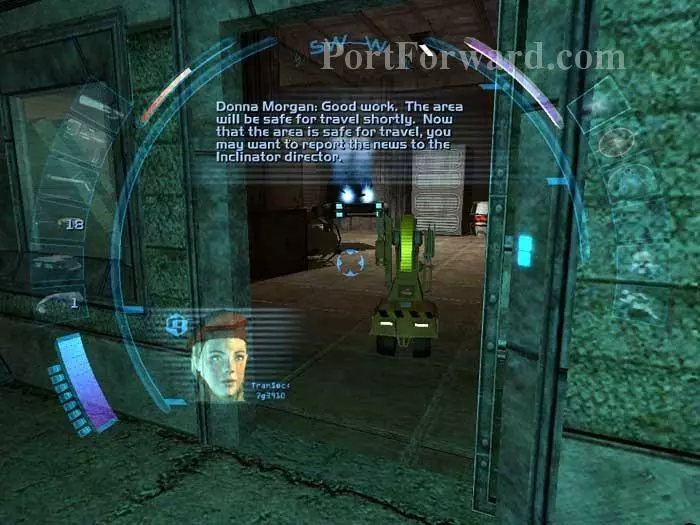
Once here, opening the door releases the repair bot, which will repair the nanoformer bot. The spill is cleaned and Donna Morgan of the WTO congratulates you.
Alternately, you could follow this beam along the left wall to the platform ahead. img(219974); Once here you can access this hazard flush control panel to clean the spill. img(219975); This nearby chest holds two concussion grenades and a gas grenade -- I'd save my multitool. img(219976); Return to the inclinator director to receive your reward of 100 credits. img(219977); Return to the formerly-contaminated area and access this panel to take the inclinator to lower Seattle. img(219978); Toss an EMP grenade to disable the spider bot below before descending this ladder. img(219979); In this corner you'll find a medkit, an EMP grenade and a red phosphorous flare. img(219980); Return up the ladder. Use your speed enhancement (or move a crate and climb onto it) and mantel through at (1). Alternately, you could spend a multitool to unlock the door at (2). img(219981); Inside the unlocked room is this medkit and SMG. On the floor nearby is an EMP converter and an ammo clip. img(219982); Return downstairs and use this maintenance door to enter the slums of lower Seattle. img(219983); Talk to Lo-town Lucy repeatedly to learn that she can predict the future, or so she thinks. img(219984); Mack lost his big toe to Gob-zilla when it was just a baby. Behind Mack in the north east corner is a multitool. An ammo clip can be found in the nearby dumpster. img(219985); Open this grate and descend the ladder to the sewers below. img(219986); There are Greasels down here so activate your cloak or be prepared for a fight. img(219987); Beneath the body of this Omar Protector is the game's second secret weapon: the Red Greasel Hunter. Nearby are two credits chits with 50 and 100 credits, a scrambler prox mine, a spider bomb, and an energy blade. img(219988); The Red Greasel Hunter comes equipped with an infrared stealth light. img(219989); Return to street level then head over to the Greasel Pit. img(219990); Agree to the weapons safety-lock so you may proceed through the door. img(219991); Talk to the very suave Sid Black and receive a new goal: liberate his jet. Snatch the credit chit from the pool table for 50 credits. img(219992); Talk to the bartender. He advises betting on the Green Dragon. Further down the bar is a data cube describing the even-more-ferocious red greasels. img(219993); Check out these lockers behind the bar. The locker on the right holds a multitool, and the locker on the left holds 50 credits. img(219994); Continue toward the burn barrel and open the door on the right. img(219995); Approach the holocom to receive a goal from captive pilot Ava Johnson. Rescue her and she'll fly you anywhere you want for free. You may recognize this voice actress as System Shock 2's Shodan, voiced by Terri Brosius. img(219996); Grab this multitool off the shelf to the left. img(219997); Descend the stairs behind this thug. img(219998); Another multitool can be found inside this locker. img(219999); Approach the bookie and put your money on the gob of your choice. Green Dragon is the heavy favorite. img(220000); Walk over to the railing and watch the fight. Green Dragon usually defeats Shutterbug. img(220001); Return to the bookie to retrieve your payment and learn of a chance to quadruple your money at tonight's fight: Gob-zilla versus Snake-eyes. img(220002); Talk to Eddie to pick up another goal: kill Gob-zilla, still in Tina's apartment in the Heron's Loft. img(220003); Pick up this 25 credits at the west end of the room. img(220004); Return upstairs. Enter this room across from the bar. The NG hologram is a simple jukebox -- you can change songs but you cannot speak to NG. Note the multitool on the floor to the left. img(220005); You'll find Leo Jankowski here. He's now working for the Omar. Behind him you'll find a Seeker and a Templar arguing over philosophy. img(220006); Exit the bar then pass through this maintenance door to the Heron's Loft apartments. img(220007); Pass through another maintenance door and you'll emerge in this alley. You can either climb the ladder ahead and enter through a window, or, better yet, walk past the ladder and to the right. img(220008); Pass through this door. img(220009); Descend the broken elevator shaft. Grab the multitool and flash bomb before continuing through the air vent. img(220010); Climb the shaft and you'll emerge here, right behind a caged Gob-zilla. If you want to complete Eddie's goal, you'll have to kill Gob-zilla. Knocking him out isn't enough. Note that you don't need to kill him to win the 4-to-1 odds, as he can lose anyway. Killing Gob-zilla only nets you 100 credits. img(220011); You can bring down this thug guarding Gob-zilla with non lethal shots from your boltcaster. Be careful as she will toss a spider bomb your way once she sees you. img(220012); The apartment soft key can be found here, and there's an ammo clip on the nearby crate. img(220013); Use the soft key to exit the apartment. Continue down the hall to apartment 21. img(220014); Inside is the Queequeg's manager. He'll offer you a job to hack the zoning database. img(220015); On this table is 25 credits and the Queequeg's soft key. img(220016); Grab the medkit from this shelf. img(220017); Exit through this door and receive a message from the order. Talk to the guard and get permission to see Miss Sak. She is holding Sid Black's harrier at the helipad. Search the dumpster for a multitool and hack the nearby ATM if you like. img(220018); Return down the hall to the broken elevator. This time you'll be above the platform. Ascend the ladder to the top floor. img(220019); Hackers will want to make use of this security computer to the right. img(220020); Further down the hall is this room. The locked container at (1) holds two medkits and a concussion grenade. The unlocked container at (2) holds 50 credits. The locked container at (3) holds a datacube with Sophia Sak's security system login, a refire rate mod and an ammo clip. The unlocked container at (4) is empty. Be sure to avoid the watchful eyes of the guard when picking the locks. img(220021); Here I install the refire rate mod on the boltcaster. img(220022); Across the hall is your immediate destination - Sophia Sak's office. img(220023); Approach Sophia and you are presented with these three dialogue options. Option (1) resolves the situation peacefully, and completes the goal of liberating Sid Black's jet (a bargain). Option (2) leads to a fight. Option (3) does nothing. img(220024); Lin-May Chen would have preferred you to kill Sophia Sak and her henchmen, but commends your heart nonetheless. If you prefer to resolve the situation by force, it would help to use the security terminal visible on the wall. Grab the energy cell from the table. img(220025); Continue to the helipad area and the hangar (inset). You should do this now, as the hangar will be unavailable after you next meet with Sid Black. img(220026); Cloak and nobody will see you pick the lock on this door. Inside is a boatload of weaponry, including two flamethrowers, ammo clips, two sniper rifles, a boltcaster, an ammo scavenger, a medkit, an SMG, a pistol, and a repair bot to keep your cloak charged. img(220027); Return to the lower Seattle slums and proceed up these steps. img(220028); An Omar trader is to the right. If you still have your preferred privileges, you get a 50% discount. Here I buy the black market biomod and energy cells. If you are careful to avoid detection, the container on the right can be picked with multitools for a medkit, two ammo clips, an SMG, a datacube with a message from Hong Kong, and a scrambler prox mine. img(220029); Here I use the black market biomod canister to upgrade spy drone to level 3. img(220030); Around the right corner is the QueeQueg's coffee shop. Use your soft key or enter through the indicated vent. An energy cell can be found in the dumpster seen on the left. img(220031); Destroy these beans to complete the coffee wars objective. img(220032); Directly across from Queequeg's is the Order church. Use the indicated keypad to open the doors, then pass through another door on the right (inset). img(220033); Approach this holocom unit to converse with Her Holiness. She instructs you to receive a message from Lin May Chen in the next room. img(220034); As long as you don't mind stealing from church, swipe these two credit chits worth 125 credits from behind the pulpit. Phosphorus flares and a boltcaster can be found beneath the platform. img(220035); Continue through this door and ascend the stairs. img(220036); Approach the holocom and receive a new goal from Lin May Chen: find the Order traitor Captain Lamar in the inclinator. Grab the ammo clip from the table. img(220037); Inside this locked chest you'll find a spider bomb, 100 credits, a scrambler prox mine, and a noisemaker grenade. img(220038); Backtrack past Her Holiness and open this maintenance door. img(220039); Before descending the stairs, send your spy drone down and disable the two spiders on patrol. img(220040); Multitools on this power box will stop the arcing, but you can easily get around the other side if you prefer. img(220041); Grab this energy cell. There's also a concussion prox mine on the floor nearby (inset). img(220042); Approach this medbot on the far side of the room to heal. Note the ammo clip on the floor to the left, and the EMP grenade to the right. img(220043); Under the subfloor is this increased damage mod, a multitool and an ammo clip. img(220044); Backtrack to the inclinator. Three Templar recruits patrol the area and are hostile. Activate your cloak or use your biotox drone to subdue them. img(220045); Ride the inclinator to upper seattle. Lin May Chen spots Captain Lamar and the Templar fugitive in this office, completing the objective. You receive a new goal: find evidence. img(220046); More Templars are in this part of the facility. Activate your cloak and head to the facility director's office. img(220047); Even though you are cloaked, you will trigger a cutscene if you approach the Order Captain or the Templar. Not to worry, as they will be unable to see you once the scene ends. img(220048); This datacube is what you're here for. Read it to complete the objective. Lin May Chen instructs you to return to the Order church. img(220049); Don't forget about the facility's repairbot. Use it to recharge and keep your cloak active. One technique I found to be useful was to remain cloaked and activate the biotox attack drone, returning here to recharge. You can easily wipe out the resistance in the inclinator this way. img(220050); Return to the Order church and talk to Lin May Chen. She instructs you to hire a pilot and fly to Mako Ballistics. img(220051); Before leaving the church, Billie Adams interrupts for a brief conversation. img(220052); Return to Sid Black at the Greasel Pit. He'll instruct you to meet him at the landing pad when you're ready to fly. img(220053); Head downstairs and approach the bookie. He lets you know that Gob-zilla has been killed (he doesn't know that it was you), but you can still place your bet. I recommend putting 500 credits on Snake-eyes. img(220054); Walk over to the railing and watch the fight. Snake-eyes usually defeats the Claw. Return to the bookie to collect 1800 credits. img(220055); Return to Eddie and collect your 100 credits for killing Gob-zilla. img(220056); Exit the bar and take the inclinator back to the Upper Seattle City Center. If you didn't resolve the situation with the thugs earlier, you'll have to now. The dialogue options are the same, except you no longer have the option to run to the ATM. img(220057); Return to the Pequod's coffee shop and collect your 300 credits for destroying the Queequeg's beans. img(220058); Follow the signs to the Metro station. img(220059); Talk to the nervous attendant and learn that the prices have increased five fold. You can either pay the 250 credits to have him disable the gold security beams (inset), or you can sneak in. img(220060); Here is the convenient air vent. Open it and climb through. img(220061); Activate your cloak and pass through the door to the attendant's room. Activate the indicated switch to disable the security beams. img(220062); You'll find an ammo clip on this chair behind the door. img(220063); In the neighboring storage room you'll find a medkit, an ammo clip, and this dead body. If you talk to the nervous attendant again you'll have the dialogue option to tell him about the body. Not a great idea, as he'll start shooting at you. img(220064); In the hallway is this unlocked locker with the key to the nearby door, a stun prod and an ammo clip. img(220065); Use the key to open this door and pass through the now-disabled security beams. Ascend the stairs and press the switch to travel to the WTO air terminal (inset). img(220066); Ava Johnson tells you she is in the hangar on the lower level. Talk to the WTO Captain visible directly ahead and he encourages you to join the WTO. Ascend the stairs and keep right. img(220067); Approach the window on the right and talk to your old school chum Klara Sparks. She's now working for the WTO. img(220068); Head to the management wing across the way and hang a left into Donna Morgan's office. Approach the holocom to talk with her. She wants you to find a pilot and fly to the Mako lab north of town. img(220069); Grab the multitool on the floor under the desk. On the coffee table is this book with some background on the Dentons. The book faults them for the collapse but at least gives JC credit for resolving the Gray Death. img(220070); Wait for the civic manager to come out of his office, then approach him to collect your reward for spying on the Club Vox owner's finances. img(220071); Enter the civic manager's office (the door was locked previously). The left two lockers are locked. The first holds two ammo clips and the second holds a silencer mod. The right two lockers are unlocked. The third is empty and the fourth holds some food. img(220072); Inside this safe is the civic manager's login, a scrambler grenade, and an EMP grenade. img(220073); The login allows you to accept the zoning application that the QueeQueg's manager wants. img(220074); Ignore the nearby elevator for now. Instead explore the Pequod's and the surrounding air terminal. Check out the view and you can see Anna's helicopter below. img(220075); Return all the way back to the Heron's Loft in lower seattle and receive your compensation from the Queequeg's manager for fixing his zoning application. img(220076); You've now got a decision to make. Who do you want as your pilot? If you choose Sid Black, head to the roof and you can leave now. Sid drops you off closer to the action, but it'll cost you 500 credits. Personally, I want to see the entire map so I think this is a bad gameplay device. img(220077); If you prefer Ava Johnson, backtrack to the elevator in the WTO air terminal we bypassed earlier. Rescuing Ava will cost you some standing with the WTO (not that it matters) She will land in a different spot at Mako than Sid, but I don't think it's any worse, and she will not charge you for the trip. img(220078); Ride the elevator down and approach the terminal door ahead. Ava instructs you to disable the ground-to-air missile batteries and activate the pilot beacon. img(220079); Activate your cloak and bypass these WTO guards. Slip through the unlocked door on the right (inset). img(220080); Make a left then use multitools to open this door on the right. img(220081); Inside is this chest holding a black market biomod canister and a spider bomb. On the floor to the right is a concussion grenade and a medkit is on the opposite side of the room. img(220082); What's really critical about this location is the presence of a repairbot. The combination of cloak, repairbot and your level 3 spy drone will allow you to secure the area from the safety of this one room. img(220083); Use your level 3 spy drone to knock the two WTO guards unconscious. The repair bot will recharge your systems as they are deplenished. img(220084); Your spy drone's EMP blast will take out this security bot and the south missile battery with ease. img(220085); Repeat on the other corner of the building by taking out another security bot, the north missile battery, and the security camera seen in the background. img(220086); Lastly, send your drone down one of these openings to the lower level. Do this quickly as your spy drone will deactivate if over its maximum height for long. img(220087); Knock unconscious the lone WTO soldier patrolling down here. The area is now secure. img(220088); Deactivate your cloak. Head below (where you last sent your spy drone) and read this data cube to obtain the security login codes. The security guard you knocked out earlier has dropped a shotgun and a concussion grenade. The unconscious guards above have dropped a spider bomb, a boltcaster, a pistol, an EMP grenade, and ammo. img(220089); Don't waste a multitool on these lasers. Another access ladder is available on the other side. img(220090); Grab this multitool. img(220091); An alternative method for disabling the north missile battery is to access this maintenance room. Use the security login to access the security computer and deactivate the missile battery (inset). The only other items of note in this room are two ammo clips, a medkit and a data cube revealing the presence of the black market biomod, so save your multitool if you've already disabled the missiles. img(220092); Time to enter the control tower. img(220093); Slip through this vent. Grab the multitool before exiting out the other side. img(220094); This is the south maintenance room. An alternate method to deactivate the south missile battery is to use the security login on this computer. The softkey to the maintenance door is on the floor to the left of the vent. img(220095); Shimmy back through the vent to the control tower, where you'll find this locked chest holding an increased damage mod. img(220096); Here's the pilot beacon (a picture is on a data cube to the right). Activate it and Ava radios that you're ready to go. img(220097); More soldiers now patrol the area. Activate your cloak or prepare for a fight. The control tower makes for a good sniping location. Board the chopper and Ava will drop you off near Mako Ballistics -- a bit further away than Sid's harrier will take you.
More Deus Ex: Invisible War Walkthroughs
This Deus Ex: Invisible War walkthrough is divided into 11 total pages.