Half Life 2: Episode Two Walkthrough To The White Forest

September 12, 2016 (Last Updated: ) | Reading Time: 7 minutes

This Half Life 2: Episode Two walkthrough is divided into 7 total pages.

You can jump to nearby pages of the game using the links above.

To The White Forest

Half Life 2: Episode Two Walkthrough - Half Life-2-Episode-Two 0

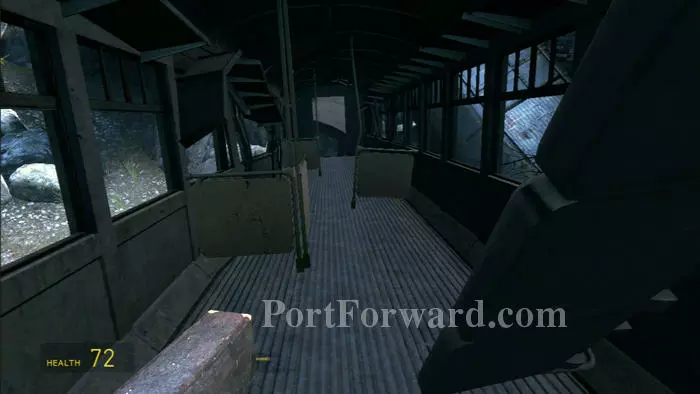
The beginning point-of-view can be a bit disorienting. Look down to find yourself in a demolished train car. Work your way to the far end of the train.

Half Life 2: Episode Two Walkthrough - Half Life-2-Episode-Two 1

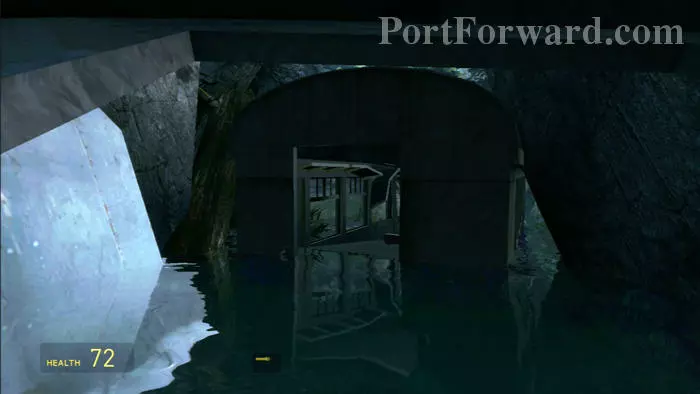
Wade through the water to the next car ahead.

Half Life 2: Episode Two Walkthrough - Half Life-2-Episode-Two 2

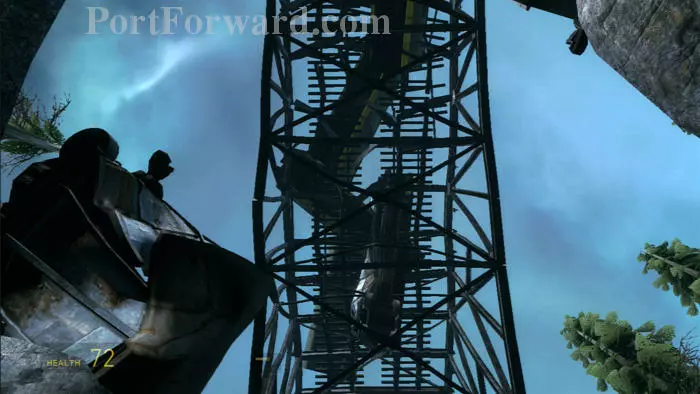
Look up to see other rail cars on a train bridge. The game has picked up after the train sequence of Episode One.

Half Life 2: Episode Two Walkthrough - Half Life-2-Episode-Two 3

Alyx finds you and sets you free with the Gravity Gun, which she promptly hands over. Proceed up the hill over her shoulder.

Half Life 2: Episode Two Walkthrough - Half Life-2-Episode-Two 4

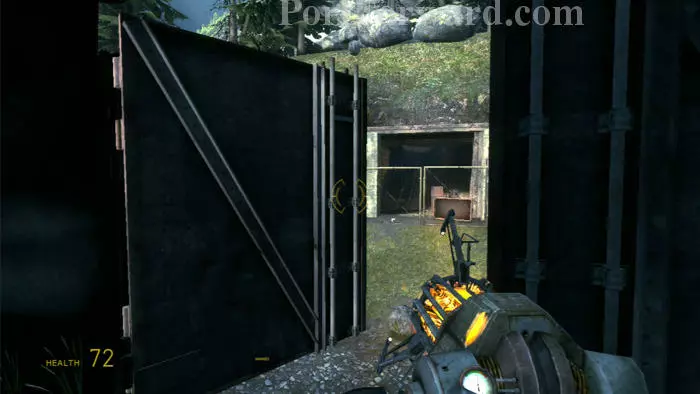
The Gravity Gun's right trigger will blast open this door.

Half Life 2: Episode Two Walkthrough - Half Life-2-Episode-Two 5

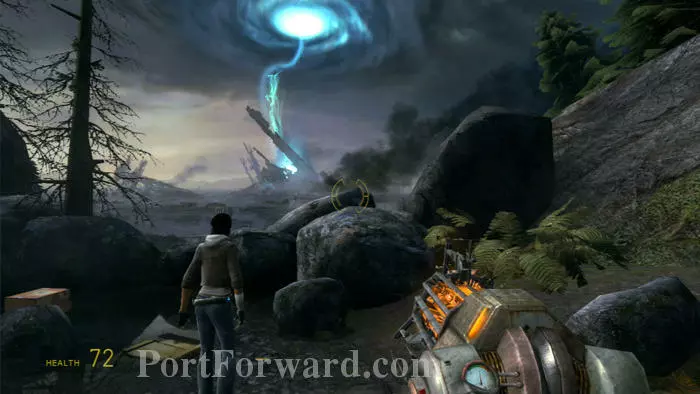
Follow as Alyx is astonished to see the Citadel in ruins. A portal storm flashes through.

Half Life 2: Episode Two Walkthrough - Half Life-2-Episode-Two 6

Turn around to witness the destruction of the railway bridge. Spectacular.

Half Life 2: Episode Two Walkthrough - Half Life-2-Episode-Two 7

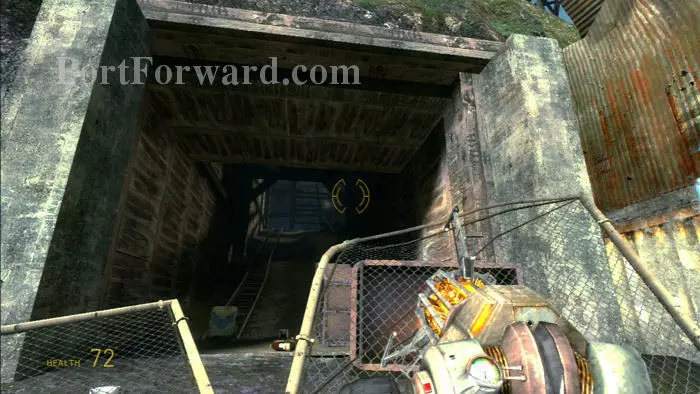
Enter this tunnel, revealed by the portal storm.

Half Life 2: Episode Two Walkthrough - Half Life-2-Episode-Two 8

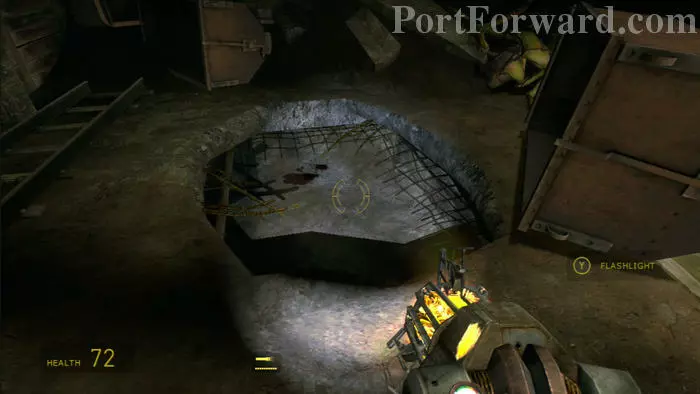
Use your Gravity Gun to clear away a wooden plank, then drop down here.

Half Life 2: Episode Two Walkthrough - Half Life-2-Episode-Two 9

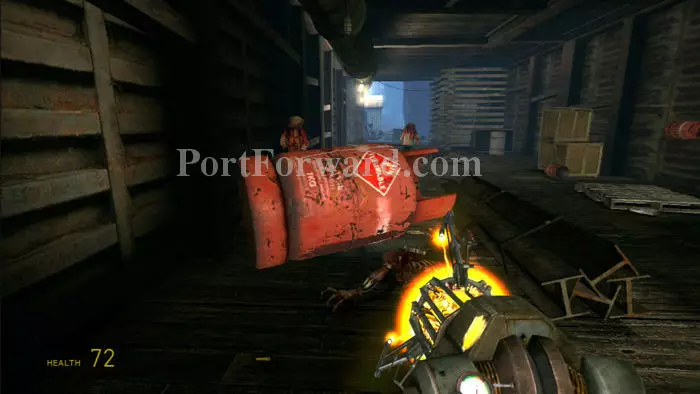
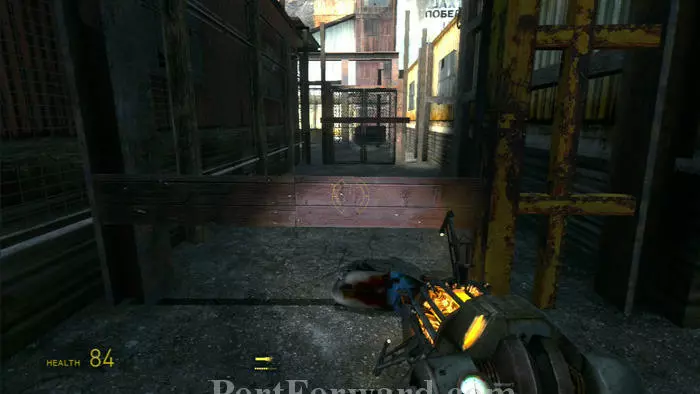
Clear away more planks then toss these flammable canisters at the zombies to help Alyx defeat the crowd. (Is it a crowd of zombies? Herd? School? Murder?)

Half Life 2: Episode Two Walkthrough - Half Life-2-Episode-Two 10

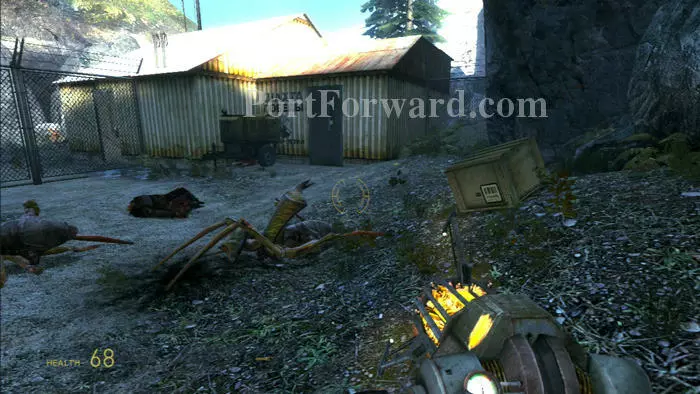
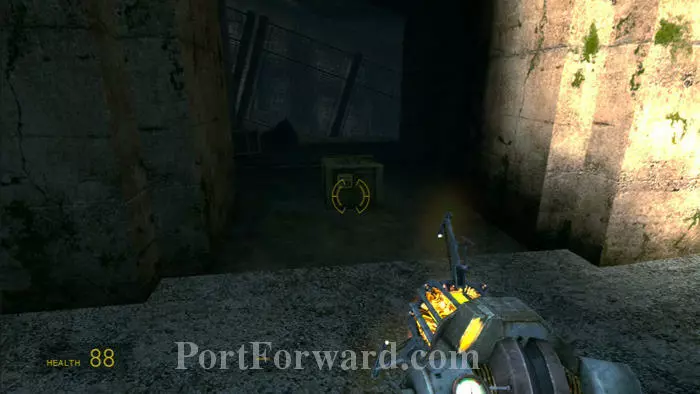
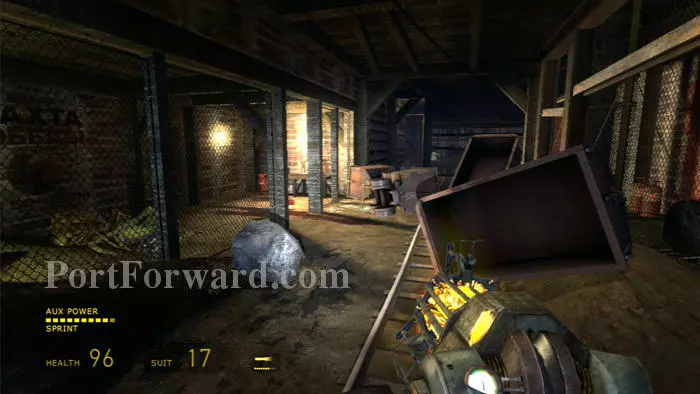
Find health packs in the supply crate before entering the communications center ahead.

Half Life 2: Episode Two Walkthrough - Half Life-2-Episode-Two 11

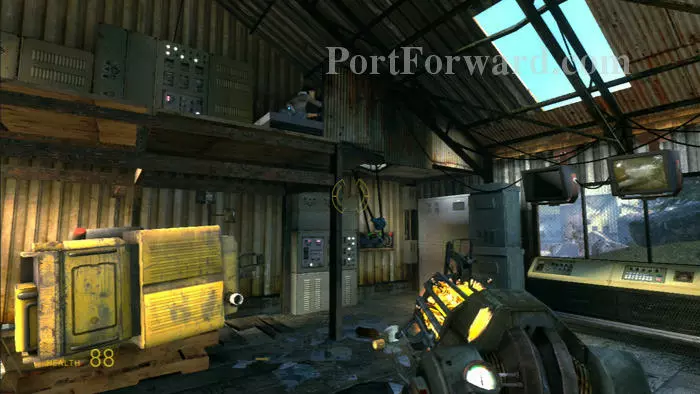
Help Alyx get the equipment running by plugging the third plug into the red socket. She comically assumes she made the fix.

Half Life 2: Episode Two Walkthrough - Half Life-2-Episode-Two 12

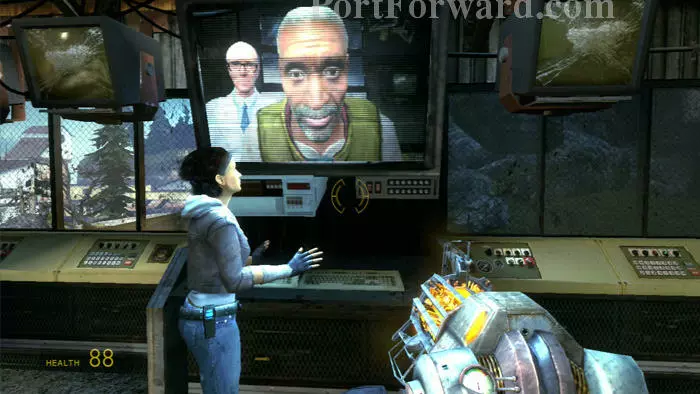
Watch as Alyx reaches White Forest on the screen, and learn that the data she is carrying is the key to defeating the Combine.

Half Life 2: Episode Two Walkthrough - Half Life-2-Episode-Two 13

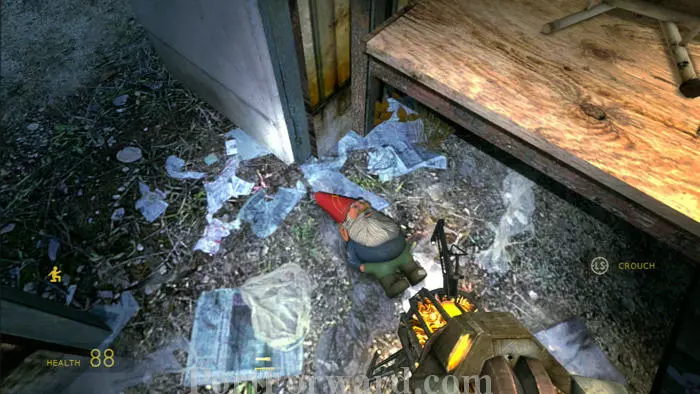
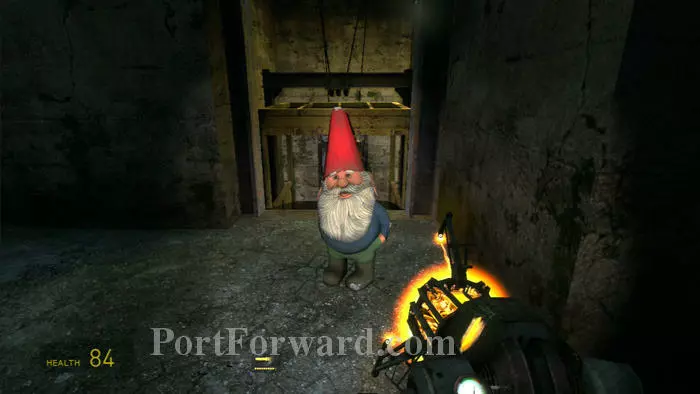
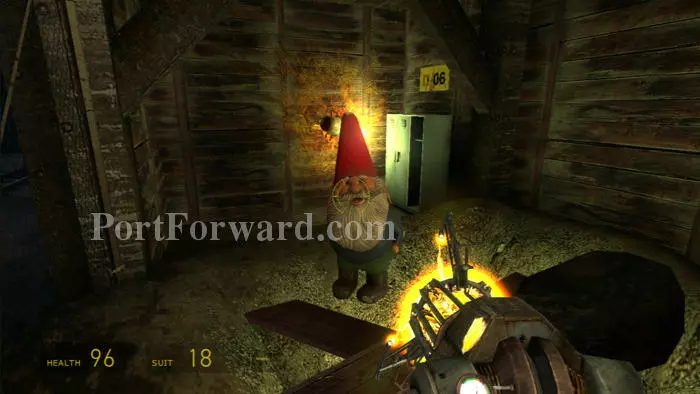
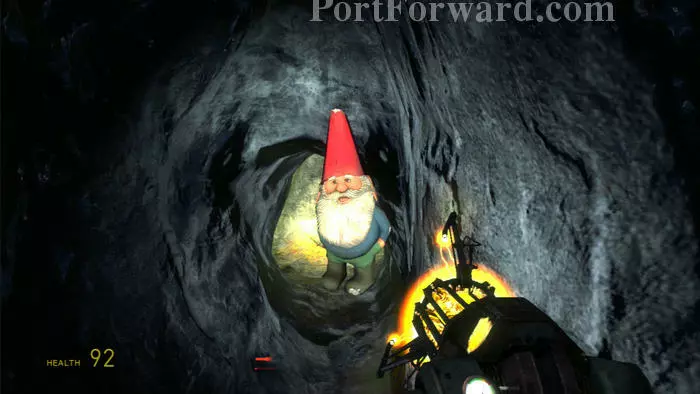
Exit out the door opposite after finding this gnome under the nearby bed. (An homage to the Traveling Gnome Prank.) You will earn the "Little Rocket Man" achievement if you launch him into space later in the game. That means a lot of gnome babysitting, but I'll tell you when you need to bring him along. You can leave him here for now if you don't mind a bit of backtracking later on.

Half Life 2: Episode Two Walkthrough - Half Life-2-Episode-Two 14

Continue through here, being sure to open the health packs in this supply crate. Follow the stairs to the right, careful to avoid the toxic head crab.

Half Life 2: Episode Two Walkthrough - Half Life-2-Episode-Two 15

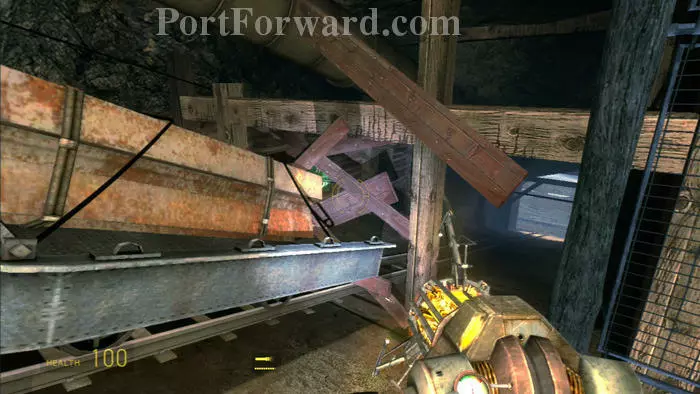
Remove the boards preventing this rail sledge from sliding downhill. It will crash through the boards below, allowing you to exit.

Half Life 2: Episode Two Walkthrough - Half Life-2-Episode-Two 16

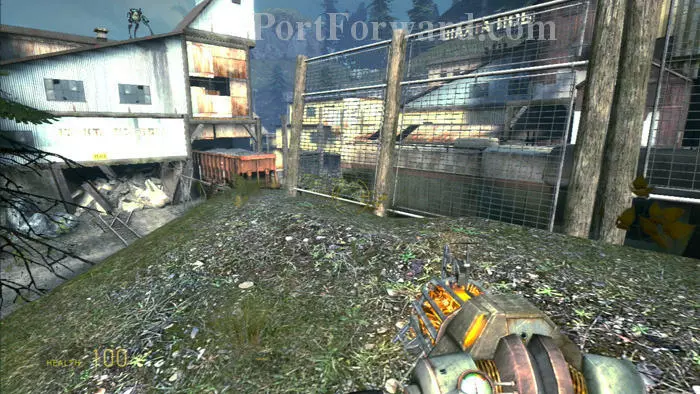
Climb this hill on the right then catch a glimpse of something odd on the roof to the left. Drop down on the other side of the fence.

Half Life 2: Episode Two Walkthrough - Half Life-2-Episode-Two 17

Alyx wants you to find a way to open the gate on the left. Climb this ladder on the right.

Half Life 2: Episode Two Walkthrough - Half Life-2-Episode-Two 18

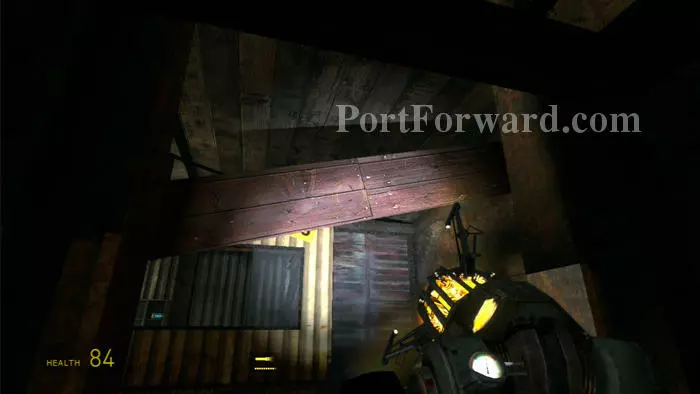
Follow the roof to this opening. Drop through after clearing the metal sheeting with your Gravity Gun.

Half Life 2: Episode Two Walkthrough - Half Life-2-Episode-Two 19

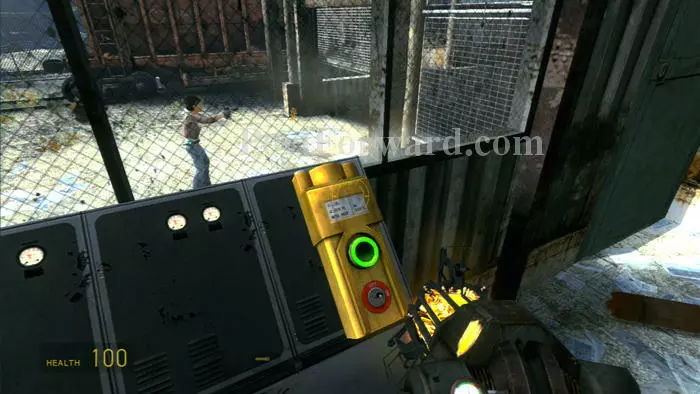
Use this switch to raise the gate.

Half Life 2: Episode Two Walkthrough - Half Life-2-Episode-Two 20

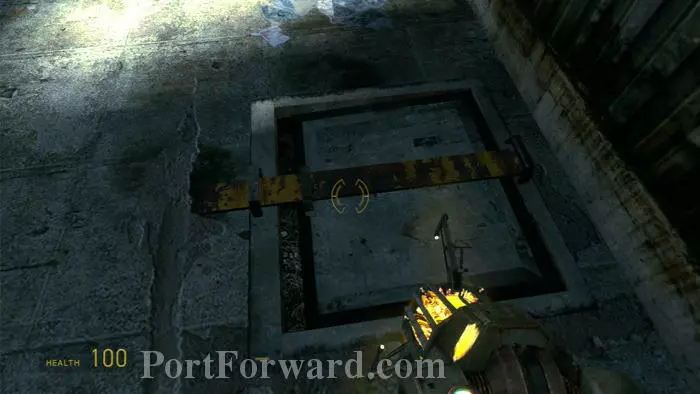
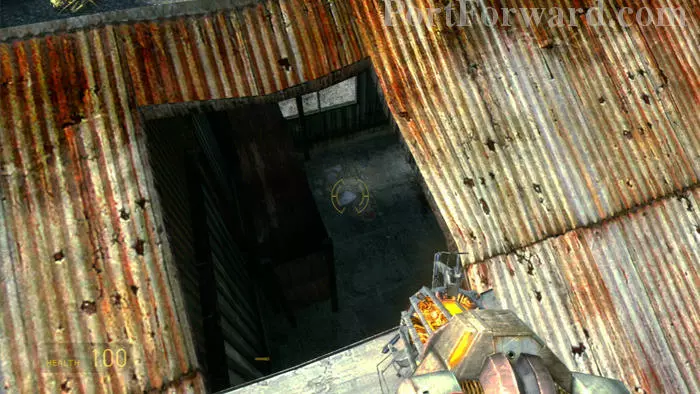
Remove the plank to open the trap and exit. A supply crate with med packs is below.

Half Life 2: Episode Two Walkthrough - Half Life-2-Episode-Two 21

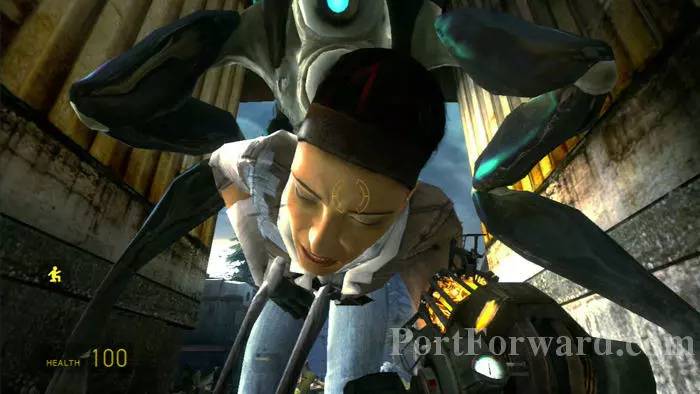
Alyx is attacked by something called a Hunter. It looks grave, but a friendly Vortiguant will try to revive her.

Half Life 2: Episode Two Walkthrough - Half Life-2-Episode-Two 22

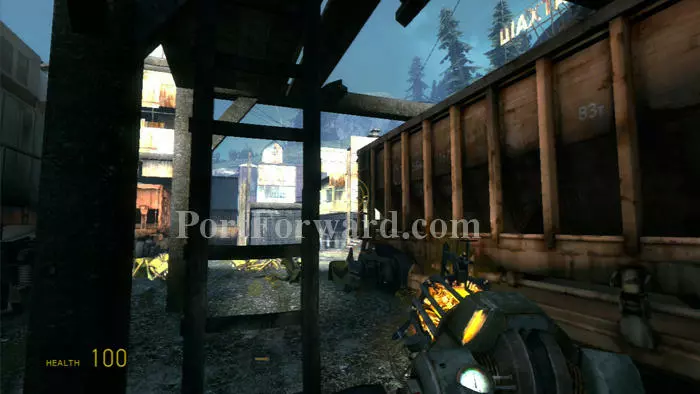
You can backtrack to the gnome now if you like (jumping from the train to the hillside climbed earlier.) The way ahead is to clear these boards passed the newly-opened gate.

Half Life 2: Episode Two Walkthrough - Half Life-2-Episode-Two 23

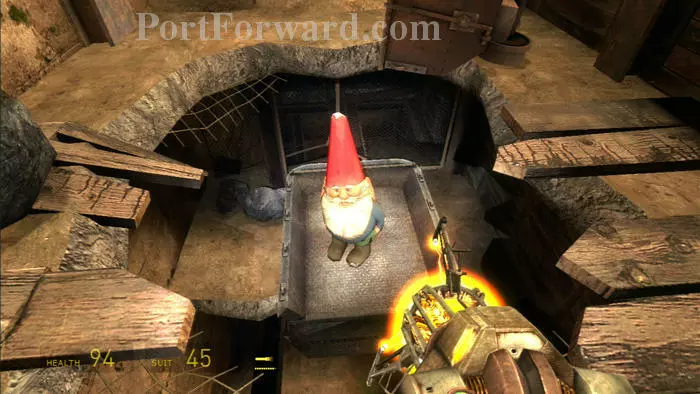
Put the gnome is this elevator and jump in. Grab the crowbar to get it moving.

Half Life 2: Episode Two Walkthrough - Half Life-2-Episode-Two 24

Smash the boards blocking your path to exit the lift. Note the suit armor in the locker ahead.

Half Life 2: Episode Two Walkthrough - Half Life-2-Episode-Two 25

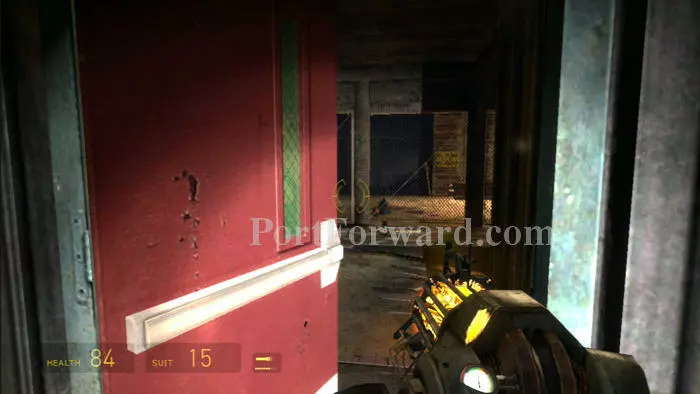
Continue through this door.

Half Life 2: Episode Two Walkthrough - Half Life-2-Episode-Two 26

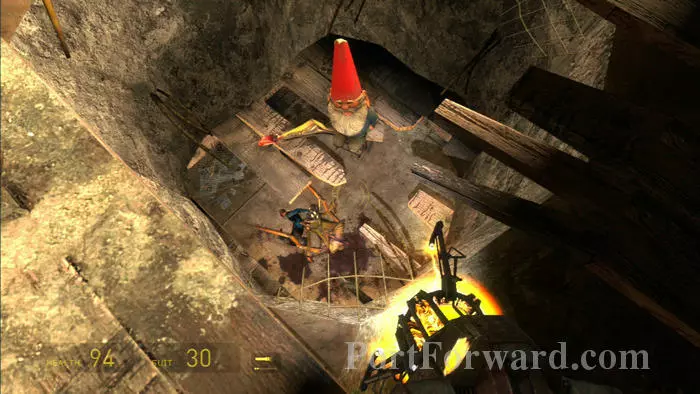
Carrying the gnome is a bit troublesome during this next part. Set him down on the lift then turn the crank. The lift will rise, but will drop as soon as you let go, or until you reach the top. You want to end up where that antlion carcass is, but the completionists will want to grab the health and energy one level up. I made three passes up, one to get the health, one to get the energy, then a third to quickly grab the gnome and jump across.

Half Life 2: Episode Two Walkthrough - Half Life-2-Episode-Two 27

Clear a table away and find a pistol before dropping through this hole. Don't let go of the gnome -- the ground here is unstable and you could lose him for good.

Half Life 2: Episode Two Walkthrough - Half Life-2-Episode-Two 28

Find suit energy on a nearby shelf then drop through another hole in the ground. Beware a toxic head crab below.

Half Life 2: Episode Two Walkthrough - Half Life-2-Episode-Two 29

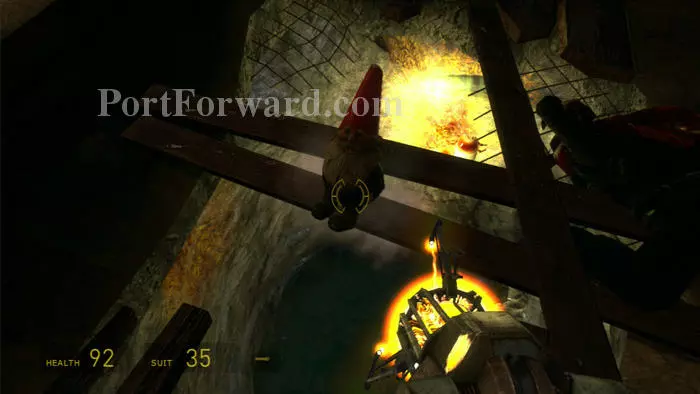
Bust through more boards then drop into this water hole.

Half Life 2: Episode Two Walkthrough - Half Life-2-Episode-Two 30

Swim up (Press A) then climb onto this ledge to enter the cave.

Half Life 2: Episode Two Walkthrough - Half Life-2-Episode-Two 31

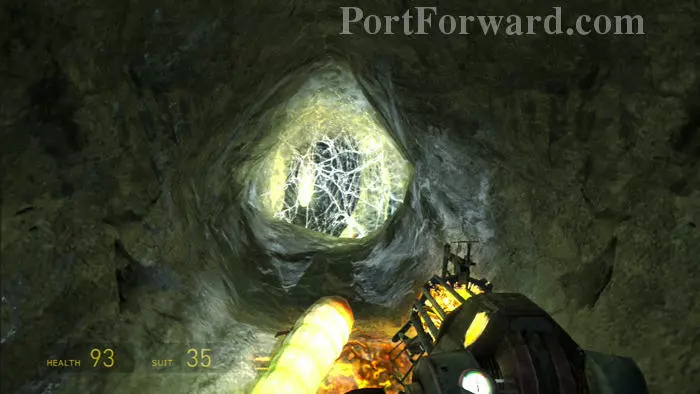
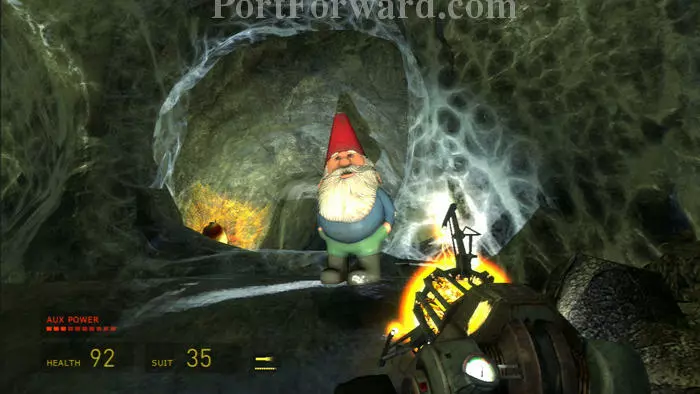
Your Gravity Gun's right trigger will clear away these glow worm webs.

Half Life 2: Episode Two Walkthrough - Half Life-2-Episode-Two 32

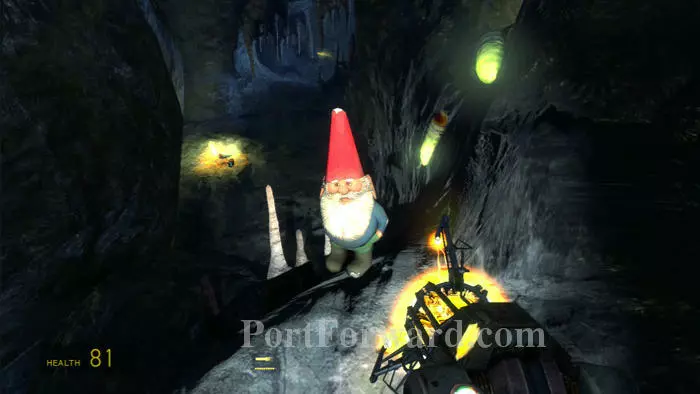
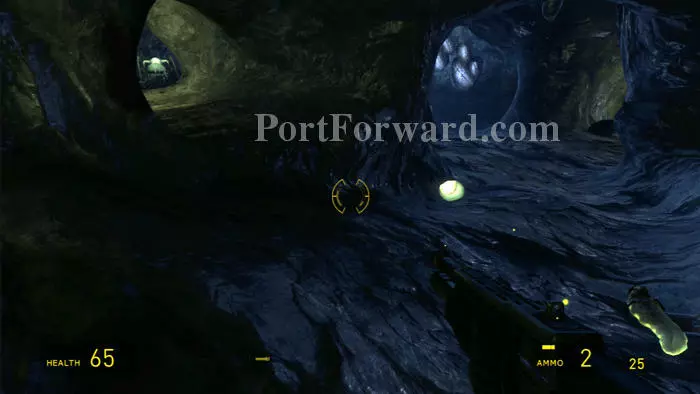
There's only one path through the tunnel, but you won't be coming back through here so bring the gnome. Note that live glow worm grubs grant one point of health when touched.

Half Life 2: Episode Two Walkthrough - Half Life-2-Episode-Two 33

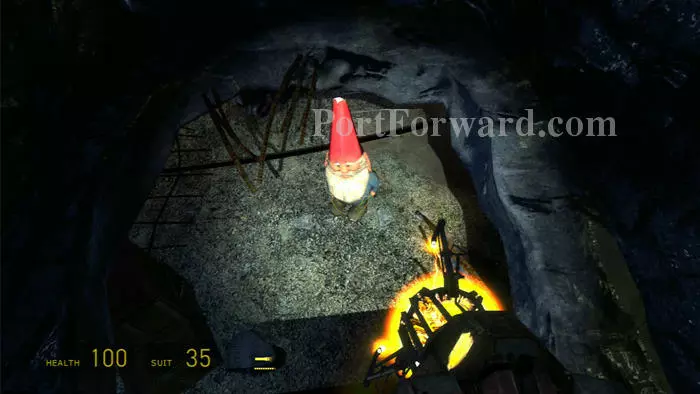
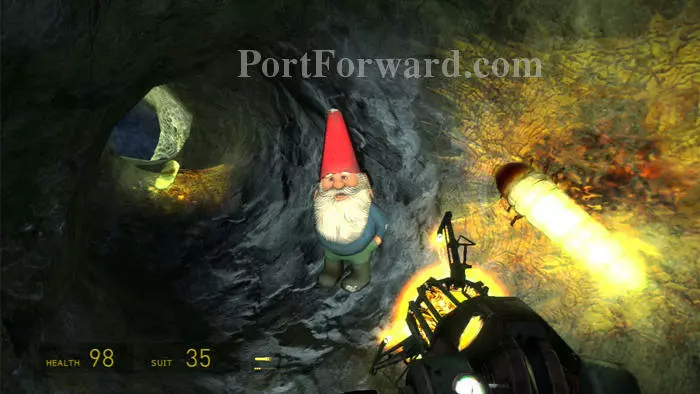
Blast another web then drop through here. Quickly ready your pistol.

Half Life 2: Episode Two Walkthrough - Half Life-2-Episode-Two 34

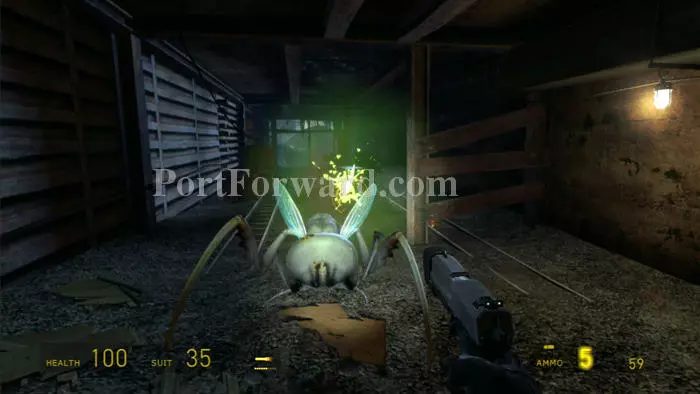
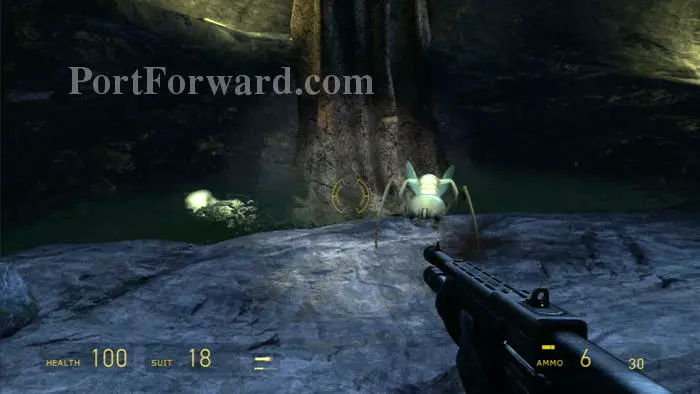
An acid antlion is down here. Be careful not to get too close when he explodes. You can just barely see shotgun ammo ahead/right.

Half Life 2: Episode Two Walkthrough - Half Life-2-Episode-Two 35

Follow the tracks to this room on the left where you'll find a shotgun to go along with the ammo. More supplies can be found if you duck under the boards at the end of the tunnel.

Half Life 2: Episode Two Walkthrough - Half Life-2-Episode-Two 36

Back in the shotgun room, find suit energy in the locker ahead then smash these boards to drop through with your gnome.

Half Life 2: Episode Two Walkthrough - Half Life-2-Episode-Two 37

Clear away pallets and these boards. You're now behind the fence across from the shotgun room.

Half Life 2: Episode Two Walkthrough - Half Life-2-Episode-Two 38

More acid-spitters. Ascend the ramp on the right.

Half Life 2: Episode Two Walkthrough - Half Life-2-Episode-Two 39

Blast through another web and defeat another spitter before dropping off this ledge with your gnome. Note the supplies ahead/left.

Half Life 2: Episode Two Walkthrough - Half Life-2-Episode-Two 40

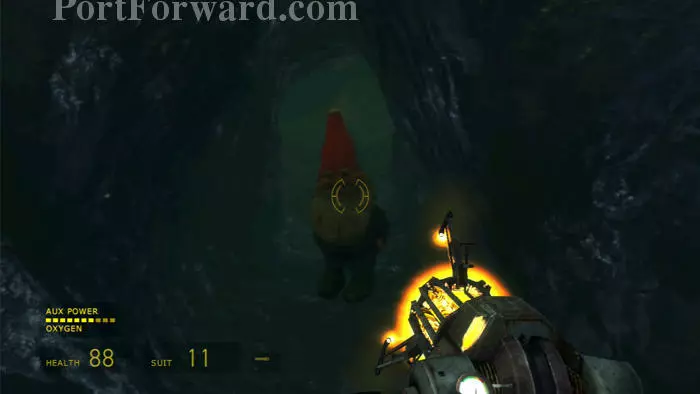
Take your gnome for a swim -- the path ahead is through this underwater tunnel.

Half Life 2: Episode Two Walkthrough - Half Life-2-Episode-Two 41

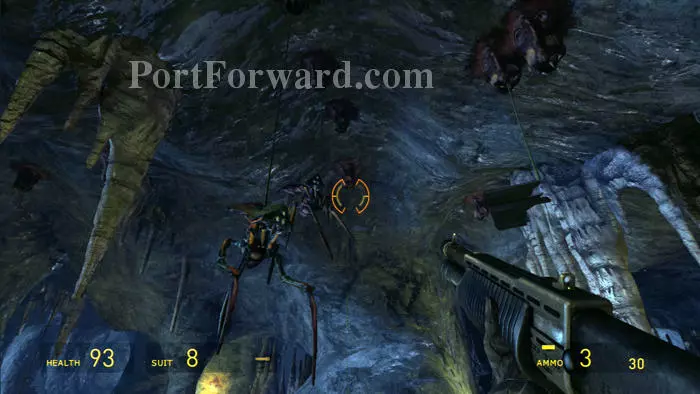
Antlions become prey to barnacles in this next chamber.

Half Life 2: Episode Two Walkthrough - Half Life-2-Episode-Two 42

An acid spitter leads you to his pals. Lure them into the tunnel on the left for an easy double-barrel shotgun kill.

Half Life 2: Episode Two Walkthrough - Half Life-2-Episode-Two 43

After smashing another web, grab your gnome before advancing down this ledge to load the next level.

More Half Life 2: Episode Two Walkthroughs

This Half Life 2: Episode Two walkthrough is divided into 7 total pages.

More From Portforward