
This Outlast walkthrough is divided into 7 total pages.
You can jump to nearby pages of the game using the links above.
Chapter 1 - Administration Block
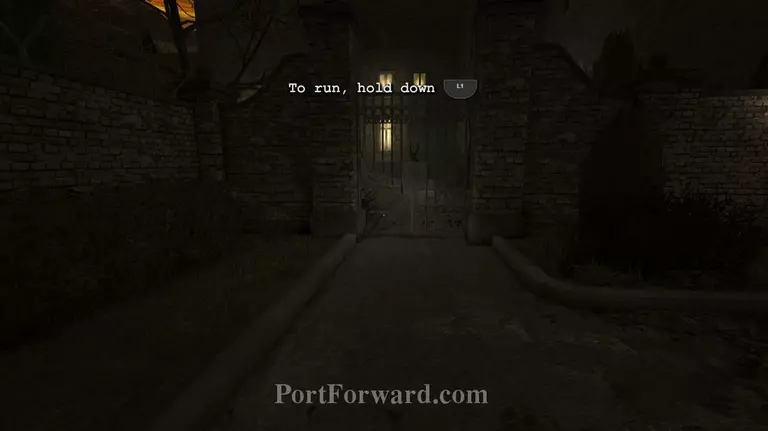
Now once the short cut scene finishes , you should have a camecorder and your first document which you can collect in your own time throughout the game. Once you get out of your car head out and sray in the left side until you see a Gate with a hole.
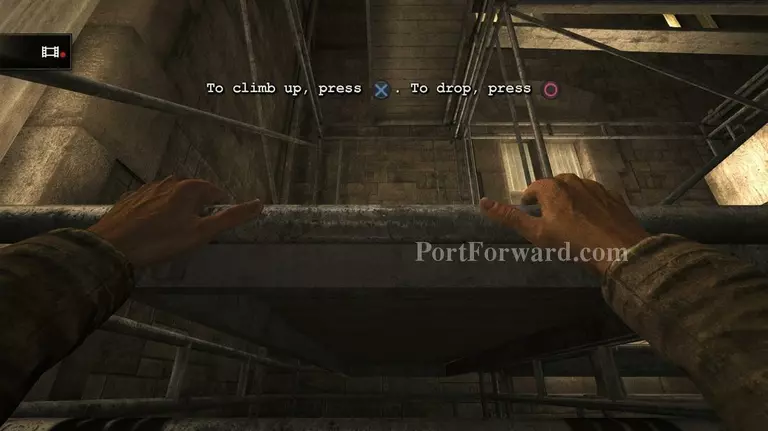
Once you went through the hole , you go straight and you will see a board. Climb that.
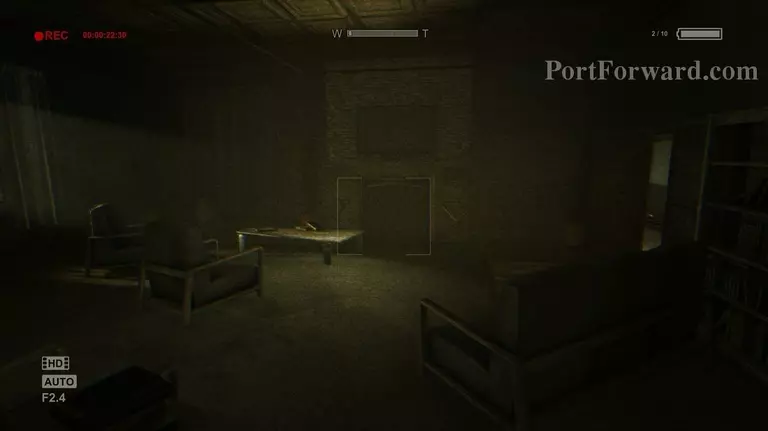
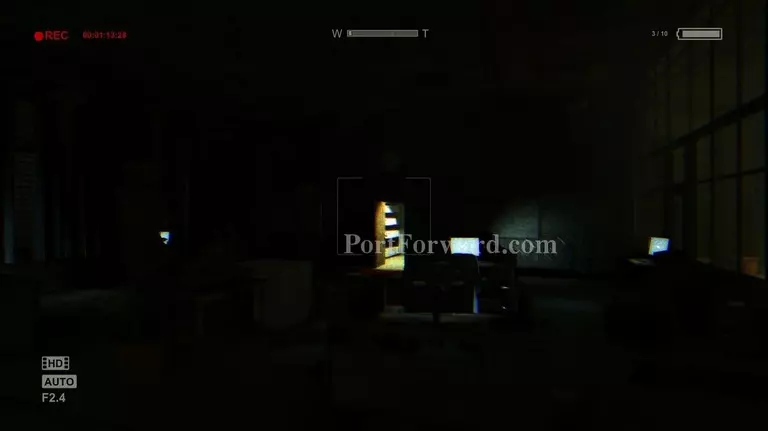
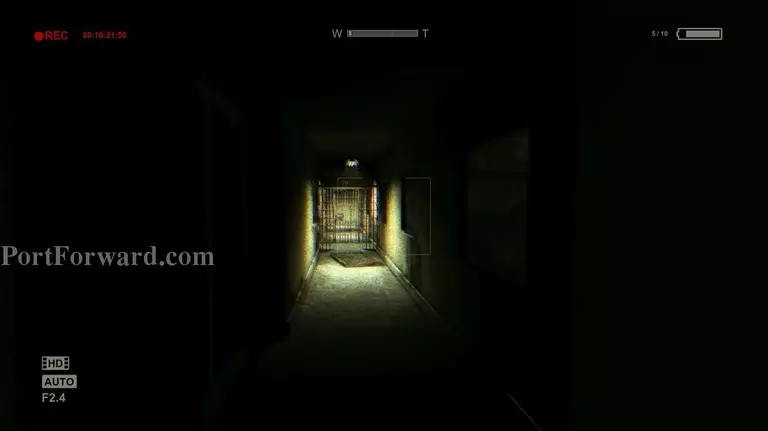
"When you enter the Dark room, turn on your camecorder to nightvision. Go down the path and you should be in a room where you see a tv in the wall.
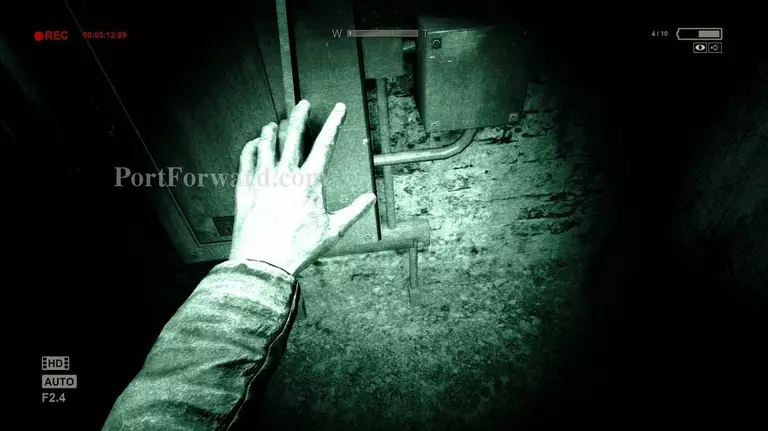
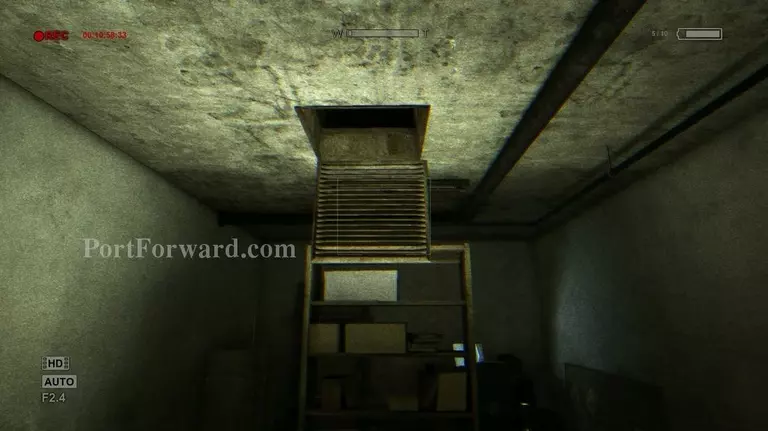
Once you go down the path , go to end and to the door on the right and crawl up the air vent as shown.
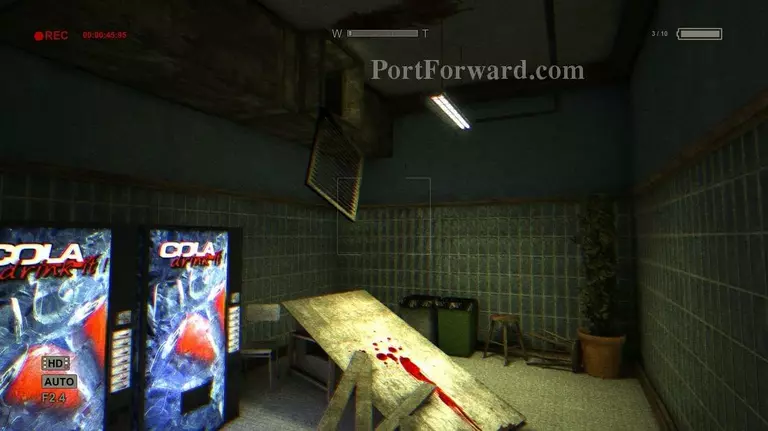
You will go threw the air vent and drop down. Now, you will enter this room and you will see a person impaled by a sword.Take out your camecorder and that will be your note.
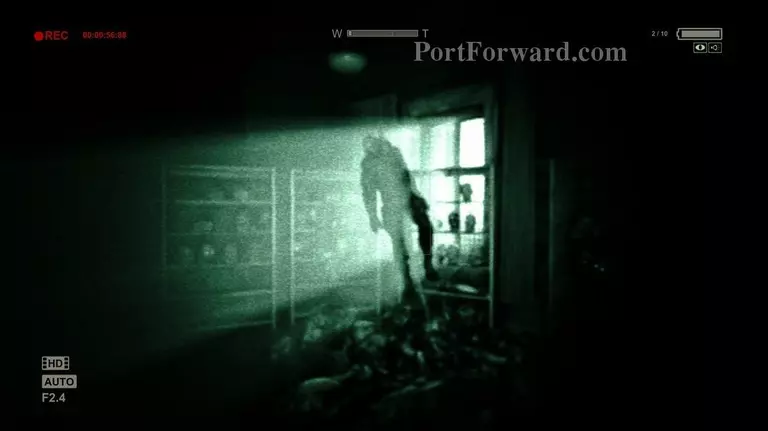
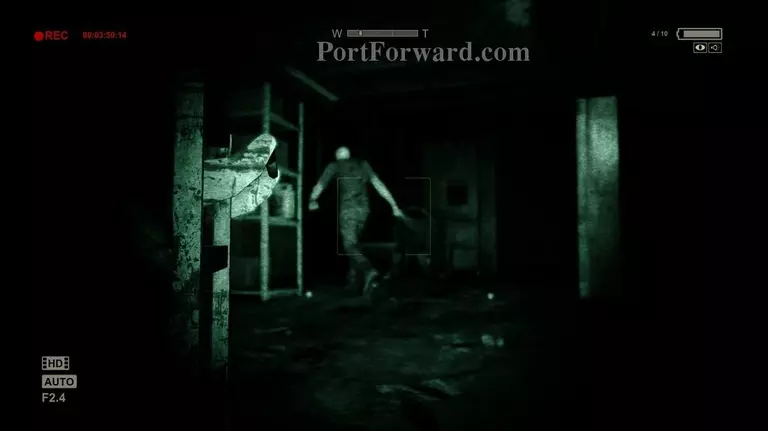
When you get out the room , you will see your first threat. Don't worry, you won't die. Go down the path and squeeze through the shelf and he will take you out and throw you down.
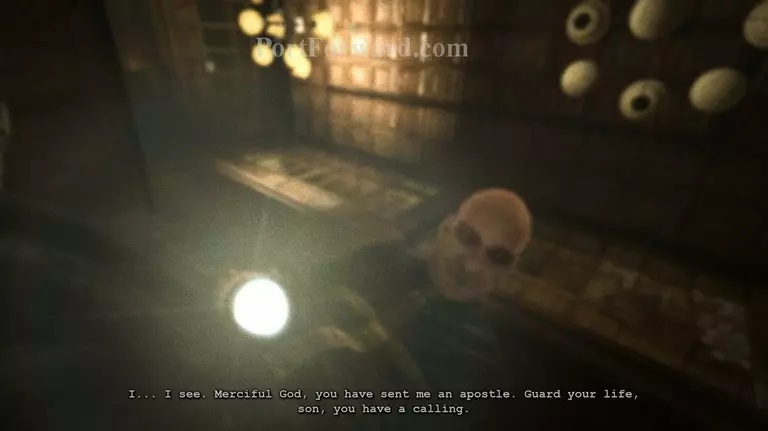
You will meet a person called Father Martin as he will guide you throughout the game.
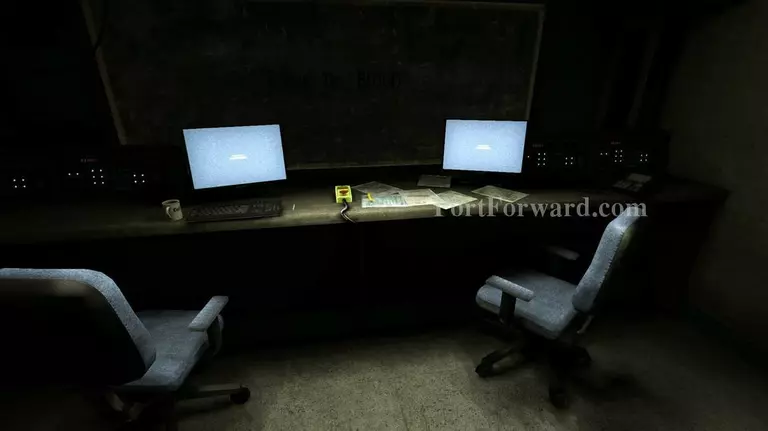
When the cutscene ends, look to the left and make your way to the computer lab.
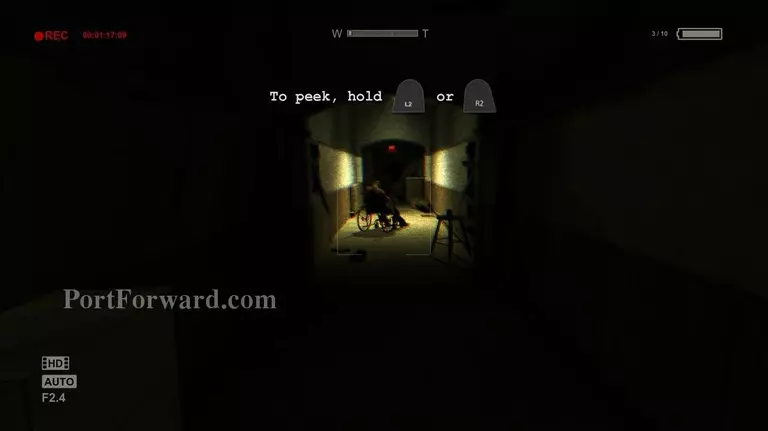
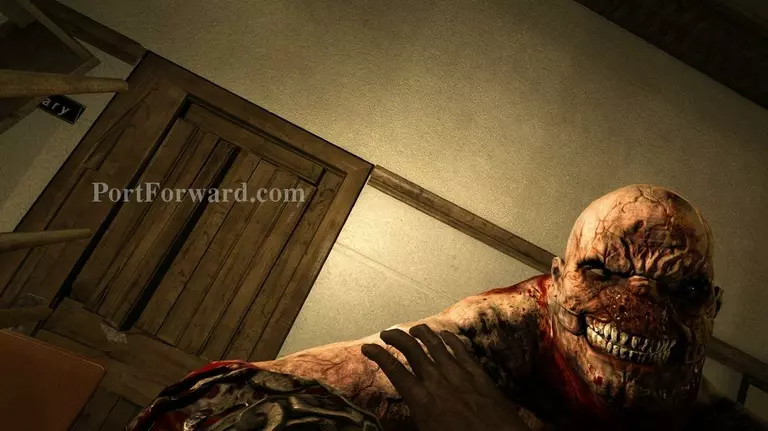
Eventually, you'll walk out into a corridor and see a man on wheelchair. Walk past him and into the door with several others like him. You don't need to sneak, they won't pay you any attention. Crawl under the closed door. From the corridor, enter the next room.
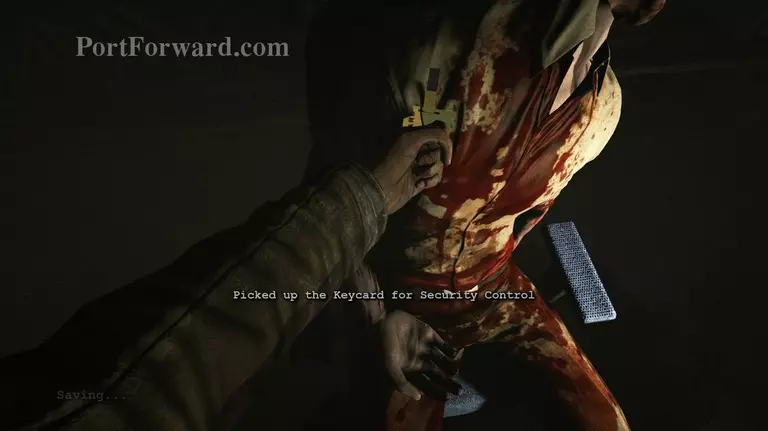
You'll find a corpse of a guard with an access card to the main door. Backtrack to the main hall, but watch out - one of the psychopaths you past by earlier won't be so calm this time.
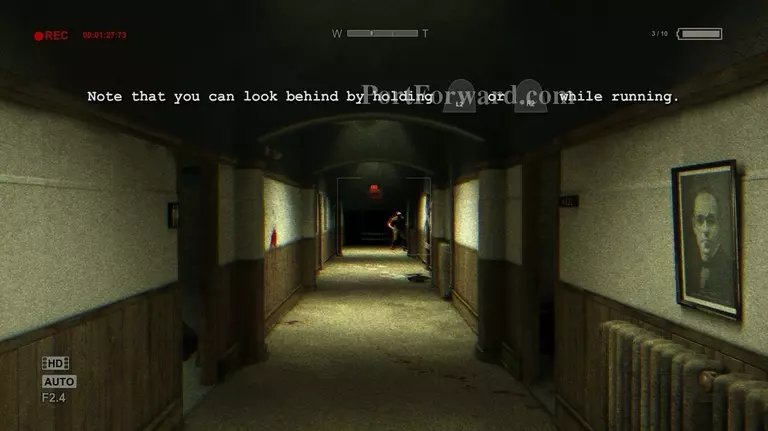
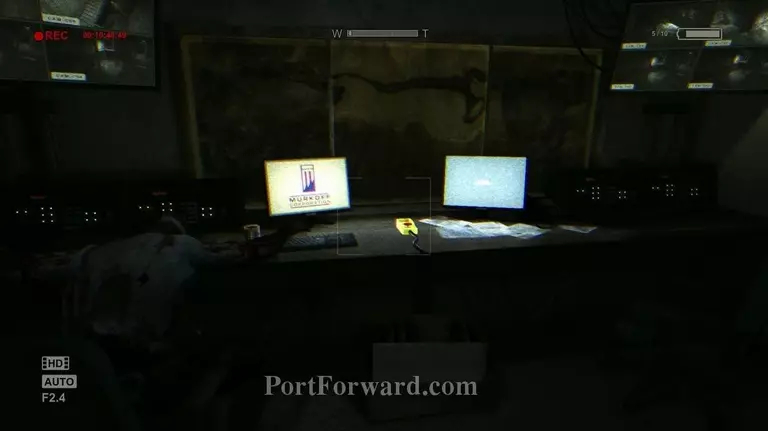
"Back in the main hall, approach the reception desk and take the documents. Make your way towards the elevators and turn right to a door removed off its hinges.
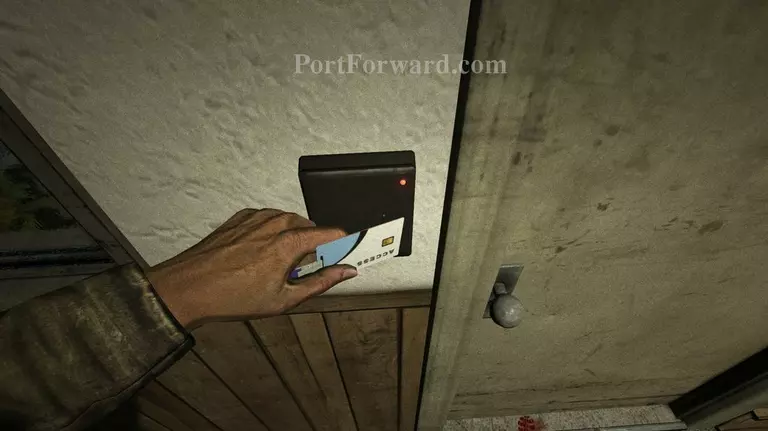
Keep going until you see a security room. Go inside, use the access card and interact with the keyboard.
The power will go off in a minute, so hide in one of two lockers (I hid in the one on the right). Once the psycho enters and leaves, exit the room and head for the basement on the right.
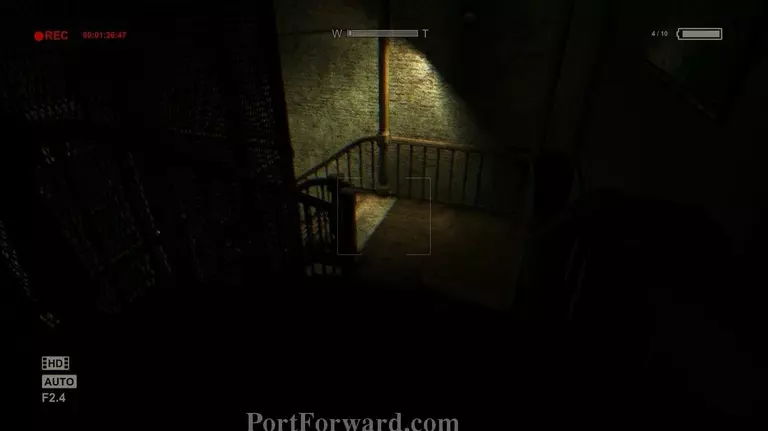
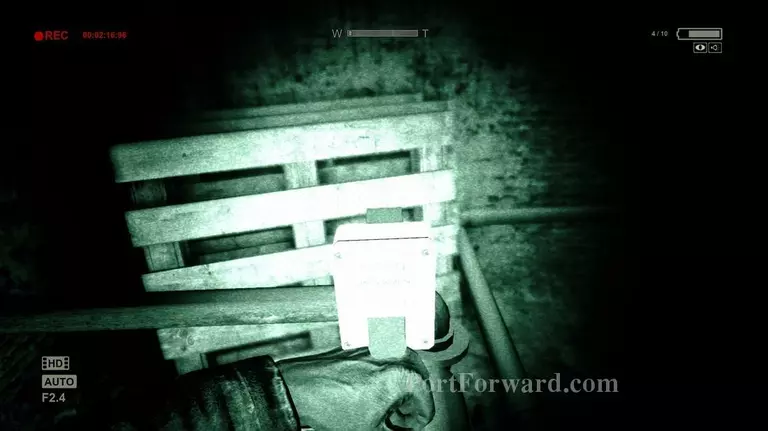
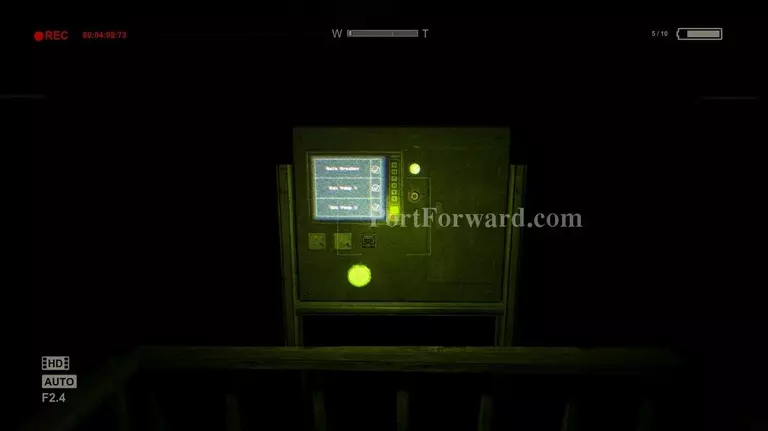
Go down the stairs. If you squeeze through the crack in the wall, you'll find a document to the right. Go further to find a generator which will tell you to start the pumps.
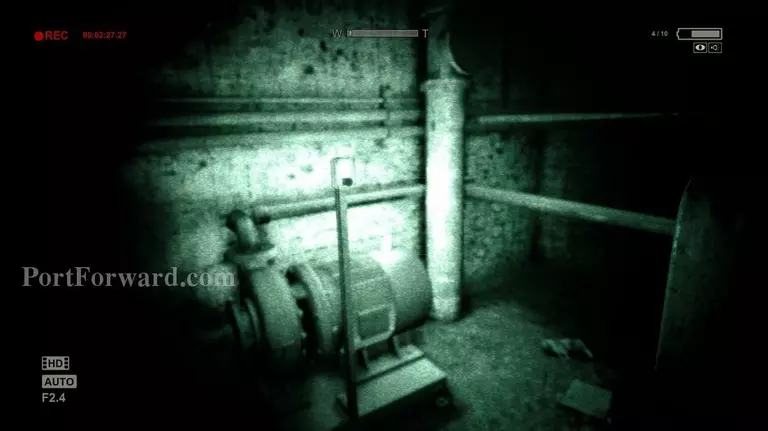
Go past the generator and through the door on the right, by the stairs. You'll find the first pump, so start it and hide in a locker. In a second, one the enemies will come in and check one of the lockers (pray it's not yours), and then leave. When it's clear, move to the next room and start the second pump.
Go to the second pump
Be careful, one of the bat-wielders will be walking through these rooms. You can hide in lockers, but don't forget they can't see in the dark, so if you see one coming, slip into a corner and he won't detect you. Keep in mind, though, that the corner has to be very dark. Once the two pumps are up and running, there will be only one indicator light to turn on left. From the main terminal, turn left and go towards the door on the wall in front of you. First, turn right when you can and take two batteries from the locker in the room.
Hide and umtil he goes and checks one of the lockers. Once he does, you immediately run and close the door behing you.
If the bat-wielders start chasing you, remember your character can withstand only around four hits before going down. You may slip past the guy and make a run for the indicator light. Turn in on and backtrack to the ground floor. Push thr generator power quick, turn back and make a run for it!
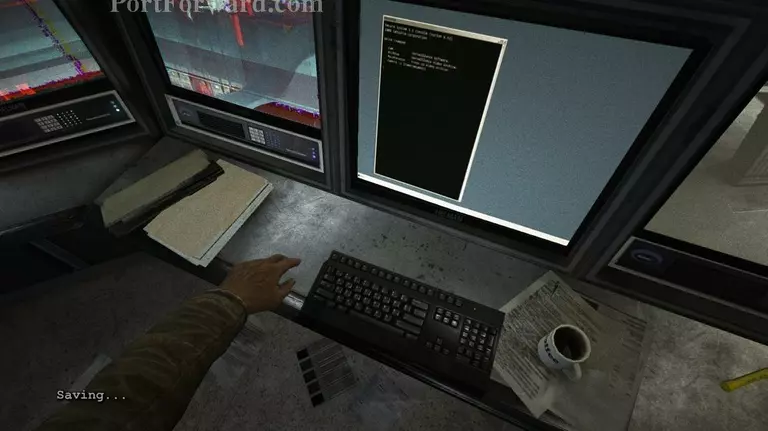
Go back to the room from which you can open the main entrance and interact with the computer. Again, something will go wrong and you'll lose consciousness.
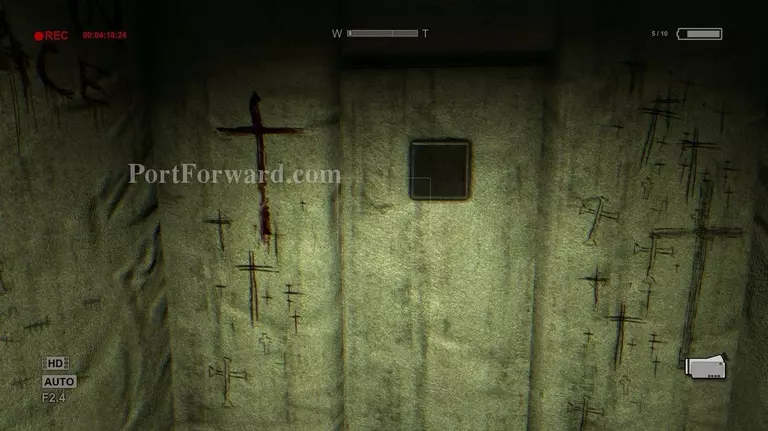
You'll wake up in a solitary with crossed painted all over the walls. As you approach the exit, one of the lunatics will open the door for you. Look around the new courtyard - you'll see several of the ones that have been attacking you, but they won't have evil intentions towards you this time.
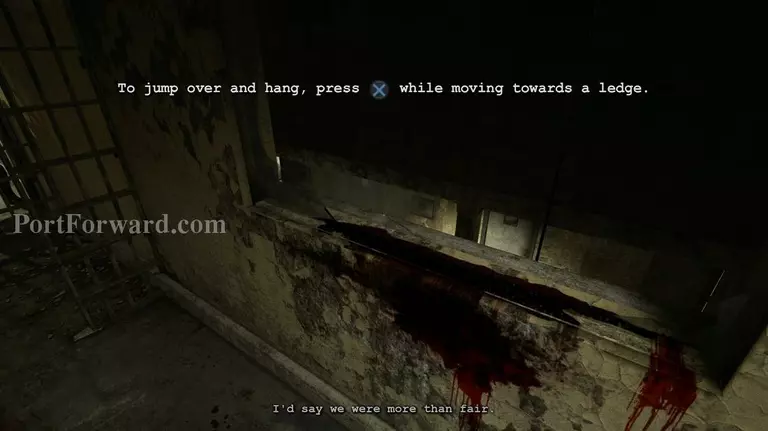
Once you come out fo the room, just jump down. Don't worry you won;t die. Once you jumped down go to the door to the right of the blood splatter on the wall. There will be a crack in the wall through which you can squeeze.
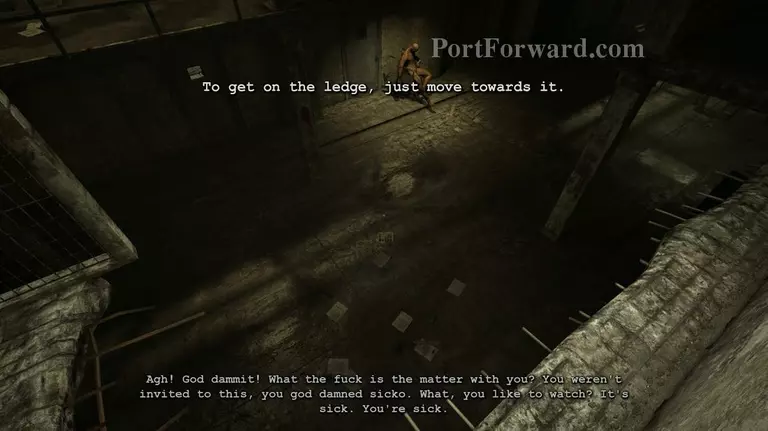
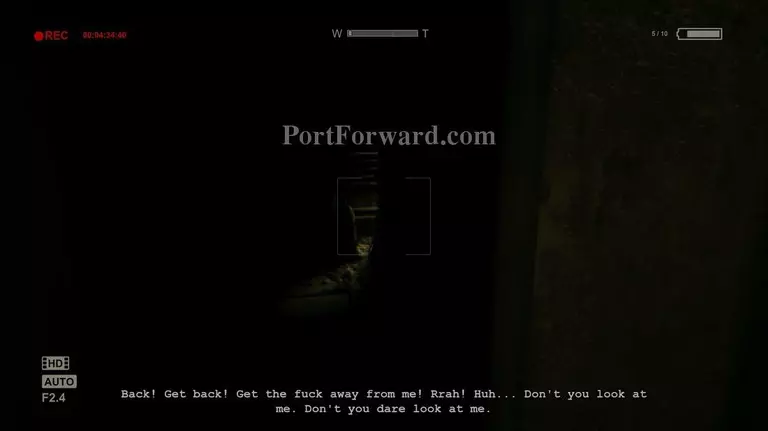
Turn left and climb to the floor above. You'll see two guys there; one of them will start screaming at you. Ignore him, turn around and leave through the door behind you. Go straight on, then right. You'll see a ledge along the wall, so use it to get across.
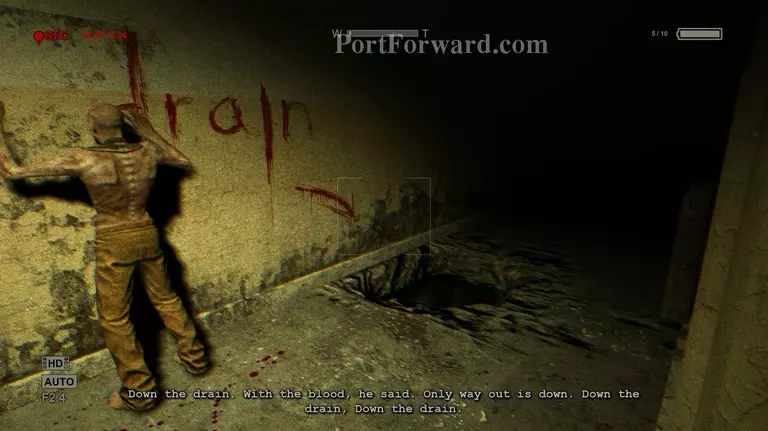
You can only turn left, so do it, and walk through the decontamination chamber. Start ascending the stairs quickly and use the first available door. You'll see another lunatic, talking to a wall. Right next to him, there is a hole in which you're supposed to jump. You'll find yourself a level below, in a corridor with another inactive decontamination chamber. Before jumping, though, make sure to get the documents to the left of the guy.
Once you're below, the game will tell you that in order to activate another chamber, you need to close the door on the other side. To do it, you need to locate the controls. Go across the table and open the door labeled "Exit" to walk out into another corridor. Be very quiet, there are two enemies lurking there. The first won't detect you if you don't make a sound, the other one is in the control room at the end of the corridor.The one in the control room will see you immediately, forcing you to run. Make a dash for the place with the closed decontamination chamber doors, run past them and into the next room. Hide in the lockers and wait the enemy out. Go back to the security room - the lunatic will be gone. Use the control switch to activate the chamber and backtrack to it.
Move along the corridor, past the closed door to another security room, and at the end of the way, behind the grate, you'll see the same naked men as before. Turn right, grab onto the ledge and move along the wall towards the windowless window.
Approach the door that require the access card and move further. It will be dark in here, so don't try to move without your video camera on. Follow the path until you see of the naked guys trying to get you. The way ahead is blocked, and if you go back, the other one will grab you. Watch out - one blow and you're dead. The only way of escaping is through the window on the right. Jump out, grab onto the ledge and move to the right. Eventually, you'll be able to go back inside. The guys will be gone again. Leave this room; on the right there will some batteries, and on the left a corridor to take.
A while later, you'll reach another security room (quite a lot of them here). As you activate another decontamination chamber, the one you've passed by, the well-known super-strong fat man will start banging on the window glass.
Turn around quickly and run straight on. A flap to the ventilation shaft in the ceiling will open right before your eyes, so jump in and keep going as if the devil himself was on your tail.

Eventually, you'll see a way out. Jump down into the corridor and run for the grates. Your opponent is in the security room, so instead, run to the chamber. Unfortunately, the chamber will blow up right before you'd want to go through it, and you'll be thrown back out the window and several levels below.
More Outlast Walkthroughs
This Outlast walkthrough is divided into 7 total pages.


