
This Section 8 walkthrough is divided into 8 total pages.
You can jump to nearby pages of the game using the links above.
First Contact

Once you reached ground, start heading up north and make a small stop once you're at the edge of the "deadzone" space showed on your minimap in the upper right corner. Hold (Shift) to sprint.
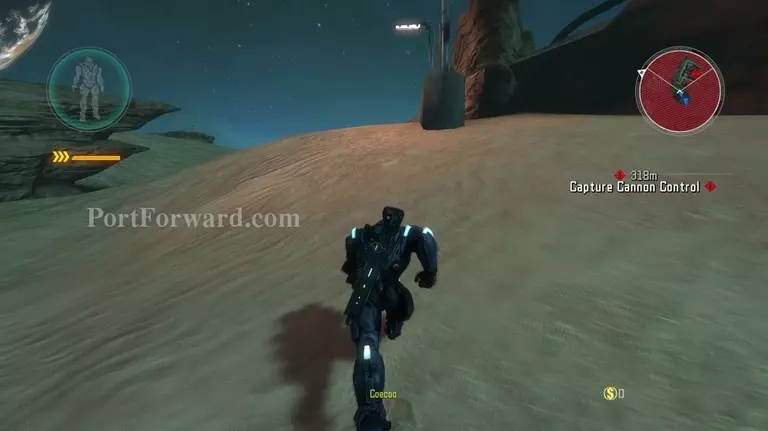
After some dialoge, you'll be able to proceed further. Run towards the red (1) symbol on your HUD. (Heads Up Display)
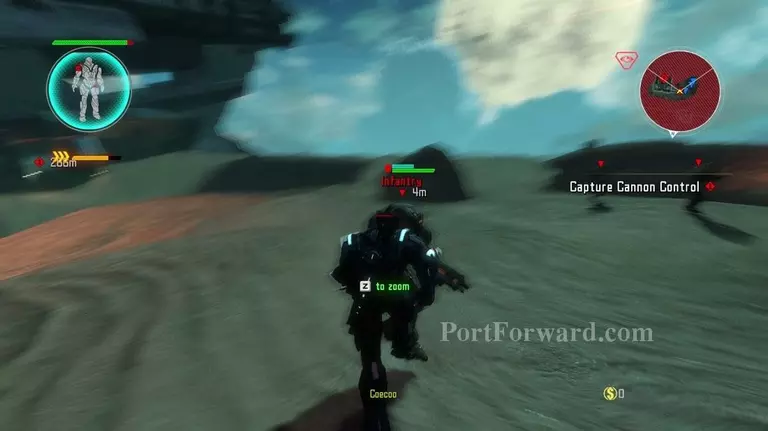
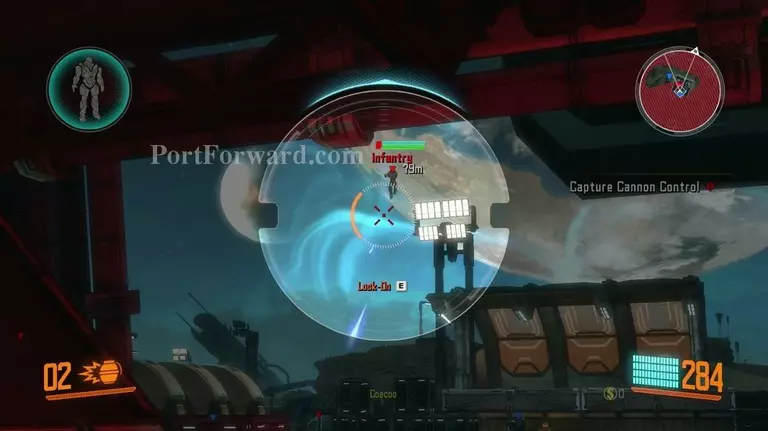
You'll come across your first enemies. 3-4 Grunt Infantry with fully automatic assault rifles and regenerative shields. They are incredibly easy to take out up close, any further than that and you'll need to harass their shields before getting through their armor.
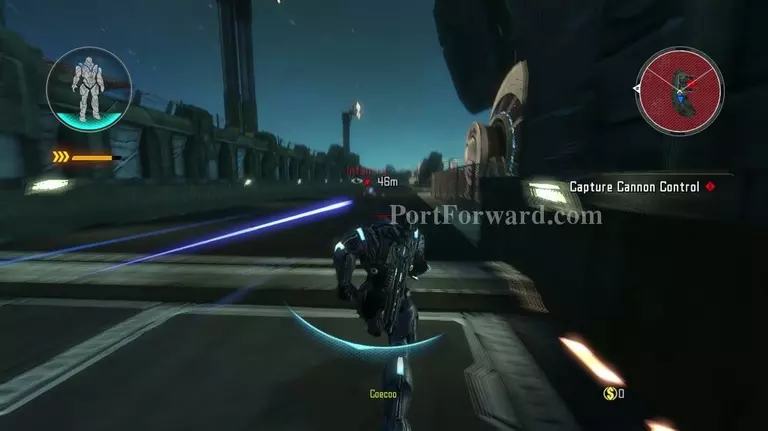
Once the first batch has been dealt with, run across the bridge and deal with the rest surrounding the control point.
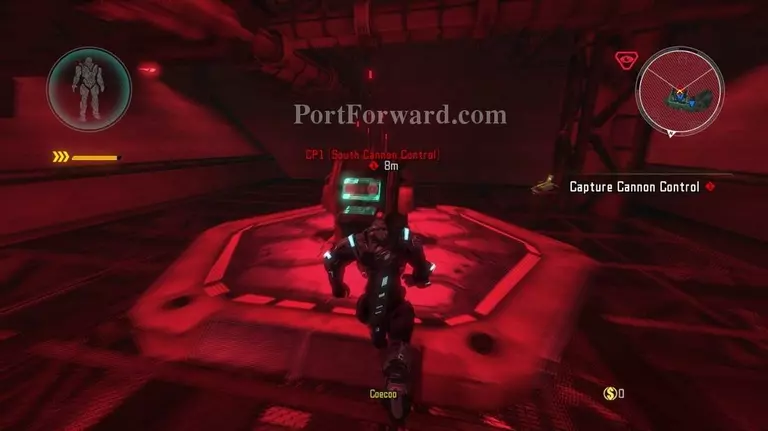
When they are also dead, head up to the point and capture it with (E).
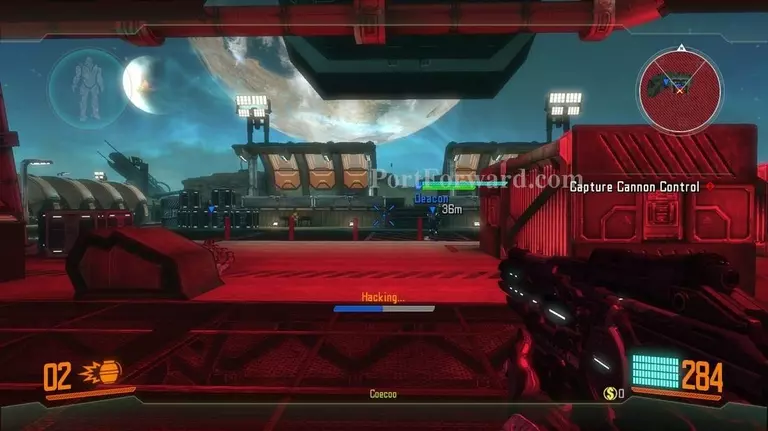
A small progress bar will apear with the text (Hacking...). Stay close until the progress bar is full orelse the hack will fail.
Once captured, more enemies will arrive. Deal with them.
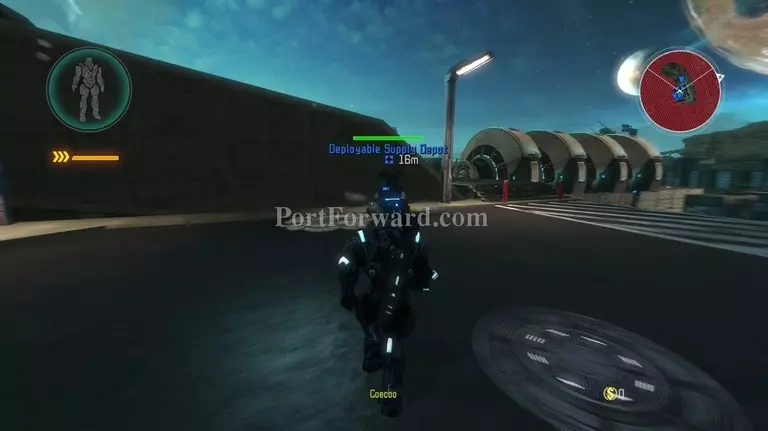
At this point, you will most likely be low on ammo. In this case, run close to a dropped supply depo and restock. Incase you took damage beyond your shield, it will also heal your suit.
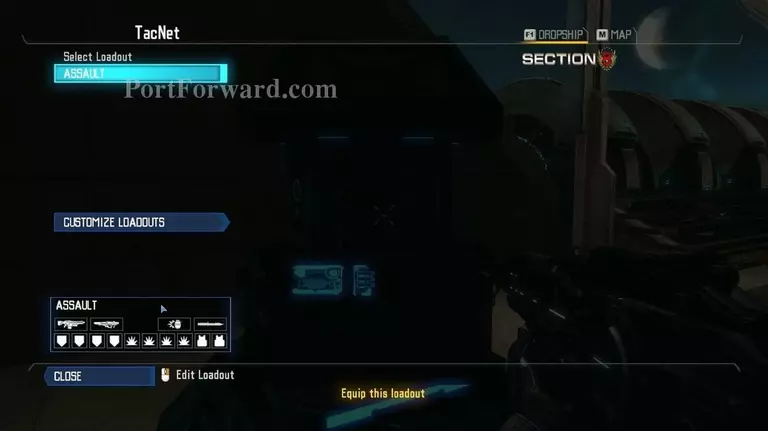
You can also access your loadouts by interacting with any supply depo. Right now you have the "Assault" loadout, featuring an assault rifle and a rocketlauncher along with some HP/Damage increasing passive abilities. You can change and create your own loadouts at any time, although right now you don't have a lot of weapons to choose between.
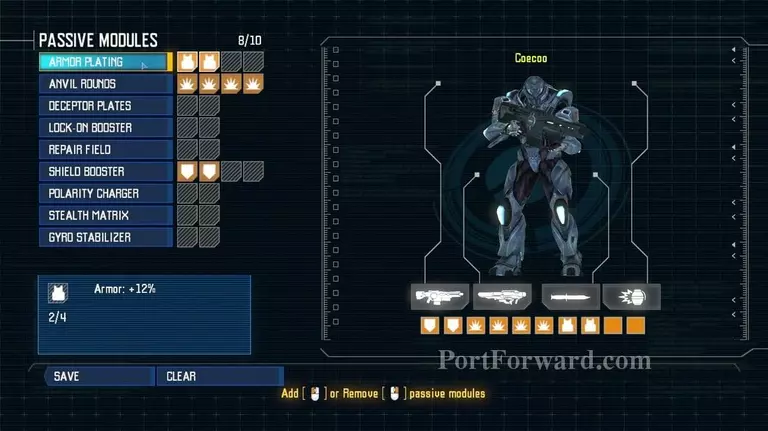
If you have problems with surviving, I recommend re-allocating your passive modules to allow for more HP.
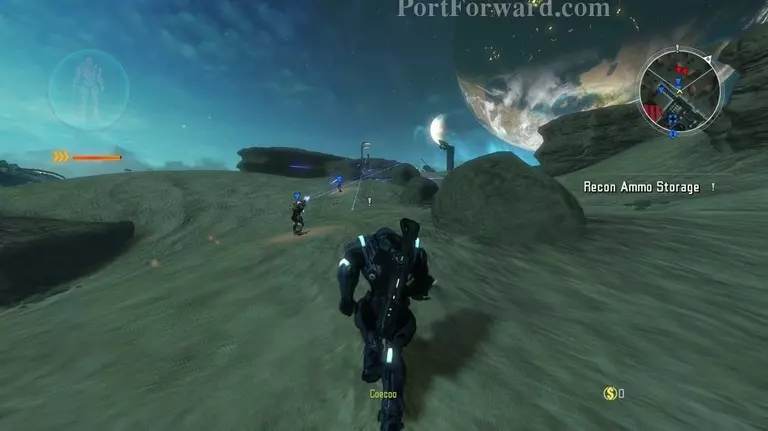
When done at the supply depo, head towards the white (!) on your HUD. Not the blue/red digits. Those are control points.
Enemies will drop out of the sky. Focus your fire on them to maximize your DPS since they are vulnerable when landing.
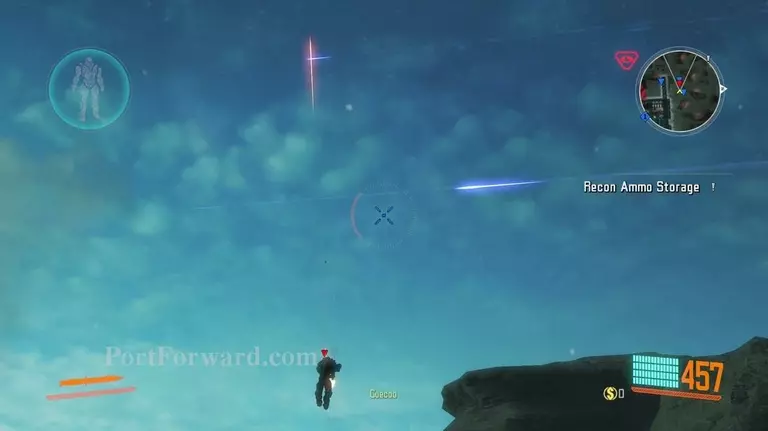
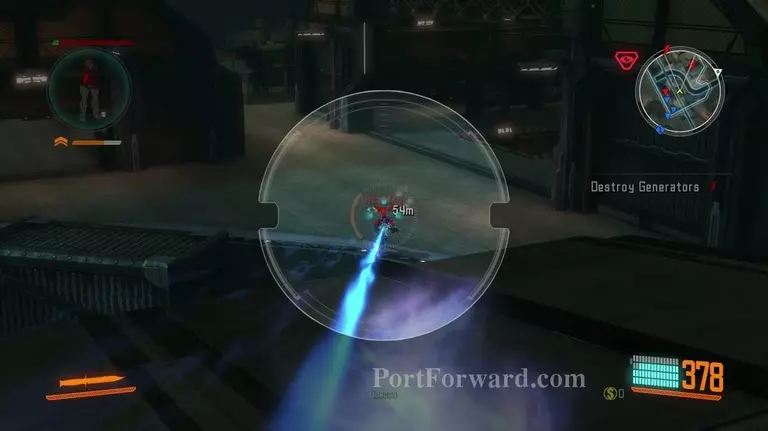
When you reach the wall, press space to jump and then space again to activate your jetpack. It has a very low amount of fuel so use it sparingly.
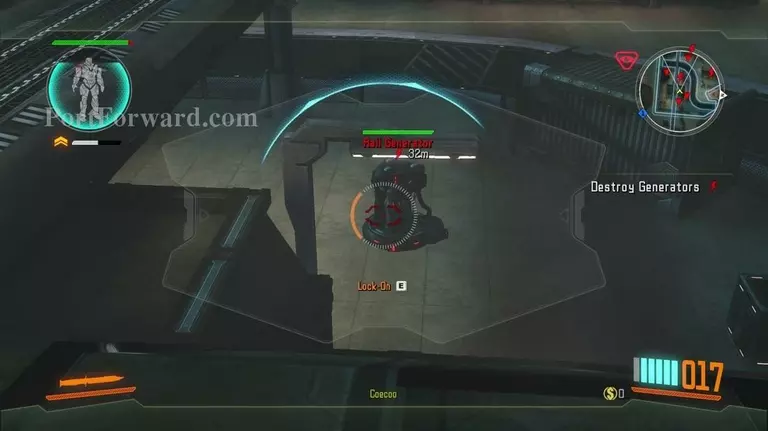
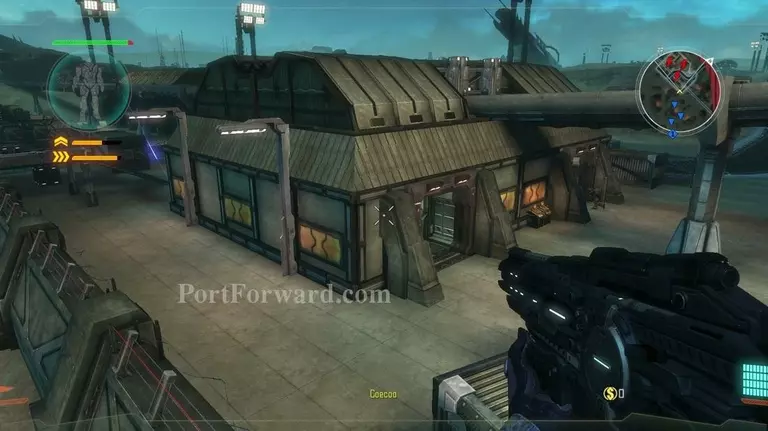
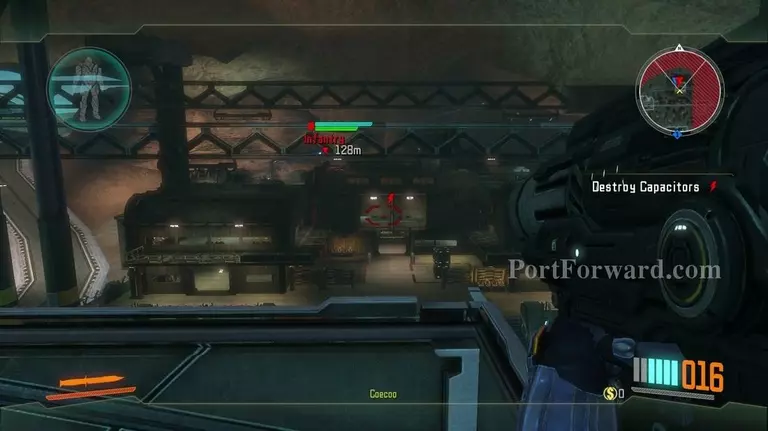
Land on the roof, press (2) to swap to your rocket-launcher and take out the enemy generators.
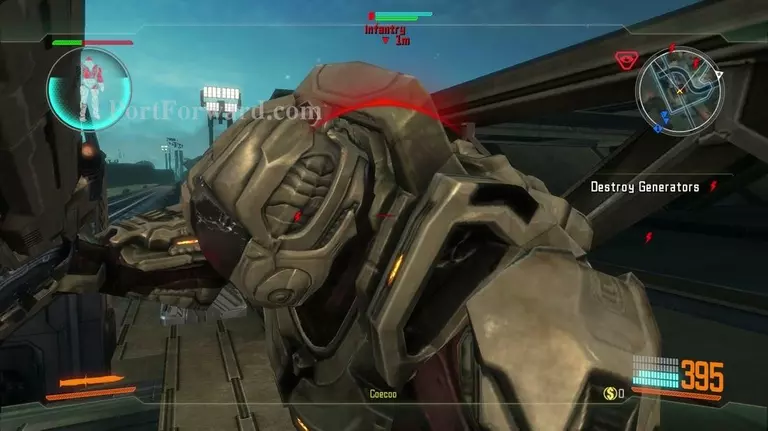
Enemies will come up behind you at some point. Equip your knife (Q) and strike them down (F).
Continue whittling down any enemies you see from the roof.
Get down on the ground once they are gone and take out the rest of the generators.

A friendly supply depo will drop once you're done. Get healed, stack up on ammo, reload and move up north.
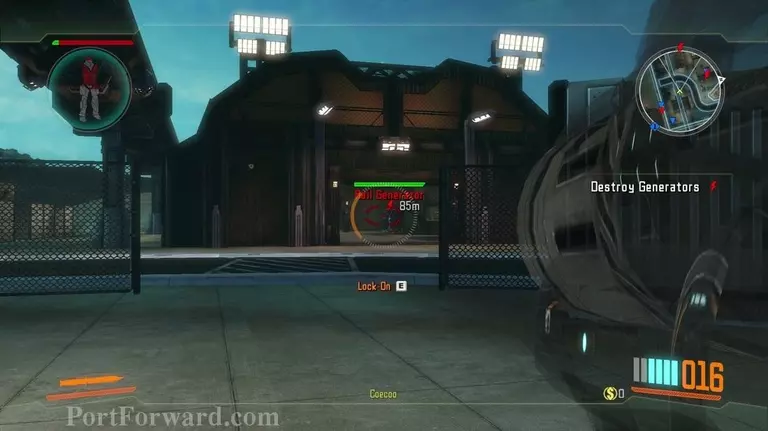
I recommend once again seeking a vantage point and whittle down any enemy infantry & generators in your field of view before getting into the base..

Once the last generator is destroyed, head back out to your new supply depo and restock.
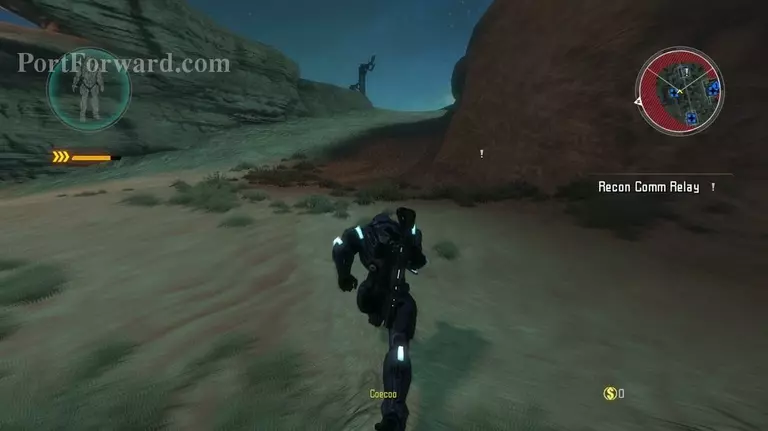
After the lengthy dialog has ended, you'll be given a new objective to head to the comm relay. Sprint over there.
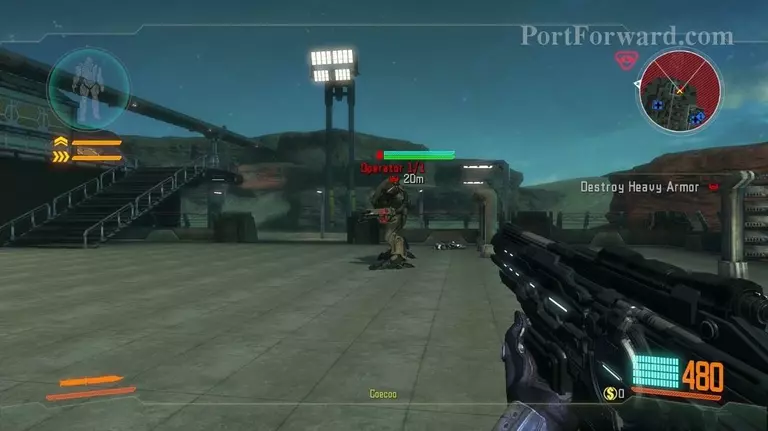
Following the cutscene, you'll be introduced to a new enemy. The "Operator". It is a heavy-mecha unit with an extremely high amount of health, insane damage with good accuracy and decent speed/manouverbility to boot. Quickly swap to your rocketlauncher (2)..
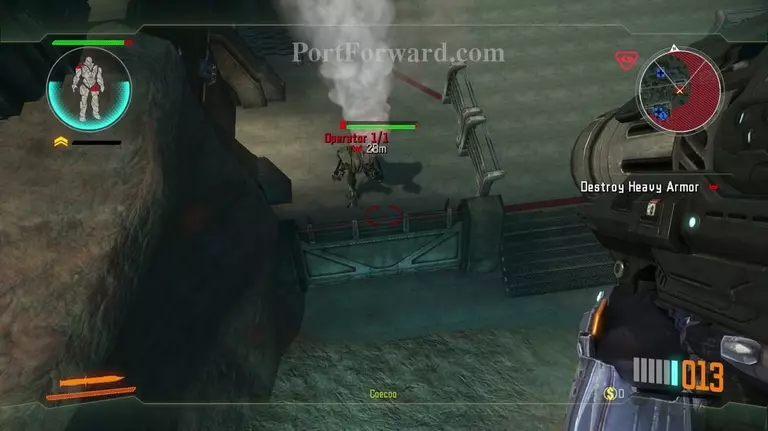
And take him out while jetpacking backwards. They have a scary damage in melee, capable of one-hitting & stunning you immensively. Once destroyed, the mission will be complete.
More Section 8 Walkthroughs
This Section 8 walkthrough is divided into 8 total pages.


