Clive Barkers Jericho Walkthrough Sumeria, 3000 B.C. - Flesh

September 12, 2016 (Last Updated: ) | Reading Time: 1 minutes

This Clive Barkers Jericho walkthrough is divided into 33 total pages.

You can jump to nearby pages of the game using the links above.

Sumeria, 3000 B.C. - Flesh

Clive Barkers Jericho Walkthrough - Clive Barkers-Jericho 258

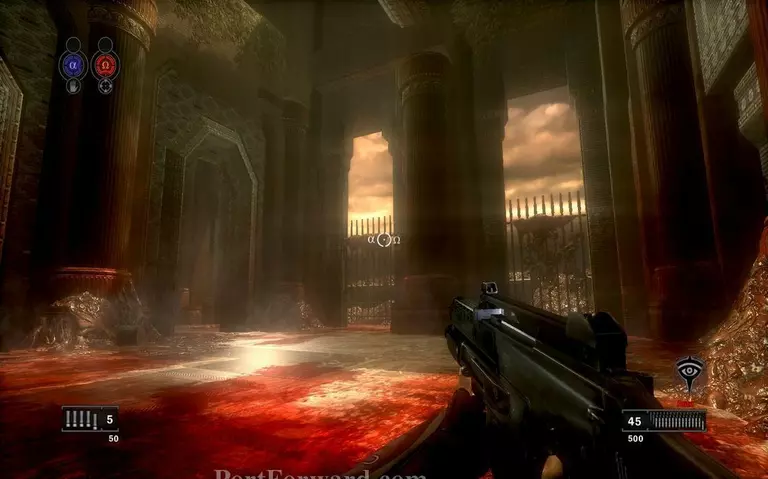
A few fliers will attack you from the outside here.

Clive Barkers Jericho Walkthrough - Clive Barkers-Jericho 259

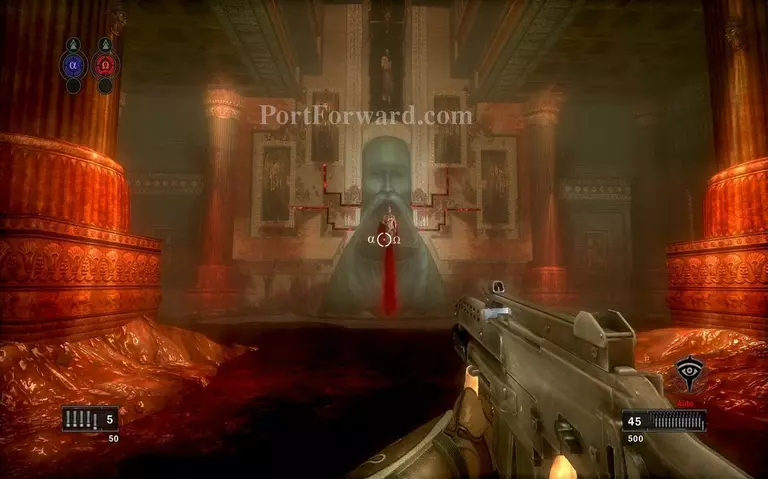
You will encounter two priests. The one at the bottom is getting power from the blood that comes from the bodies nailed on the big wheels.

Clive Barkers Jericho Walkthrough - Clive Barkers-Jericho 260

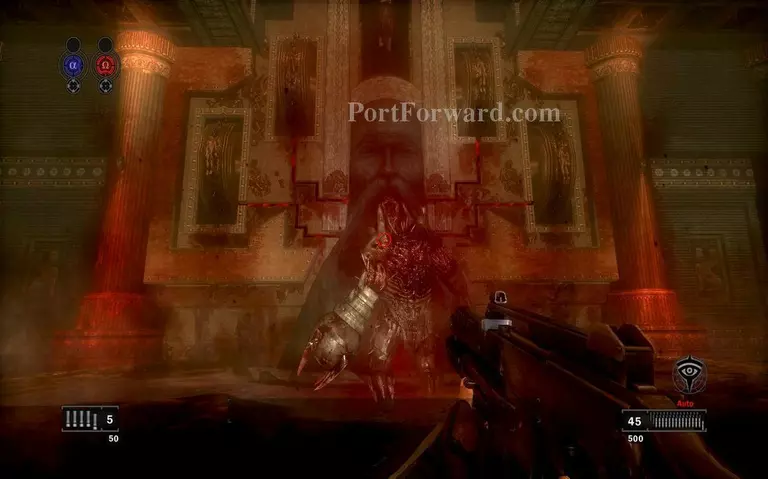
The priest will send a golem to attack you. Ignore the golem because it is immortal.

Clive Barkers Jericho Walkthrough - Clive Barkers-Jericho 261

Shoot at the bodies on the wheels to stop the flow of blood.

Clive Barkers Jericho Walkthrough - Clive Barkers-Jericho 262

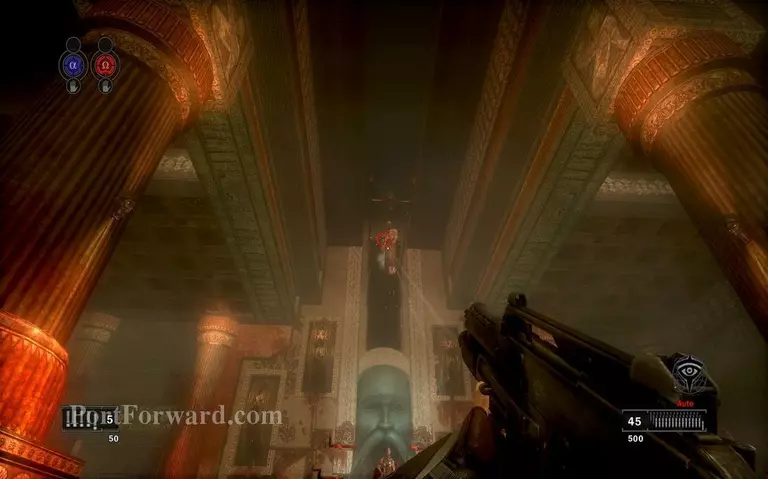
When the priest at the top starts hanging closer above you, you can kill him.

Clive Barkers Jericho Walkthrough - Clive Barkers-Jericho 263

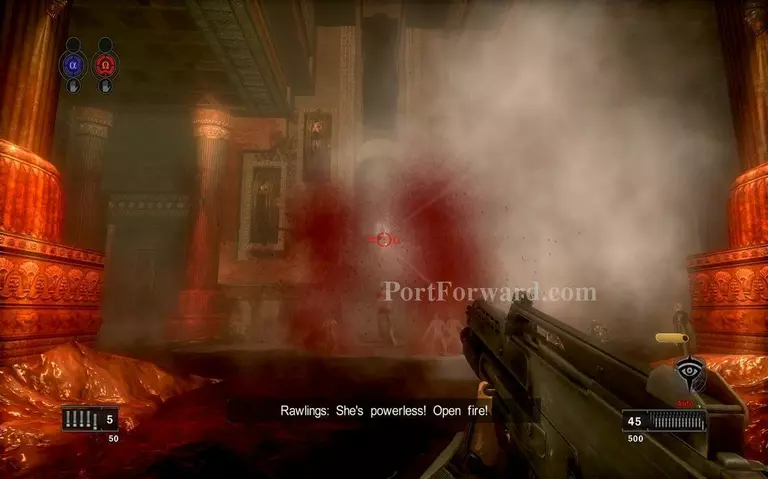
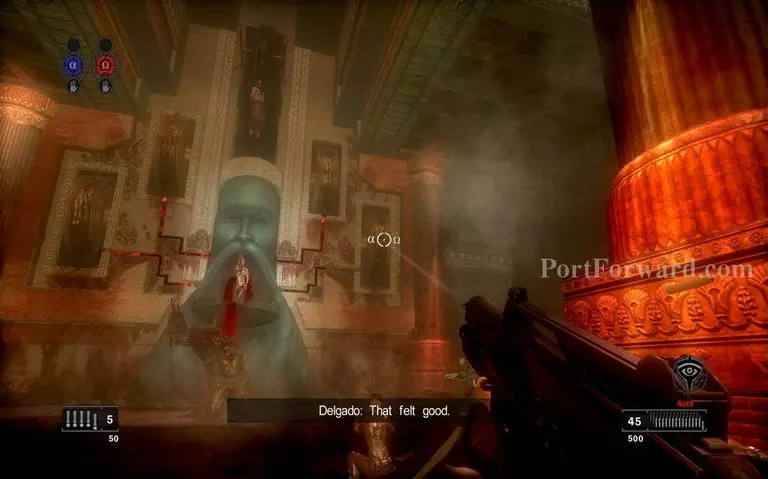
Shoot the priest at the center once all the wheels stop supplying blood.

Clive Barkers Jericho Walkthrough - Clive Barkers-Jericho 264

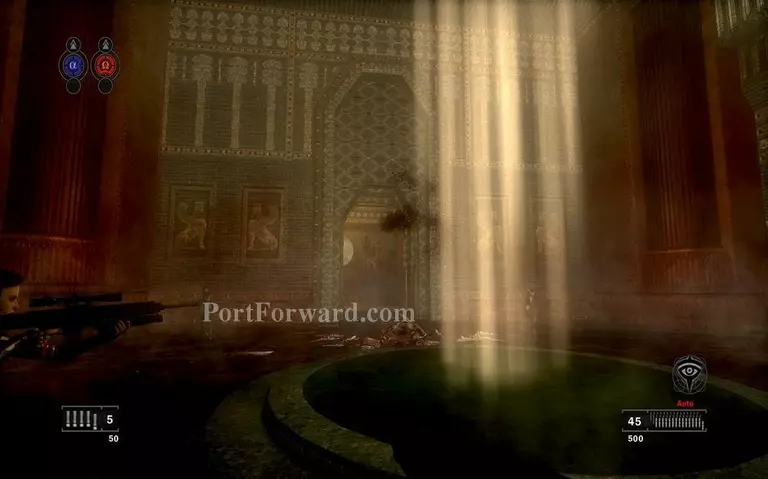
The second part of the urn is transported upwards. Cole and Church get back to the team.

Clive Barkers Jericho Walkthrough - Clive Barkers-Jericho 265

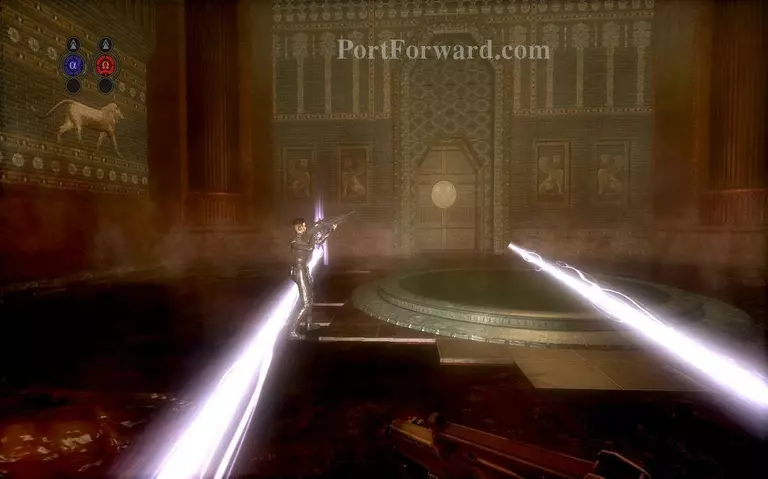
The team is teleported somewhere else.

More Clive Barkers Jericho Walkthroughs

This Clive Barkers Jericho walkthrough is divided into 33 total pages.

More From Portforward