This Tomb Raider walkthrough is divided into 25 total pages.
You can jump to nearby pages of the game using the links above.
Mountain Temple
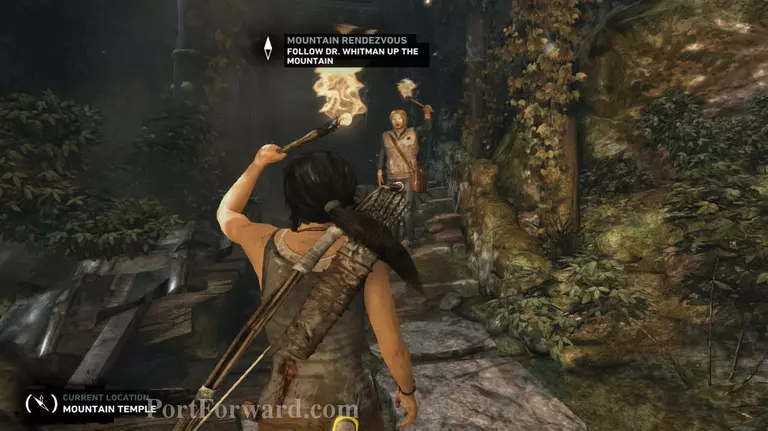
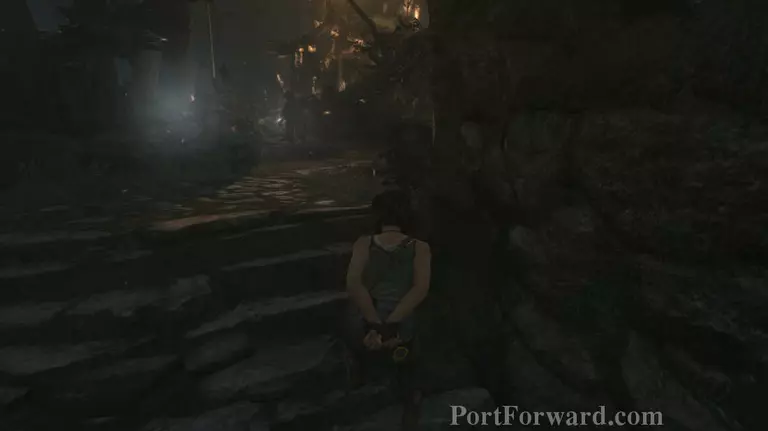
There's not much you can do right now. Just keep following Whitman up the stairs until the cutscene starts.
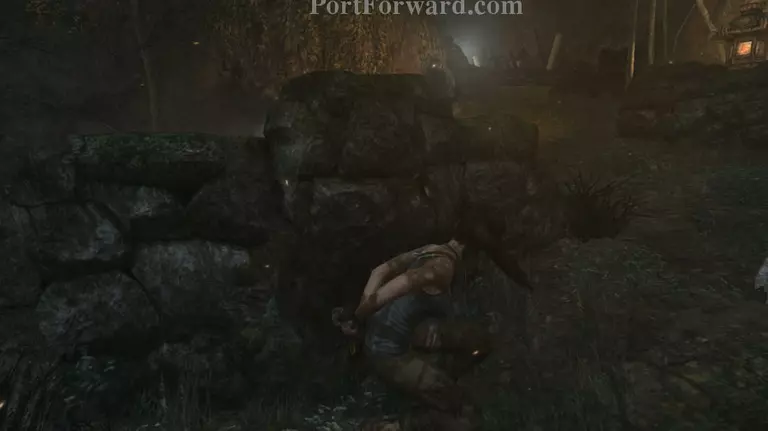
After the cutscene you'll have to escape the guards undetected. Hide behind the first wall and wait for the first guard to walk past you. Then head for the second wall and wait for the guard behind the third wall to look away.

Once he looks away make your way to the third wall and hide behind it. Wait for the guard to move away from the wall, he'll head to the left side and you'll have a chance to make a run for it.
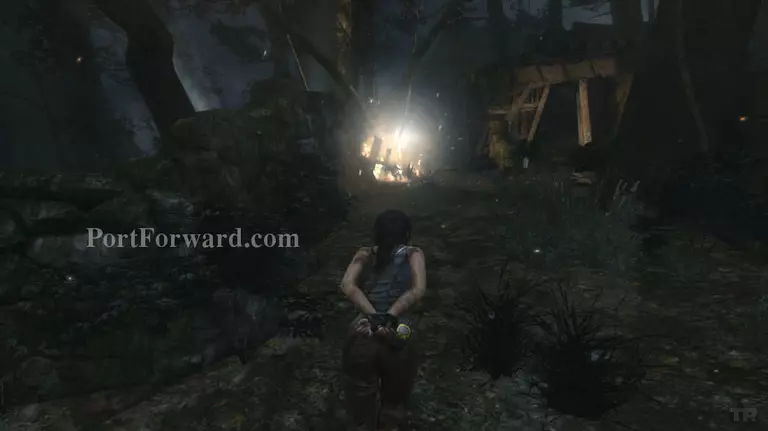
When you get the chance run and keep going straight towards the top of the road, you'll see a small house there. Enter through the gap and make your way inside.
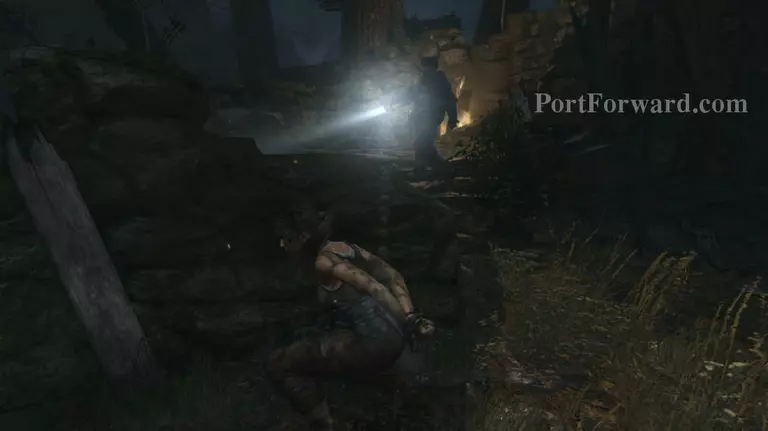
Then hide behind the wall again and wait for the guard to pass by. When he does make a run for the stairs and keep going up.
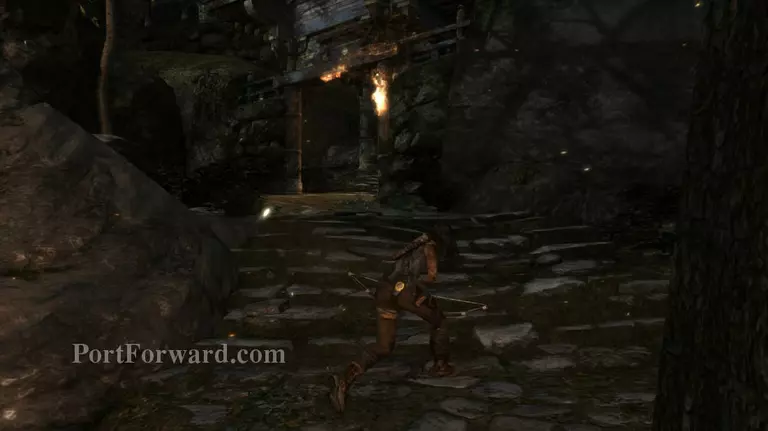
Don't leave the stairs just yet, wait for the guards to leave the area before continuing towards the burning house.
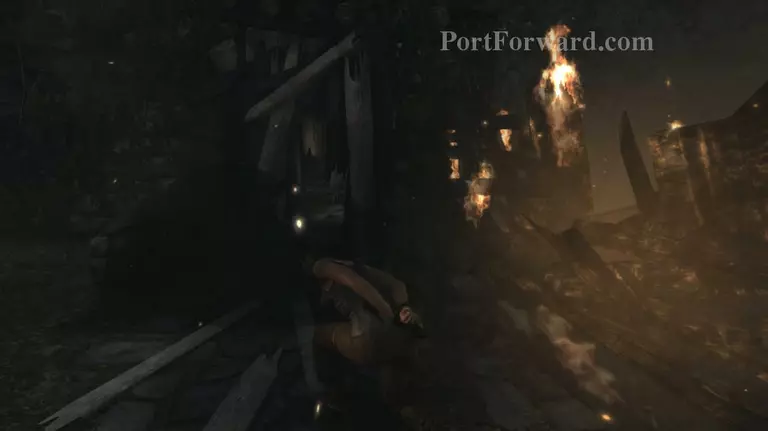
Once you get near the burning house you'll see a small gap in the wall. Enter it and a cutscene will play.
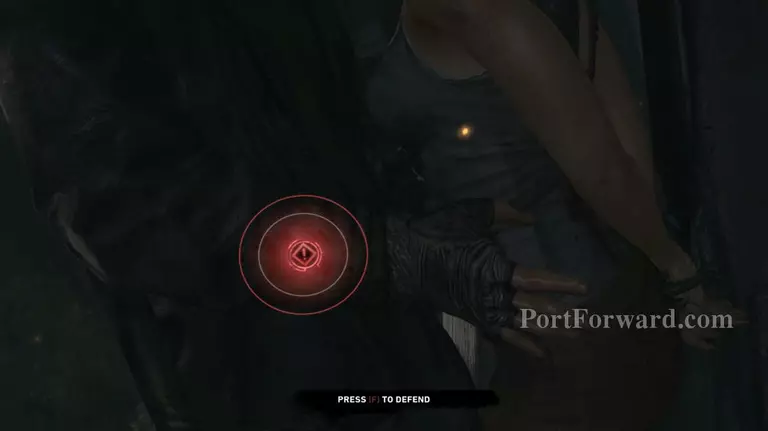
That Russian guy will attack you again and you'll have to defend yourself. First you'll have to press F once the red exclamation point appears.
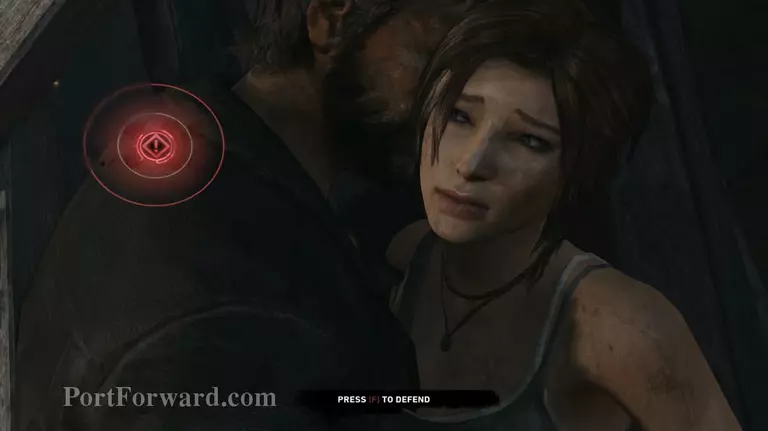
Then do it a second time to fend him off.
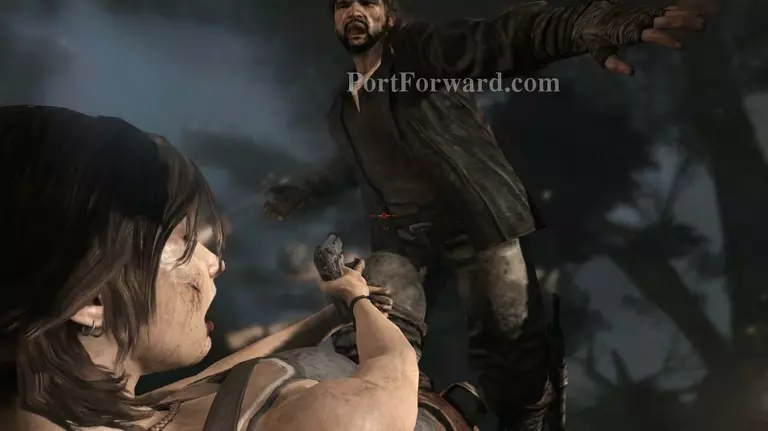
Lara will then be able to grab his gun. Start shooting at him. It doesn't matter where you hit him just as long as you hit him.

He'll try to out power you and shoot you with the gun. Mash left and right to fight back.
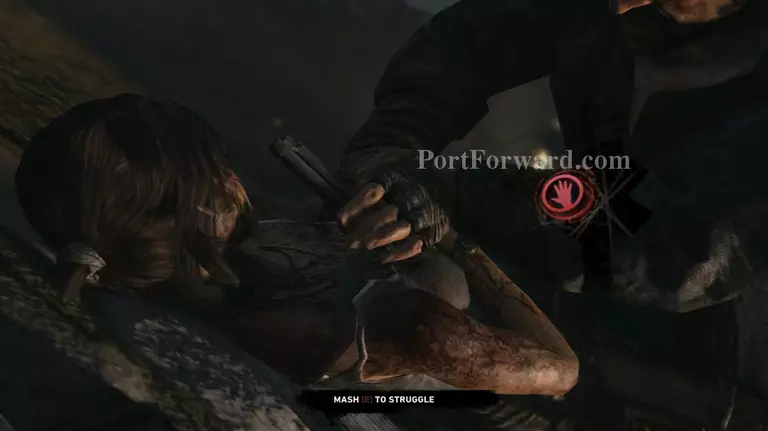
You'll then have to mash E as Lara is clearly losing the power struggle.
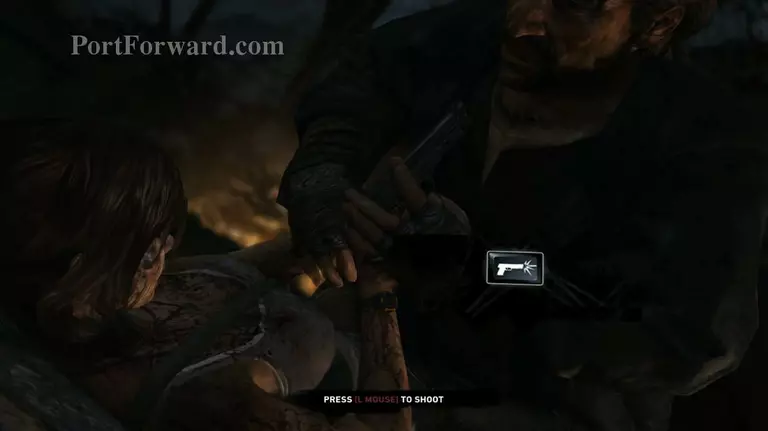
Once you successfully mash the E button into paste a shoot icon will come out. Press the the left mouse button to shoot him.
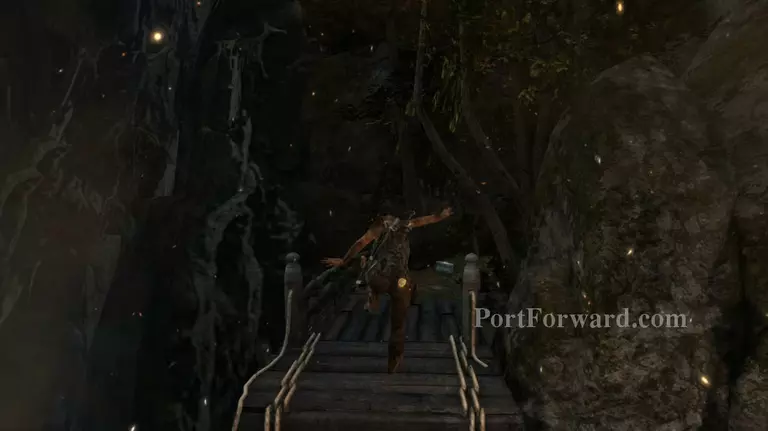
After killing the guy, keep going forward then turn right at the end of the path.
Keep going towards the bridge until you reach the top of the stairs and into the next area. Lara will automatically equip the handgun once you go through the gate.
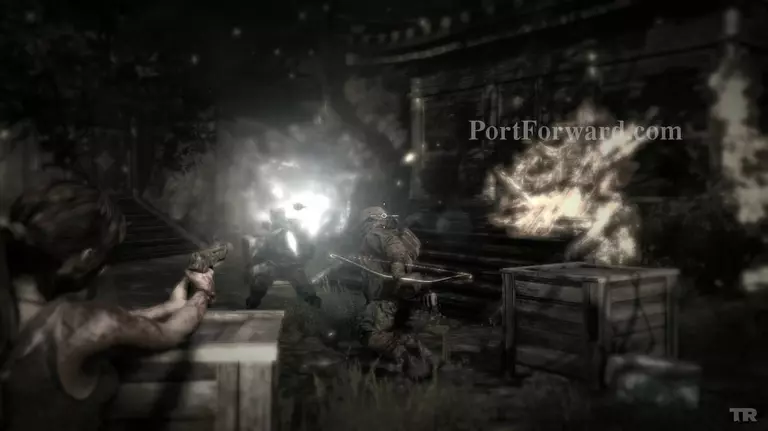
You'll be attacked by a couple of men. Survival instincts will kick in and time will slow down. Make sure to aim at their heads before shooting. Headshots give more XP than normal kills.
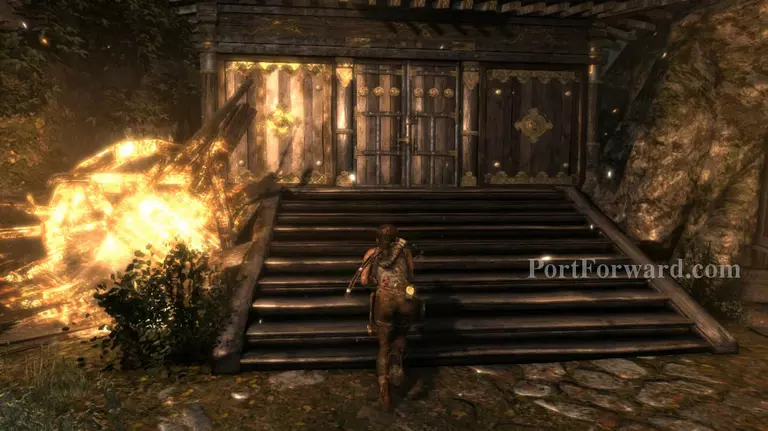
After killing the men head for the temple directly in front of the crates that you used as a shield. Pry the door open and the rest of the bandits will try to burn the place down.
Lara will then crouch down and you'll have to start pressing the F button a couple of times to get the weak part of the wall to break.
After leaving the shrine keep going forward until you start hearing people's voices.
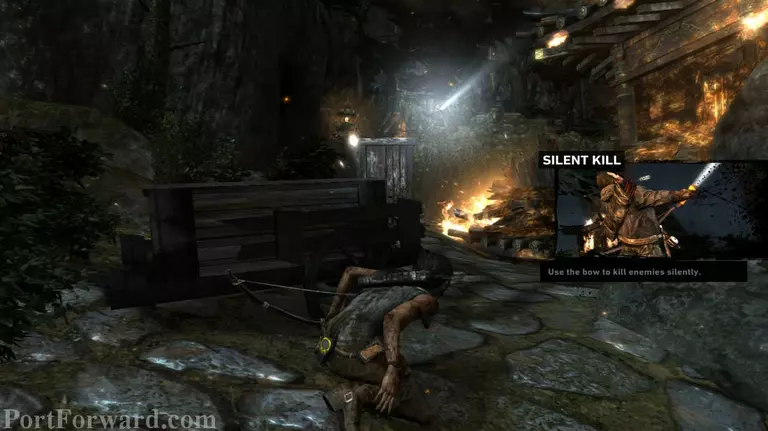
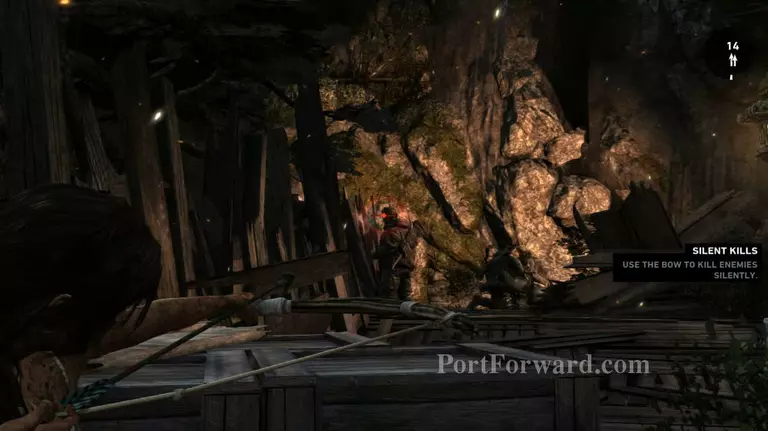
Once you do hear people talking hide behind the wooden cart and wait for the bandit to stop moving. You'll also get some information about silent kills.
Draw your bow and aim at the bandit. Make sure to aim for his head or he will call for reinforcements. Shoot him down then climb up the wall towards the ledge near him.
Once you get up the wall turn right and jump towards the ledge on the other side of the ramp. Shimmy towards the right and start climbing up to the next platform.
Once you get up you'll see some more bandits prowling about. Shoot the one on the left side first. Make sure to shoot his head for an instant kill. Then quickly aim for the one on the right and shoot his head too.
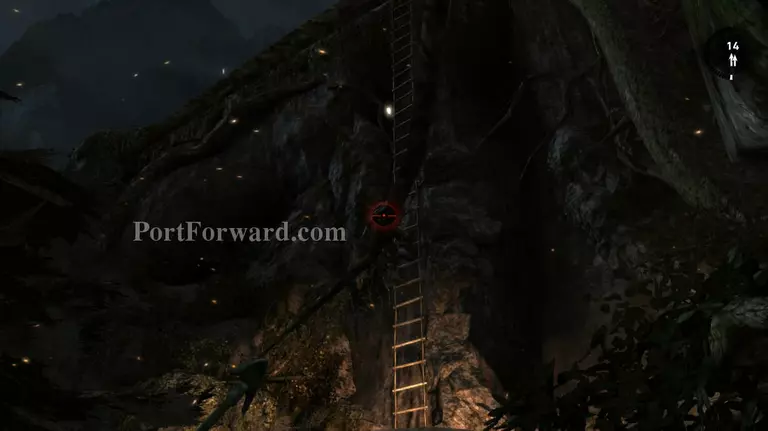
A third bandit will lower a ladder after hearing the commotion below. He'll lower the rope ladder and start climbing down. Aim at him and shoot him while he's climbing down. You can shoot him anywhere, he'll fall and die.
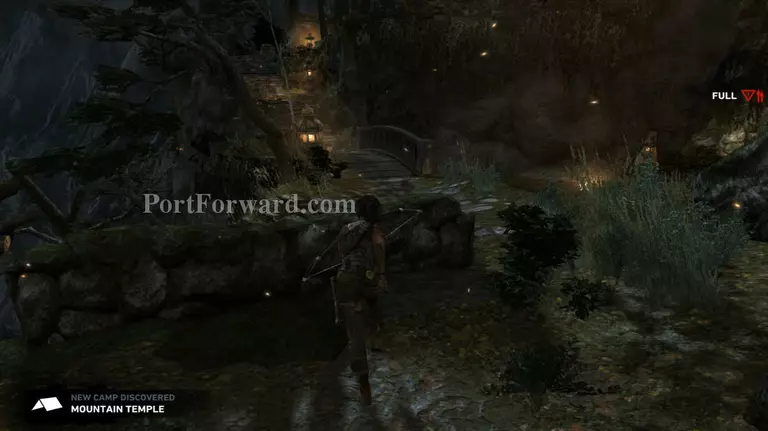
"Climb up the ladder and head left at the top. Climb the stairs and sit at the campsite, you'll receive an entry in Lara's journal. You should be able to modify weapons now, I recommend you modify your bow completely before modifying any other weapon.
You'll have to take care of 2 bandits at the top of the steps. Shoot an arrow to the door and wait for the one on the left to investigate. Shoot the guy on the left first, then shoot the one on the right after that. Make sure to aim for their heads.
Now head further up the stairs past the bandits you killed. Make sure to loot the corpses of the men you killed. At the top of the steps the road will be blocked. Look to the left and you'll see a wall that you can run up to. Use it to get inside the collapsed house.
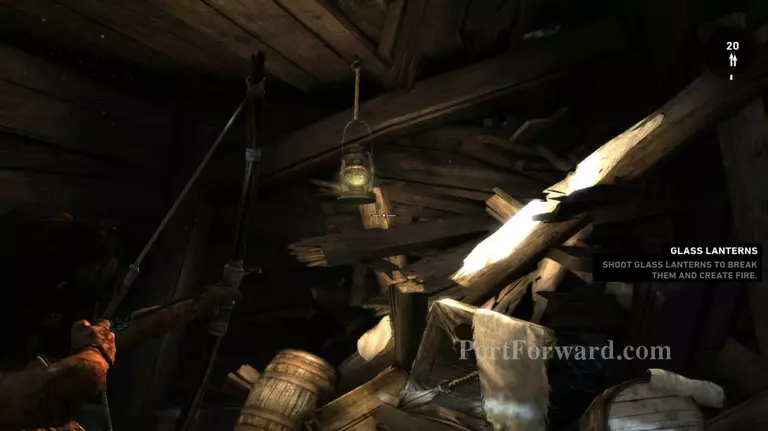
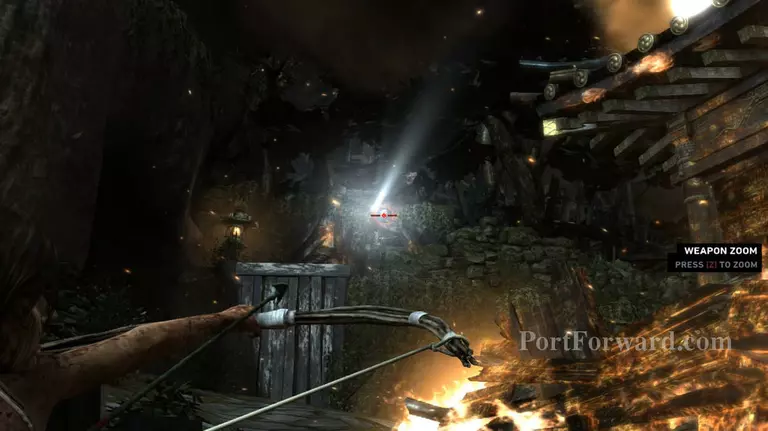
Inside the house aim your bow at the lantern and shoot it to set the barricade on fire.

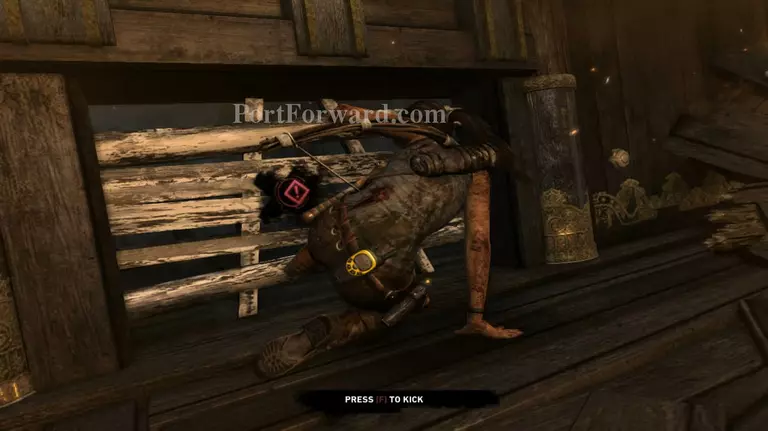
Go through the hole that was being blocked by the crates you just burned and keep walking until you see a bandit. You'll be given information about stealth kills. Quietly walk up behind him and press F, then mash E to strangle him.
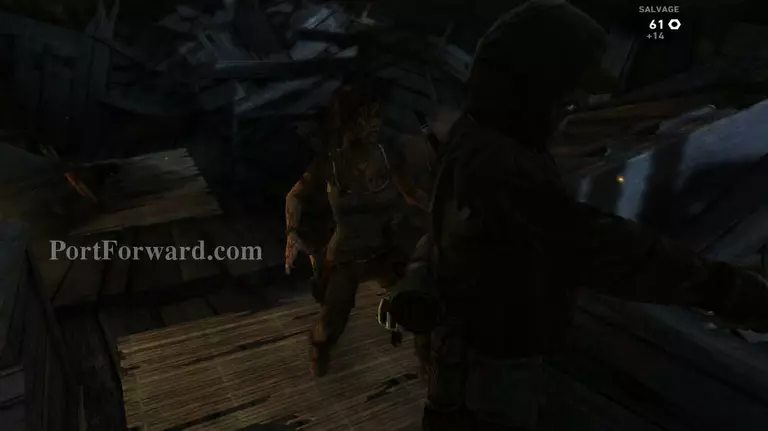
After killing the first bandit turn left and you'll see a second one. Sneak up on him and strangle him with your bow too.
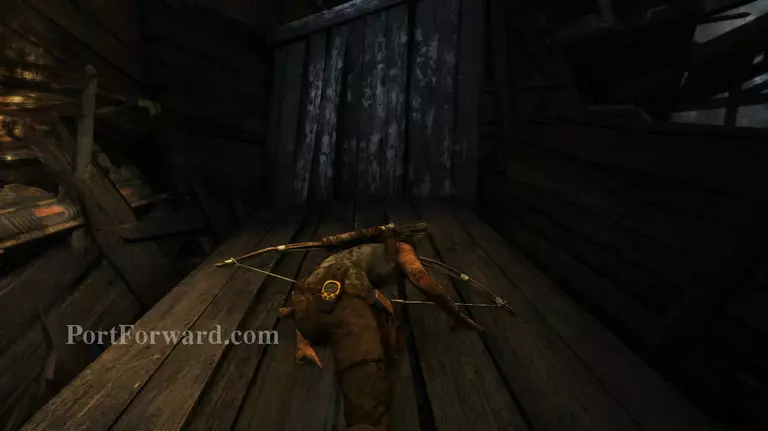
Now keep walking to the left side, you'll see a climbable wall. Jump up on it and climb up the ledge, then hide behind the boxes.
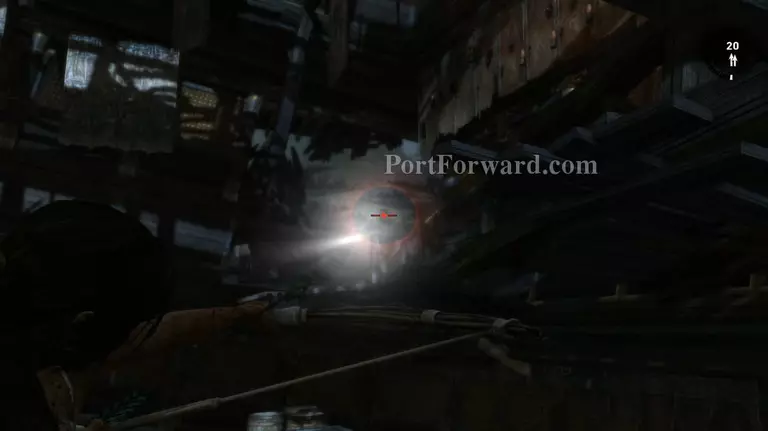
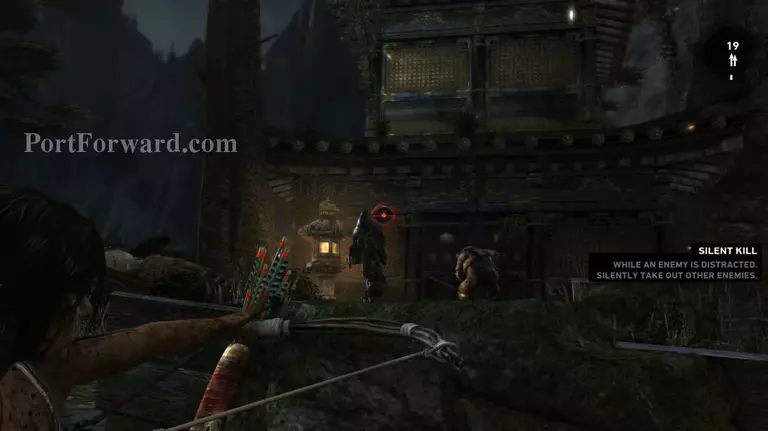
There are a couple of guards in the area. Start with the one on the upper right side. He's the easiest one to pick off without alerting the others. Also make sure you don't go beyond the first crate or reinforcements will come.
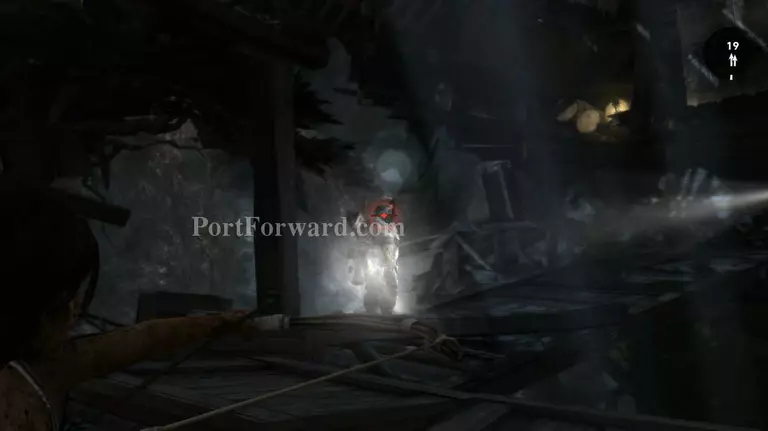
Second take care of the one that's standing on the bridge, but make sure that the third bandit isn't looking towards the left.
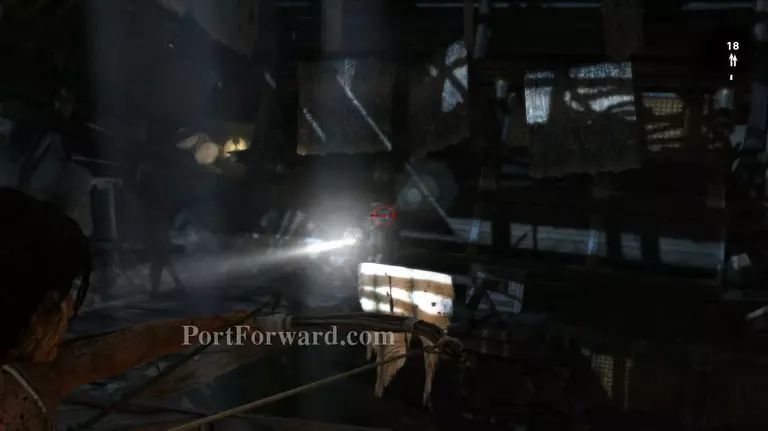
Then take care of the third bandit that's walking around in the area. Make sure to always aim for their heads for instant kill.
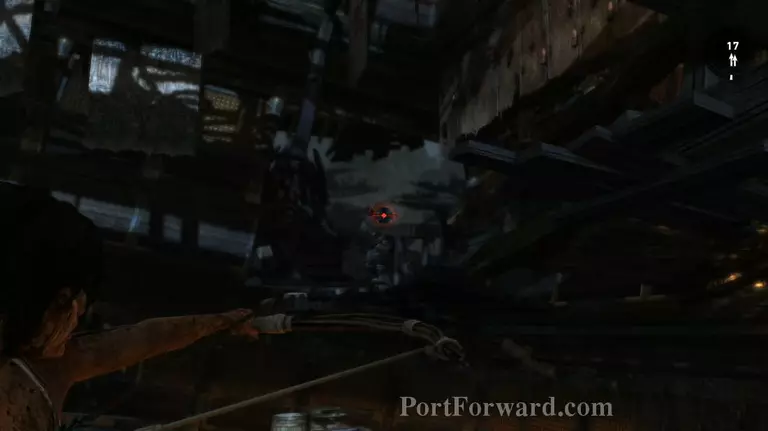
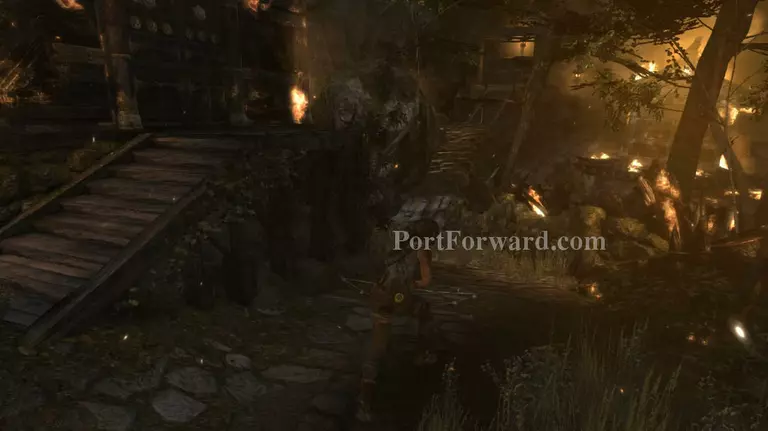
A fourth one will come out at the same place as the first bandit you killed. Shoot him then go over to the left side. Seems like it's unavoidable to get detected at this point.
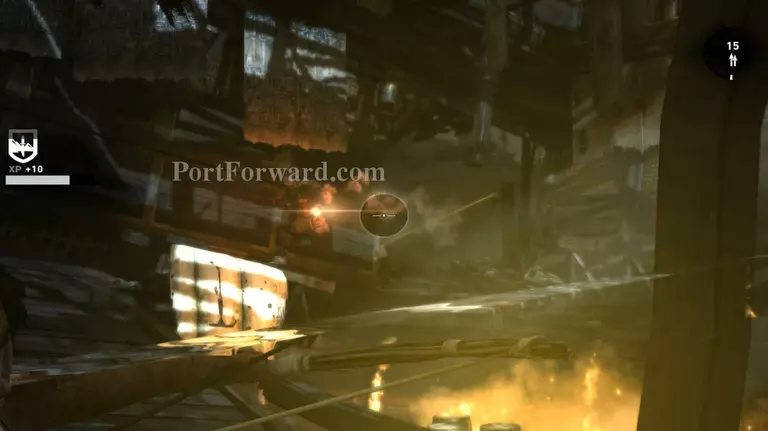
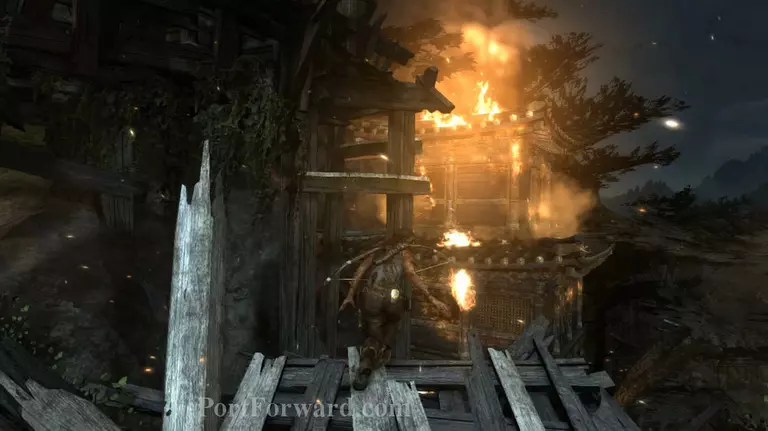
A pyromaniac will come out as soon as you cross over to the left side. Kill him by either shooting his head or waiting for him to try and toss a bomb then shoot him so he blows himself up.
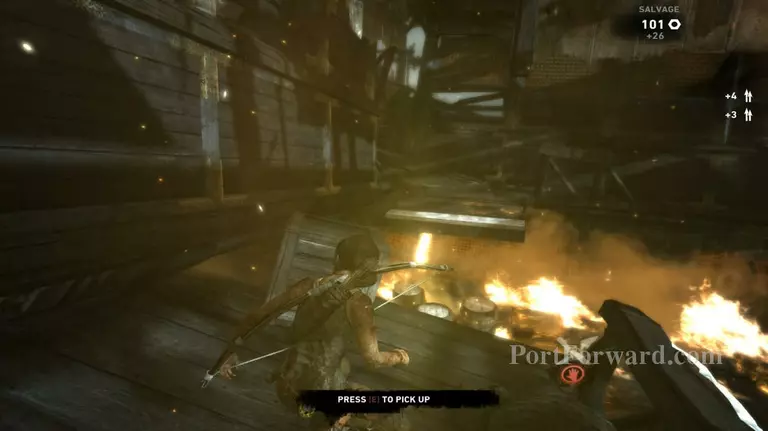
After killing him cross the bridge and head over to the right. Jump across the gap and make your way to the zip line, then use it to make it to the ground below.
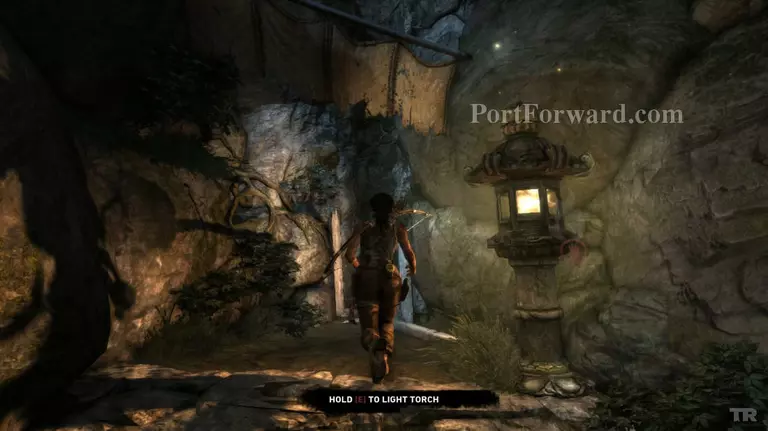
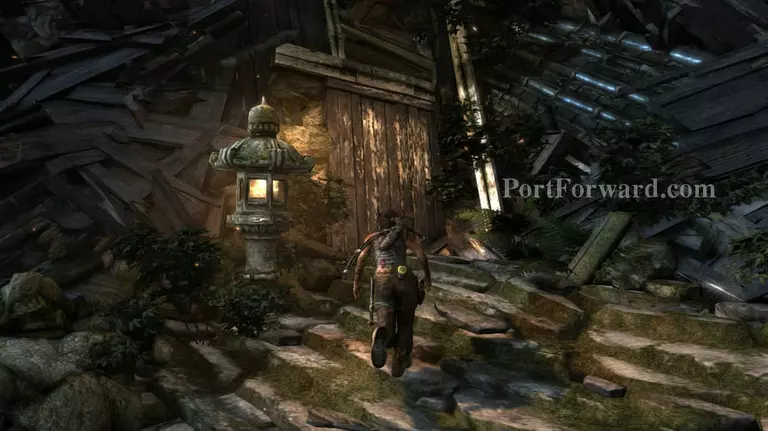
Walk up the steps and keep going until you reach the lanter and a dead end. There's a small gap here, approach it and Lara will scale it. Just keep pressing up until you get to the top.
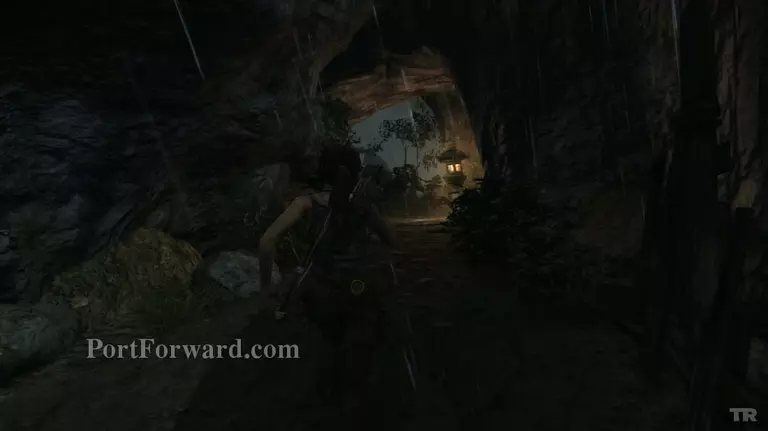
Once you get to the top follow the path and you'll find the exit and a cutscene will also play.
More Tomb Raider Walkthroughs
This Tomb Raider walkthrough is divided into 25 total pages.