
This Metal Gear Solid V- Ground Zeroes walkthrough is divided into 1 total pages.
You can jump to nearby pages of the game using the links above.
Main Mission
Welcome to Camp Omega, and a new generation of Metal Gear. If you need help with the controls, open the menu [Select] and press [Y / Triangle] to get a full overview.
Kaz will drop in periodically to explain controls, so go ahead and get started if you
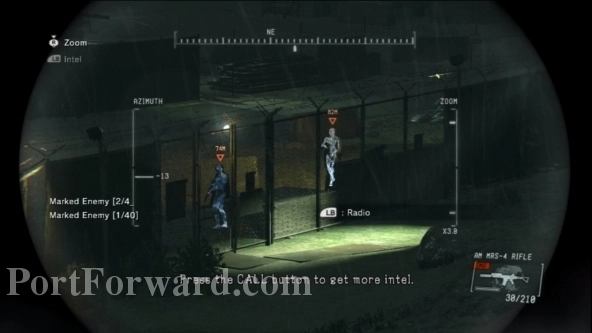
The first major obstacle is straight ahead. Whip out the binoculars are start making enemy soldiers below. The only way into the base is through the locked gate watched by a spotlight.
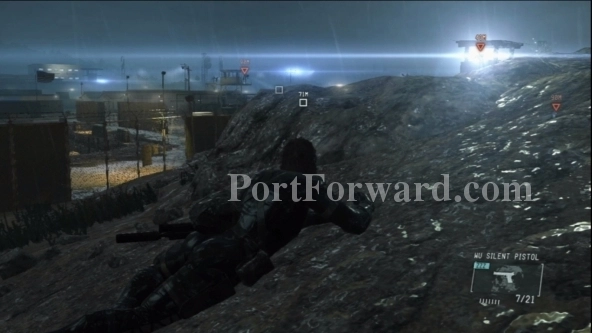
Move down the hill and crawl, using the rocky embankments for cover as the spotlight turns. Wait for the light to move toward the gate, then stick to the rocky path on the right. Try climbing up so youâll get a good view of the guard.
If you take out the guard, youâll take out the spotlight too. Aim for the head and put the guy to sleep with a sleeping dart from the Tranq Pistol.
With the watch tower taken care of you can now safely unlock the gate. Press the action button [Triangle / Y] to automatically pick the lock. Itâll take a few seconds, so check for guards before moving forward.
Once the way is clear, turn right. In the small concrete-floored base across the street, you should find a watchtower looking down over an anti-air turret, and a small raised building. These raised buildings are armories.
Check this one out, you can grab C4, replace weapons, or refill your ammo. Theyâre also a handy place to hide under.
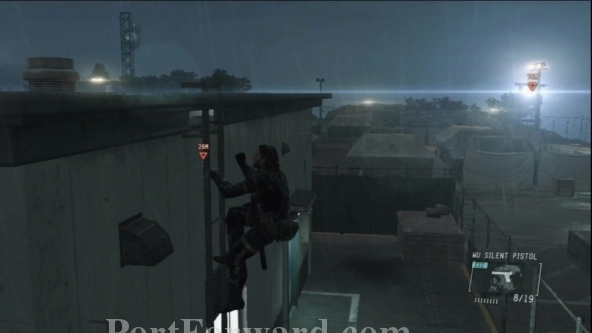
Down the road, toward the old prison area, youâll have to contend with another watchtower looking down at the main dirt road path. Deviate, and use a ladder to climb onto the building attached to that armory.
From here, you can get a good look at the camp below. There should be at least two marines patrolling, but thereâs plenty of cover.
Use the cover provided by the camp to cross over to the road leading down toward the old prison.
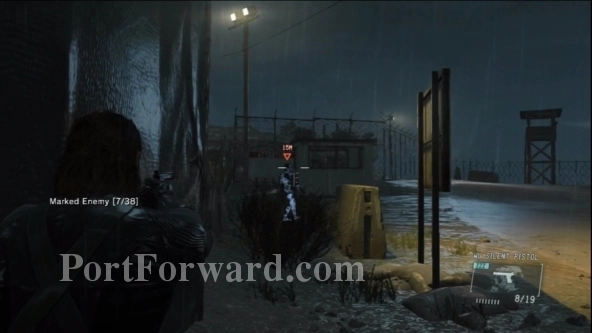
Watch out, thereâs one guard on the road! Knock him out, stick to the shadows, then use binoculars to mark the next two soldiers in the prison.
Donât miss the Tranq Darts in the small guard shack overlooking the camp.
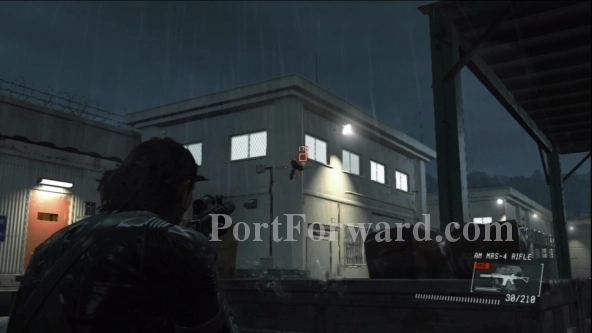
Thereâs one soldier at the gate, and a second moving around the interior camp. Pick off the exterior soldier first, then use your silenced assault rifle to shoot out the spotlight over the locked door.
To make your escape easier â prepare first! Knock out both guards, then shoot out the light over the door.
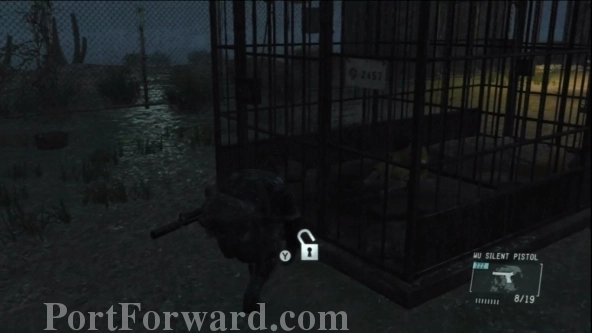
When the prison is secure, you can find Chico. Remember where he was in the intro cutscene? From the gate entrance, turn left and open the last cell.
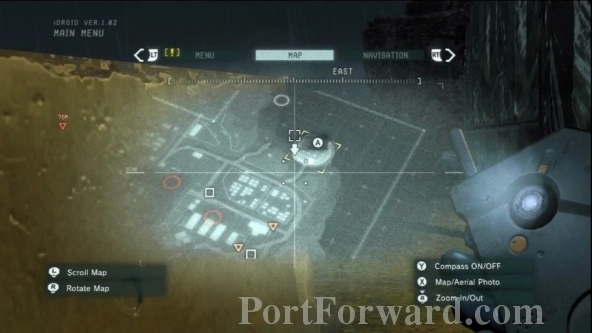
Time to escape. Open the iDroid menu, move to the left tab, and choose to call in a chopper extraction. Mark the safe landing zone closest to the prison.
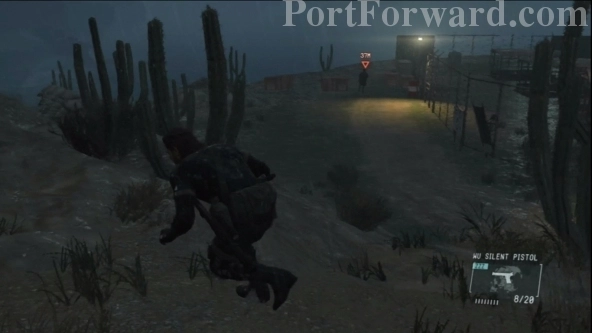
Lift Chico and carry him. You can only stand or crouch while carrying, but youâll still be able to fire your pistol.
Move fast! Exit through the entrance gate and toward the landing zone. To the right of the street, thereâs a lower rocky wall Snake can use to hide from the incoming patrol.
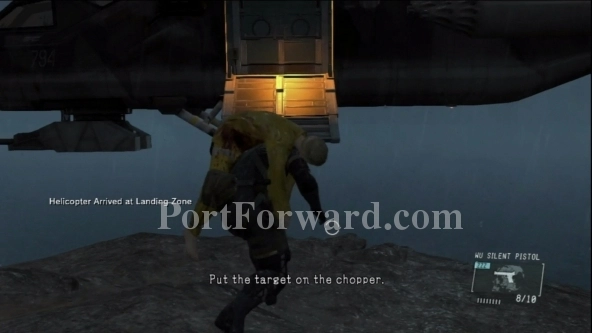
Continue down to the beach and put Chico down next to the marker for another cutscene.
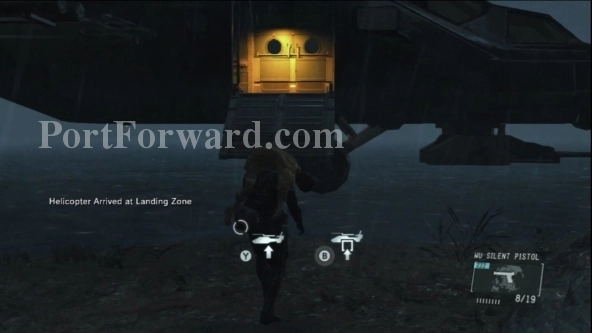
When the chopper arrives, place Chico in with [B / Circle] to complete the first section of this mission. The little boy leaves Snake with a tape recorder, providing some small clues to Pazâs last known location.
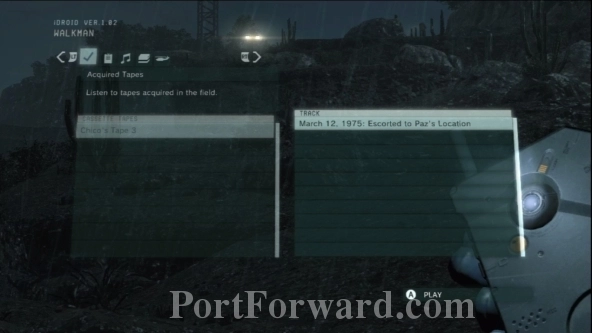
Now that Chico is safely in the chopper you can start the search for Paz. Listen to Chicoâs tape in the iDroid menu to get some clues.
Sheâs near a helipad and a boiler room. Thereâs only one place she could be â look for the large walled-off compound on the map. This is the Admin Building, and Paz is store in the underground boiler area in the back end of the base.
There are many ways to break inside, but letâs focus on the safest. Move up the dirt path to the nearest paved road leading up to the refugee camp.
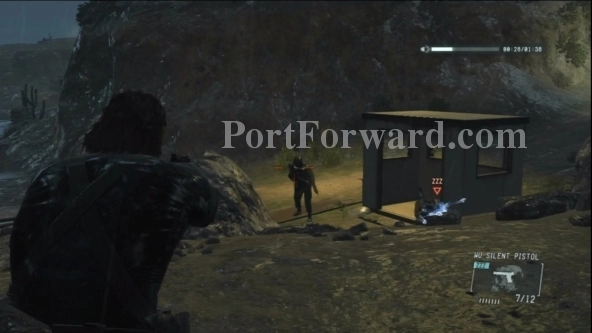
Sneak by or knock out both guards in the small shack. If you can neutralize them quietly, continue up the road.
Thereâs a waiting truck ahead with two soldiers guarding it. One is the driver, the other is a sentry. Sneak close to the concrete divider and grab the single guard to knock him out when the driver wanders back to the truck.
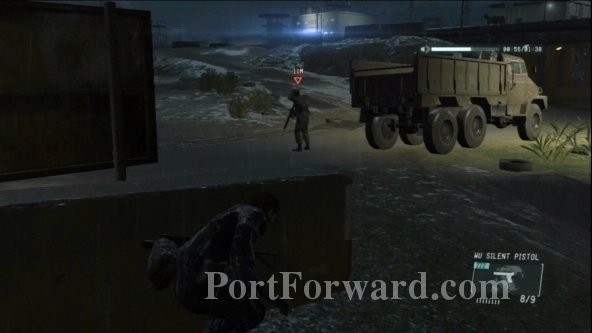
When the coast is clear, jump into the back of the truck and go prone. Thereâs a silenced SMG inside, but letâs ignore it. No reason to go around shooting people, weâll need the silenced tranq gun to complete the operation.
The truck will take Snake through the base and straight through the main gate of the admin building. Once youâre inside and the gate closes, ditch the truck!
Look on the equipment racks near the truck parking space. Youâll find extra tranq darts â further ahead, you can also break into an armory for a fresh silenced assault rifle.
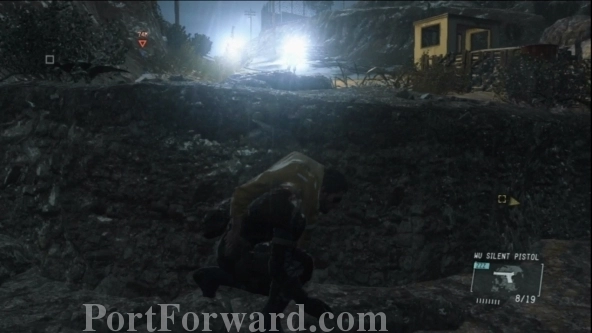
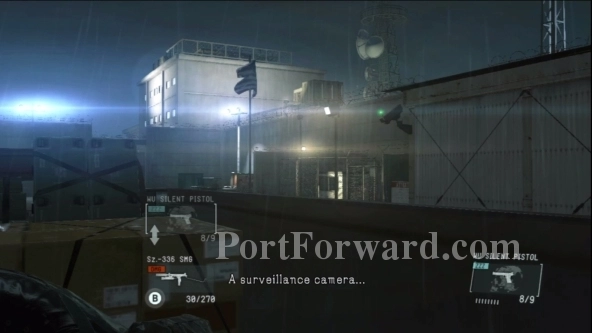
Instead of sneaking down the main road where there are several guards and security cameras, sneak through the pipes running near to the exterior wall. Crawl under, then climb over to reach another small covered bay with a jeep.
The armory is across, with the electrical controls in a fenced section to the left. Be sure to mark both security cameras before continuing down the path to the right.
Here, you have some options. Break into the electrical area to find a switch to turn off all the power in the base. But, sentries will continuously arrive to turn the power back on.
Or, you can simply shoot both cameras with the silenced AR. But, that will put the guards on alert and bring in reinforcements to check out the area.
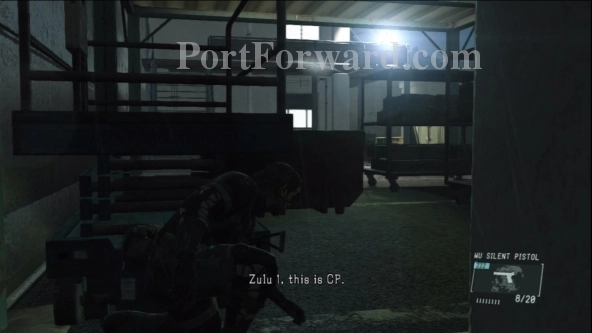
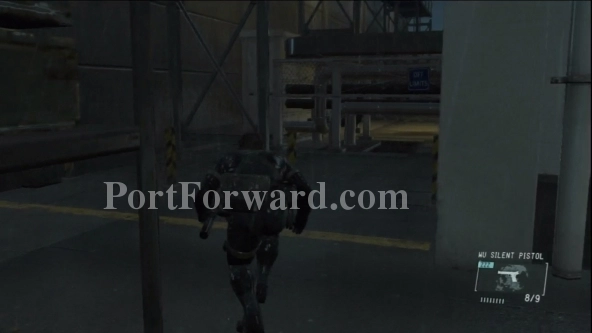
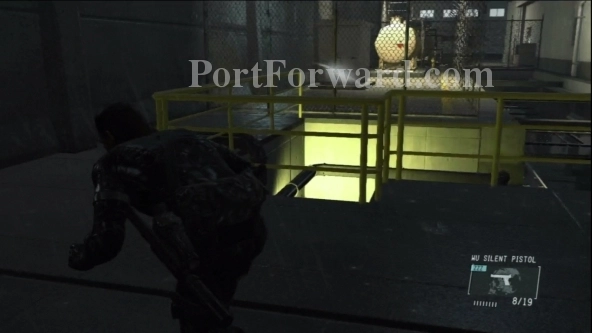
Below, and to the right youâll finally find the way into the boiler rooms. Two guards are conversing down the stairs, so donât just go down. Wait for them to leave, or circle around and drop down from the railings against the far corner.
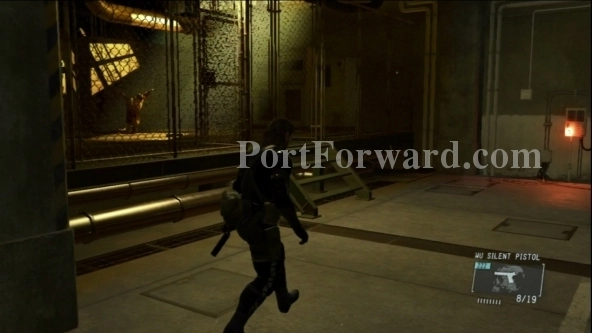
Knock out the guard, or guards in the boiler area and drag them into the darkness. Move into the small passage and turn right to find a second interior boiler space. The cage containing Paz is in the back left.
Make sure to approach when there is no alarm. If youâve been found, use the shadows to avoid contact until the patrols leave.
Open the door to get a cutscene. Now youâll need to escape with Paz. Things get tricky from here on out. Security in the base is beefed up on the way out, including a manned armored vehicle watching the main gate.
New guards will also arrive to patrol the underground. To escape, letâs back-track through the base the way we came. This time, youâll want to reach the fenced electrical area â past it, thereâs a red door leading out of the base. Thatâs the safest exit.
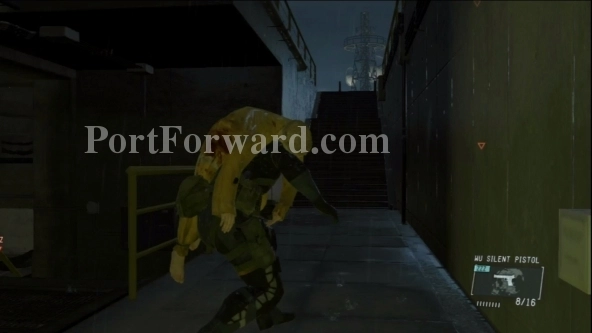
Getting there isnât easy. Return to the earlier boiler room and hide in the shadows until the new pair of guards walks by. Then the coast should be clear to go upstairs and zig-zag to the hidden path next to the armory.
When sneaking while carrying Paz, donât get too close to enemies. Her murmuring will alert them to your presence.
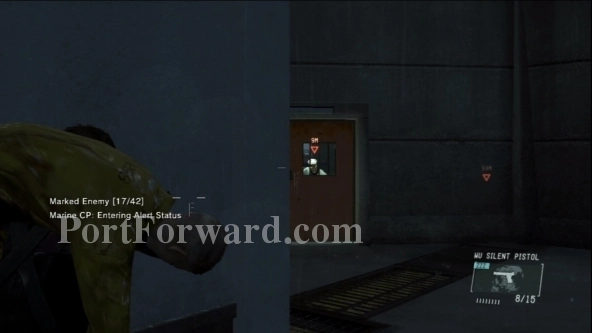
Return to the electrical area and put Paz down. Take out the single guard that patrols near the red side-door, near an Anti-Air turret, then move for the refugee camp to your right.
Once youâre safely out of the helipad, it should be relatively smooth sailing. Select a safe landing zone to avoid drawing unwanted attention to your escape.
If youâre caught, the exfiltration chopper will engage enemies and draw them off you. Try to avoid that-most of the refugee camp is lightly guarded. The watchtower near the mission-start cliffs is now unmanned.
If youâre seen, stay off the roads and weave through the tents! Those tanks are your worst enemy right now.
Return to the helicopter, and leave with Paz to complete the mission.
More Metal Gear Solid V- Ground Zeroes Walkthroughs
This Metal Gear Solid V- Ground Zeroes walkthrough is divided into 1 total pages.


