This Metro 2033 walkthrough is divided into 36 total pages.
You can jump to nearby pages of the game using the links above.
Chapter 6: D6
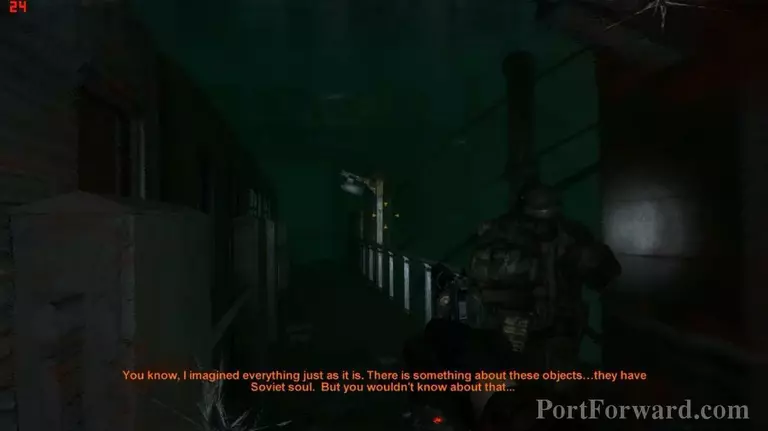
Follow them.

To start the generator, you have to press the button in sequence. Follow the instruction and you good to go.
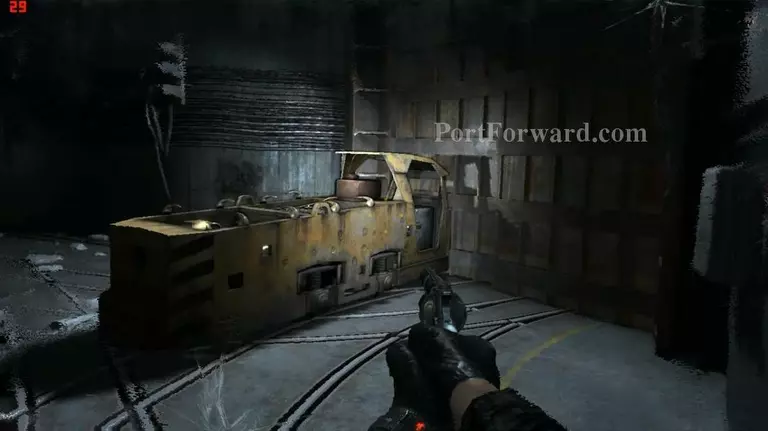
Then, find this railcar and use the control here to start it.
The impact will open the door immediately.
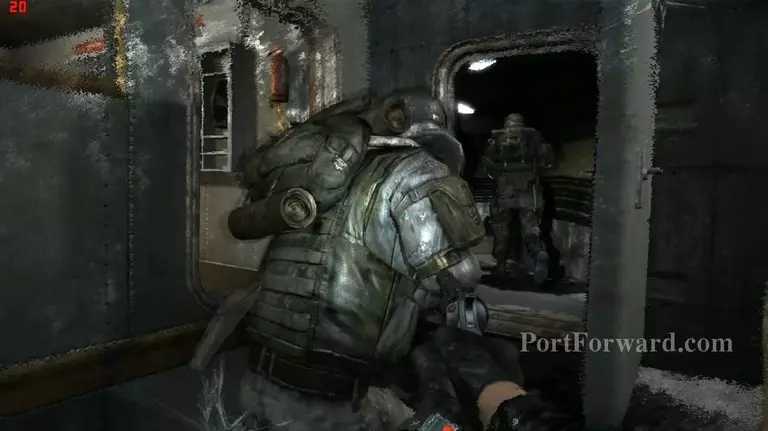
Follow them.
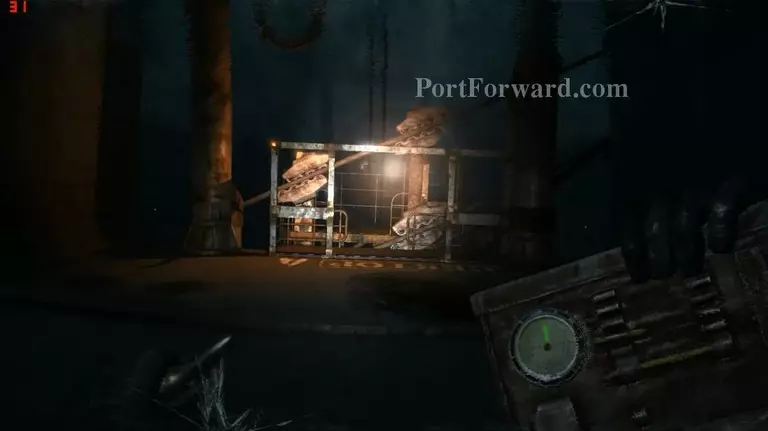
Then, to restore the power, you have to enter one of this. It is located at the other side.

This weird things are the most dangerous. Spend all your ammo to protect yourself and partner. Just stay ahead and shoot it before its amount increase.

Again, the same thing here like before.

If should be ok if you die. Keep repeating until you can. :)

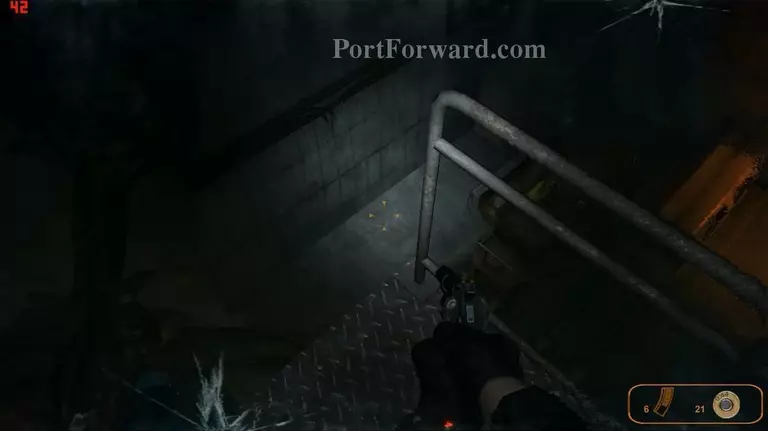
Go up using the ladder.
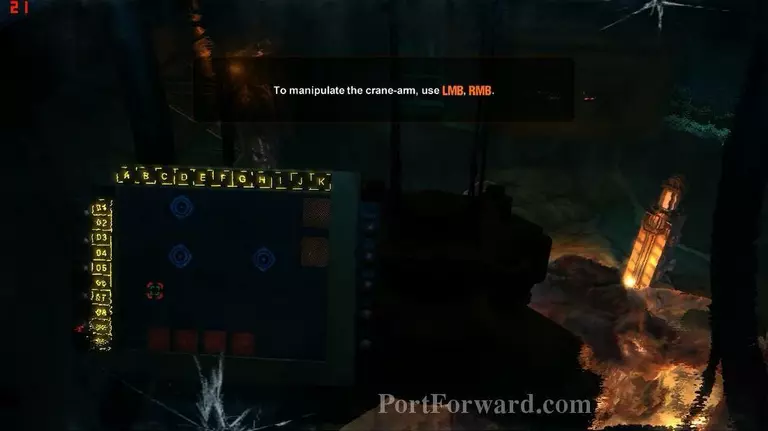
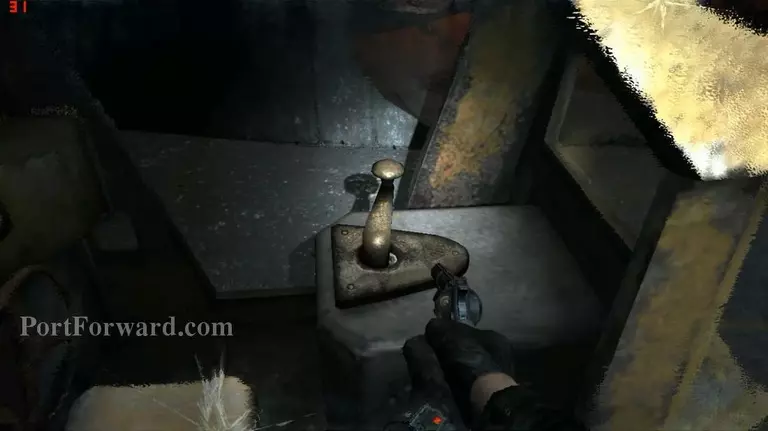
Use the control to remove the rod.
Jump to the ground. And get back to your partner.
[End of subchapter]
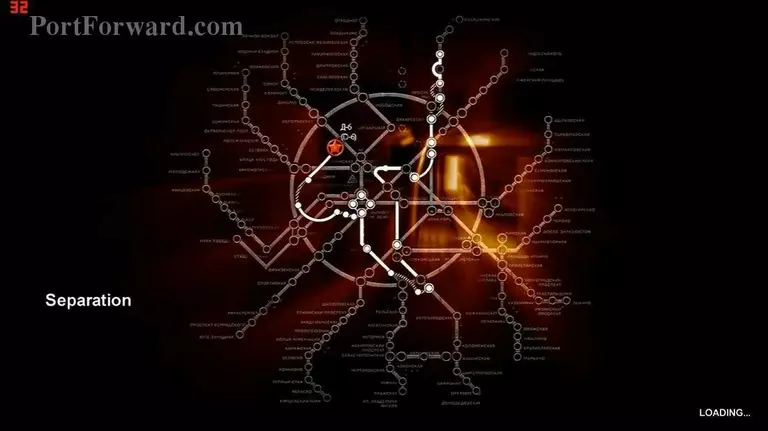
Chapter 6: Seperation
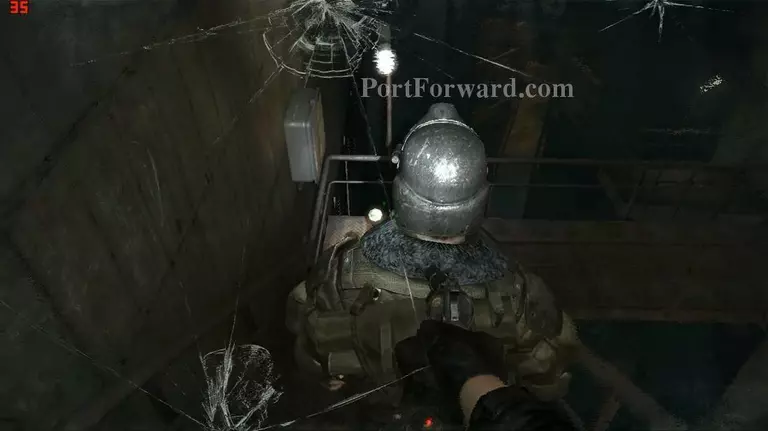
Follow him.
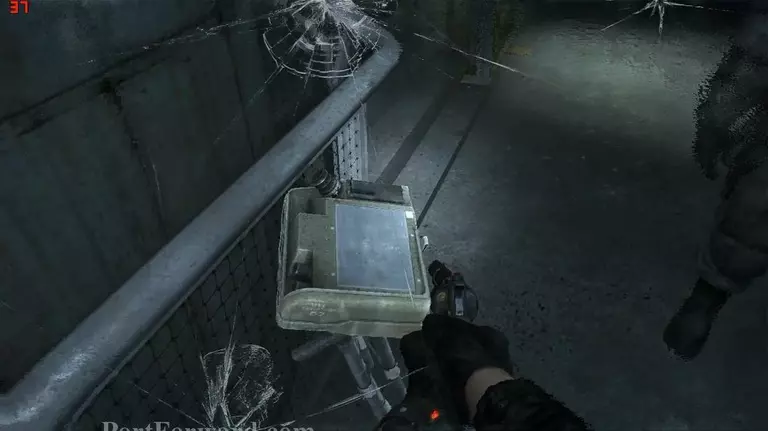
Take this.
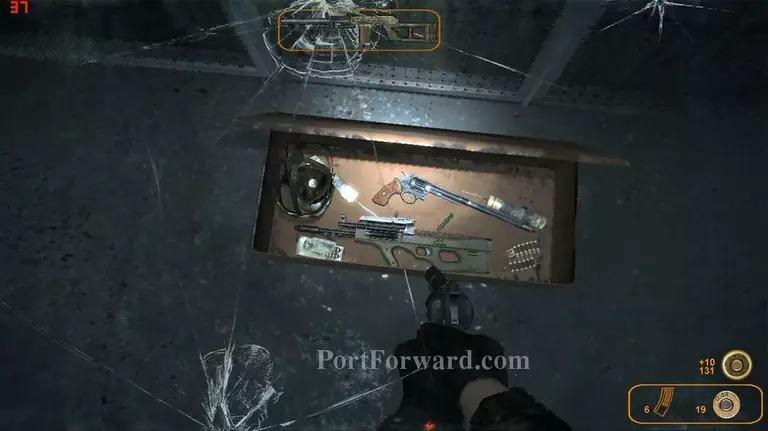
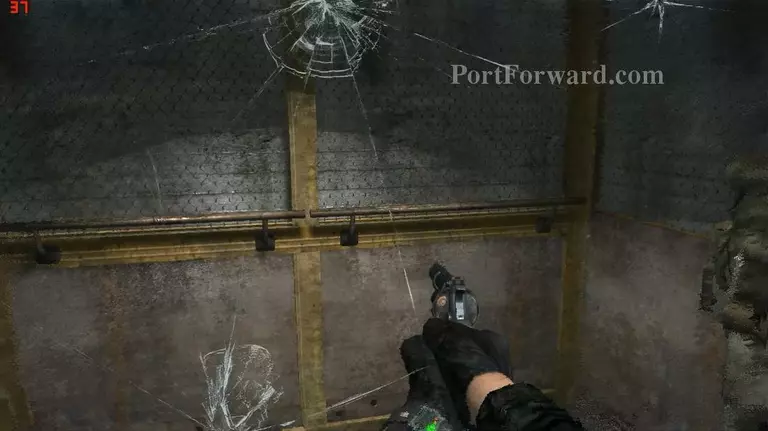
Remember to take some ammo and supplies.
Continue to the tower. :) [End of chapter]
More Metro 2033 Walkthroughs
This Metro 2033 walkthrough is divided into 36 total pages.