
It is very important to setup a static ip address, if you are going to use port forwarding. When you have port forwarding setup, your router forwards ports to an ip address that you specify. Without setting up a static ip address port forwarding will probably work when you initially set it up, but after restarting your PS3 it may get a different ip address. When this happens the ports will no longer be forwarded to your PS3's ip address. So the port forwarding configuration will not work.
What is an ip address?
IP addresses are four sets of numbers separated by periods that allow computers to identify each other. Every computer has at least one ip address, and two devices should never have the same ip address. If they do, neither of them will be able to connect to the internet. There is a lot of information at the following link. You don't need all of it. But if you want to know more about how networks work, you'll find it there. For more information on ip addresses, subnets, and gateways go here
Dynamic vs Static IPs Most routers assign dynamic IP addresses by default. They do this because dynamic ip address networks require no configuration. The end user can simply plug their computer or console in, and their network will work. When ip addresses are assigned dynamically, the router is the one that assigns them. Every time a computer or console reboots it asks the router for an ip address. The router then hands it an ip address that has not already been handed out to another computer or console. This is important to note. When you set your PS3 to a static ip address, the router does not know that the PS3 is using that ip address. So the very same ip address may be handed to another computer or console later, and that will prevent both devices from connecting to the internet. So when you asign a static IP addresses, it's important to assign an IP address that will not be handed out to other devices by the dynamic IP address server. The dynamic IP address server is generally refered to as the dhcp server.
Setting up a static ip for your PS3.
Step 1:
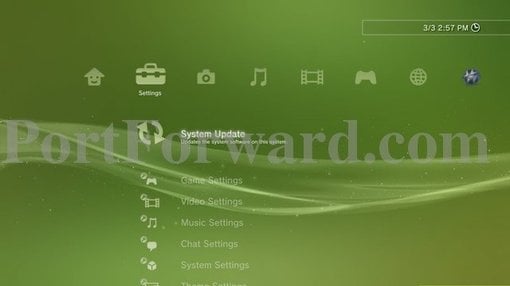
Turn on your PS3, and then navigate to the Settings option on the main menu.
Step 2:
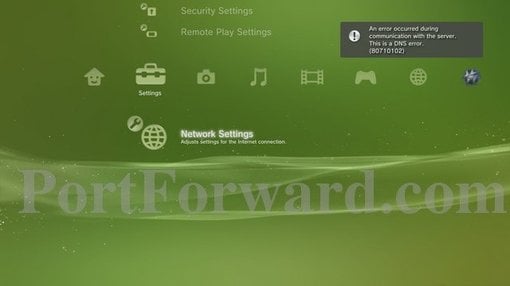
Move down this list to Network Settings. Network Settings should be at the very bottom of the list.
Step 3:
After you have selected Network Setting, move to the right and select Settings and Connection Status List in the list that comes up.
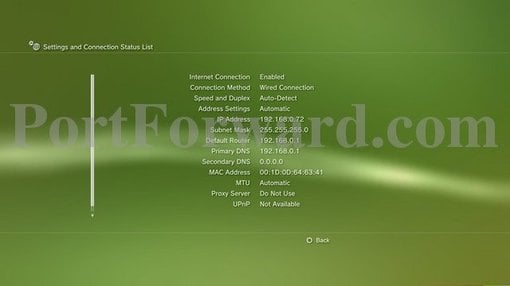
Step 4:
Write down the IP Address, Subnet Mask, and Default Router displayed here. You will use same Subnet Mask, and Default Router down below. You will change the last octet of the IP Address and enter it below as well. More on how to do that later. Go ahead and go back to the Netowrk Settings menu.
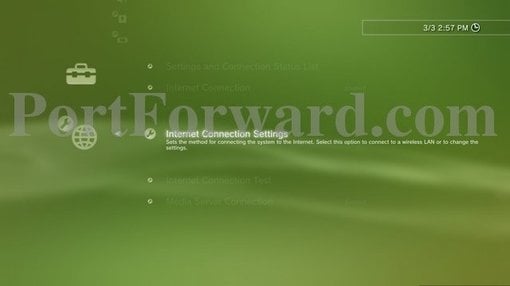
Step 5:
After you have selected Network Setting, move to the right and select Internet Connection Settings in the list that comes up.
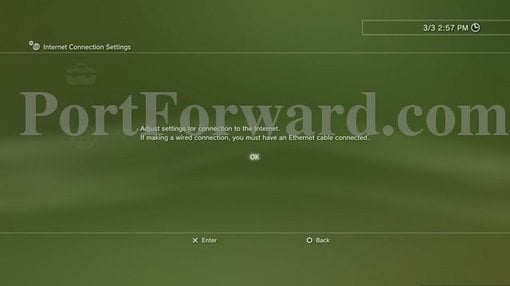
Step 6:
An short message will pop up. Press Ok to move on.
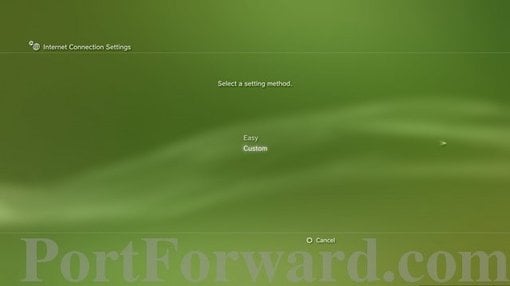
Step 7:
Select Custom for the setup method.
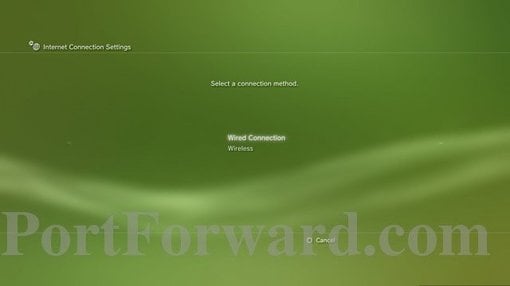
Step 8:
On the next page select Wired or Wireless connection depending upon how your PS3 is connected to your network.
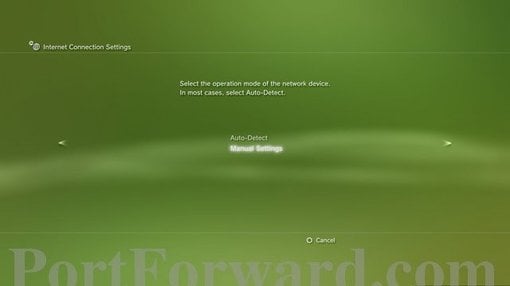
Step 9:
We are going to setup this connection manually so we can forward ports to your PS3. So select Manual Settings.
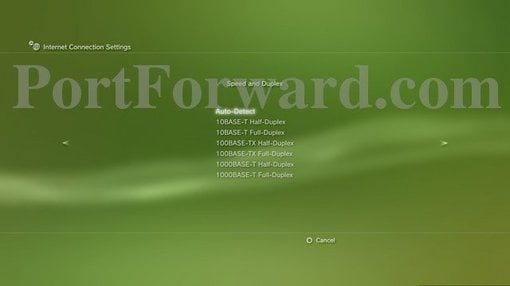
Step 10:
Auto-Detect the speed and duplex settings.
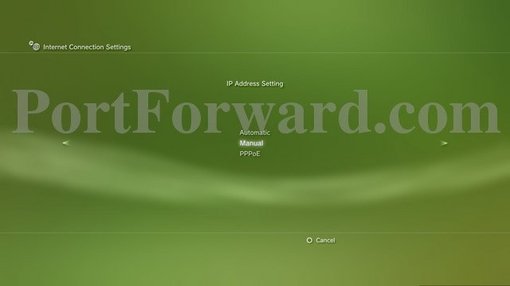
Step 11:
We are going select Manual Settings on the IP Address Setting page.
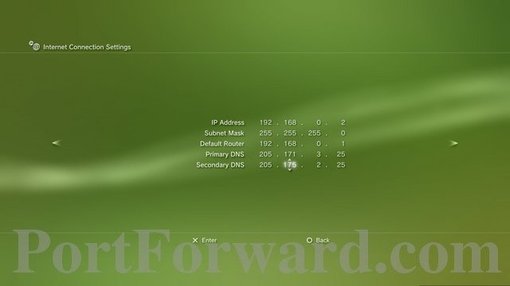
Step 12:
Enter the the ip address you want to use for your PS3 into this page. It's important to choose an ip address that not in your router's dhcp range. You can check this by login in to your router and looking at it's dhcp or LAN page. Alternatively you can just pick an ip address that is not close to the ip address we found earlier. For instance if your PS3 was using something like 192.168.0.2, then you would want the new ip address to be something like 192.168.0.200. If your PS3 was using something like 192.168.0.240, then you would want the new ip address to be something like 192.168.0.2. Only the last group of numbers on the ip address should change, and that group of numbers would range from 2 to 254. Please, don't over think this just pick a number and go with it. I have just tried to provide some guidelines here so you can pick a better number.
Enter the Default Gatway and Subnet Mask we wrote down earlier.
You will also have to specify the DNS servers your PS3 will be using. This is usually required when your network's router is not passing the dns server information to the computers that have static ip address properly. First you need to find out what DNS servers your PS3 should be set to. The easiest way to do this is to give your ISP a call. They will probably ask you why you need them. Tell them the truth, your PS3 is requesting them. They should give you two ip addresses, one for the primary dns server and one for the secondary dns server.
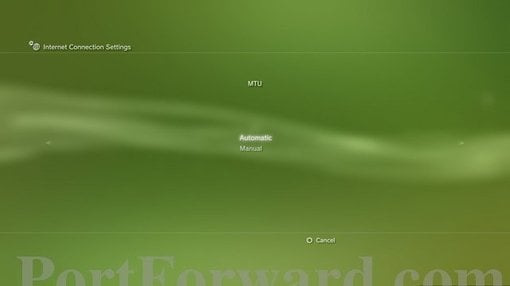
Step 13:
Select Automatic for the MTU settings.
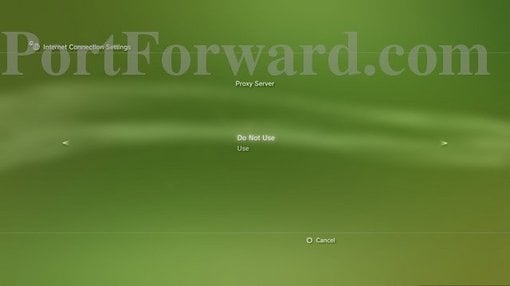
Step 14:
You should almost always select Do Not Use on the Proxy Server page. The only time you need to setup proxy server settings is when you connect through a proxy server. If you were doing that, you would have been given specific instructions from your isp on how to setup this section.
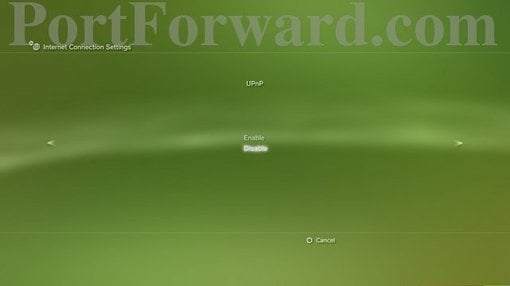
Step 15:
Set the UPNP options to Disable. UPNP should be turned off so it doesn't try to use it, instead of your port forwarding configuration.
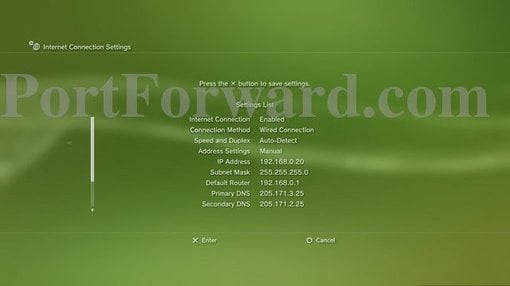
Step 16:
Your PS3's IP Address should be Confirmed. If it is not then you have made an error in setting up the static ip address for your PS3.
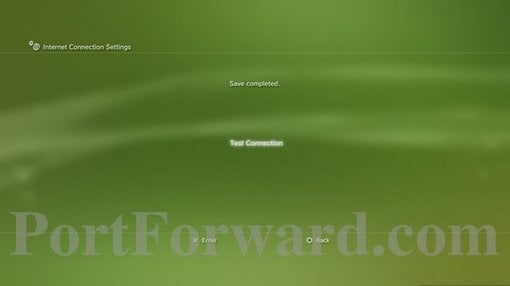
Step 17:
Your PS3 should save your settings. Select the Test Connection option on this page.

Step 18:
All of the tests should pass, except the UPNP test. We previously disabled it. If you have already forwarded ports, you should come back with a NAT Type 2.


