
This BioShock walkthrough is divided into 15 total pages.
You can jump to nearby pages of the game using the links above.
Olympus Heights

Here's a map of the level. Map - Olympus Heights
- Mozart Of Genetics - Audio Diary
- Power To The People - Weapon Upgrade
- Fontaine's Human Jukebox - Audio Diary
- Mind Control Antidote - Audio Diary
- Clever Inventor - Engineering Tonic
- Fontaine's Breakup - Audio Diary
- Artist Woman - Audio Diary
- Power To The People - Weapon Upgrade
- Sad Saps - Audio Diary

Turn around to find a First Aid Kit. Search the room for a Supply Crate and an EVE Hypo. Cash can be seen under the pillow on the left. Follow one of the Little Sisters up the stairs on the right.

When you reach the top, find a Lockbox in the far-right corner.

This Trunk is also searchable, but turned up empty for me. Continue through the secret door ahead once the Little Sister opens it for you.

Ascend the stairs and find a Storage Crate and this Gate Crank Socket, missing a component.

Find what you need in this corner - the Gate Crank. Coffee and snacks are also here, plus another Supply Crate. Fontaine uses his mind-control powers to weaken your health.

Place the Gate Crank on the socket and turn it to open the gate.

Ascend the ramp and snipe a pair of Splicers. A corpse and a safe are in the overturned trolley, and steamer trunks are to the right.

A pair of corpses and a machine gun turret are behind this wall. The Rosie seen ahead demolished the turret after being struck by a stray shot.

Continued Rosie research produces improved loot.

Beware a security camera on the right, across from a Health Station. I accidentally tripped the alarm but with Security Bullseye was able to direct the bots' attention to the Rosie. Using Enrage! on the area's Splicers added more damage.

Find SuChong's Mozart Of Genetics audio diary on this bar, along with cash and plenty of hooch to satisfy my Booze Hound. An Ammo Bandito and Circus of Values are also in this area, known as Central Square Bistro.
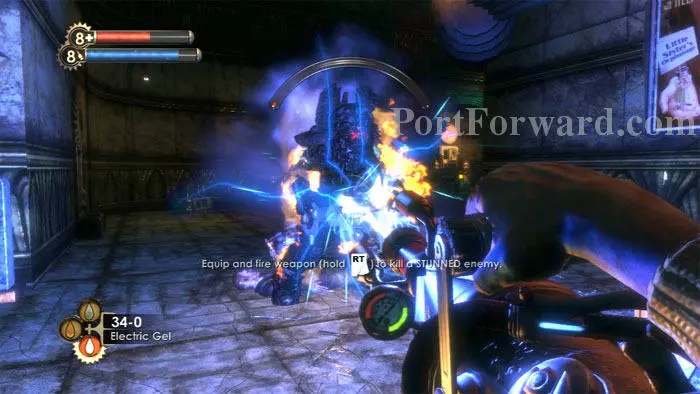
A little Electric Gel and this Elite Rosie is riveted. Note the Gatherer's Garden far/right.

I purchase the newly-available Speedy Hacker 2 Engineering Tonic, along with Health and EVE Upgrades. This makes hacking much easier.

Continue advancing down the street toward Mercury Suites. The long avenue is perfect for Crossbow sniping. Switch to the Machine Gun with Antipersonnel Auto Rounds if things go bad.

The trolleys almost always have loot inside, and Machine Gun Rounds can be found atop this pedestal.
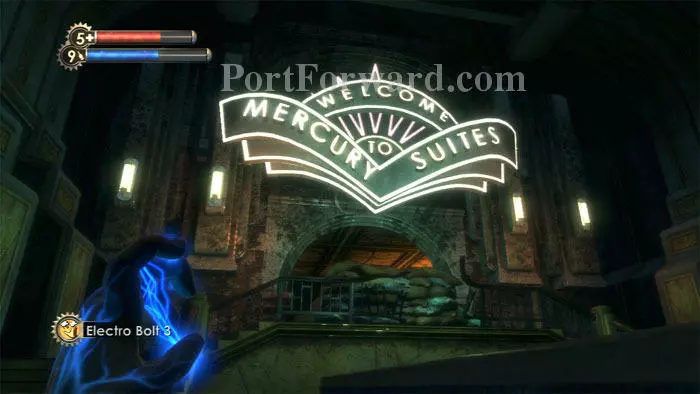
Several Splicers guard the entrance to Mercury Suites. Lure them out rather than rush in -- there's a security camera just inside and to the left that you don't want to trigger.
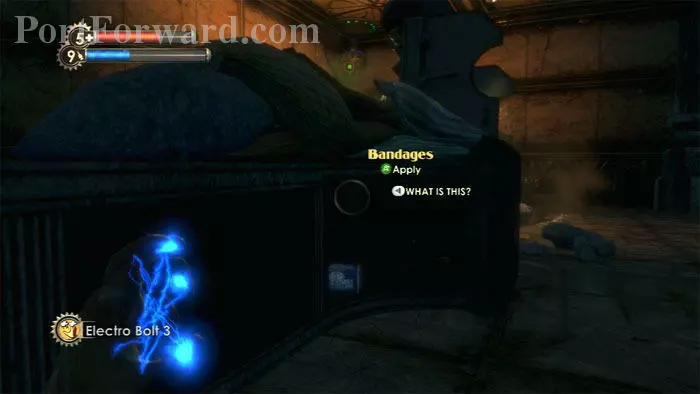
Once inside, hack the camera and find a corpse and Bandages behind this counter.

You'll emerge in this open area with an elevator that you can't use - yet.

You'll need to secure this central stairway area first. Again, the Crossbow is my alpha-strike choice. Sniping is a natural tactic against the Splicers on the overhangs.

A security camera is seen just under the stairs, making Security Bullseye a viable option. Note the Health Station on the right, and a Power To The People Station is just visible to the left.

I choose Grenade Launcher Damage Immunity. Note the Circus of Values on the right.

Your first stop is SuChong's apartment, found behind the Circus of Values.

A Thuggish Splicer is in the kitchen to the right, and a Leadhead is in this room on the left, along with SuChong's audio diary Fontaine's Human Jukebox.
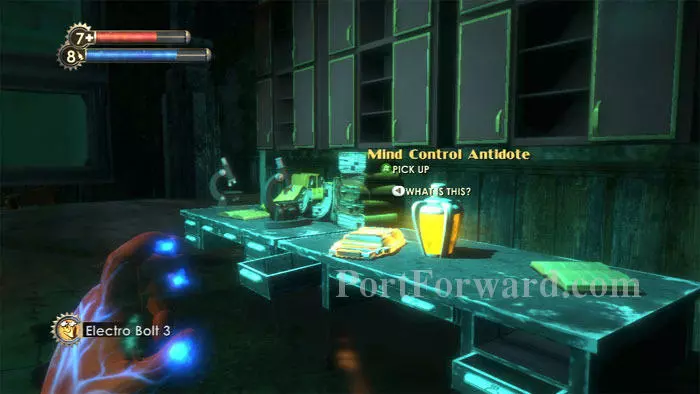
The central area of the apartment is flooded. Here in the library you'll find SuChong's Mind Control Antidote audio diary and the Clever Inventor Engineering Tonic. Don't miss the storage crates to the left, or the steamer trunk in the far corner.

Return to the central hallway and ascend the ramp all the way up. Be careful of this security camera at the top.

You want to get to Tenenbaum's apartment, but the barricade seen on the right is blocking that route. You'll have to follow the hallway around.

On the way there you'll pass this apartment, which is completely optional. Two Leadheads, a Thuggish and Nitro Splicer protect very few supplies.

Around the next bend is Paparazzi's crucial audio diary, Fontaine's Breakup, which reveals the elevator code, 5744. Plenty of film is also here, and a U-Invent is behind you.

Defeat this Thuggish Splicer then enter Tenenbaum's apartment through the demolished bathroom wall ahead/left. A Health Station is just visible ahead, and a First Aid Kit and EVE Hypo are in a trapped area by the bathtub.

Bandages, a corpse, and this Thuggish Splicer are in the next room.

Find the apartment ransacked by Fontaine's men. An EVE Hypo, a Proximity Mine and cash are in this room. Tenenbaum alerts you that Lot 192 is likely in Fontaine's penthouse.

Descend the nearby stairs and defeat this turret. A safe can be seen to the right.
Smash the lock on this door and defeat the Leadhead Splicer on the other side. Find yourself back in the central hallway, but now you're on the second floor.

Also on this floor is another abandoned apartment, the scene of a family suicide. An EVE Hypo is to the left, a Thuggish Splicer guards a safe, and snacks can be found on the daughters' bodies. Napalm is in the kitchen, and the bathroom holds a First Aid Kit, an EVE Hypo and Film.

You'll soon lose control of your Plasmids, so if you haven't already dealt with the level's two Little Sisters you might want to take care of them now. Harvesting Little Sister #2 brings me to 250 ADAM.
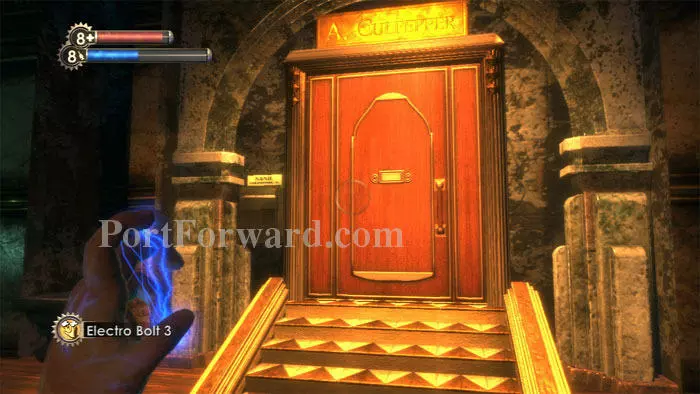
I also choose to tackle a pair of optional apartments before heading to Fontaine's apartment. I find the lack of Plasmid control to be very annoying and try to minimize the time spent Plasmid-handicapped. If Fontaine's mind control has your health critically low, you might want to go straight to his apartment. Otherwise, let's visit Anna Culpepper's place on the first floor.

Hack a security camera and snipe this Nitro Splicer on the stairwell. A Thuggish Splicer is in the kitchen protecting Liquid Nitrogen, a Health Station, Coffee, cash and whiskey.

Sullivan's creepy audio diary Artist Woman is found here. Spot the entrance door on the right for reference.

Brandy, cash, a Steamer Trunk, plus this EVE Hypo and First Aid Kit are found upstairs. A Thuggish Splicer is in the nearby bathroom.

Your other optional apartment is Sander Cohen's place, found on the eastern side of the first floor.

A Thuggish Splicer, Liquid Nitrogen and Napalm are on the left. Snacks are in the kitchen to the right. This door seen on the right is locked, and will remain so if you killed Cohen previously. A storage crate is in the room to the left of the dancing couple. Booze, a Steamer Trunk and a desk are in the room to their right.

Disturb the couple by playing the piano or toppling their victrola and they'll attack you, followed by Cohen through the previously-locked door.

Take the Muse Key from his corpse to return to Fort Frolic later and obtain decent loot. Be sure to take his photo for the Irony Achievement.

Head through the now-unlocked door and ascend the stairs to earn the "Found Cohen's Room" Achievement. Upgrade your weapon at this bonus Power To The People station -- I chose Shotgun Rate of Fire. Loot the room for supplies, including plenty of Moonbeam Absinthe.

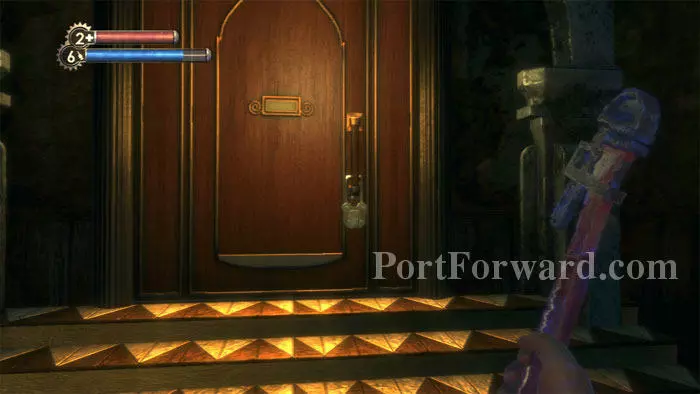
Return to the central hallway and enter code 5744 to access Fontaine's private lift.

This is a tough room but Enrage! and a bit of hacking will see you through. A machine gun turret and a security camera make for better friends than foes. Fortunately, a Health Station and a Vita-Chamber are also here.

Head through the door beneath the security camera and enter Fontaine's foyer. Before ascending the stairs, enter the room on the right.

Find Fontaine's Sad Saps audio diary here. Bandages and snacks are in the nearby kitchen.

Ascend the stairs and keep right to defeat a turret and find enough alcohol to keep your Booze Hound happy for quite a while. A safe can also be found here.

The rooms to the left of the stairs are where the real action is. Remove the bolt traps to access this Electric Flesh 2 Combat Tonic. Grab the Lot 192 seen on the right to update your goals. A Napalm-carrying Chemical Thrower is farther right.

You've now got your health restored to its previous maximum, but you no longer have control over your Plasmids.

Arm your favorite weapon and keep it loaded. The place is now crawling with Splicers and you need to backtrack all the way to the beginning of the level.

Follow the signs to Point Prometheus and use the bulkhead to enter Apollo Square. Note the randomly-equipped Insect Swarm 3 active Plasmid. This is the only time you'll see it equipped in this walkthrough -- the hand animation gives me the willies.
More BioShock Walkthroughs
This BioShock walkthrough is divided into 15 total pages.


