
This Contrast walkthrough is divided into 5 total pages.
You can jump to nearby pages of the game using the links above.
Act III: Turn a Blind Eye
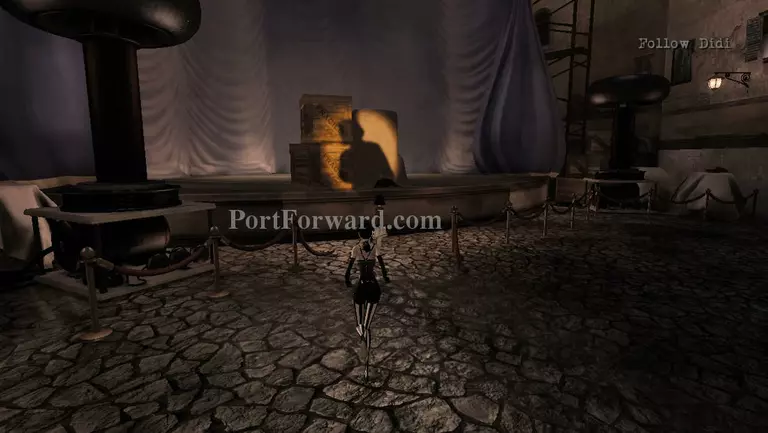
Follow Didi through the town and head for the stage with her. The man will tell you where Vincenzo's workshop is, go there.
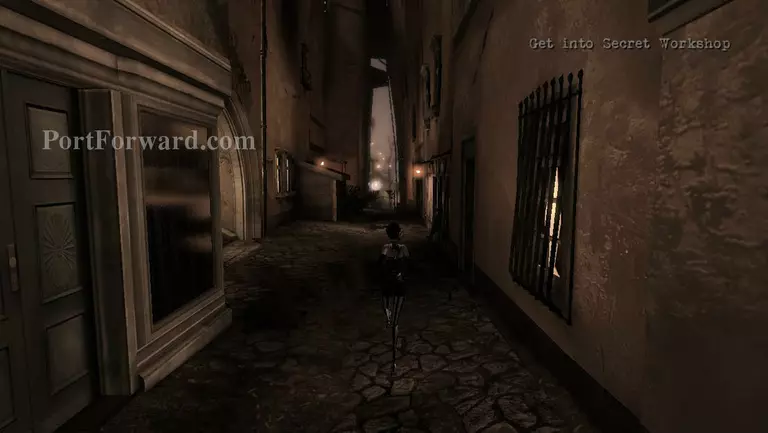
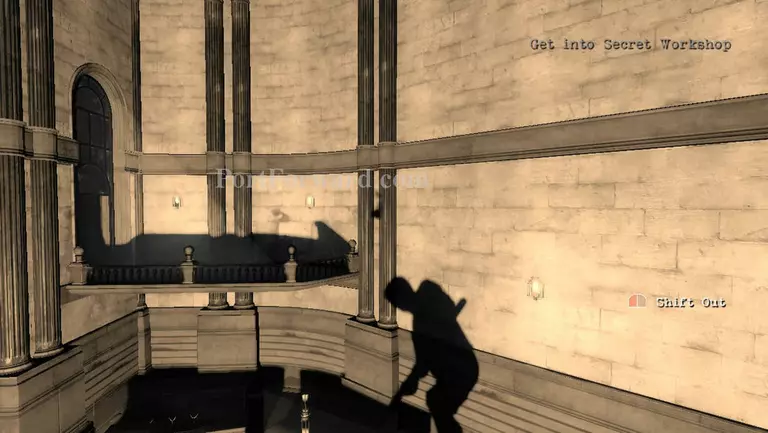
Before heading inside the workshop, take a little detour. Pass the workshop, then turn right into the alley. Grab the luminary there, then climb up the stairs.
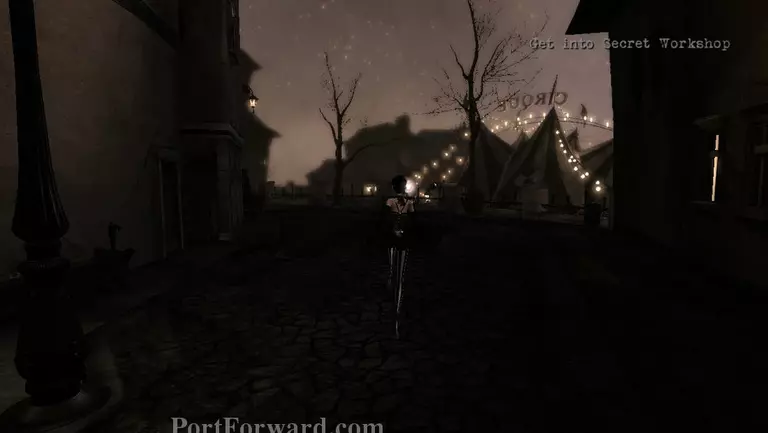
Turn right as you exit the stairs and you'll find another luminary on the path overlooking the circus. Go back to the workshop and place the liminaries into the machine.
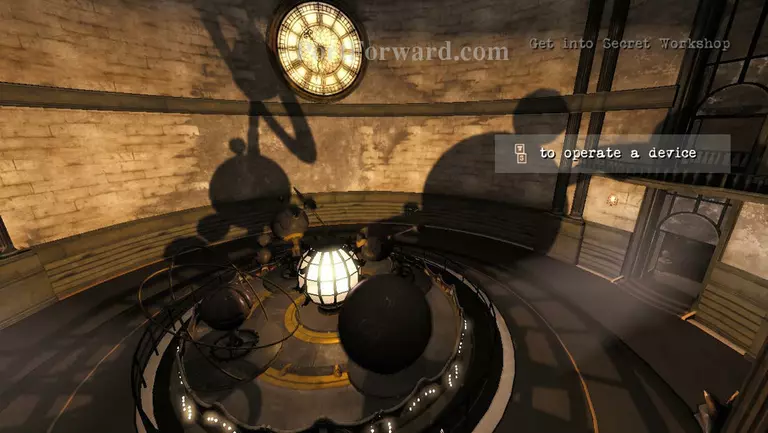
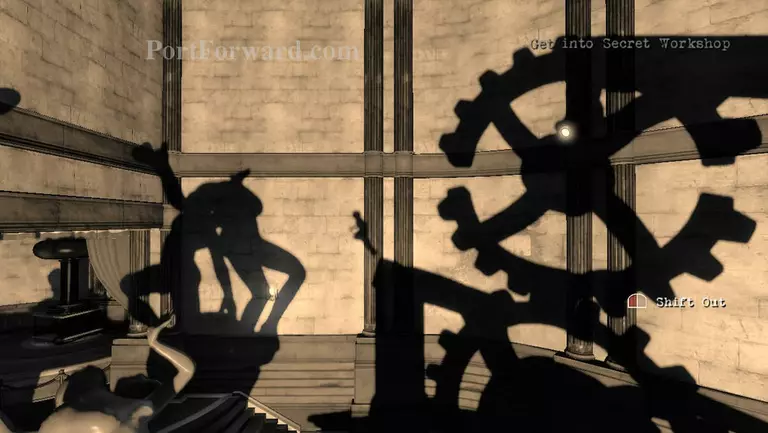
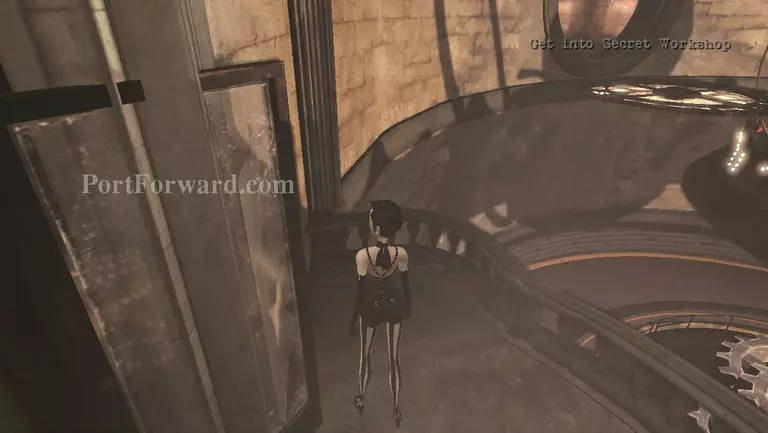
Mess with the machine first. Make sure that the planet with a spike through it is on the left side, sticking to the veranda. Now take the ball from the left side of the room.
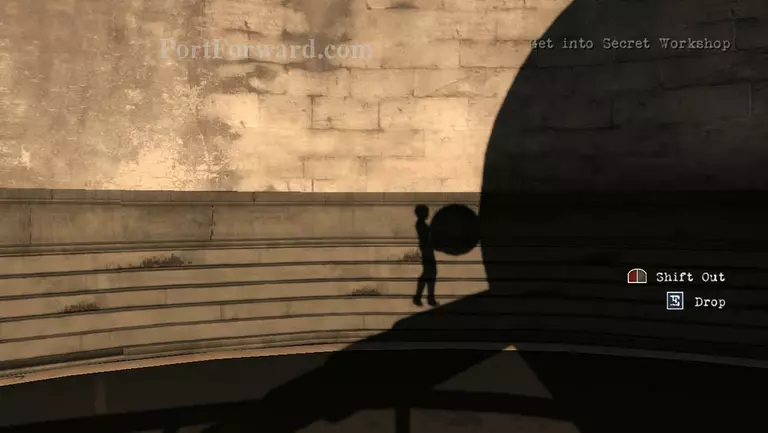
Shift into the shadow with tha ball in your hand and place it on the "spike" of the planet. Leave it there then make the planets move to the right. The ball should get carried towards the veranda.

Shift the planets again and this time the one with the orbit and moons should join the veranda. Make the moon small enough for you to jump on.

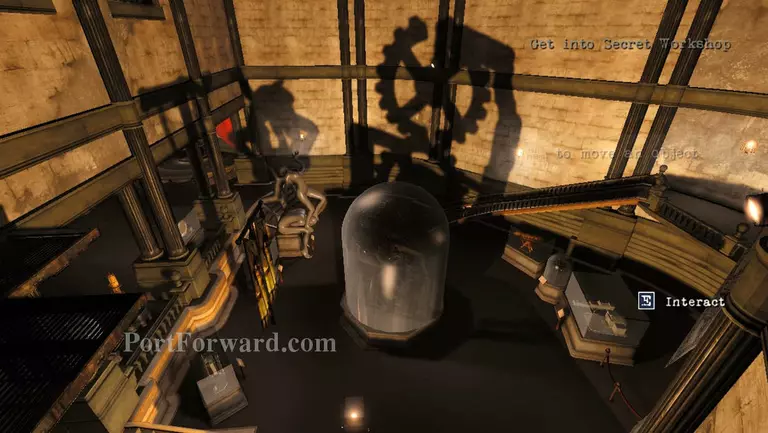
Climb on top of it and drop down the veranda. Take the ball with you, then drop it into the mechanism to the left side.
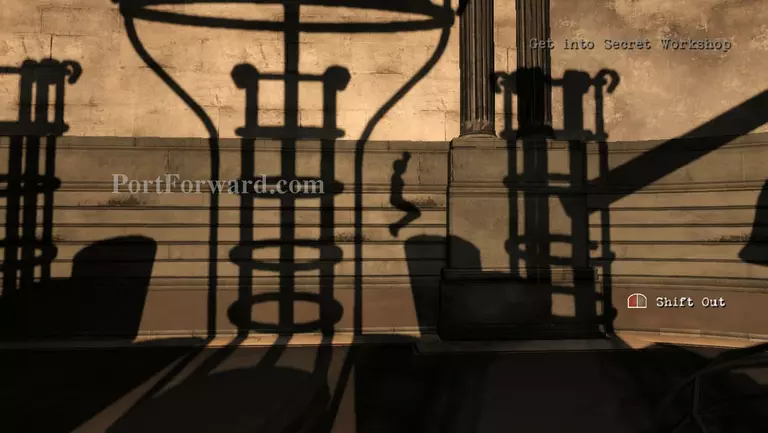
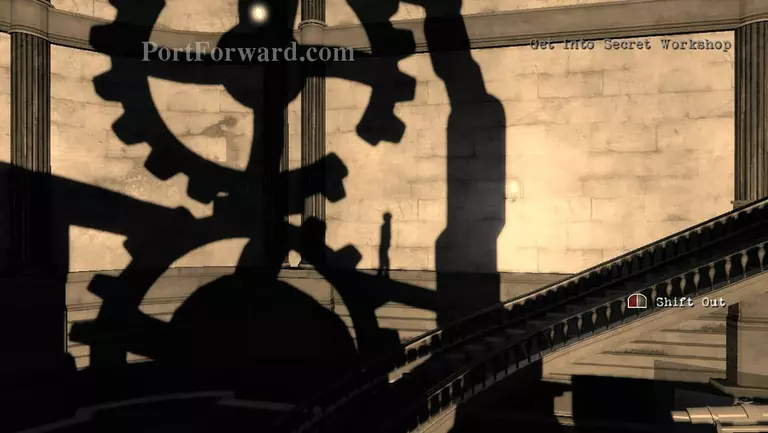
Drop down from the veranda and stick to the wall with the shadows. Shift in betwen the second and third ball pipe, then dash towards the stick that's holding the bells.
Wait for the bells to shift their side, then jump towards the next shadow and make your way to the veranda on the far left side.
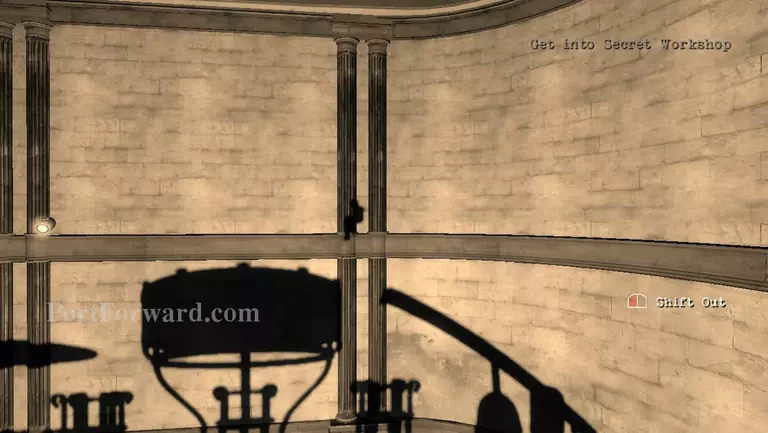
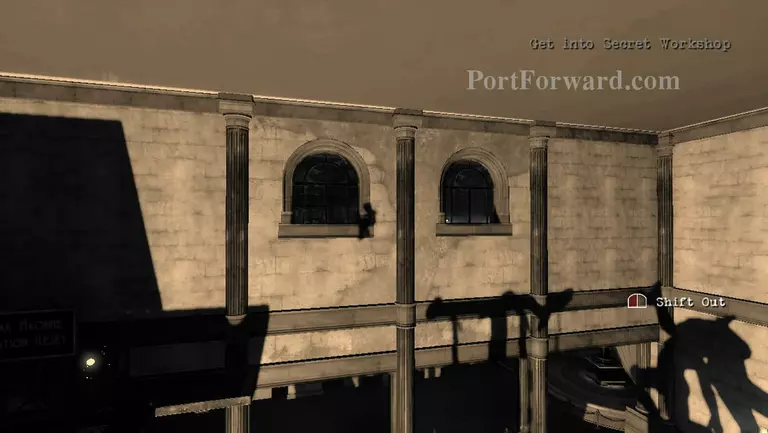
In the next room, grab the light source and place it right behind the glass display. Try to level the pipes with the wall on the left.
Climb back on the stairs, then shift into the shadows and dash through the obstacle. Wait for the empty part of the cogs to come down, then use them to pass through.
Jump towards the statue's knee and climb up on the other one's arm. From there you can jump through the shadows to reach the switch.
The second jump is a bit too far for you to reach, chain a jump and dash to get to the other side safely.
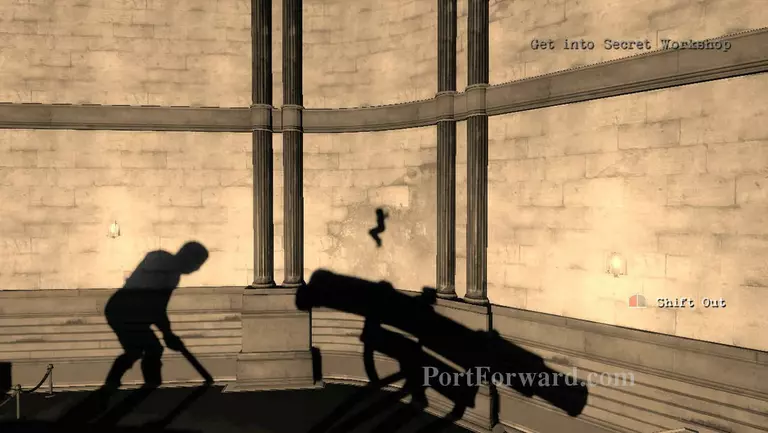
Head to the other side of the room and jump on the cannon's shadow. Wait for the cleaning guy to turn around (with his back on you) then jump on him.
From his head, jump towards the veranda, head through the door and climb down. Don't forget to open up all the doors in that room, just in case you fall.
Back at the veranda, look to your left and you'll find shadows that are forming a path towards the now open clock. Jump on the shadow and get inside the clock for another cutscene.
More Contrast Walkthroughs
This Contrast walkthrough is divided into 5 total pages.


