This Dead Space 2 walkthrough is divided into 17 total pages.
You can jump to nearby pages of the game using the links above.
Chapter 9
You'll be attacked by leapers and slashers! Watch out!
After crossing a room full of pukers you'll face your first Divider. I think there's only two in the game, so savor this moment, because he's pretty hard to kill.

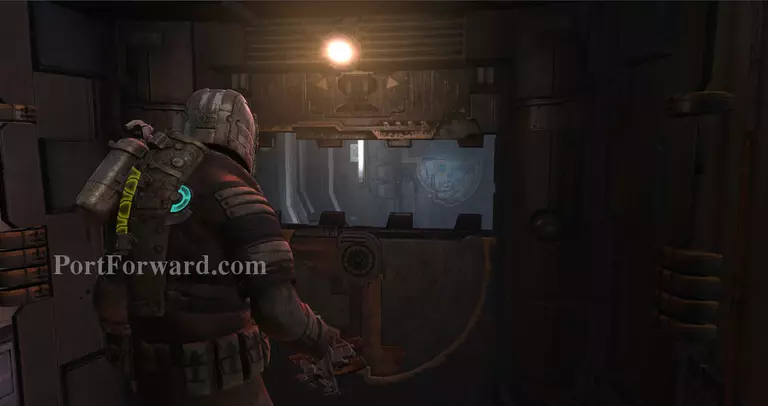
A few rooms after the Divider and you'll see the omnipresent fragile glass wall. Back up, slashers and an EXPLODER will come out, spelling your doom if you don't shoot the glass. IF you shoot it when you're too close, you'll be sucked out into space.
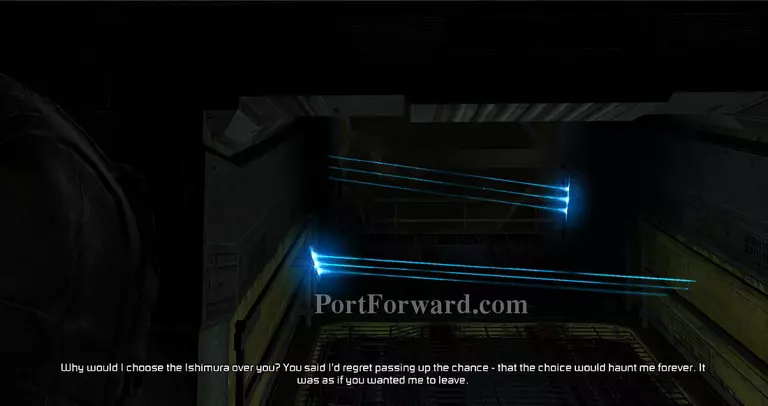
The room after that, you'll have a fork in the road. The one with the blue lasers you should get past (either by throwing objects into it) because there's a schematic at the end you might want to get.
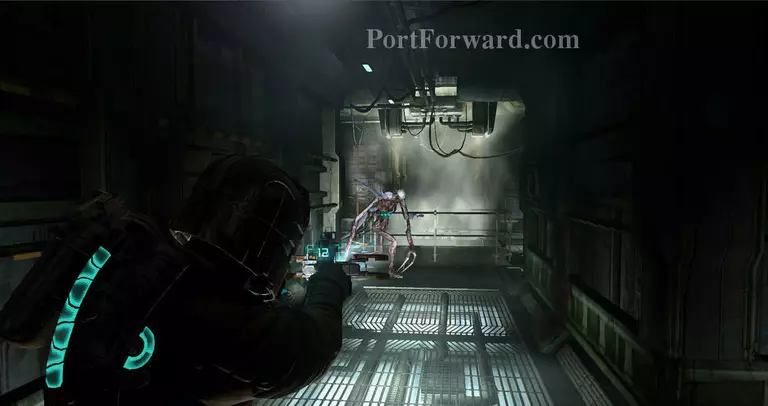
When you take the other path, you'll be met with a Guardian. I recommend the Line Gun's alternate fire to get rid of these things easy.

Fast forward to the cargo lift that malfunctions and you'll be ambushed by an Exploder. Fortunately, I'm a quick draw, so it lost its arm attempting to scare me. You might not be as quick, but don't worry, Stasis!
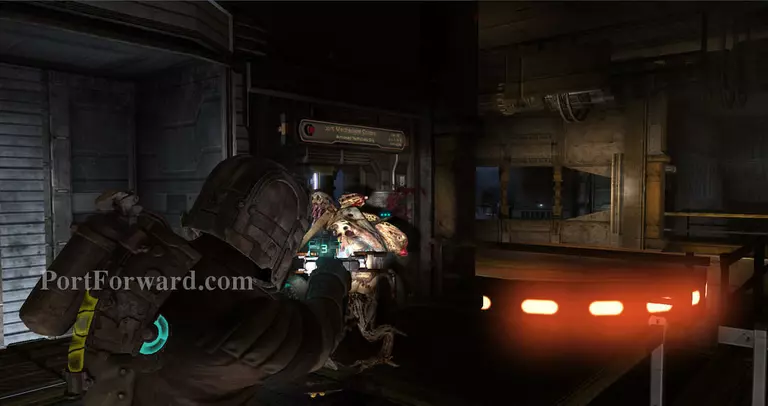
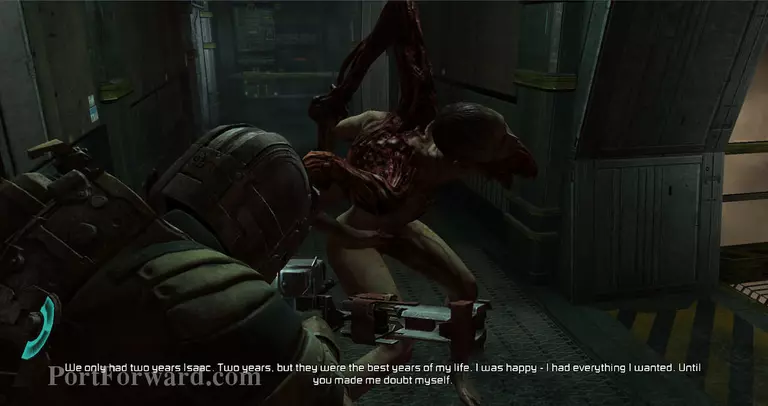
After the Exploder, a Pregnant will come, followed by Slashers, so you might want to save that exploding arm for this thing.
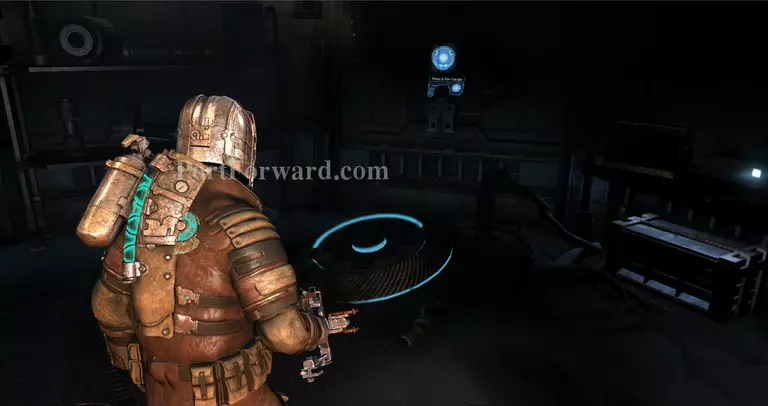
You'll come across a socket for three items. The first one, the disc, is located in the right wing of that room.
The second is located in this shelf opened by Kinesis.
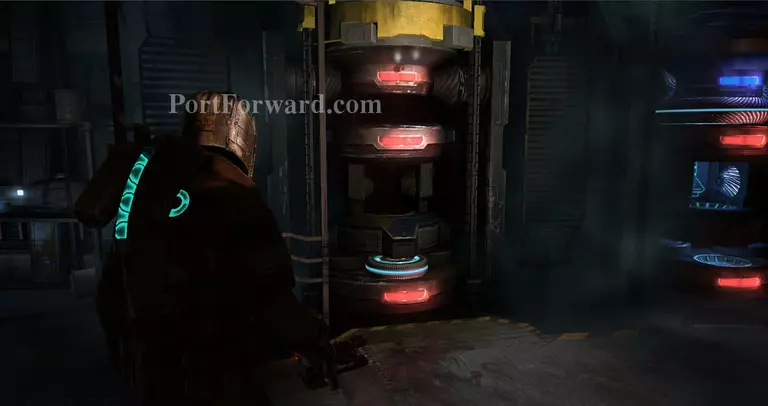
The third is held by this Kinesis door that closes fast if you don't stasis it. What an amazing puzzle! Grab the object.
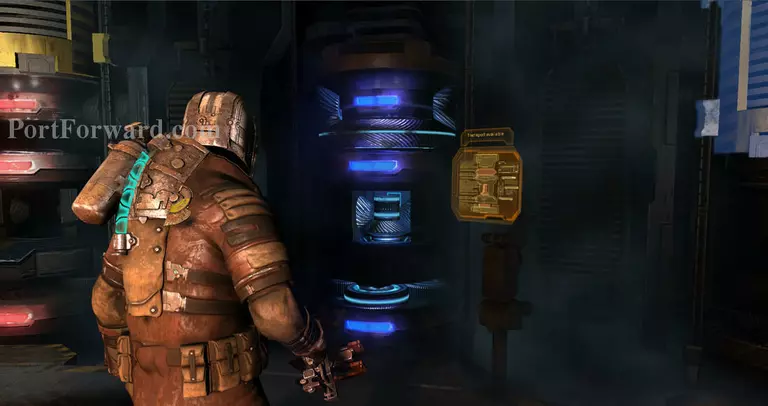
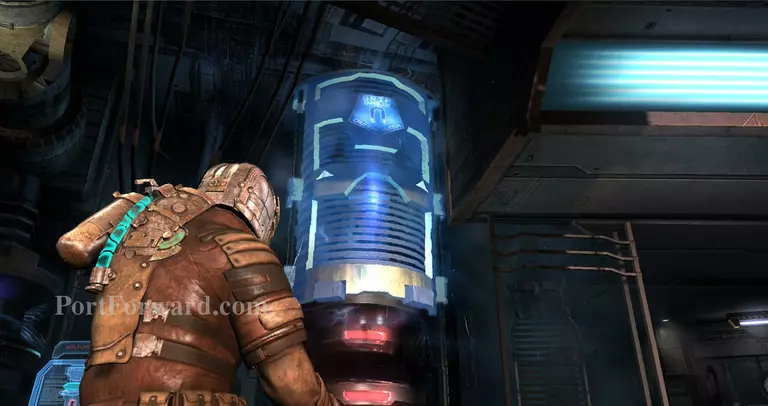
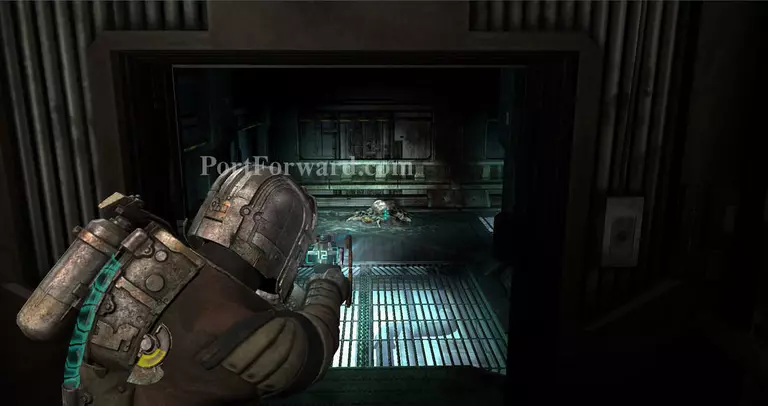
Once the puzzle is completed you can turn the transport on.
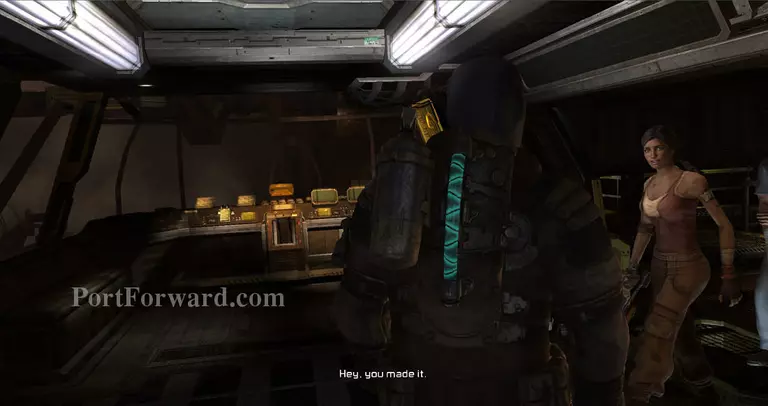
After the tram is on and you click the console inside, the dynamic duo will enter and liven up the place.
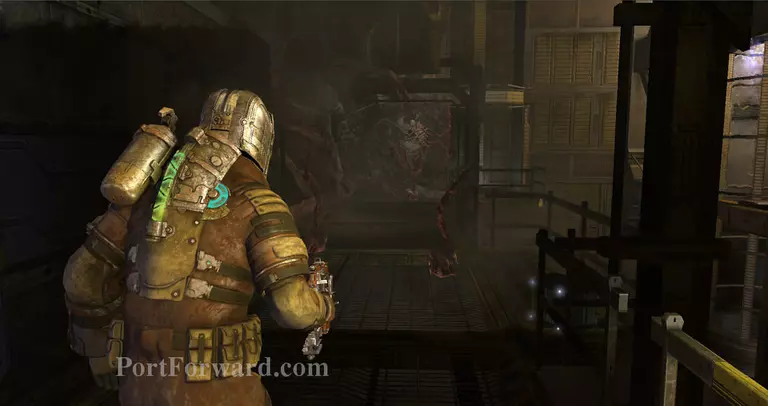
After they let you off you'll be met with another Stalker show. Get ready, there are cysts here too.

I recommend using the Cyst-bombs (a quick Kinesis after shooting one will net you the bomb it shoots out for your use) against the Stalkers, but a good Acupuncture + Electroshock therapy helps as well.
Past the stalker room, another guardian is here. Use the line gun!
This hallway is filled with cysts, careful.
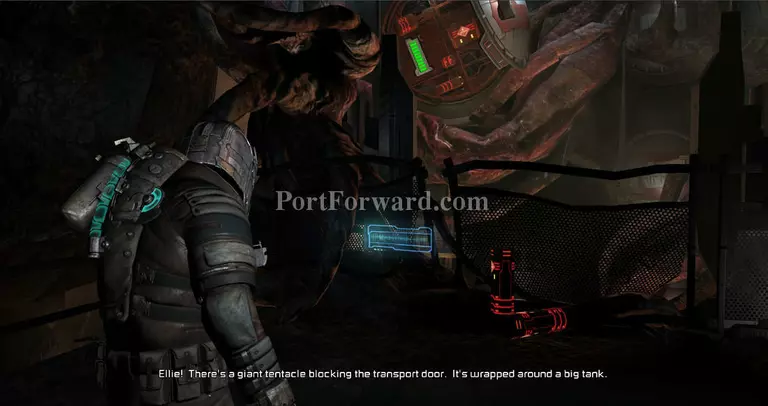
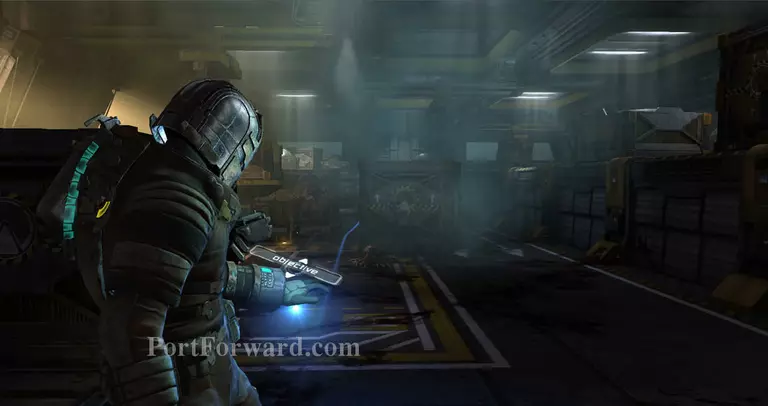
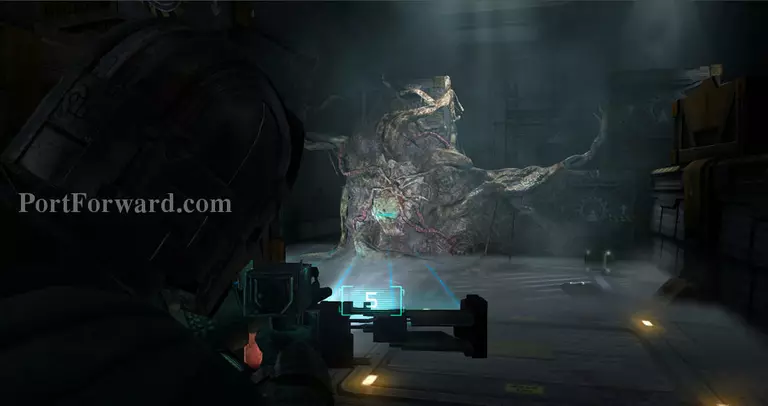
(The cyst-hallway also has a store you can use) The room after will hold lots of bombs and a surface to throw the bombs at. A bomb dispenser behind you will also allow you to make up the deficit when you run out of bombs. Shoot it at the red thing in the background.
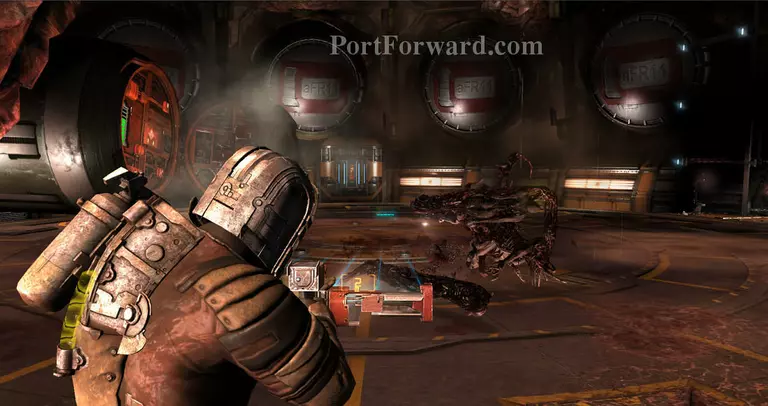
Once it's blown up, the cargo lift will let you down and then you'll have to repeat the process, but with those monsters from the end of chapter 1 harassing you.
Use the bomb canisters on the objective as well as the monsters to get two birds with one stone. After bombing the objective, you can get on the cargo lift back to the transport and GTFO.
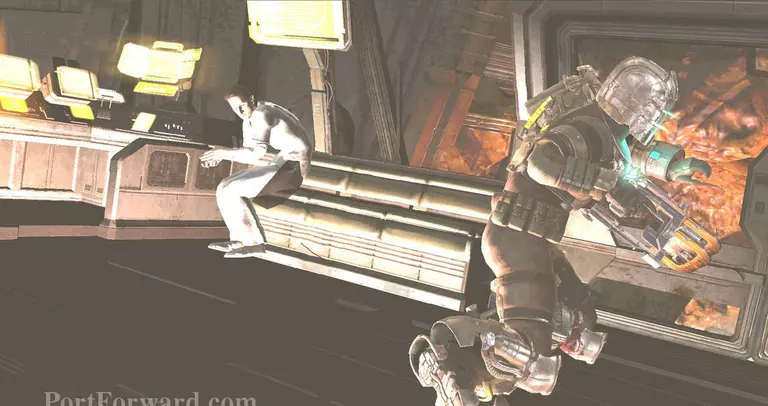
Then, after a long cutscene, you'll all decide to head to the Ishimura.
More Dead Space 2 Walkthroughs
This Dead Space 2 walkthrough is divided into 17 total pages.