Hitman: Contracts Walkthrough 12 - Hunter And Hunted

September 12, 2016 (Last Updated: ) | Reading Time: 2 minutes

This Hitman: Contracts walkthrough is divided into 13 total pages.

You can jump to nearby pages of the game using the links above.

12 - Hunter And Hunted

Hitman: Contracts Walkthrough - Hitman Contracts 226

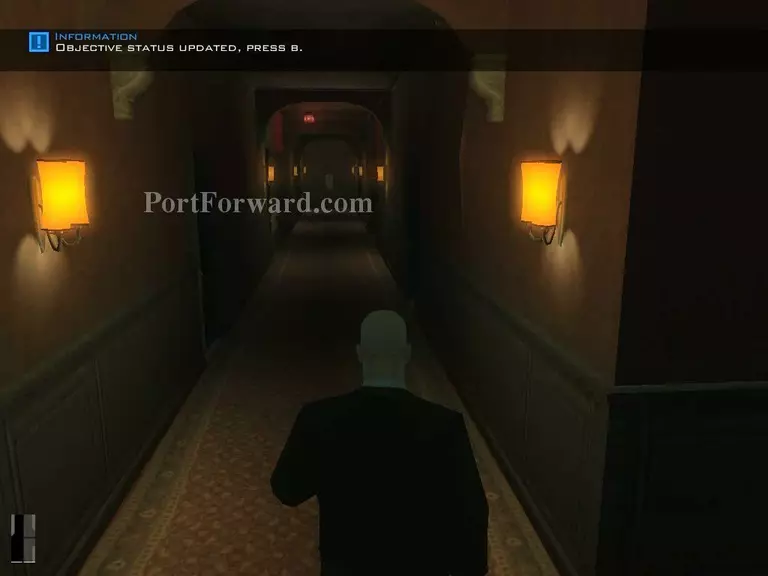
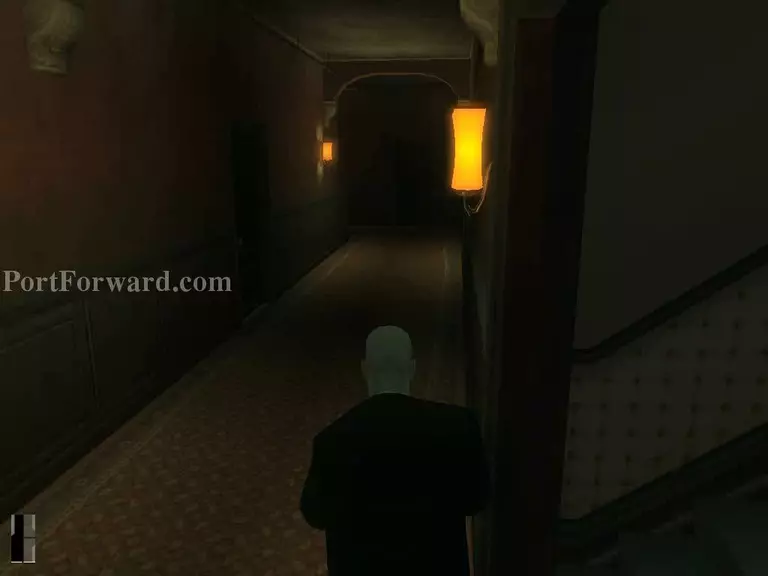
Firstly, get out from your room and enter the first room on the right.

Hitman: Contracts Walkthrough - Hitman Contracts 227

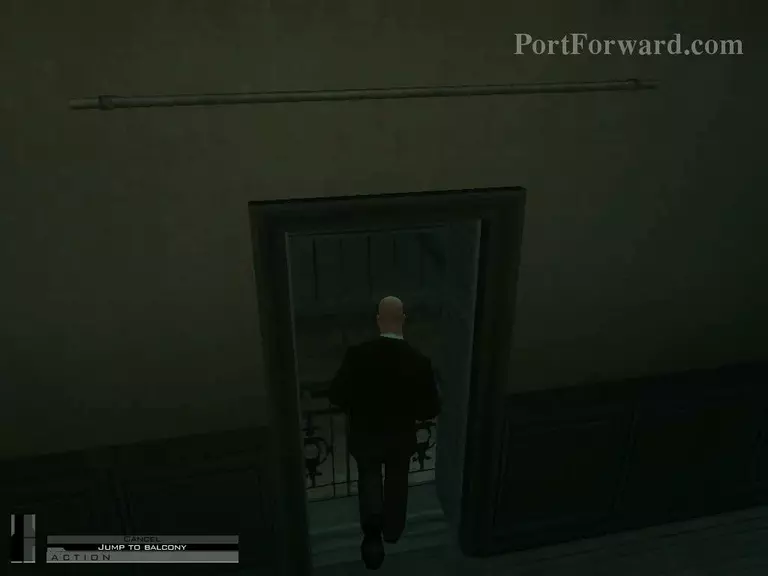
Go to the balcony and jump to other side.

Hitman: Contracts Walkthrough - Hitman Contracts 228

Then, move to another room and jump to another balcony.

Hitman: Contracts Walkthrough - Hitman Contracts 229

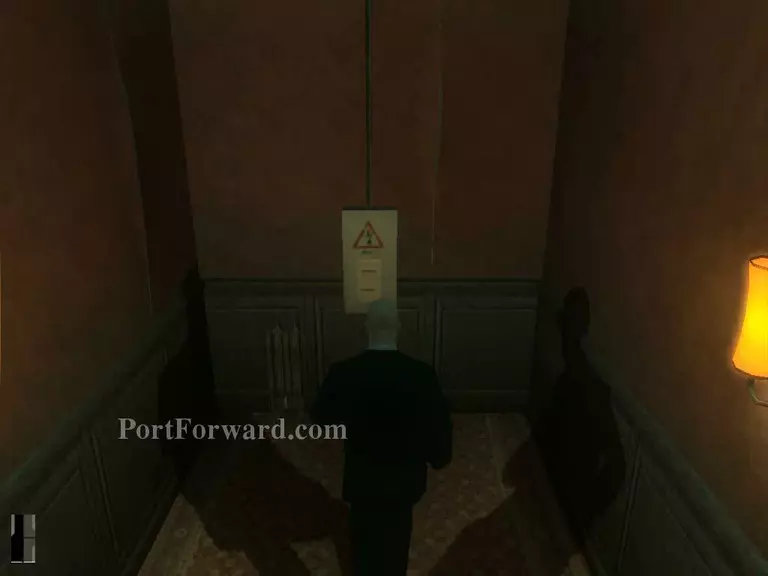
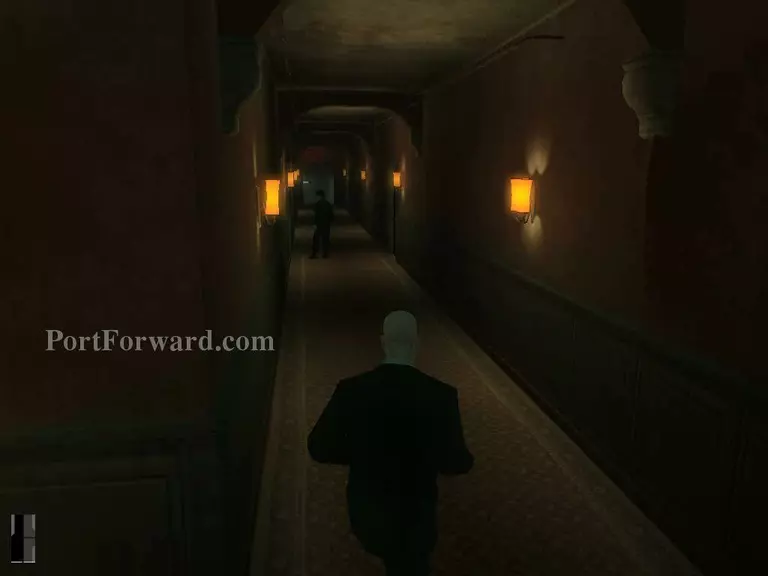
Get out from the room and turn off the power .

Hitman: Contracts Walkthrough - Hitman Contracts 230

When the power is off, go down one level through this stairs.

Hitman: Contracts Walkthrough - Hitman Contracts 231

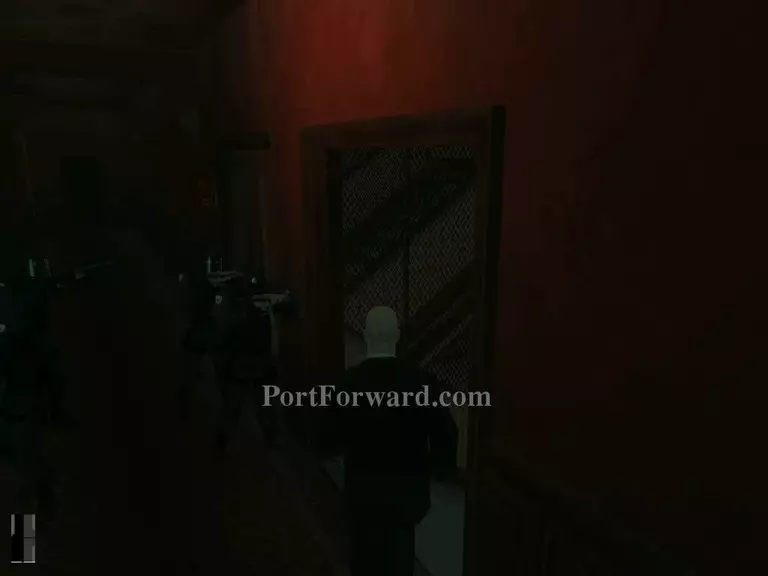
Turn right and keep going throught the way.

Hitman: Contracts Walkthrough - Hitman Contracts 232

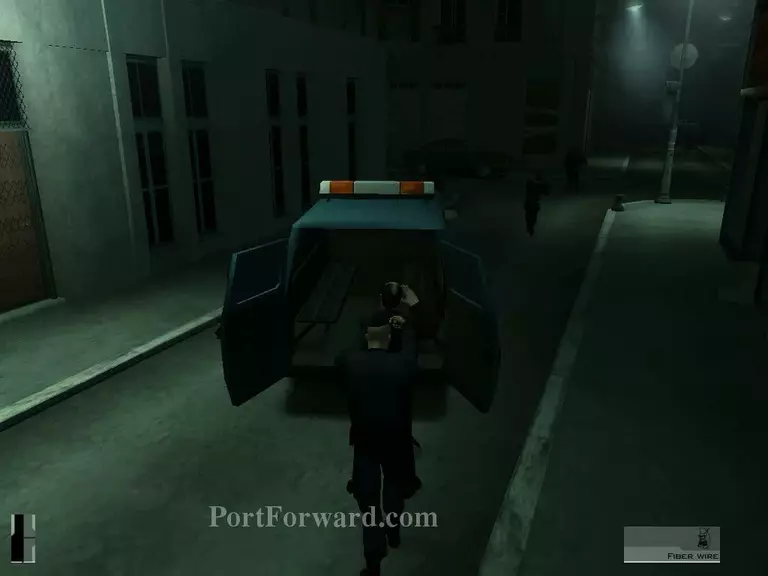
There will be one policeman here.

Hitman: Contracts Walkthrough - Hitman Contracts 233

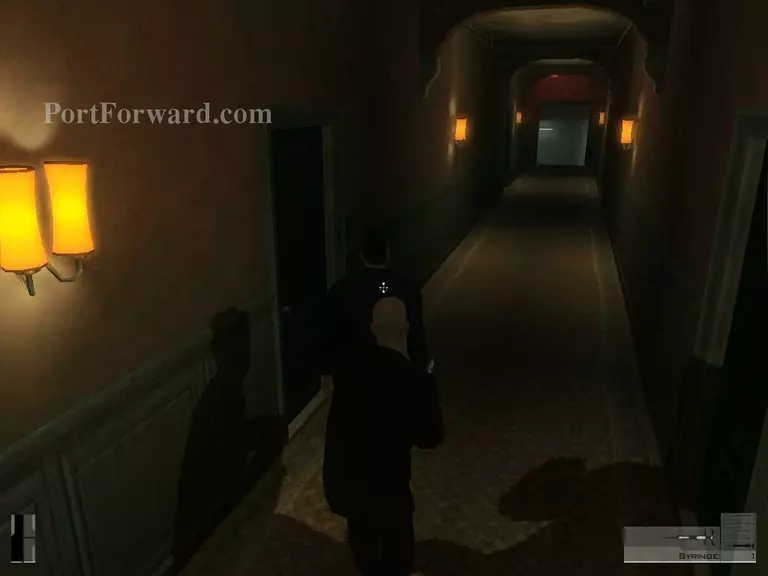
Approach him and put him to sleep.

Hitman: Contracts Walkthrough - Hitman Contracts 234

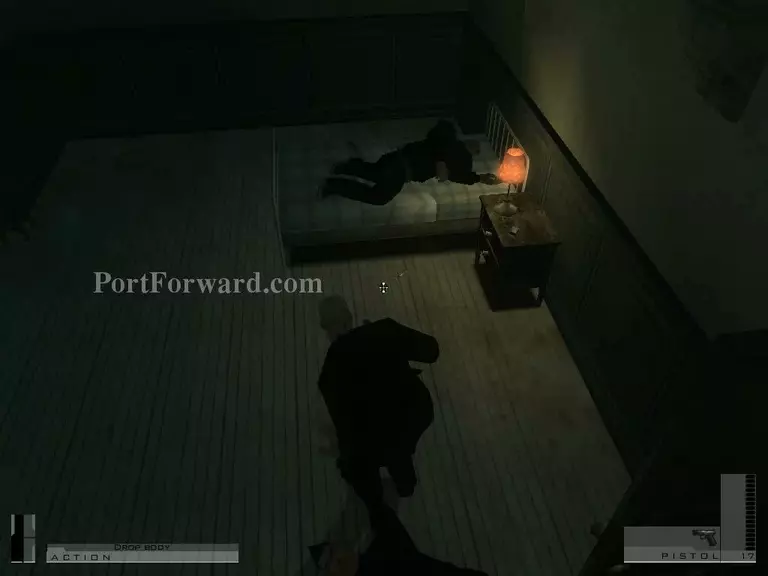
Take him to any nearby room to hide his body.

Hitman: Contracts Walkthrough - Hitman Contracts 235

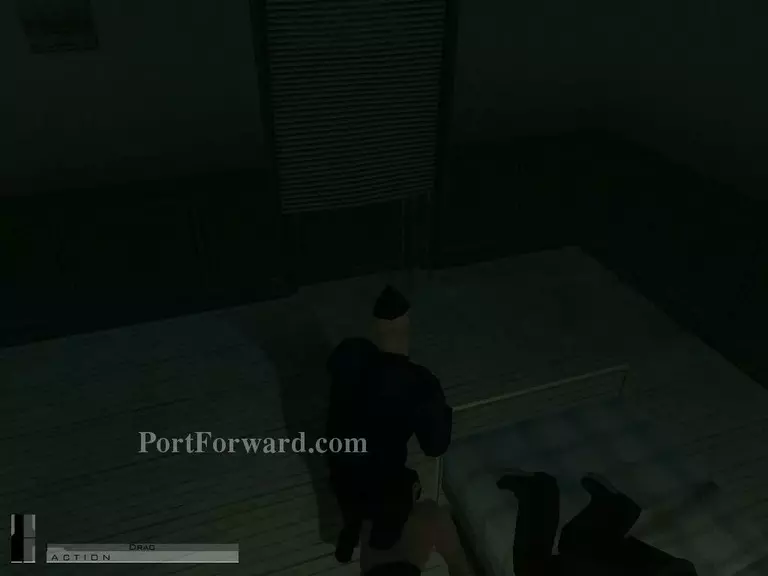
Then, take his clothes.

Hitman: Contracts Walkthrough - Hitman Contracts 236

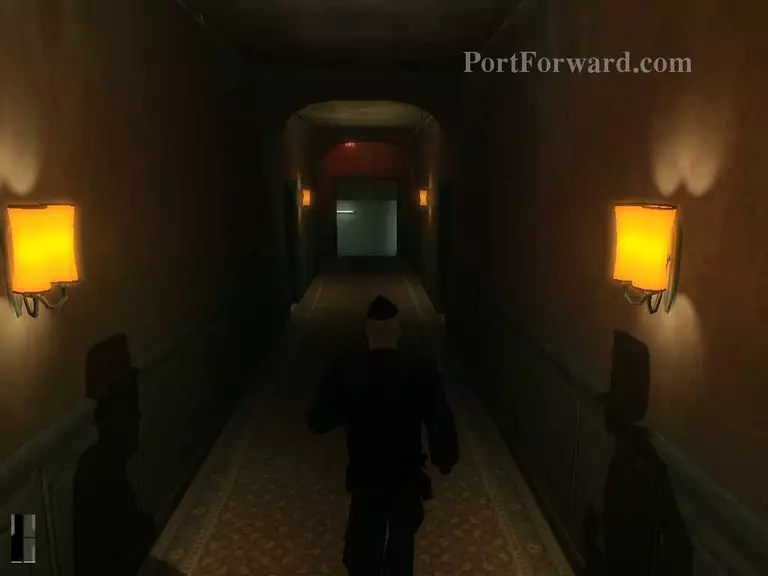
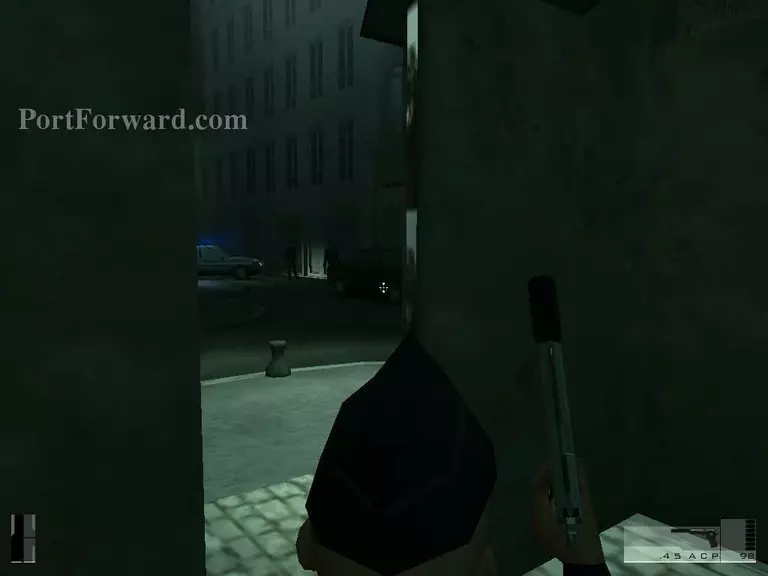
Continue the path and go down another level.

Hitman: Contracts Walkthrough - Hitman Contracts 237

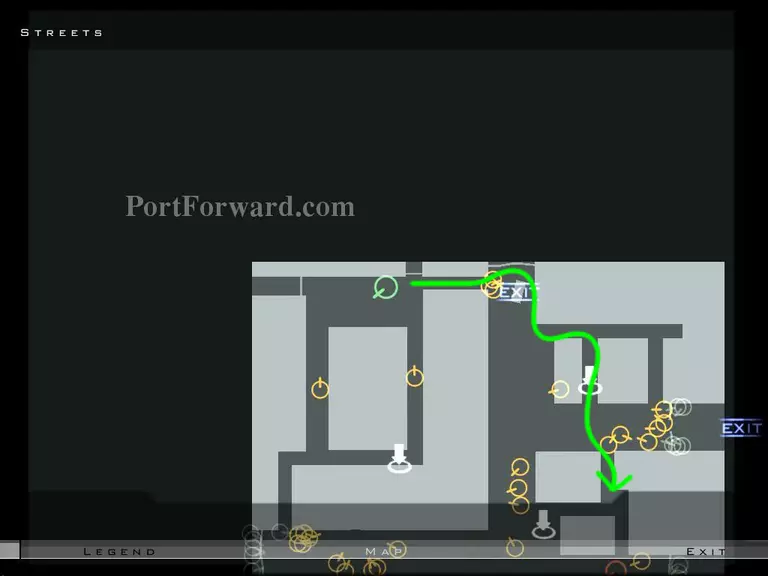
Once you out of the building, follow the green arrow as shown in the picture. This is the safest way to get near the target.

Hitman: Contracts Walkthrough - Hitman Contracts 238

Then continue to the place nearby the sewer. No need to go down into the sewer.

Hitman: Contracts Walkthrough - Hitman Contracts 239

Here (at the sewer location), you can safely take out your silenced gun and shoot to this car. The car will trigger an alarm.

Hitman: Contracts Walkthrough - Hitman Contracts 240

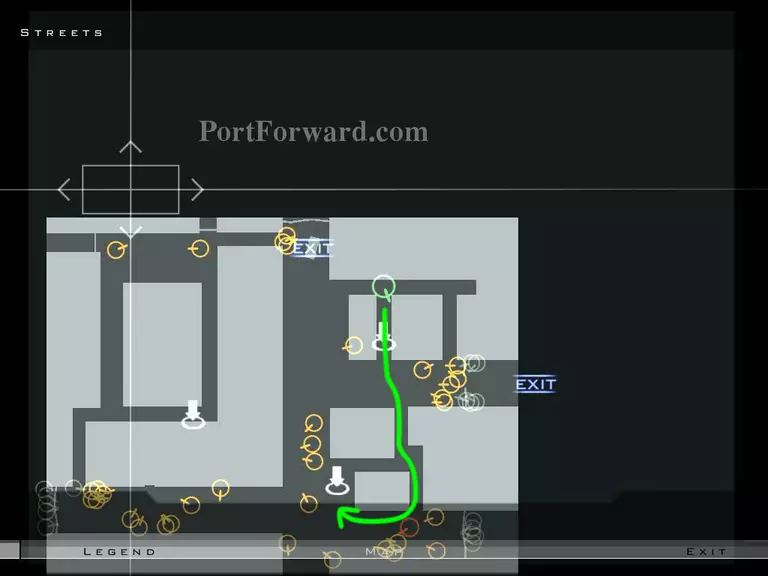
Then, head to the target location. Just ignore the people behind. Make sure that no police while you kill him.

Hitman: Contracts Walkthrough - Hitman Contracts 241

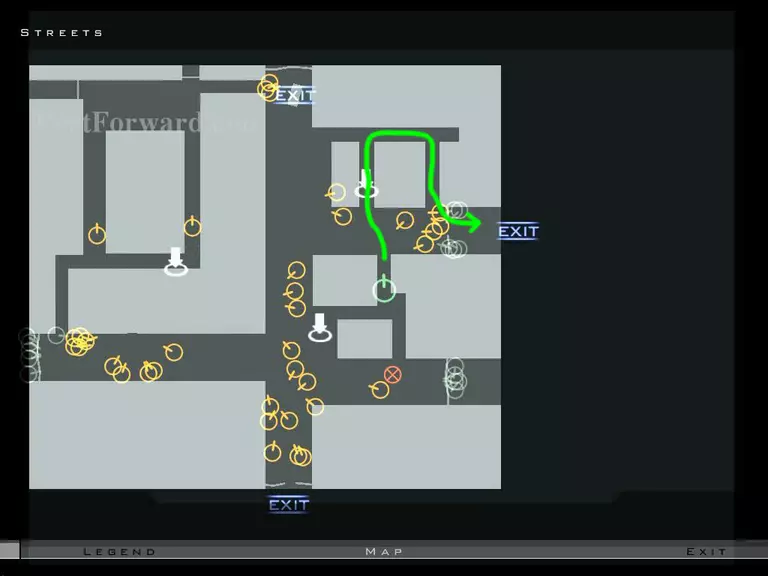
To exit, follow this path. It's long but safe.

Hitman: Contracts Walkthrough - Hitman Contracts 242

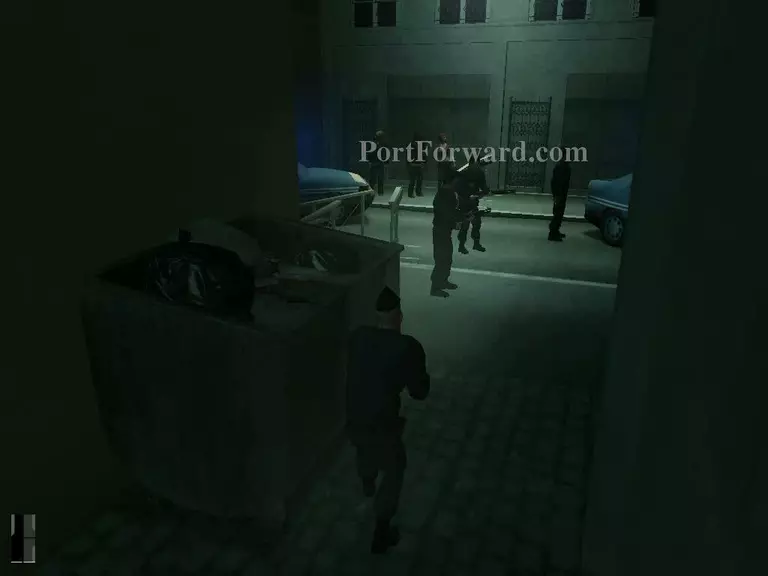
Dont run or walk. You've to sneak behind the police to safely exit this location. -game over-

More Hitman: Contracts Walkthroughs

This Hitman: Contracts walkthrough is divided into 13 total pages.

More From Portforward