Hitman: Contracts Walkthrough 10 - The Seafood Massacre

September 12, 2016 (Last Updated: ) | Reading Time: 2 minutes

This Hitman: Contracts walkthrough is divided into 13 total pages.

You can jump to nearby pages of the game using the links above.

10 - The Seafood Massacre

Hitman: Contracts Walkthrough - Hitman Contracts 181

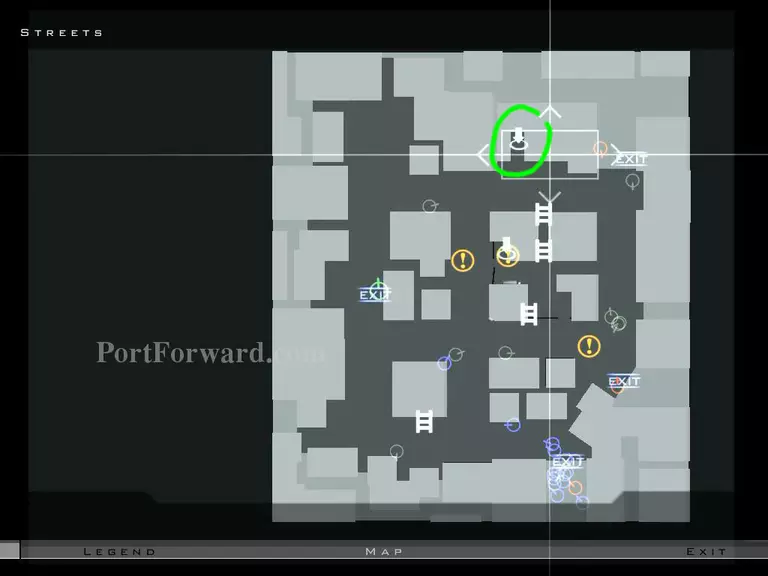
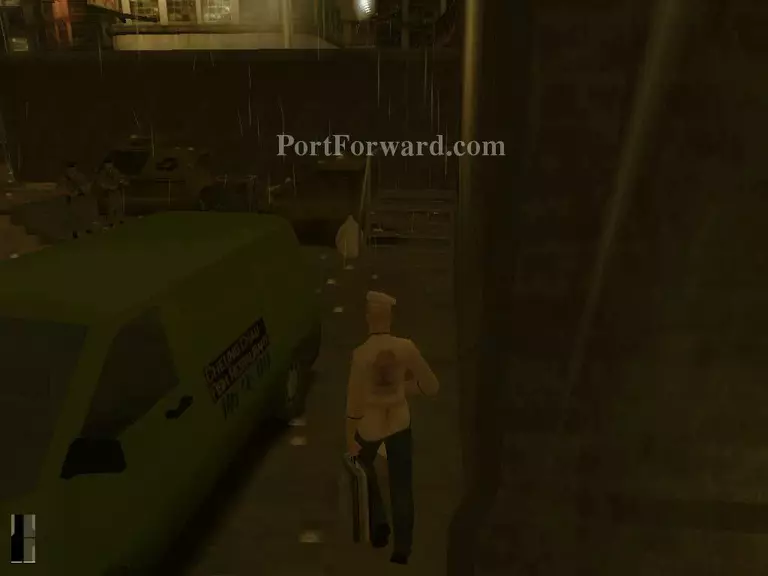
Your first task is eliminate the target. Wait at the location shown in the picture.

Hitman: Contracts Walkthrough - Hitman Contracts 182

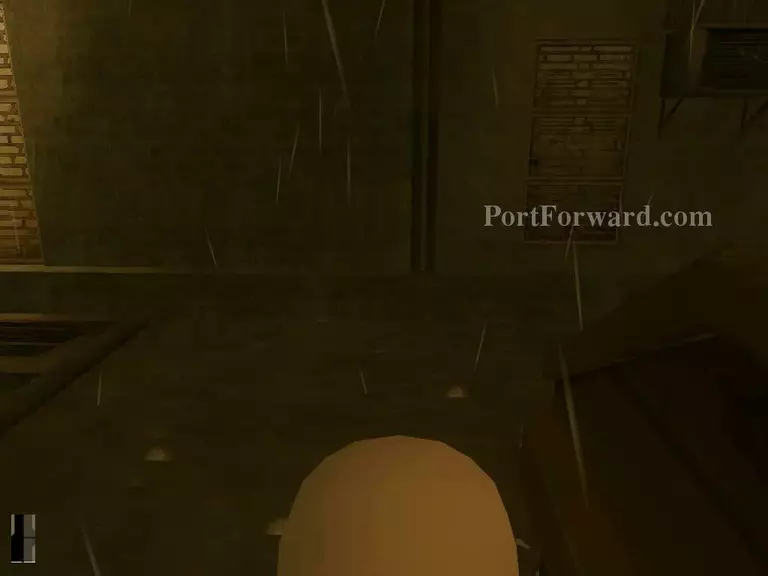
He (the target) will come here for bussiness.

Hitman: Contracts Walkthrough - Hitman Contracts 183

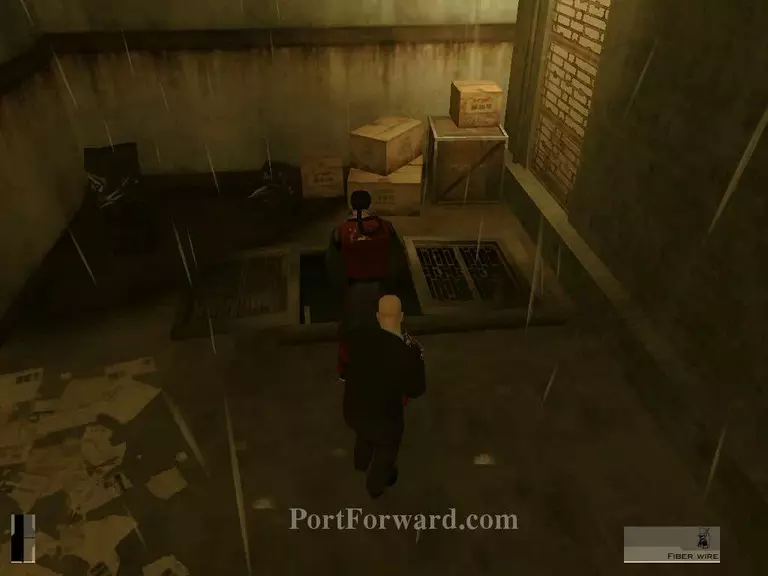
Kill him at this point.
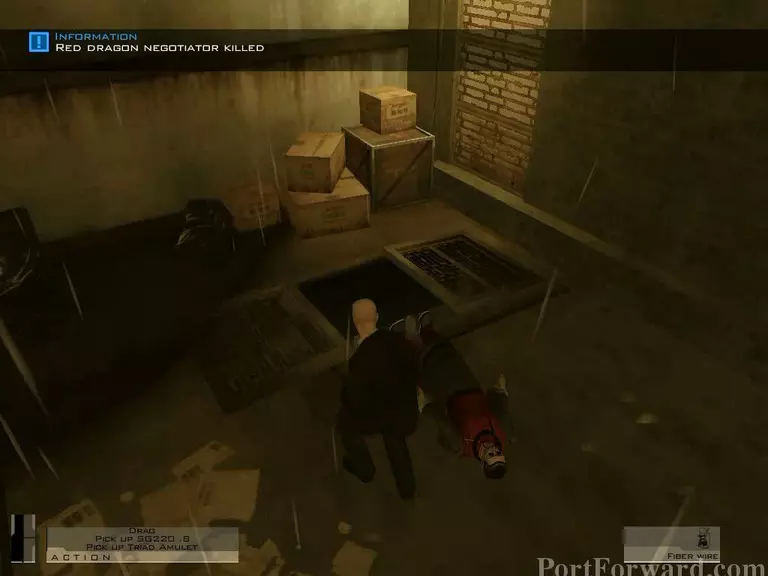
Hitman: Contracts Walkthrough - Hitman Contracts 184

Take the amulet.

Hitman: Contracts Walkthrough - Hitman Contracts 185

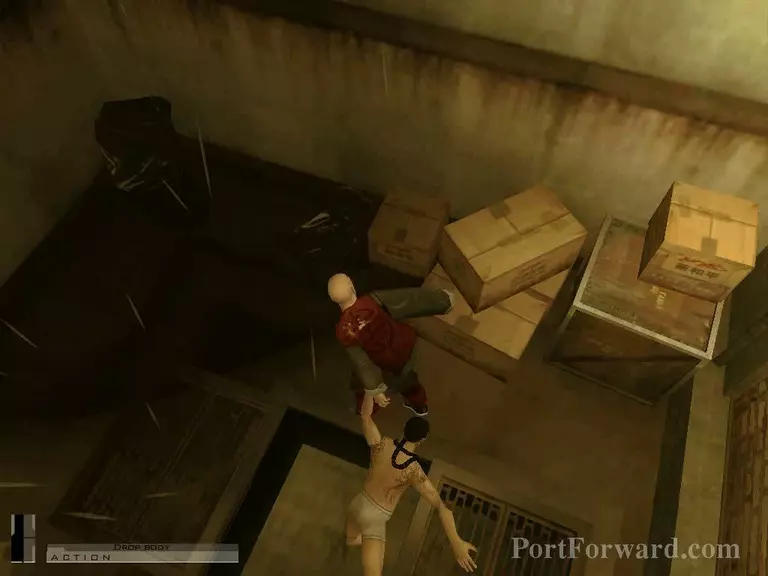
Drop his body into the sewer.

Hitman: Contracts Walkthrough - Hitman Contracts 186

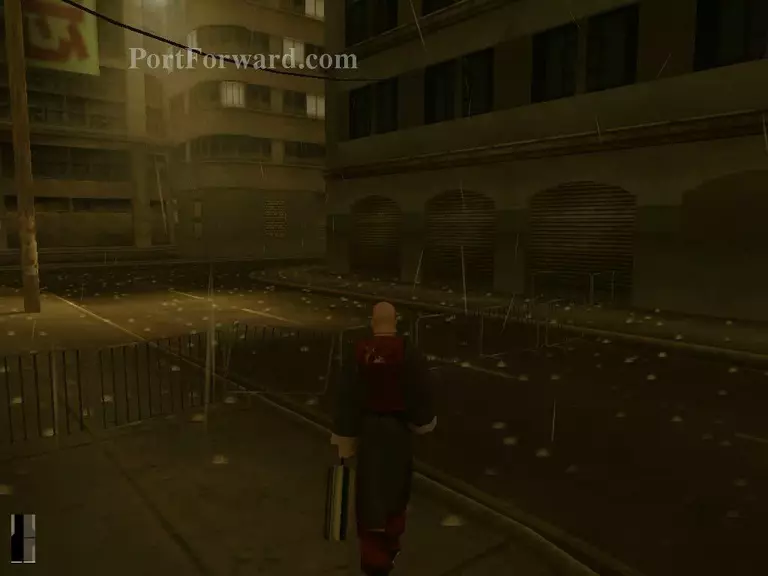
Then, go to the sewer here.

Hitman: Contracts Walkthrough - Hitman Contracts 187

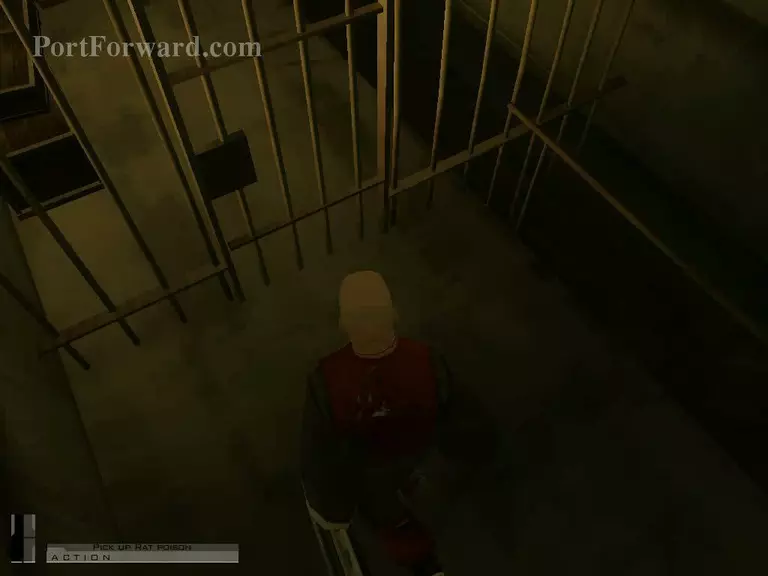
Take the rat poison and go back to the streets.

Hitman: Contracts Walkthrough - Hitman Contracts 188

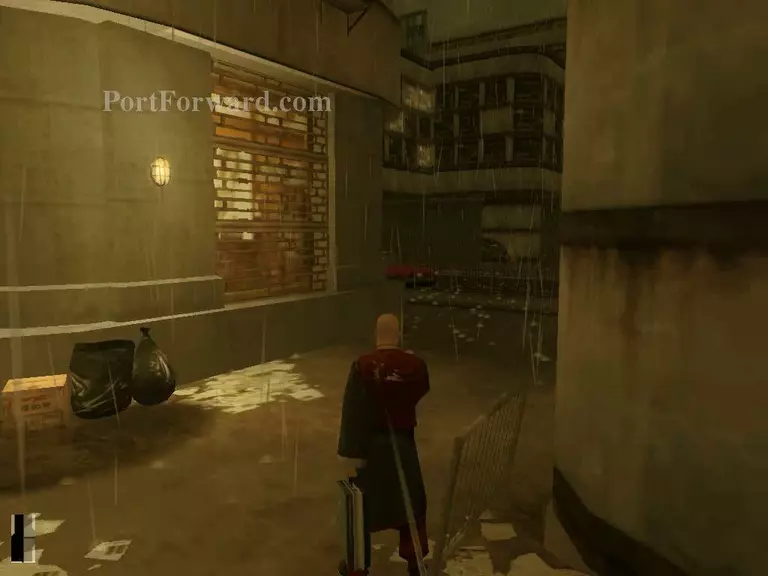
Find a safe place to shoot the nearby car. This will trigger the alarm.

Hitman: Contracts Walkthrough - Hitman Contracts 189

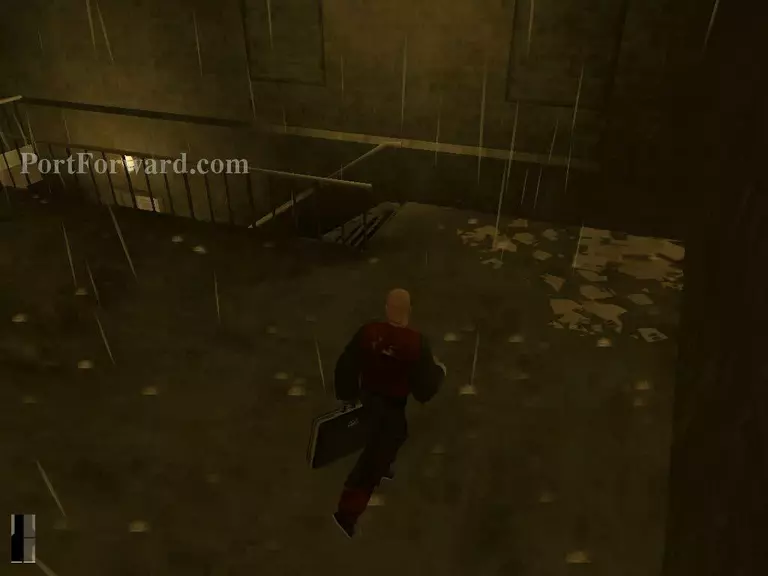
Now, it's your chance to get to the basement.

Hitman: Contracts Walkthrough - Hitman Contracts 190

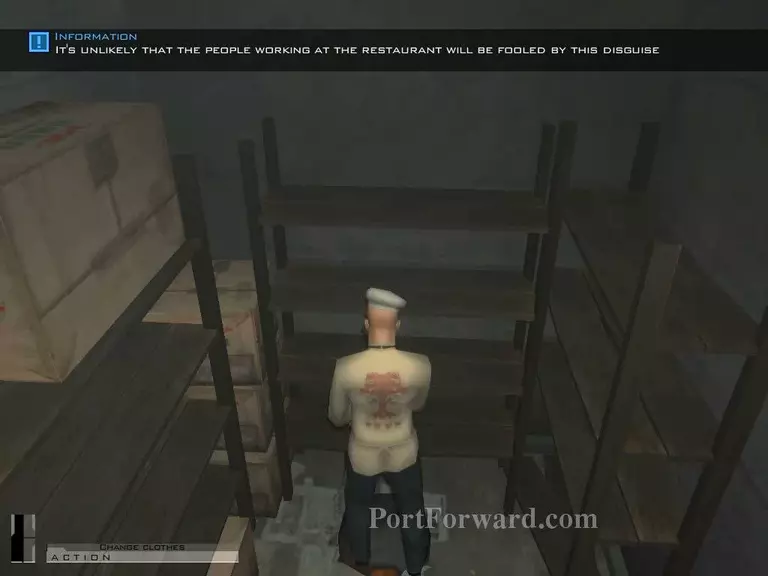
At one of the room, there's a chef clothes. Change to that.

Hitman: Contracts Walkthrough - Hitman Contracts 191

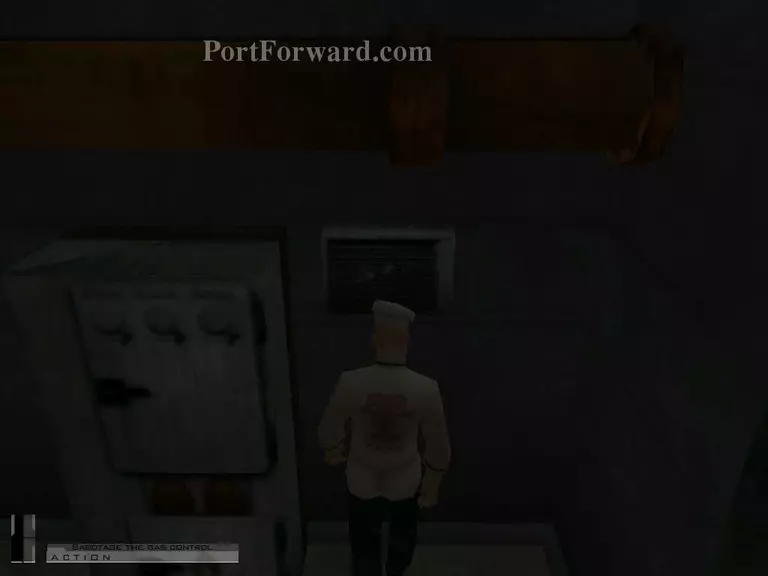
After that, sabotage the gas control.

Hitman: Contracts Walkthrough - Hitman Contracts 192

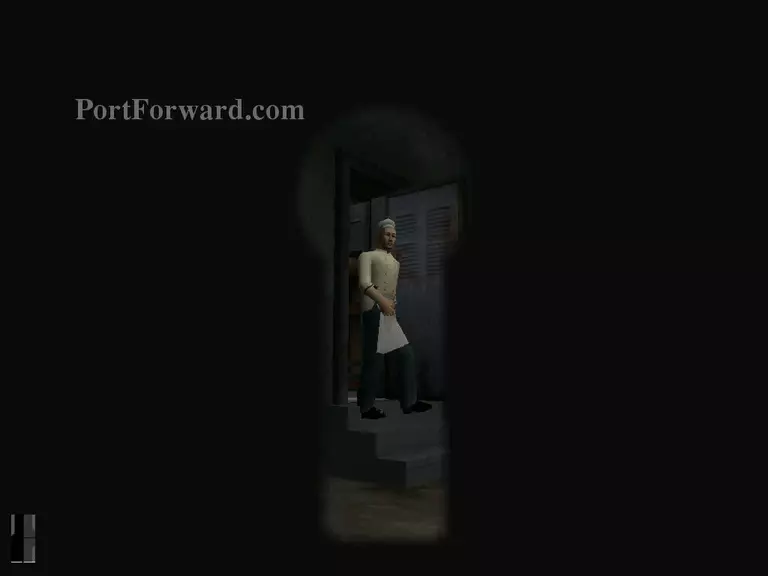
Wait for the chef to come.

Hitman: Contracts Walkthrough - Hitman Contracts 193

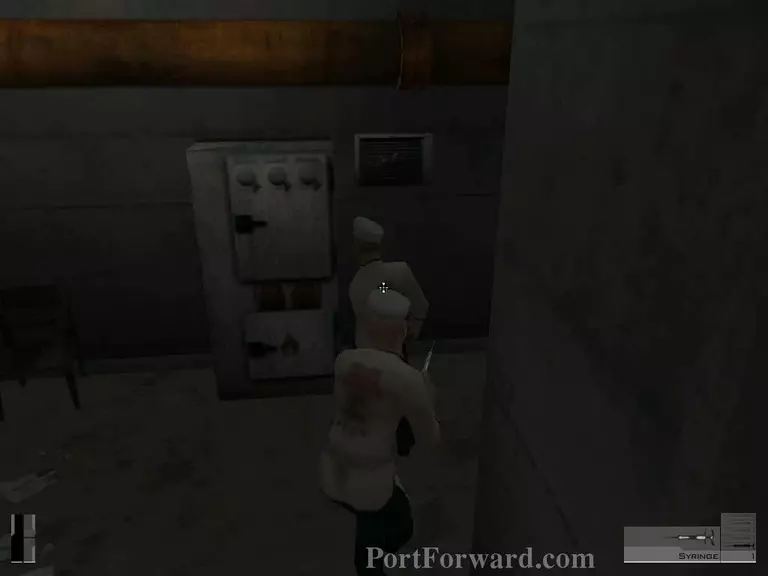
Now it's time to put him to sleep. Remember to take his key.

Hitman: Contracts Walkthrough - Hitman Contracts 194

Head to the kitchen.

Hitman: Contracts Walkthrough - Hitman Contracts 195

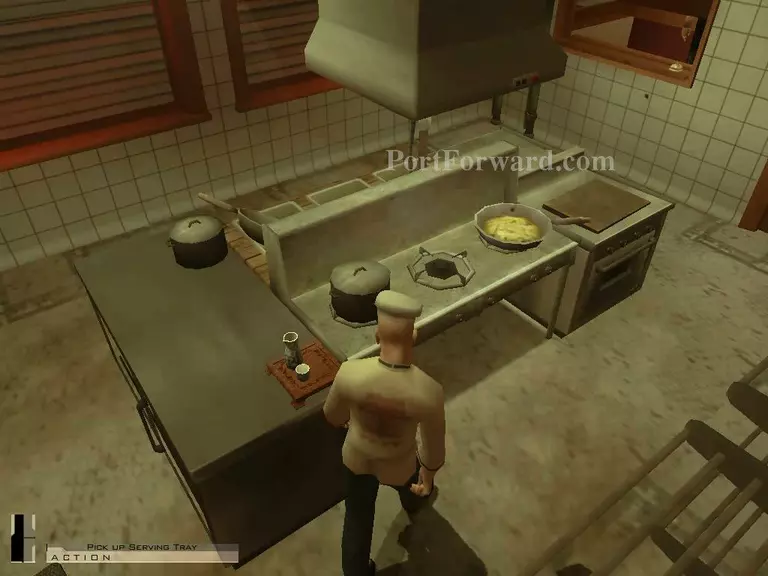
Take out the poison and put in in the drinks.

Hitman: Contracts Walkthrough - Hitman Contracts 196

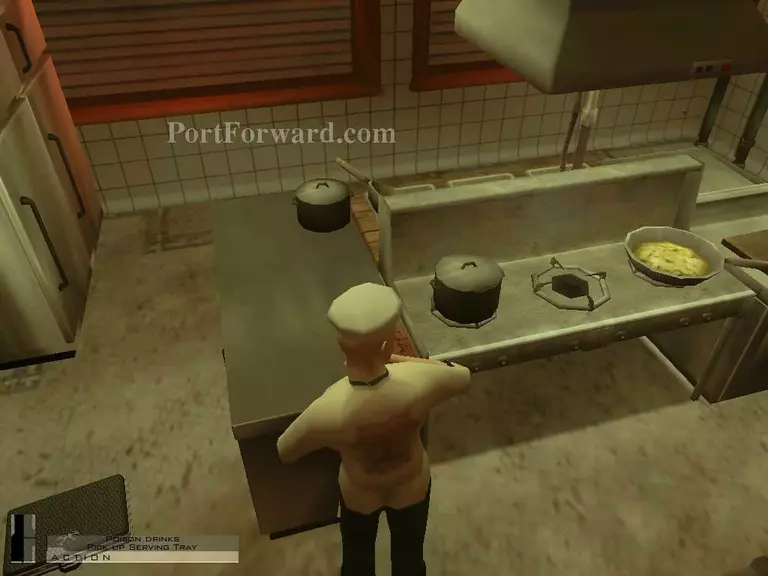
Then, take out the amulet and place it on the tray too.

Hitman: Contracts Walkthrough - Hitman Contracts 197

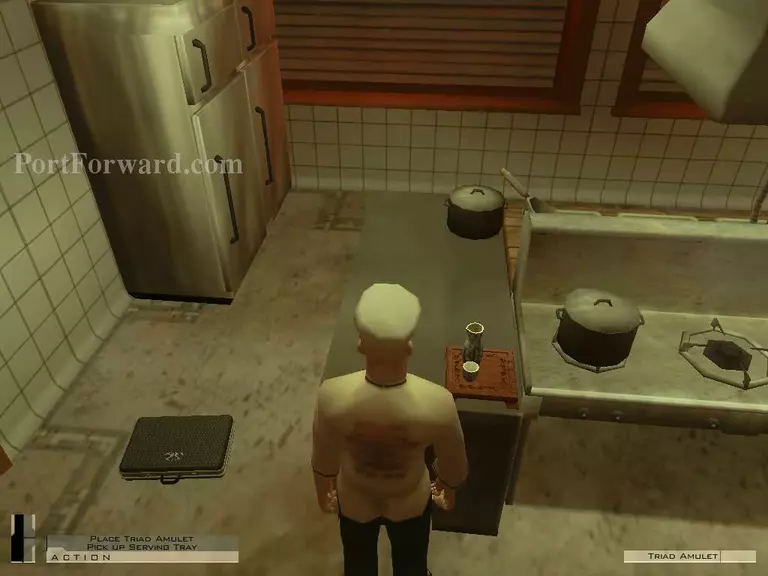
Lastly, take the tray.

Hitman: Contracts Walkthrough - Hitman Contracts 198

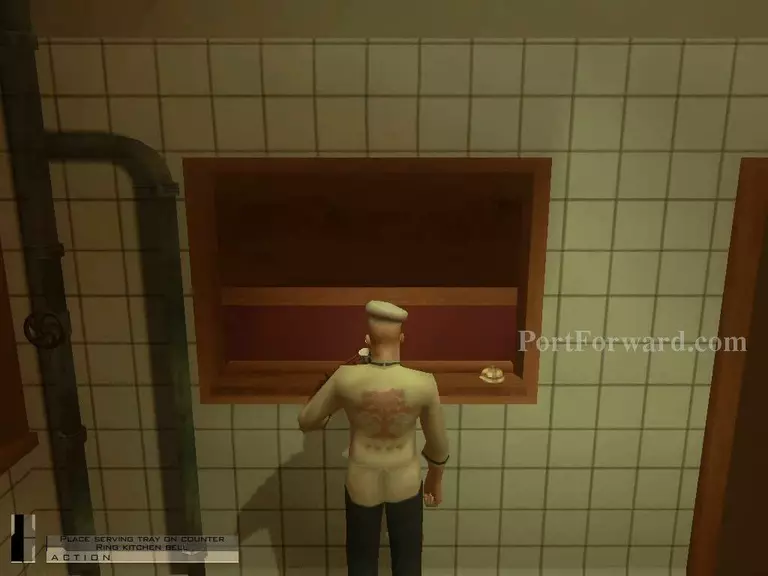
Place it here and ..
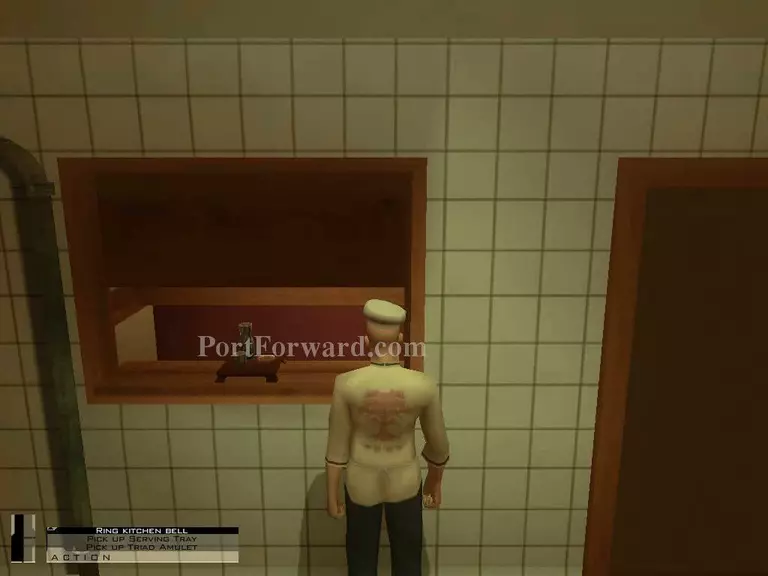
Hitman: Contracts Walkthrough - Hitman Contracts 199

Ring the bell.

Hitman: Contracts Walkthrough - Hitman Contracts 200

Now you can head to exit and let the target die. -end-

More Hitman: Contracts Walkthroughs

This Hitman: Contracts walkthrough is divided into 13 total pages.

More From Portforward