This Spec Ops: The Line walkthrough is divided into 17 total pages.
You can jump to nearby pages of the game using the links above.
Chapter 2: The Dune
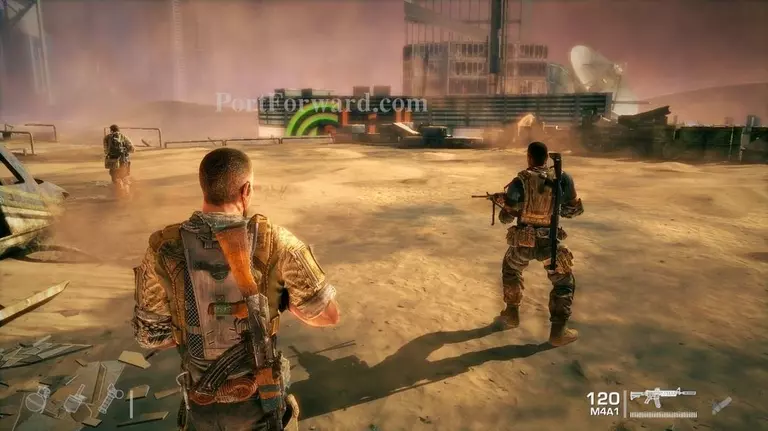
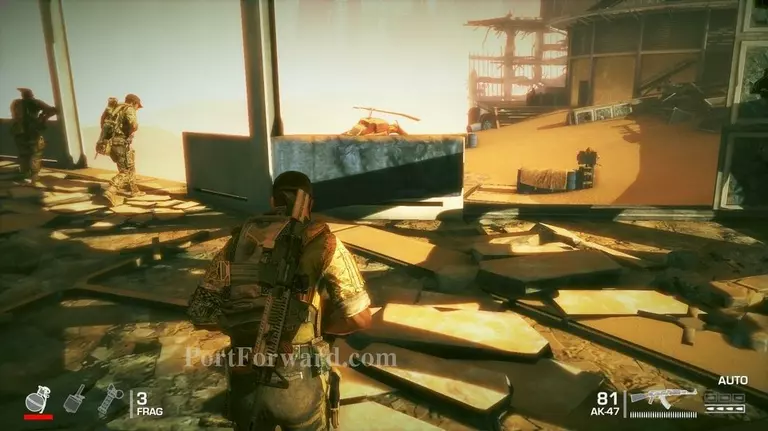
After the cutscene head forward towards the cat walk ahead.
Once you get about halfway across the walkway here Adams will warn you to be careful as there is a look out on the right.
The easiest way to deal with this, and remain silent for a little longer, is to order your squad to shoot the guys on the walkway.
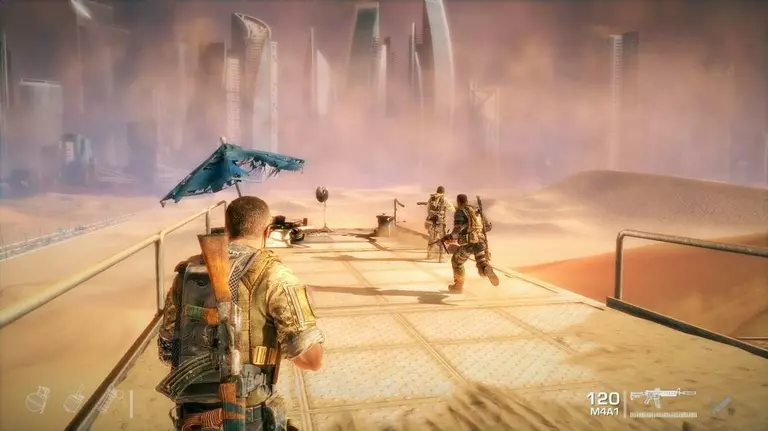
Once you're done with that head down onto the walkway and forward. You can equip your silencer still if you want to attempt to remain silent.
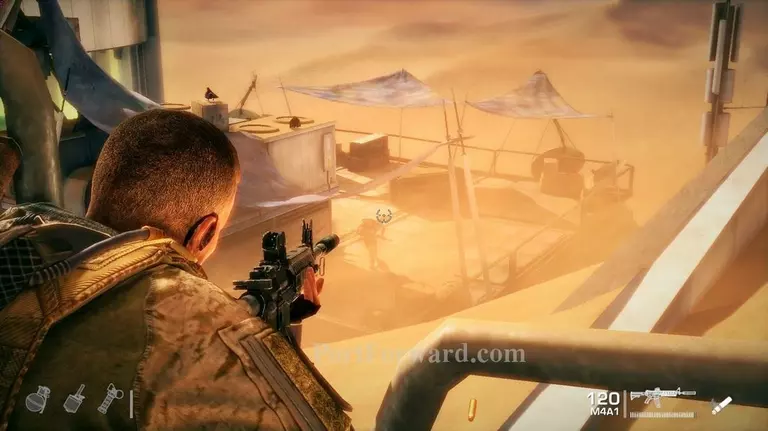
I mention this because there is always a guy that runs out (when your about half way or so down the walkway) and up the stairs. He always spots me, so it's possible it's scripted, but you can attempt to take him out before he sees you. I have never been able to do this successfully.
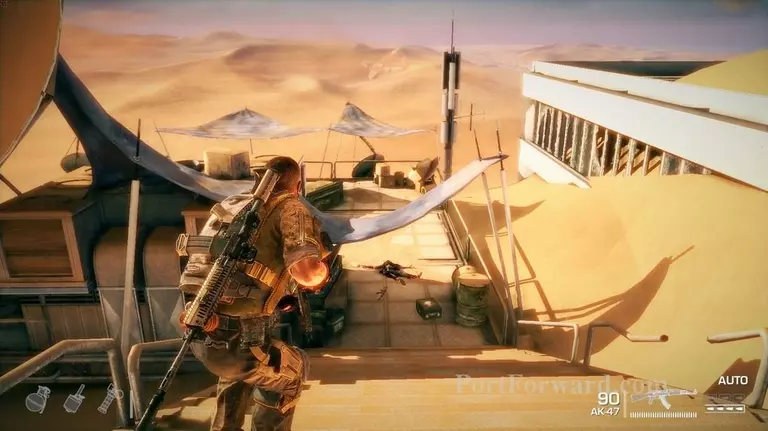
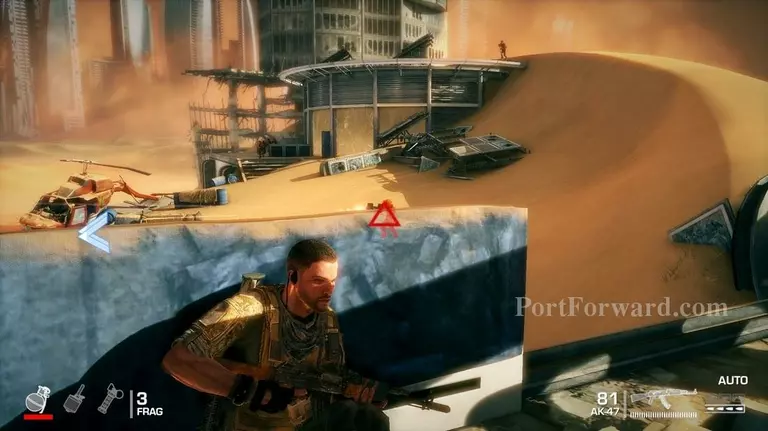
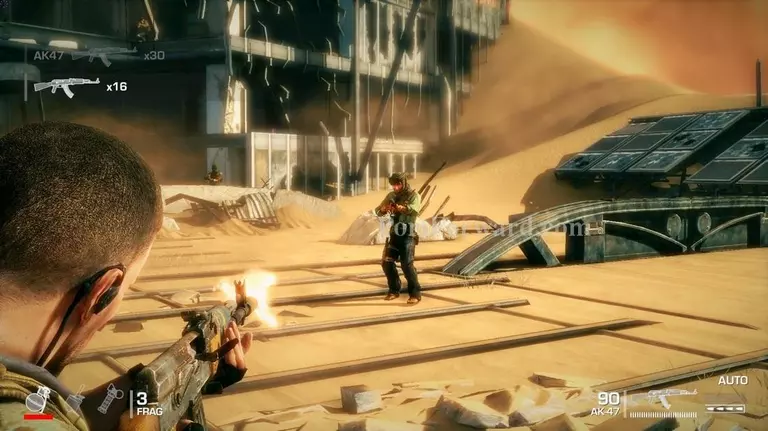
They know you're here, now. Head down the stairs to the right and stay behind cover.
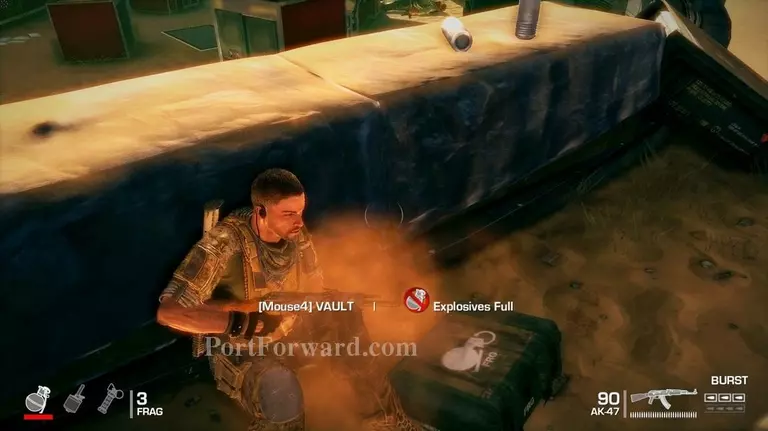
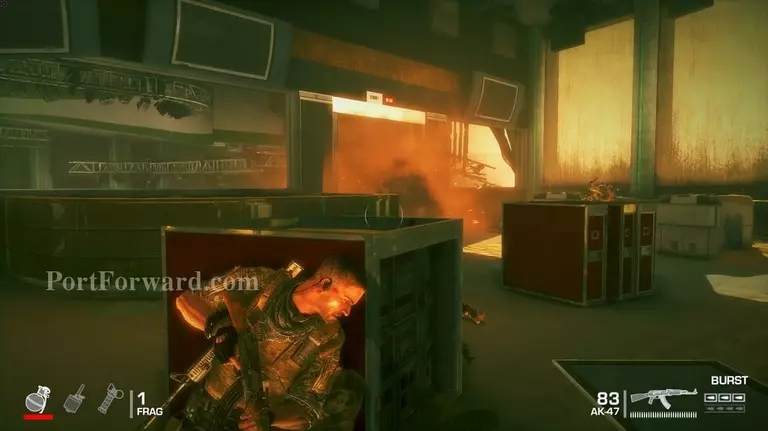
Make sure to get some grenades here then head left staying as close to the wall as you can to maintain cover with the boxes ahead.
The best position to start this fight in is behind the ammo crates next to the railing up here.
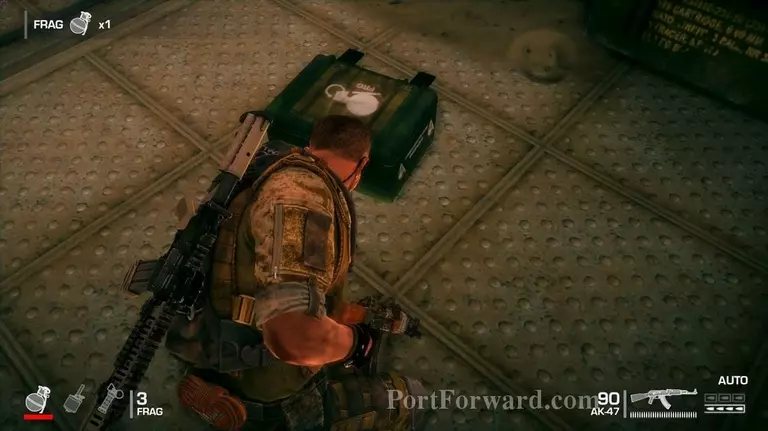
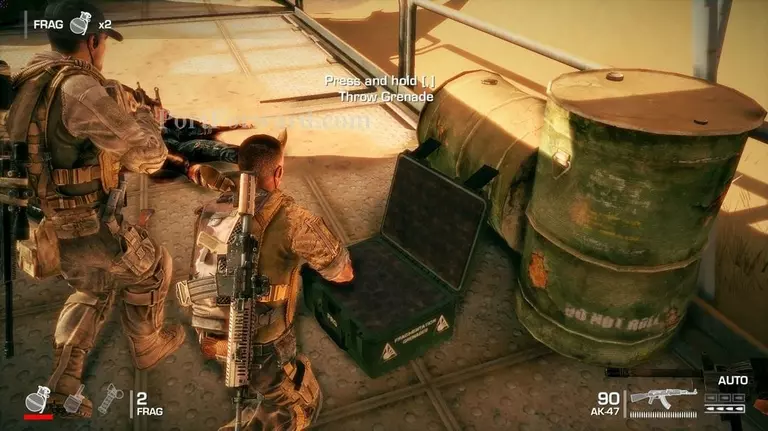
There are more grenades here you can pick up if you need.
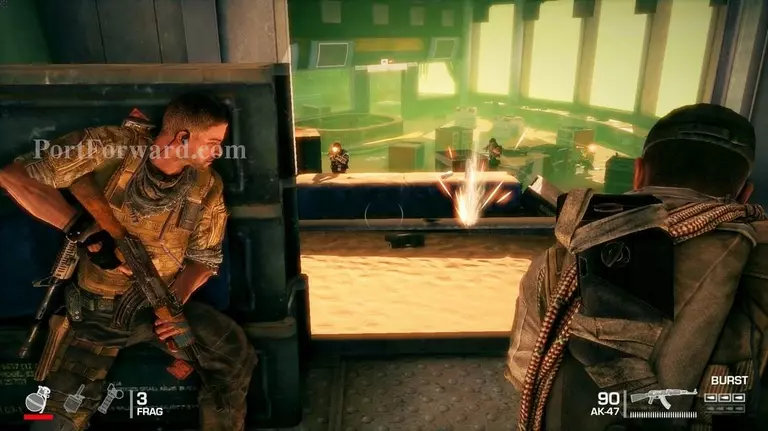
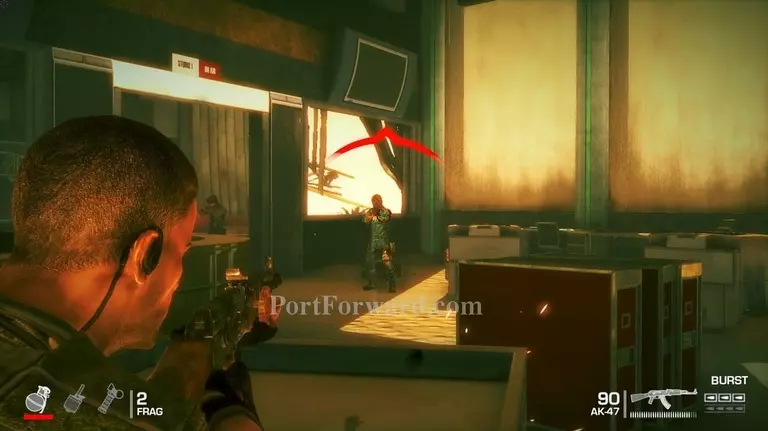
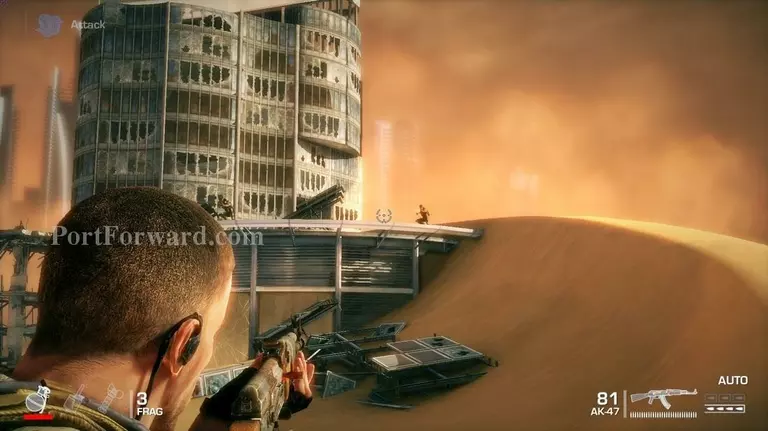
The enemy will be in the bar ahead. Lugo and Adams will probably have a hard time finding cover here as there really isn't much.
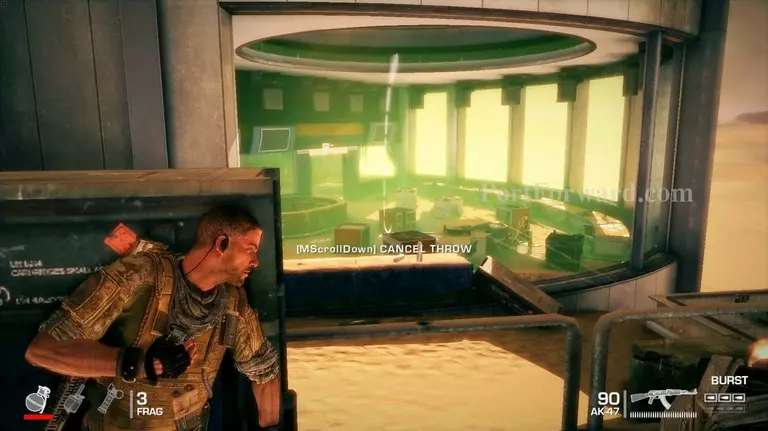
If you need to, throw a grenade in the bar to clear out any enemies. Lugo and Adams will have probably taken most of them out, though.
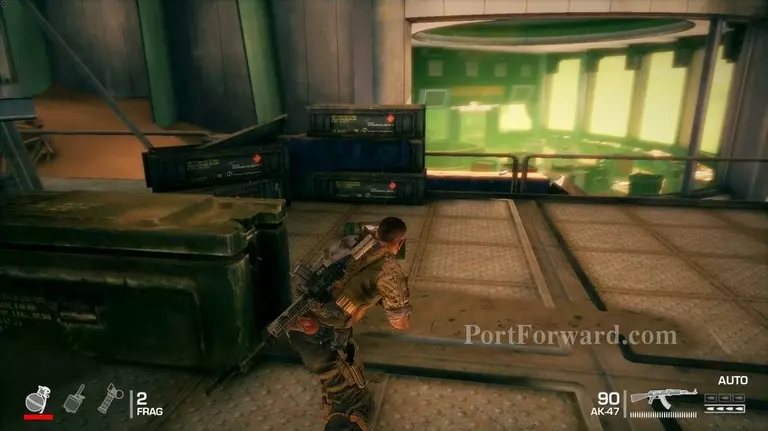
When that is done, quickly vault over the railing and take cover behind the wall ahead.
If you used any grenades you have a resupply of them here.
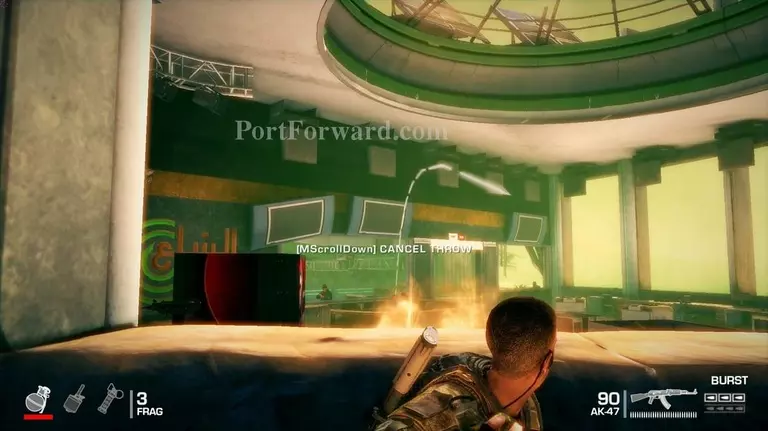
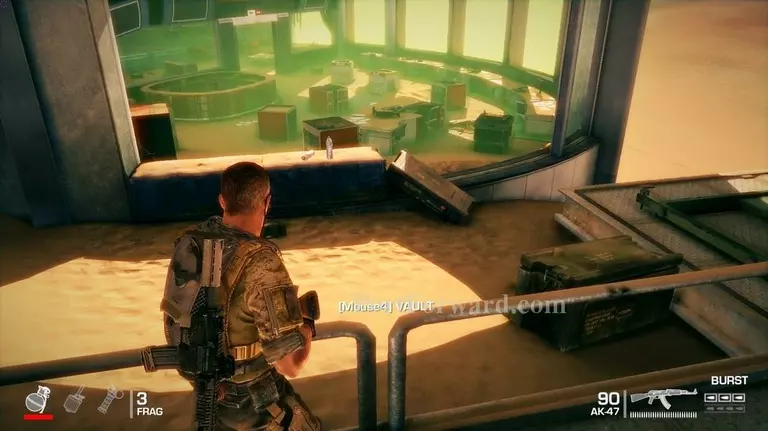
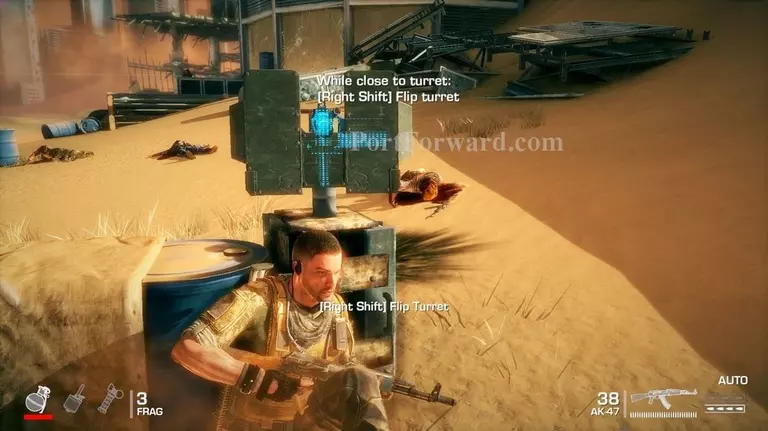
More enemies will come out from the bar and one will man another turret emplacement. Throw a grenade in there to clear out the gunner.
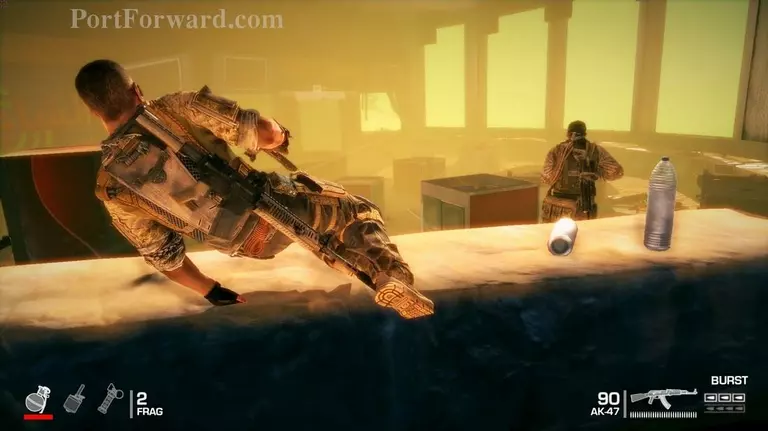
After that's done vault over the wall and head towards the back of the bar.
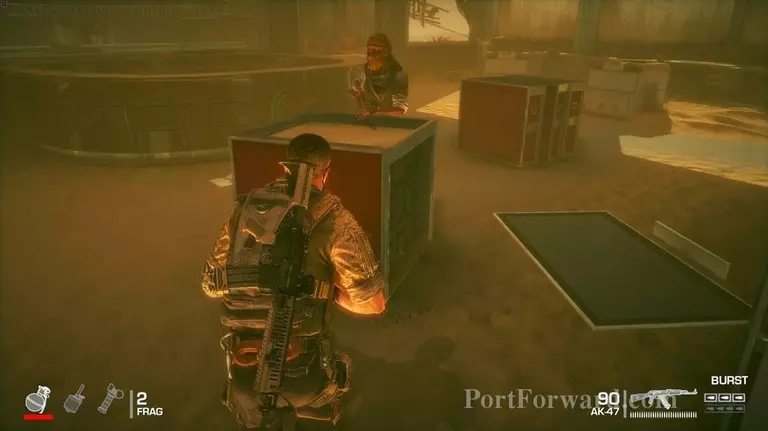
Watch out. There may still be enemies in this room. Be ready to kill them and take cover behind something.
At this point most of the enemies should be ahead or in the room on the left.
Dispatch them however you need to and then head forward and to the left.
There are more guys in the next room so be careful and take them out quickly.
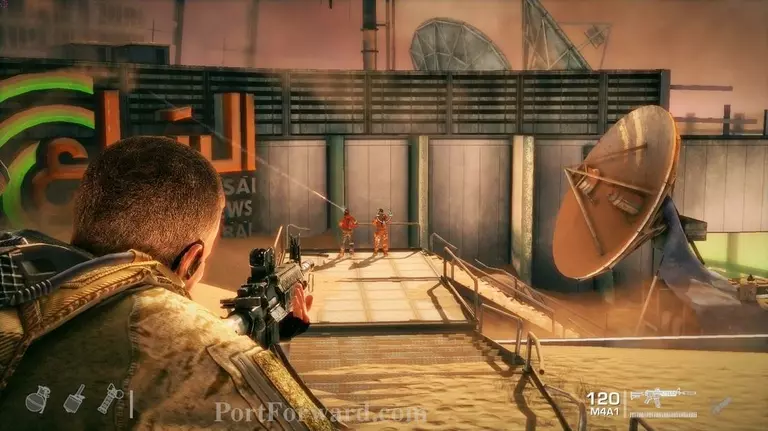
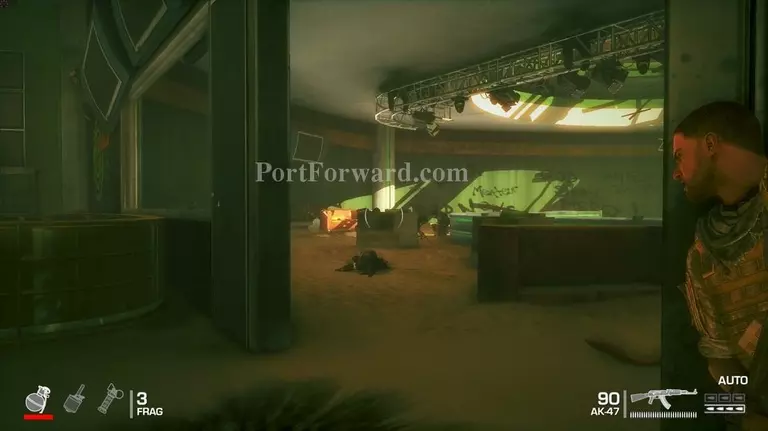
When it's clear in here head inside but take cover behind the wall just ahead. There's more guys below in the production area of the room that looks like it's for a news broadcast (or at least, what it used to be for).
Once you are done taking care of the guys below you can head to left and down the stairwell on the right.
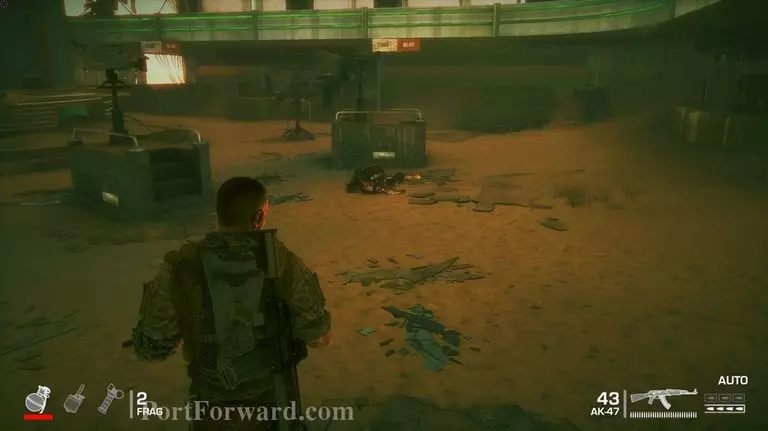
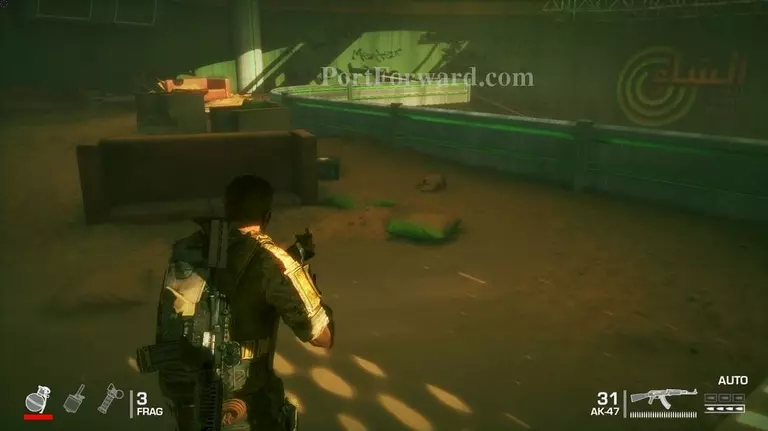
After you're done searching the area for ammo take the doorway on the left side of the room in the back.
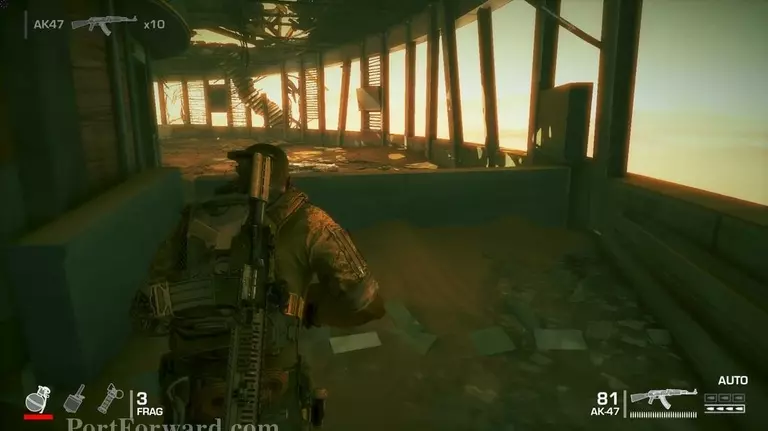
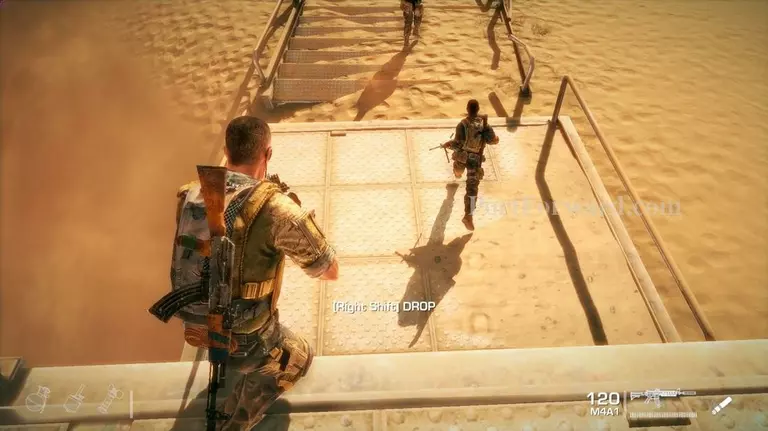
Vault over the wall just around the corner here and head to the other side of what used to be a hallway.
Once the cutscene is over, and you get to right about the couch arm at the end of the hall, someone will pop out ahead of you and jump over the window sill ahead.
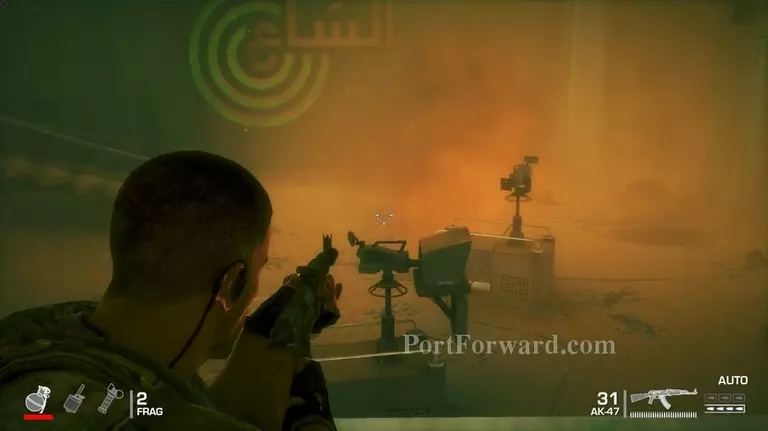
Be careful following him ahead, and maintain cover. There is another mounted gunner outside the window.
I always make sure to order the squad to get the gunners first. This helps maintain control of the battles and the AI is usually pretty good about taking them out (Lugo most often will snipe when you give a kill order on someone far away and Adams often throws a grenade. Iit seems to be based on who you order them to take out so when it's a mounted gunner Adams usually throws a grenade to take them out).
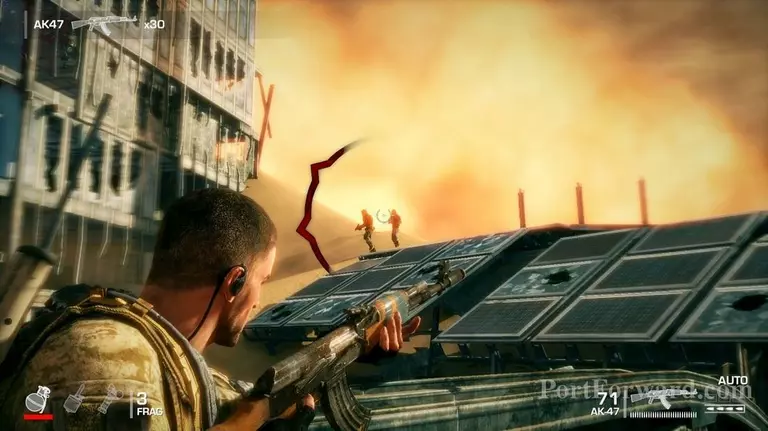
While Adams and Lugo take care of the gunner remember to take out the guys on the roof tops first. Then take care of the enemies below.
When it's clear you can head down and take cover behind the mounted gun.
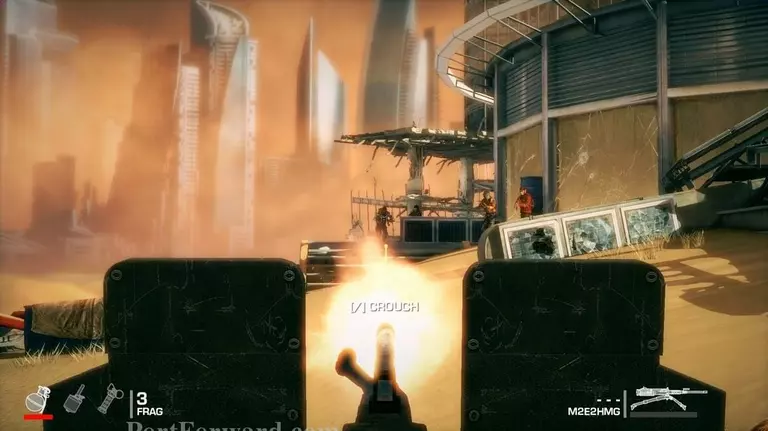
You can use the mounted gun to take out the guys ahead. To make it go quicker you can shoot out the windows filled with sand over there to take all these guys out.
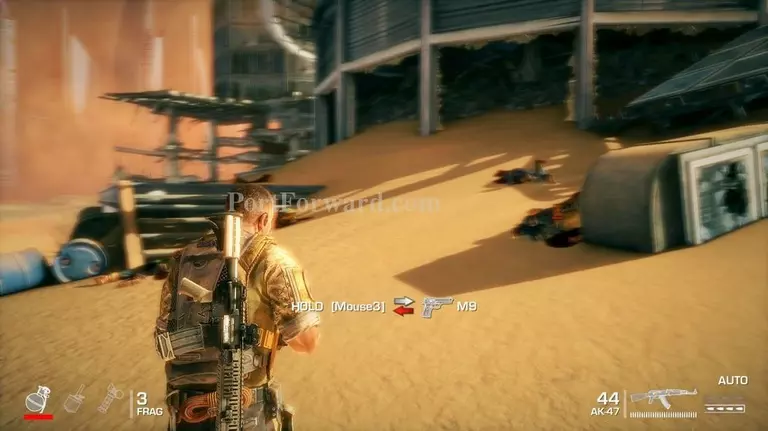
When you're done you can look around for ammo and then head towards where the windows were (are) at.
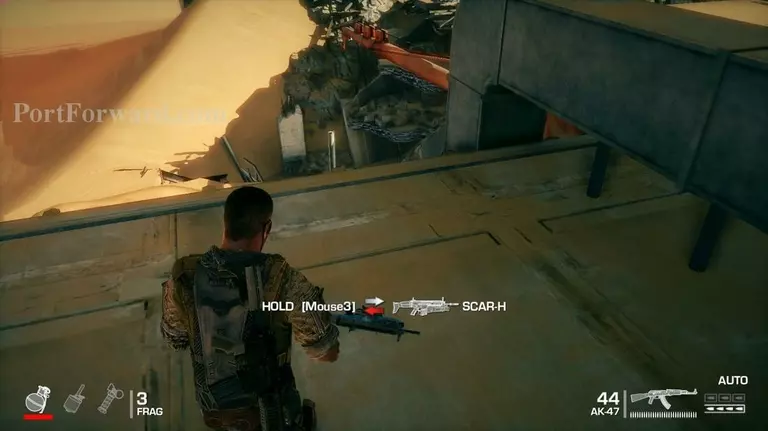
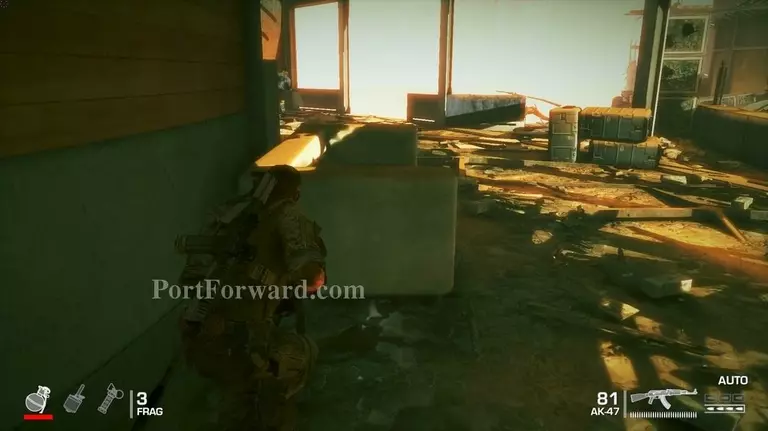
If you want there's a SCAR-H you can pick up over here. When you're ready to move forward, though, drop down the ledge ahead.
Quickly run to the right and get behind the broken wall on the left.
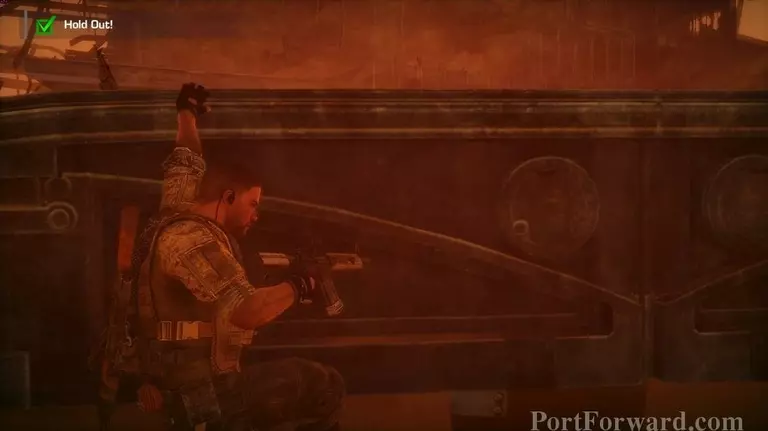
There is a lot of enemies here that are ready to take you out. The mission is to just survive so kill as many as you can.
This wall will not last long so when it breaks head to the right where Lugo and Adams are taking cover.
Keep an eye on your right as enemies will often dash across the roof over there to flank you.
Remember also that you can give kill orders which will make your squad more effective. Here, Lugo is most often used as the enemies are far away so he will snipe them. It's often best to give the kill order on enemies with RPGs.
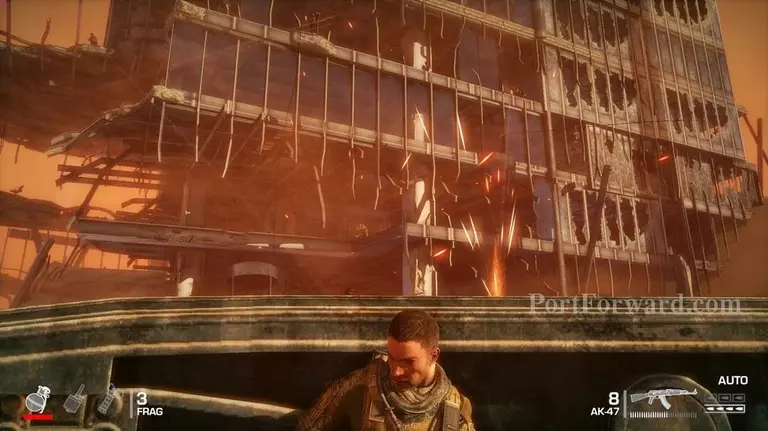
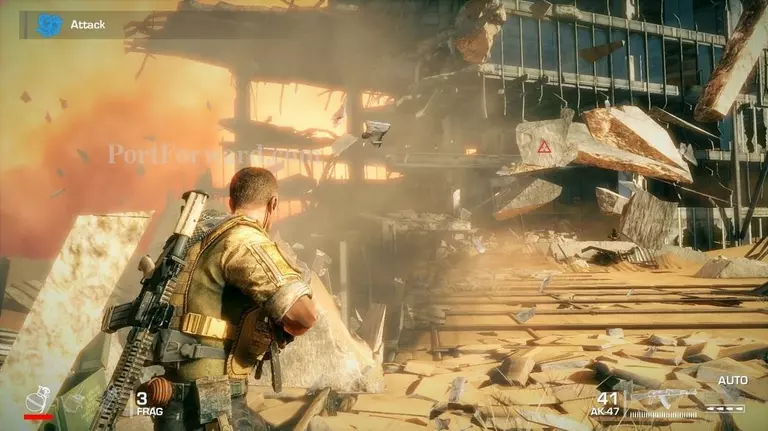
After being hammered by the enemy for about 30 seconds or so a sand storm will swoop in making it difficult to see who you're shooting at.
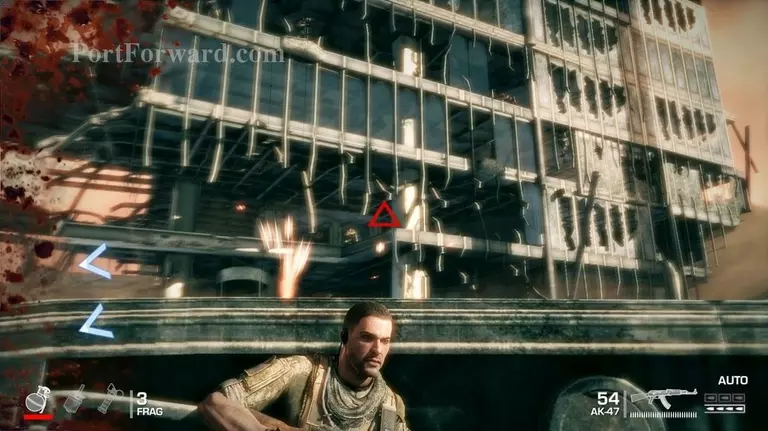
After about 20 to 30 seconds of this the floor beneath you and your squad will break and Walker will hang on from the beam.

You can still be shot so keep aiming at the enemy and shooting them- you will have best aim to your right side.
More Spec Ops: The Line Walkthroughs
This Spec Ops: The Line walkthrough is divided into 17 total pages.