
This Super Mario Bros 3 walkthrough is divided into 8 total pages.
You can jump to nearby pages of the game using the links above.
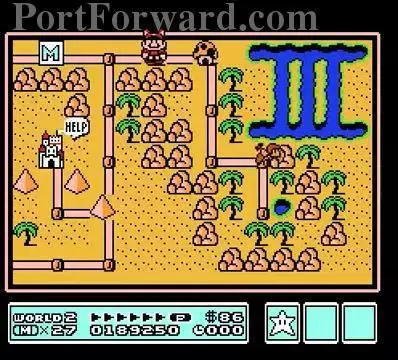
World 2: Desert Land - Desert Hill
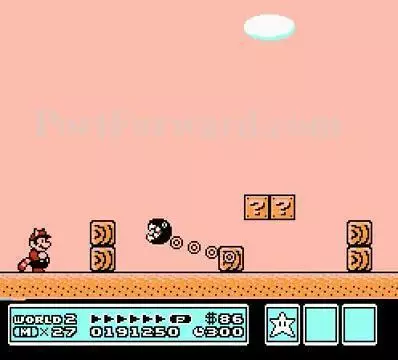
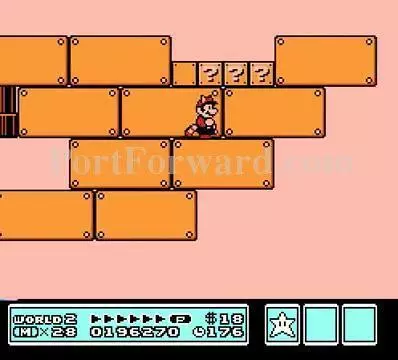
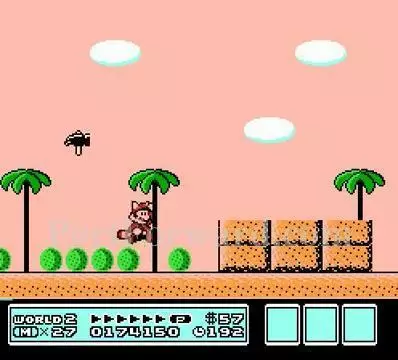
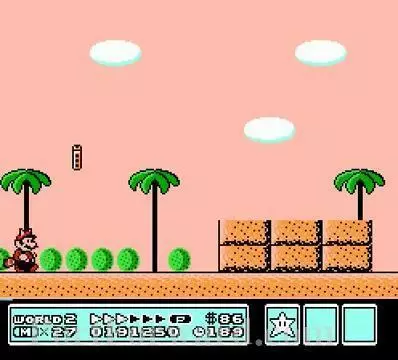
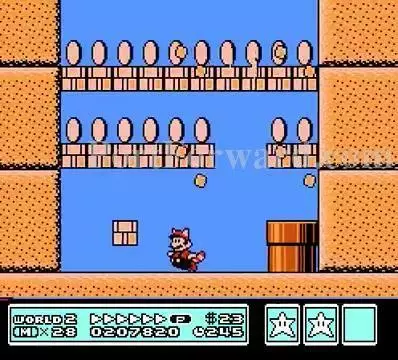
2-1: Meet Piledriver Microgoomba/Block Mamekuribo. They hide underneath certain blocks and jump towards Mario while underneath the brick. Jumping on the brick or bopping underneath will kill it.
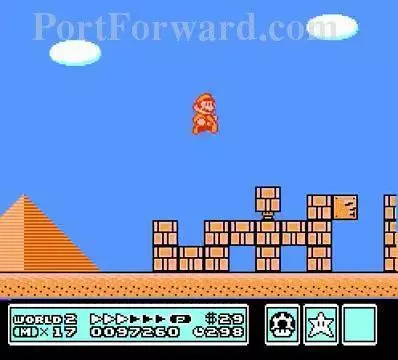
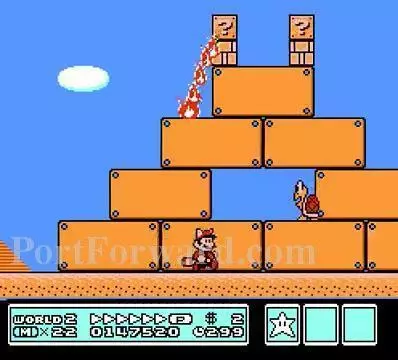
Get the Star from the block on the right and go on a rampage.
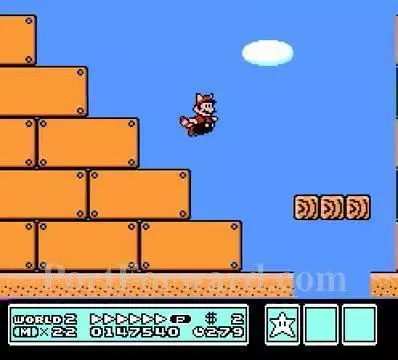
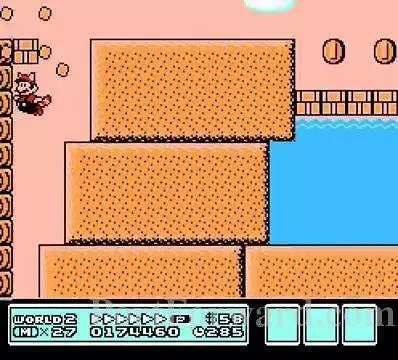
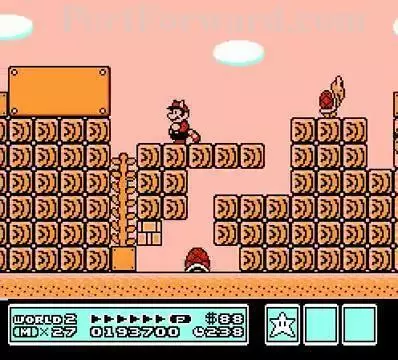
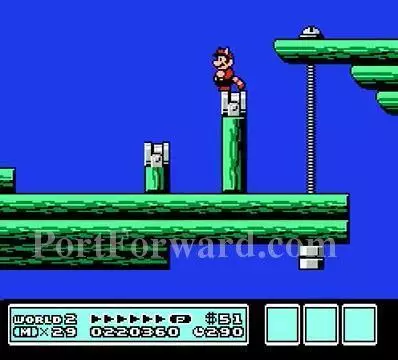
Also around that area is a secret area where you can fly up. It's near the purple structure area.
Hit this P-switch and get several hidden coins.
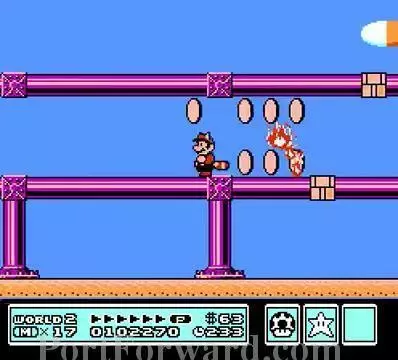
Meet Firesnake. Name is the same in all versions. It will try to hop towards Mario. It can be killed by non jumping means.
2-2: Stay out of the quicksand. In all levels except 8-2, sinking too low will instantly be deadly.
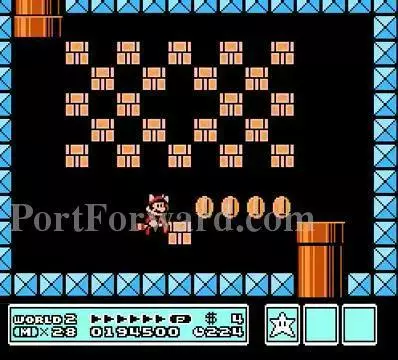
Here is a Super Leaf if you need it. Bump the block from the side.

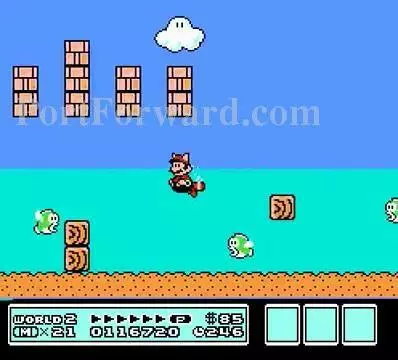
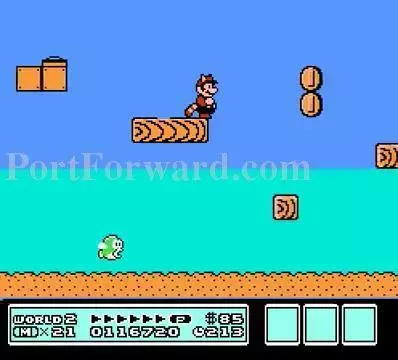
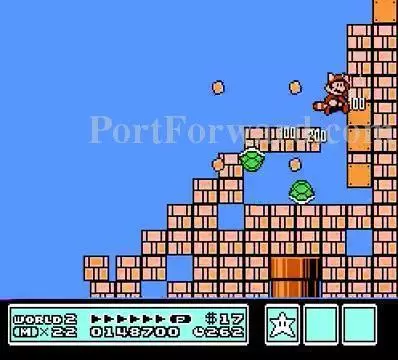
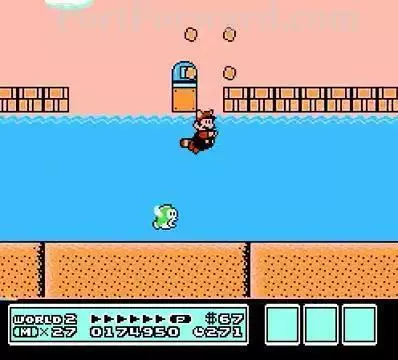
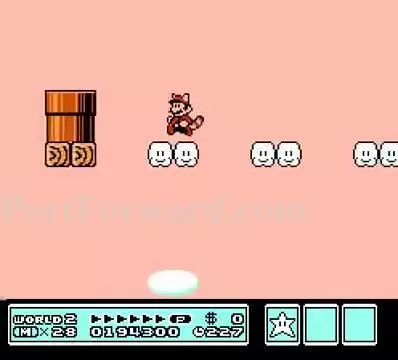
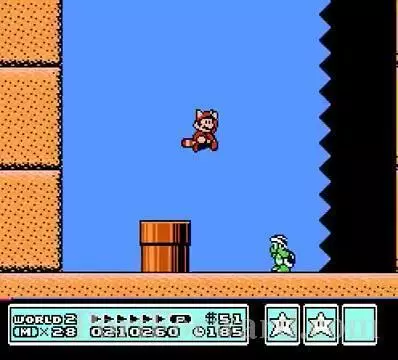
Collect the first set of coins on the first trip around. Also meet Cheep Cheep/Chikkoi Pukupuku and I didn't introduce you to Koopa Paratroopas/Patapatas the previous world but here is one. Cheep Cheeps have various functions. Green ones place themselves in inconvenient places underwater. Red ones hand along the surfaces and leap out of the water. Green Paratroopas bounce forward in one direction and hover horizontally over water. Red ones hover vertically up and down mostly over pits.
Bop this block on the right from below then continue getting the first coins
Swim back to the beginning and watch for those Cheep Cheeps.
Hit the switch and collect the coins.

Get a boost from the Paratroopa to get the final coins. You need 22 coins to get the Toad White House.
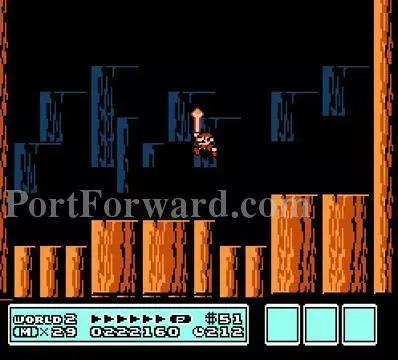
2-Castle: It's best to jump Dry Bones than stomp on them since there are more important enemies to worry about.
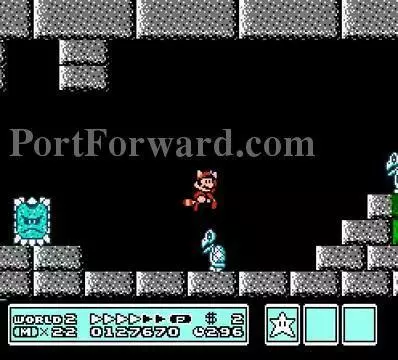
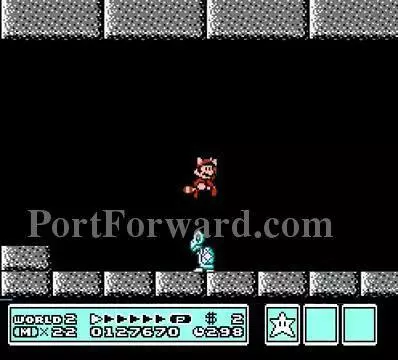
Meet Thwomp Trap/Dossun. When Mario gets too close, these guys will fall down and try to squash him flat. Some will travel horizontally and bowl him over. Get close and wait for them to fall then run or jump through when safe.
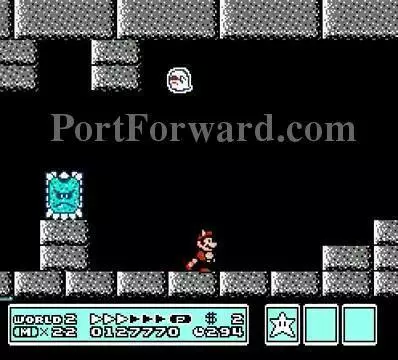
Meet Boo Diddley/Teresa. They are shy ghosts who stays still when Mario faces it but when Mario turns his back they give chase.
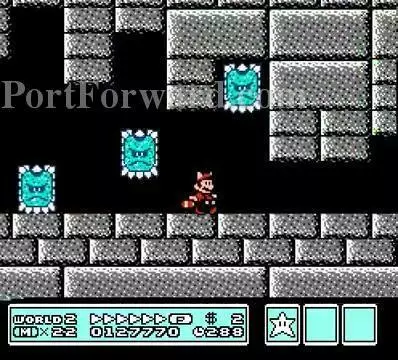
At th end of the first section, get a running start and all Thwomp Traps will miss their mark.
Keep the Boo Diddleys at bay and wait for the spikes to rise up before proceeding.
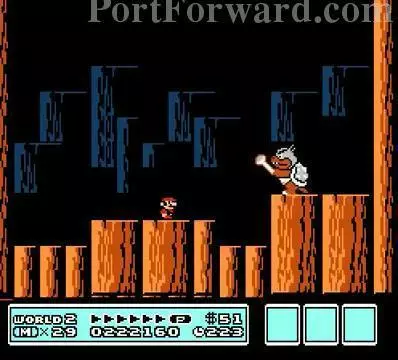
I skipped him in the previous world because I opted to get the Whistle but here, meet Boom-Boom/Bunbun. Their first phase is to move along the ground back and first. The second phase is the same except some will hop around after a few seconds but others will fly around and swoop in on Mario. The third phase will make Boom-Boom move faster. After stomping him the third time, he is dead.
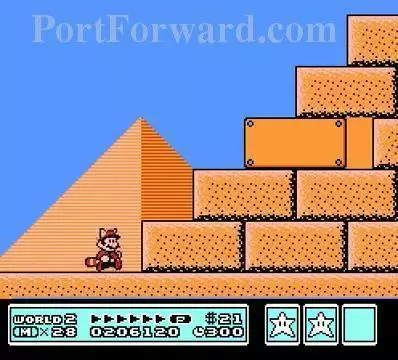
2-3: You will go through three pyramids.
Take flight after the third one.
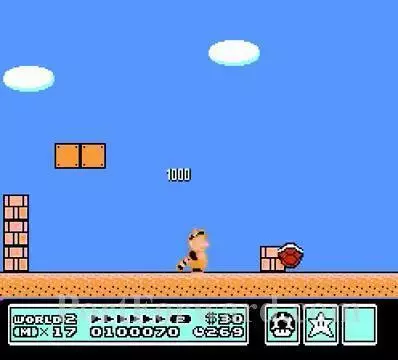
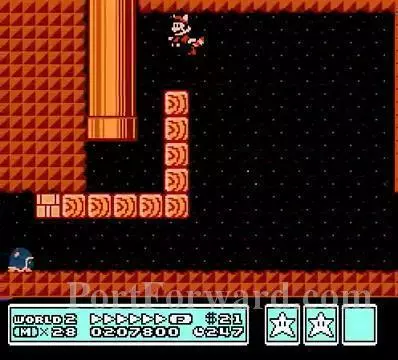
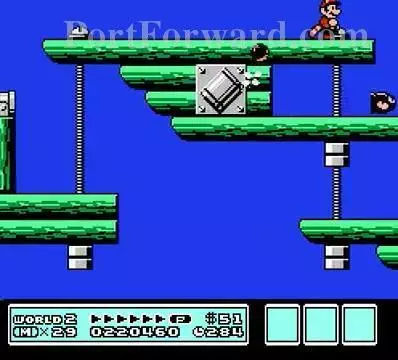
You will end up here. There is a P-switch in one brick.
I never used the P-switch but if you do, jump your way to the far right and collect coins out of these bricks either with your tail or kicking the Koopa Shell into them.
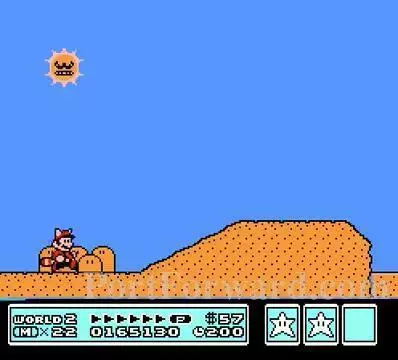
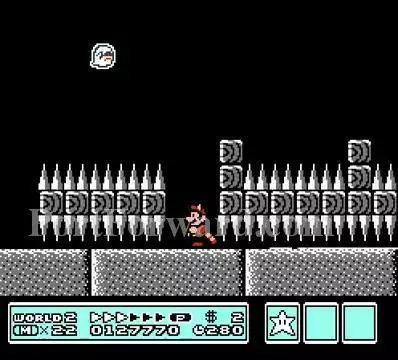
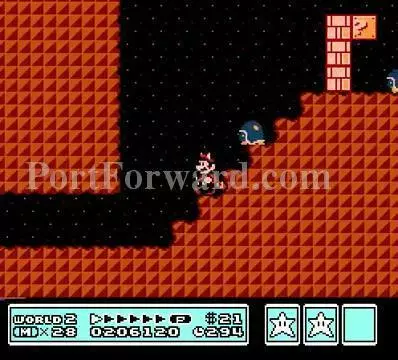
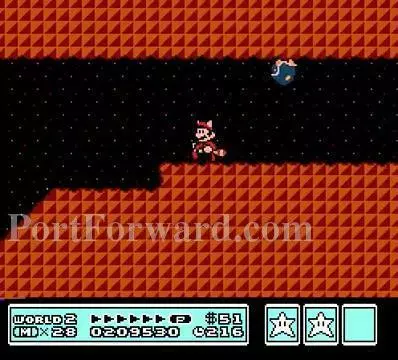
2-Quicksand: The Angry Sun chills in the background for now.
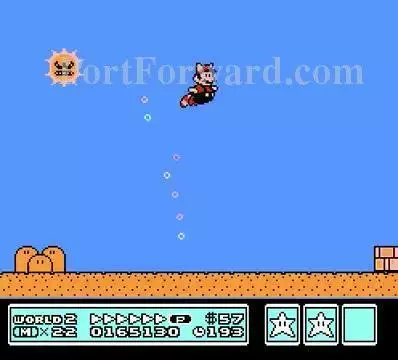
Once you get past this tornado, look out.
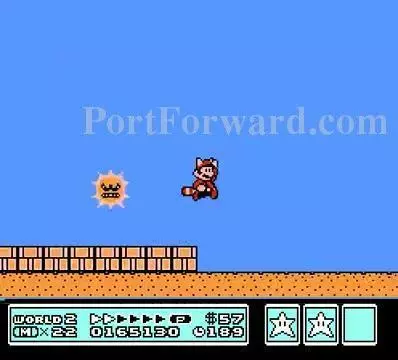
The Angry Sun is on the attack.

Kill it with a Koopa Shell or make it to the end of the level and get bonus points from it.
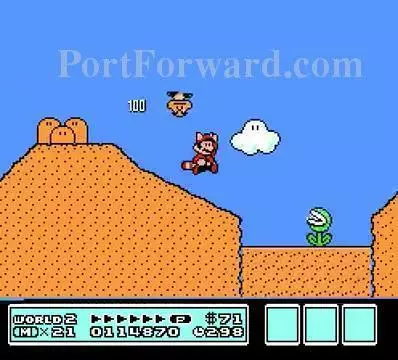
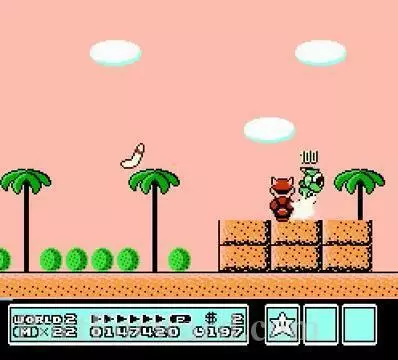
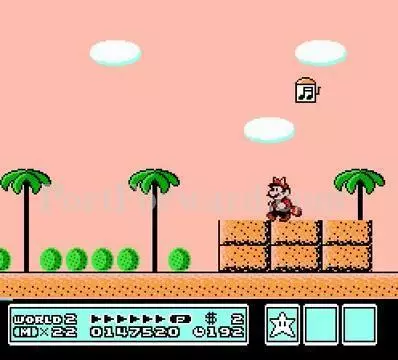
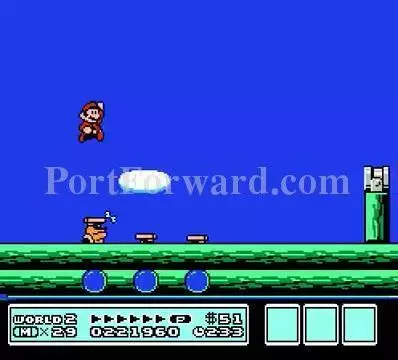
2-4: Kill this Paragoomba first then get a running start to the left.
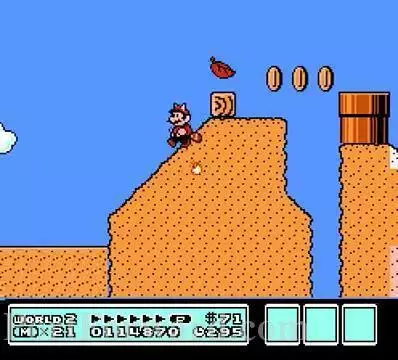
Take flight on the left to smash these bricks on the way up.
Hit the P-switch while underwater to collect some coins.
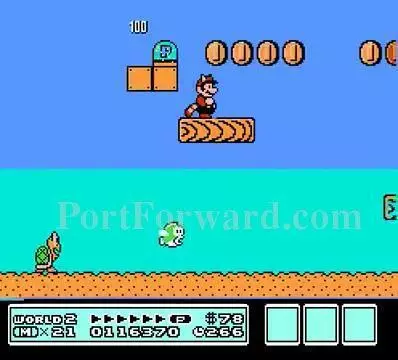
Gather as many coins as you can.
Use the note blocks to safely bounce your way to the exit.
2-5: Meet Chain Chomp/Wanwan. It is held into place by a chain and tries to chomp at Mario. Don't dwadle too long. After 150-200 seconds, the chain will break and the Chain Chomp is free to attack.
Kick the Koopa shell to unleash this vine.
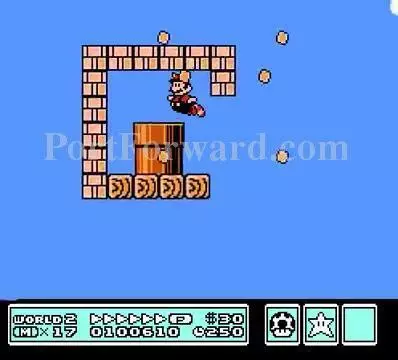
Climb to the top and jump along the clouds to reach this pipe.
It contains coins and a P-switch in the lower brick.
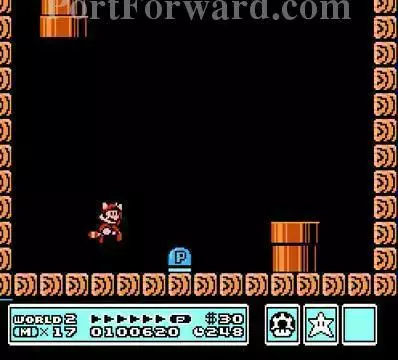
You will come out high in the sky with four ? blocks. The exit is shortly ahead.
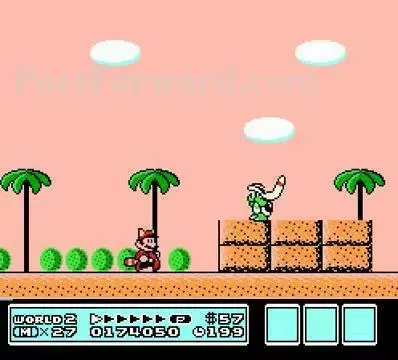
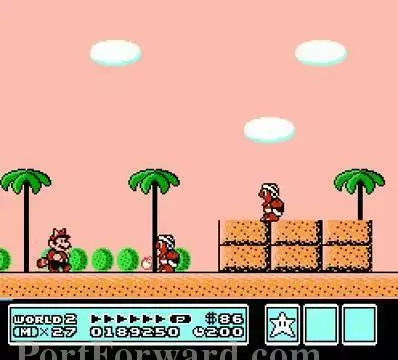
Battle with one of the Boomerang Bros.
The prize is a music box. Use this to put the Hammer Bros. or plants on the map to sleep.
Here is another fight with one of the Boomerang Bros.
Your prize is the hammer.
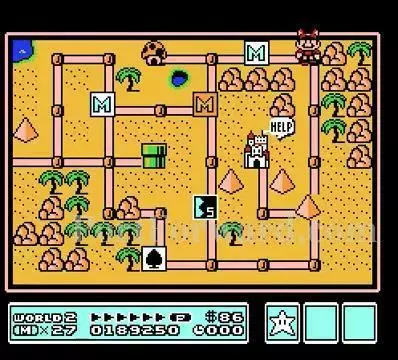
Use the Hammer on this rock up here on the map.
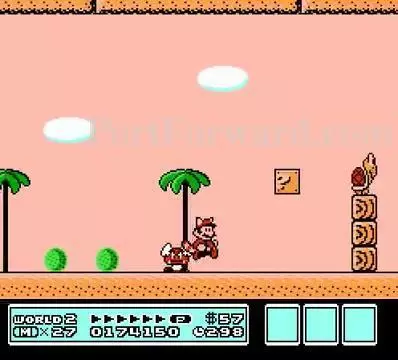
You will reveal a hidden part of the map with a Toad house containing a Frog Suit and a Fire Bros. fight.
Defeat these duo of Fire Bros.
Your prize will be the third and final whistle of the game.
2-Pyramid: Enter into the door here.
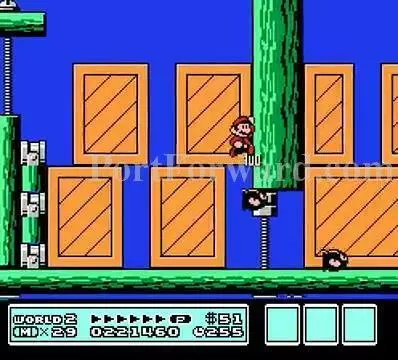
Get past the Buzzy Beetles and you can also use their shells in the same manner as the Koopa Shells to smash bricks and kill other enemies.
Fly up here to enter this pipe. Without the Racoon Suit you can hit a hidden coin nearby to reach this.
Get the P-switch to get some of the coins.
Whenever the Buzzy Beetle walks on the ceiling, it will fall down and spin upside down towards Mario.
You can let it smash a brick then you can run and slide under this wall.
You come out of the level with a Boomerang Bro. waiting for you.
2-Airship: This stage takes place at night. Use the Bullet Bill posts for leverage to higher places.
The cannons are placed in tricky spots especially when the screen begins to scroll down.
When it scrolls to the bottom, watch out for this set of Bullet Bills.
Meet Rocky Wrench/Puu. They hurl wrenches at Mario's direction.
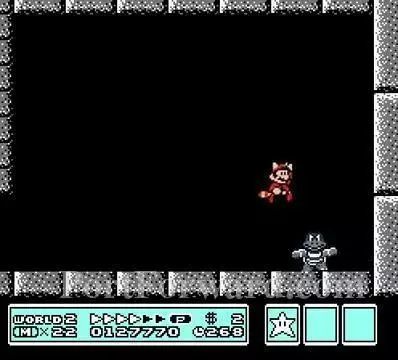
Morton Koopa Jr. fights the same way as Larry Koopa only on more uneven terrain. Three stomps will end this fight.
Desert Land/Desert Hill complete.
More Super Mario Bros 3 Walkthroughs
This Super Mario Bros 3 walkthrough is divided into 8 total pages.


