I'm pretty sure that you do not need to forward ports for the Wii, unless you have some kind of special situation. This is a guide on how to setup a static ip address on your Wii. I will include information in it as it relates to port forwarding incase someone out there needs it. Anyone who just wants to setup a static ip address and does not want to forward ports, can just ignore the port forwarding comments in this guide.
It is very important to setup a static ip address, if you are going to use port forwarding. When you have port forwarding setup, your router forwards ports to an ip address that you specify. Without setting up a static ip address port forwarding will probably work when you initially set it up, but after restarting your Wii it may get a different ip address. When this happens the ports will no longer be forwarded to your Wii's ip address. So the port forwarding configuration will not work.
What is an ip address?
IP addresses are four sets of numbers separated by periods that allow computers to identify each other. Every computer has at least one ip address, and two devices should never have the same ip address. If they do, neither of them will be able to connect to the internet. There is a lot of information at the following link. You don't need all of it. But if you want to know more about how networks work, you'll find it there. For more information on ip addresses, subnets, and gateways go here
Dynamic vs Static IPs Most routers assign dynamic IP addresses by default. They do this because dynamic ip address networks require no configuration. The end user can simply plug their computer or console in, and their network will work. When ip addresses are assigned dynamically, the router is the one that assigns them. Every time a computer or console reboots it asks the router for an ip address. The router then hands it an ip address that has not already been handed out to another computer or console. This is important to note. When you set your Wii to a static ip address, the router does not know that the Wii is using that ip address. So the very same ip address may be handed to another computer or console later, and that will prevent both devices from connecting to the internet. So when you asign a static IP addresses, it's important to assign an IP address that will not be handed out to other devices by the dynamic IP address server. The dynamic IP address server is generally refered to as the dhcp server.
Setting up a static ip for your Wii.

Step 1:
Turn on your Wii, and then click on the Wii Options button in the lower left hand part of your screen.
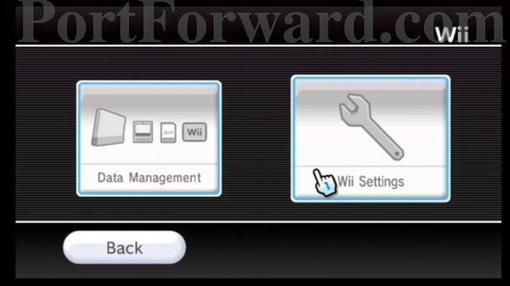
Step 2:
Click the Wii Settings option.
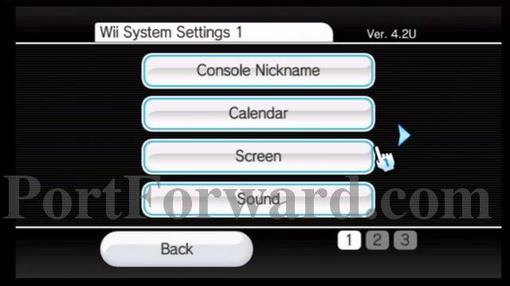
Step 3:
Click the arrow that points to the right to get to the next page of setup options.
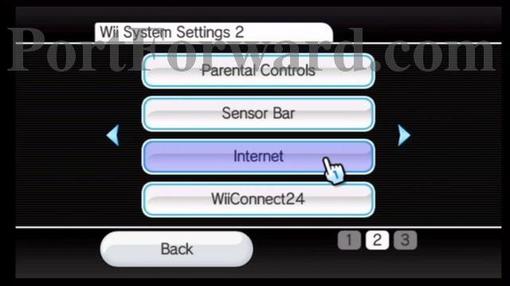
Step 4:
Click the Internet button on this page.
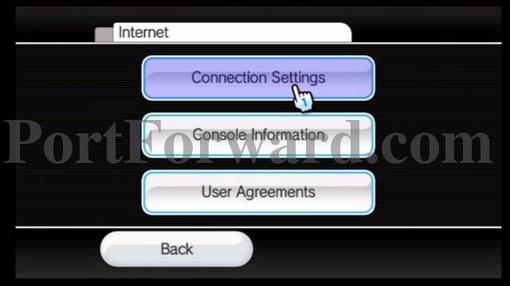
Step 5:
Click the Connection Settings button.
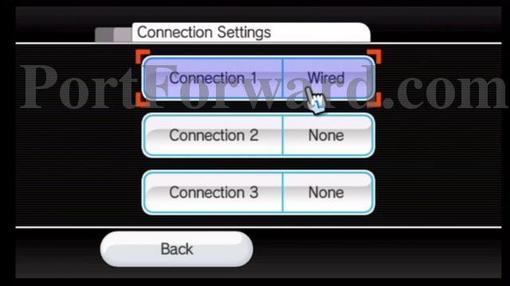
Step 6:
Select the connection you want to setup a static ip address for.
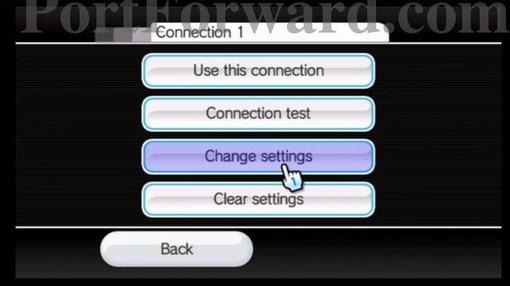
Step 7:
Click the Change Settings button.
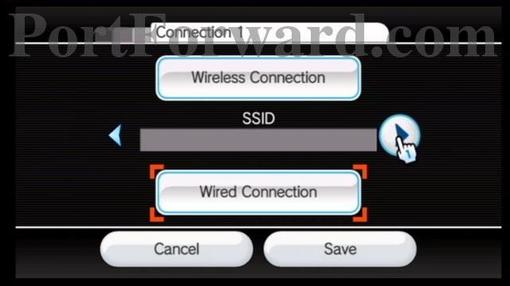
Step 8:
This page allows you to set the connection type. You want to leave this setting alone if this connection has been working in the past. Click the arrow pointing to the right.
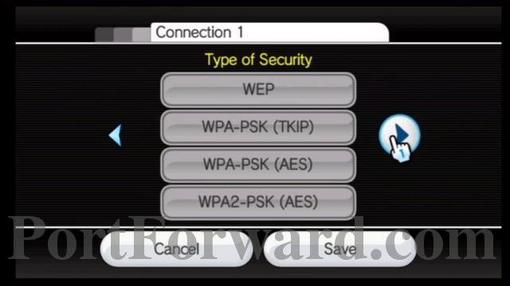
Step 9:
Once again you probably want to leave this page of settings alone if your Wii's connection has been working in the past. Click the arrow pointing to the right.
Step 10:
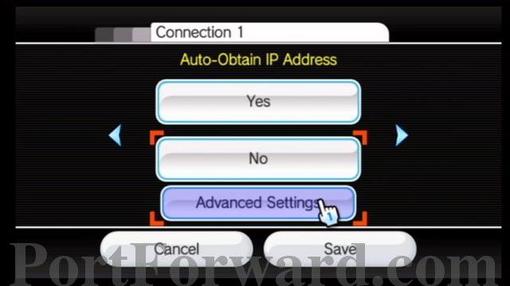
Click the No button, and then click the Advanced Settings button.
Step 11:
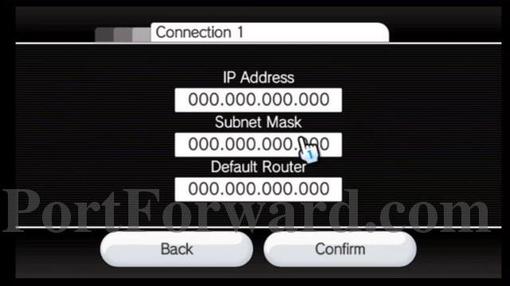
Finially we are at that page that will allow you to change your ip address information. Click on the ip address to change it.
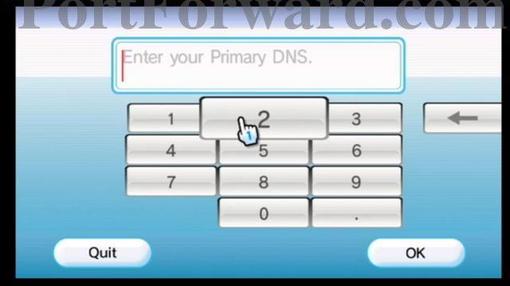
Step 12:
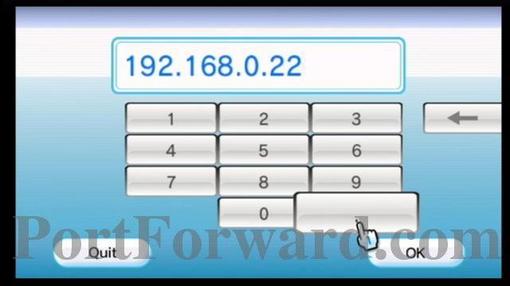
You will be brought to a menu like in the picture above.
Enter the the ip address you want to use for your Wii into this page. It's important to choose an ip address that not in your router's dhcp range. You can check this by login in to your router and looking at it's dhcp or LAN page. Alternatively you can find an ip address on your network and then pick an ip address that is not close to the ip address you found.
Go to a computer on your network. Click start and then run. Type cmd in the run box, and press OK. At the black window that comes up type ipconfig. You will see an IP Address, Subnet Mask, and a Default Gateway. Write all this down we will need it.
Now we need to modify the ip address the computer was using to something that we can use. If your computer was using something like 192.168.0.2, then you would want the new ip address to be something like 192.168.0.200. If your Wii was using something like 192.168.0.240, then you would want the new ip address to be something like 192.168.0.2. Only the last group of numbers on the ip address should change, and that group of numbers would range from 2 to 254. Please, don't over think this just pick a number and go with it. I have just tried to provide some guidelines here so you can pick a better number.

Step 13:
Now enter the subnet mask we found on your computer. Then enter the Default Gateway number into your Wii's Default Router box. When that is done click the Confirm button.
![]()
Step 14:
We are back at the Auto-Obtain Ip Address page. Click the arrow pointing right to get to the next page.
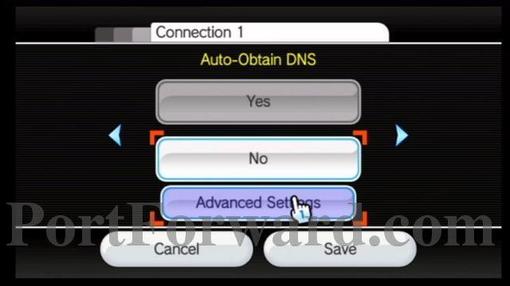
Step 15:
Click the No button. Then click the Advanced Settings button. You may think that you can just let the dns auto assign, but you really can't. Most routers will not pass dns information to a device, when the device has a static ip address.
Step 16:
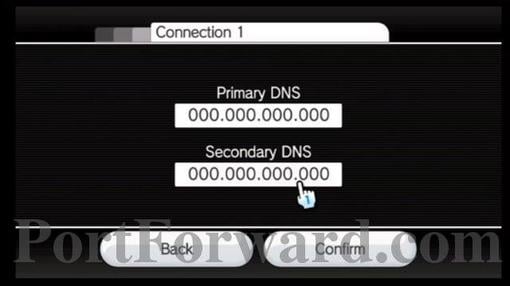
You will also have to specify the DNS servers your Wii will be using. This is usually required when your network's router is not passing the dns server information to the computers that have static ip address properly. First you need to find out what DNS servers your Wii should be set to. The easiest way to do this is to give your ISP a call. They will probably ask you why you need them. Tell them the truth, your Wii is requesting them. They should give you two ip addresses, one for the primary dns server and one for the secondary dns server.
Step 17:
Go ahead and enter both dns servers into these boxes. If you only have one dns server, leave the second one blank.
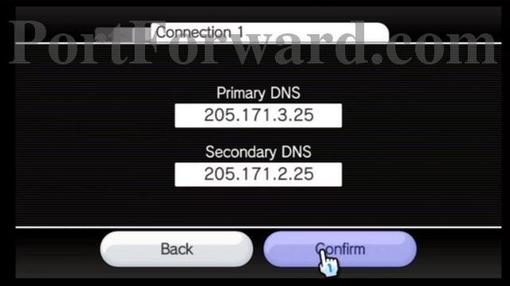
Step 18:
When you have made your changes click the Confirm button to complete your changes.
![]()
Step 19:
Click the arrow pointing to the right to get to the next page of options.

Step 20:
You want to leave this setting alone, if your Wii's network connection was already working prior to setting up a static ip address. Click the arrow button pointing to the right.
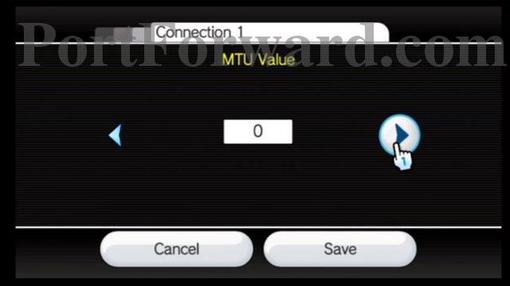
Step 21:
Leave the MTU setting set to zero. Click the arrow pointing to the right. Click the Save button to save your settings.
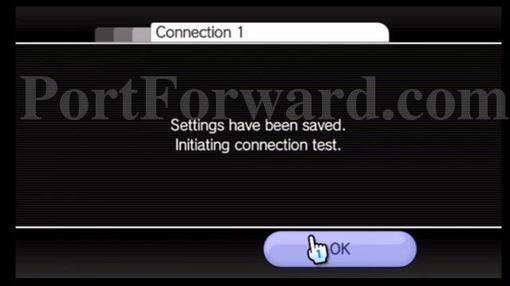
Step 22:
Click the OK button to start the connection test.
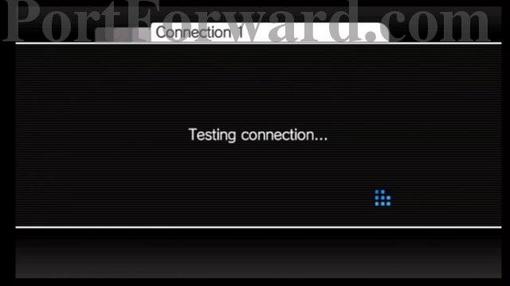
Step 23:
You will see a window come up like the one above while the Wii tests it's internet connection.
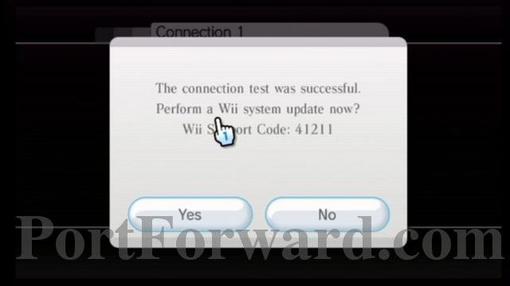
Step 24:
The test is complete and your Wii now has a static ip address. If your internet connection test failed, then read through this guide again. Perhaps you missed something.