
This Garrys Mod walkthrough is divided into 50 total pages.
22 - 8.7 - Muscle
23 - 8.8 - Pulley
24 - 8.9 - Rope
25 - 8.10 - Slider
26 - 8.11 - Weld
27 - 8.12 - Winch
28 - 8.13 - Balloons
29 - 8.14 - Button
You can jump to nearby pages of the game using the links above.
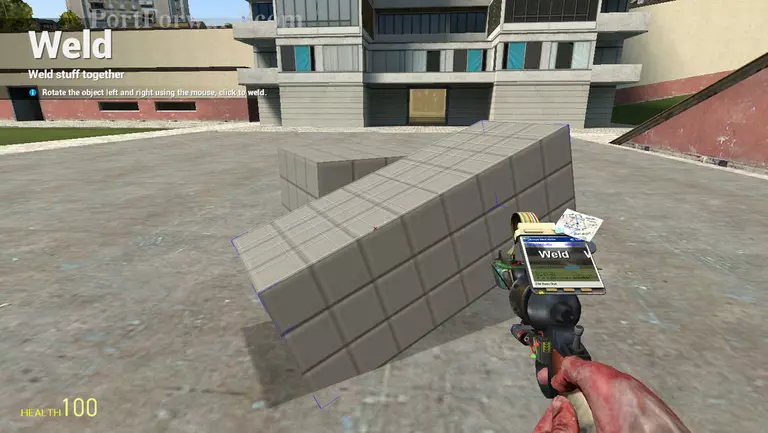
8.11 - Weld
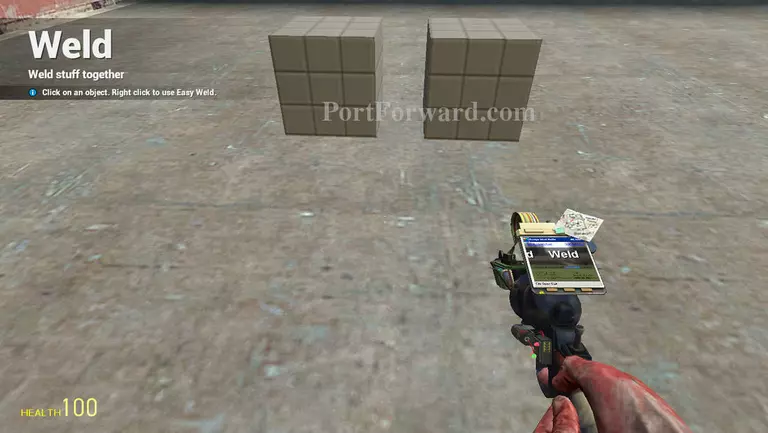
Weld is a tool to attach two or more objects/world together.
For basic welding, first click the first object.

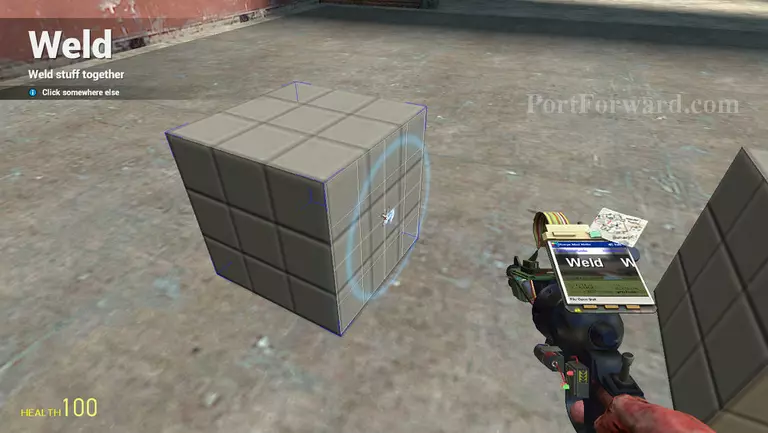
Then click the second object.
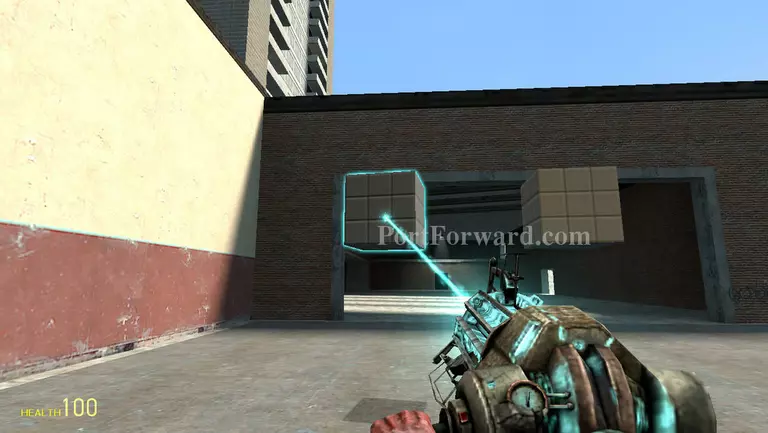
Now the object are welded together. If you move using the Phy Gun, the object will be together even there's a distance between it.
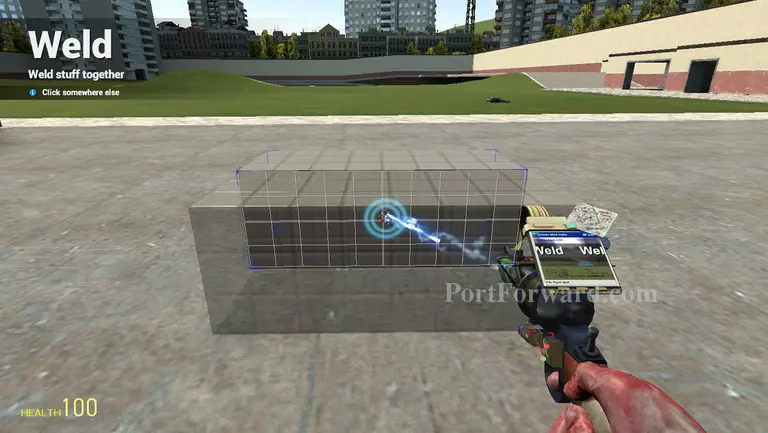
For easy welding, first right-click a object (target object to weld)

Then right click the second place (a point where the object to attach)
Now move the object left/right according to your needs. Then right-click again to finalize the welding process.
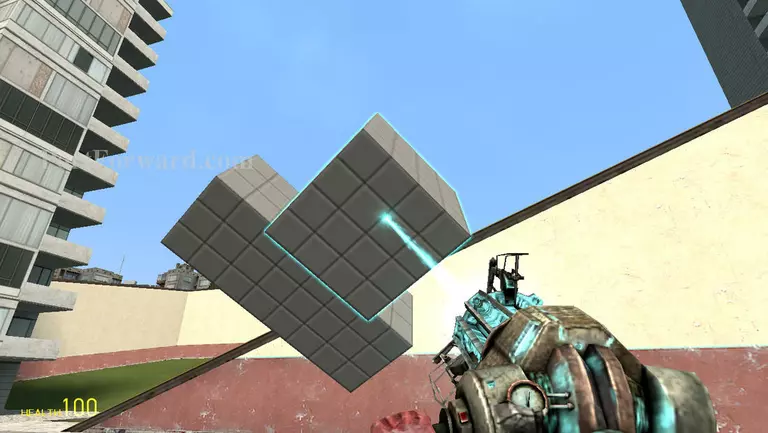
Now the object are attached together.
More Garrys Mod Walkthroughs
This Garrys Mod walkthrough is divided into 50 total pages.
22 - 8.7 - Muscle
23 - 8.8 - Pulley
24 - 8.9 - Rope
25 - 8.10 - Slider
26 - 8.11 - Weld
27 - 8.12 - Winch
28 - 8.13 - Balloons
29 - 8.14 - Button


