Alone in the Dark Walkthrough Floor 1

September 12, 2016 (Last Updated: ) | Reading Time: 6 minutes

This Alone in the Dark walkthrough is divided into 5 total pages.

You can jump to nearby pages of the game using the links above.

Floor 1

Alone in the Dark Walkthrough - Alone in-the-Dark 177

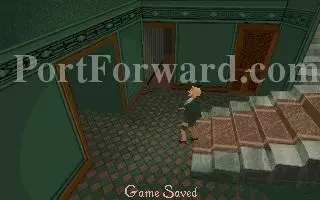
It's probably a good time to save if you haven't already.

Alone in the Dark Walkthrough - Alone in-the-Dark 178

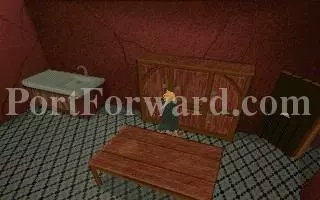
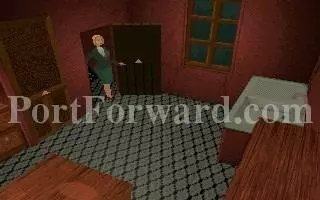
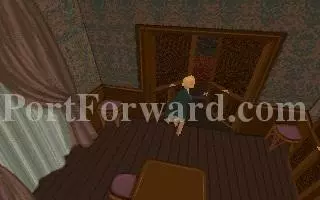
Head through the first door you see.

Alone in the Dark Walkthrough - Alone in-the-Dark 179

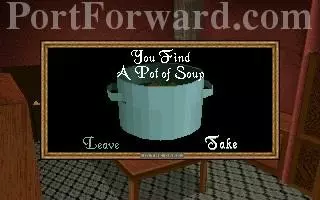
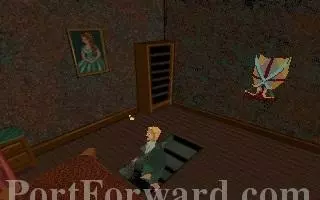
Turn right and take the pot of soup.

Alone in the Dark Walkthrough - Alone in-the-Dark 180

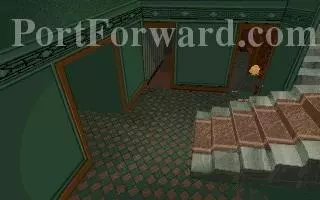
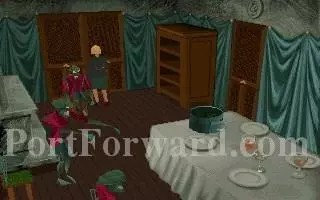
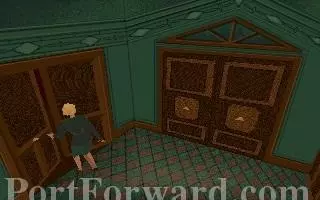
Open the other door in this room and go in.
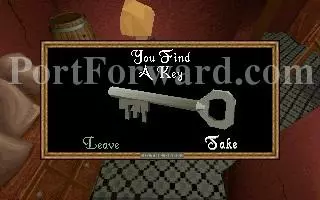
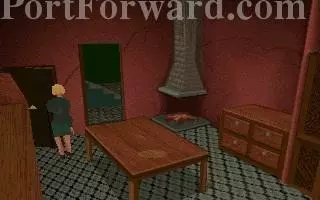
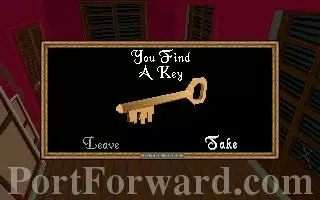
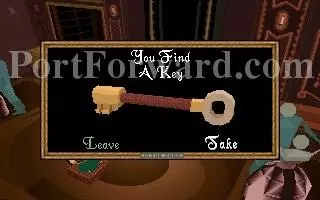
Alone in the Dark Walkthrough - Alone in-the-Dark 181

Take the key.

Alone in the Dark Walkthrough - Alone in-the-Dark 182

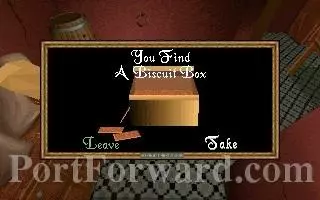
There is also a biscuit box, eat them for health.

Alone in the Dark Walkthrough - Alone in-the-Dark 183

There are some knifes in these drawers, but we probably don't need them.

Alone in the Dark Walkthrough - Alone in-the-Dark 184

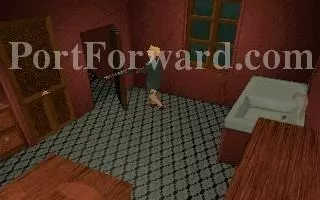
Now is a good time to break out the rifle. Open the door.

Alone in the Dark Walkthrough - Alone in-the-Dark 185

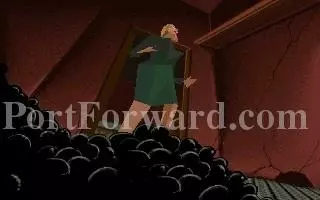
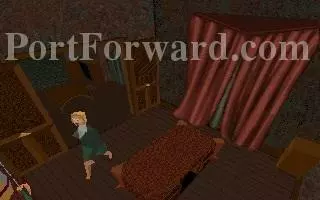
Go into the room backwards; a zombie spawns in behind you.

Alone in the Dark Walkthrough - Alone in-the-Dark 186

It takes only two shots but I end up taking about 4 here.

Alone in the Dark Walkthrough - Alone in-the-Dark 187

Take the oil can in the corner.

Alone in the Dark Walkthrough - Alone in-the-Dark 188

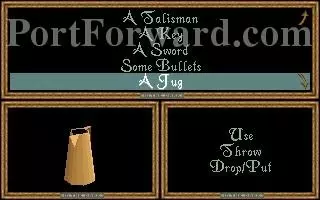
Fill your jug with the barrel of water.

Alone in the Dark Walkthrough - Alone in-the-Dark 189

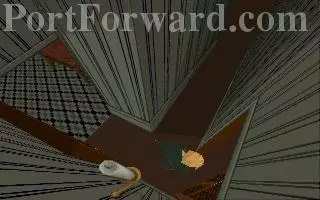
Search the pile of coal for... a box of shoes?

Alone in the Dark Walkthrough - Alone in-the-Dark 190

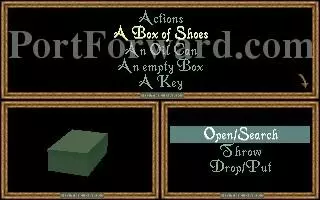
Why would somebody stick a box of shoes among a pile of coal?

Alone in the Dark Walkthrough - Alone in-the-Dark 191

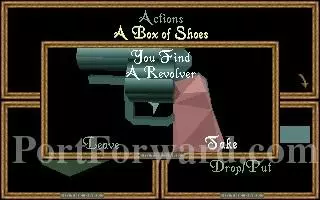
That's why! The bullets we got earlier go to this gun, so reload!

Alone in the Dark Walkthrough - Alone in-the-Dark 192

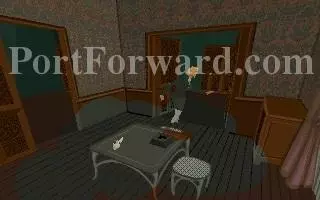
This game has some cool cinematic angles.

Alone in the Dark Walkthrough - Alone in-the-Dark 193

If you have any empty items, throw them away now.

Alone in the Dark Walkthrough - Alone in-the-Dark 194

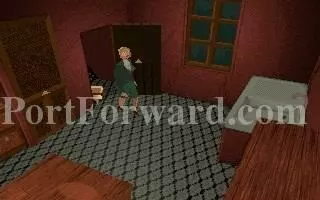
That's all for this room, go through this door.

Alone in the Dark Walkthrough - Alone in-the-Dark 195

...then this door.

Alone in the Dark Walkthrough - Alone in-the-Dark 196

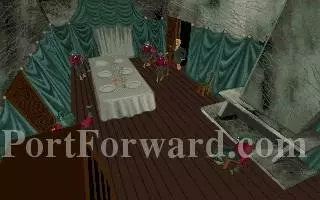
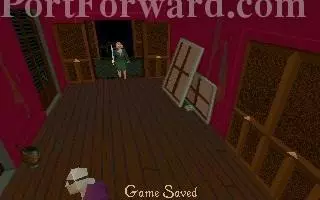
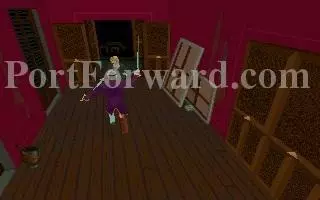
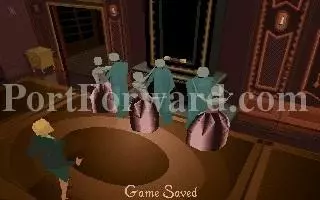
That's a lot of zombies.

Alone in the Dark Walkthrough - Alone in-the-Dark 197

Go to the end of the table.

Alone in the Dark Walkthrough - Alone in-the-Dark 198

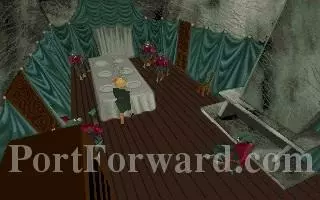
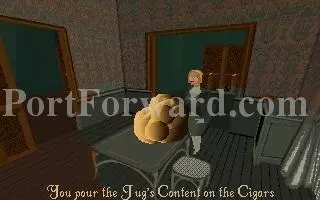
Put the pot of soup on the table. (Spoiler Alert: IT'S MADE OF PEOPLE!!!)

Alone in the Dark Walkthrough - Alone in-the-Dark 199

The zombies all get ready for a good meal.... You can open this door if you want.

Alone in the Dark Walkthrough - Alone in-the-Dark 200

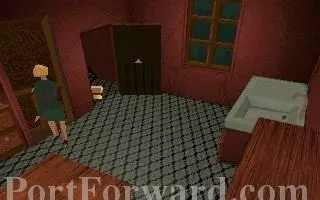
Go through this door.

Alone in the Dark Walkthrough - Alone in-the-Dark 201

Quickly run over to the double doors over here and open them.

Alone in the Dark Walkthrough - Alone in-the-Dark 202

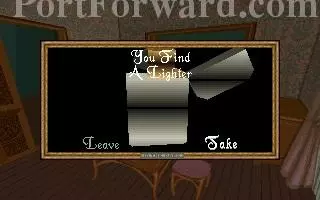
Take the lighter, it will replace the matchbox.

Alone in the Dark Walkthrough - Alone in-the-Dark 203

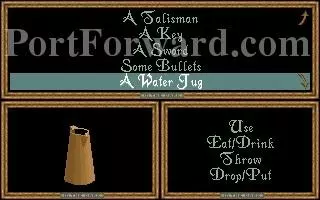
Position yourself near the ashtray (it's trying to kill you) and use the water jug to put the flame out.

Alone in the Dark Walkthrough - Alone in-the-Dark 204

We killed the smoke monster. The folks on LOST would be very grateful.

Alone in the Dark Walkthrough - Alone in-the-Dark 205

Our gold key opens the door to Jeremy's study.

Alone in the Dark Walkthrough - Alone in-the-Dark 206

Go back across the hall and open the other double doors.

Alone in the Dark Walkthrough - Alone in-the-Dark 207

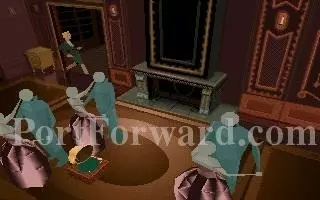
Now is another good time to study. Pull out your sword, we are battling a pirate.

Alone in the Dark Walkthrough - Alone in-the-Dark 208

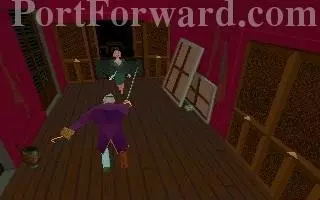
This is by far the most difficult fight of the entire game.

Alone in the Dark Walkthrough - Alone in-the-Dark 209

He will counter all of your attacks. The trick is to fake him out by moving to attack with one direction key, but then quickly holding down another.

Alone in the Dark Walkthrough - Alone in-the-Dark 210

He finally dies in a shower of blood, cursing the day he decided to pick a fight with master swordsman: Emily Hartwood!

Alone in the Dark Walkthrough - Alone in-the-Dark 211

He drops a key. It belongs to the doors he was guarding right next to us.

Alone in the Dark Walkthrough - Alone in-the-Dark 212

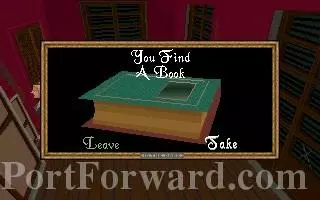
There is a book back near these paintings. Lets read yeah?

Alone in the Dark Walkthrough - Alone in-the-Dark 213

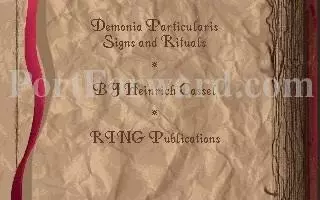
Further things to connect this game with Chtulu.

Alone in the Dark Walkthrough - Alone in-the-Dark 214

You can throw away anything you don't need: used keys, books, the sword we used against the pirate, ect.

Alone in the Dark Walkthrough - Alone in-the-Dark 215

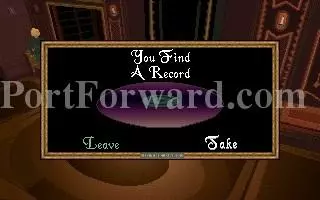
It is acually better if you leave this record here.

Alone in the Dark Walkthrough - Alone in-the-Dark 216

We need to get those ghosts away from a key by playing music. Unfortunatly this is the wrong record.

Alone in the Dark Walkthrough - Alone in-the-Dark 217

Come back and search this case, we get a book and a record. Leave the record.

Alone in the Dark Walkthrough - Alone in-the-Dark 218

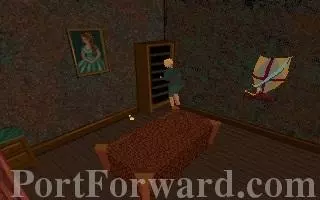
Now search this bookcase. Do take this record.

Alone in the Dark Walkthrough - Alone in-the-Dark 219

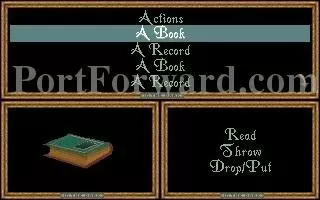
Hooray for reading! You feeling any smarter guys?

Alone in the Dark Walkthrough - Alone in-the-Dark 220

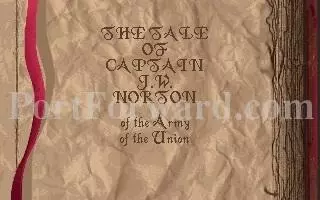
This books contains the story of Captain Norton who killed Pickford and burned down the orginal Derceto Manor.

Alone in the Dark Walkthrough - Alone in-the-Dark 221

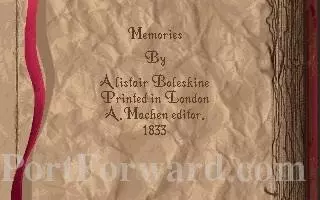
More stuff to connect the game to H.P. Lovecraft.

Alone in the Dark Walkthrough - Alone in-the-Dark 222

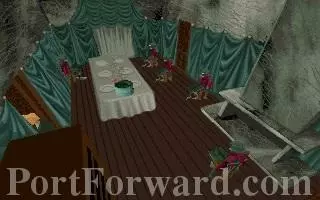
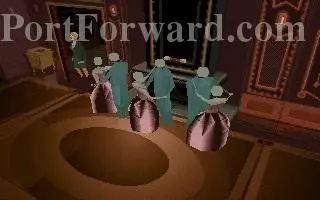
Now is a VERY good time to save your game. Use the green record to play the Dance of Death.

Alone in the Dark Walkthrough - Alone in-the-Dark 223

The ghosts start moving around the dance floor; we can move in and grab the key.

Alone in the Dark Walkthrough - Alone in-the-Dark 224

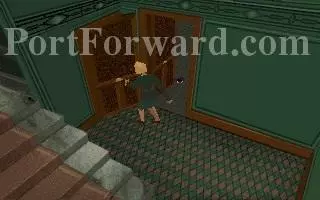
We need to get back out this door. It can be pretty difficult but try not to panic and you can make it.

Alone in the Dark Walkthrough - Alone in-the-Dark 225

Come back to the door on the right of the stairs. Use your silver key.

Alone in the Dark Walkthrough - Alone in-the-Dark 226

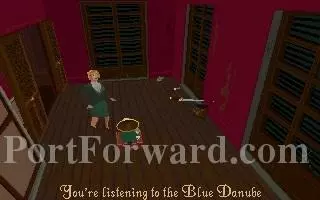
We are now in the wine cellar. There are a couple of things we need to grap from here.

Alone in the Dark Walkthrough - Alone in-the-Dark 227

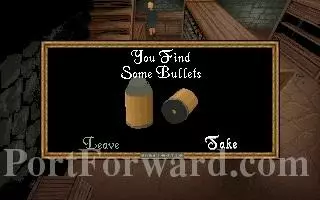
The shelf all the way at the back of the room has some bullets lying on it.

Alone in the Dark Walkthrough - Alone in-the-Dark 228

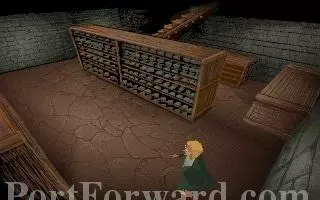
Turn right from there and run to the end of the room, we want to avoid having the rats gnaw off our ankles.

Alone in the Dark Walkthrough - Alone in-the-Dark 229

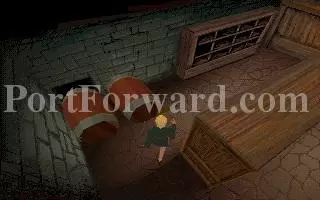
There is a block holding these barrels in place. You don't have to pick it up, but can if you want.

Alone in the Dark Walkthrough - Alone in-the-Dark 230

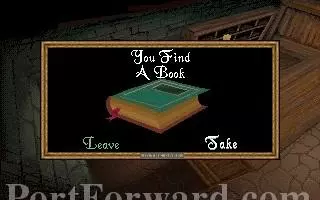
There is a book hiding in the shelves next to the barrels, take it and get out of the cellar.

Alone in the Dark Walkthrough - Alone in-the-Dark 231

This tells of a pirate known as Bloody Pregzt and how evil he was.

Alone in the Dark Walkthrough - Alone in-the-Dark 232

Astarte... isn't that...

Alone in the Dark Walkthrough - Alone in-the-Dark 233

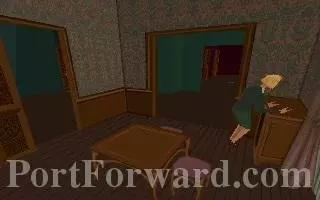
Come back to Jeremy's study.

Alone in the Dark Walkthrough - Alone in-the-Dark 234

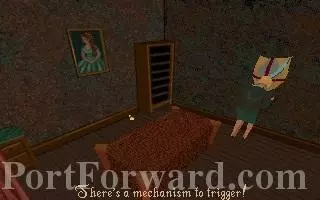
The coat of arms has a mechanism... we kept the broken saber for a reason. Put both pieces on it.

Alone in the Dark Walkthrough - Alone in-the-Dark 235

The desk moves aside, revealing a staircase...

Alone in the Dark Walkthrough - Alone in-the-Dark 236

I think we all know we this is heading...

More Alone in the Dark Walkthroughs

This Alone in the Dark walkthrough is divided into 5 total pages.

More From Portforward