Batman: Arkham City - Harley Quinns Revenge Walkthrough Shipyard - Robin

September 12, 2016 (Last Updated: ) | Reading Time: 6 minutes

This Batman: Arkham City - Harley Quinns Revenge walkthrough is divided into 4 total pages.

You can jump to nearby pages of the game using the links above.

Shipyard - Robin

Batman: Arkham City - Harley Quinns Revenge Walkthrough - Batman Arkham-City-Harley-Quinns-Revenge 0

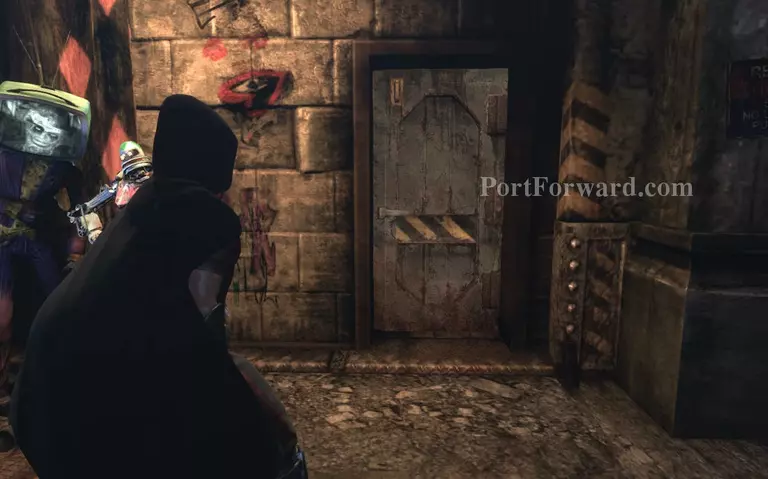
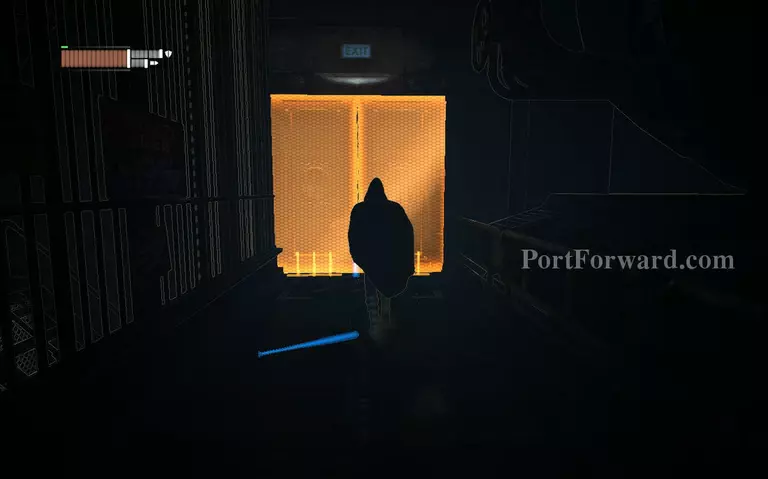
The DLC begins with an immediate fight with Harley's goons. Robin has his own set of moves, but he does move a lot like Batman with a few difference which will slightly change the way stealth and battles go.

Batman: Arkham City - Harley Quinns Revenge Walkthrough - Batman Arkham-City-Harley-Quinns-Revenge 1

Start off by beating the goons down with X and contering their attacks by pressing Y whenever the blue lines appear on their heads. Goons don't go down so quickly in this game so you have to beat them up for a while.

Batman: Arkham City - Harley Quinns Revenge Walkthrough - Batman Arkham-City-Harley-Quinns-Revenge 2

Open the door to the Dry Dock, which is the only door in this room and use your grapple to climb up on the open vent at the left side of the door.

Batman: Arkham City - Harley Quinns Revenge Walkthrough - Batman Arkham-City-Harley-Quinns-Revenge 3

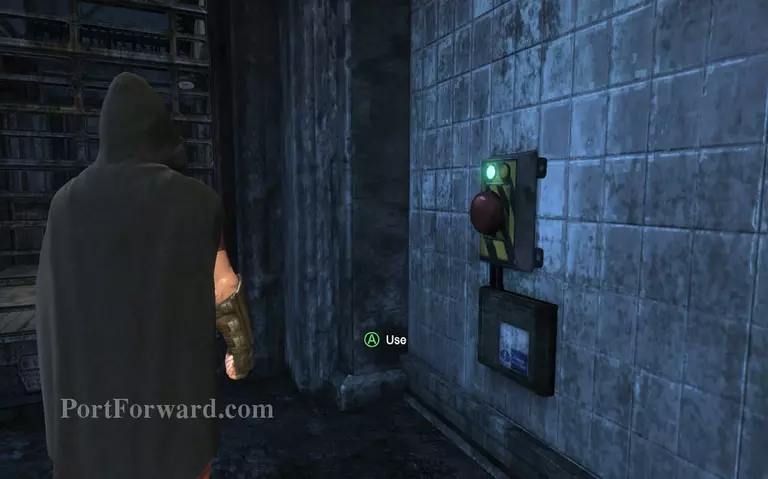
Follow the vent and drop down at the other end, then press the switch at the right side of the shutters to open it.

Batman: Arkham City - Harley Quinns Revenge Walkthrough - Batman Arkham-City-Harley-Quinns-Revenge 4

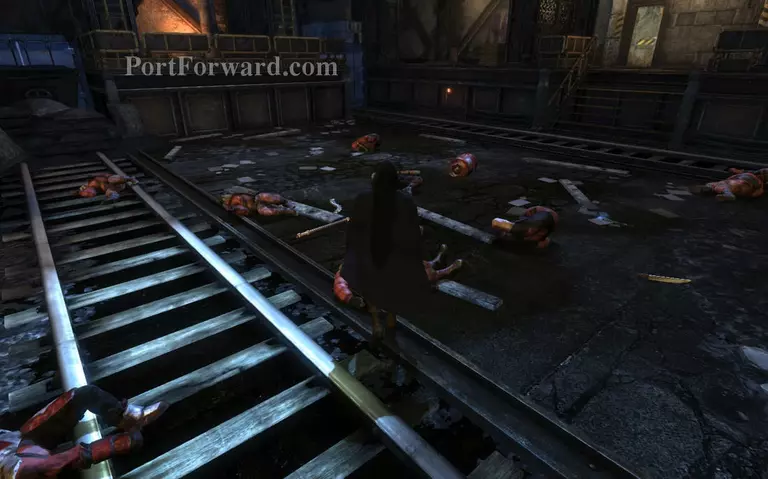
Head through the shutters and turn right, you'll find a set of stairs there. Climb down the stairs and turn right at the end, then enter through the door.

Batman: Arkham City - Harley Quinns Revenge Walkthrough - Batman Arkham-City-Harley-Quinns-Revenge 5

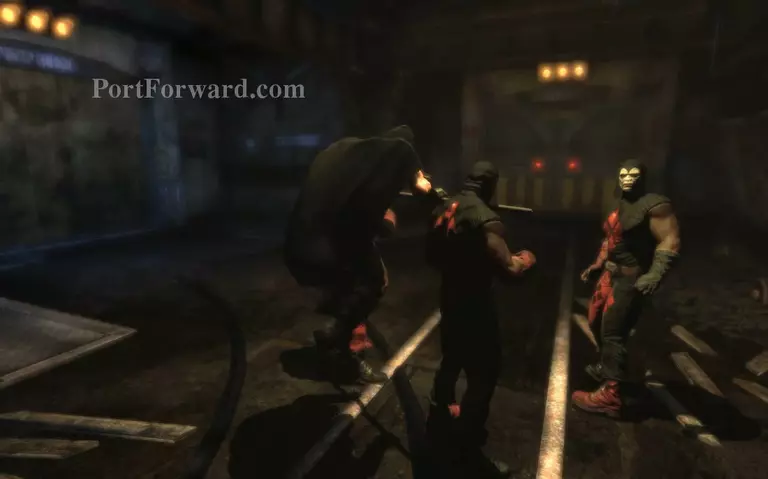
There's a group of goons near the end of the corridor, quietly get behind the first one nearest to you and press Y to perform a double takedown and take out the last remaining goon.

Batman: Arkham City - Harley Quinns Revenge Walkthrough - Batman Arkham-City-Harley-Quinns-Revenge 6

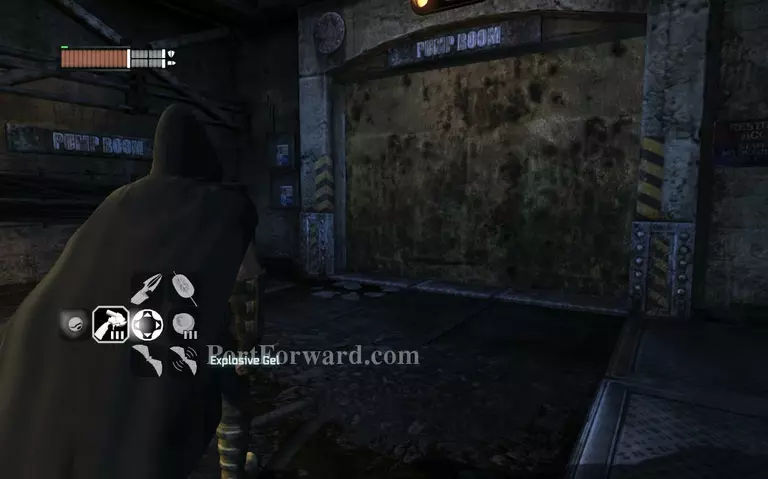
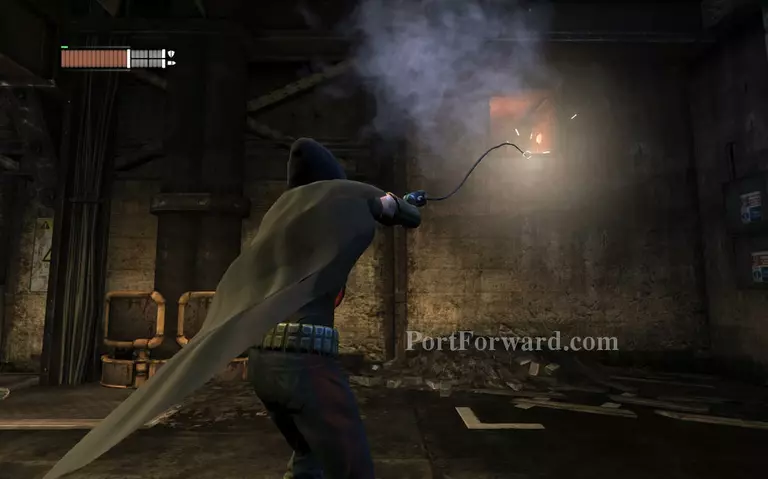
Equip your Explosive Gel and get beside the wall that leads to the Pump Room. Activate Detective mode to see the weak part of the wall, then put some gel on it and detonate the gel.

Batman: Arkham City - Harley Quinns Revenge Walkthrough - Batman Arkham-City-Harley-Quinns-Revenge 7

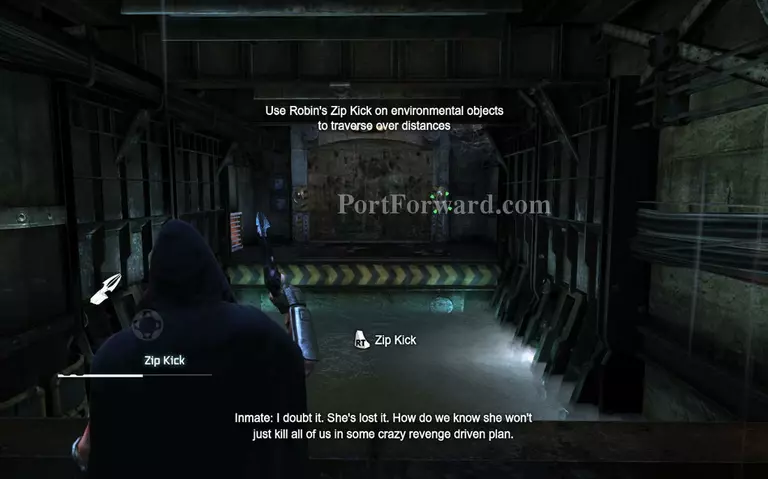
Go through the hole you made in the wall and proceed down the corridor until you get to the flooded section. Equip your Zip Kick and use it on one of the rings on the wall at the opposite side.

Batman: Arkham City - Harley Quinns Revenge Walkthrough - Batman Arkham-City-Harley-Quinns-Revenge 8

Turn left and you'll find a vent. Approach it and remove the cover, then head inside and follow the vent until you reach the end.

Batman: Arkham City - Harley Quinns Revenge Walkthrough - Batman Arkham-City-Harley-Quinns-Revenge 9

When you get to the end, don't open the vent cover. Just press Y and Robin will takedown the goon that's nearest the vent. Take out the rest of them afterwards.

Batman: Arkham City - Harley Quinns Revenge Walkthrough - Batman Arkham-City-Harley-Quinns-Revenge 10

After knocking the goons out, turn left and grapple on the open vent and follow it all the way to the end, then open the vent and drop down.

Batman: Arkham City - Harley Quinns Revenge Walkthrough - Batman Arkham-City-Harley-Quinns-Revenge 11

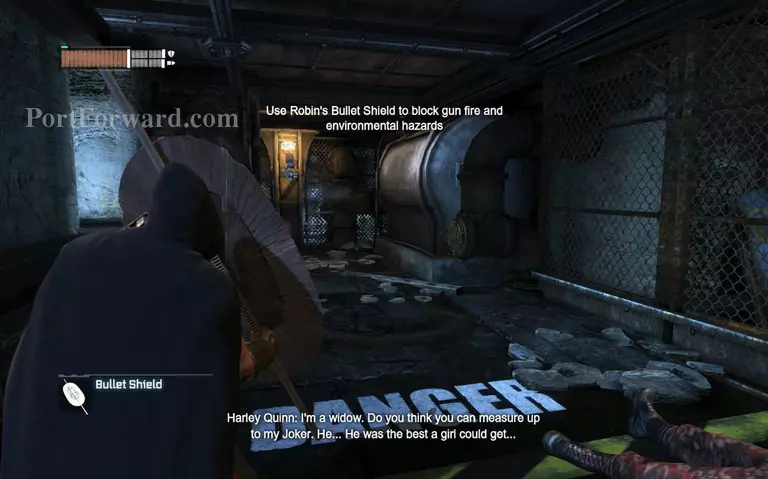
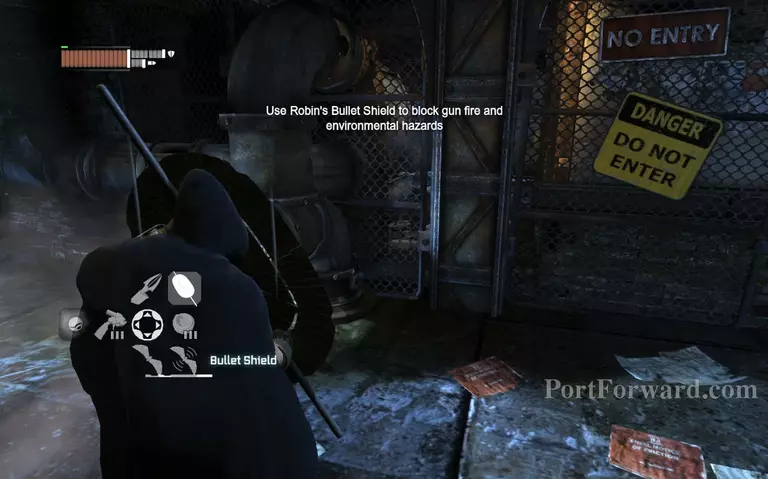
Equip your Bullet Shield and start moving towards the left side of the area. A mechanical gun will start shooting at you, quickly head towards it and move to the corner at the corner at the left side.

Batman: Arkham City - Harley Quinns Revenge Walkthrough - Batman Arkham-City-Harley-Quinns-Revenge 12

Follow the corridor to the other side and your path will be blocked by an open pipe that's blowing steam. Equip your Bullet Shield again and face the pipe, then get across the pipe.

Batman: Arkham City - Harley Quinns Revenge Walkthrough - Batman Arkham-City-Harley-Quinns-Revenge 13

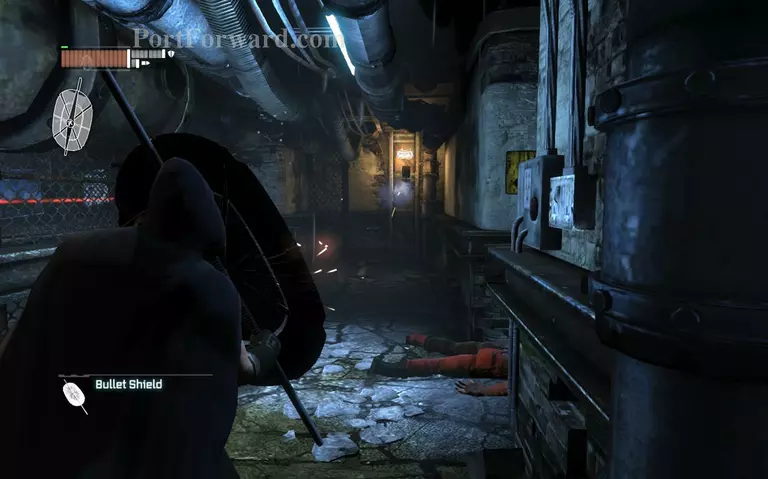
Go to the next corner and equip your Bullet Shield again. Head for the first corner and walk towards the mechanical gun and take the first corner on the left side of the gun.

Batman: Arkham City - Harley Quinns Revenge Walkthrough - Batman Arkham-City-Harley-Quinns-Revenge 14

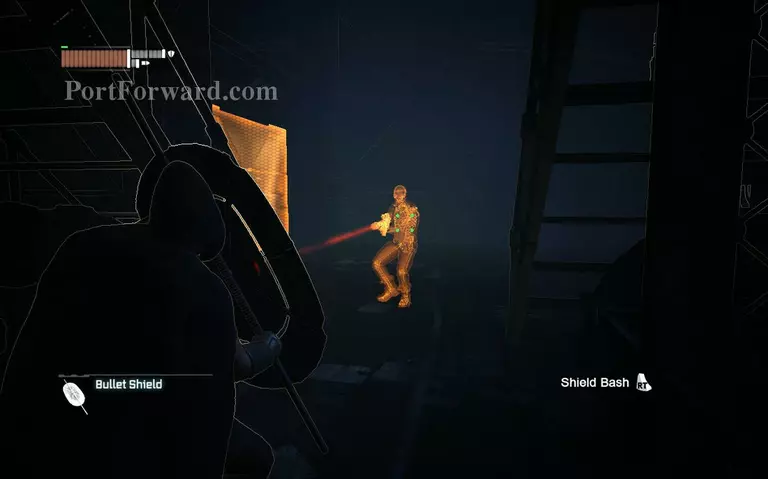
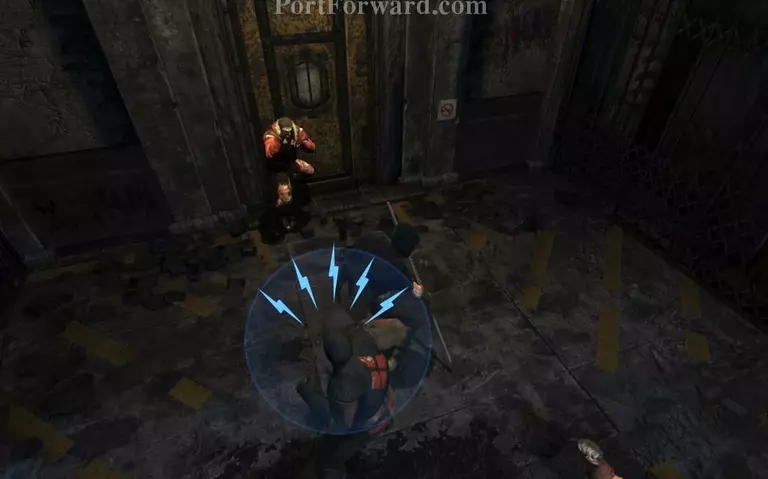
Go towards the sniper while still holding your Bullet Shield, then press RT once you get close enough to bash him. Once he's on the floor press RT + Y to do a takedown.

Batman: Arkham City - Harley Quinns Revenge Walkthrough - Batman Arkham-City-Harley-Quinns-Revenge 15

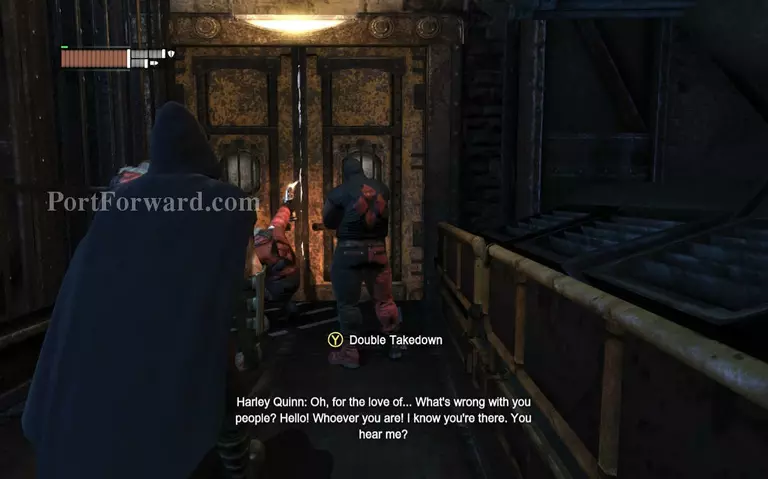
Climb up the stairs and head for the goons that are in front of the door and press Y to do a double takedown, then get rid of the last one.

Batman: Arkham City - Harley Quinns Revenge Walkthrough - Batman Arkham-City-Harley-Quinns-Revenge 16

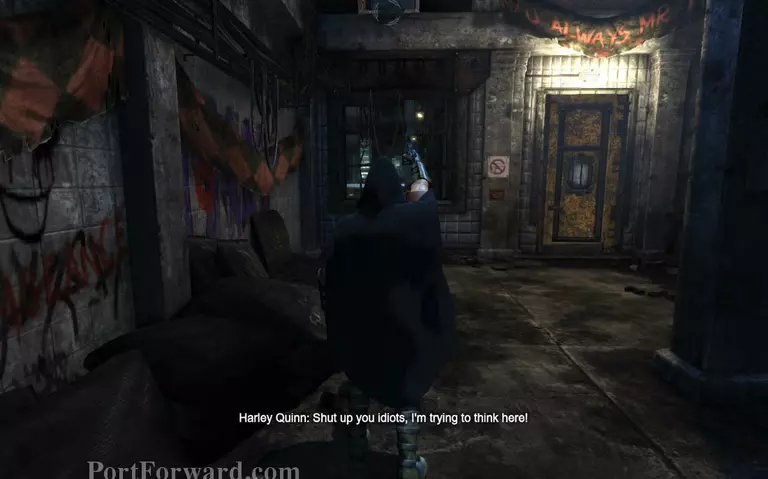
After knocking the goons out, head for the door that they were guarding and examine it. Robin will inform you that it's sealed shut and you need to find another way.

Batman: Arkham City - Harley Quinns Revenge Walkthrough - Batman Arkham-City-Harley-Quinns-Revenge 17

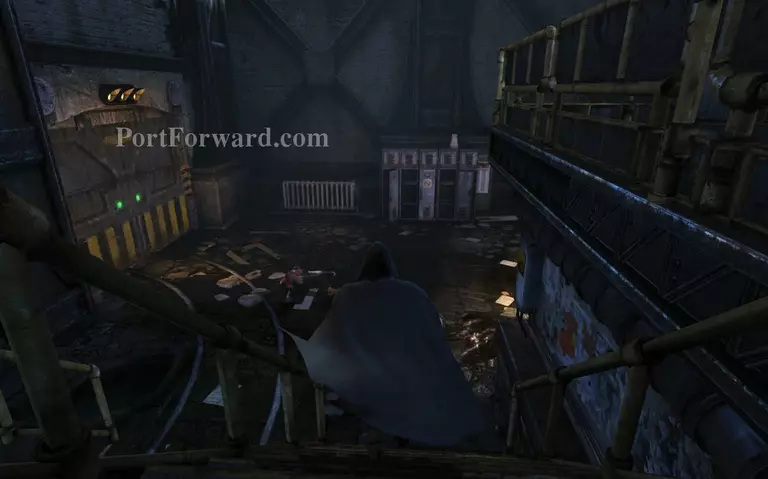
Now head back down the stairs that you previously used and you'll find a large door on the left side. Stand in front of it and it will open.

Batman: Arkham City - Harley Quinns Revenge Walkthrough - Batman Arkham-City-Harley-Quinns-Revenge 18

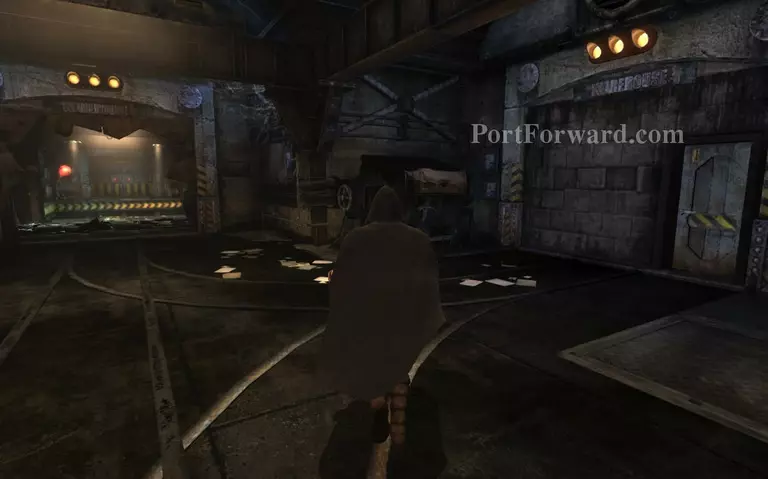
Head in through the door and take a right at the first corner and open the door that leads to the warehouse.

Batman: Arkham City - Harley Quinns Revenge Walkthrough - Batman Arkham-City-Harley-Quinns-Revenge 19

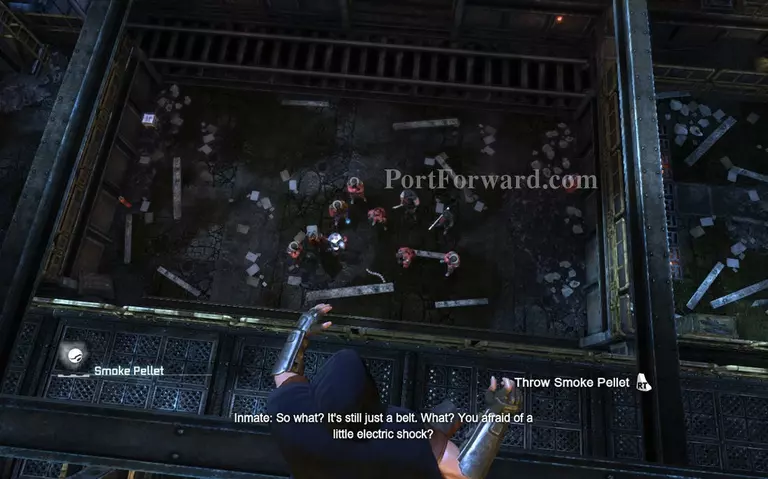
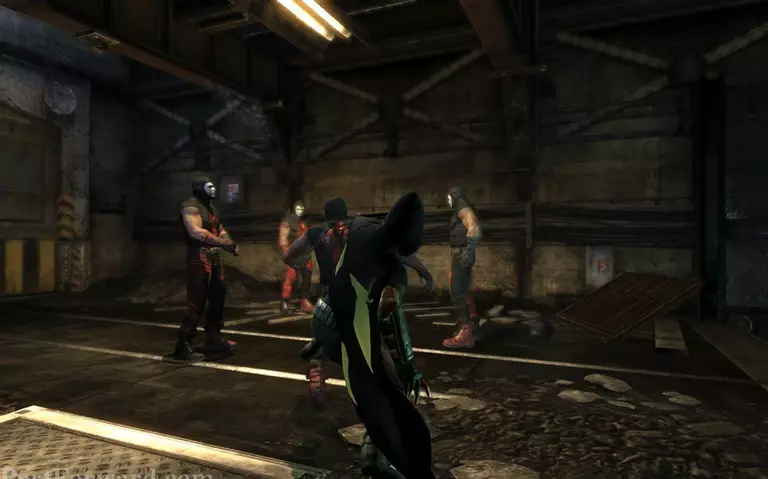
Press RB as soon as you enter the room, then when you're up in the beams equip your Smoke Pellet and throw it right at Batman's belt.

Batman: Arkham City - Harley Quinns Revenge Walkthrough - Batman Arkham-City-Harley-Quinns-Revenge 20

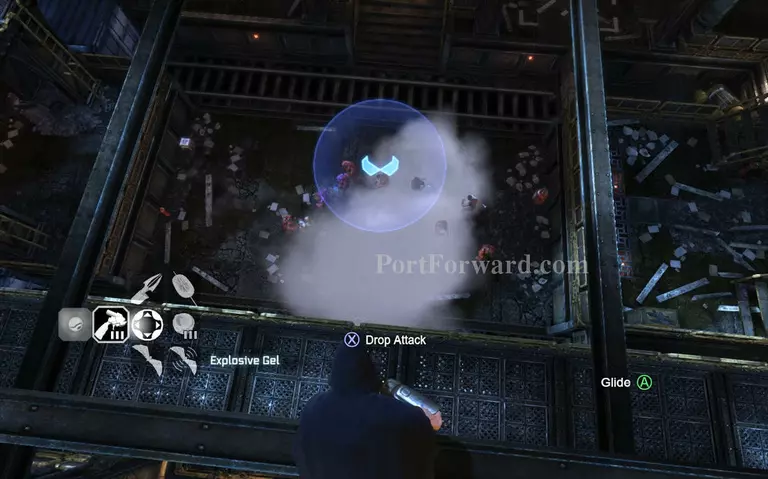
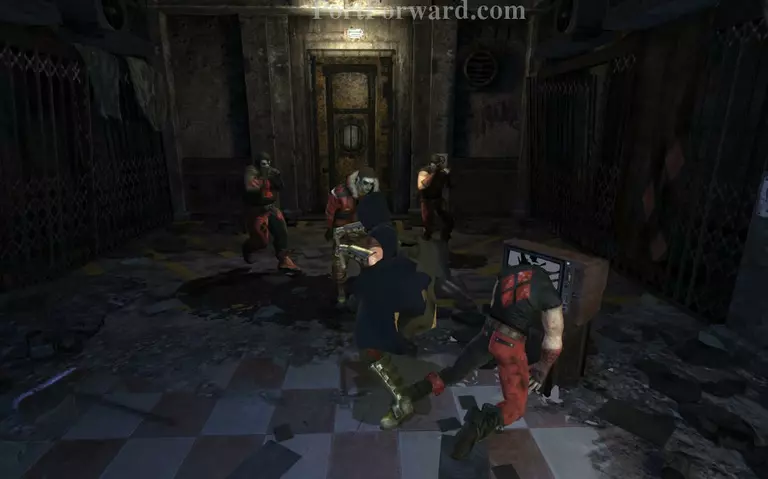
Drop attack one of the goons and knock out as much of them as you can before the smoke lifts and they're able to see you again.

Batman: Arkham City - Harley Quinns Revenge Walkthrough - Batman Arkham-City-Harley-Quinns-Revenge 21

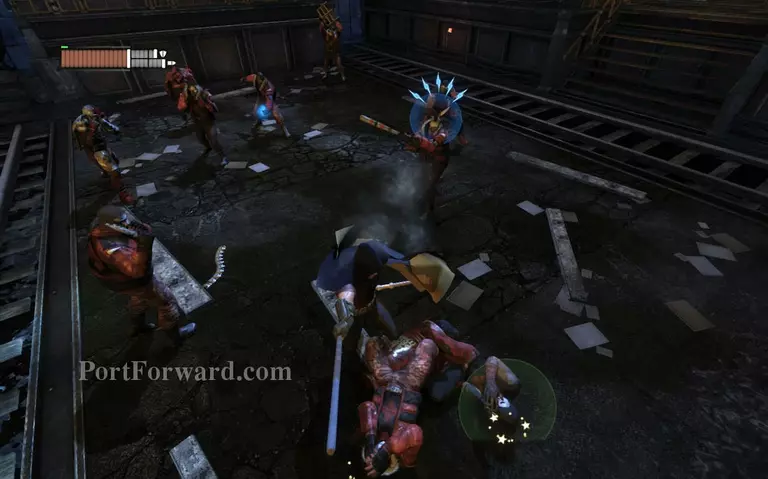
There are 3 special enemies here. The first is the guy with a machete, you can't do a normal takedown on these guys. You'll need to press Y and back to avoid his hits. Of course you could also press B before he hits you to stop him from being able to attack you.

Batman: Arkham City - Harley Quinns Revenge Walkthrough - Batman Arkham-City-Harley-Quinns-Revenge 22

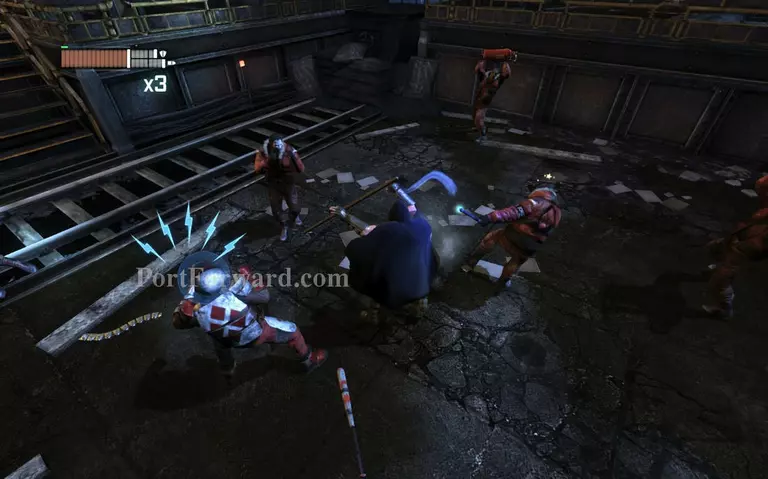
The second special enemy is the guy with an electric rod. Now electric rods are tricky and you should never ever attack these guys from the front. To hit them you need to tilt the analog in their direction and press A twice to vault over him. Once you're behind him you can freely attack.

Batman: Arkham City - Harley Quinns Revenge Walkthrough - Batman Arkham-City-Harley-Quinns-Revenge 23

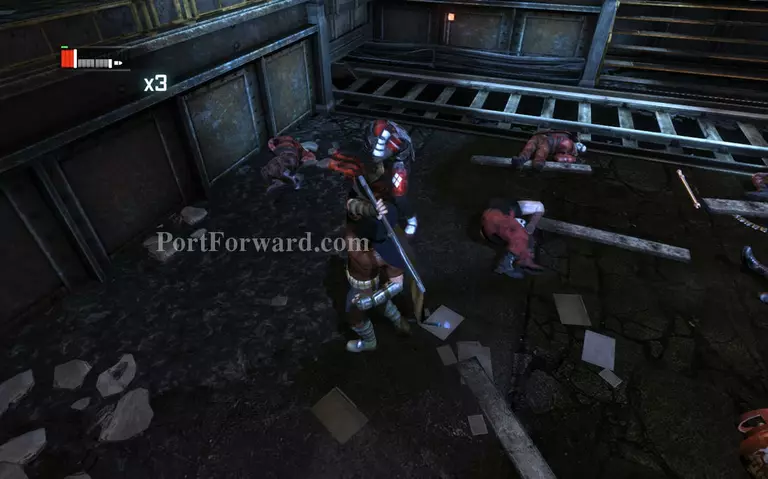
And the last one is the armored goons, these guys wear a full armor that protects them from your hits. Press B to stun them, then press X continuously to keep hitting them until the prompt for a special takedown appears. Special takedowns require you to press X and Y together and can knockdown an opponent faster.

Batman: Arkham City - Harley Quinns Revenge Walkthrough - Batman Arkham-City-Harley-Quinns-Revenge 24

After knocking them all out go to Batman's belt that's lying on the floor and a cutscene will begin.

More Batman: Arkham City - Harley Quinns Revenge Walkthroughs

This Batman: Arkham City - Harley Quinns Revenge walkthrough is divided into 4 total pages.

More From Portforward