Bionic Commando Rearmed Walkthrough Area 05 - The Construction Site

September 12, 2016 (Last Updated: ) | Reading Time: 5 minutes

This Bionic Commando Rearmed walkthrough is divided into 24 total pages.

You can jump to nearby pages of the game using the links above.

Area 05 - The Construction Site

Bionic Commando Rearmed Walkthrough - Bionic Commando-Rearmed 0126

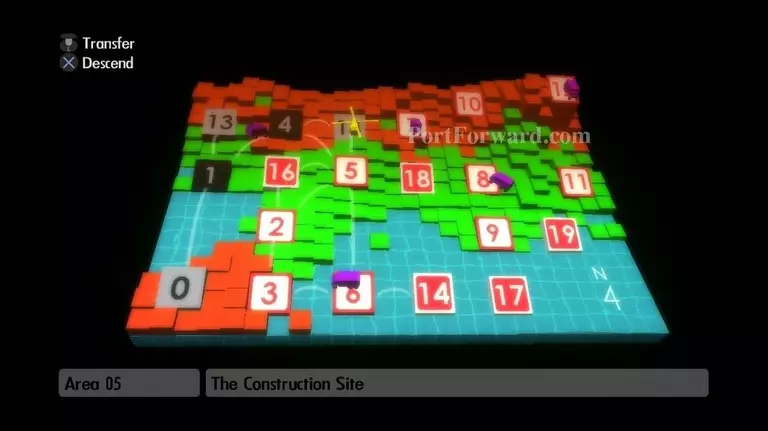
Descend into area 05, The Construction Site.

Bionic Commando Rearmed Walkthrough - Bionic Commando-Rearmed 0127

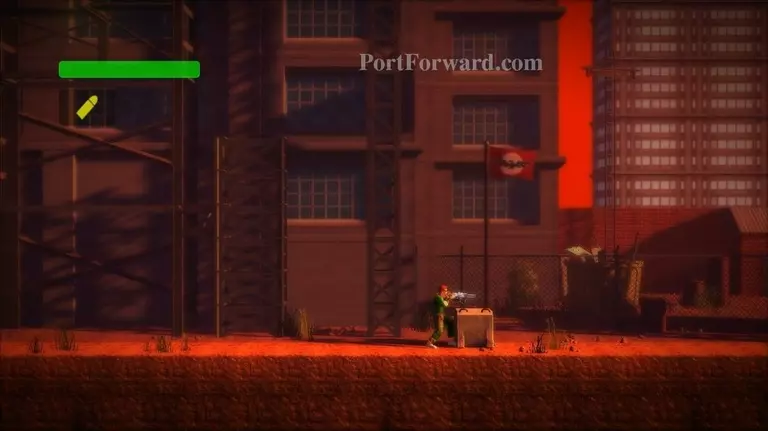
Walk as far right as possible. You should come to a concrete block. There is a secret past this block.

Bionic Commando Rearmed Walkthrough - Bionic Commando-Rearmed 0128

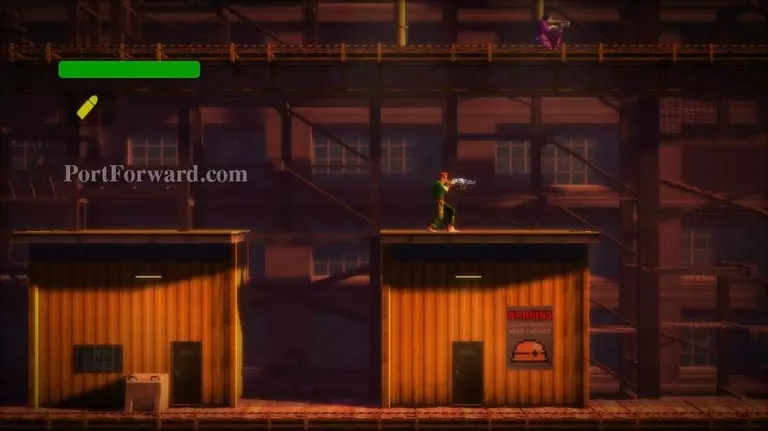
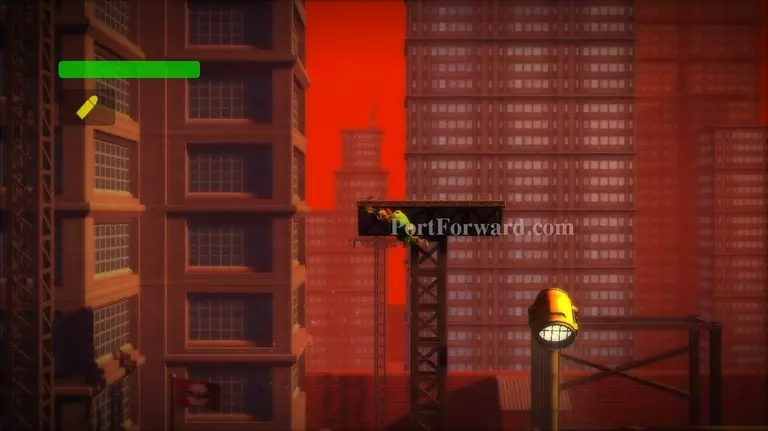
Walk left a bit and climb the platforms, working your way to the upper-right until you find the building with a hardhat on it. Get on top of this building.

Bionic Commando Rearmed Walkthrough - Bionic Commando-Rearmed 0129

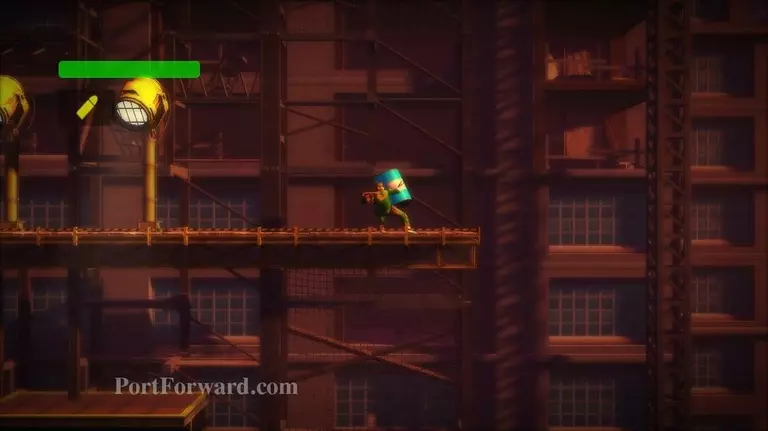
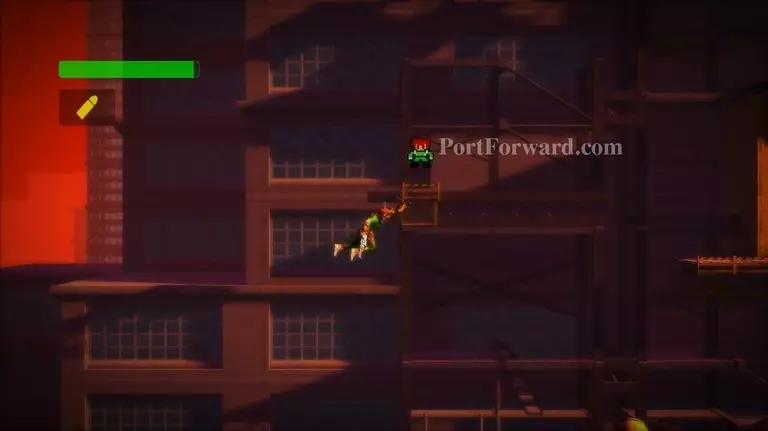
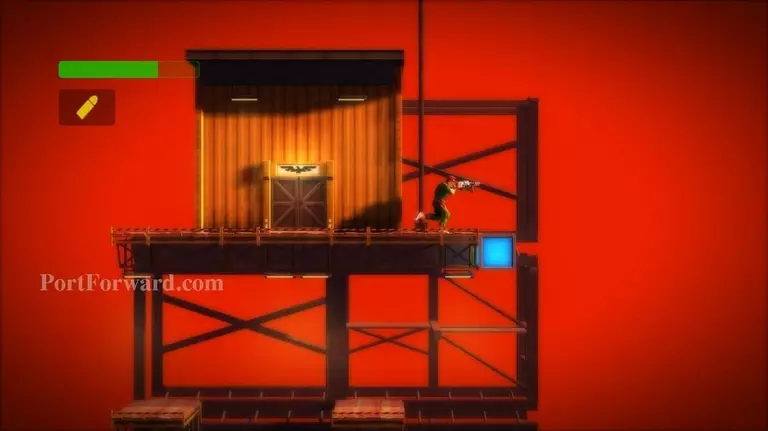
Get on the platform above the roof of the building. Grab the barrel on the right and throw it.

Bionic Commando Rearmed Walkthrough - Bionic Commando-Rearmed 0130

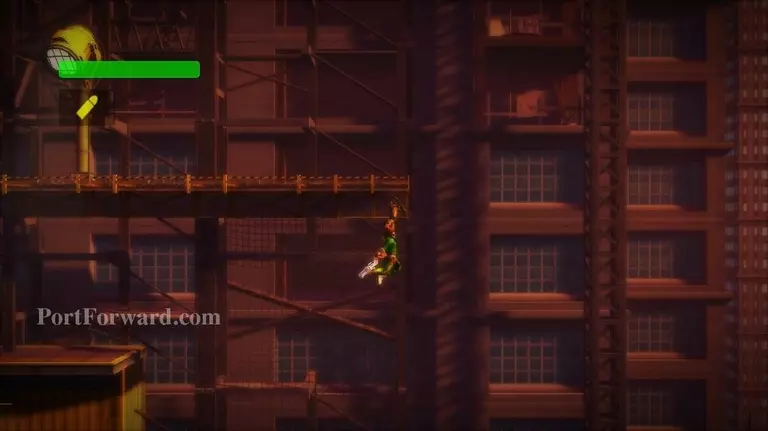
Drop off the right edge of the platform and turn around and grab it. You should be swinging. Swing to the right.

Bionic Commando Rearmed Walkthrough - Bionic Commando-Rearmed 0131

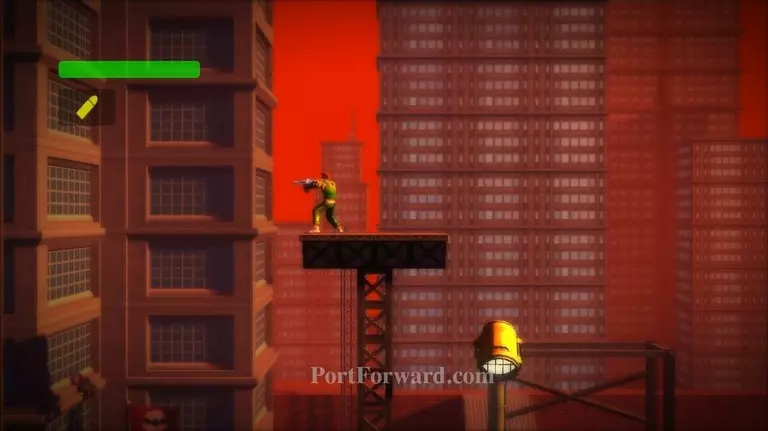
You should land on or after the concrete block. Continue right.

Bionic Commando Rearmed Walkthrough - Bionic Commando-Rearmed 0132

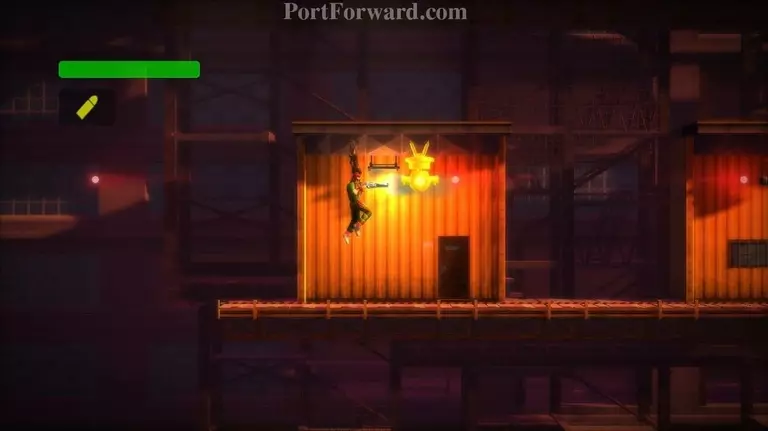
You'll find a Yashichi on top of the building here.

Bionic Commando Rearmed Walkthrough - Bionic Commando-Rearmed 0133

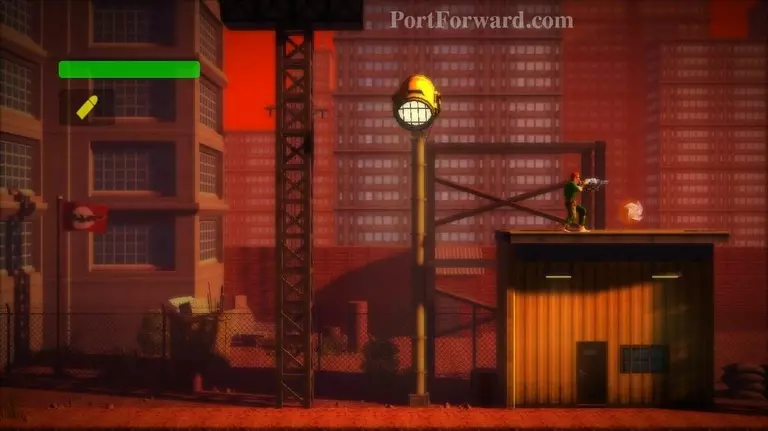
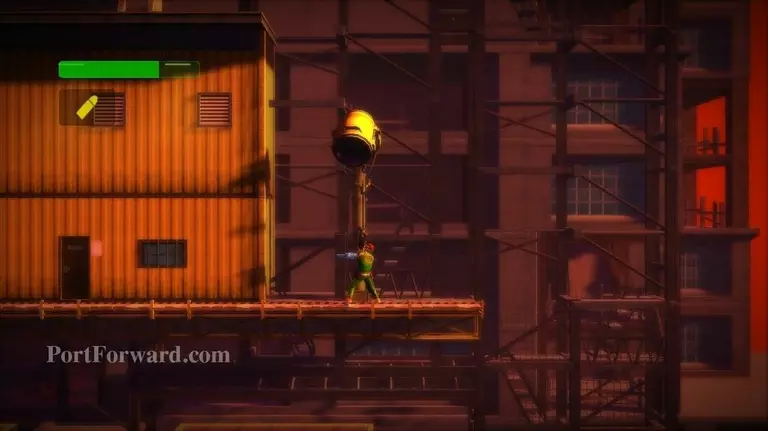
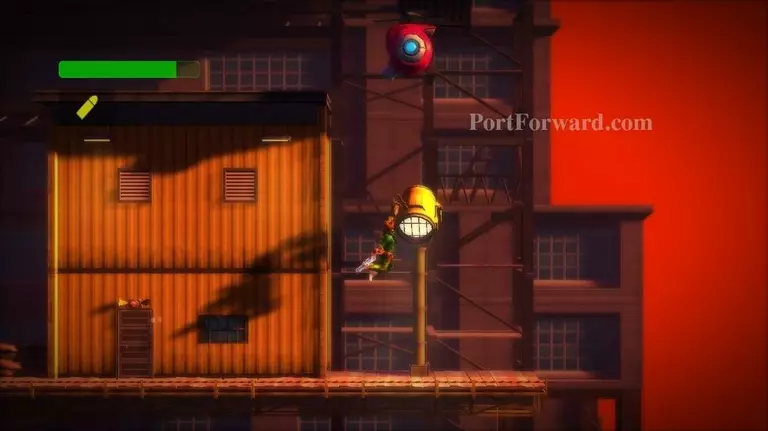
Grapple the lamp and swing left.

Bionic Commando Rearmed Walkthrough - Bionic Commando-Rearmed 0134

Grab the platform and climb up.

Bionic Commando Rearmed Walkthrough - Bionic Commando-Rearmed 0135

Drop down the left edge of the platform, then turn around and grapple it. Swing left off of it.

Bionic Commando Rearmed Walkthrough - Bionic Commando-Rearmed 0136

You should land on or after the concrete block, allowing you to get back to where you started.

Bionic Commando Rearmed Walkthrough - Bionic Commando-Rearmed 0137

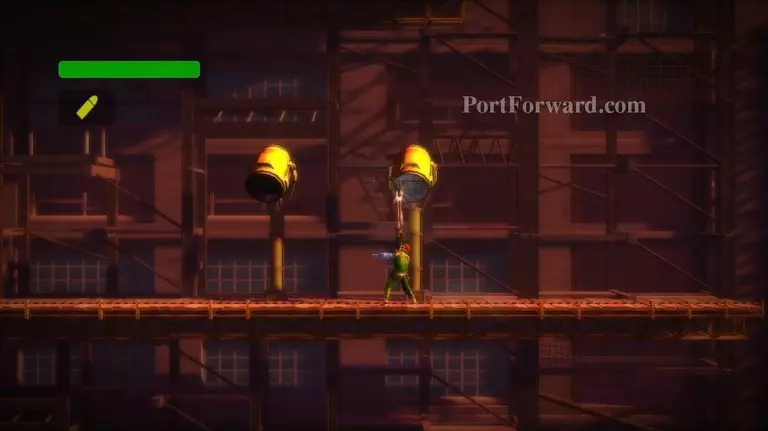
Climb up the platforms. You'll reach a platform that has four lamps and a concrete block on it. To continue upward, grapple a lamp straight upward and quickly grapple upward again.

Bionic Commando Rearmed Walkthrough - Bionic Commando-Rearmed 0138

You should latch onto the platform above.

Bionic Commando Rearmed Walkthrough - Bionic Commando-Rearmed 0139

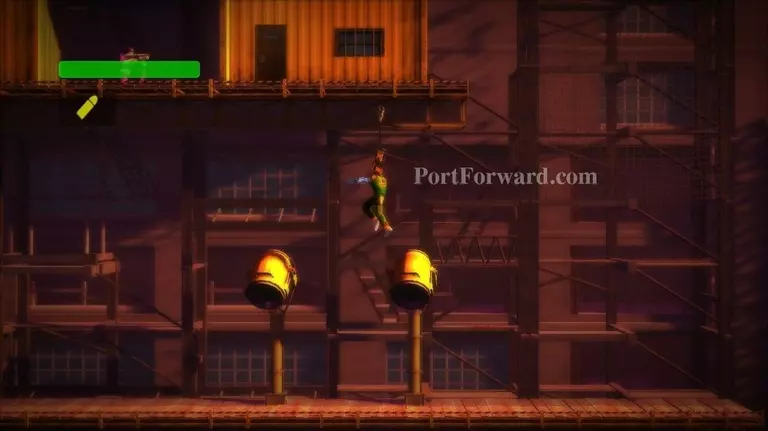
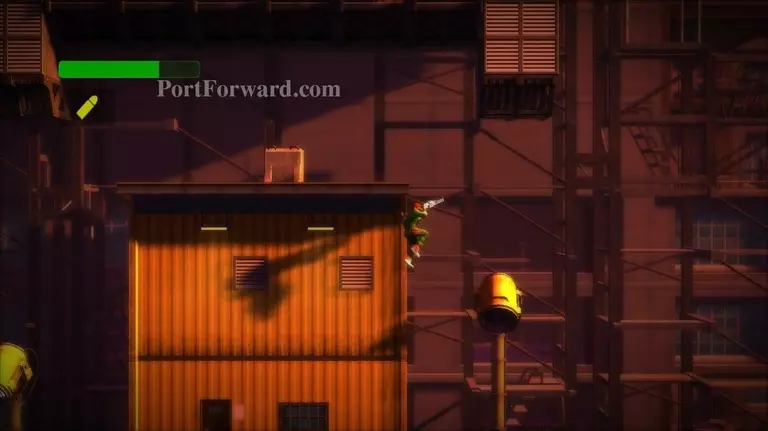
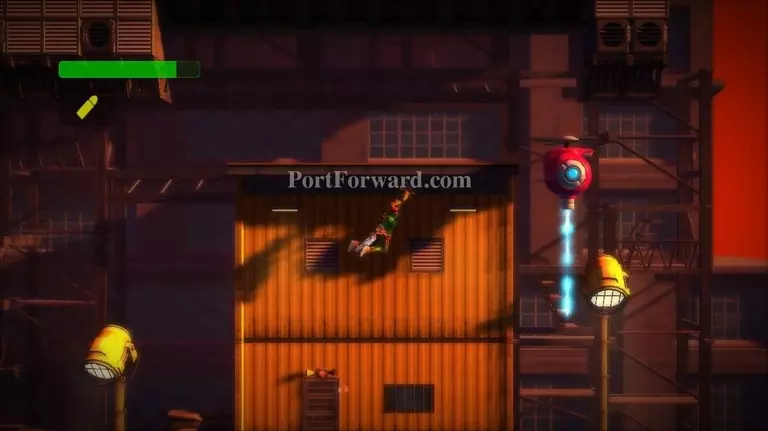
Get on the left building on this platform. Go to the left edge of the roof and swing leftward.

Bionic Commando Rearmed Walkthrough - Bionic Commando-Rearmed 0140

Grab the small platform as you're falling. Climb up and get the extra life.

Bionic Commando Rearmed Walkthrough - Bionic Commando-Rearmed 0141

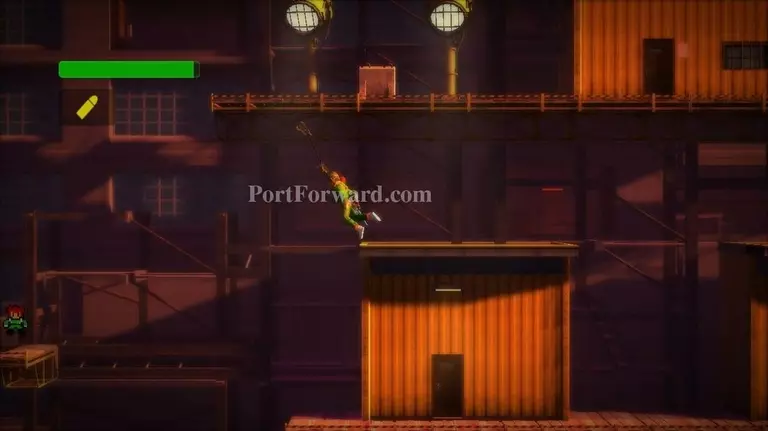
Continue up the platforms. You'll need to grapple upward on this lamp.

Bionic Commando Rearmed Walkthrough - Bionic Commando-Rearmed 0142

Then grapple the roof to the upper-left of it.

Bionic Commando Rearmed Walkthrough - Bionic Commando-Rearmed 0143

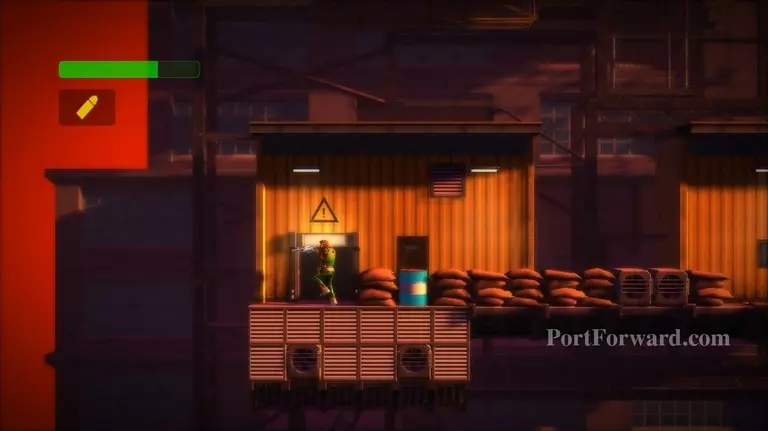
Continue upward until you find the first communications room. Enter it and talk to HQ.

Bionic Commando Rearmed Walkthrough - Bionic Commando-Rearmed 0144

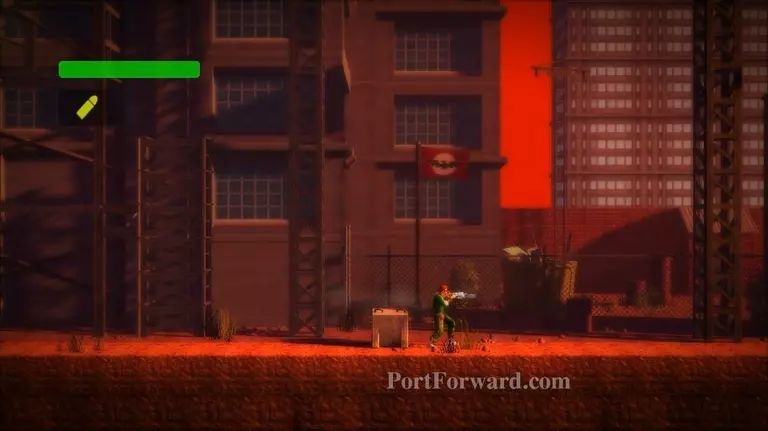
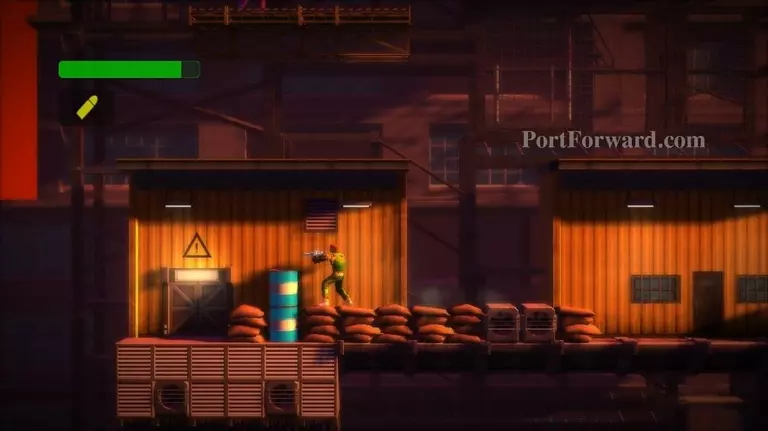
Continue upward. You'll come across some Droid Sprinkler Cannons. These are easy enough to destroy or avoid.

Bionic Commando Rearmed Walkthrough - Bionic Commando-Rearmed 0145

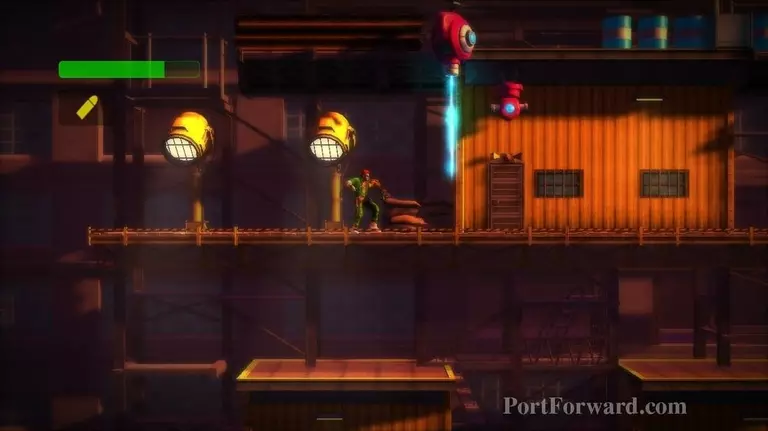
Soon you'll come to some Propeller Droids. These droids move around, making them tough to avoid. Duck under their energy beam.

Bionic Commando Rearmed Walkthrough - Bionic Commando-Rearmed 0146

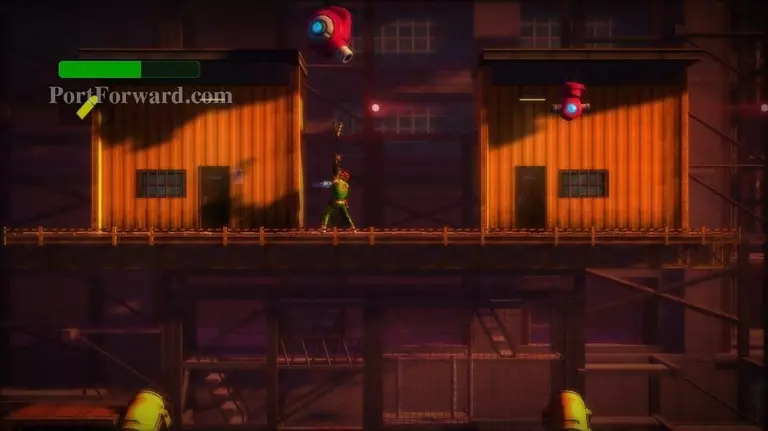
You can use your grapple to knock them down lower.

Bionic Commando Rearmed Walkthrough - Bionic Commando-Rearmed 0147

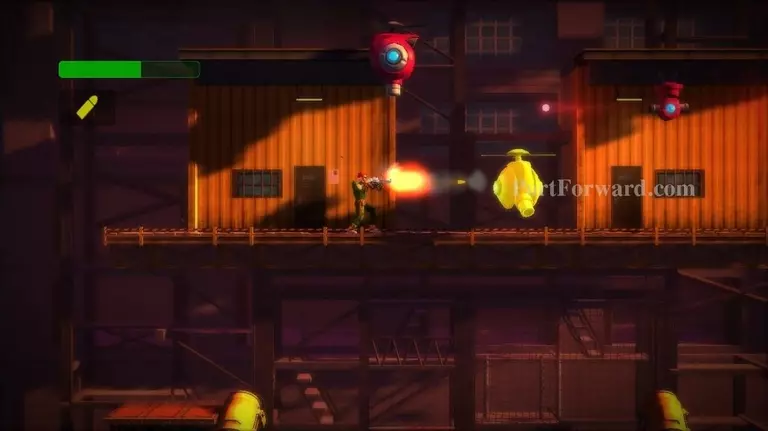
Once you get them lower, shoot them with your weapon.

Bionic Commando Rearmed Walkthrough - Bionic Commando-Rearmed 0148

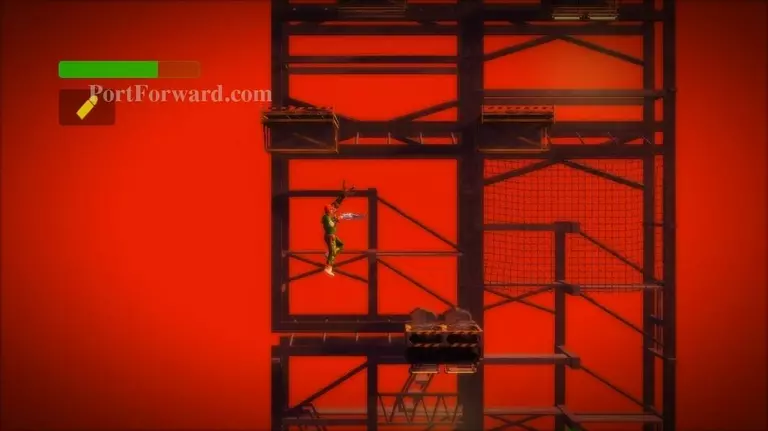
Keep climbing upward. There is another lamp you'll need to grapple up on.

Bionic Commando Rearmed Walkthrough - Bionic Commando-Rearmed 0149

From the lamp, grapple the roof to the upper-left.

Bionic Commando Rearmed Walkthrough - Bionic Commando-Rearmed 0150

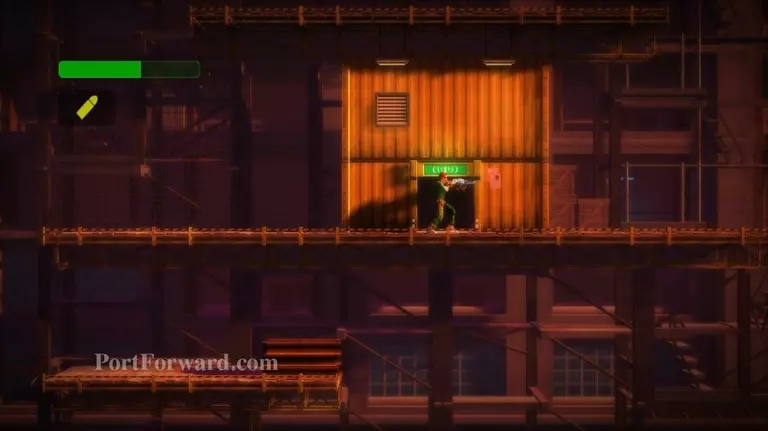
A short ways upward, you'll find a closed door near some sandbags and two barrels. This is a secret room. We need to climb to the very top to open it.

Bionic Commando Rearmed Walkthrough - Bionic Commando-Rearmed 0151

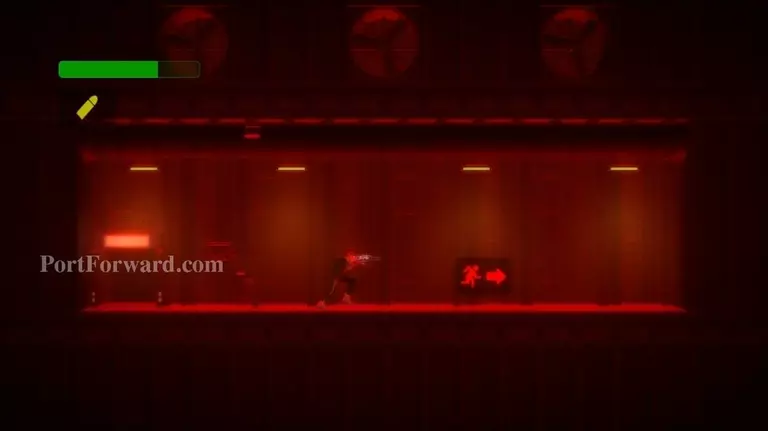
Climb upward, past the second communications room. When you get to these platforms, there are some that push you up and left or right automatically when you step on them. Be ready to grab the next platform.

Bionic Commando Rearmed Walkthrough - Bionic Commando-Rearmed 0152

At the top of the tower you'll see a blue switch. Fall off the right edge and turn around and hit the switch with your grapple. It should turn off.

Bionic Commando Rearmed Walkthrough - Bionic Commando-Rearmed 0153

Go back down to the secret room that was locked. It should now be open.

Bionic Commando Rearmed Walkthrough - Bionic Commando-Rearmed 0154

Inside you'll find Secret Challenge 5.

Bionic Commando Rearmed Walkthrough - Bionic Commando-Rearmed 0155

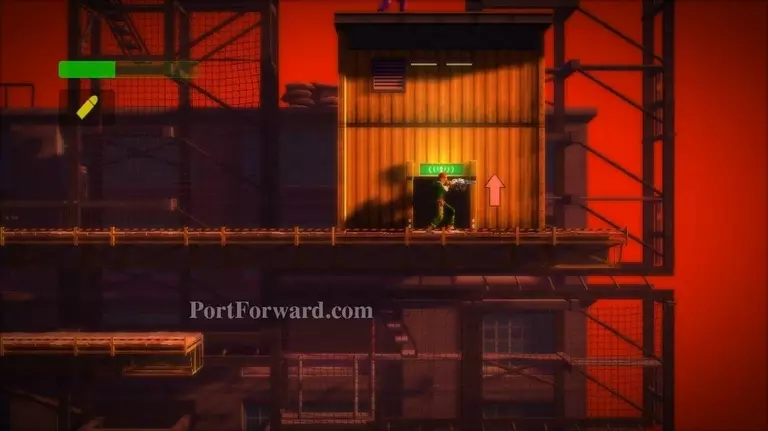
Climb back upward and enter the second communications room. Talk to HQ and continue upward.

Bionic Commando Rearmed Walkthrough - Bionic Commando-Rearmed 0156

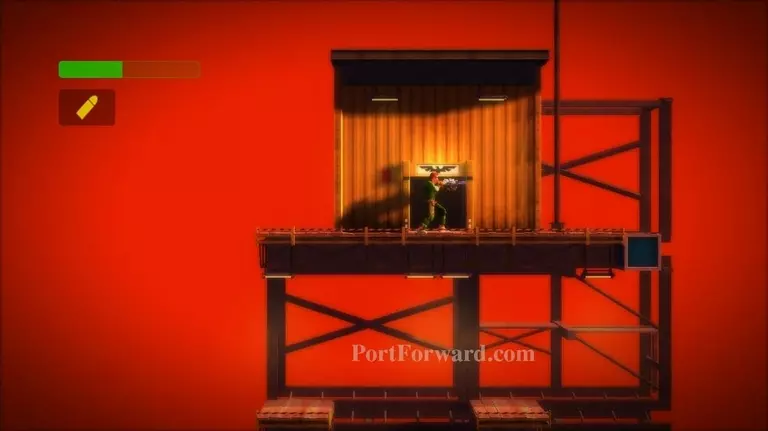
Enter the boss room at the top.

Bionic Commando Rearmed Walkthrough - Bionic Commando-Rearmed 0157

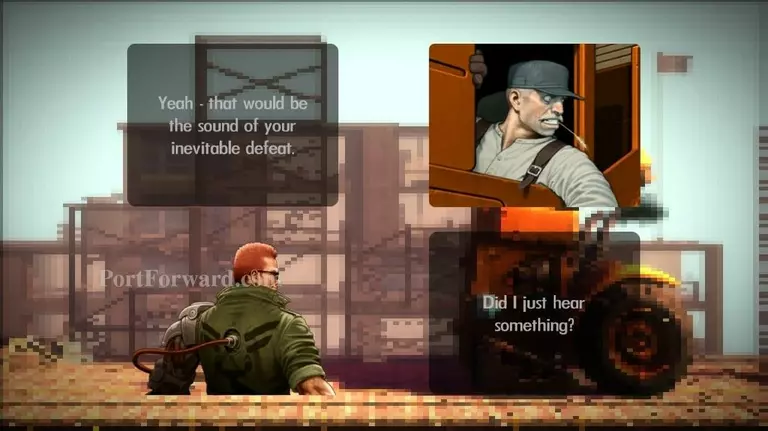
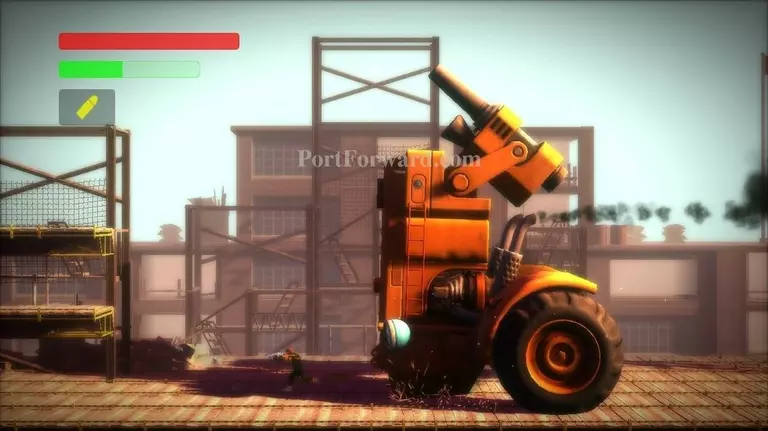
This is the third boss, Siege Machine.

Bionic Commando Rearmed Walkthrough - Bionic Commando-Rearmed 0158

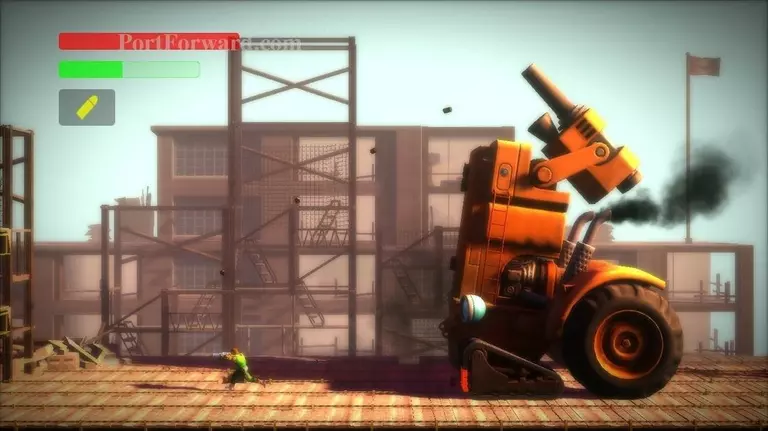
The treads have a glowing red spot on them. Try to use your grenades to damage them. Watch out for the bombs the boss throws at you.

Bionic Commando Rearmed Walkthrough - Bionic Commando-Rearmed 0159

After a few hits, the tread will be destroyed.

Bionic Commando Rearmed Walkthrough - Bionic Commando-Rearmed 0160

The boss should charge you, if not you might have to get a bit closer. Run back to the platforms before you get hit.

Bionic Commando Rearmed Walkthrough - Bionic Commando-Rearmed 0161

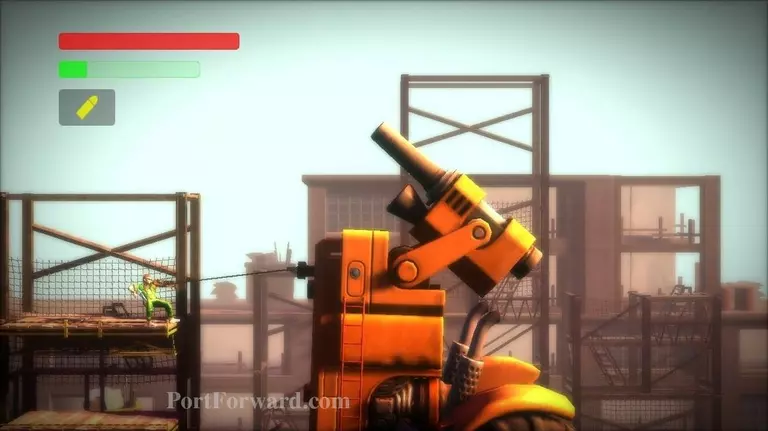
Get on the upper platform and use your grapple to remove a bolt from the boss.

Bionic Commando Rearmed Walkthrough - Bionic Commando-Rearmed 0162

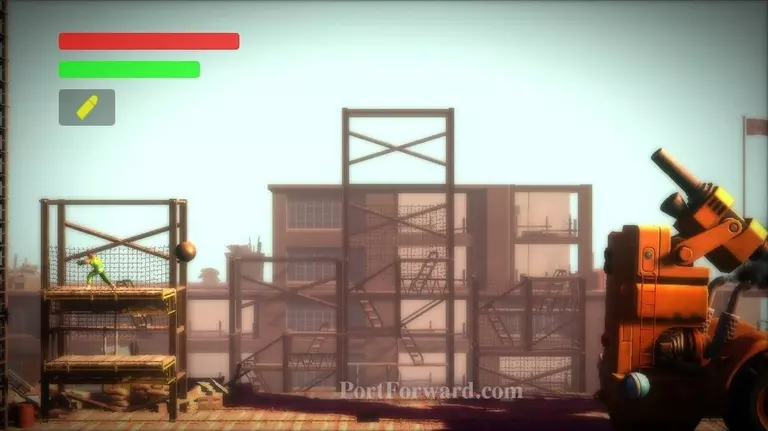
The boss will then back up and continue firing at you. Watch out for cannon balls along with bombs.

Bionic Commando Rearmed Walkthrough - Bionic Commando-Rearmed 0163

Take out the second bolt when you can.

Bionic Commando Rearmed Walkthrough - Bionic Commando-Rearmed 0164

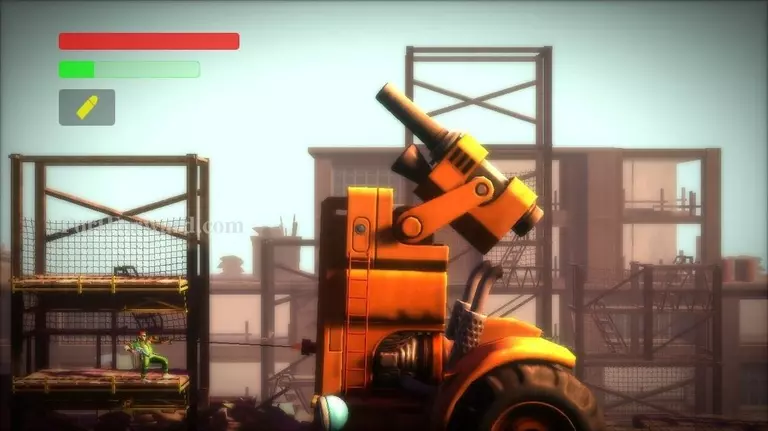
Then take out the third bolt. You'll need to duck when grappling this one.

Bionic Commando Rearmed Walkthrough - Bionic Commando-Rearmed 0165

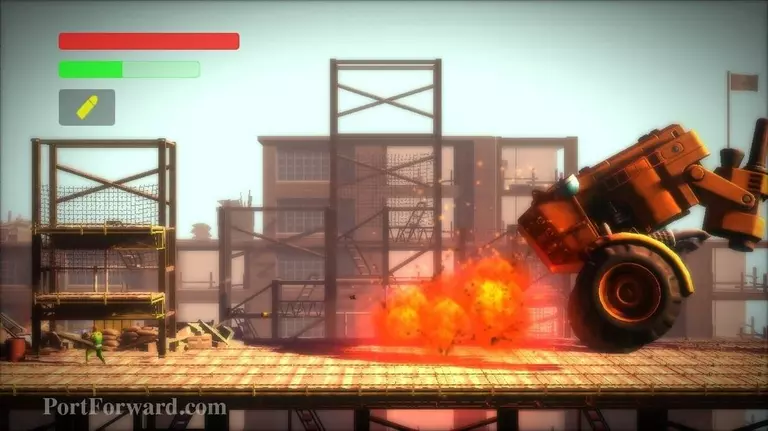
Now the driver will be exposed. Shoot him, while dodging his weapons.

Bionic Commando Rearmed Walkthrough - Bionic Commando-Rearmed 0166

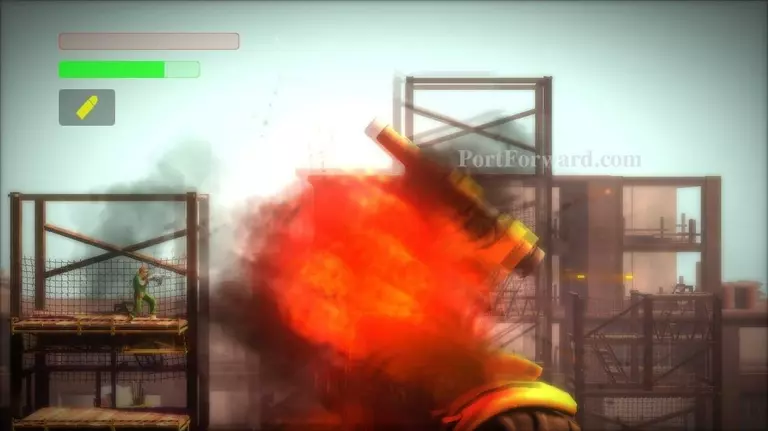
Once you defeat the driver, the boss will explode.

Bionic Commando Rearmed Walkthrough - Bionic Commando-Rearmed 0167

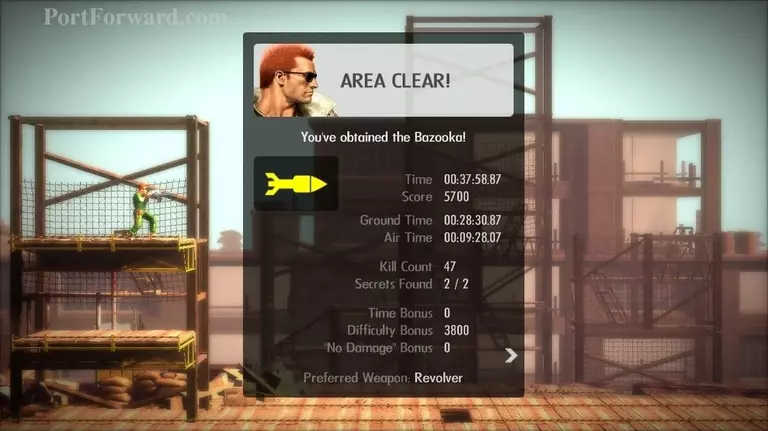
Area Clear! You obtain a Bazooka.

Bionic Commando Rearmed Walkthrough - Bionic Commando-Rearmed 0168

Haley will explain that the Bazooka is needed in area 06 to get past the outer wall.

More Bionic Commando Rearmed Walkthroughs

This Bionic Commando Rearmed walkthrough is divided into 24 total pages.

More From Portforward