
This Castlevania: Lords of Shadow 2 walkthrough is divided into 39 total pages.
You can jump to nearby pages of the game using the links above.
Bioquimek Laboratory II
Follow the tunnel and take out the riot police that will spawn at the clearing, then climb up the ladder and head to the left side and into the small tunnel.
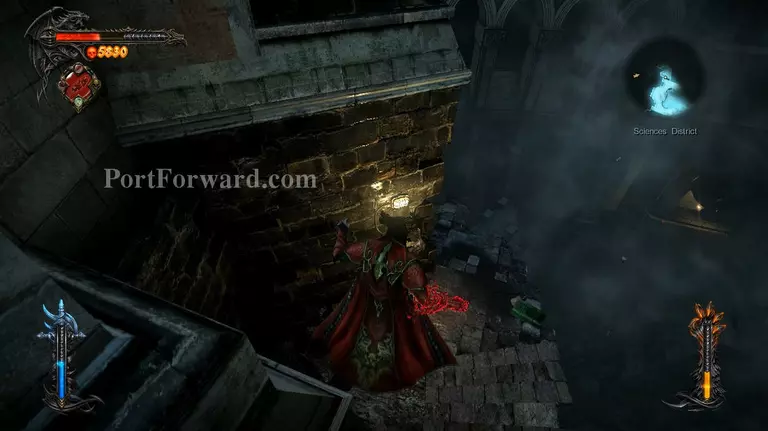
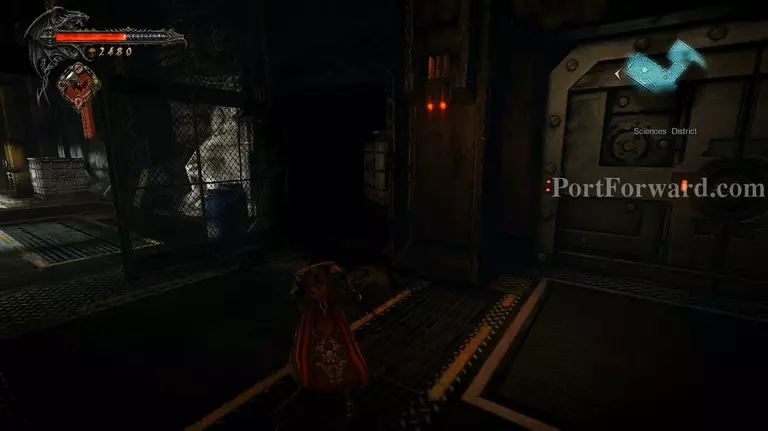
Get to the end of the tunnel and jump down on top of the stairs and head up to the electronic door and wait for it to open, then head inside.
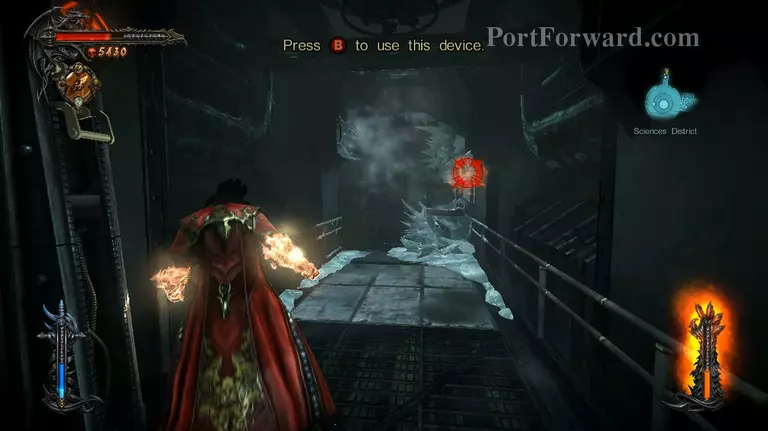
Enter the door and go to the right side, another door will open as you approach it. Enter the door and equip your Chaos Claw and throw a bomb at the ice. Now pull the lever to open the door.
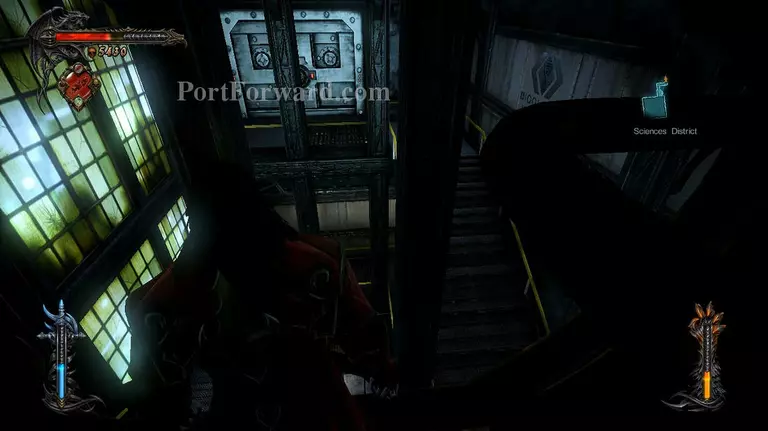
Head into the next room and turn right, then keep walking until you reach the end of the platform and jump towards the platform below. Turn right and jump towards the platform there.
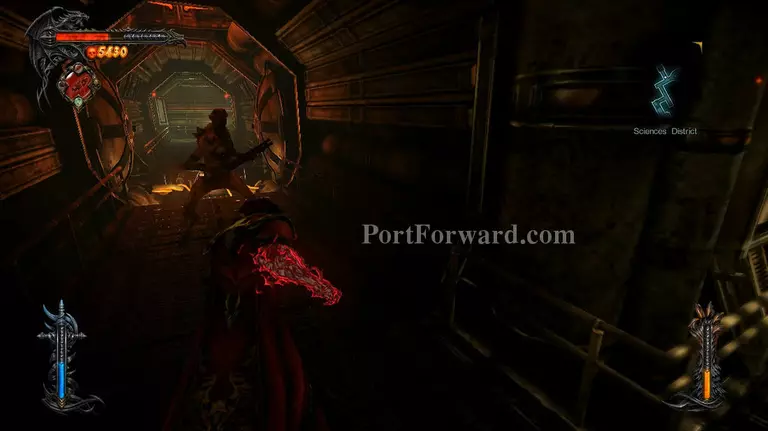
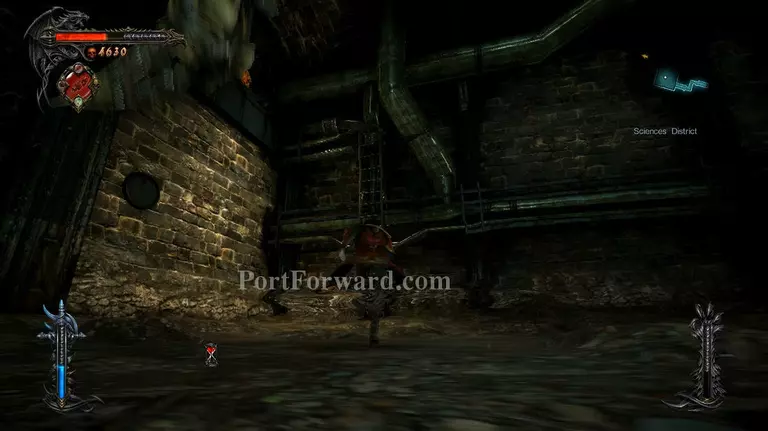
Now follow the path until you reach the intersection with a lot of possessed people on it. There's a new type of possessed here, they hold shotguns instead of bats and claws. These guys are dangerous if you don't dodge their bullets, kill them first especially in small areas like this.
Take the path on the right and head for the large room that looks like a machine and make your way up. Be careful of the electric charges while your climbing the walls.
When you finally get to the top you'll end up outside. Go around the path and look for the broken part of the catwalk. Jump towards the other side, then turn right and follow the catwalk until you reach the ladder.
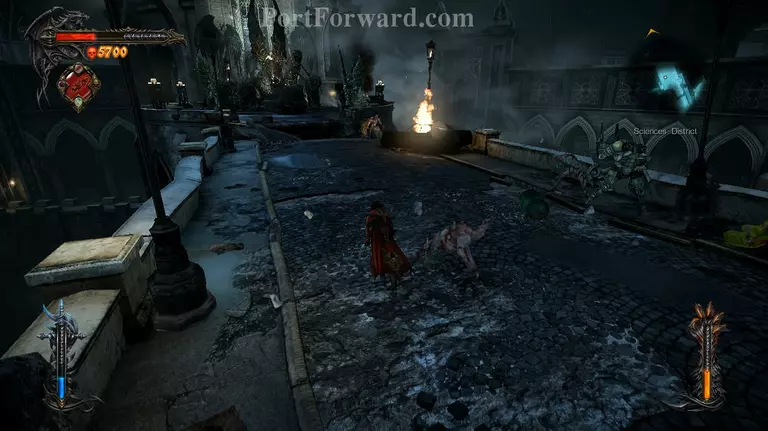
From the ladder continue making your way up until you reach the bridge where the possessed and riot police are fighting. You can stay and kill them or run away, although the latter may be a bit difficult as they will definitely be on your tail.
Head towards the statue on the other side of the bridge and climb up the stairs on the right side. Hug the hand rail of the stairs and drop down on the platform right below it.
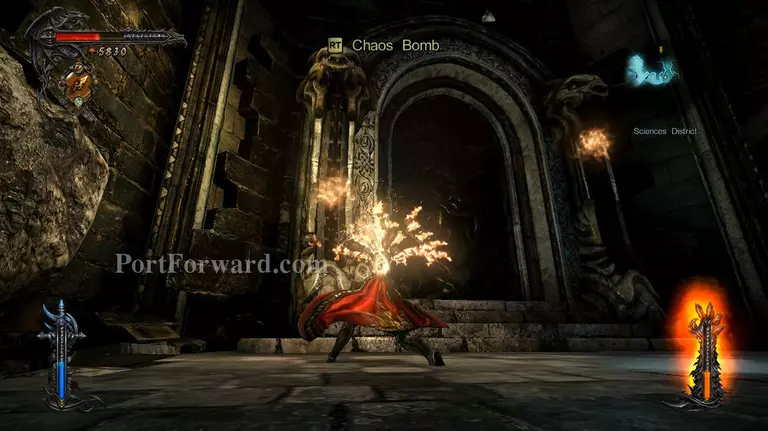
Activate your Chaos Claw and throw bombs on each side of the chains to bring them down and open the door. Head inside and get in the lift, then pull the switch to activate it.

Head out the lift and turn left, then jump towards the ladder there and use to make your way up.
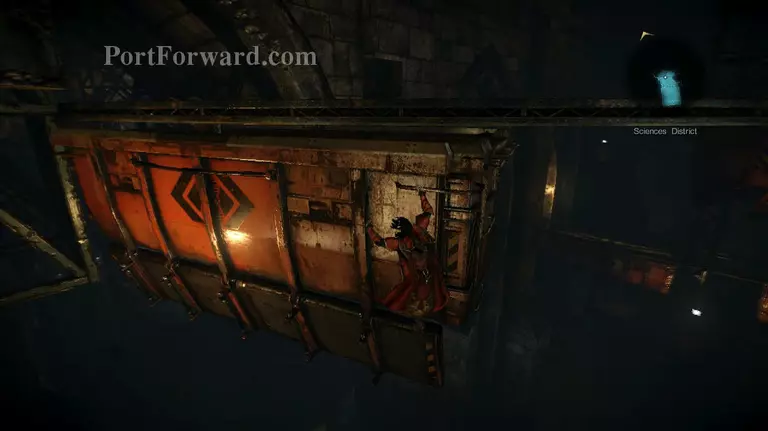
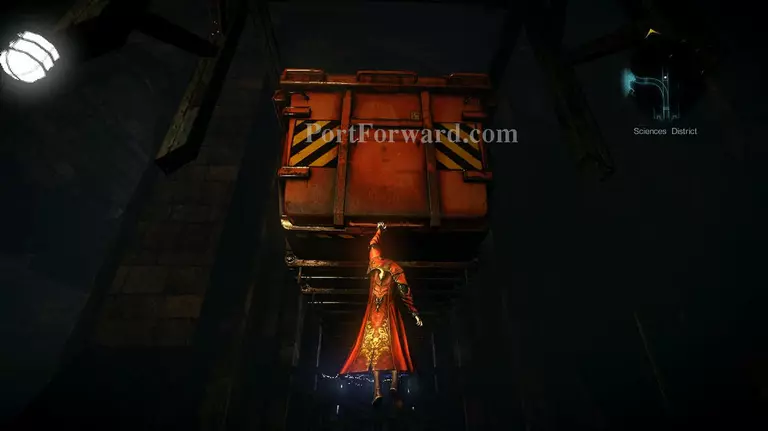
Wait for one of the cargo containers to move close to you, then jump on it and make your way to the front lowest ledge of the container.
When the two containers to overlap, drop down on the one below you and go towards the front and hang on the lowest bar of that container as well.
After the container passes through the electric fence, climb back up and wait for it to get to the end of the line.
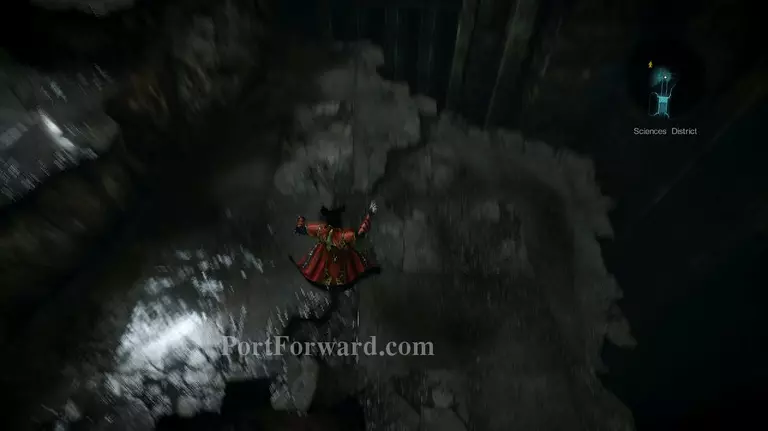
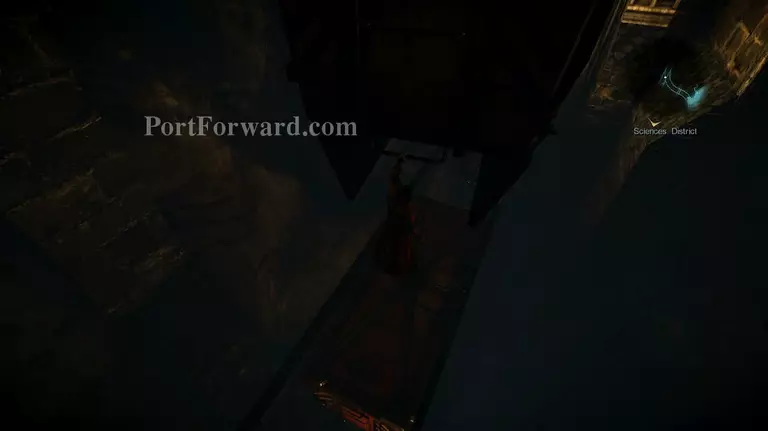
When it does, drop down and head into the entrance of the laboratory that's on the highest platform and drop down on the open hole there.
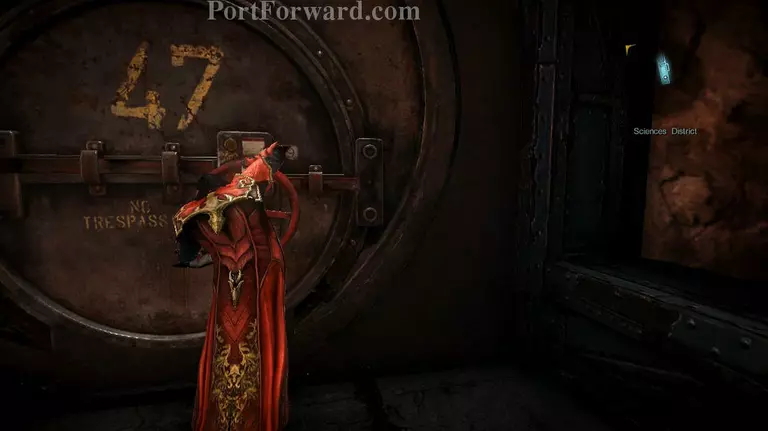
Drop down near the fans and open up the hatch marked with "47" and proceed inside and further down the path.
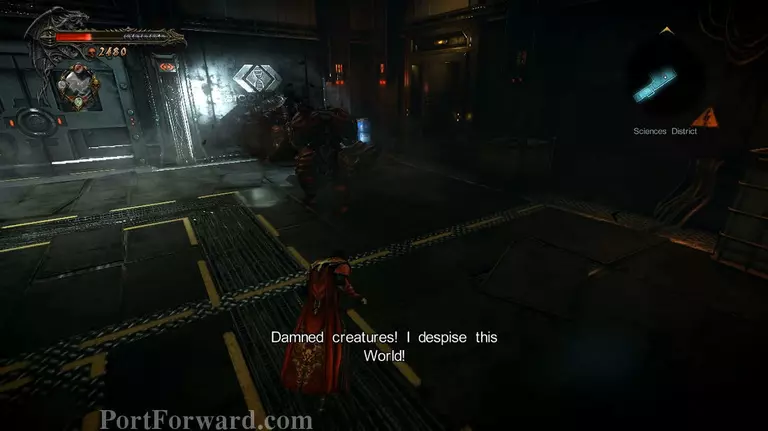
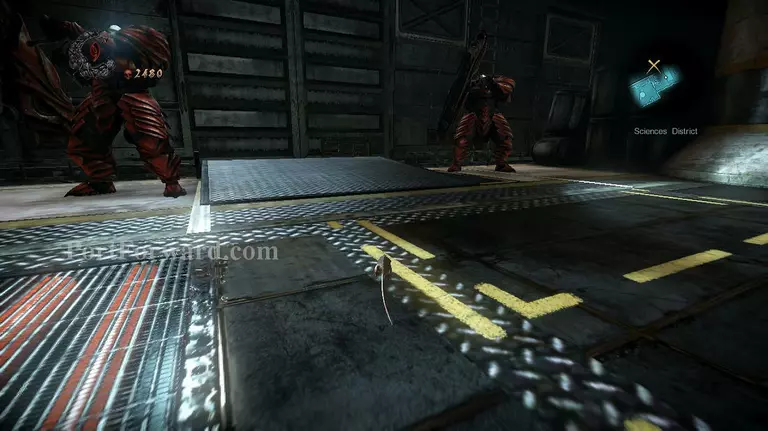
You'll once again have to sneak around the Golgoths. Throw your bat swarm at the Golgoth that's guarding the door, then possess the one that will come to help him as soon as he turns his back on you.

After possessing the guard use him to open the door and get past the security and towards the next room.
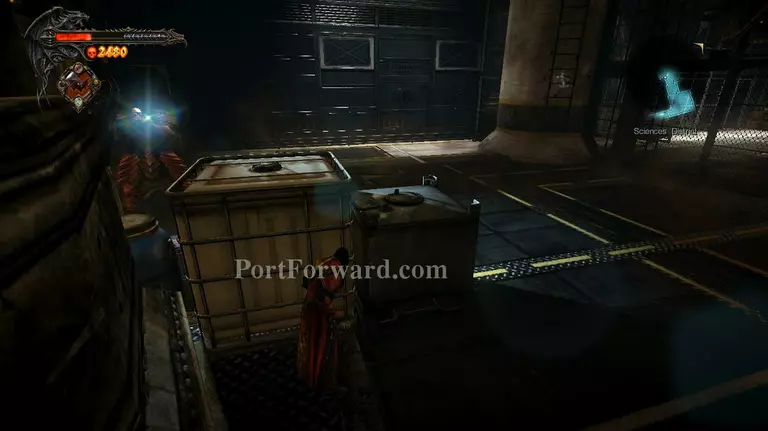
Hide behind the crates and throw a bat swarm at the Golgoth that's guarding the door. While he's distracted make your way to the ladder on the right side of the room.
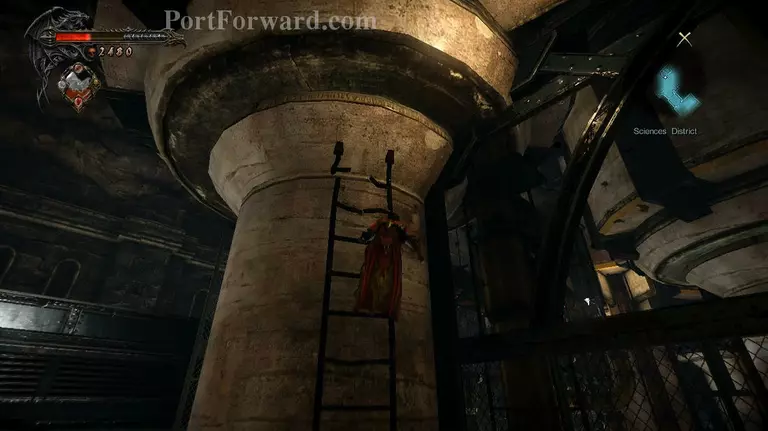
Now make your way up the ladder and towards the right side where Dracula will slip and alert the Golgoth, causing the big guy to move to the next room.
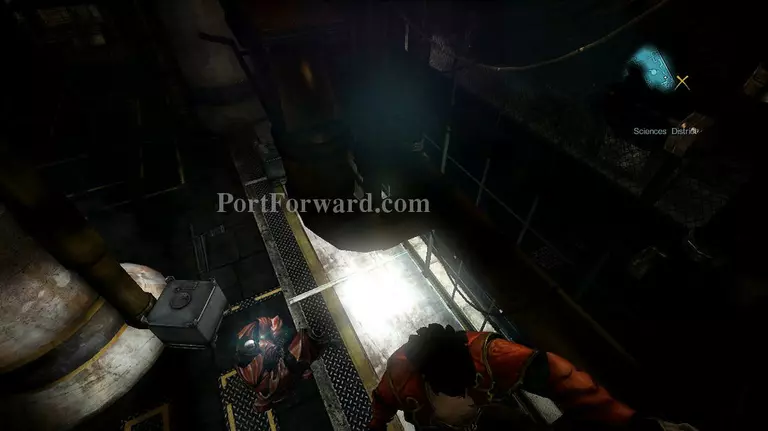
Continue to make your way through the catwalks above the floor and towards the ladder on the far right end of the area. Watch the Golgoth below and wait for him to turn his back on you, then drop down and possess him.
After possessing him, use his body to open up the door that leads to the third area where the 2 Golgoths are guarding the train, then make your way back to the first area.
You'll find a dark spot on the left side of the door that you used to get in this area. Use it and turn into a rat, then proceed to the third area.
There is a small vent on the train door that you can use to gain access to the train without alerting the Golgoths. Use it to get inside.
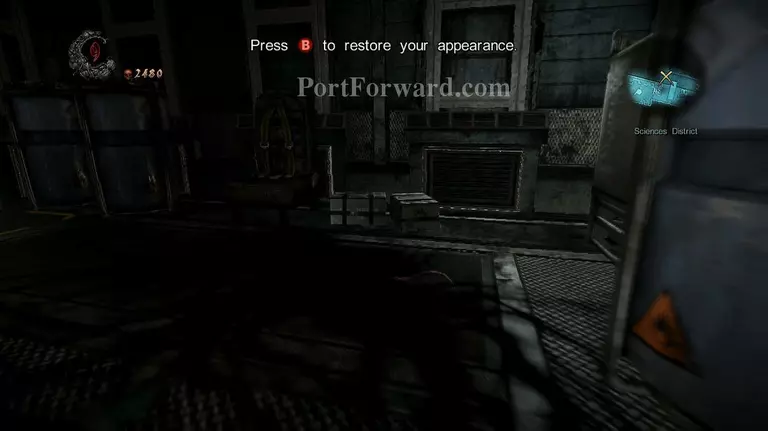
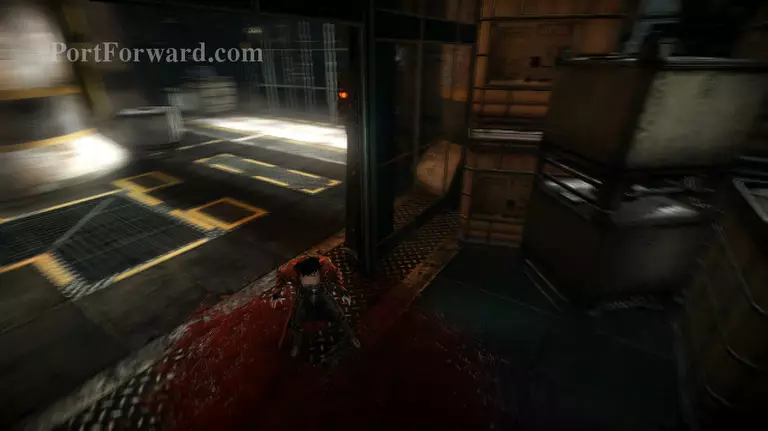
Once inside, turn left and you'll find another dark spot which you can use to return to your true form. A cutscene will start as soon as you return to your form.
More Castlevania: Lords of Shadow 2 Walkthroughs
This Castlevania: Lords of Shadow 2 walkthrough is divided into 39 total pages.


