This Dark Souls walkthrough is divided into 9 total pages.
You can jump to nearby pages of the game using the links above.
Dragon Slayer Ornstein & Executioner Smough
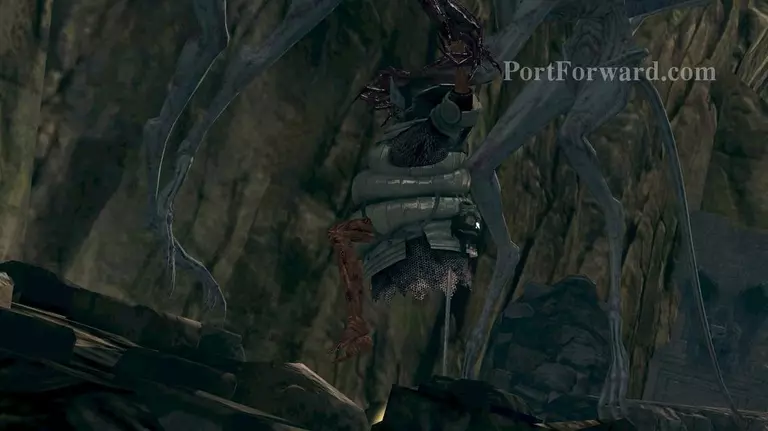
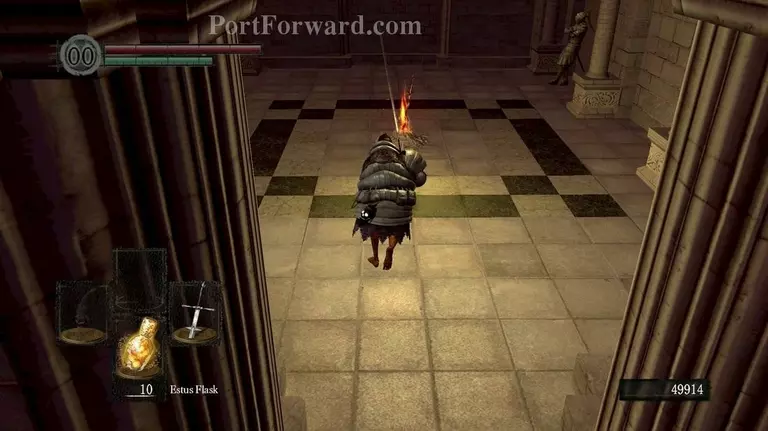
After interacting with the ring, two gargoyles will come and lift you away from Sen's Fortress.
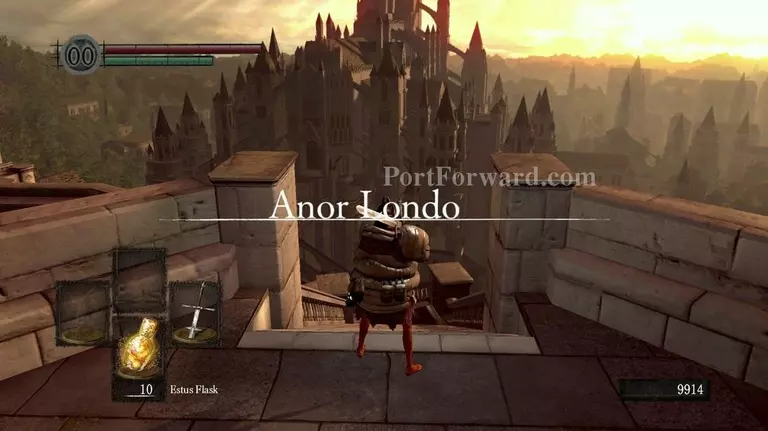
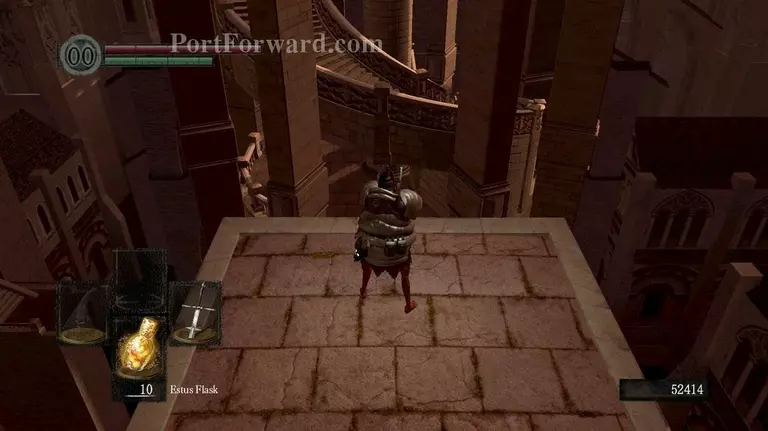
You'll arrive in Anor Londo, City of the gods.

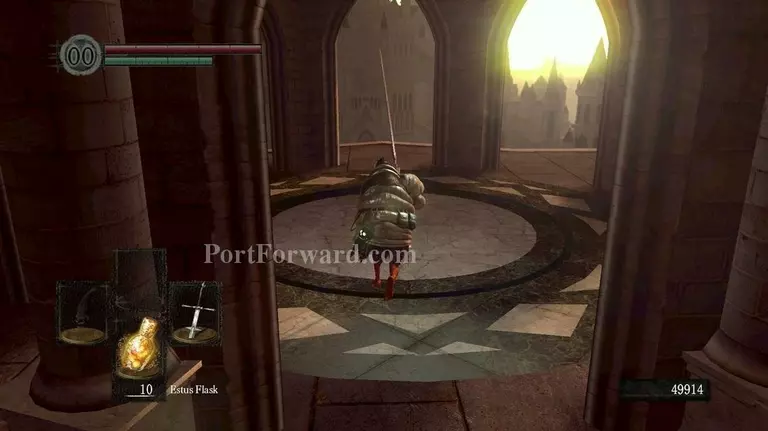
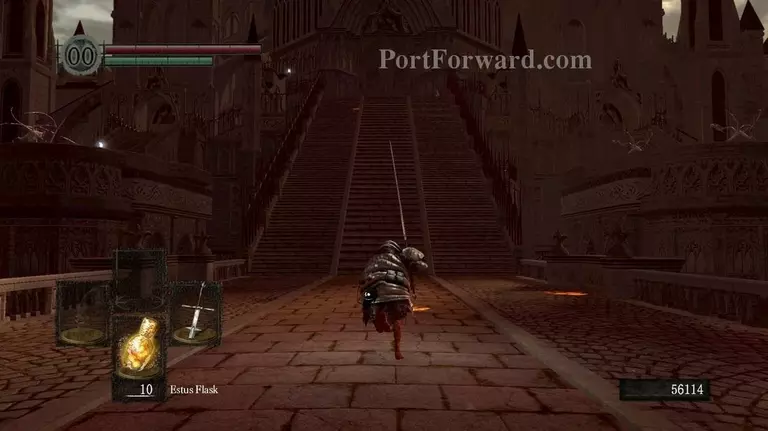
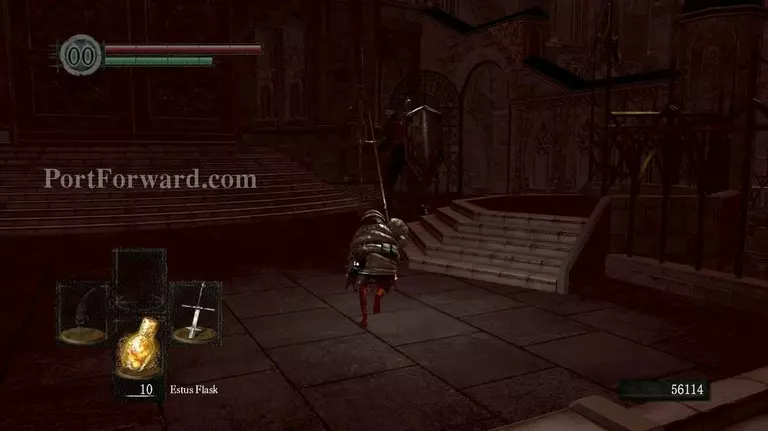
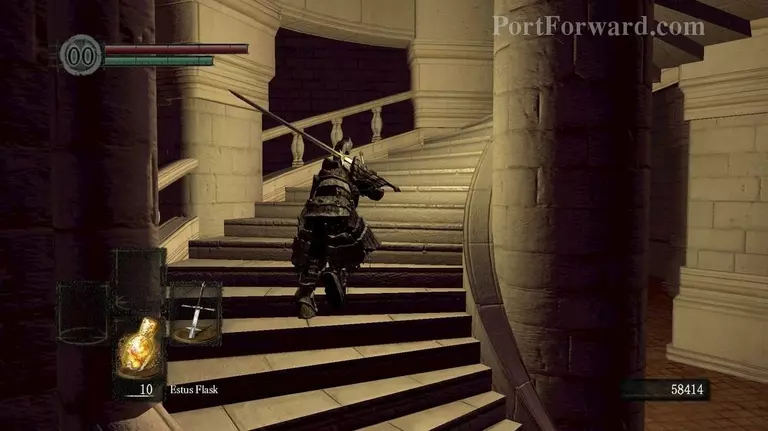
Head down the long set of stairs.
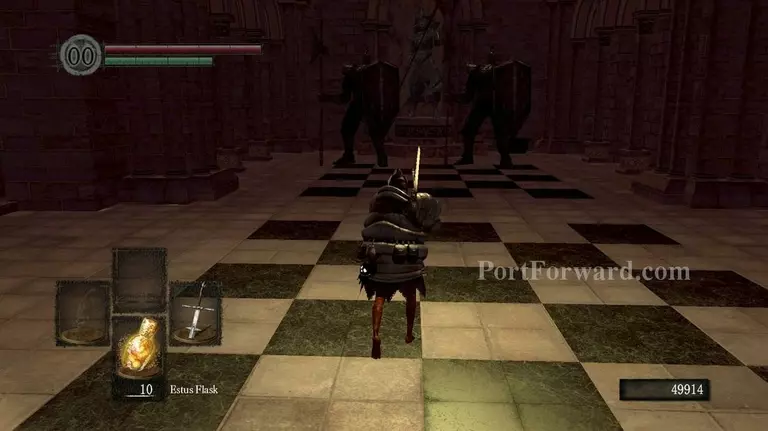
"This area will be filled with Sentinels. They are giants who are heavily armored with not only loads of HP, a fearsome halberd but an nigh indestructible shield that cover their bodies at all times.
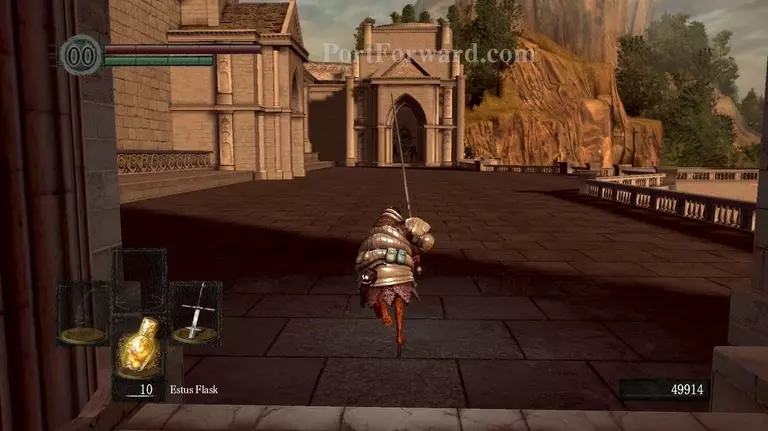
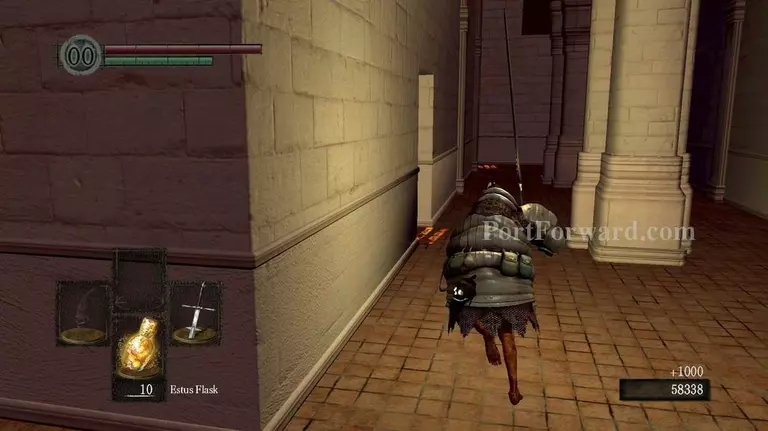
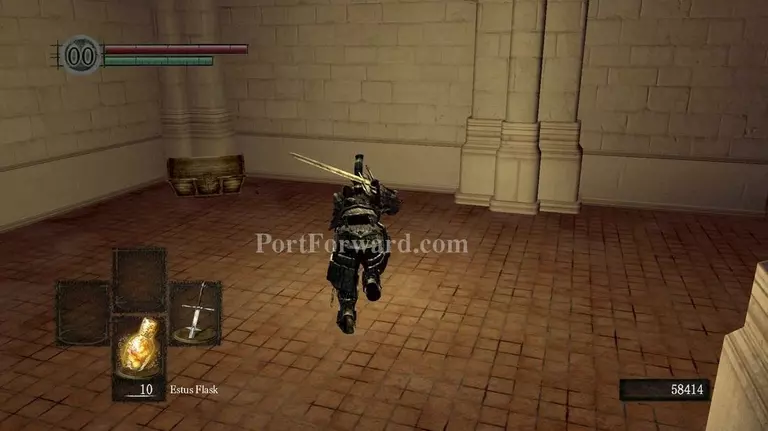
Go out from the first building and take a left.
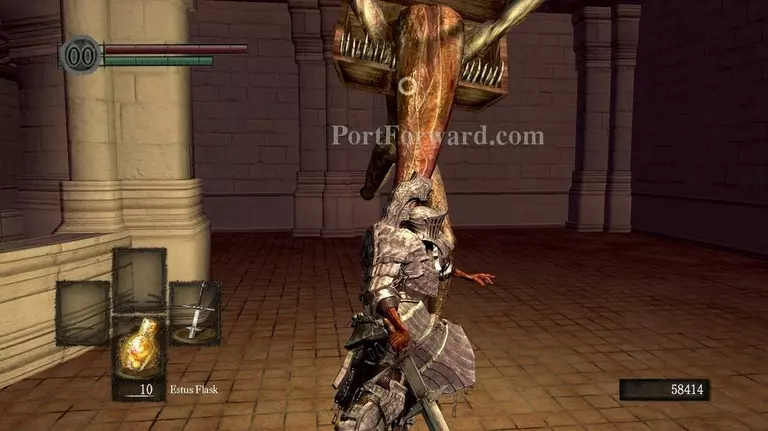
Rest at the campfire and head back out.
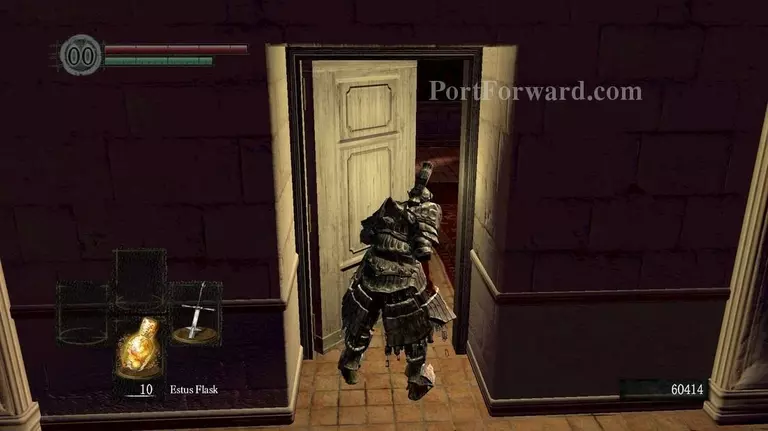
Go straight ahead and step on the platform to make it go down.
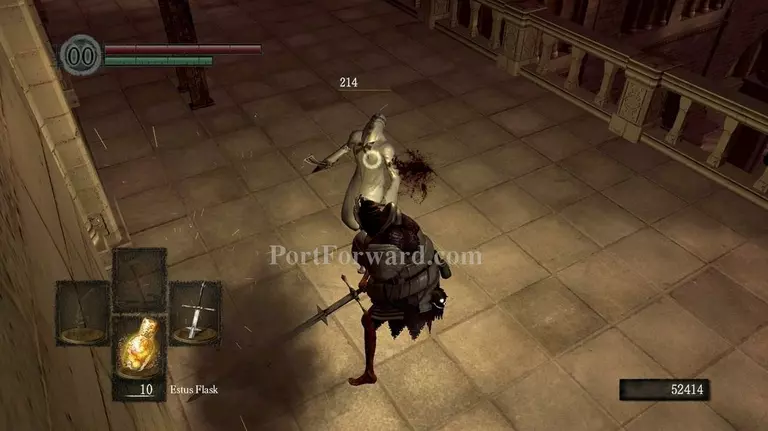
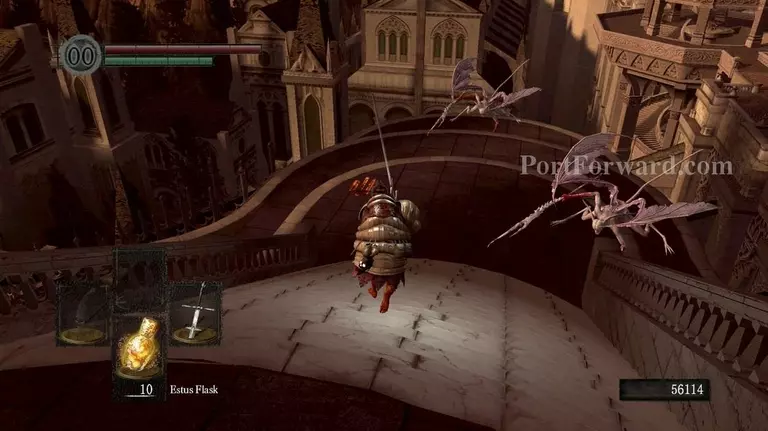
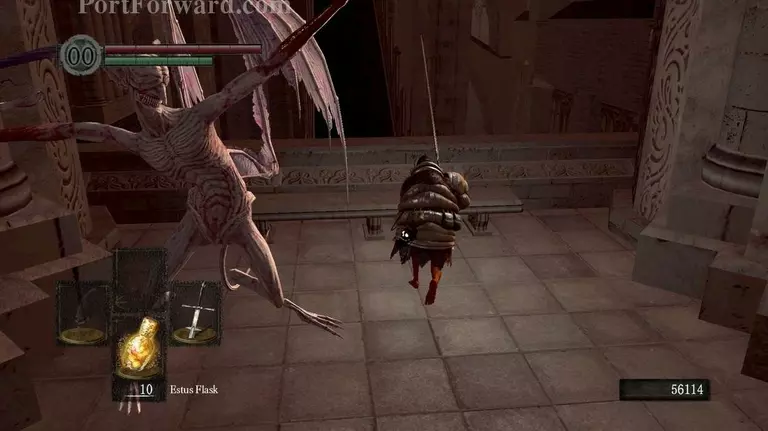
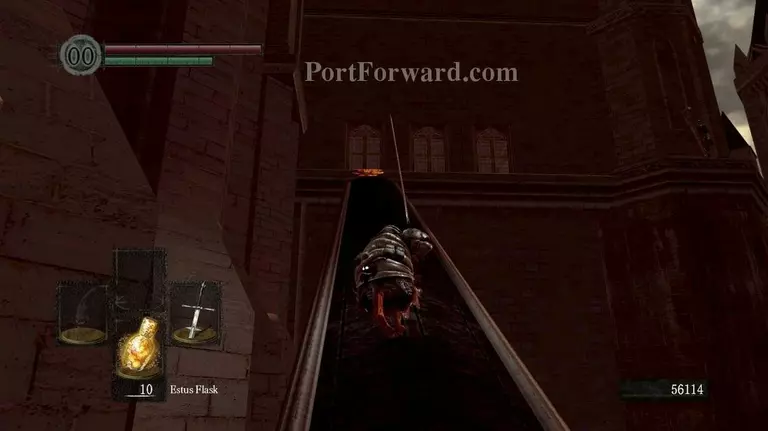
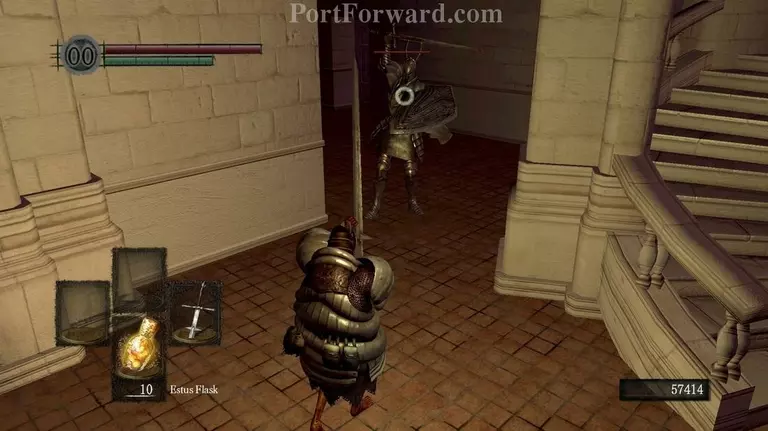
Once down, you'll be greeted by a hostile gargoyle. Like the gargoyle at the boss, he flies around and attacks not only with his halberd but also with his tail.
He will be a fairly easy kill due to the Zweihandler and will not respawn once dead.
Ahead of the gargoyle, there will just be a huge, staircased pillar. You can't get across. So head back.

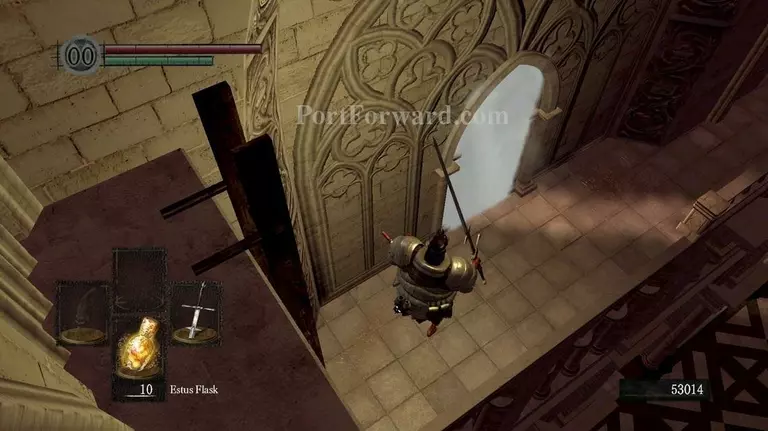
Take a right to the stairwell and jump down here.
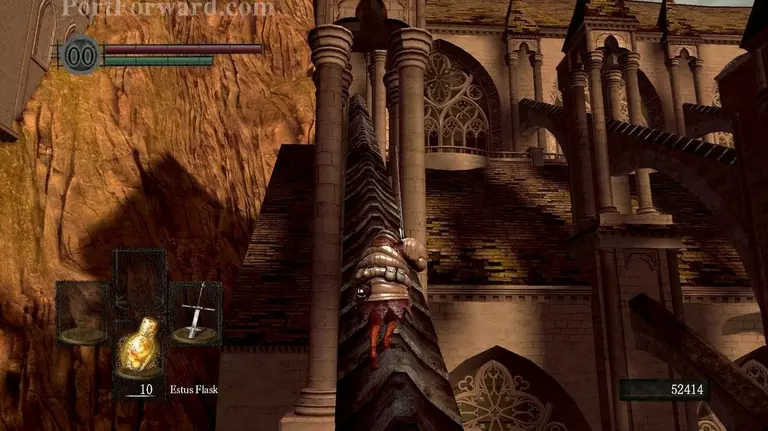
Then run up onto the segmented wall.
Once at the top, roll off and onto the balcony.
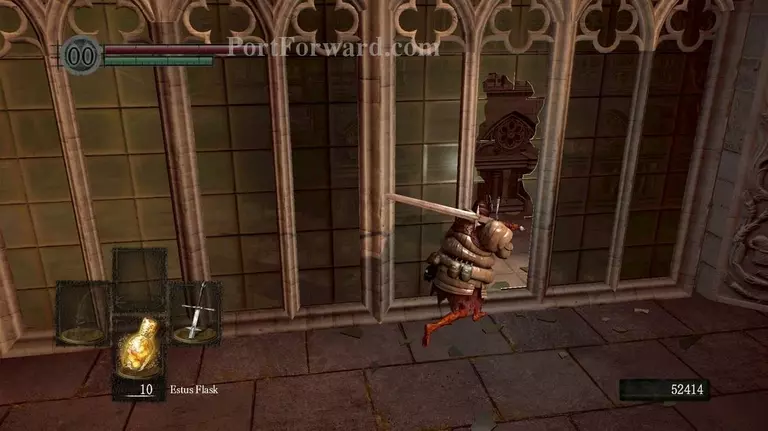
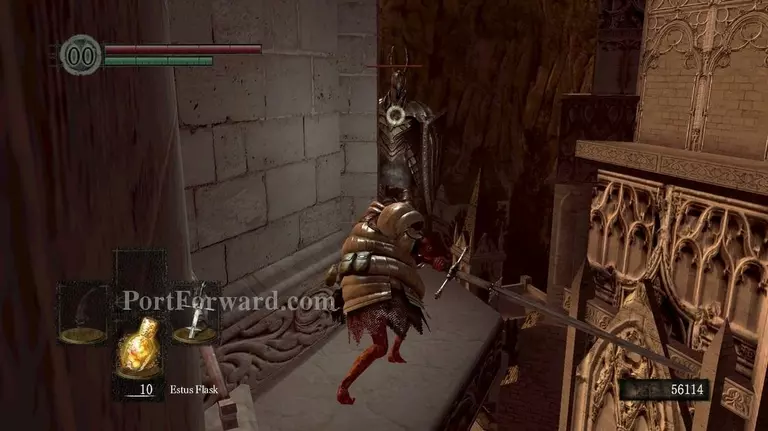
Go through the smashed glass and prepare to fight some rogue Undeads.
Watch out for showing them your back. They WILL backstab you whenever possible while also throwing daggers at you.
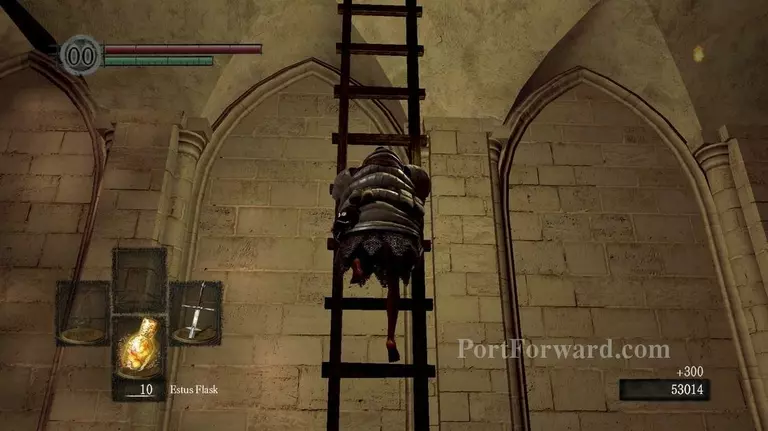
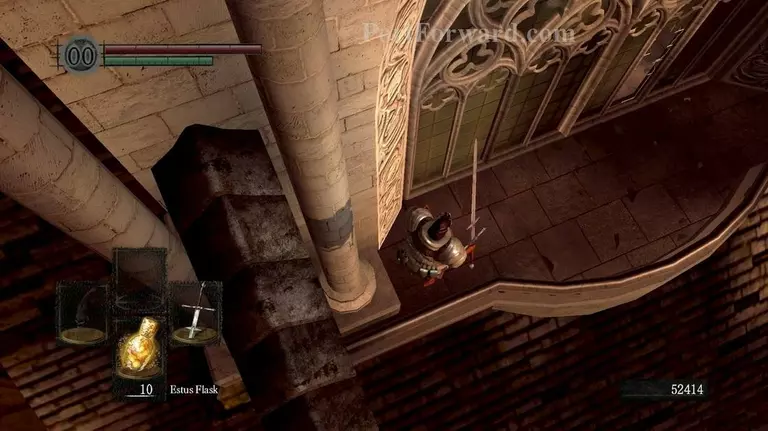
Head up the ladder.
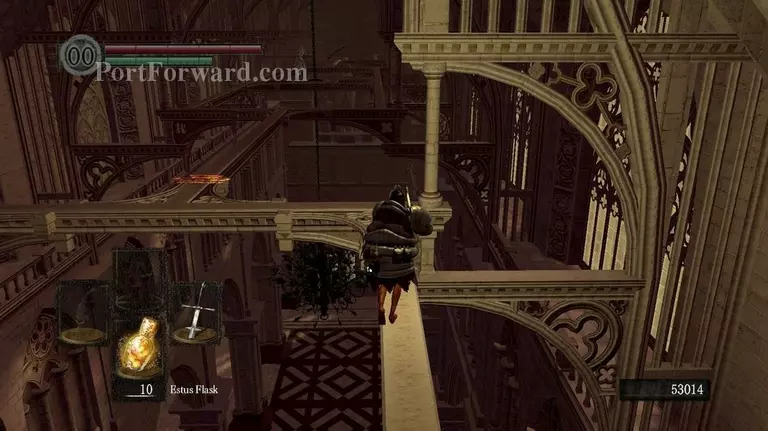
And carefully start making your way to the other side of the room by walking on the roof support struts.
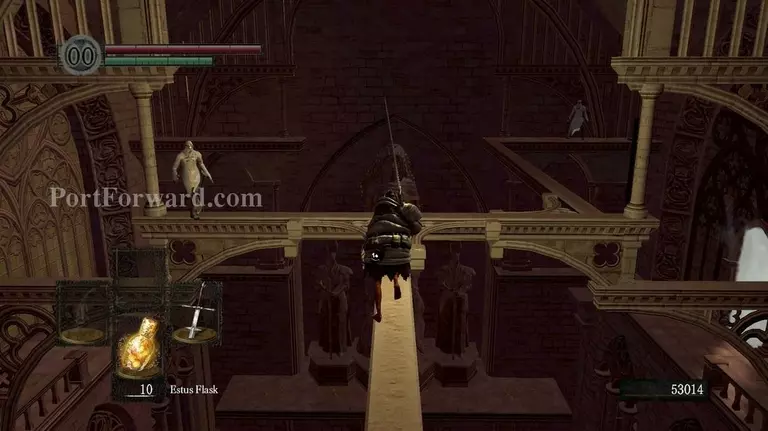
You have to be either extremely careful and kill the mobs off while attacking them straight on a pillar and not on the small round segments or just try to run ahead of them.
Once on the other side, jump down and go through the fog gate.

Run up ahead and activate the lever.
There will be another gargoyle waiting for you. Kill him off as he won't respawn.
Once done with the gargoyle, either go back to the campfire through your now conveniently activated pillar shortcut to refill your Estus Flask or go on ahead.
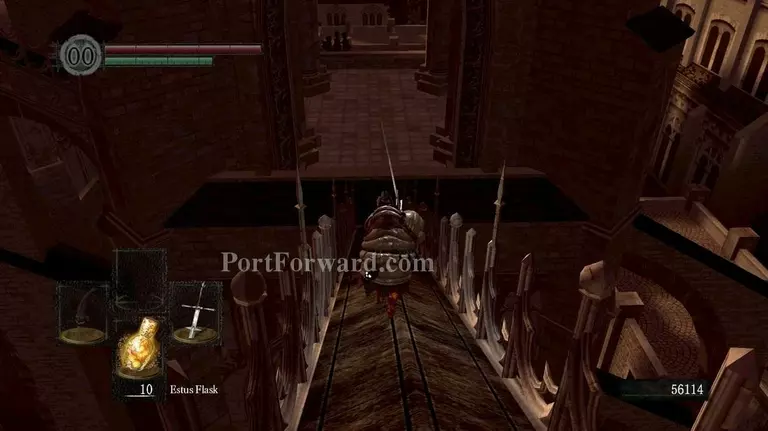
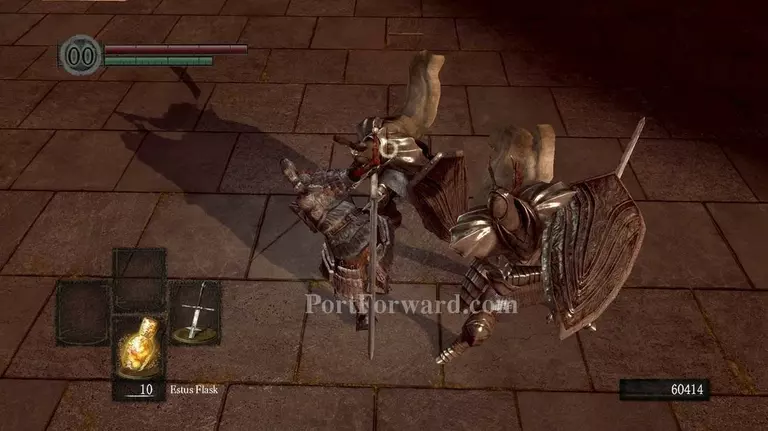
When they are dealt with, head down the stairs and either run through these gargoyles or aggro them one by one and kill them off. They are very dangerous as all their attacks are lightning-based and impossible to block completely.
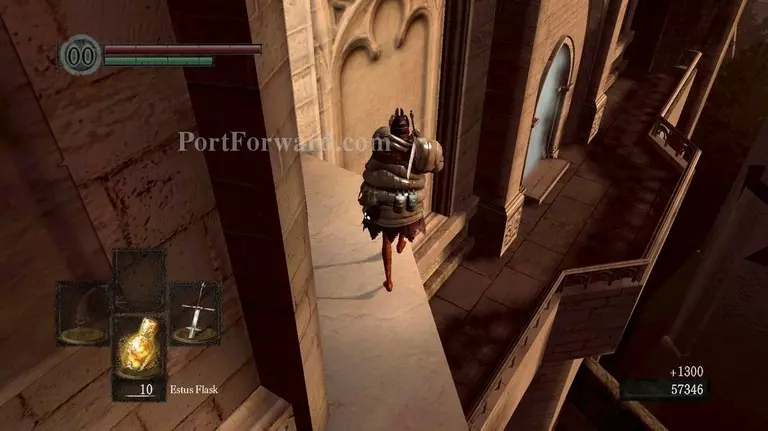
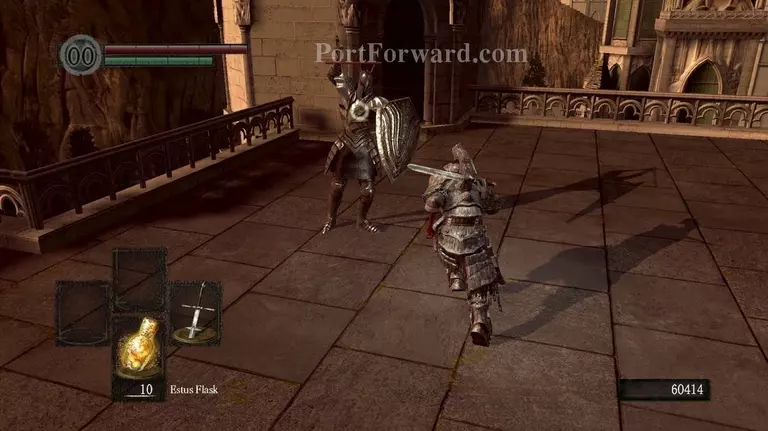
Take a right once you're up. There will be two sentinels.
Run down the other wall segment.
Take a left and avoid the ambush.
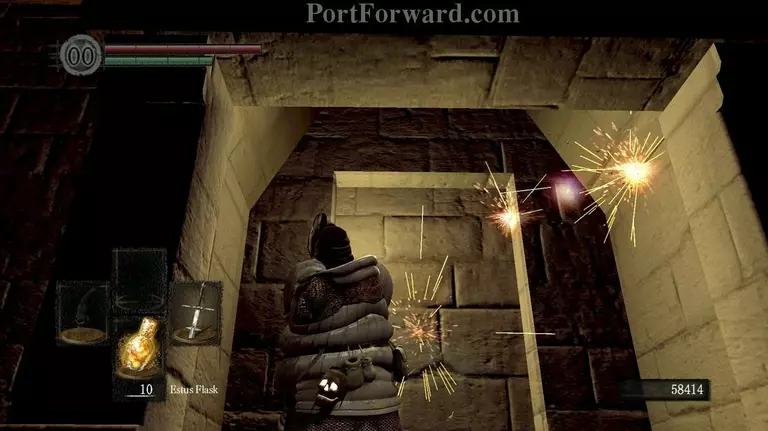
You'll be now entering the most notoriously difficult area in Dark Souls to date. Two Black Knights are shooting gigantic and devastating arrows at you as you have to make your way through another wall segment on thin ground.

Take a right and run as fast as possible to avoid getting hit.
At this point, you'll be only shot by one Knight.
But he's blocking the path ahead. So you'll have to either take him out or nudge him off the building and make him fall to his death.
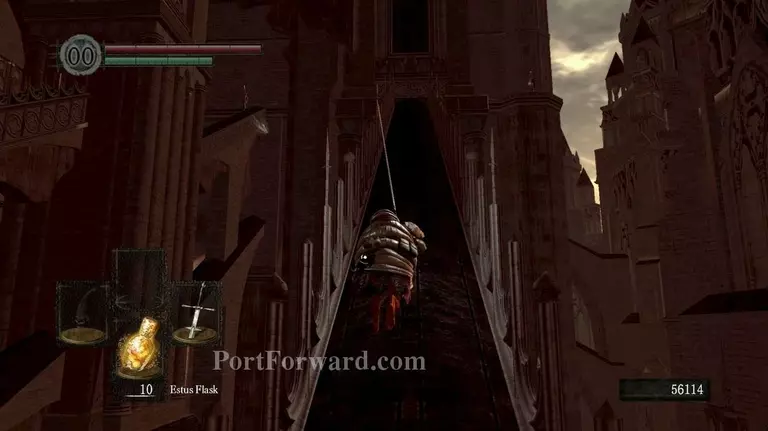
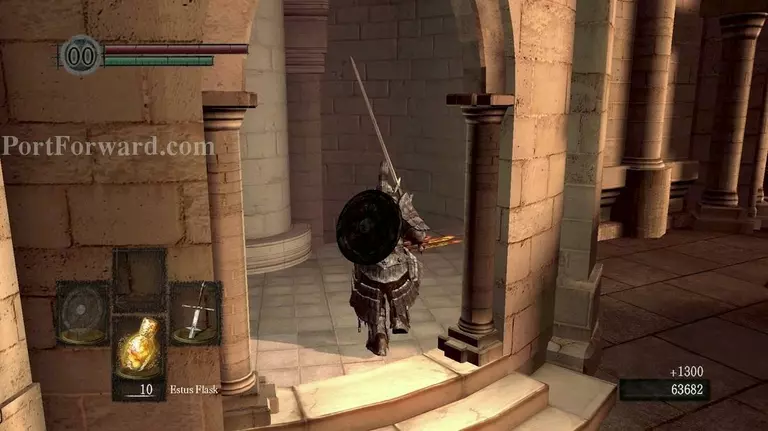
Once dead, proceed ahead and roll off onto the balcony and go through the fog gate.
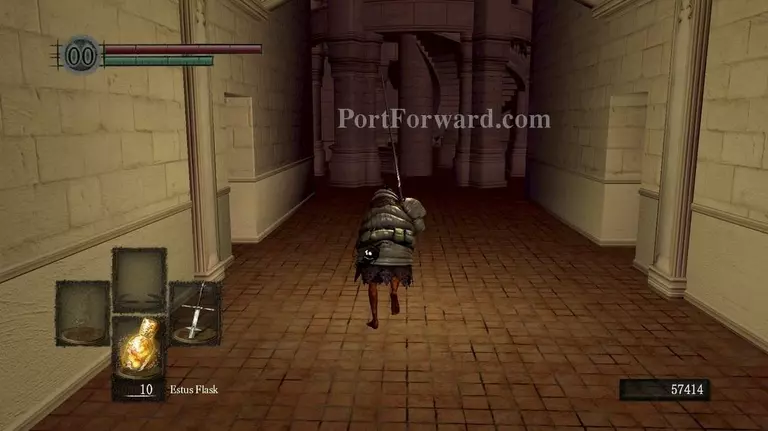
Take a left once inside and rest at the bonfire.
Once rested, move on ahead and kill the lingering Black Knights ahead.
Then across the other side of the room, take another left.
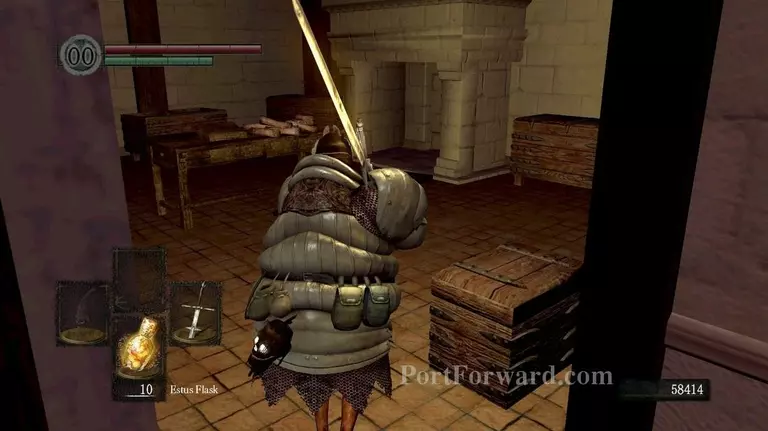
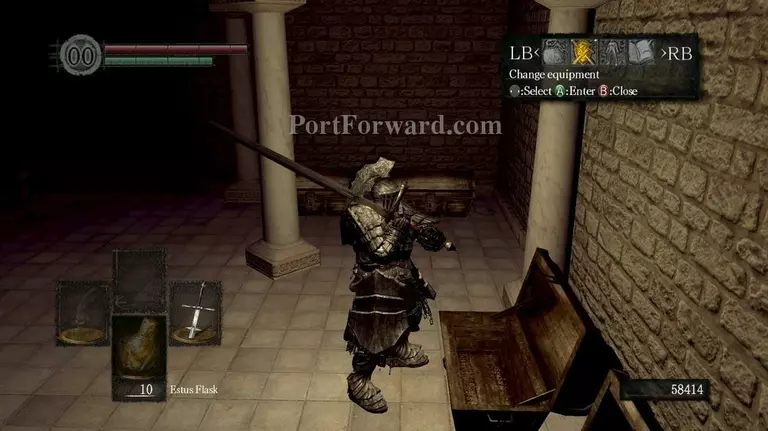
You'll enter a small storage space, seemingly empty.
Hit the fire place to reveal the real storage space.
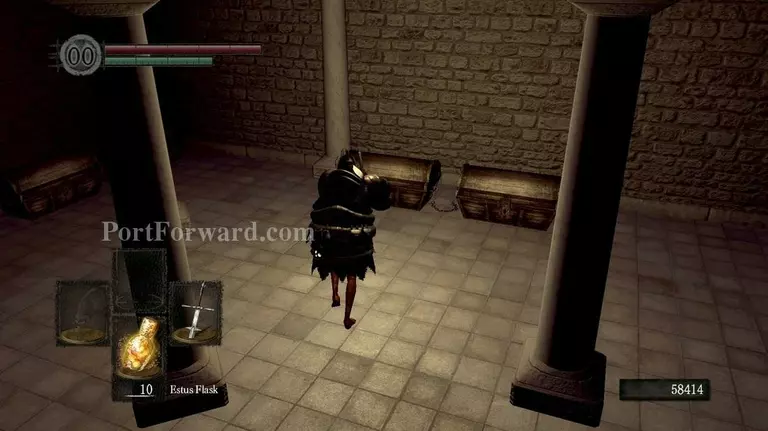
It will be filled to the brink with precious treasures, including the Havel Armor.
It is an extremely heavy armor made out of stone that make you almost completely immune to any and all kinds of staggering while boasting impressive protection.
However, unless you have the Havel Ring and/or a lot of Endurance, you will be unable to run and roll with it.
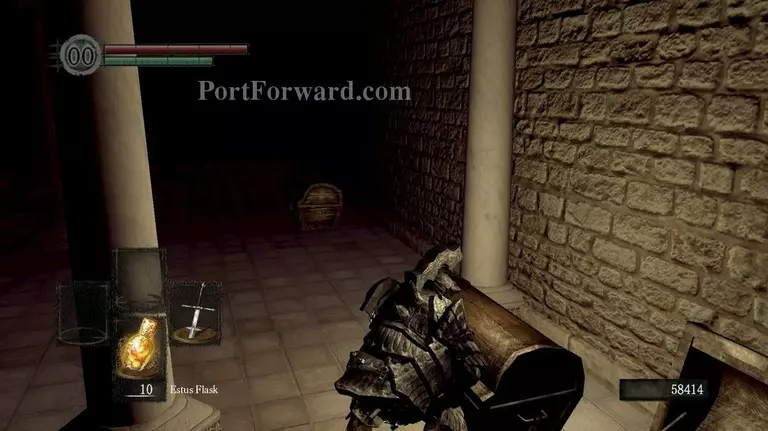
The lone chest in this room will also be a Mimic. It is a creature pretending to be a chest but If you open it, it will grab hold onto you and do extreme amounts of damage. Either avoid it completely or smash it dead.
Head back and go up the stairs.
There will be another mimic here. Move on or kill him for a gold coin. It can be given to a certain NPC for 5000 souls.
If you decide to fight Mimics, beware of their extreme HP pool and overall speed & damage. They will also attempt to grab you If you stand around for too long.
Once past the mimic, enter the room to the left.

Go up the stairs.
You'll come across a few black knights on the roof.
Kill them both.
Once they are dead, go up towards the building and then down the stairs.

Once down, take a left.
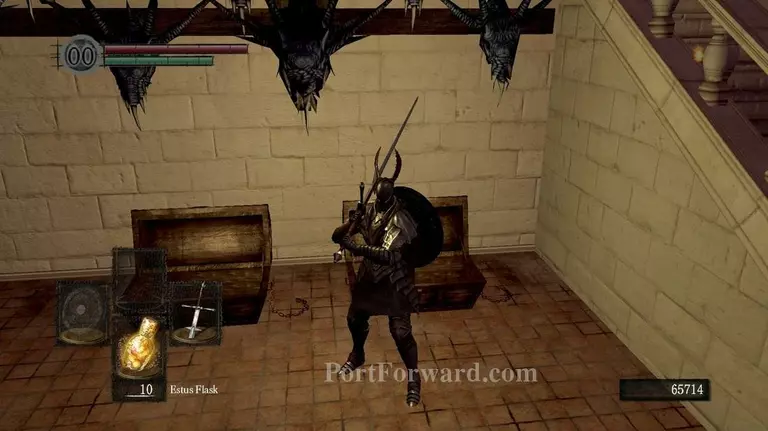
You'll enter a room almost filled with black knights using various weapons. Kill them.
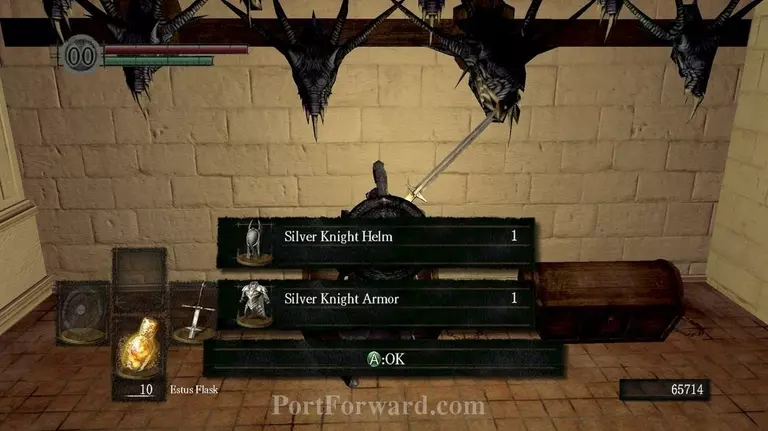
They will be guarding the Silver Knight armor set.
It is a very respectable piece of armor with high defensive stats that's upgradeable while not packing too much weight. Open the door when you're done to activate a shortcut back here Incase you die.
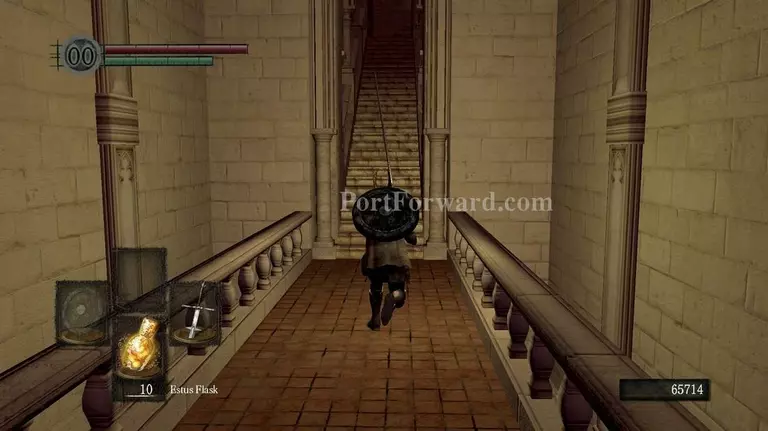
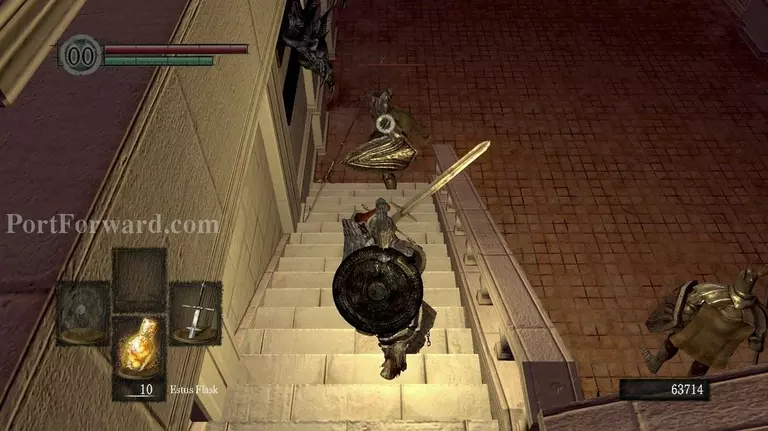
Head back up and take a right up the stairs.
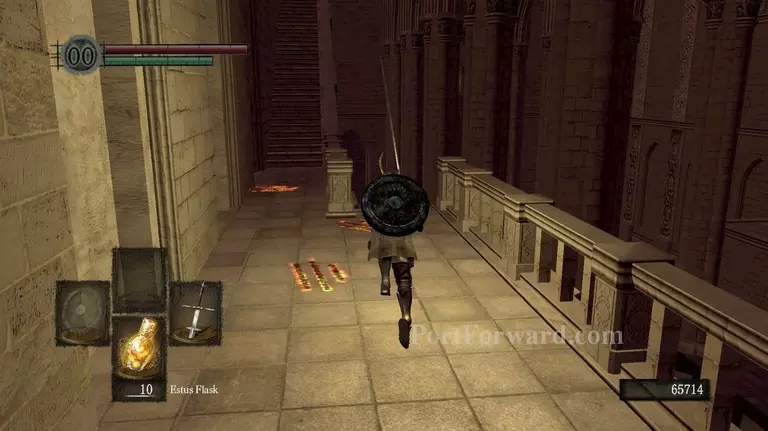
Go down here.
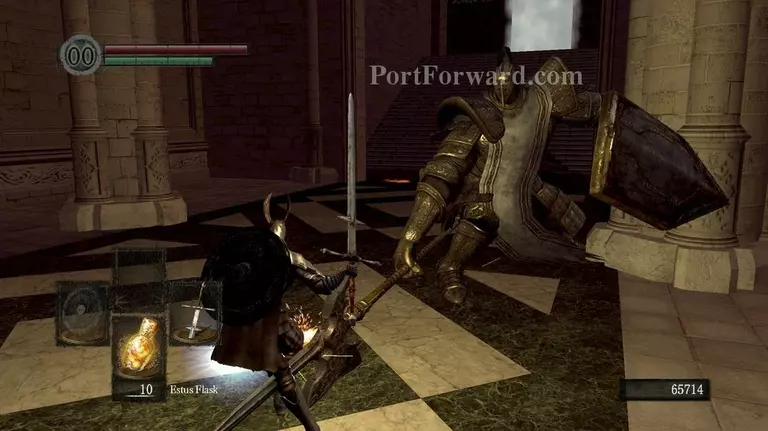
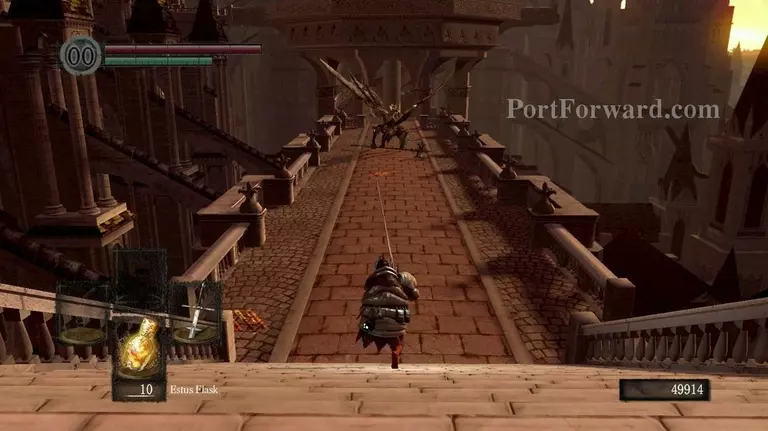
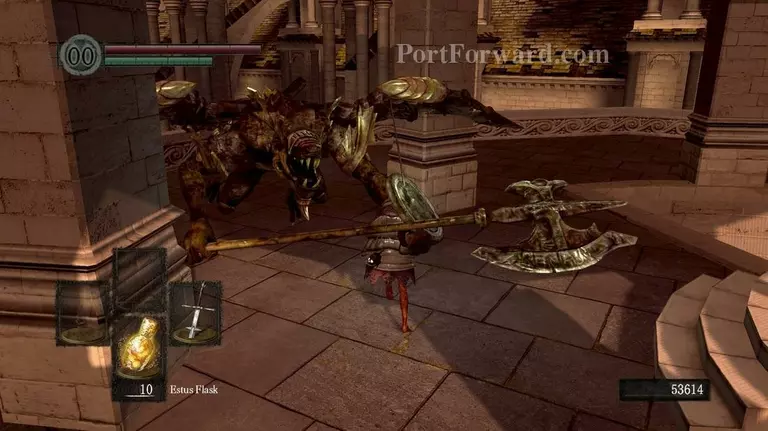
"There will be two Royal Sentinels guarding the boss room. They are very dangerous when underestimated and should be either ignored completely in favor of simply getting to the boss room or carefully wittled down.
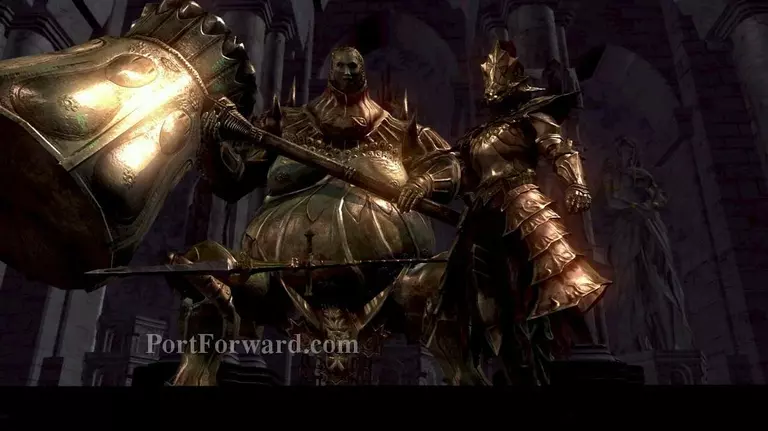
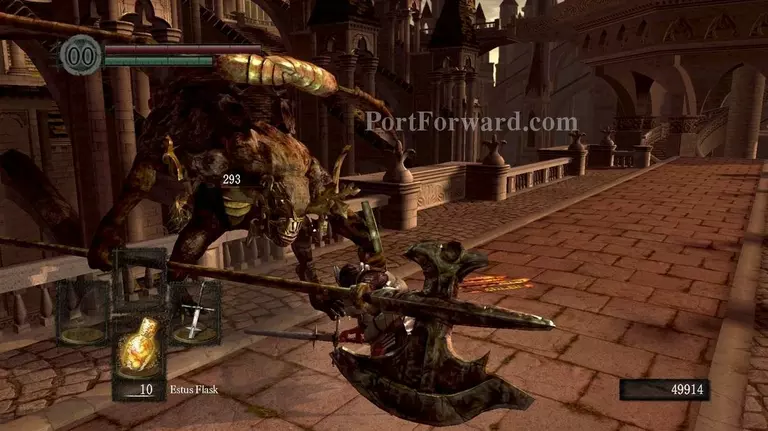
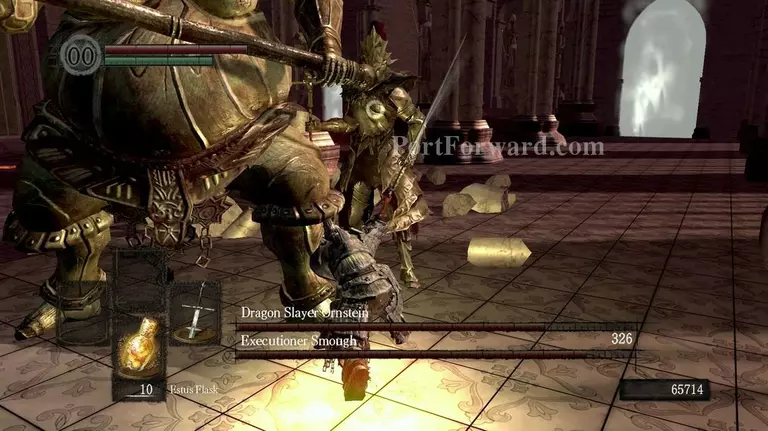
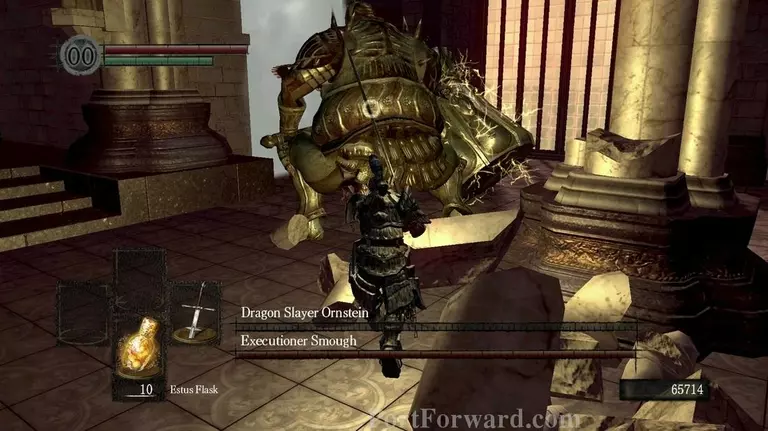
You will be thrown into a 1v2 Boss Battle with Smough (Left) and Ornstein (Right)
This bossfight can become chaotic real fast with debris flying everywhere and two bosses throwing themselves at you.
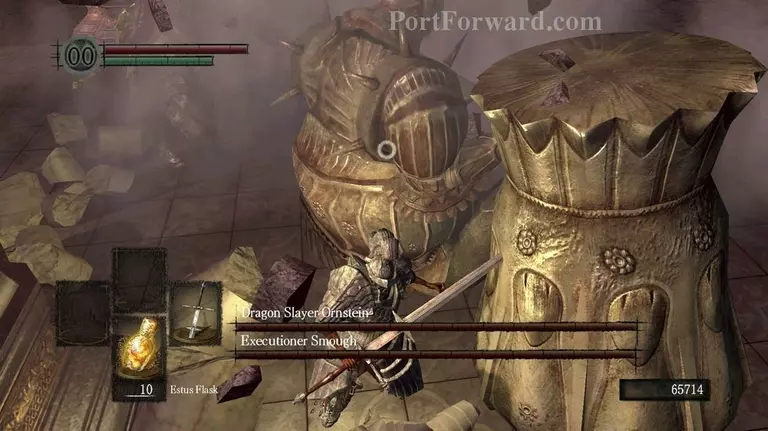
A general strategy that almost always works is run around and wait for Dragon Slayer Ornstein to come running after you. Then, nuke him down while avoiding his arsenal of almost exclusively thrust attacks.
If you see an opportunity to get both of them, do It If there's health to spare.
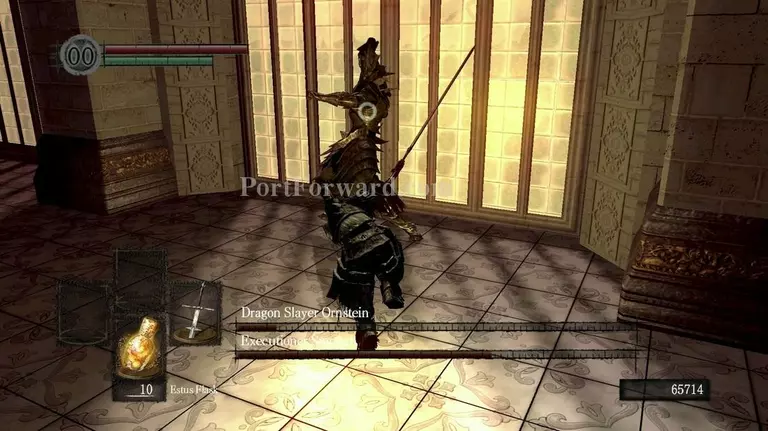
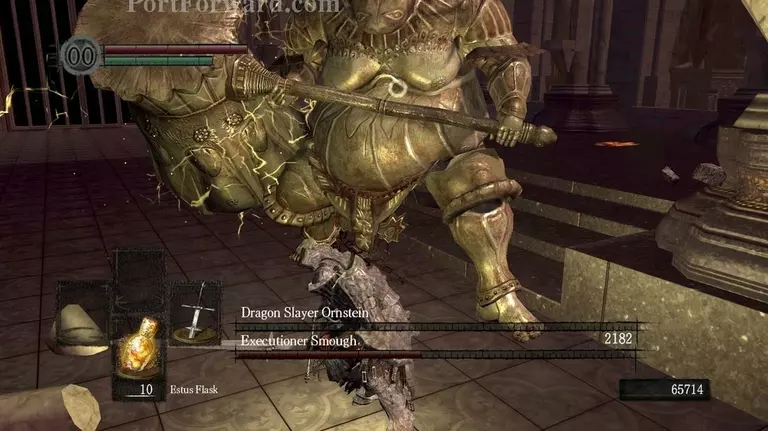
Luckily, Ornstein does not have that much health and is killed rather easily.
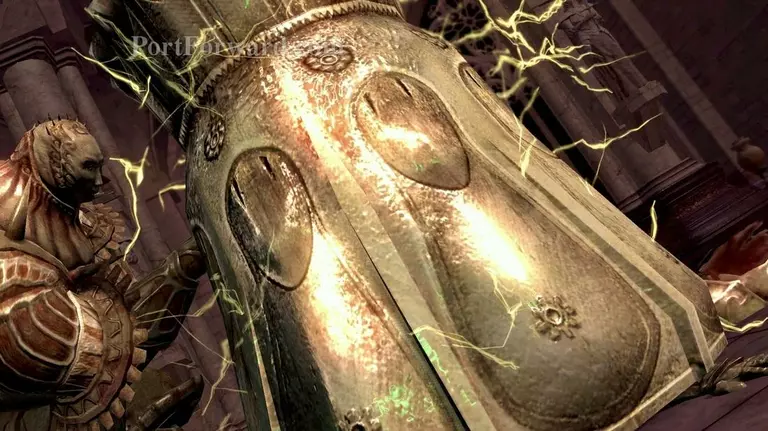
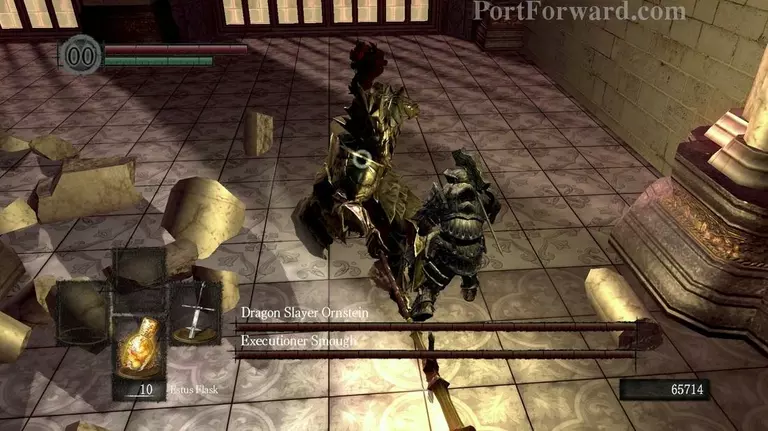
Once dead however, Smough will smash Ornstein with his hammer, absorbing his lightning powers.
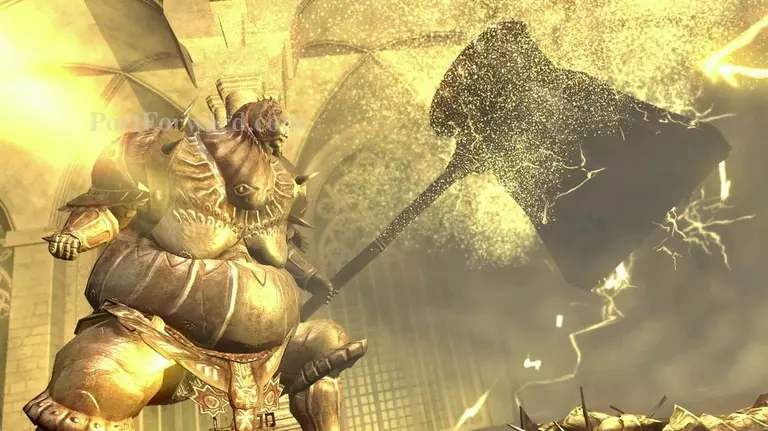
He will be super-charged and gain not only new moveset but more attack damage, speed and much more.
He's still however, understandably clumsy so harassing him while keeping your distance during his attacks is a cakewalk.
He will also be staggered If you're using the respectable Zweihandler.
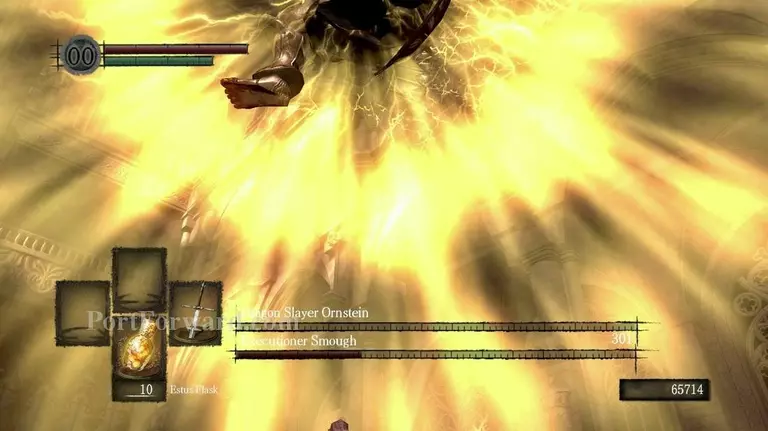
What you should watch out for, however, is his drop attack. He will jump into the air and then come smashing down, just like the Asylum Demon.
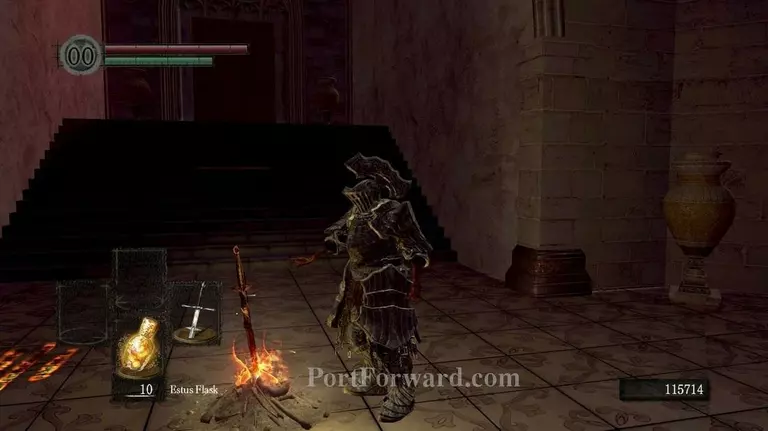
Once dead, go up the elevators and light the bonfire. Then proceed into the room.
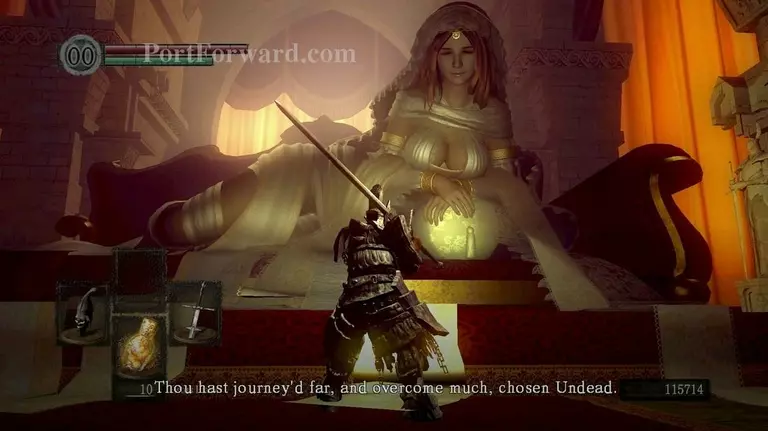
Ahead is a giant NPC whom will give you a vital story item.

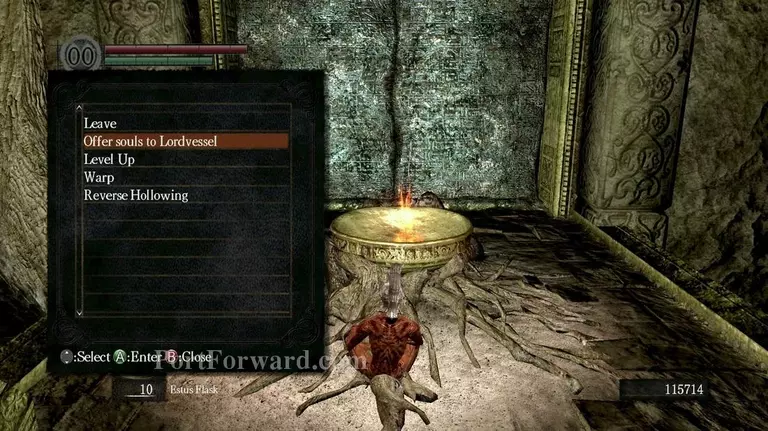
The lordvessel will allow you to warp between bonfires. An extremely useful thing to have.
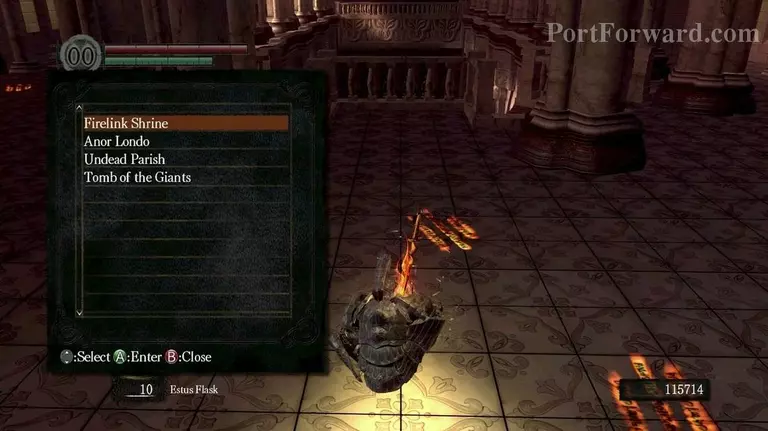
Once at the bonfire, click Warp then select Firelink Shrine.
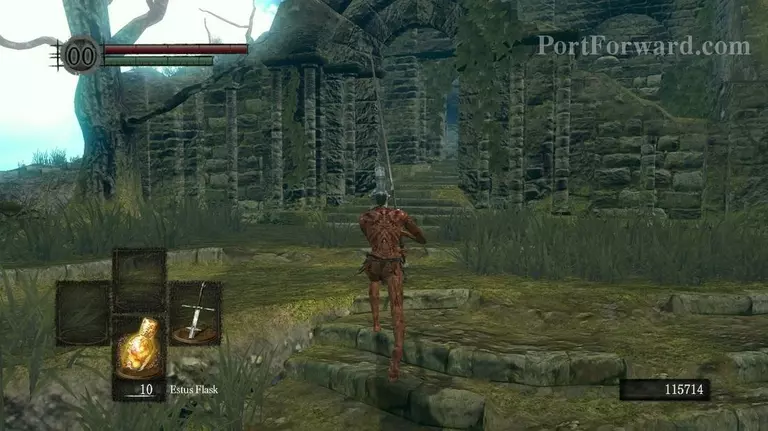
Once there, run up back to the water temple..
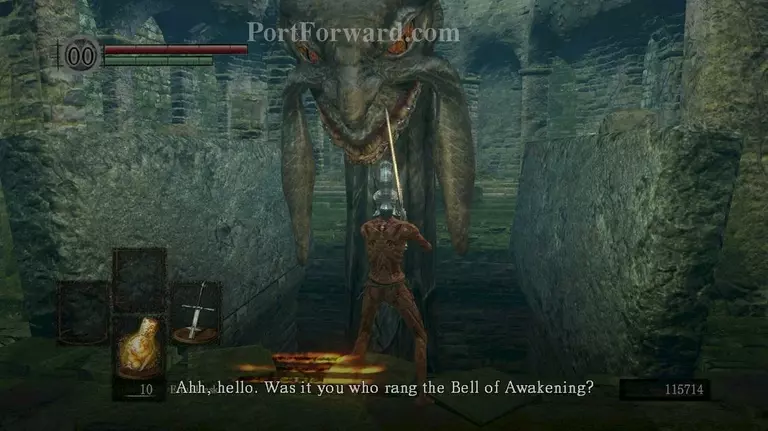
And there will be a giant serpent. Skip through the dialog and he'll take you underground.
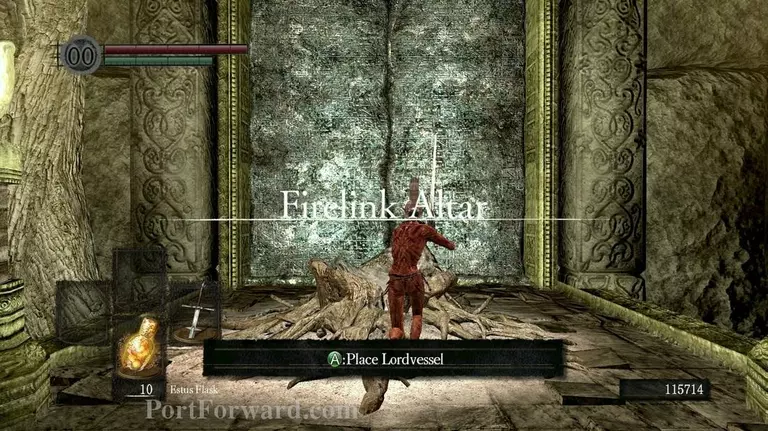
This is the Firelink Altar. Go up to the tree root and place the Lordvessel.
You will now be able to kill a final of 4 bosses in order to meet the final boss and win the game.
More Dark Souls Walkthroughs
This Dark Souls walkthrough is divided into 9 total pages.