This Dark Souls walkthrough is divided into 9 total pages.
You can jump to nearby pages of the game using the links above.
Sen's Fortress
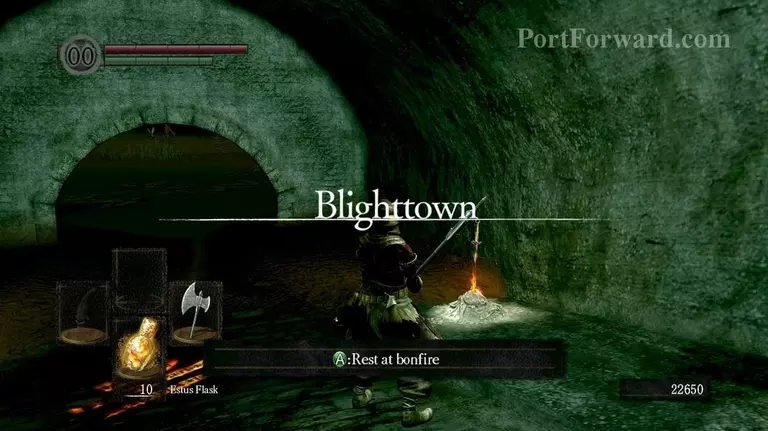
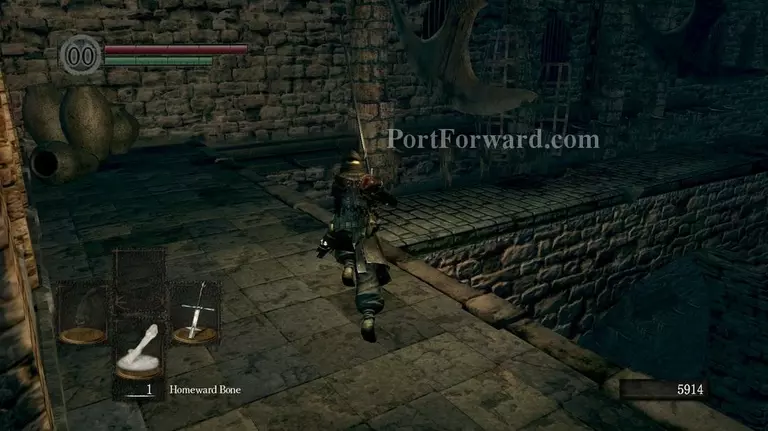
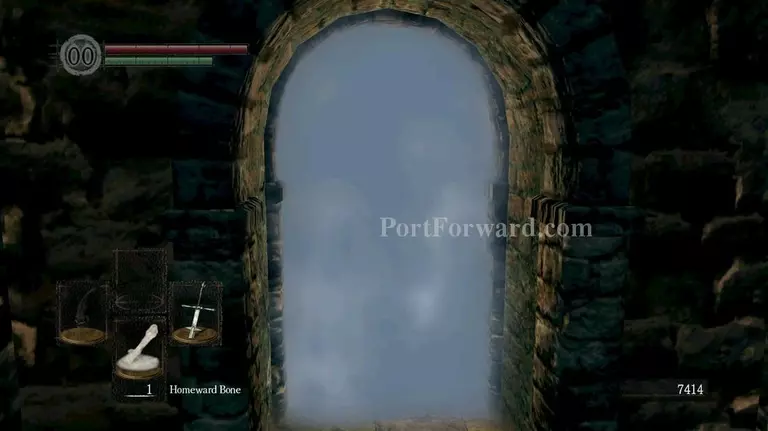
Use a Homeward bone to return to the Bonfire at the sewers.
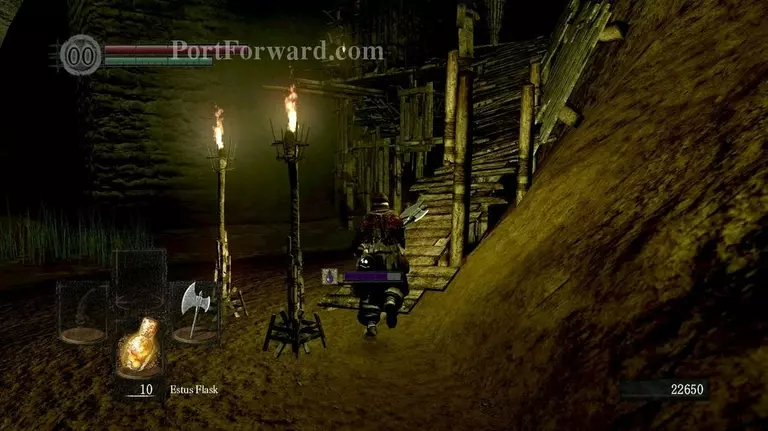
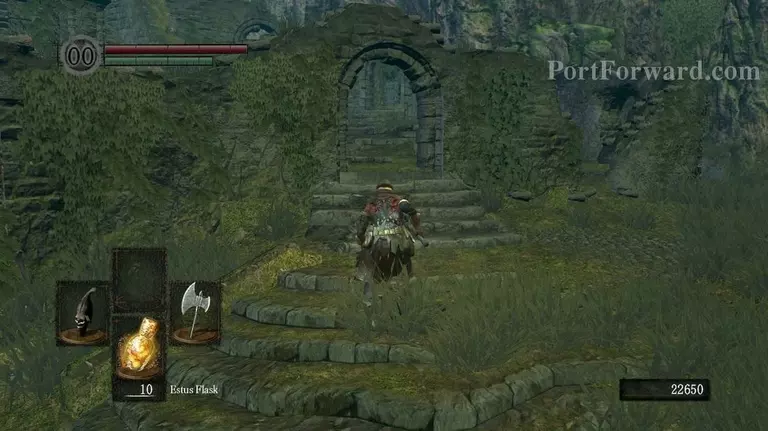
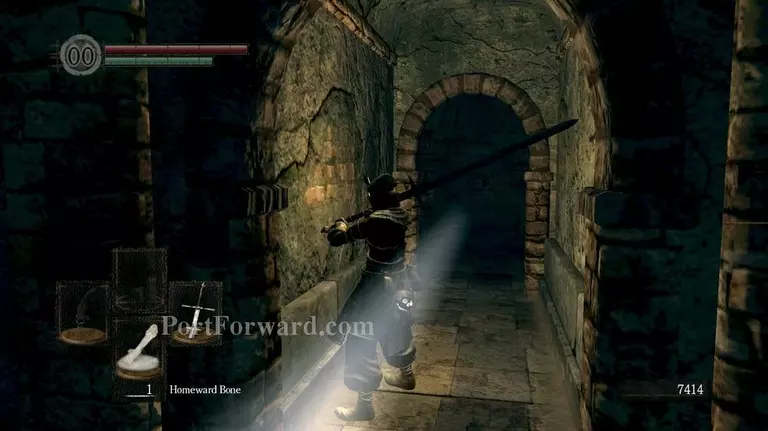
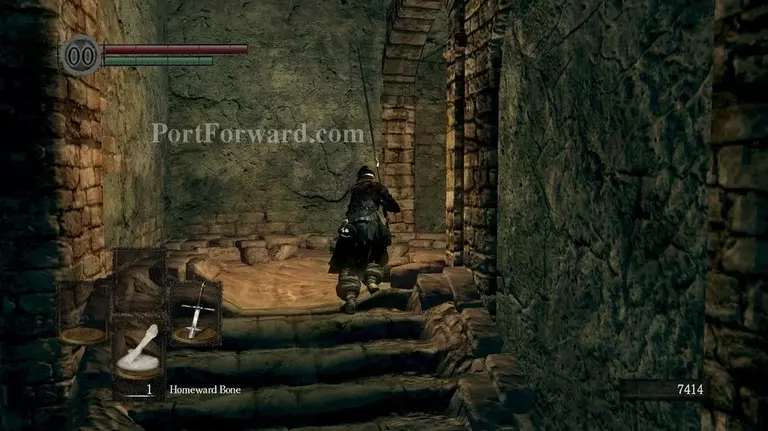
From there, run back from whence you came, going up the ramp.
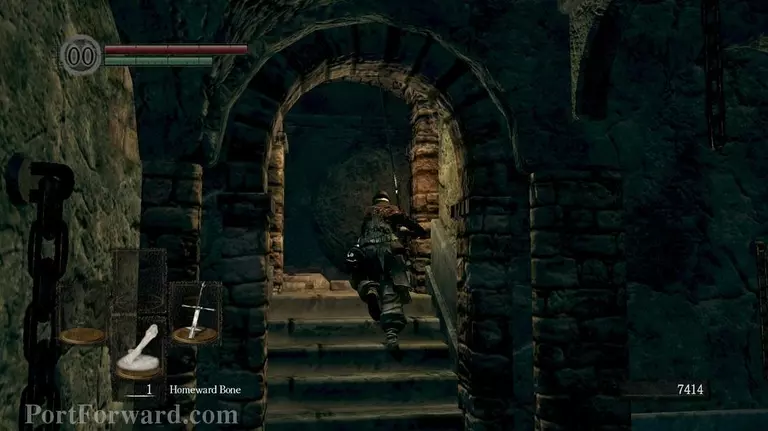
Climb the stairs..
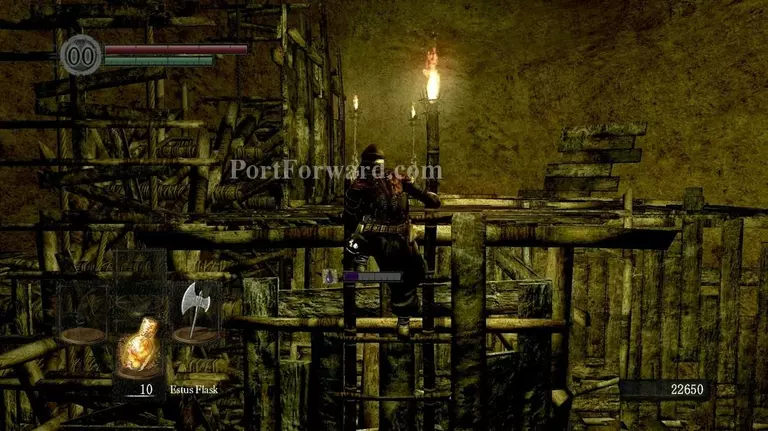
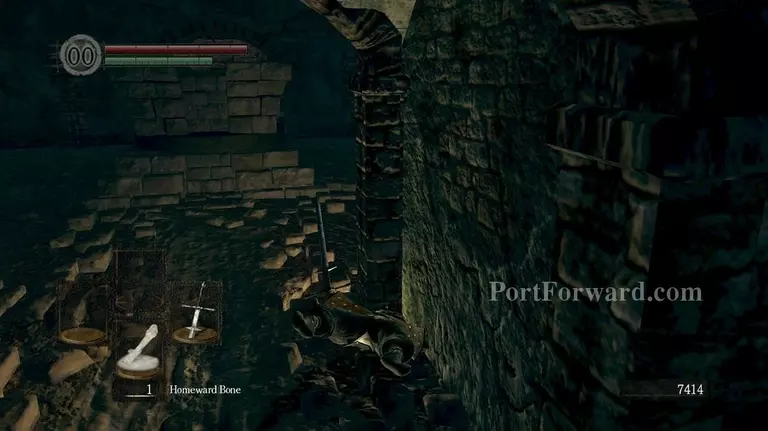
And jump onto one of the elevator platforms to get back up.
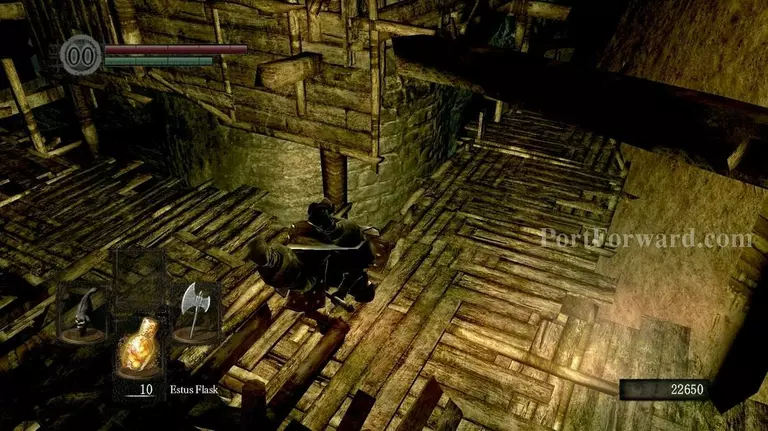
Timely roll off once you're ontop of the elevator structure to not fall down again and die.
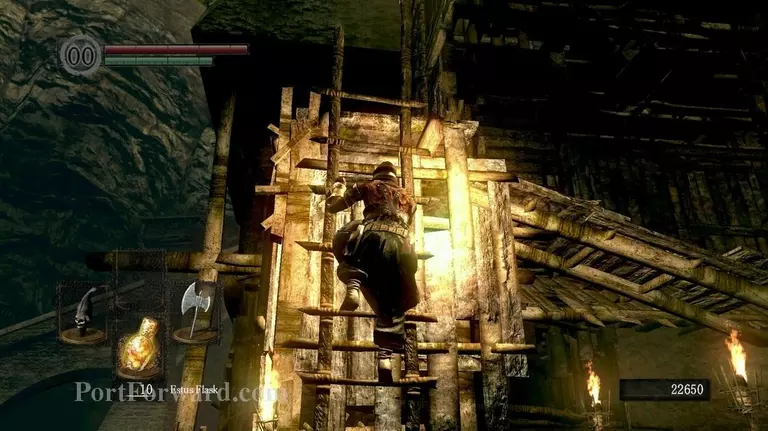
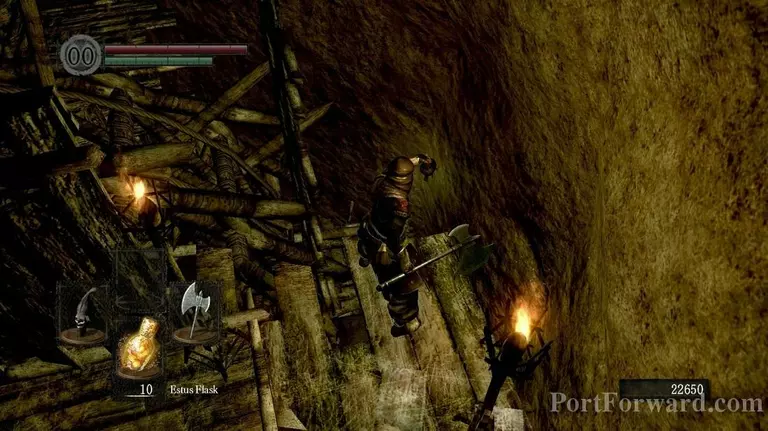
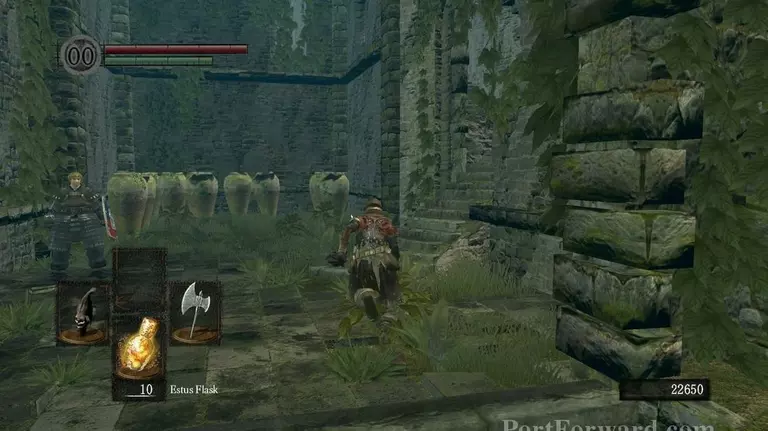
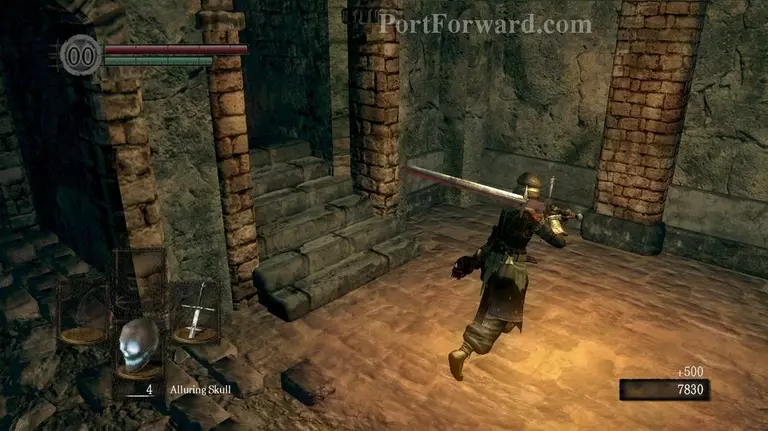
From here, climb up all the ladders you previously jumped down from.
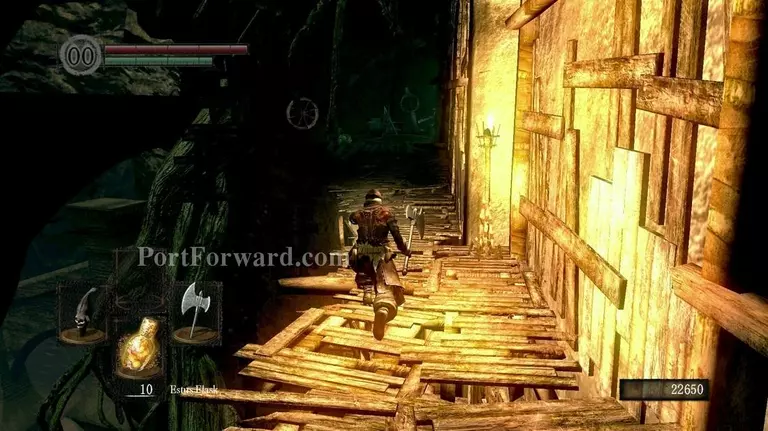
Once all the way up, you should see the way you came from. Simply run back through it.
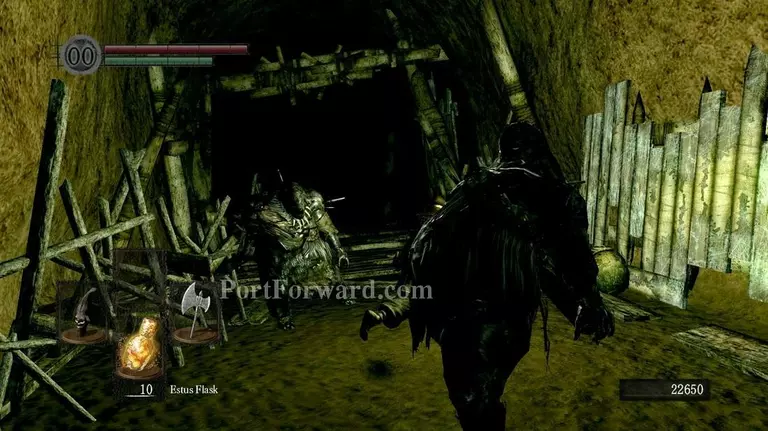
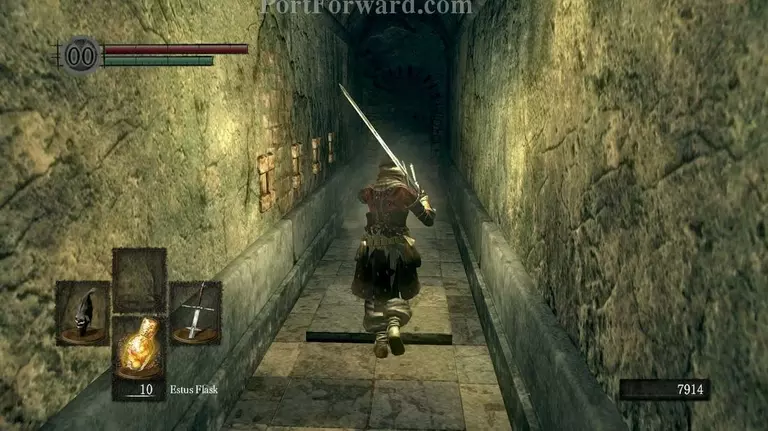
Avoid the Ogres.
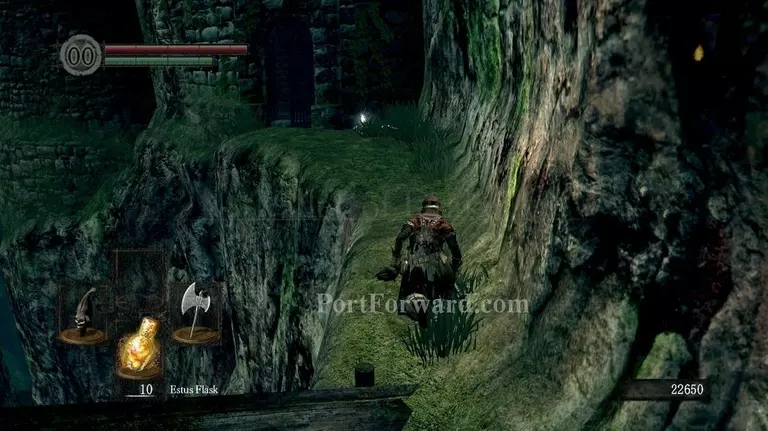
Cross the valley..
Get back up to the circular elevator.
Run up to the shrine..
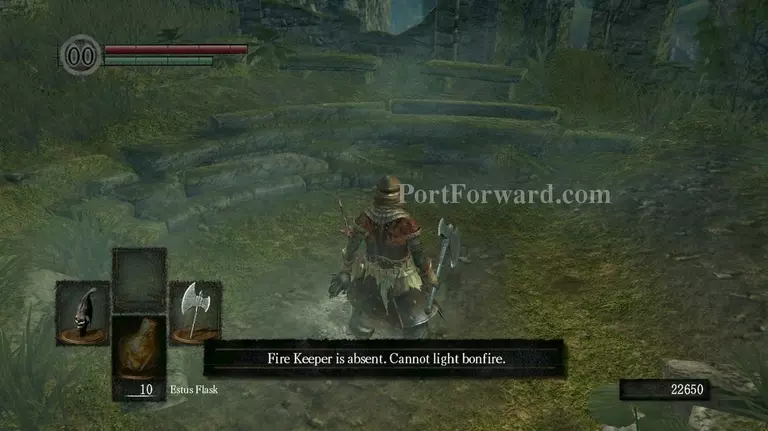
"And get the unfortunate news that the Fire Keeper of this shrine is Absent. Unfortunately, the NPC that was keeping the flame alive underneath us has been murdered so you will not be able to use this shrine anymore unless you do a special quest.
Run back up to where the elevator is.
To the right and up.

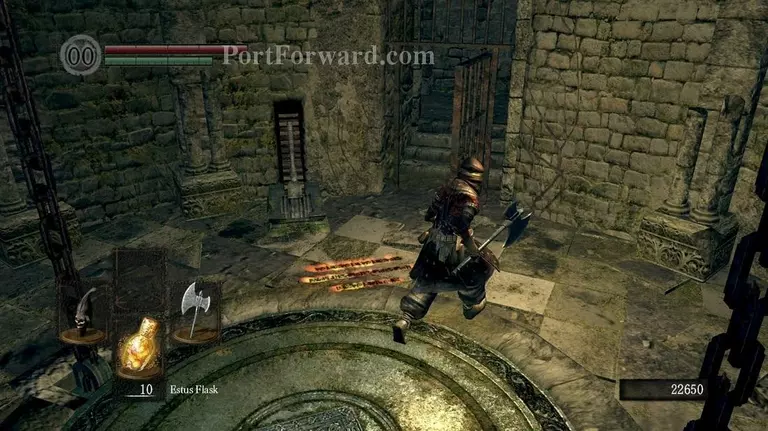
Step into the chamber and press down the plate.
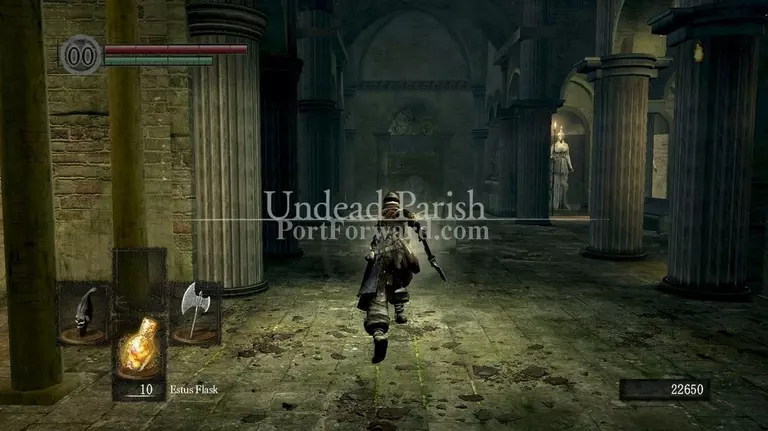
It will take you back to the ruined Cathedral. Run straight ahead.
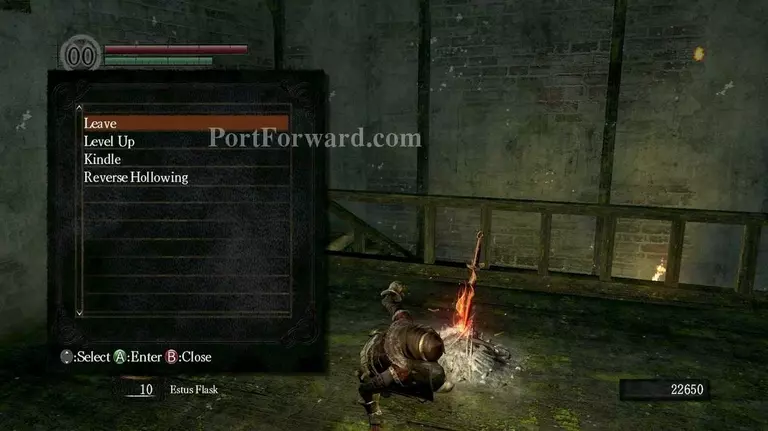
Go down and rest at the bonfire.
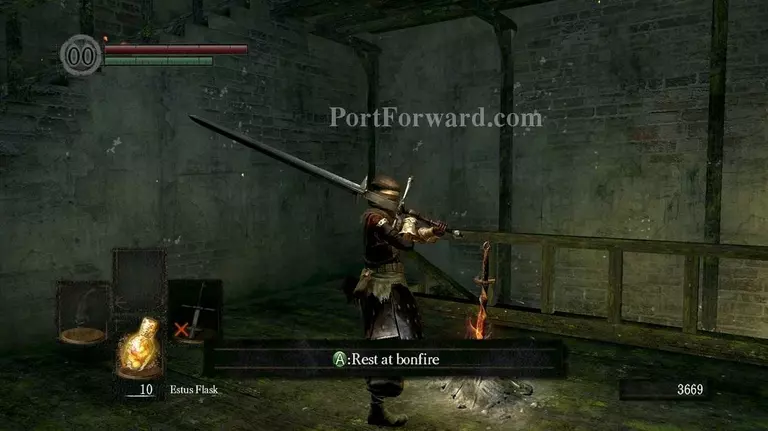
At this point, I will heavily recommend putting some points in Strength so you have atleast 24, enough so you can wield the Zweihandler (along with 10 Dexterity)..
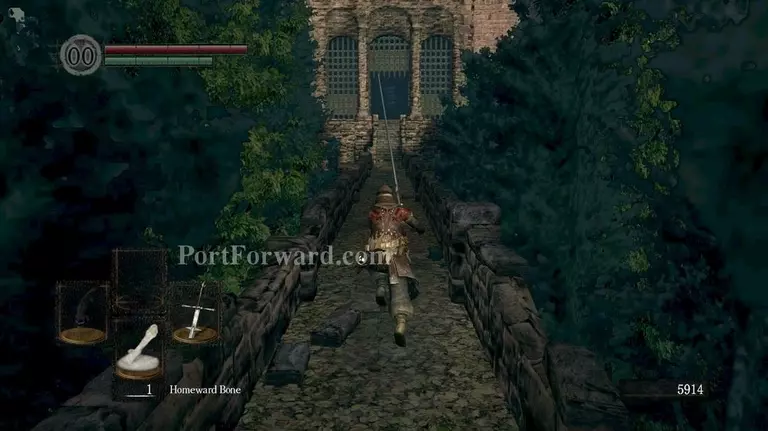
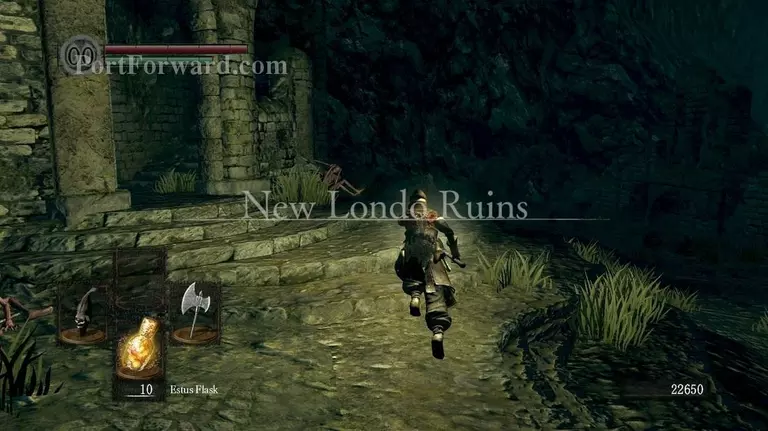
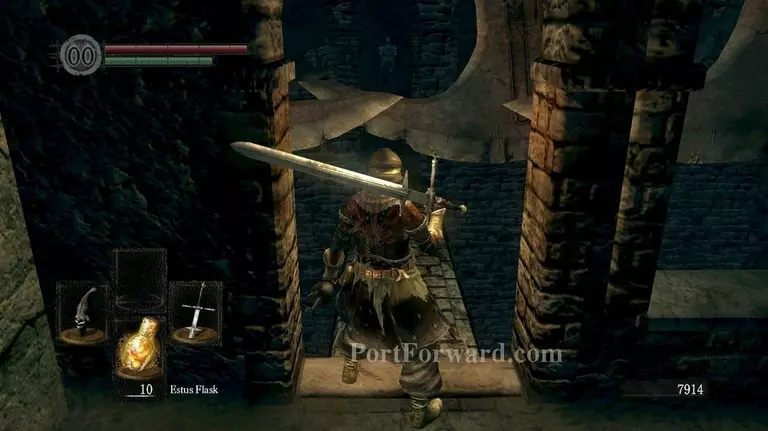
Once you can wield it properly, signaled by the big red X being removed from it as you have it out, run ahead to the newly opened gate.
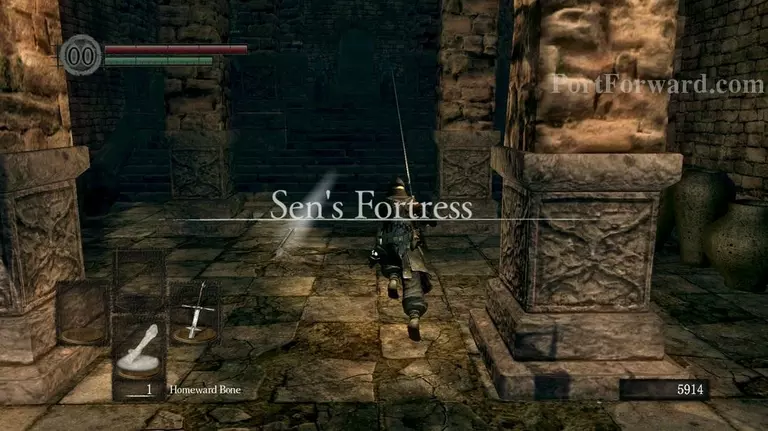
This is Sen's Fortress. A very dangerous place filled with traps and death around every corner.
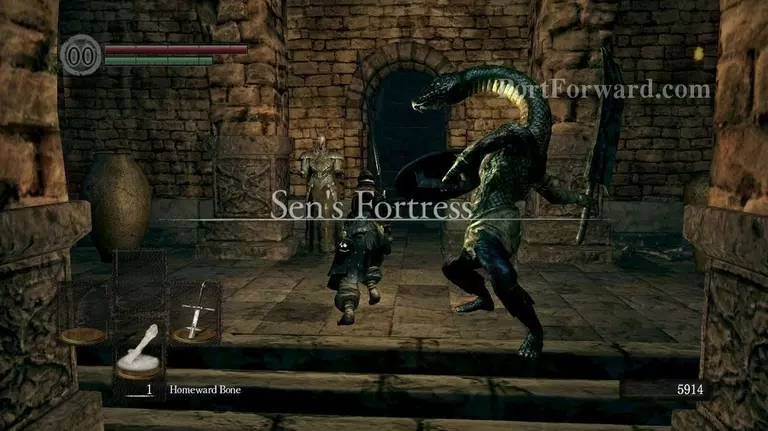
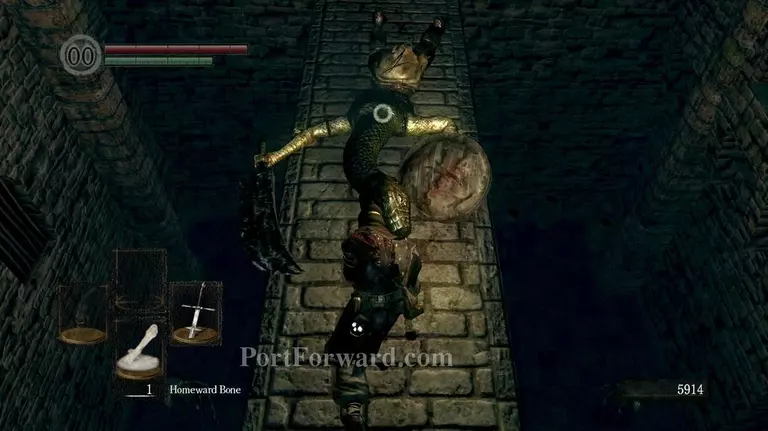
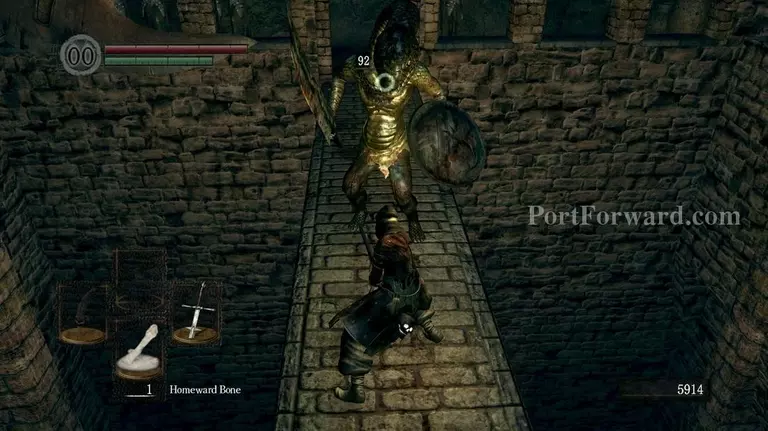
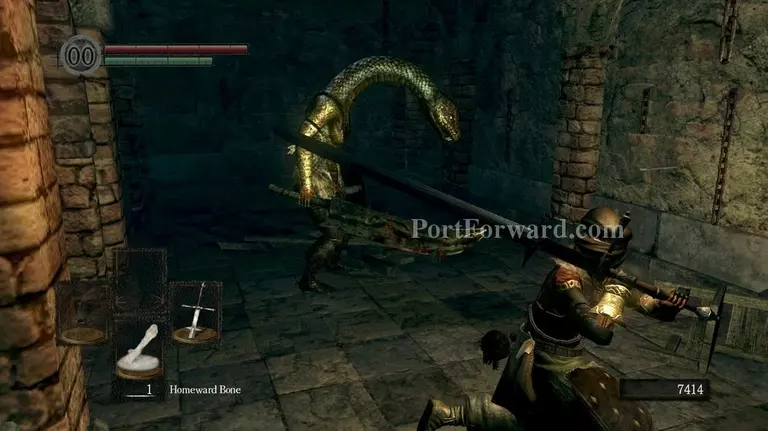
It also introduces some of the most annoying mobs in the game, the Lizard Men. They do massive damage, have loads of HP and give little souls when killed.
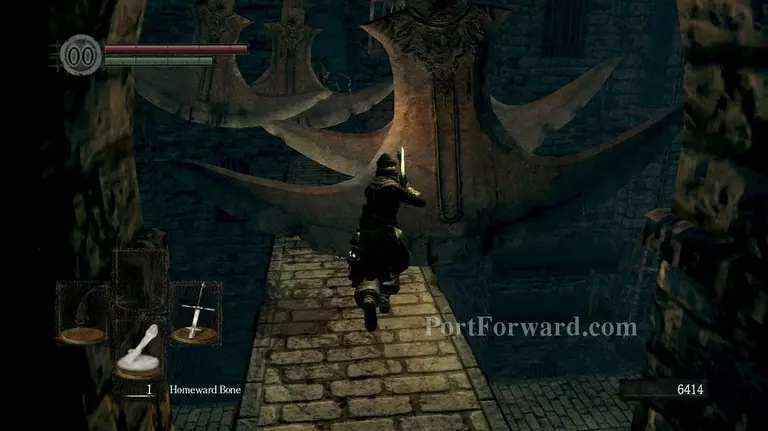
Run ahead and you'll come across a room of clockwork operated Guillotines. Even slightly touch the edge of one of them and you will be pushed off the small path and killed.
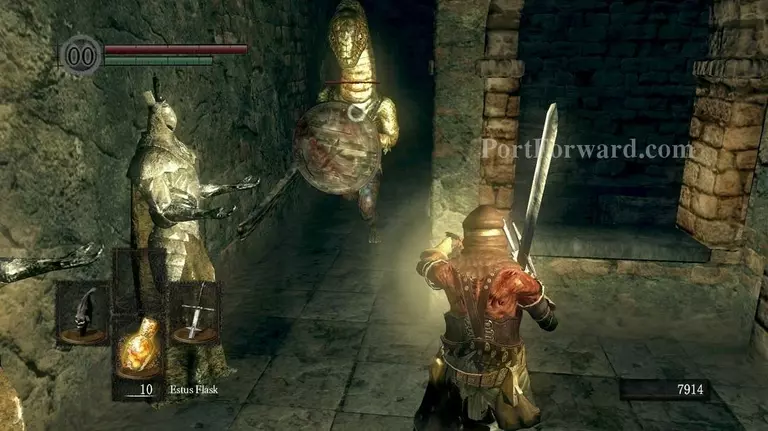
"Take your time and learn the path of the Guillotines before moving on and start attacking the Lizardmen blocking the path and be introduced as to why the Zweihandler is so good.
If you find it too weak, grind some souls and go upgrade the weapon at the Blacksmith by using Shards which he sells. Having atleast +4 or +5 is adequate for Sen's Fortress.
Run up ahead and be meeted with more Guillotines. These are however, much more deadly as they are a bit more random and packed much more tightly as a Lizard woman is also shooting highly damaging and stunning magic lightning at you.
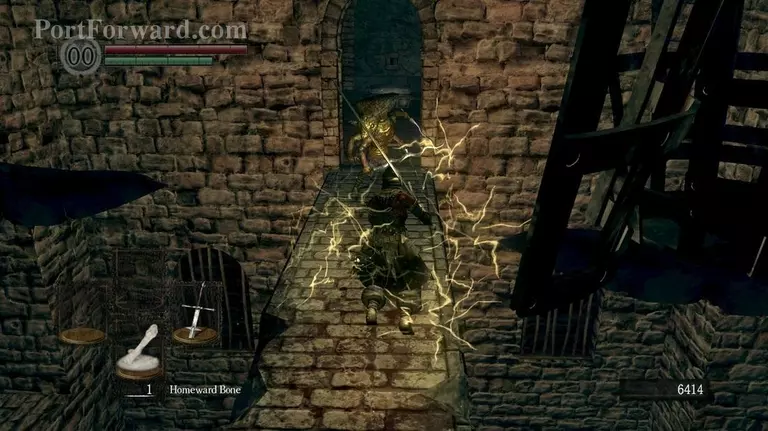
Block the magic to not get knocked into the Guillotines and run past her. You REALLY don't want to try fighting at these paths.
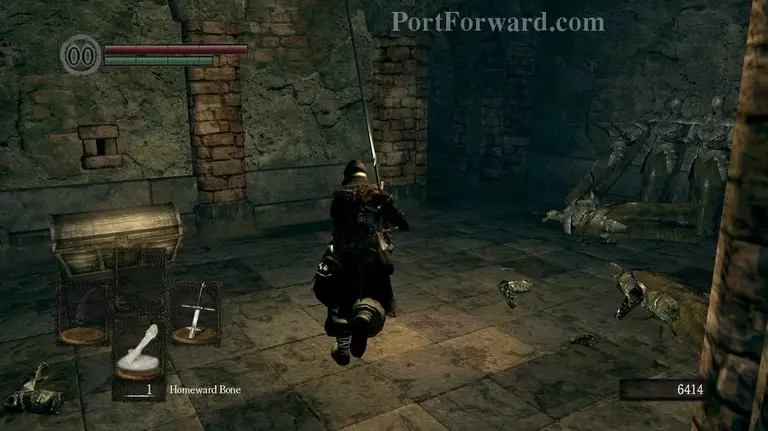
Run to the right and go on ahead.
Don't stick your head out here as It will be crushed by rolling boulders. Wait for the Lizard man to get crushed before going out.
Once he's dead, run quickly up ahead and take a left whenever possible.
Go through the fog.
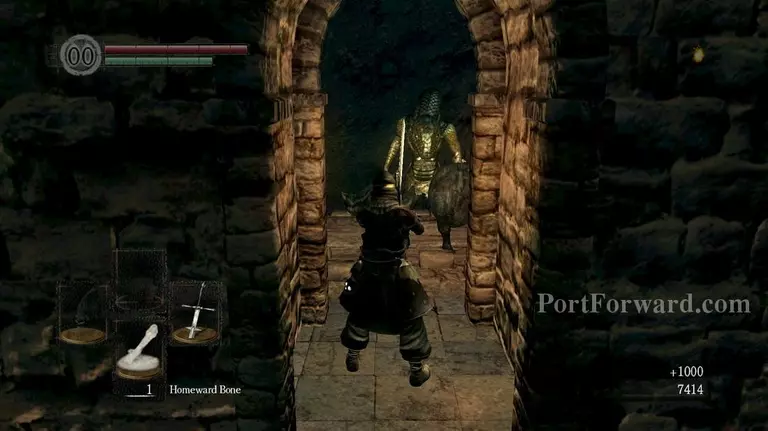
Be wary of the pressure plate ahead in the corridor as It activates yet another trap.
There's also a lizard-man waiting around the corner. Fight or ignore and run ahead.
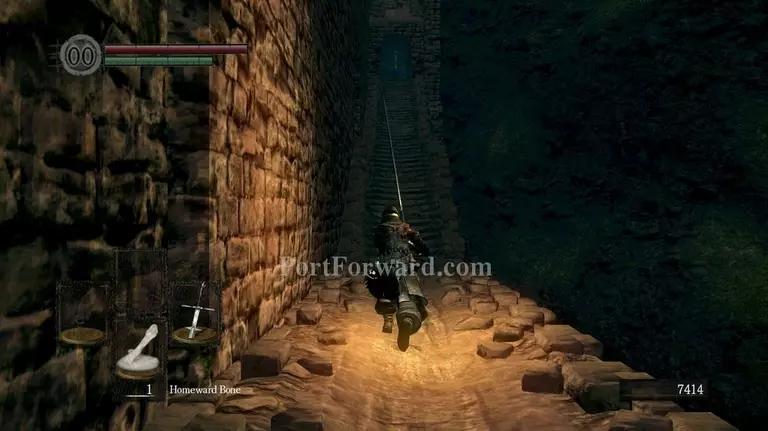
Wait for the boulder to just pass by you here and then very quickly run up to the right.
Speed here is key. Roll up against the wall..
And wait for a boulder to smash you. You'll take some damage but you will be able to get all the way up to the room where all boulders originate.
Find this small "Maintenance" tunnel and go into it.
Be wary of the more dozens trap ahead and keep going forward.
Pass this yet another Guillotine path.
And then kill this Lizardman to the right before proceeding further.
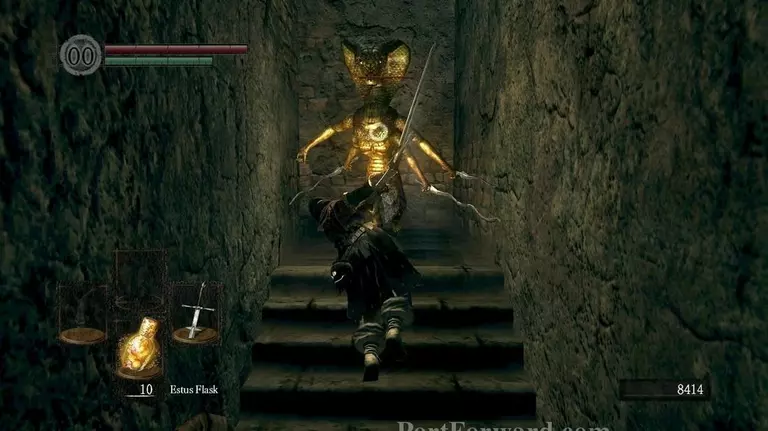
The Zweihandler also excels fighting in stairs as It has a vertical moveset, swinging up to down.
Kill the Lizardwoman and move ahead to yet another Guillotine path. The camera changes here while magic is being thrown at you so expect to die here, as someone already has recently which you can see by the bloodpool.
A solid strategy is to pass two, then stop in the middle before going further.
Once over, go to the right.
Head up the ruined fortress and when you're at this point, go to the right and jump down by the small broken wallsection for a bonfire. You will need it.
Once you've rested at it, run back up again and keep on going.
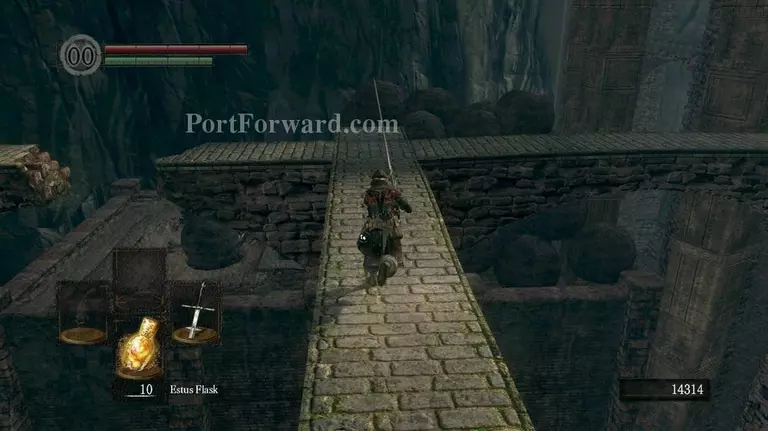
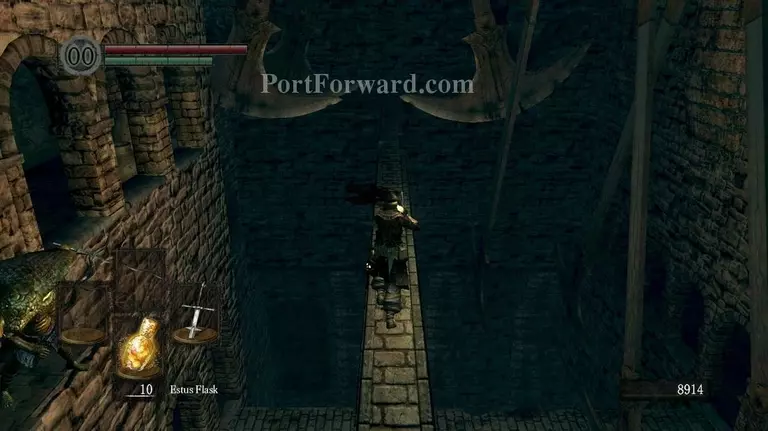
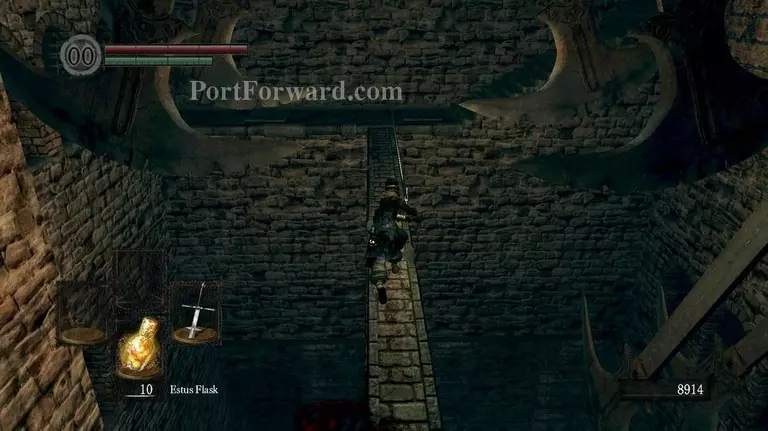
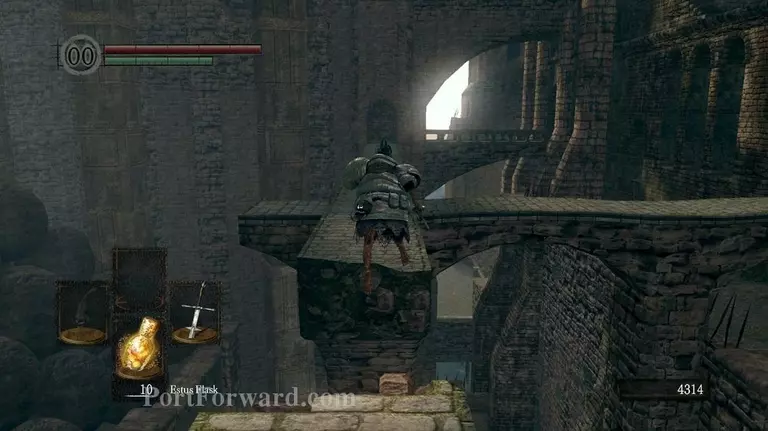
You'll come into this intersection. Sprint-jump to the left..
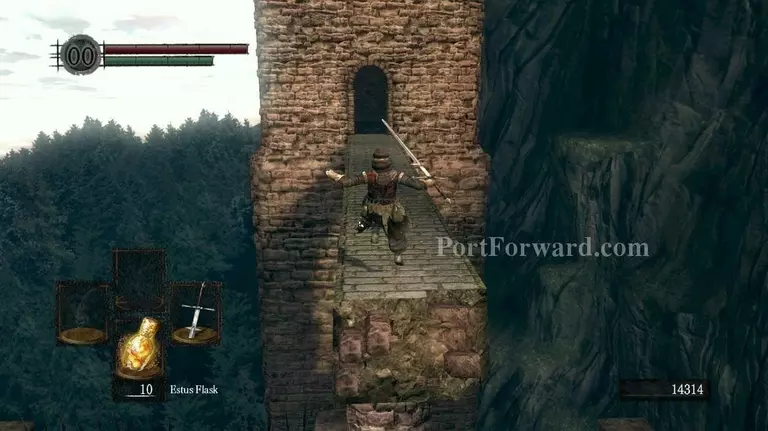
Carefully. Falling down here means dying.
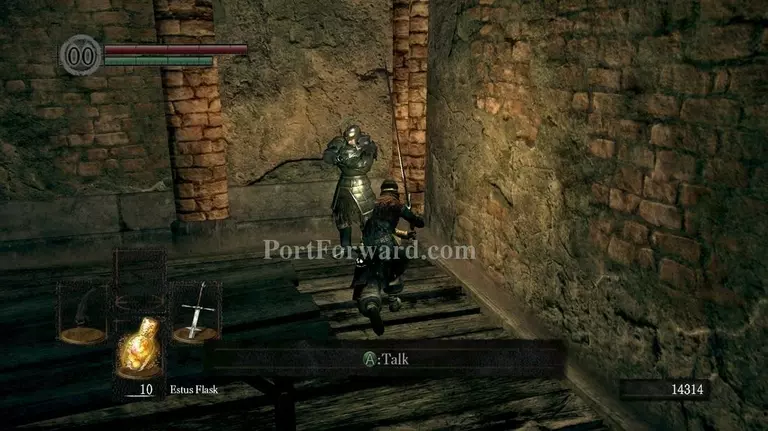
Ahead is an NPC selling some surprisingly good gear, including the superB tower shield and the Catarina Armor set, which is a medium armor type that packs a lot of protection for decent weight.
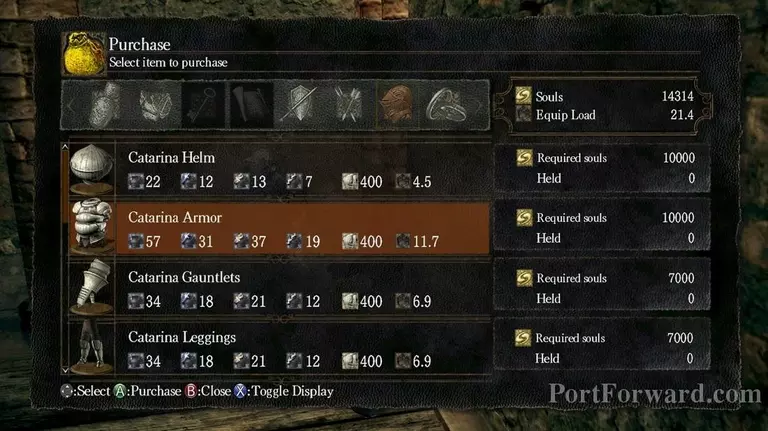
It is unfortunately, rather pricey so I could only afford the chestpiece.
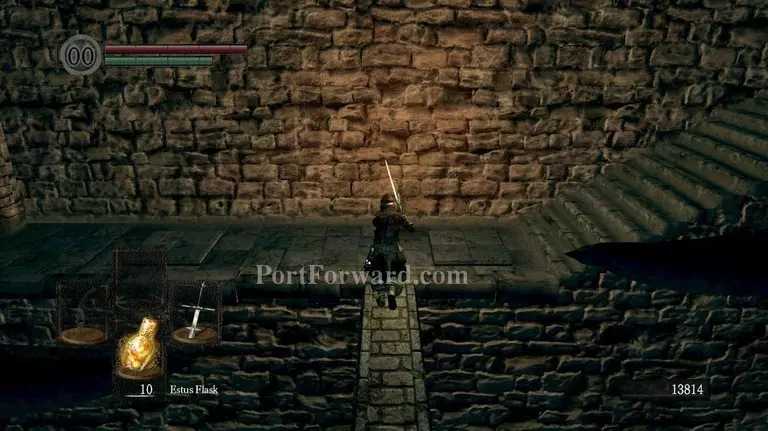
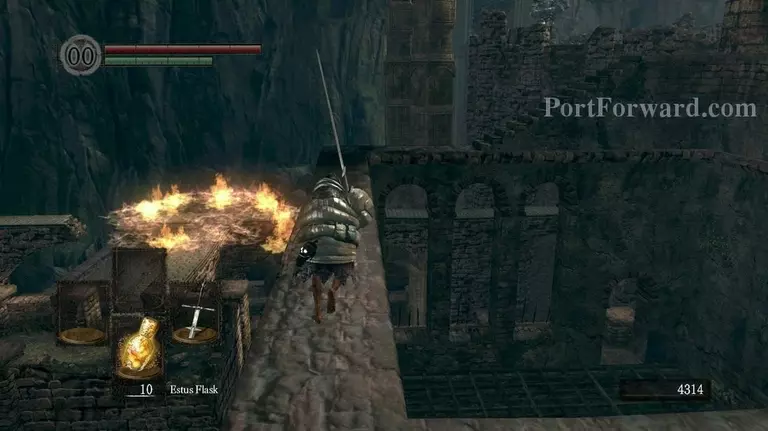
Run back and go straight forward after that.

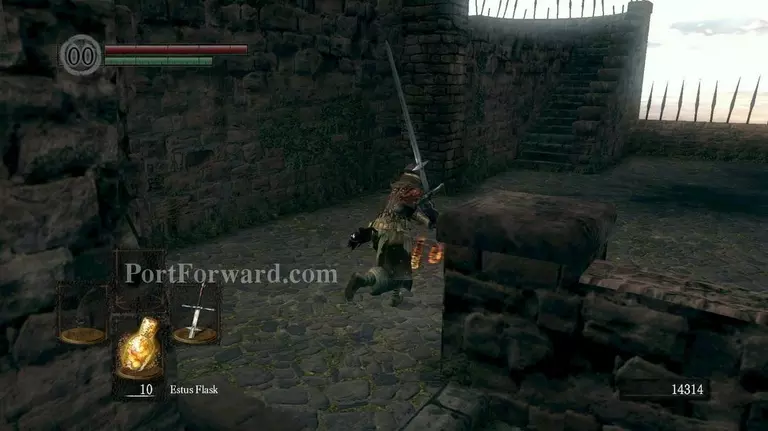
Keep going up up and up all the stairs.
Take care running about at the pillars as an Undead is shooting at you..
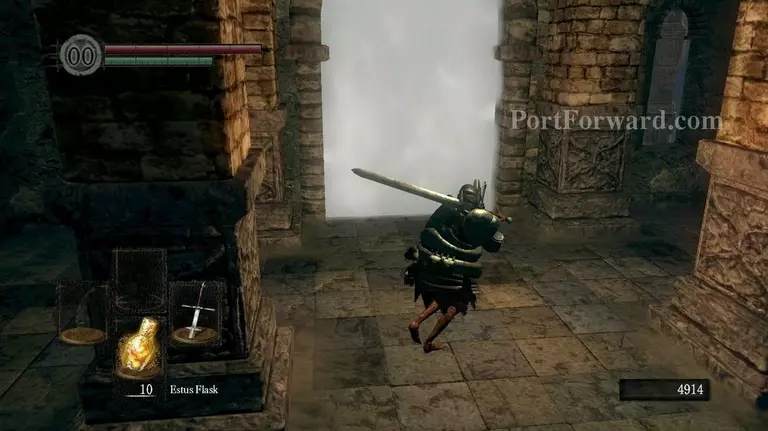
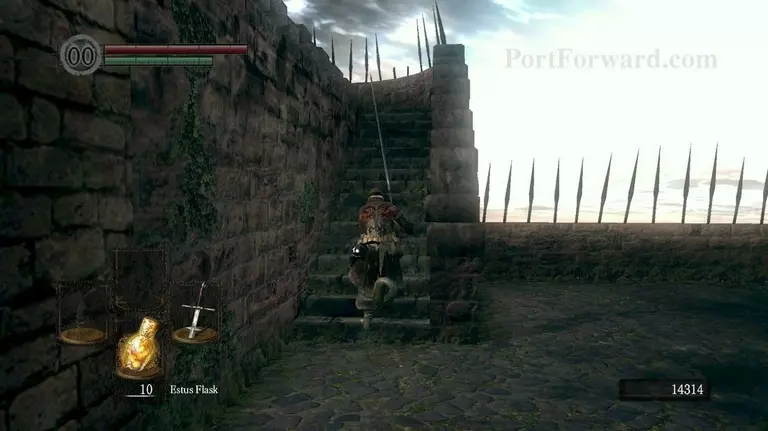
Once you see the fog gate, stop and turn around. Do NOT go into it yet.
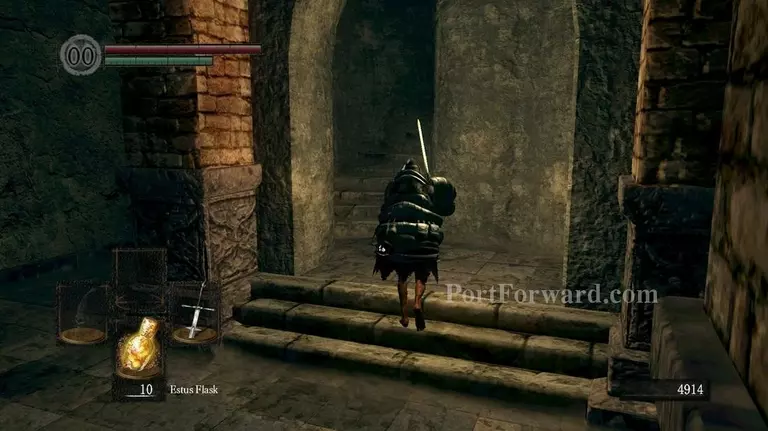
Head up the stairwell..
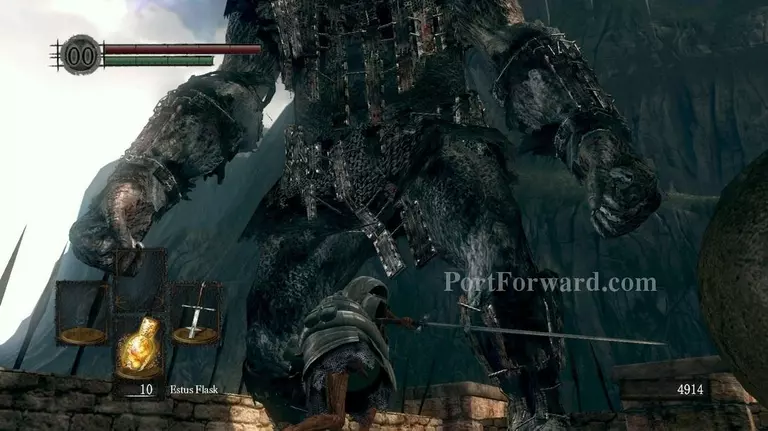
And kill the hostile giant that was going to throw huge explosions at you during the boss-fight.
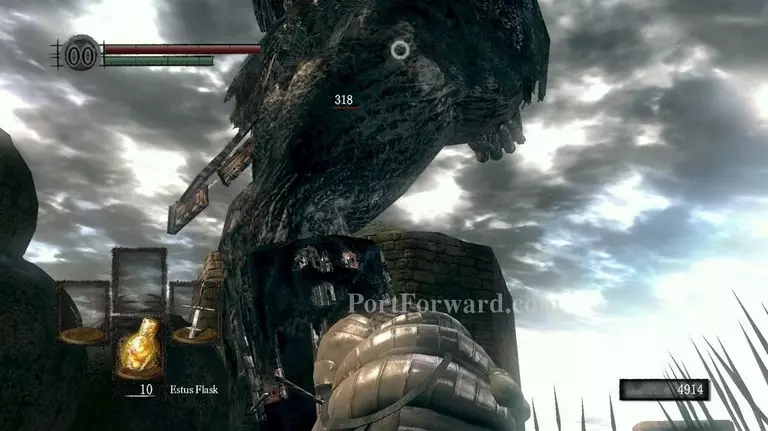
Make sure you either kill him extremely quickly or run back into the tower once he gets low HP or he'll rampage and one-hit you.
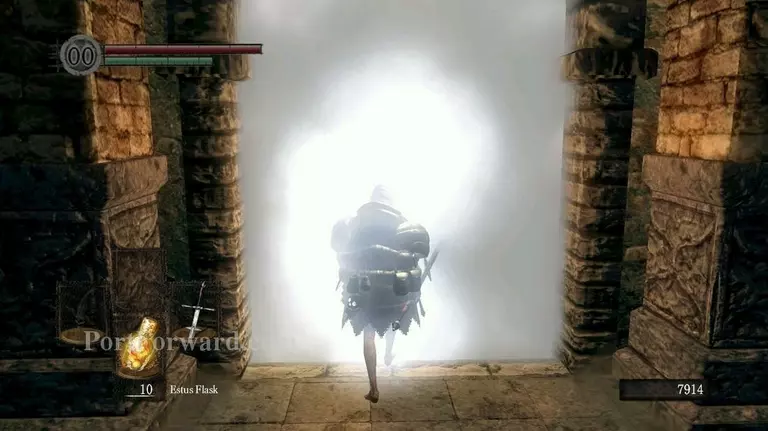
Once he's dead, go back down and go through the fog gate.
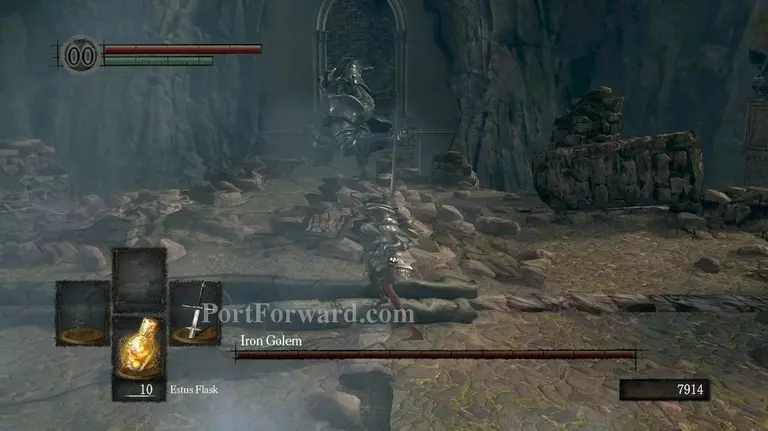
The Iron golem is a fairly straight-forward boss. He will greet you by sending a lined shockwave of energy towards you. Simply dodge to the side.
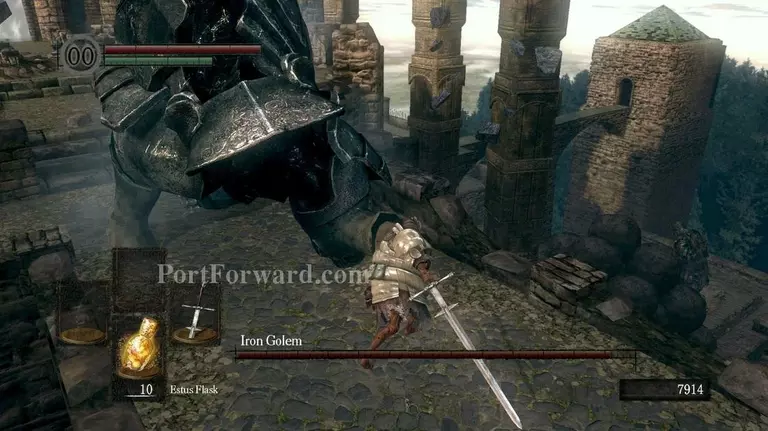
His main weakness is Horizontal slashes, AKA damage onto his ankles/lower legs. Do it enough and he'll stagger onto the ground and sit there, being vulnerable for ages.

Pay great heed, however, as the Iron Golem is absolutely notorious for bashing, pushing or throwing you off the arena, instantly killing you. He has a special "Grab" manouver which snags hold onto you if you're inbetween his legs or close.
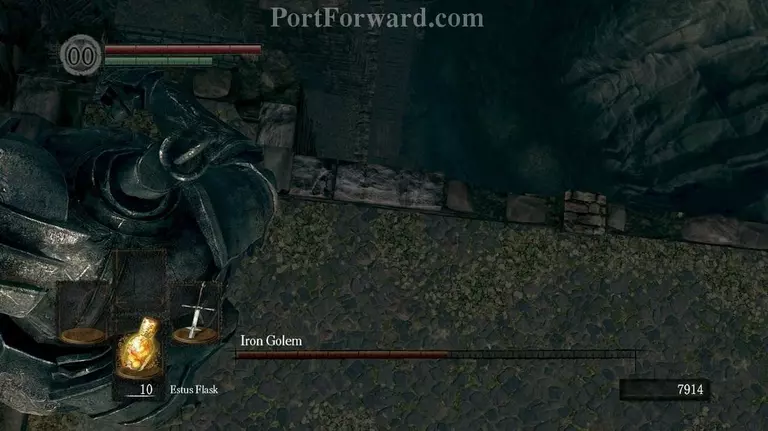
If grabbed, he will almost be guaranteed to throw you off the arena for an instant kill unless you were at the very middle.
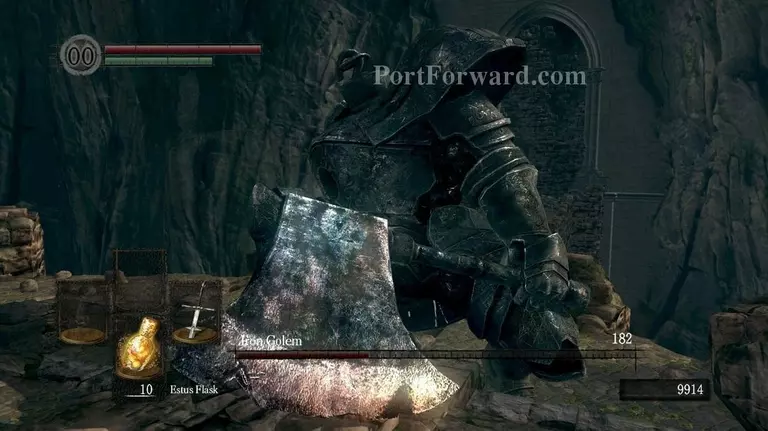
Keep hitting his legs and he'll eventually be brought down to his knees. At this point, you can do about 30-40% of his HP even with bad weapons so he's not that difficult If you avoid the grabs..
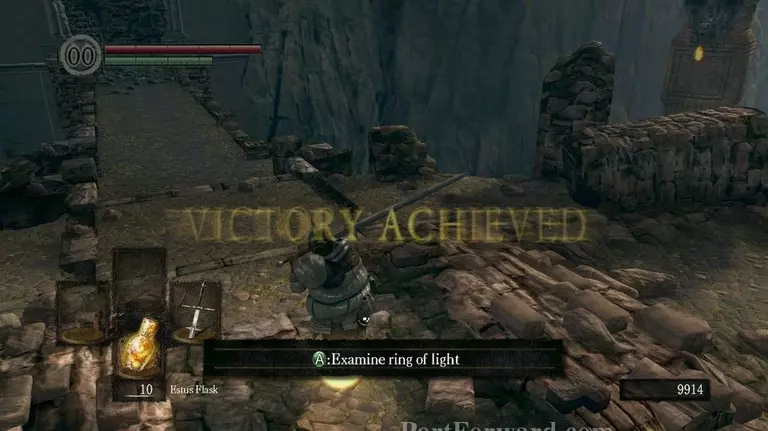
Once he's killed, examine the golden ring of light in the middle of the arena to initiate a cutscene. You have just finished Sen's fortress.
More Dark Souls Walkthroughs
This Dark Souls walkthrough is divided into 9 total pages.