This Dark Souls walkthrough is divided into 9 total pages.
You can jump to nearby pages of the game using the links above.
Seath the Scaleless
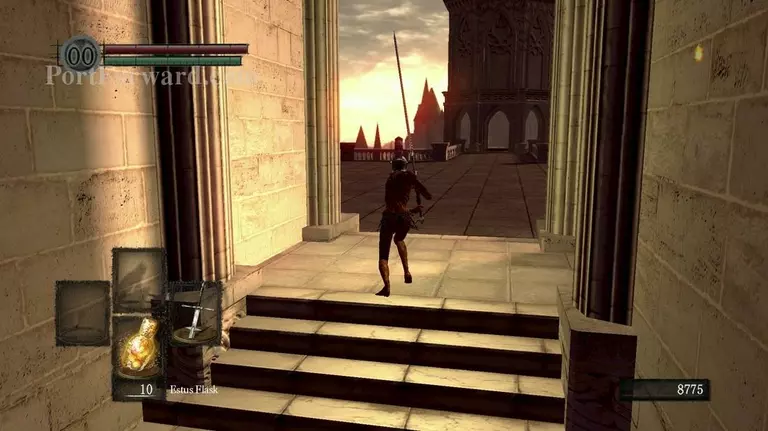
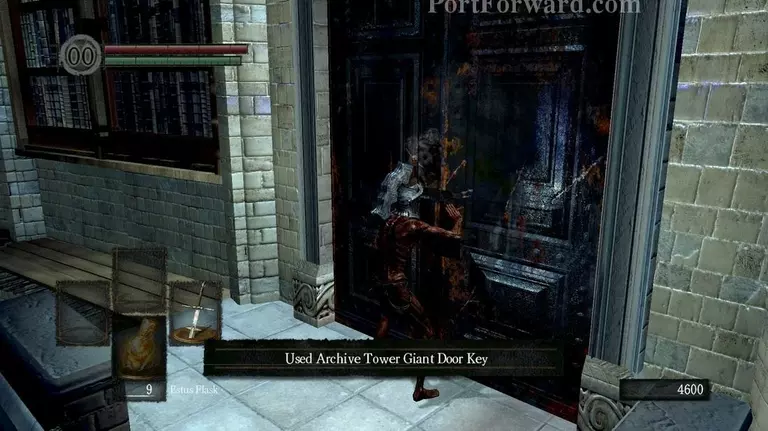
Once the Lordvessel has been placed, head back to Anor Londo and take a left.
Run up behind the building.
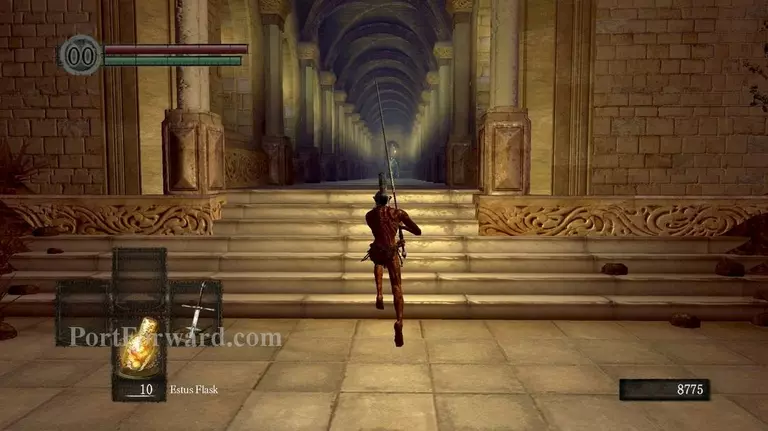
And start going through the long corridor.
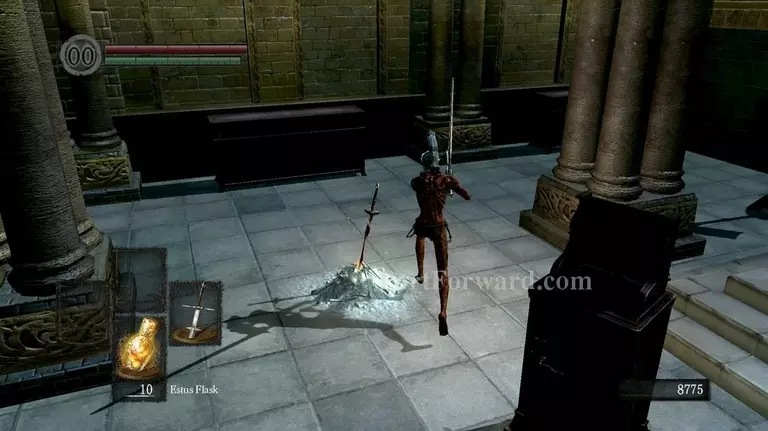
Light the bonfire then activate the lever ahead to turn an elevator on.
Run straight ahead, feel free to ignore any and all mobs since you will have to die up ahead without a chance to recover your souls.
Activate the next lever to have another elevator bring you up.
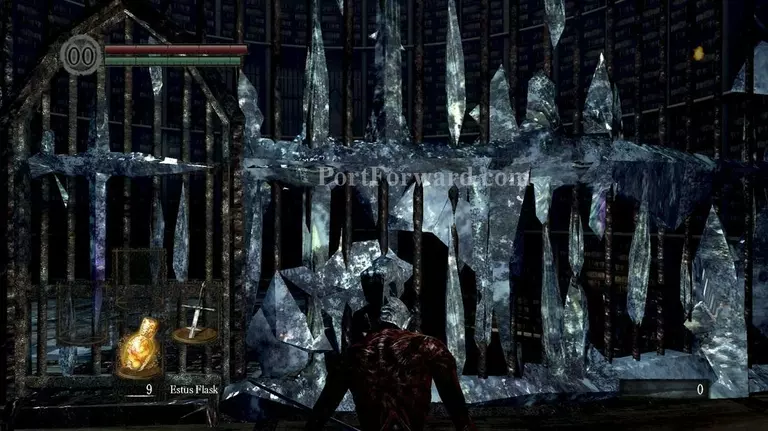
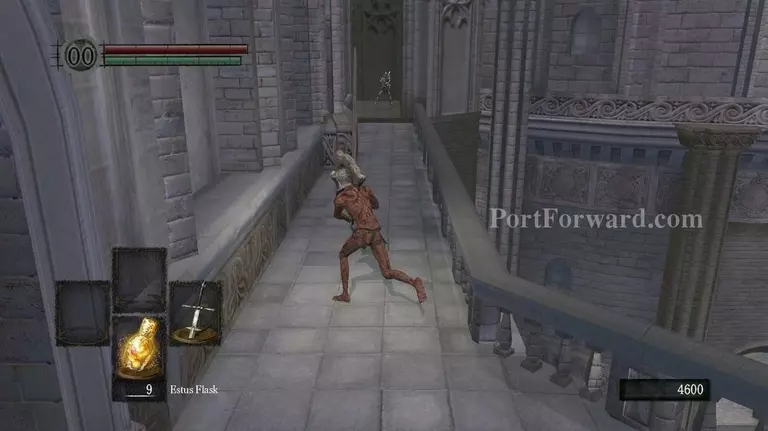
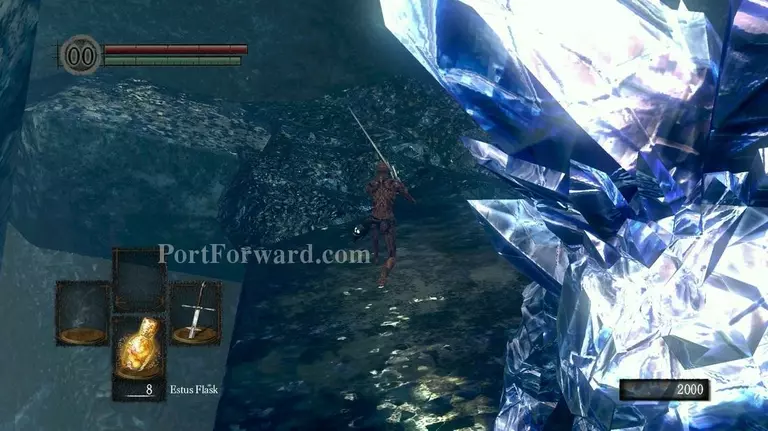
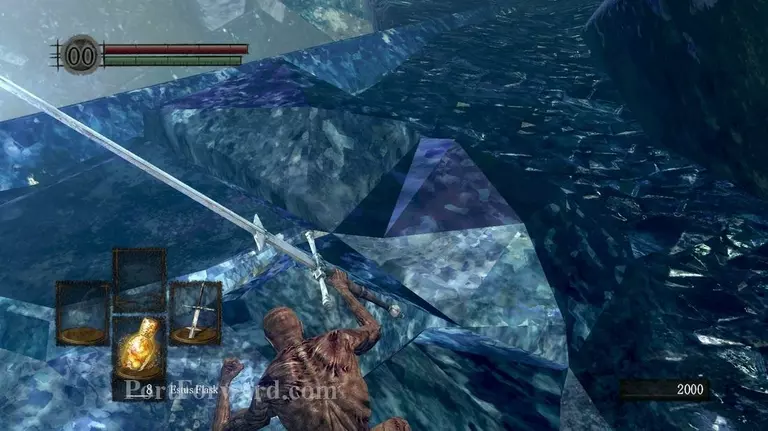
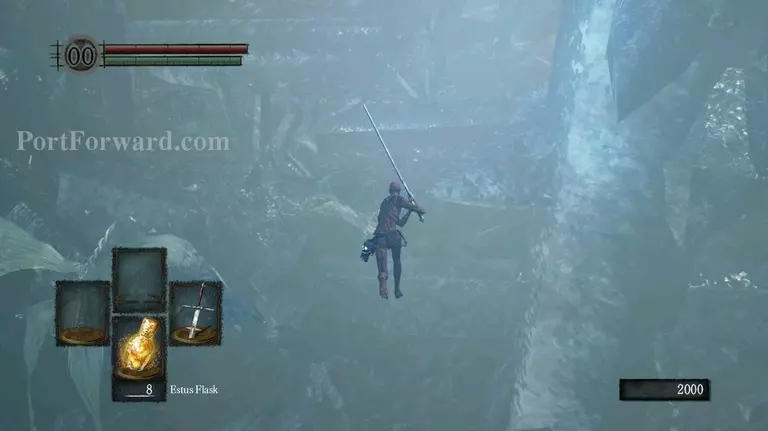
Go through the icy tower and keep going up.
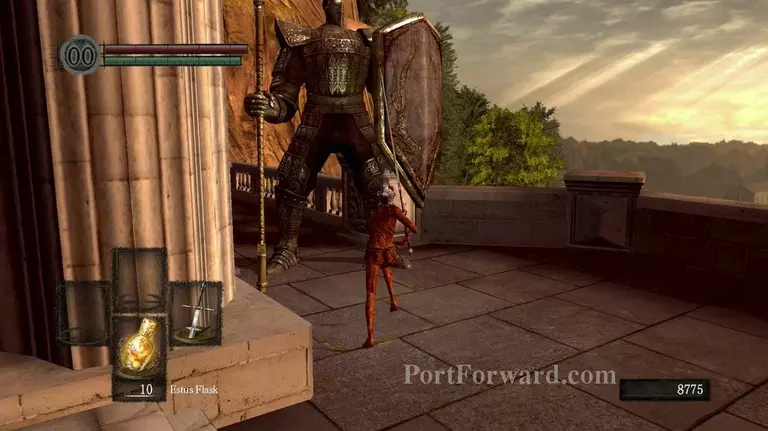
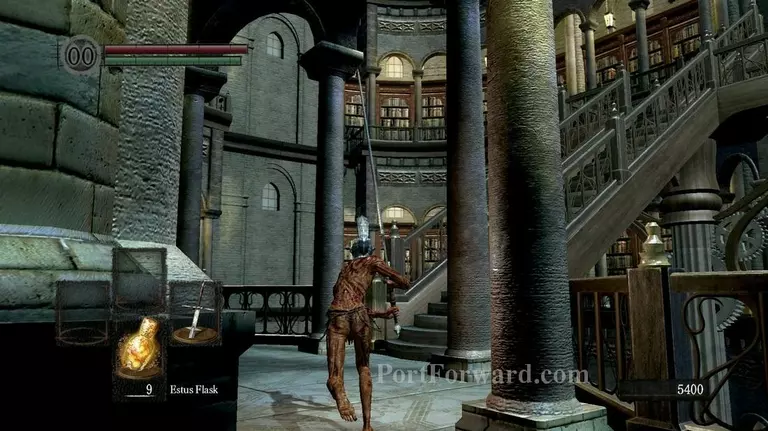
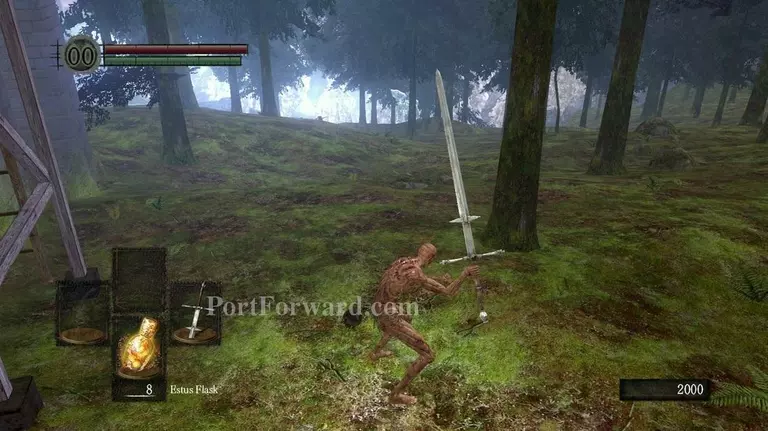
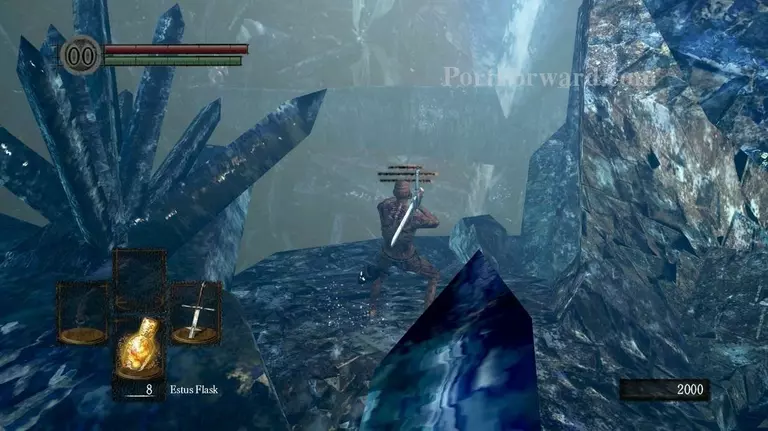
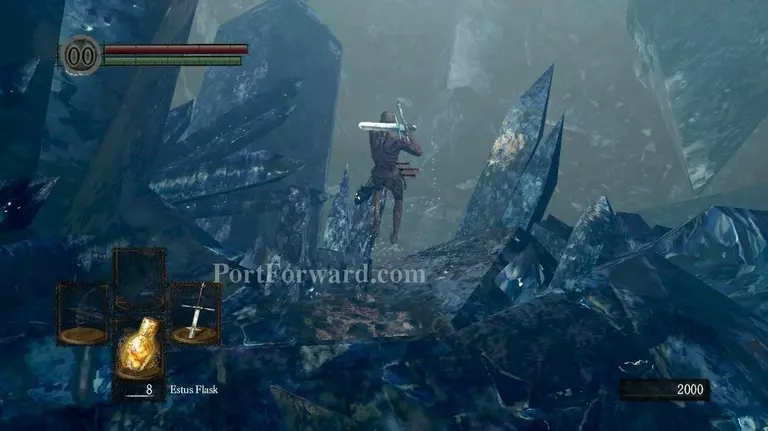
There will be a hostile NPC here. Keep your distance and poke him down repeatedly with the Zweihandler. Do NOT spam him with attacks as he will parry you.
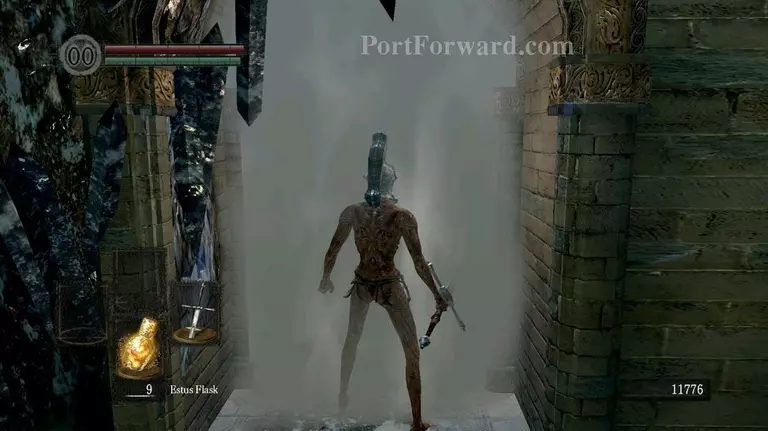
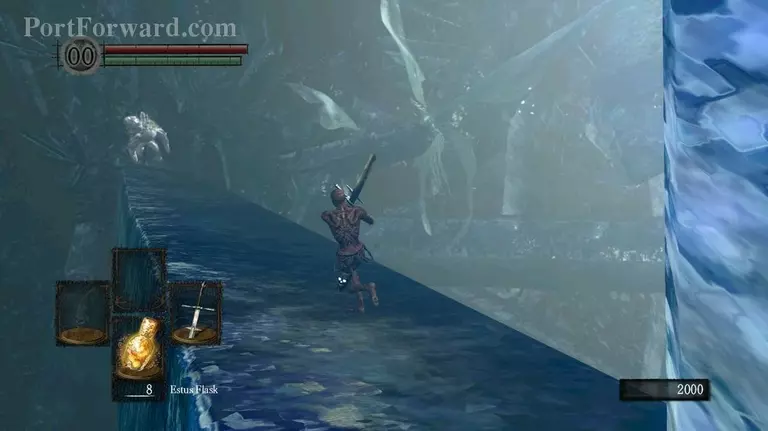
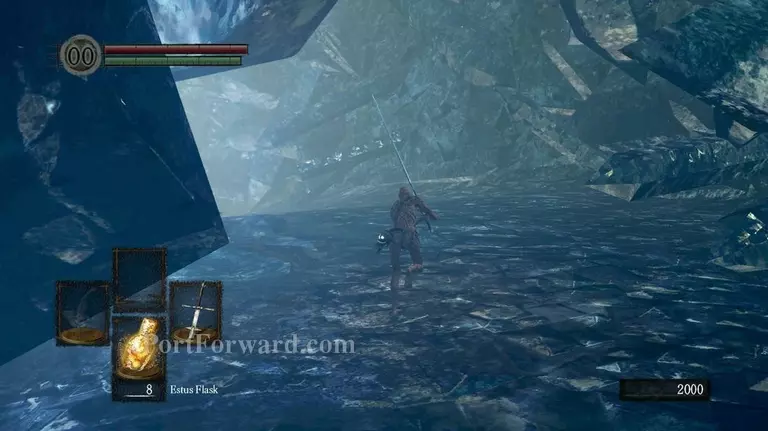
Go through the fog gate.
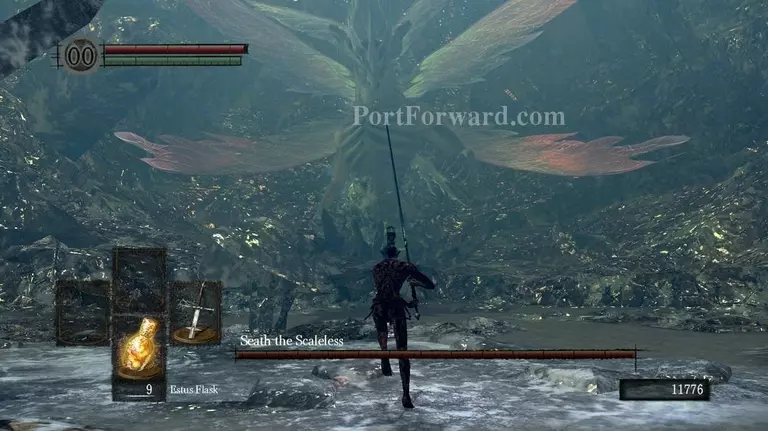
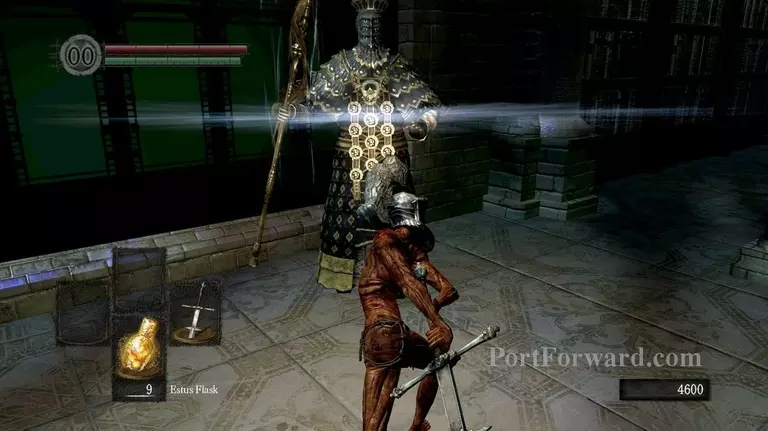
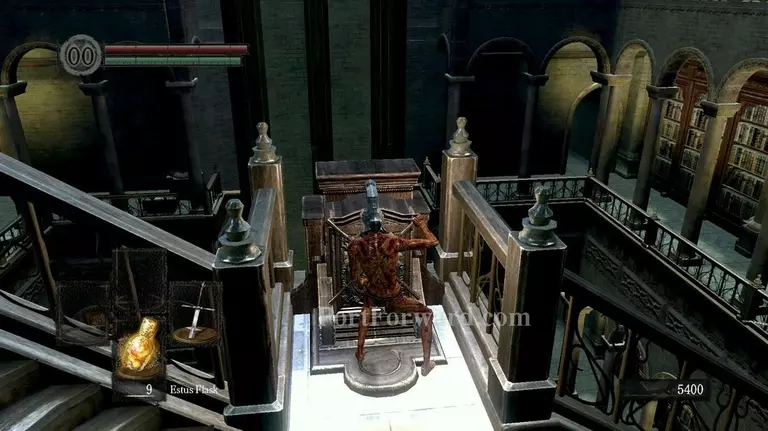
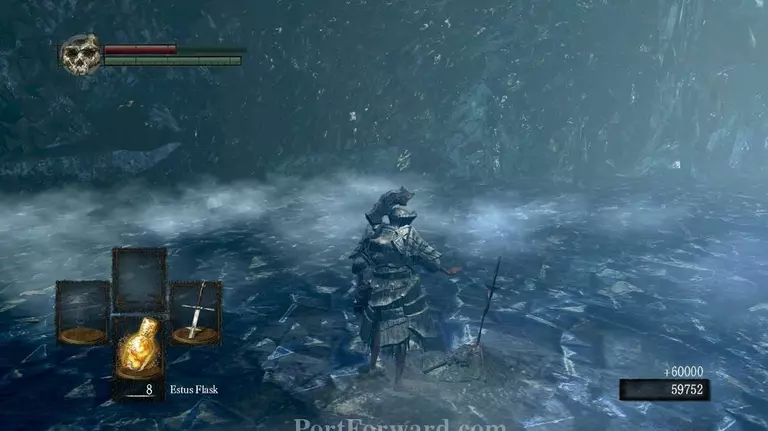
And you'll enter a room with the boss, Seath the Scaleless in it. Stand still and let his crystals hit you. Only start moving around If a skull meter starts building up. That's you being cursed. To counter it, equip the Havel Armor.
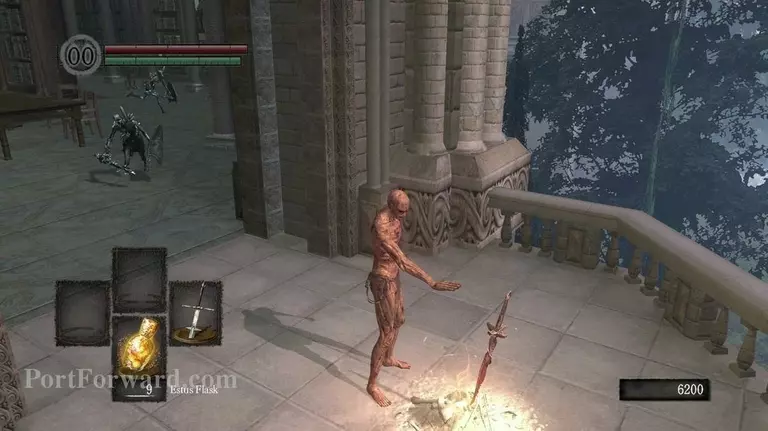
Once you die, you'll spawn in a prison cell.
Rest at the bonfire and then kill the Lizardman outside to get a key in order to get out.
Once out, run all the way down the circular stairs. Avoid the tentacle monsters.
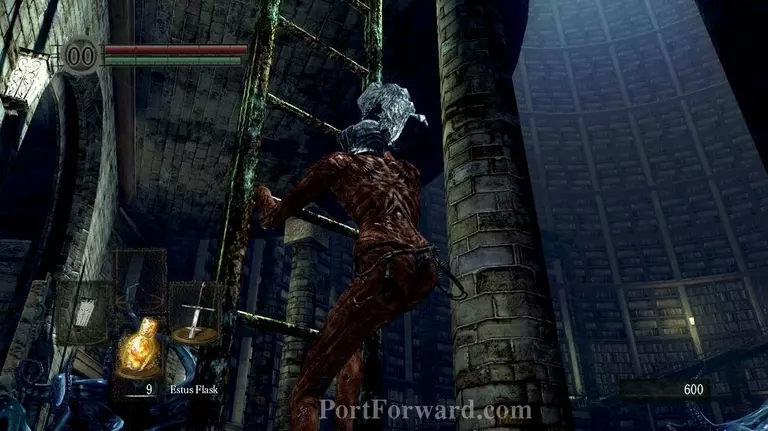
Climb up the long ladder at the bottom.
Activate the lever to turn the music ornament thats driving the tentacle monsters crazy off.
Then kill all the lizardmen.

Loot the chest behind them to get a key then run back all the way up those stairs.
Climb up the ladder at the top of the stairwell and open this door.
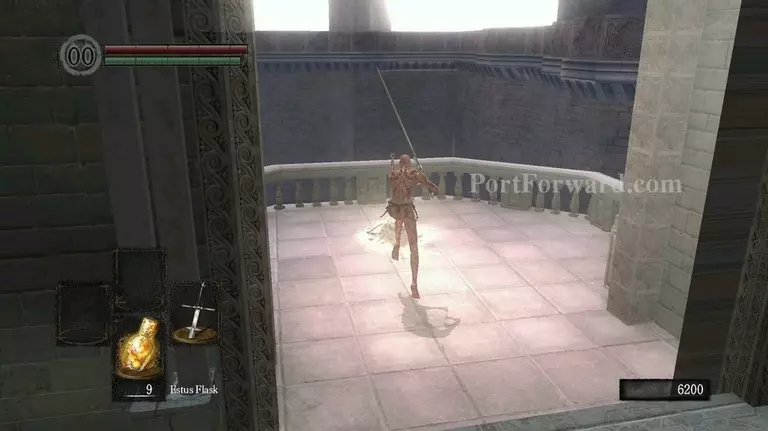
You'll be on a balcony. Go left.
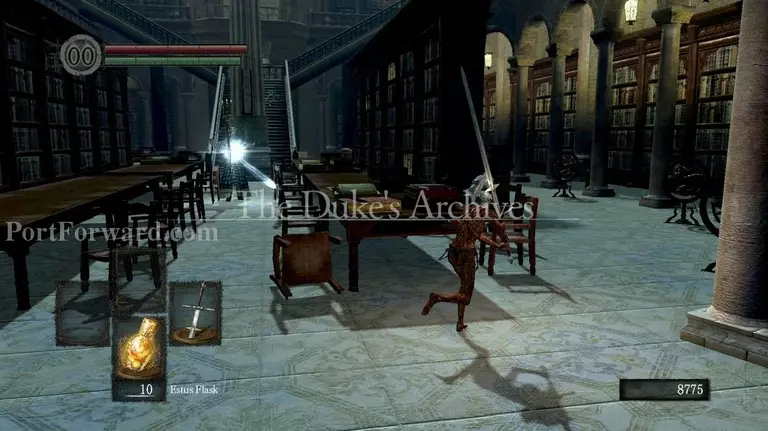
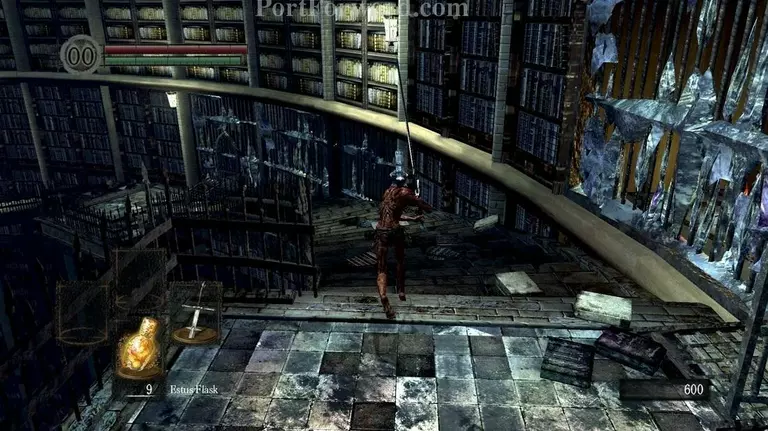
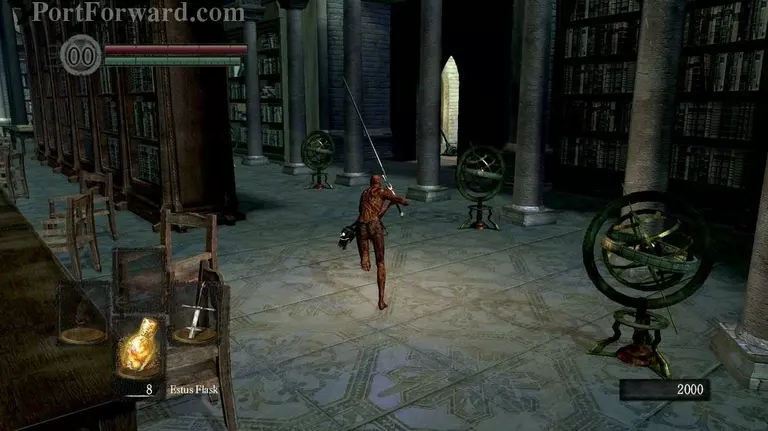
And back into the library.
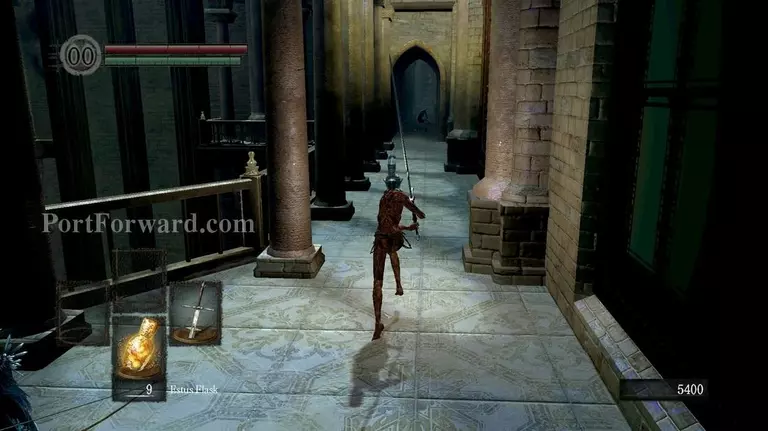
There will be several spellcasters lingering about. They are easily killed due to slow casting and knocking them down with the Zweihandler.
Keep going left, then go up these stairs.
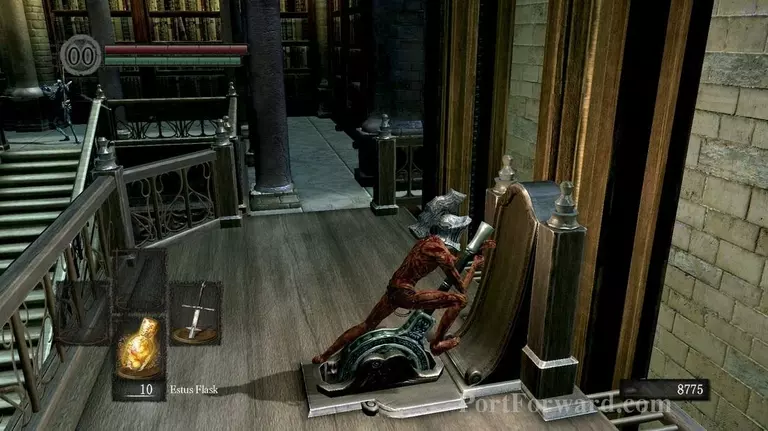
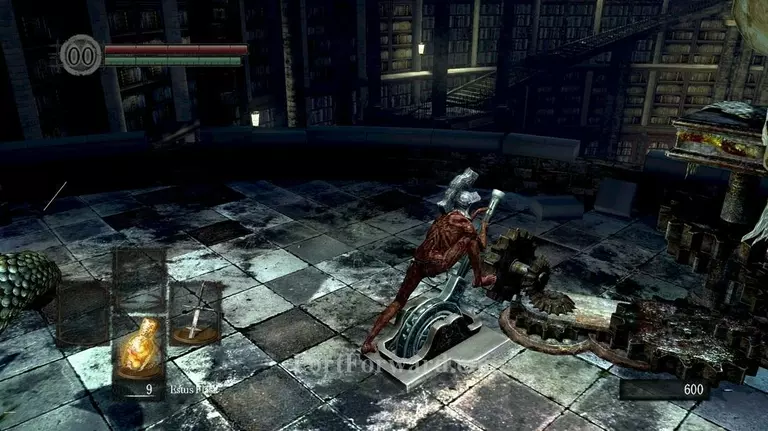
Activate this lever to make them spin around.
From here, go forward, jump down the stairs, spin them around and then proceed forward before going down a long ladder and pulling a lever to activate the hidden bookshelf.
When done, run through the opened door and you should be at a bonfire that's sitting on a balcony. Rest at it.
Beware as mobs are often prone to attacking you at this bonfire.
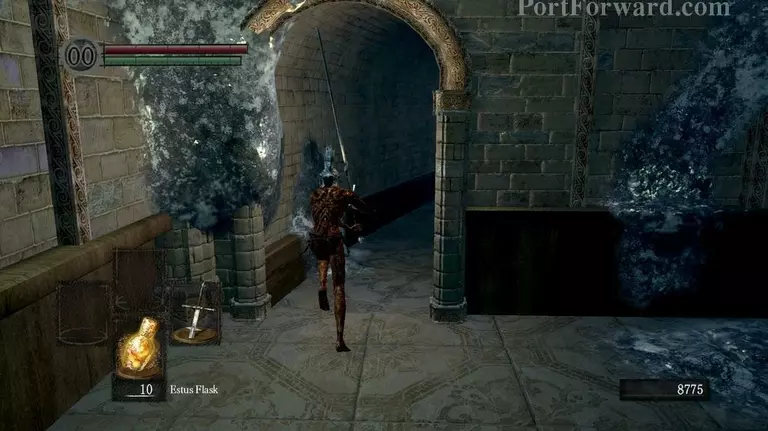
Run back through the hidden door.
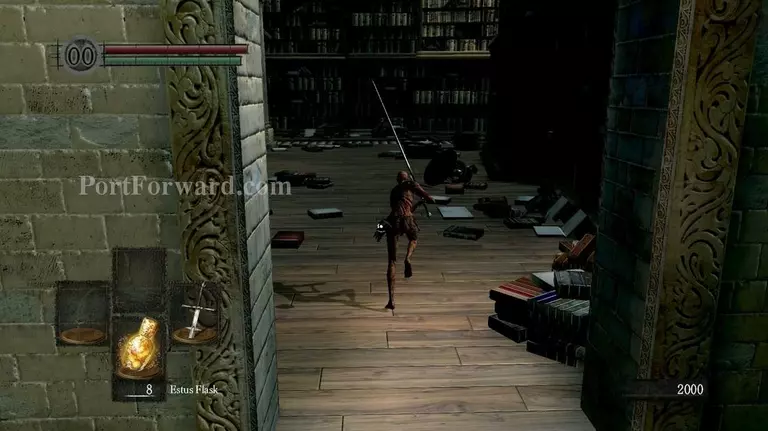
Enter the next room.
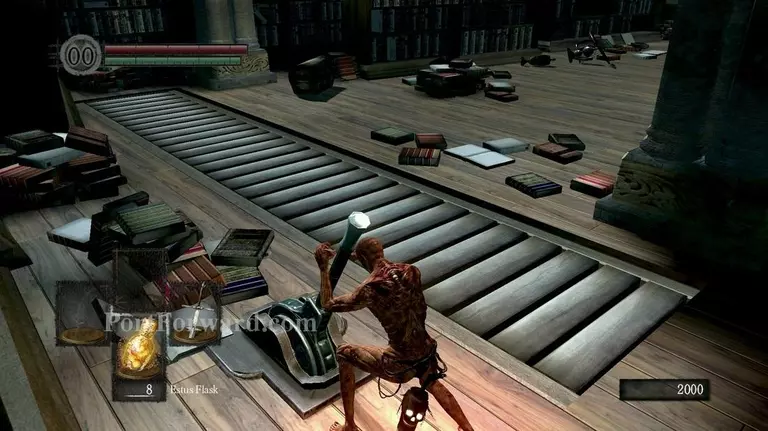
Pull the lever and activate the stairwell. Then go down and through the fog gate.
Jump down from the platform and go into the forest yonder.
Avoid these golems as they give little to no souls and are only good for grinding certain special shards for weapon upgrades.
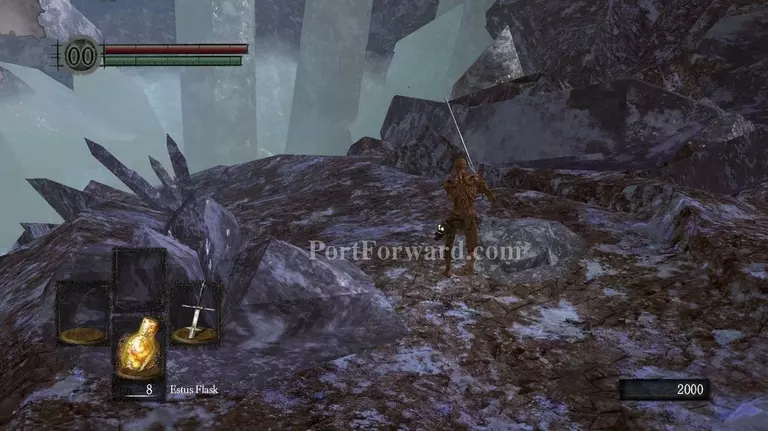
Once close enough to the yonder, you should see a dirt/stone/crystal path. Go down.
I very highly recommend to avoid ALL fighting onward as there is little to no space.
Avoid the golem ahead and keep going down.
Jump down on the small edged cliff.
Go to the right and there should (very often) be some floating text messages along with subtle snowflakes falling down. The area here is essentially a hidden/invisible bridge.
Run down on it and take a left onto this crystal. AVOID THIS GOLEM AT ALL COST! He WILL bash you off and down the crater before you can even work 30% of his HP off. Run up ahead behind him.
Then jump down right here. Should also be some floating text and falling snowflakes.
Run straight towards the small passage ahead. Stick with the snowflakes.
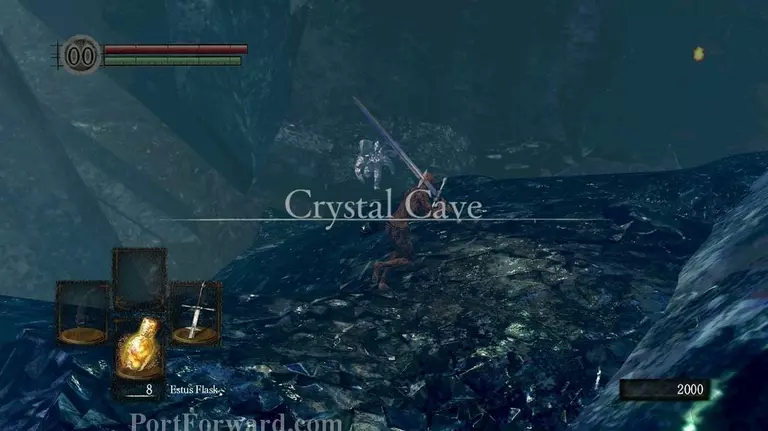
Run through the path and there should be a huge opening ahead with some clams. Avoid them and keep going ahead.

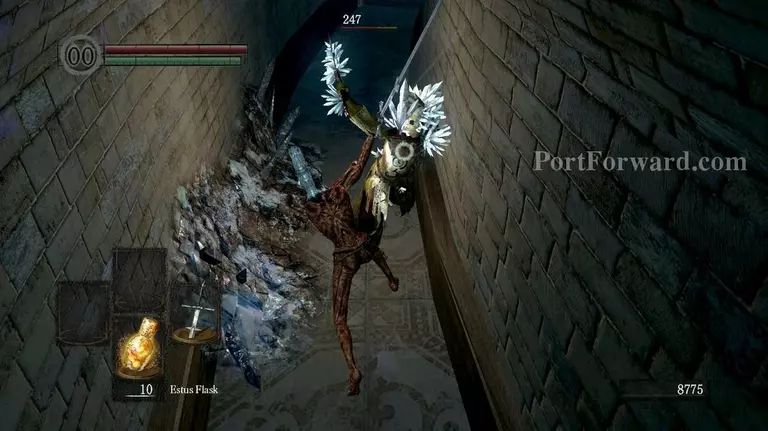
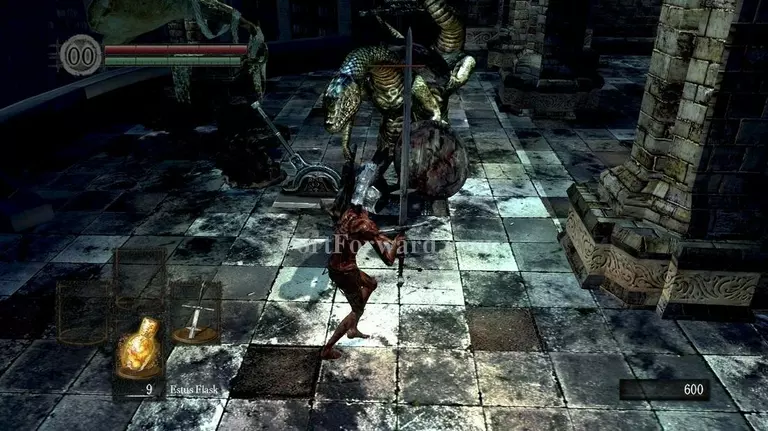
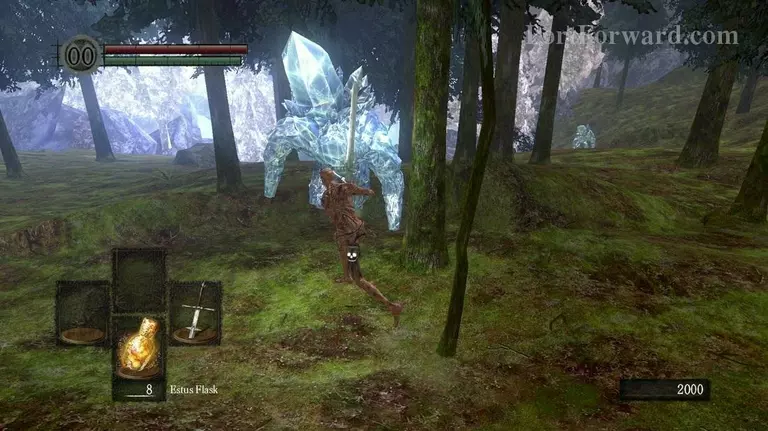
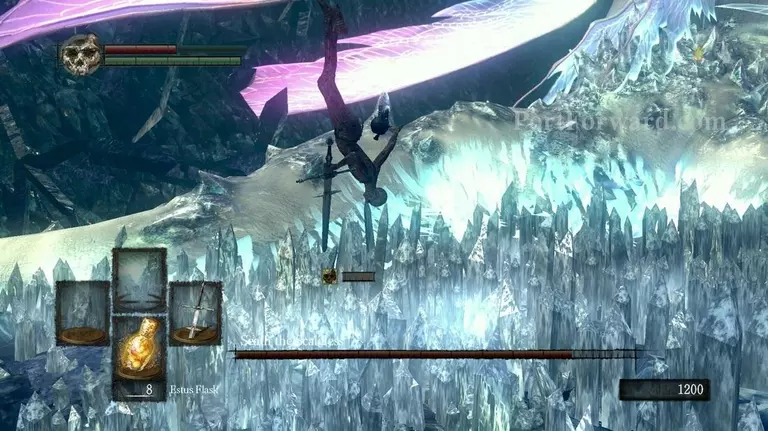
Seath the Scaleless will come flying down and start crawling towards you.

Run around him to the right and avoid the ground-petruding crystals at all cost.

"If you get caught in the crystals, you will die instantly due to being cursed if the meter gets full. Being cursed will reduce you total HP by 50% until you remove it by special means.

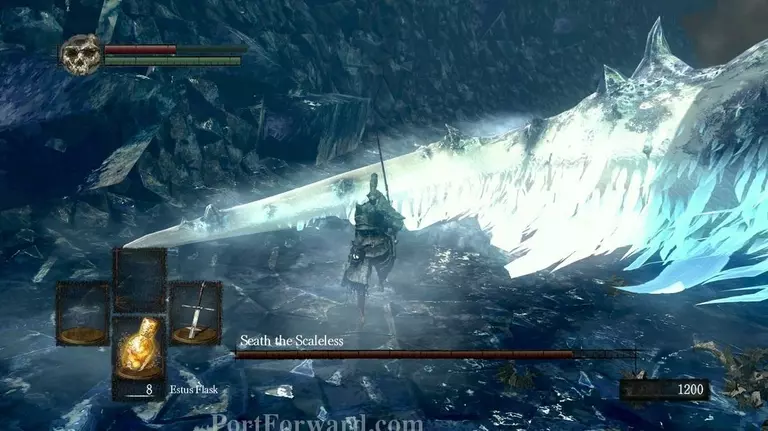
Before even bothering to fight Seath, you have to run behind him and melee this crystal.
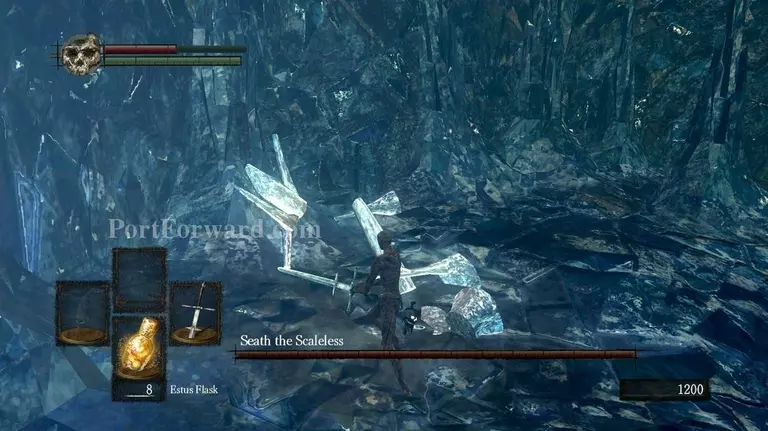
Doing so will destroy it, disabling Seath's Immortality.
Seath has only AoE attacks, either in the form of breathes or bursts from his middle section. Avoiding both is a good idea to not get flung around and cursed.
Your best bet as a melee user is to swing at his side-tails. If he moves around too much for you to hit them, you can simply run up in his front, provoke a frost attack and then back to the sides, avoiding his breath while also having loads of time to chop away at him.
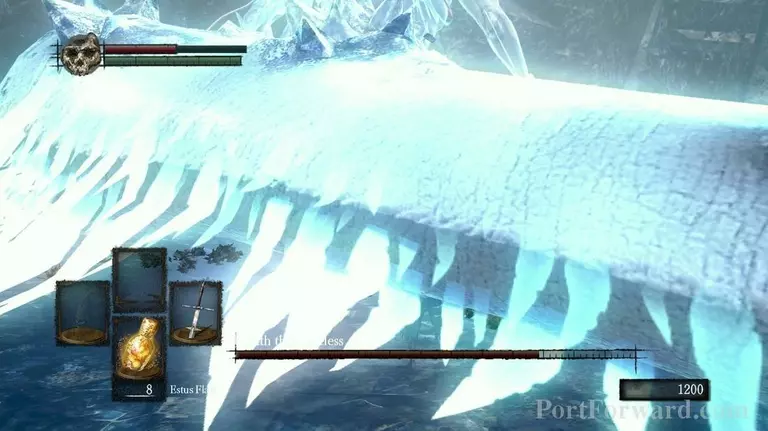
Be careful to not linger around behind him as he will start to wildly tramp and smash around with all his tails. To avoid getting caught and one-shotted, keep Seath in the middle of the room.
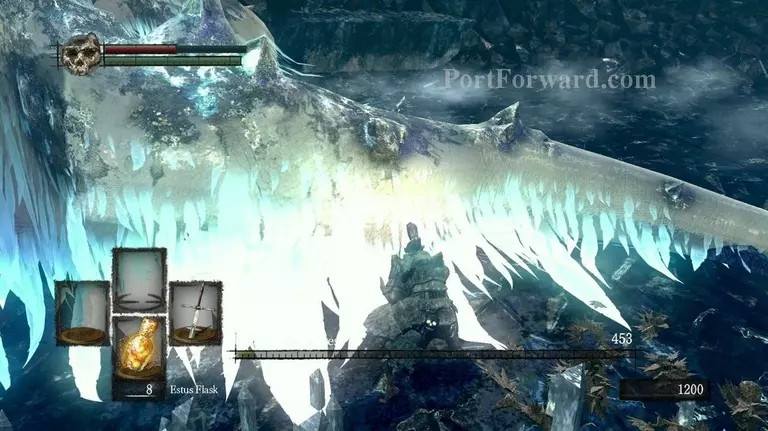
Seath has a LOT of health. He will take a lot of time and patience to kill unless you have lightning/fire weapons but he should eventually fall dead If you avoid his slow attacks.
Once dead, a bonfire will spawn. Rest at it and warp to Firelink Shrine.
More Dark Souls Walkthroughs
This Dark Souls walkthrough is divided into 9 total pages.