
This Dead Space 2 walkthrough is divided into 17 total pages.
You can jump to nearby pages of the game using the links above.
Chapter 3
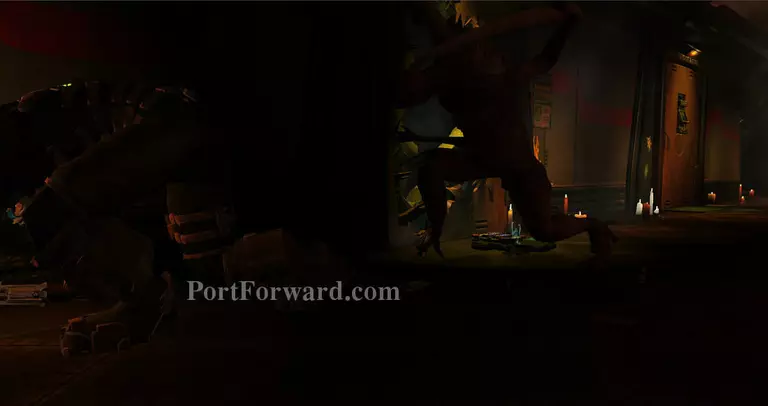
Keep moving forward, you'll see a little zombie, shoot it if you want but prepare for a Slasher up ahead.
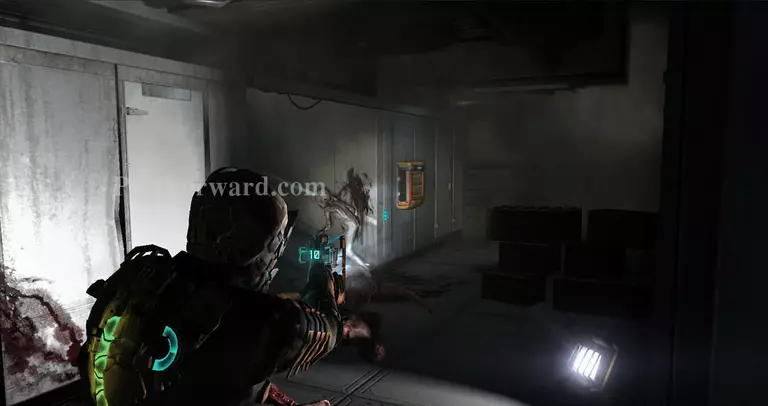
A large hallway, guess what's going to swarm you? If you have any spare medkits, I'd keep a finger on Q if I were you.
You'll be attacked. A single shot to the arm will kill these things, so going into berserker mode and wasting 3 shots on one will most likely end up in your death.
Once the Pack is dead, Stross will spam you and ask for credit-card information. Ignore his pleas, he uses Western Union only.
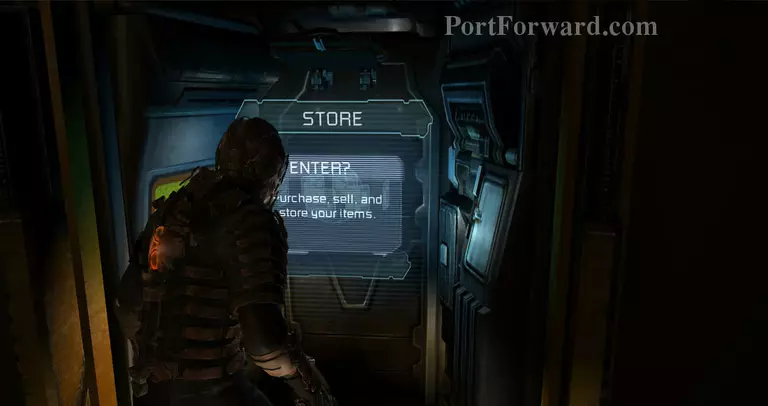
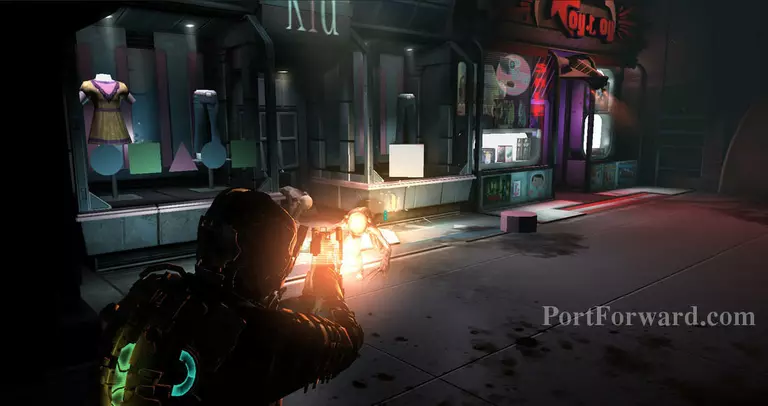
There'll be a Store and a Save Station. Feel free to buy ammo +medkits and/or a new gun. I personally prefer the Line Gun as it does serious damage to larger zombies.
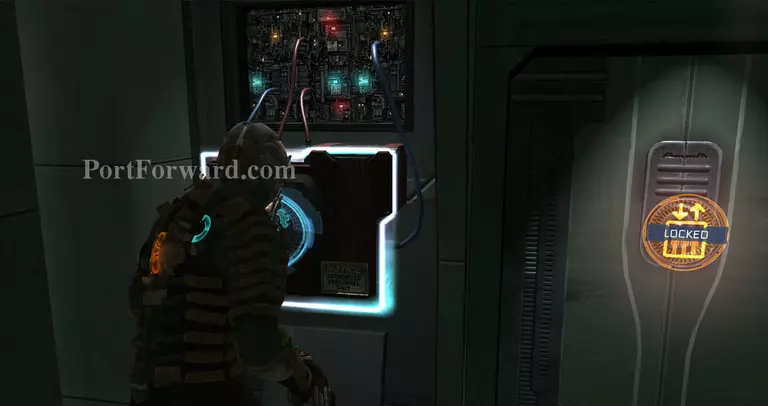
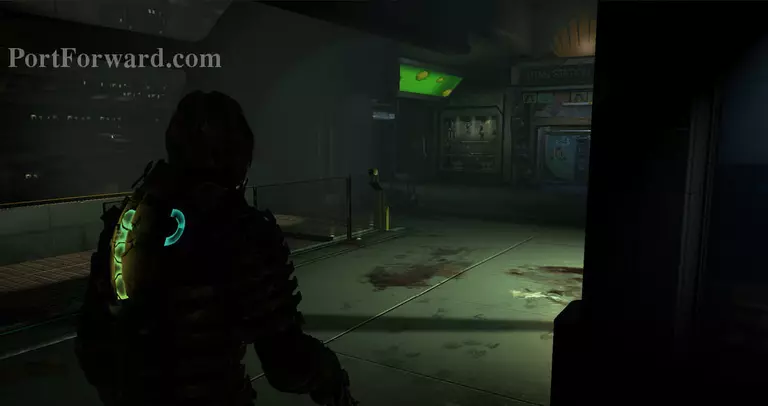
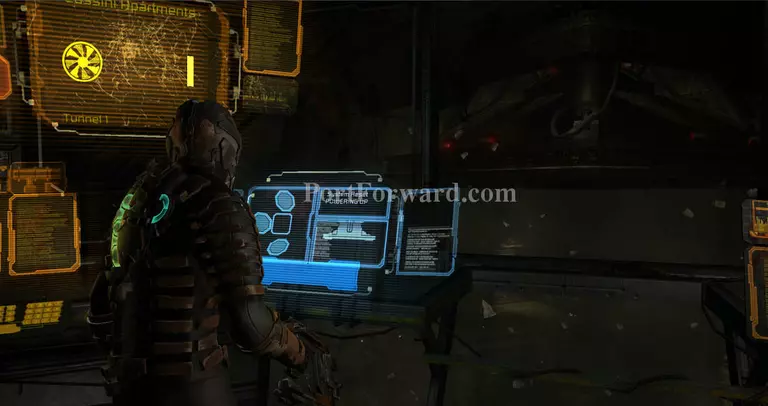
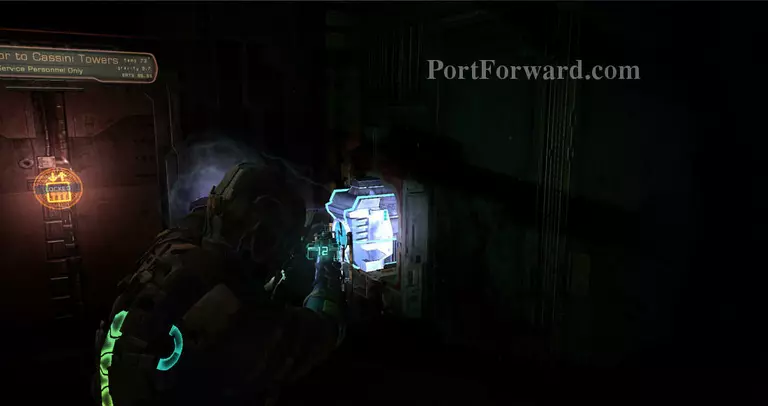
Passing a large food court you'll happen upon an Elevator that you need to hack into.
Keep moving forward, and you'll see some fragile glass.
And a zombie.
And LOTS of zombies, shoot the glass to save yourself an unwinnable fight, but prepare to shoot the red triangle at the top or you'll join them in space.
Bam, red triangle.
It doesn't end there, more Pack will try to kill you, but not nearly as big as a crowd as where the last Store was.
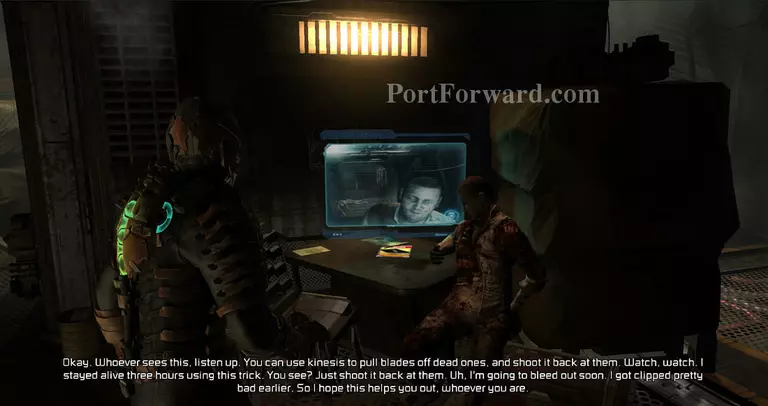
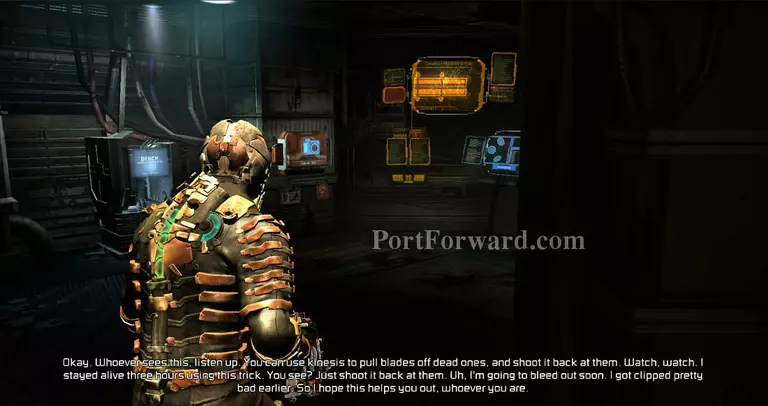
When you get out of there you'll happen upon this fellow who teaches you how to use Kinesis to kill a zombie, ignore him and destroy his corpse as I don't like his face.
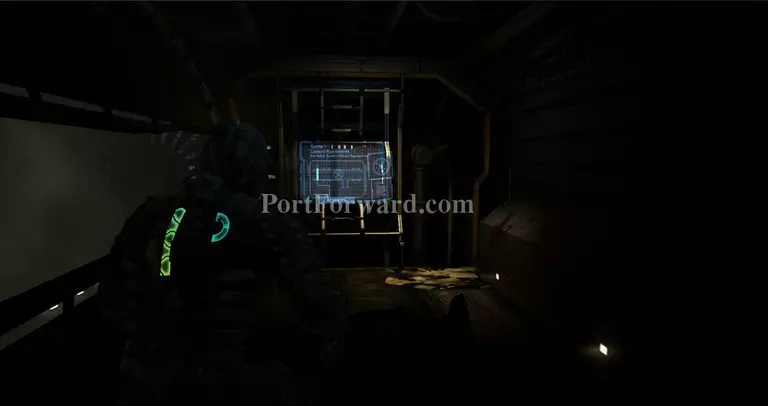
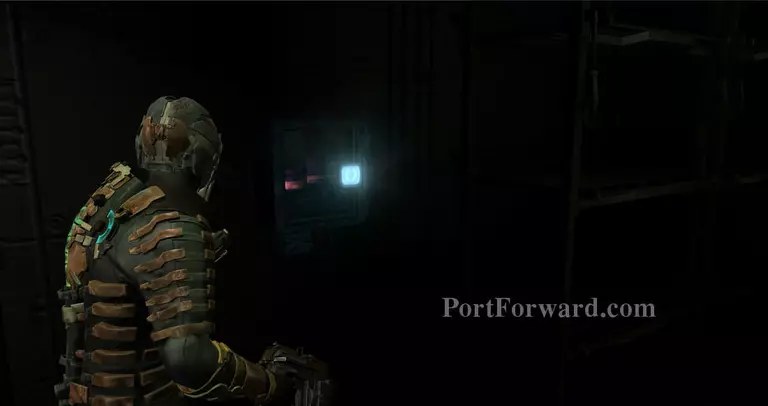
You'll find a Bench, Save Station, and a desk to press E on to proceed. I recommend you use all but one power node on the Bench and then press the desk to continue.
Press the console and the compactor will start and you can finally enter Zero-Gravity.
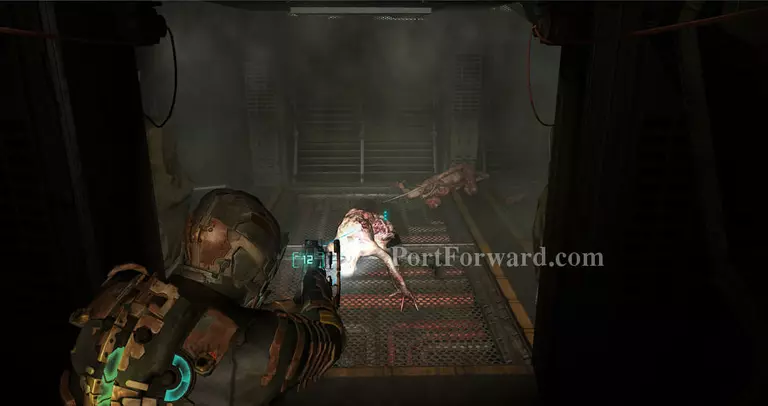
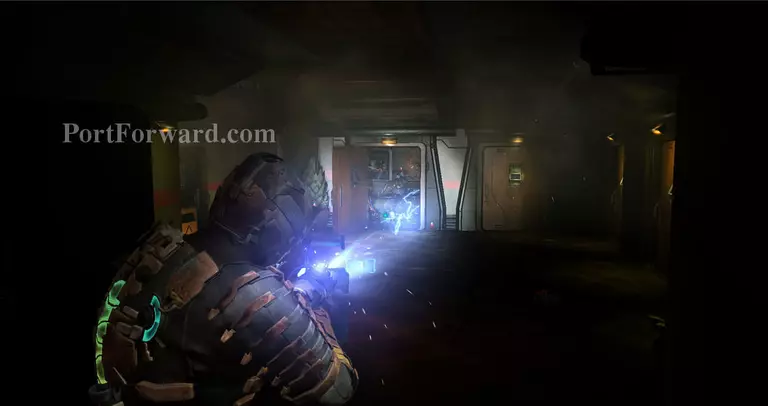
The zombies won't let you though, and pukers/slashers + 1 exploder will try to stop you. Invite them to meet Plasma Cutter.
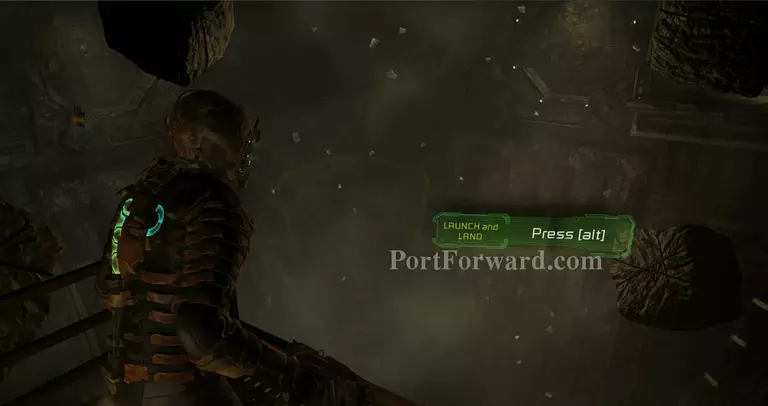
In Zero-G, press Alt (if you didn't get the hint) to float. Shift boosts speed. Try to nab the loot floating around.
Landing on the platform next to where the Locator tells you to go will show you this console to start up the...turbine engine? I have no idea what it is, but it spits out trash.
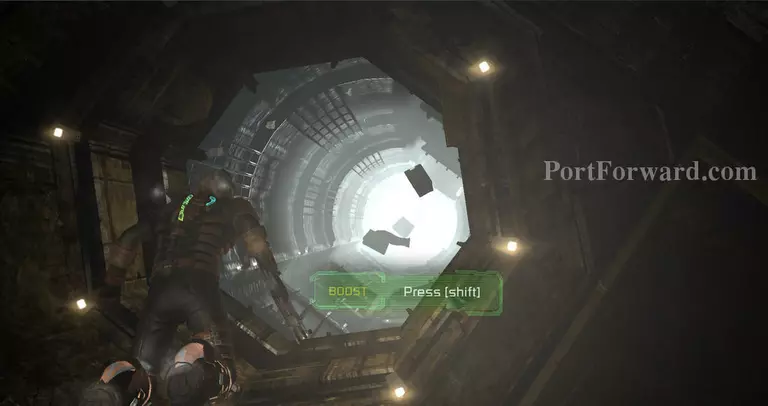
Exit that room and you'll have to press Shift to progress in here.

Land on the platform to the right of the turbine-engine thingamajig to be able to proceed.
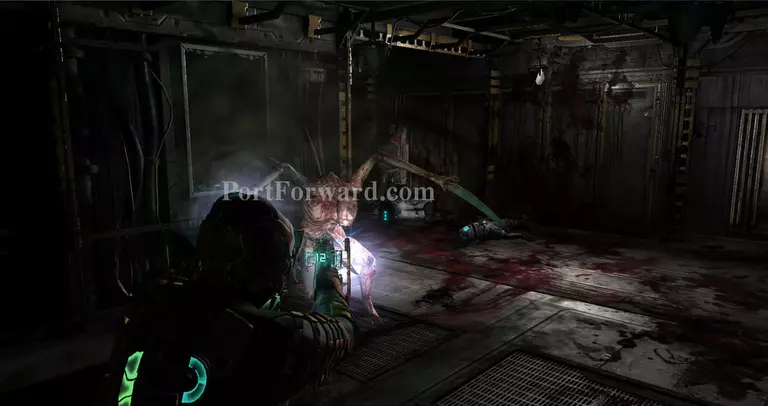
As you proceed, the lights will dim, but only this Slasher will come to challenge you, so don't be scared.
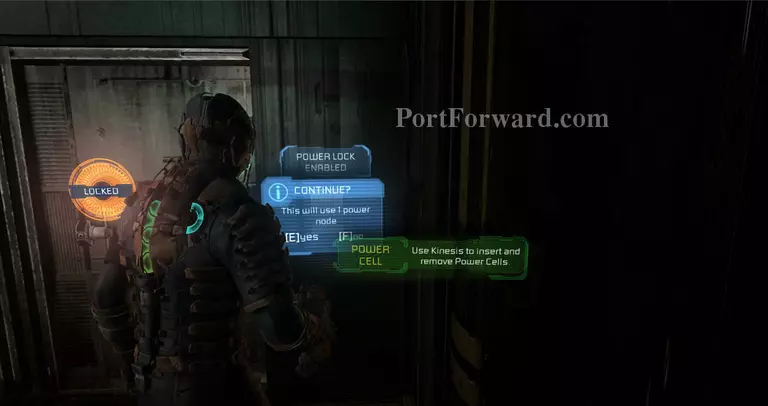
If you saved a power node like I very, very, GENTLY, recommended you do, use it on this closet for 10,000+ credits and a possibly lifesaving medkit.
Then, use kinesis on this Companion Cube and put it in its receptacle to progress.
Past that door, a Power Node will be in its shelf for the taking.
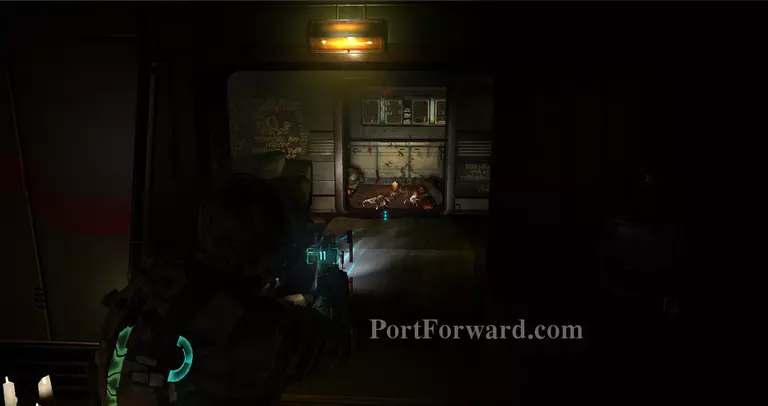
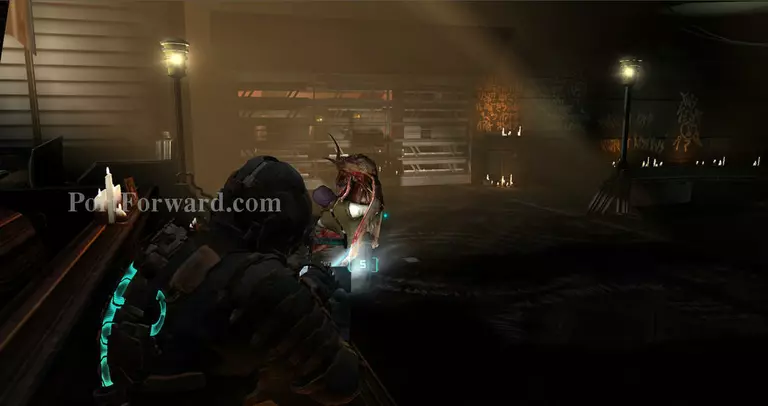
Once you arrive in the Scien---Unitology center you'll be greeted with these Swarmers, you can shoot them individually or use stuff like the Pulse Rifle's grenade or Javelin Gun's electrocution ability with Space to dispatch them all.
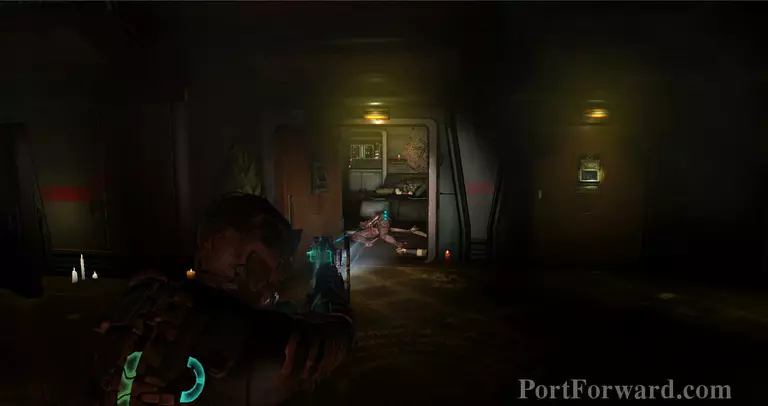
Proceed, and find a Slasher feigning death coupled with some Swarmers, I recommended the Javelin Gun for moments like these.
ZAP!
If a swarmer gets to you, it'll start a button sequence (but won't interrupt gameplay) that'll drain your health if you ignore it. More than ten swarmers is a death sentence, five and above is horrific on higher difficulties.
Once you reach the horse-nightlight room, Flashlight will say Hi again.
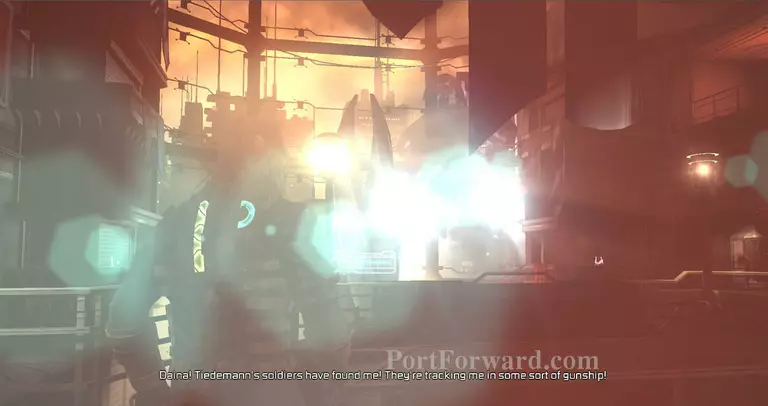
Keep on moving, and a Star Wars gunship will try to give you a retina examination, proceed as it's a terrible opthalmologist.
A slasher will pop out of this room once you proceed, just light it up if it knocks you down. An elevator will be here, so head there too.

Save after the elevator, esssssssssssspecccciallyyyyyy if you're low on health. Seriously, this part is very tricky on higher difficulties.
An open hallway, not a boss fight exactly but almost as tricky as one.
Infectors, pukers, and exploders will pop out. Focus on the Infectors before they create more problems, then the pukers.
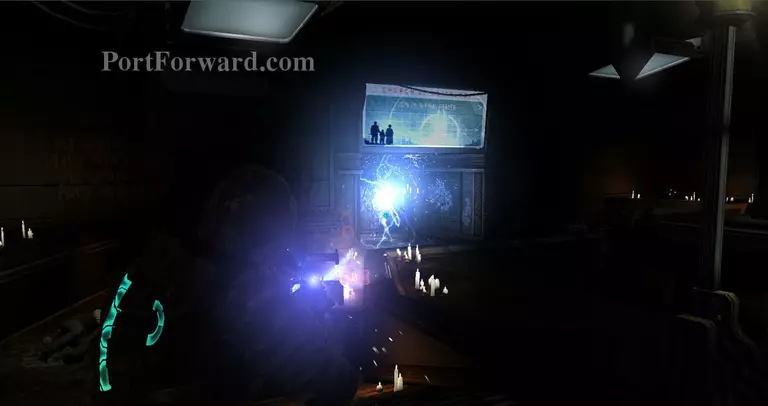
Electroshock Therapy!
Once you KILL THEM ALL the door will unlock and you can go ahead.
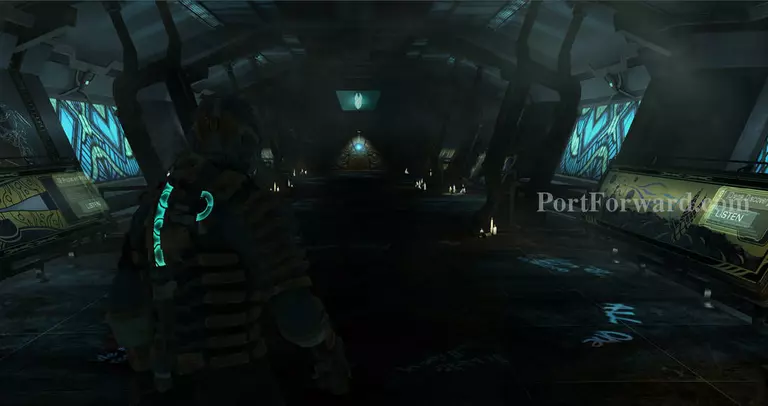
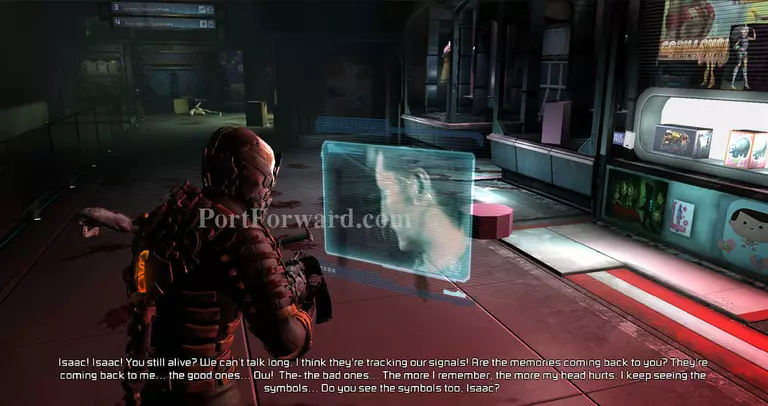
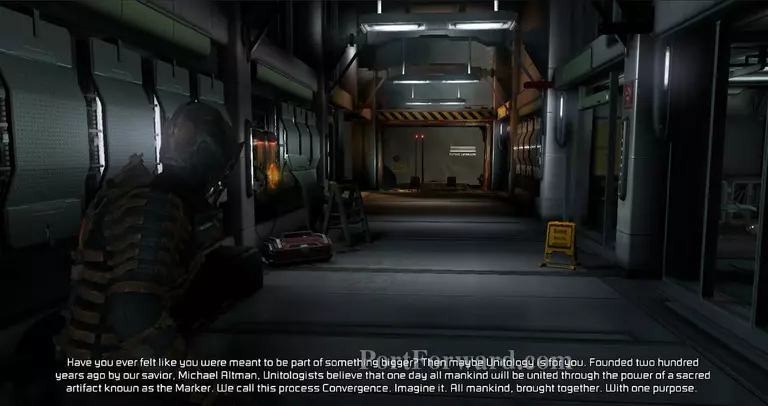
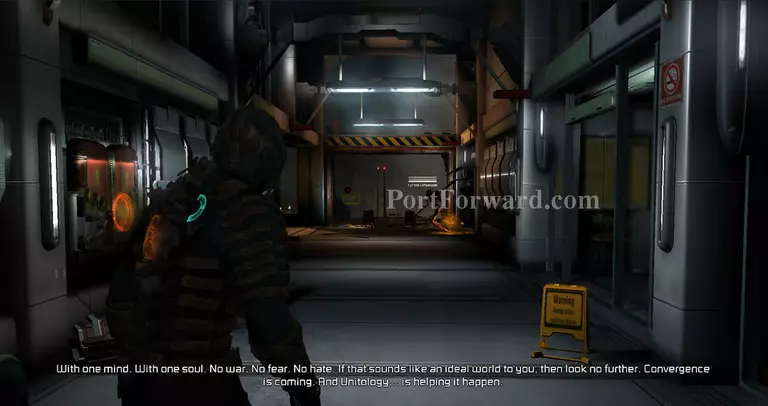
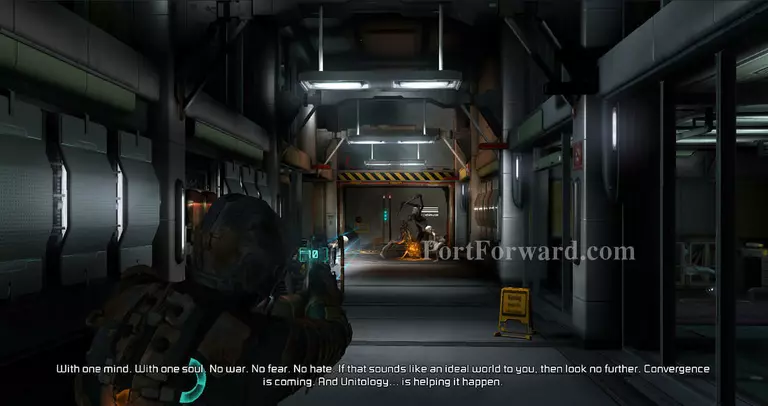
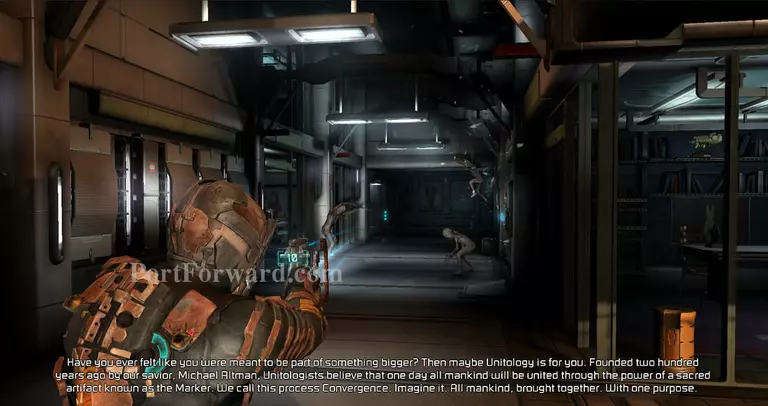
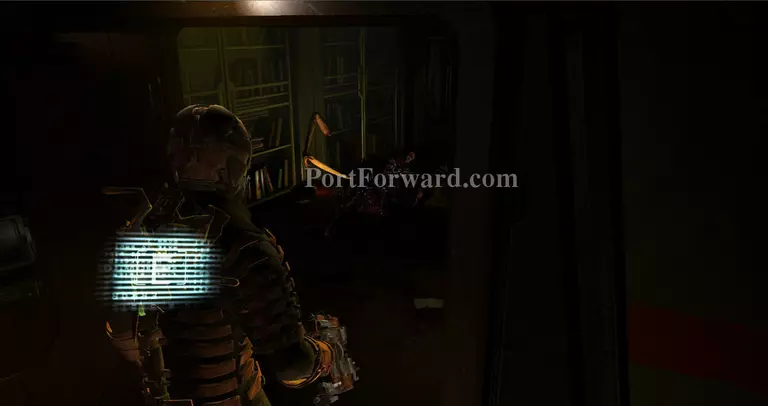
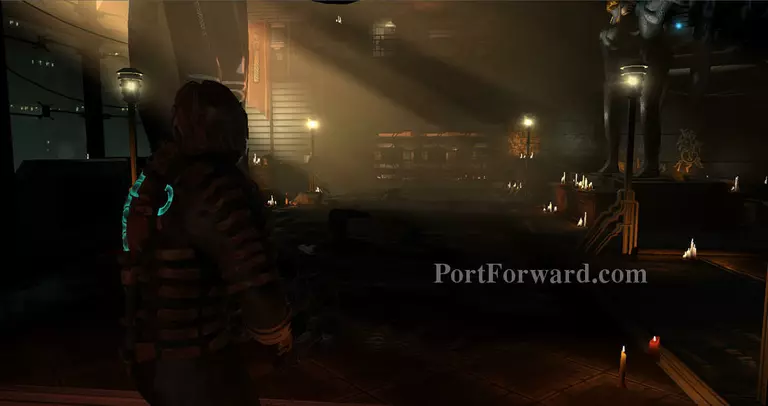
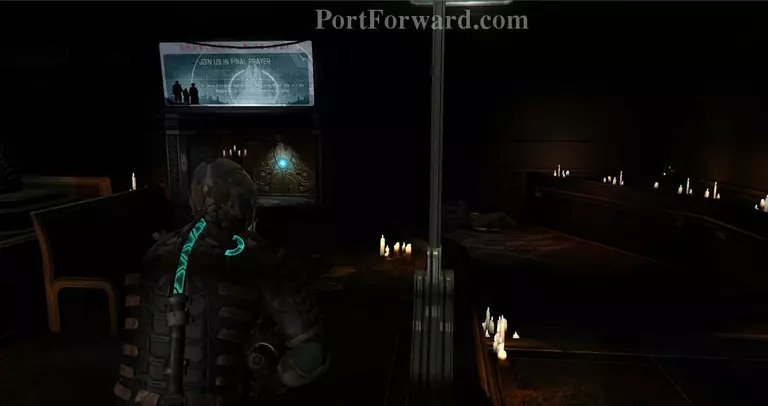
You'll happen upon this hallway where you can listen to some boring lore if you want or just proceed.
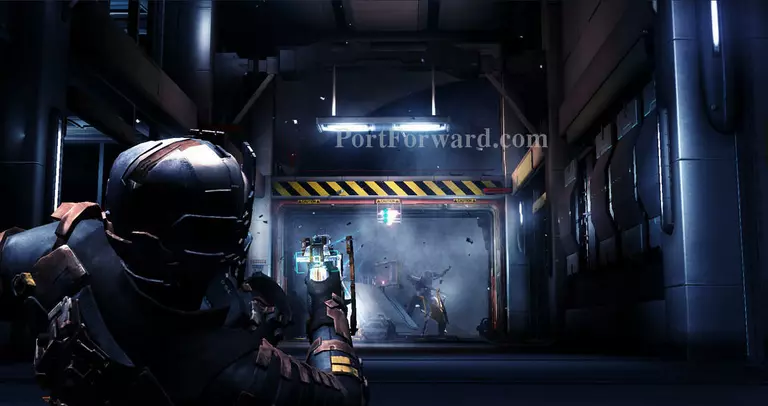
The next room, that opthalmologist will be angry that you didn't pay the bill and quickly try to shoot you.
It's harmless though as they can't aim.
More Dead Space 2 Walkthroughs
This Dead Space 2 walkthrough is divided into 17 total pages.


