
This Destiny walkthrough is divided into 20 total pages.
You can jump to nearby pages of the game using the links above.
The World's Grave
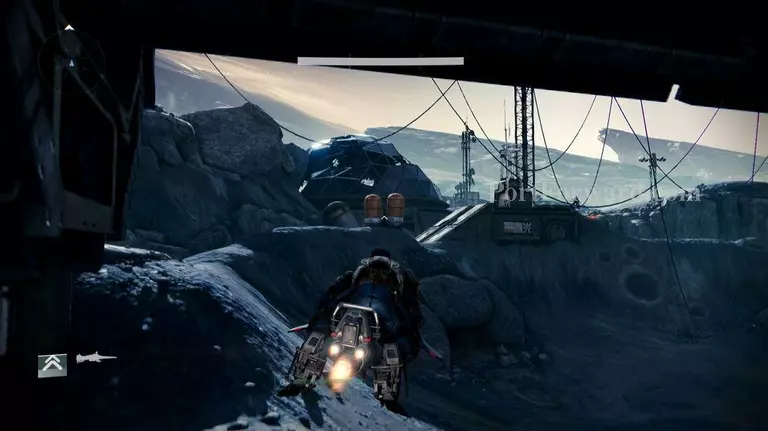
Time to head to the library! You'll start off in the same spot you started the first mission, but this time you'll be heading to through the shattered dome up ahead.
Once you pass through, you'll see the entrance at the bottom of the hill.
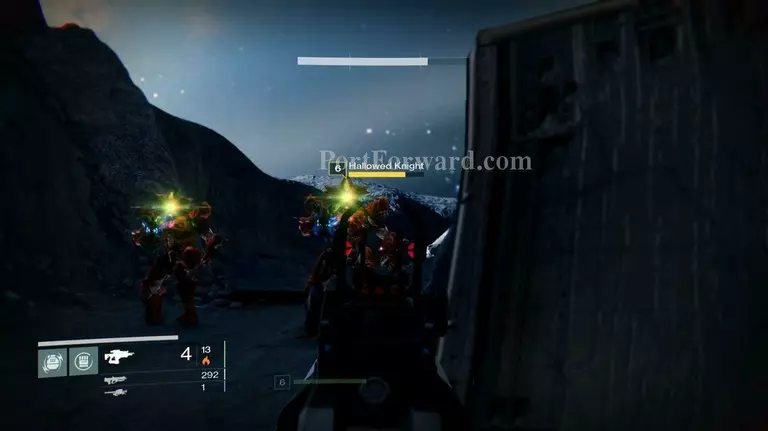
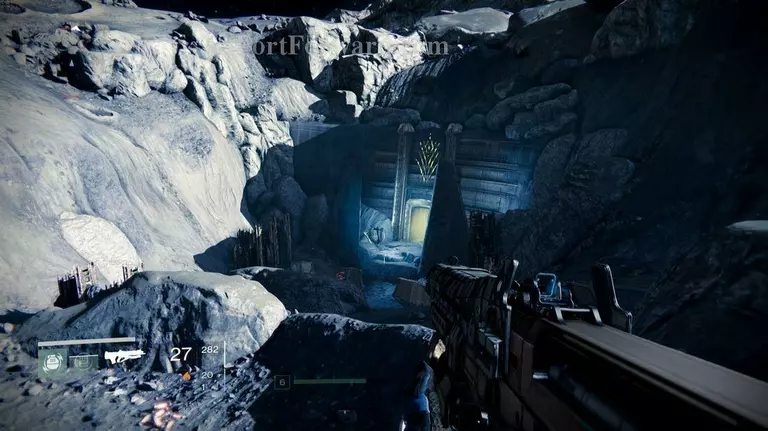
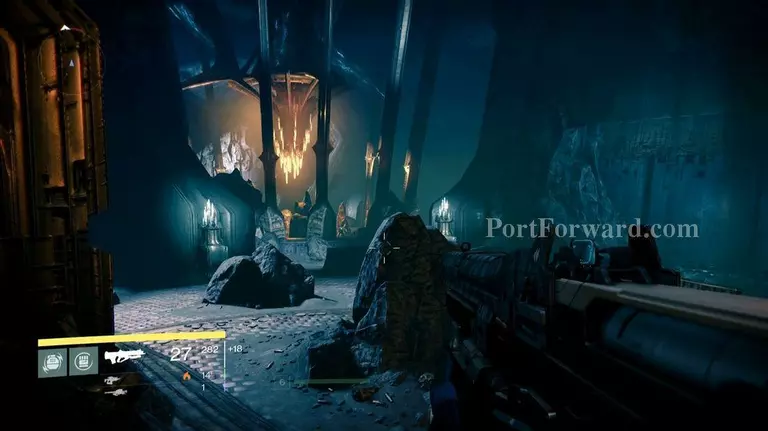
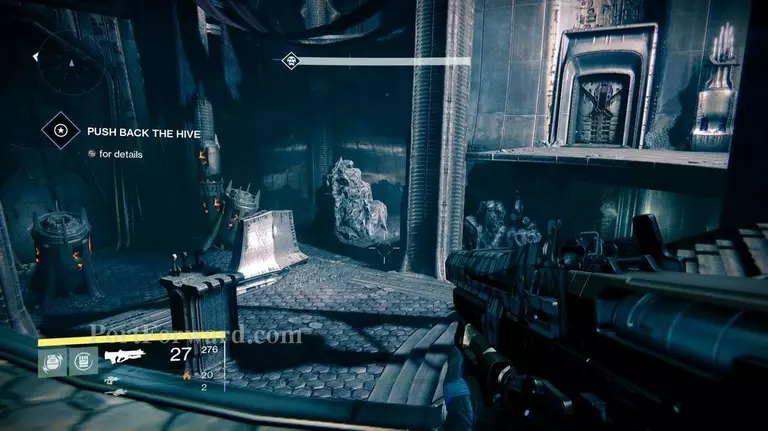
Take out the two Hallowed Knights blocking the entrance, then head inside. Remember to use the rocks and walls for cover! You'll enter a room with a giant rock pillar in the center. Make your way to the very bottom, then enter the next room.
Gold Chest 02: Enter the Hall of Wisdom. At the bottom of the spiral path you will come to a pool of water. Follow the water to a hidden area where the second chest is located.
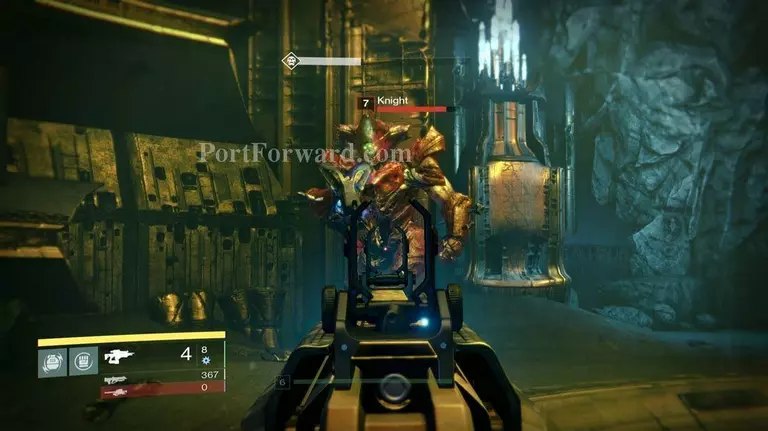
"The Hall of Wisdom is a very larger room made up of four major sections that connect at the center with a giant chandelier. Defeat enemies and start making your way past the center, following the waypoint on your map.
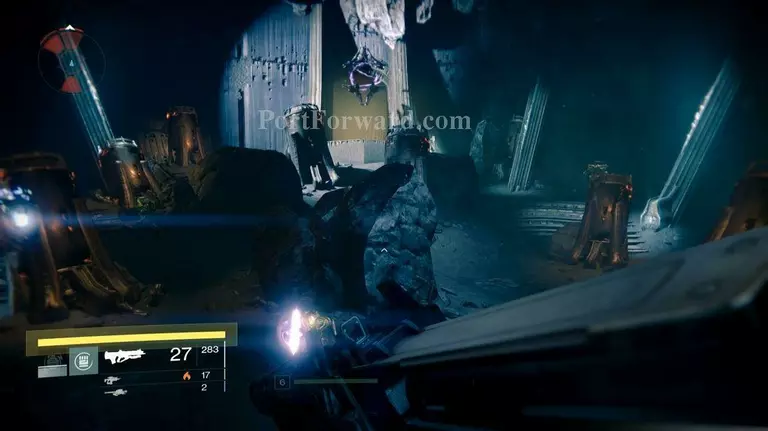
"When you reach the last section or room, you'll be faced with another large group of enemies. A Wizard, Thralls, and Knights can be found, but there is also a new enemy known as the Shrieker that will sit high above the next door and shoot whenever it's middle section opens up. Defeat this enemy first as it can get in the way of taking out the other enemies.
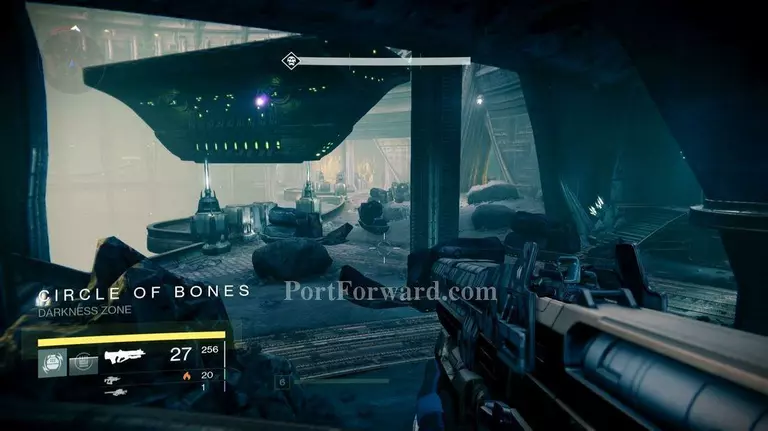
Enter the next room to find yourself in the Circle of Bones. Now in a Darkness Zone, fight off the enemies that spawn from the warship, but try to make your way to the center of the room.
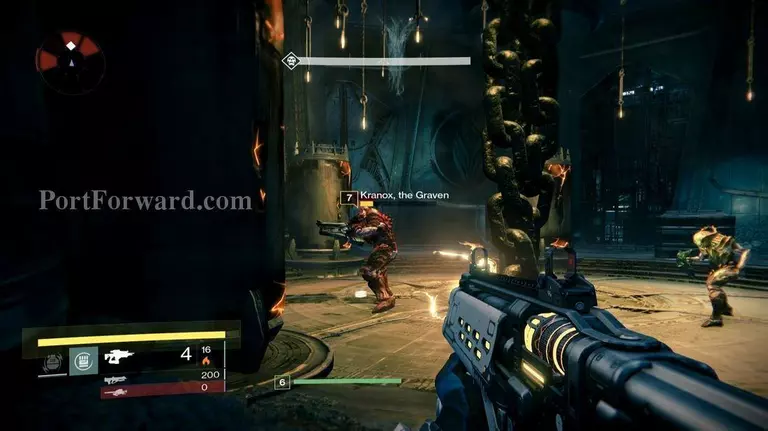
Once you reach the center, you'll find Kranox, the Graven. Clear out some of the other enemies, then take out Kranox and you'll have the key to The World's Grave.
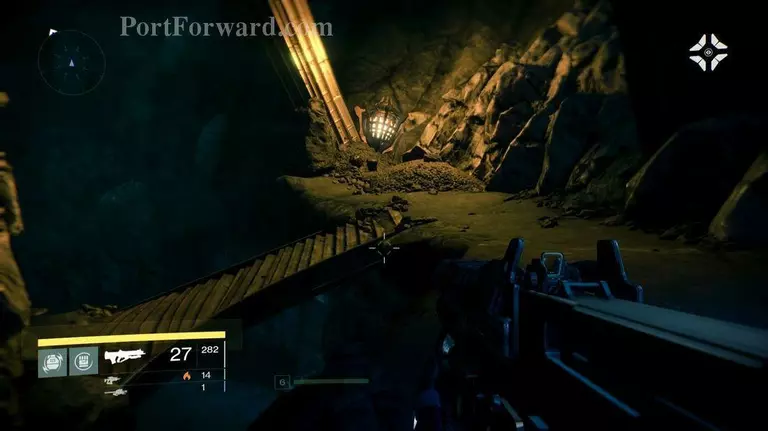
Follow the waypoint to the next room, fighting off enemies as you go. Enter the cave and prepare yourself to find hoards of Thralls.
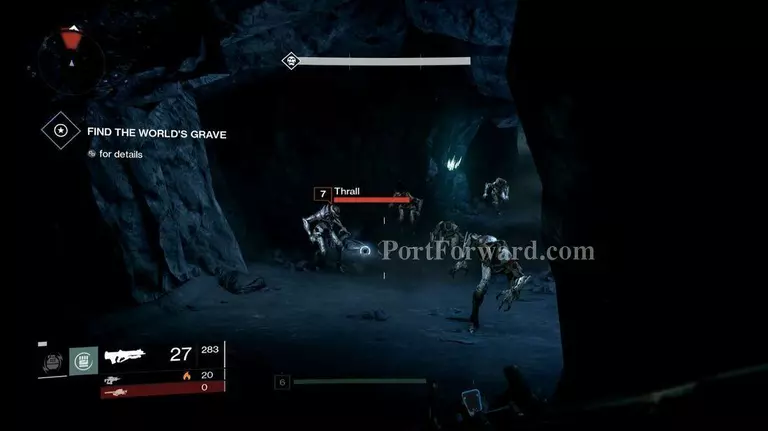
Throw a grenade of some sort as they are standing idle when you first meet them.
In the next room, you'll encounter even more enemies. Defeat them all, then head into the next room to find some of the enemies worshiping some kind of machine. Find the strongest enemy and use this chance to attack first!
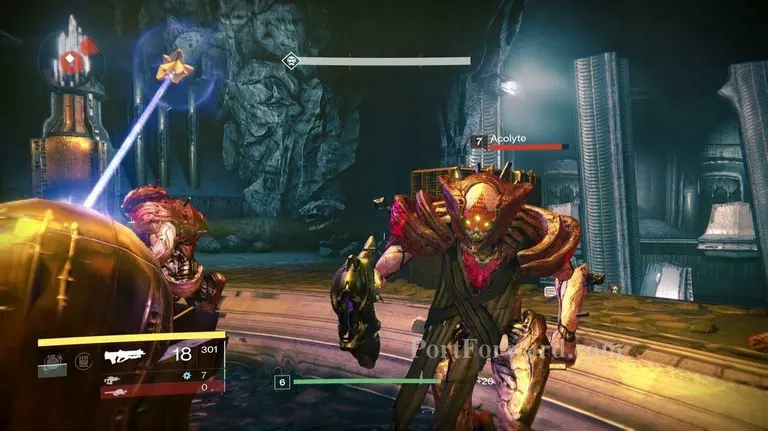
After you defeat the enemies, activate the machine with your Ghost and prepare for the next wave of enemies. Use the machine as cover, and keep an eye out for any Thralls. Cursed Thralls will appear, but you'll want to stay a good distance away when you attack. They explode at their death.
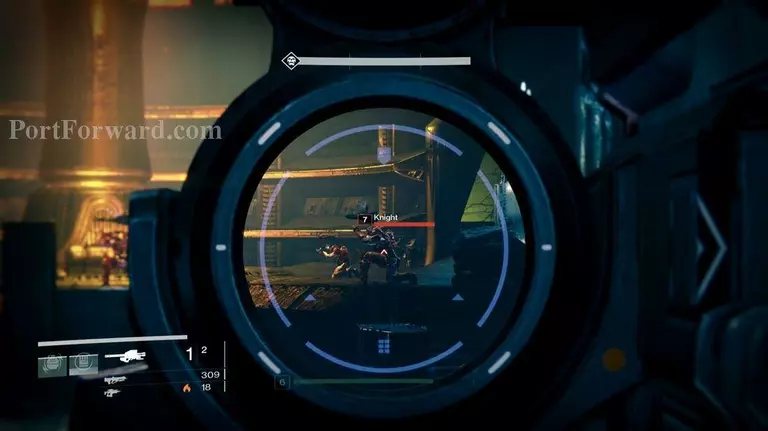
"Be prepared as the last wave of enemies contains three Knights. Once all are defeated, the mission will end and you'll have all the information you need from the library.
More Destiny Walkthroughs
This Destiny walkthrough is divided into 20 total pages.


