Far Cry 3: Blood Dragon Walkthrough Mission #3 - Punch it

September 12, 2016 (Last Updated: ) | Reading Time: 5 minutes

This Far Cry 3: Blood Dragon walkthrough is divided into 7 total pages.

You can jump to nearby pages of the game using the links above.

Mission #3 - Punch it

Far Cry 3: Blood Dragon Walkthrough - Far Cry-3-Blood-Dragon 39

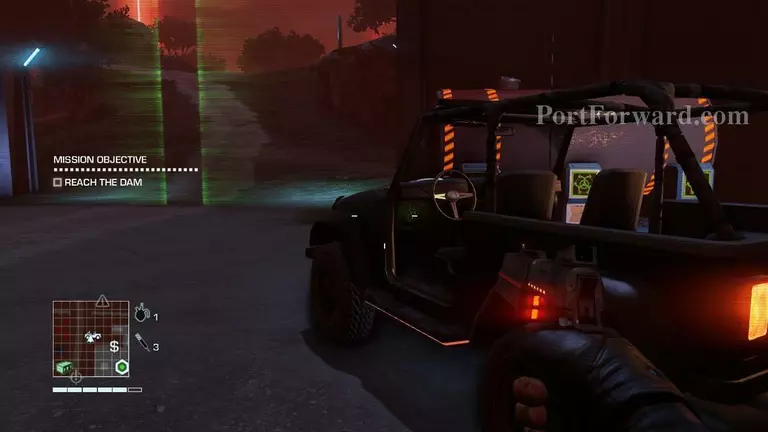
You will begin the mission inside the garrison you have liberated in the previous mission, use the car found inside to reach the dam.

Far Cry 3: Blood Dragon Walkthrough - Far Cry-3-Blood-Dragon 40

Once you've made it to the dam, make your way to the other end of it.

Far Cry 3: Blood Dragon Walkthrough - Far Cry-3-Blood-Dragon 41

Use the ziplines that are located at the other end of the dam to make your way down on the beach and retrieve Dr. Darling's package.

Far Cry 3: Blood Dragon Walkthrough - Far Cry-3-Blood-Dragon 42

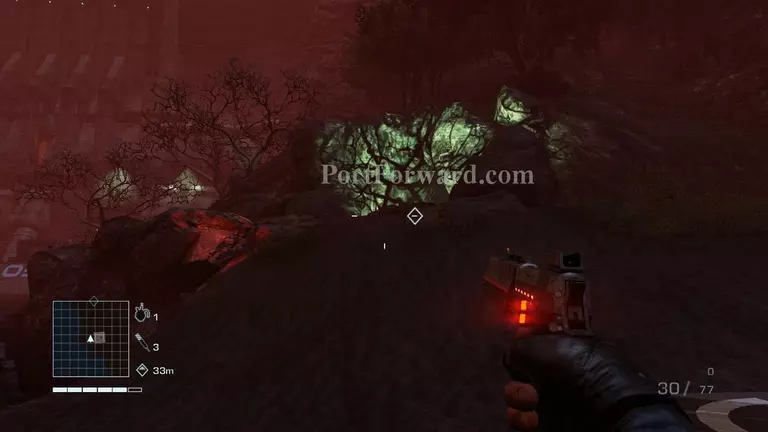
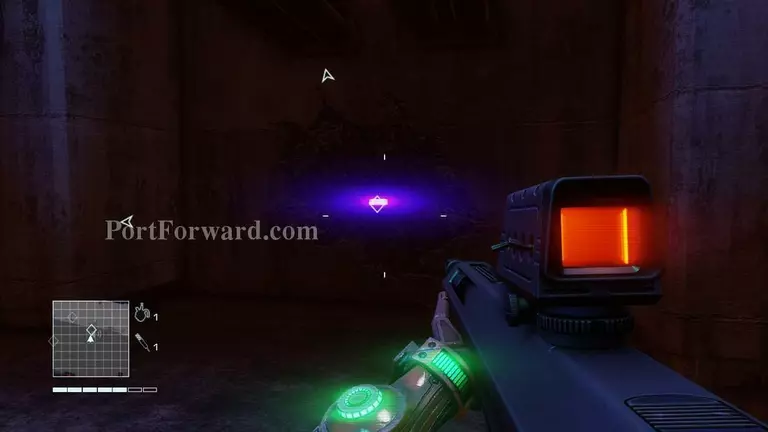
Go inside the lighted cave to retrieve the package Dr. Darling has left for you.

Far Cry 3: Blood Dragon Walkthrough - Far Cry-3-Blood-Dragon 43

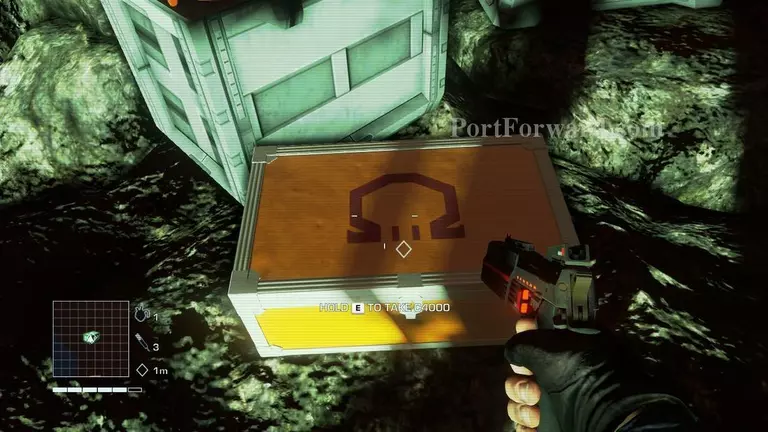
Dr. Darling's package will contain some C4000 charges needed to blow up the dam. Press 'E' to open the crate and retrieve them.

Far Cry 3: Blood Dragon Walkthrough - Far Cry-3-Blood-Dragon 44

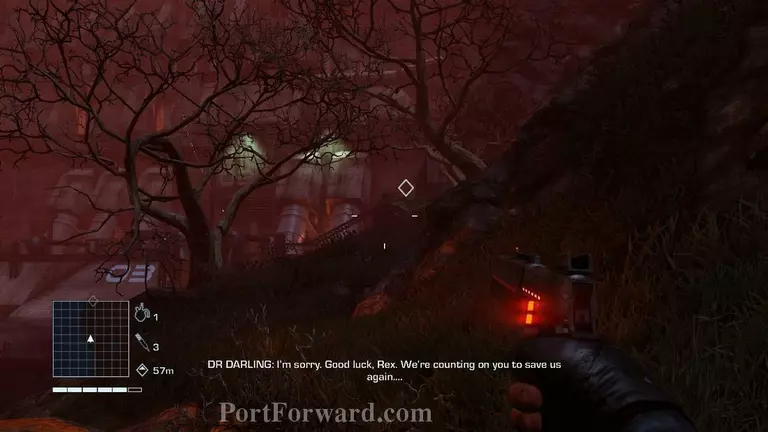
Now that you've got the C4000 charges, get over to the dam's base.

Far Cry 3: Blood Dragon Walkthrough - Far Cry-3-Blood-Dragon 45

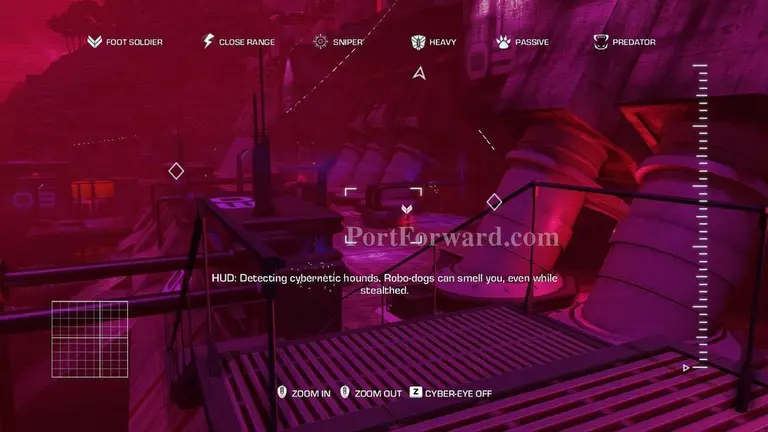
Use your Cyber-Eye to mark all the enemy soldiers guarding the dam's base. You can choose to eliminate them silently one-by-one; without triggering the alarm or launch a direct attack on them.

Far Cry 3: Blood Dragon Walkthrough - Far Cry-3-Blood-Dragon 46

Once you've got rid of all the enemy soldiers on the dam's base, plant the two C4000 charges on the marked spots.

Far Cry 3: Blood Dragon Walkthrough - Far Cry-3-Blood-Dragon 47

When you're done planting the C4000 charges, make your way to the top of the dam.

Far Cry 3: Blood Dragon Walkthrough - Far Cry-3-Blood-Dragon 48

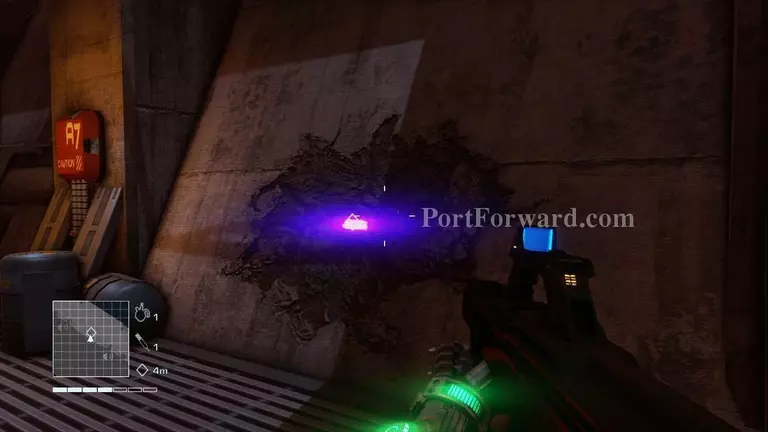
Plant the last C4000 charge on the top of the dam at the indicated spot.

Far Cry 3: Blood Dragon Walkthrough - Far Cry-3-Blood-Dragon 49

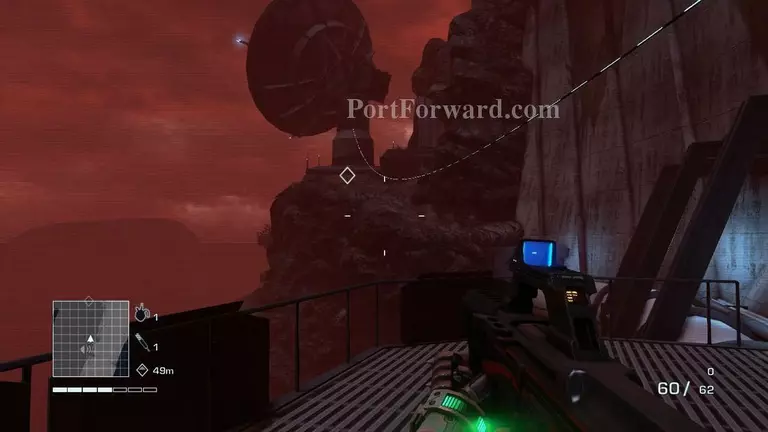
Now that you've planted all the explosive charges needed to destroy the dam, you will have to move out of the blast radius by walking over the large pipes on the right and climbing over the rocks to reach the indicated spot.

Far Cry 3: Blood Dragon Walkthrough - Far Cry-3-Blood-Dragon 50

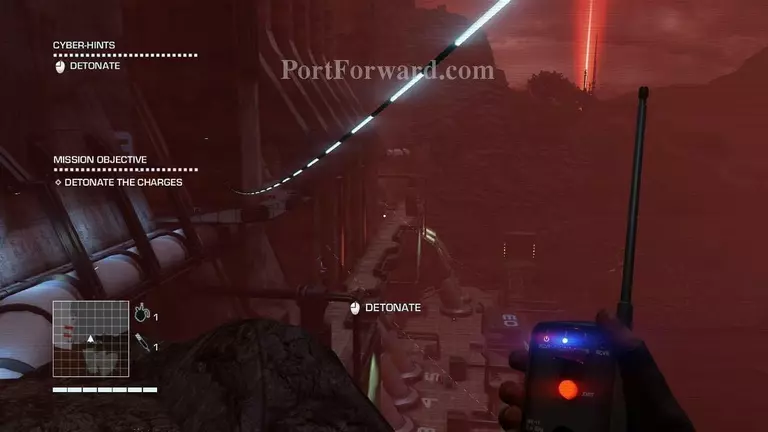
After reaching the safe zone, detonate the C4000 charges that you've planted on the dam.

Far Cry 3: Blood Dragon Walkthrough - Far Cry-3-Blood-Dragon 51

Unfortunately, the explosive charges are not going to be strong enough to blow up the dam.

Far Cry 3: Blood Dragon Walkthrough - Far Cry-3-Blood-Dragon 52

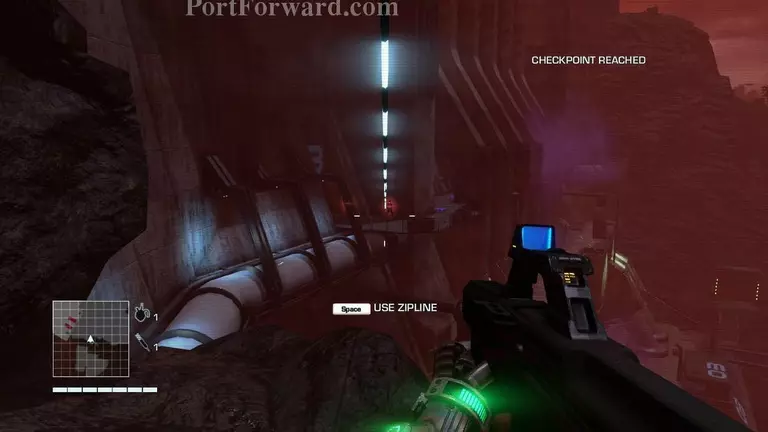
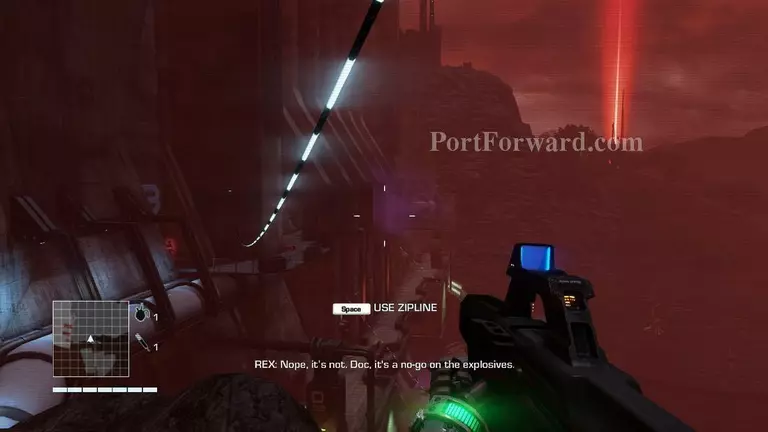
Three enemy soldiers are going to appear shortly after detonating the explosive charges planted on the dam. You can take them out by surprise using the zipline.

Far Cry 3: Blood Dragon Walkthrough - Far Cry-3-Blood-Dragon 53

After dealing with the enemy soldiers, make your way back up to the top of the dam and regroup with the engineer.

Far Cry 3: Blood Dragon Walkthrough - Far Cry-3-Blood-Dragon 54

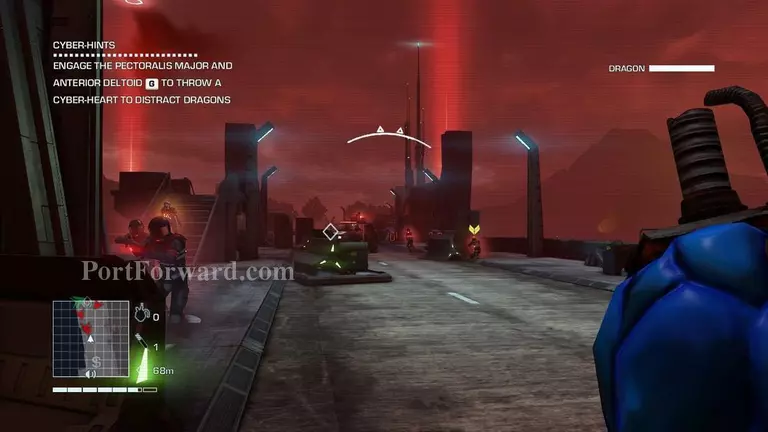
On the top of the dam, you are going to encounter a large group of enemies. Throw a cyber-hear at their position to lure the nearby blood dragon.

Far Cry 3: Blood Dragon Walkthrough - Far Cry-3-Blood-Dragon 55

While the blood dragon does its job, you can make a run to the other end of the dam.

Far Cry 3: Blood Dragon Walkthrough - Far Cry-3-Blood-Dragon 56

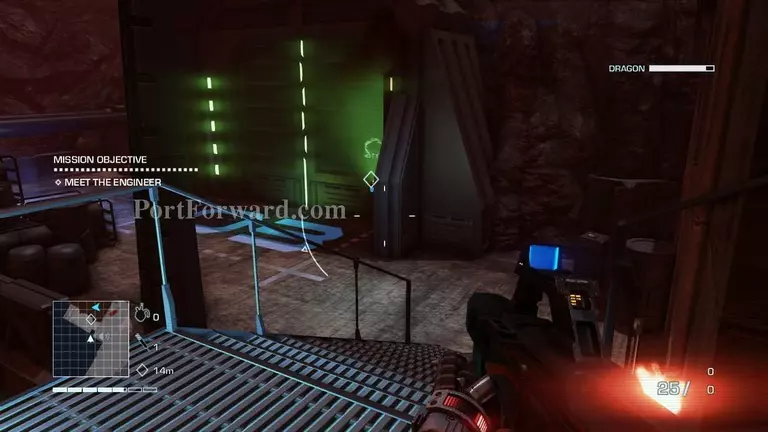
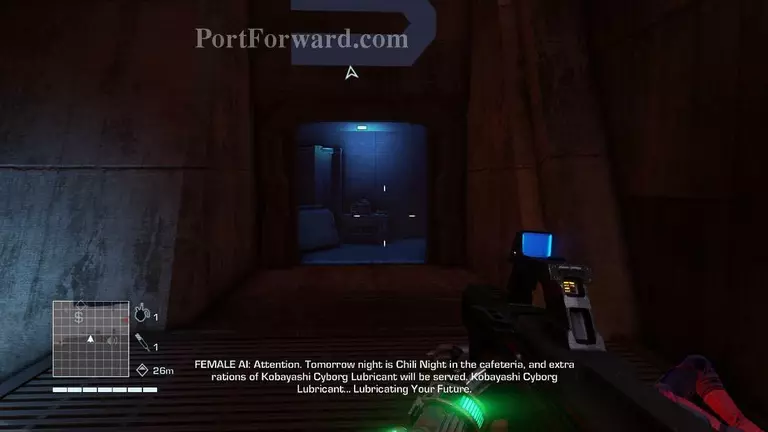
Once you've made it to the other end of the dam, locate the stairs leading down to a huge door, behind which you can find the engineer.

Far Cry 3: Blood Dragon Walkthrough - Far Cry-3-Blood-Dragon 57

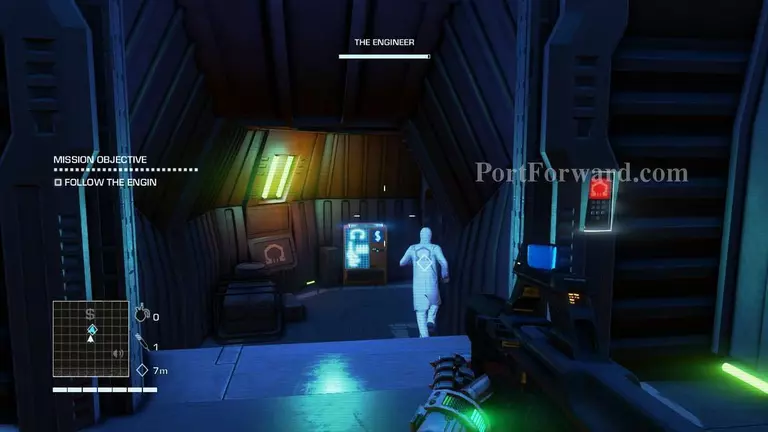
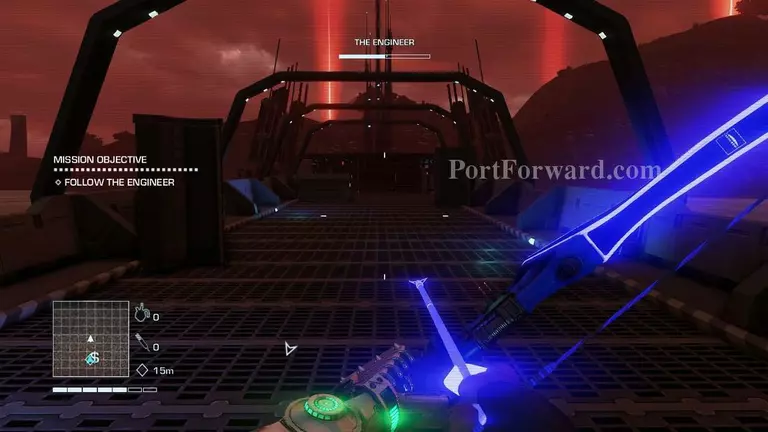
Now that you've regrouped with the engineer, you will have to follow him through the complex.

Far Cry 3: Blood Dragon Walkthrough - Far Cry-3-Blood-Dragon 58

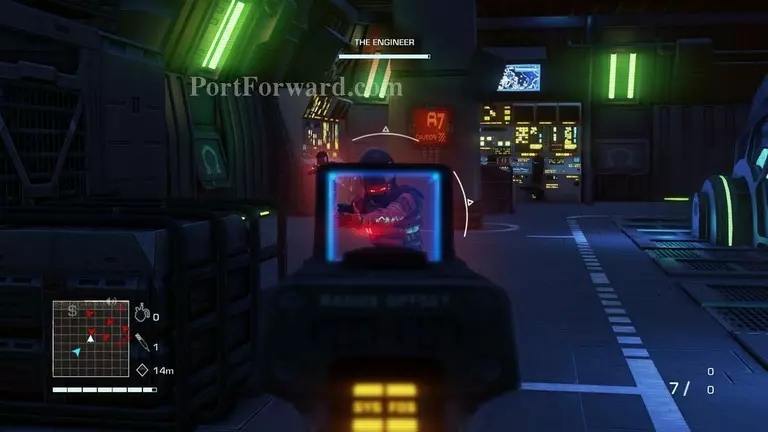
As you make your way through the complex, you are going to come across bunch of enemy soldiers. Make sure to take them out before they kill the engineer, or else you are going to fail the mission.

Far Cry 3: Blood Dragon Walkthrough - Far Cry-3-Blood-Dragon 59

Once you've dealt with all the enemies, follow the engineer to the control room.

Far Cry 3: Blood Dragon Walkthrough - Far Cry-3-Blood-Dragon 60

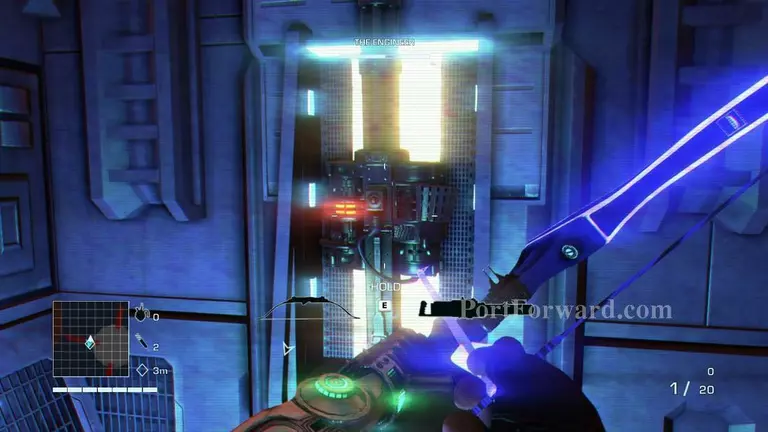
Wait for the engineer to open the doors to a bridge that leads to the exposed reactor core.

Far Cry 3: Blood Dragon Walkthrough - Far Cry-3-Blood-Dragon 61

Cross the bridge and make your way to the room behind the reactor core.

Far Cry 3: Blood Dragon Walkthrough - Far Cry-3-Blood-Dragon 62

You are going to find a minigun inside the room, grab it and replace it with any weapon in your inventory.

Far Cry 3: Blood Dragon Walkthrough - Far Cry-3-Blood-Dragon 63

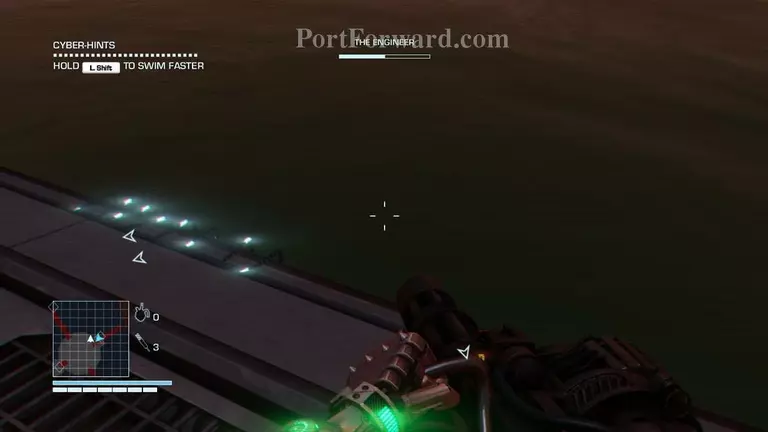
After grabbing the minigun, the engineer will let you know that you have to go underwater and release 3 safety locks.

Far Cry 3: Blood Dragon Walkthrough - Far Cry-3-Blood-Dragon 64

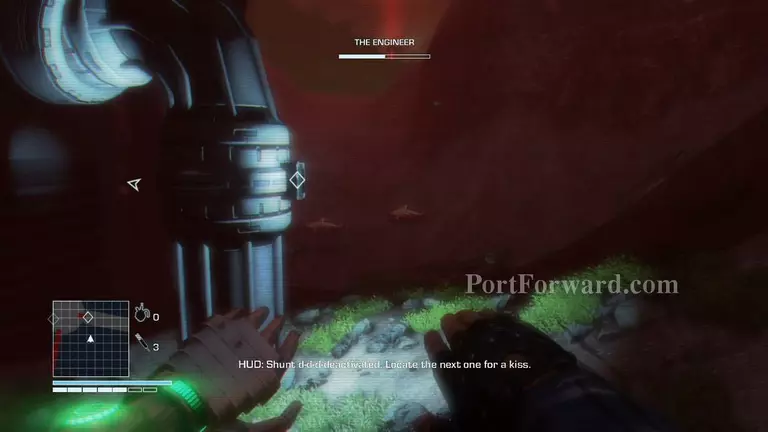
While you're underwater, try to avoid getting too close to the sharks.

Far Cry 3: Blood Dragon Walkthrough - Far Cry-3-Blood-Dragon 65

Once you've released all the safety cores and made it back to the surface, enemies will start attacking you, your main objective is to protect the engineer while he does his work. This is the part where the minigun comes in handy, you can use it to destroy the enemy boats really fast.

Far Cry 3: Blood Dragon Walkthrough - Far Cry-3-Blood-Dragon 66

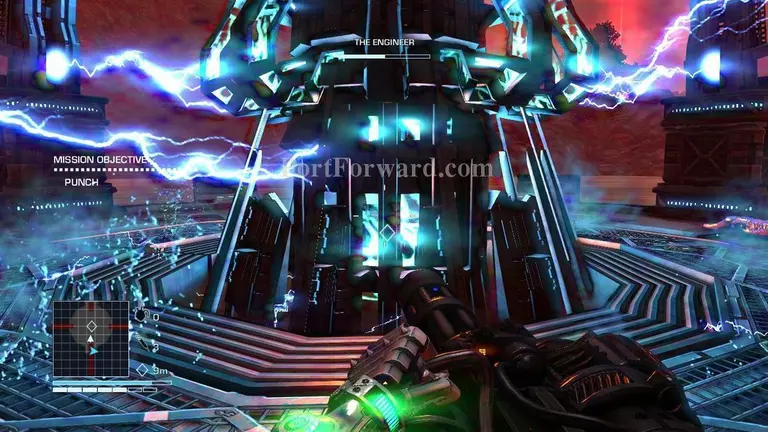
After taking out all the enemies, you will punch the reactor core to shut it down.

Far Cry 3: Blood Dragon Walkthrough - Far Cry-3-Blood-Dragon 67

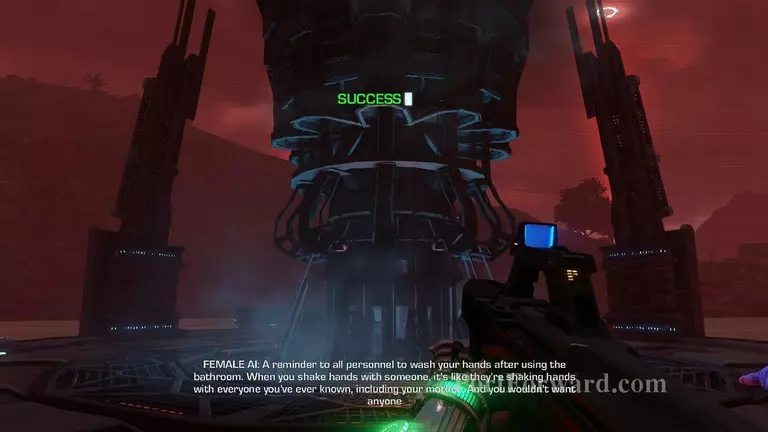
The mission will come to an end after shutting down the reactor core.

More Far Cry 3: Blood Dragon Walkthroughs

This Far Cry 3: Blood Dragon walkthrough is divided into 7 total pages.

More From Portforward