This Loadout walkthrough is divided into 6 total pages.
You can jump to nearby pages of the game using the links above.
Tactics & Misc
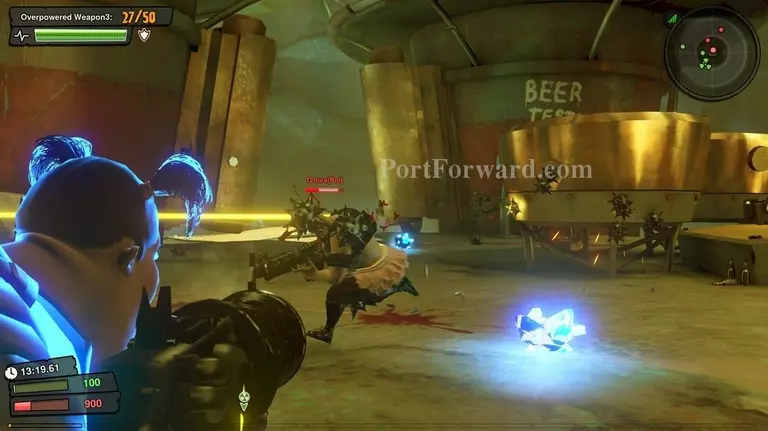
Loadout is a constantly changing game with endless weapon combinations and very wide, open maps with several game-modes.
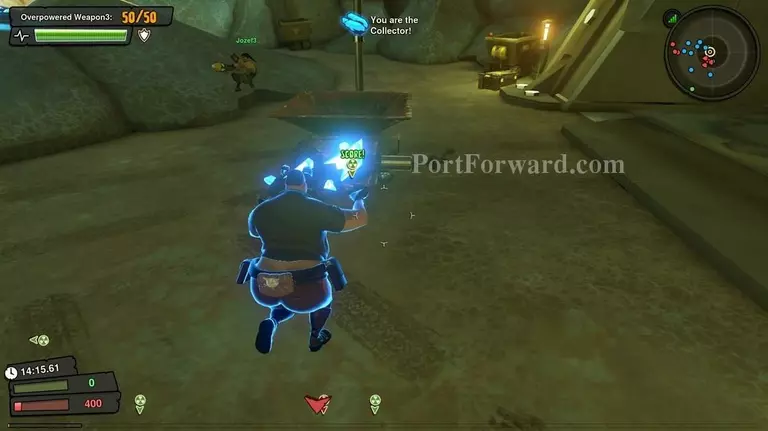
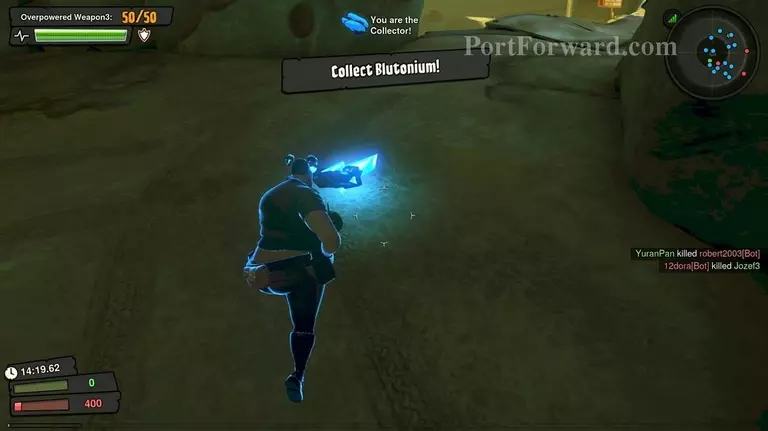
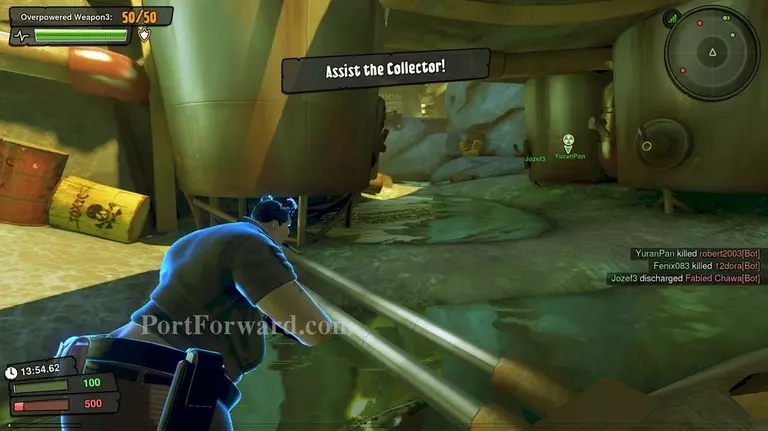
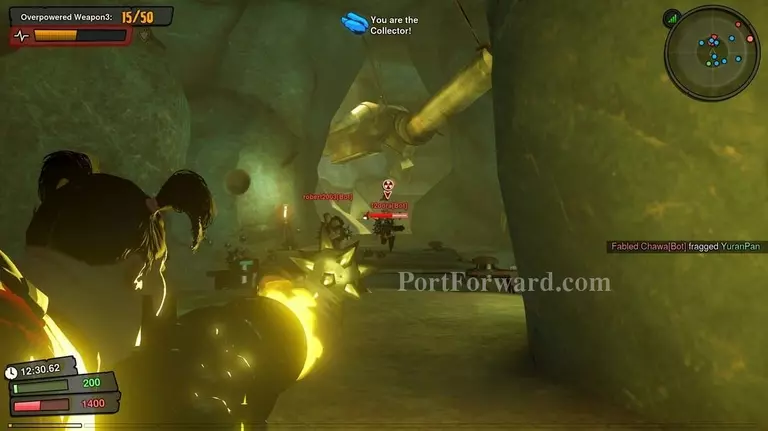
Not only can you not choose what game modes you get to play but you also get forcd into certain roles. Here I am dubbed "The Collector" and have to haul back bits of ore into a nearby refinery to score my team points.
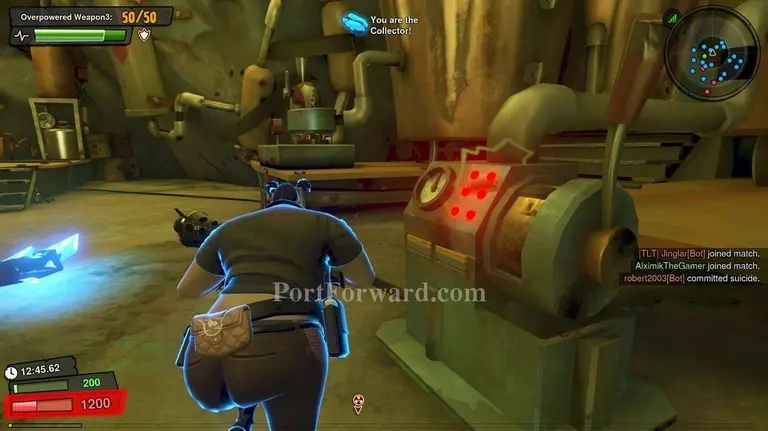
It's a very dangerous job as every enemy can see where you are on the map.
Along with also having you be vulnerable when carrying said ore.
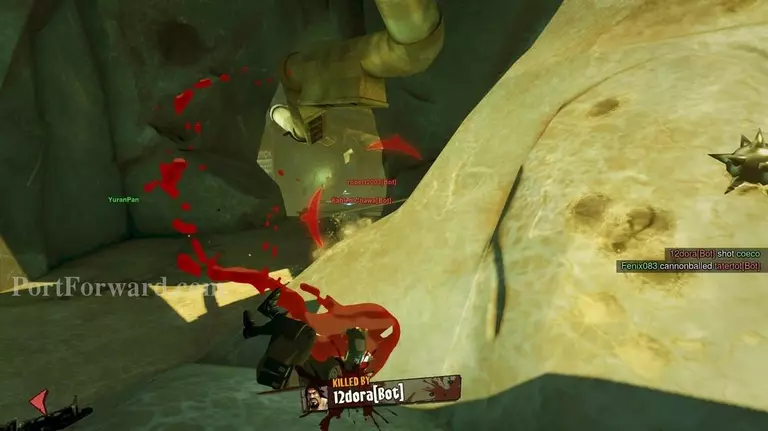
When you die as the collector, a random teammate takes over your roll until he dies in an endless circle until either the time runs out or someone reaches the score cap.
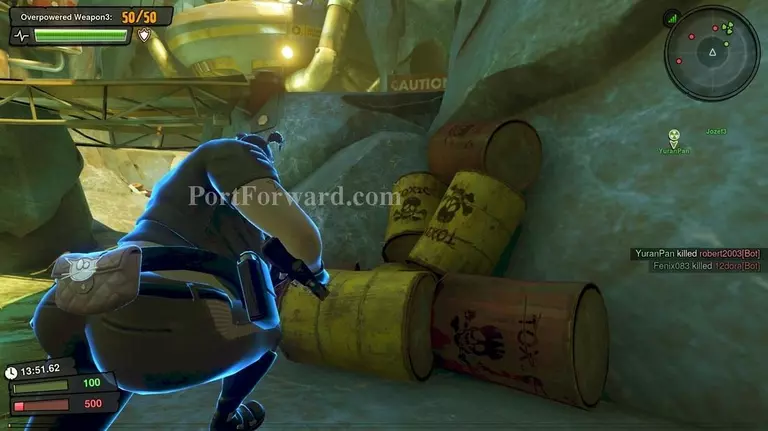
While many areas in Loadout seem to be dangerous, the only real enviromental threat is falling off the map borders. There's no fall damage otherwise and almost all walls can be climbed or jumped on.
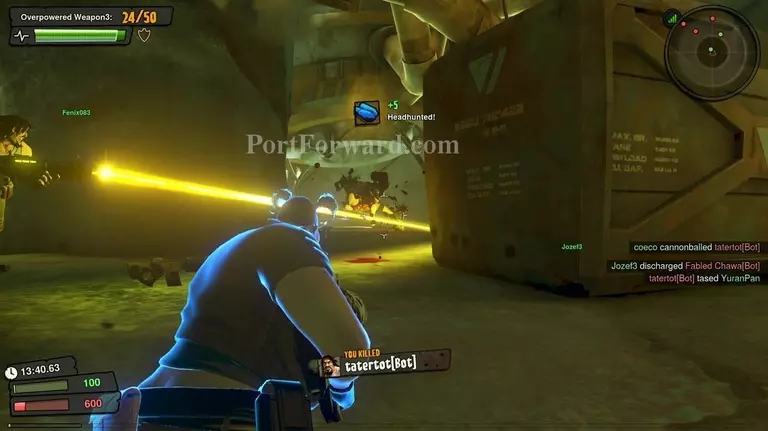
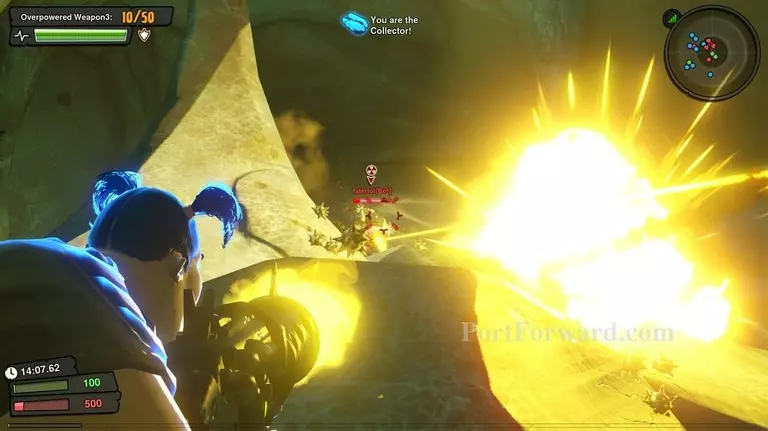
If you are particularly needy of money, headshotting enemies will score you extra.
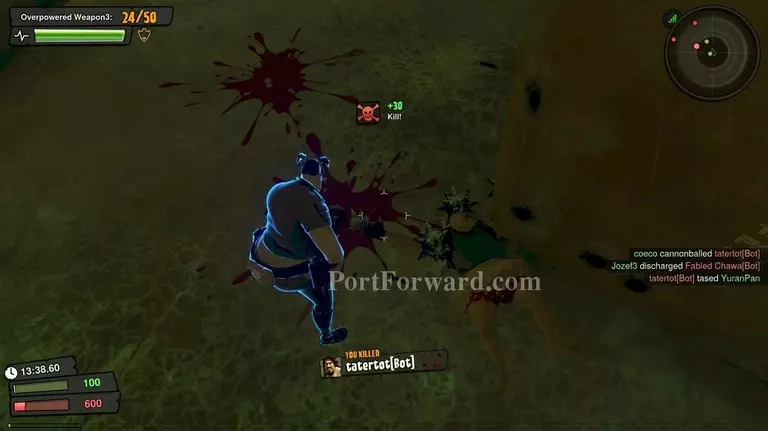
And using the Pulse weapon is often quite recommended for this. It does absolutely massive damage If they connect to the head and also serve as a double-duty area denial weapon.
While It's a bit hard to aim at first due to the projectile speeds, Pulse weapons are very capable things.
You can also go ahead and ignore next to all map features besides the objectives. Things such as switches, buttons and levers can't be interacted with whatsoever, nor can they be destroyed.
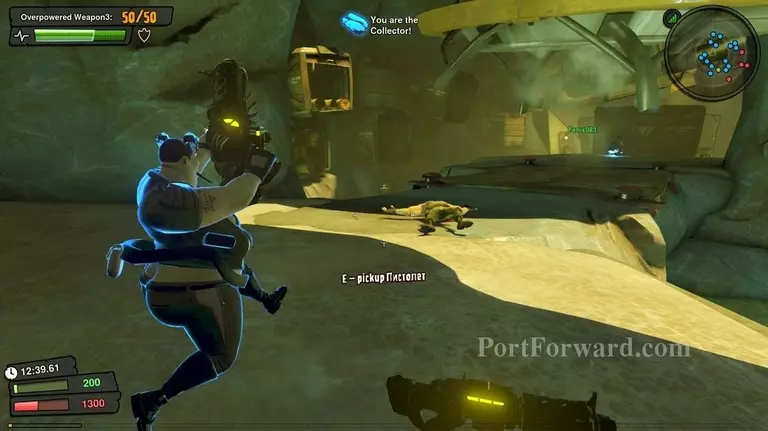
Every time you go close to an opponents or an allies corpse, you have the chance to pick up the weapon they had in their hands at time of death. This can be an excellent way to adapt yourself to the battlefield or to simply try out new builds in action outside the target range.
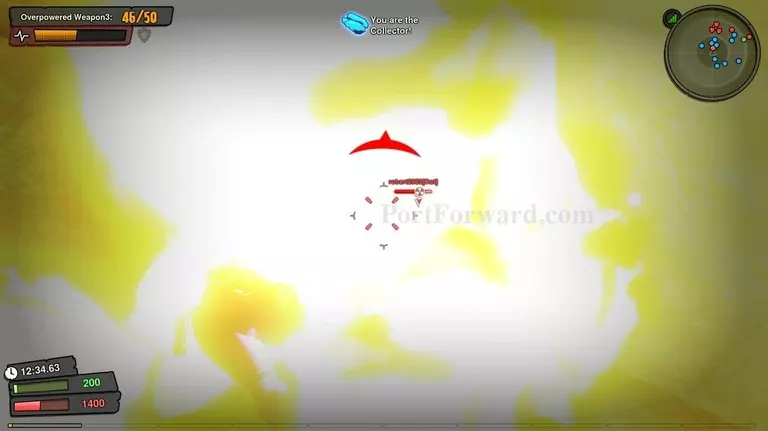
Most of the time, explosions and other lightning effects will blind you. It's what makes knowing your weapon's properties such as bullet drop and size of rounds to be very important once you are blinded and simply shooting at an enemy's crosshair on your HUD.
And while launchers may seem awesome at first, they are unfortunately quite clumsy. Slow-firing with very slow reloads, they shouldn't be used other than to flush enemies out of hiding and area deny certain places.
Pressing (F) executes a melee attack. These can be absolutely devastating as the range is deceptive and the damage can 2-3 hit almost everyone they connect with. It's a very good alternative If you run out of bullets up-close or simply find yourself uncomfortably close to someone.
More Loadout Walkthroughs
This Loadout walkthrough is divided into 6 total pages.