Resistance 2 Walkthrough Holar Iceland

September 12, 2016 (Last Updated: ) | Reading Time: 6 minutes

This Resistance 2 walkthrough is divided into 11 total pages.

You can jump to nearby pages of the game using the links above.

Holar Iceland

Resistance 2 Walkthrough - Resistance 2 0387

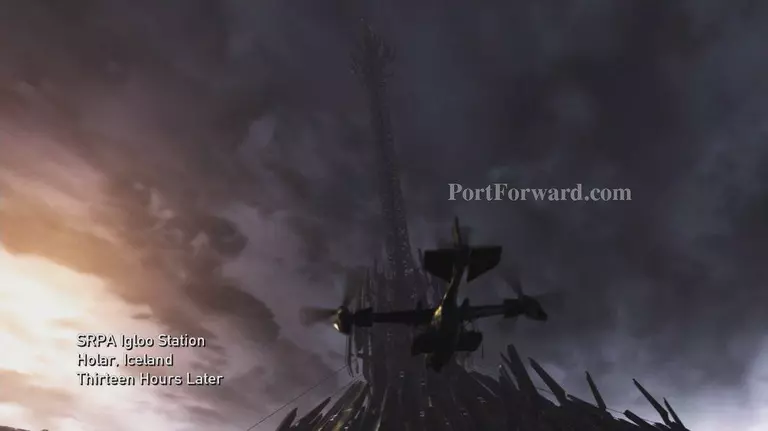
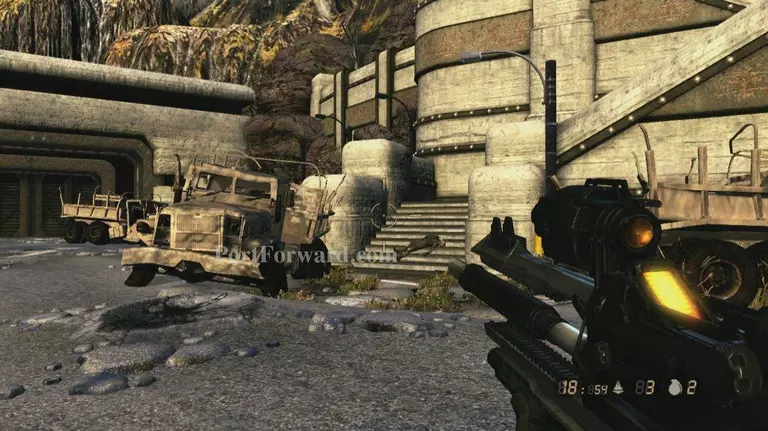
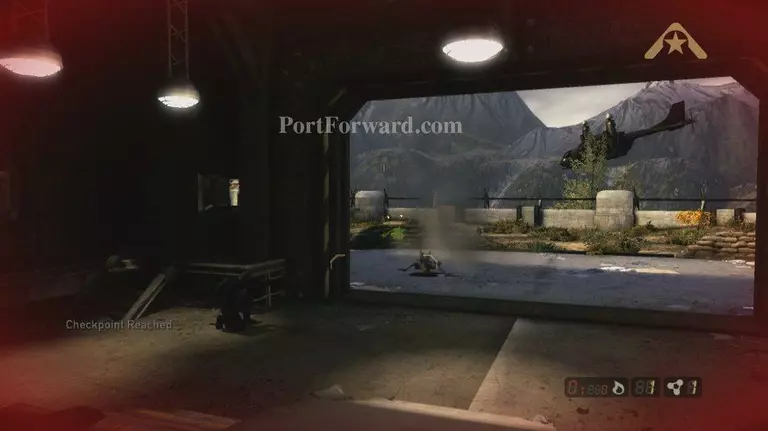
After the scene you'll be on a road head forward

Resistance 2 Walkthrough - Resistance 2 0388

You'll come to a stair case head up it

Resistance 2 Walkthrough - Resistance 2 0389

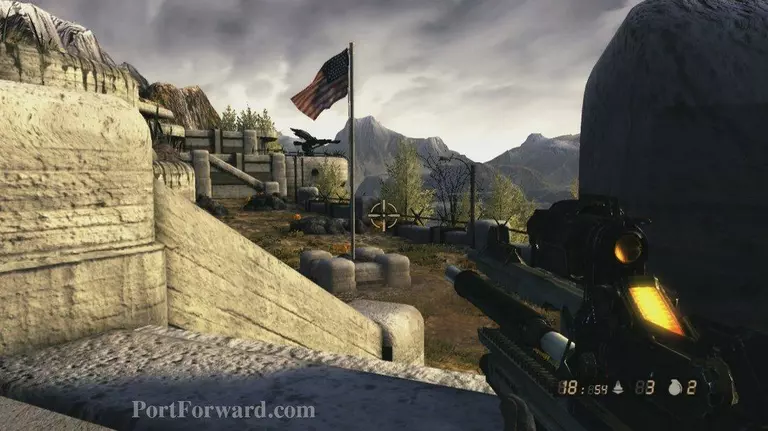
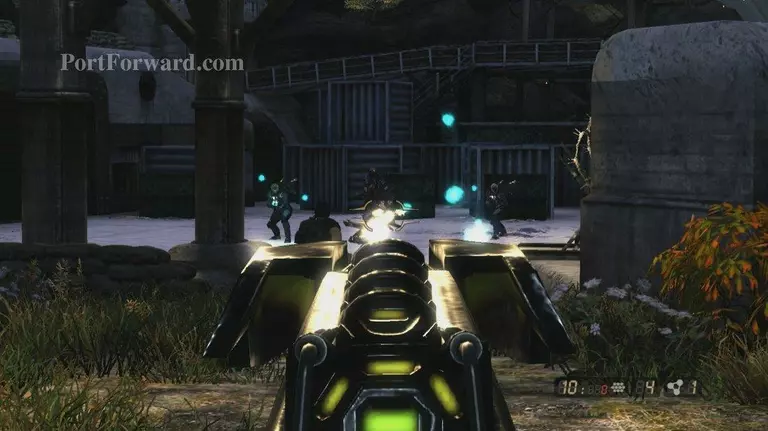
At the top an open field and some bunkers, head down the steps

Resistance 2 Walkthrough - Resistance 2 0390

This will trigger a wave, kill them off and head up the stairs they came down

Resistance 2 Walkthrough - Resistance 2 0391

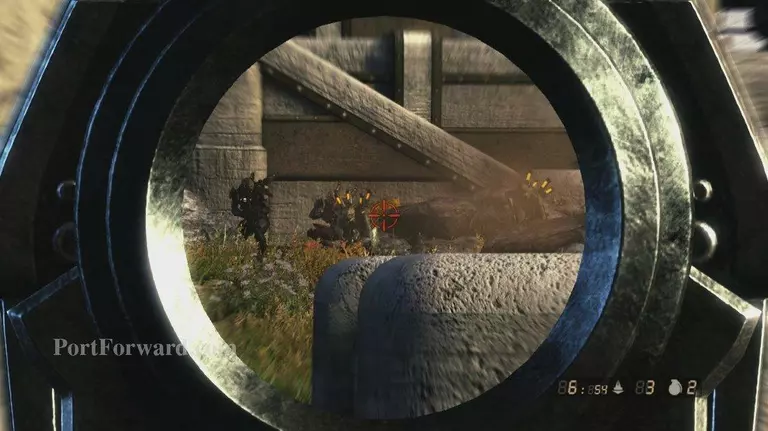
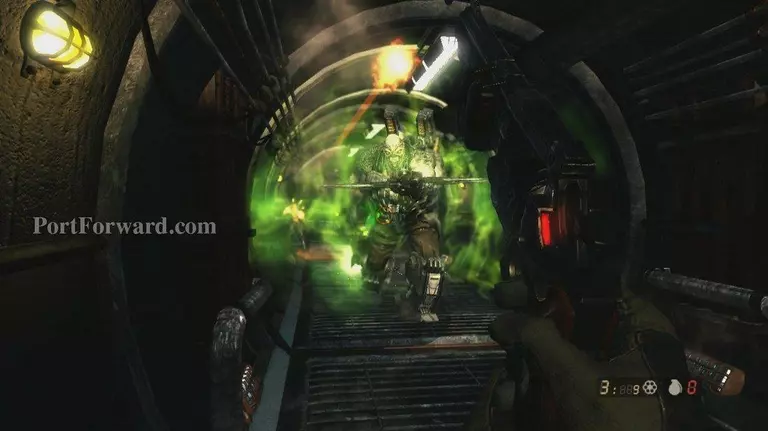
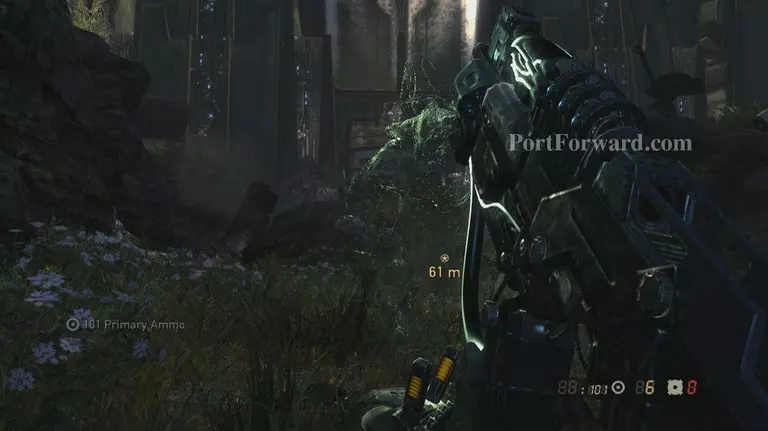
At the top a ravenger be prepared

Resistance 2 Walkthrough - Resistance 2 0392

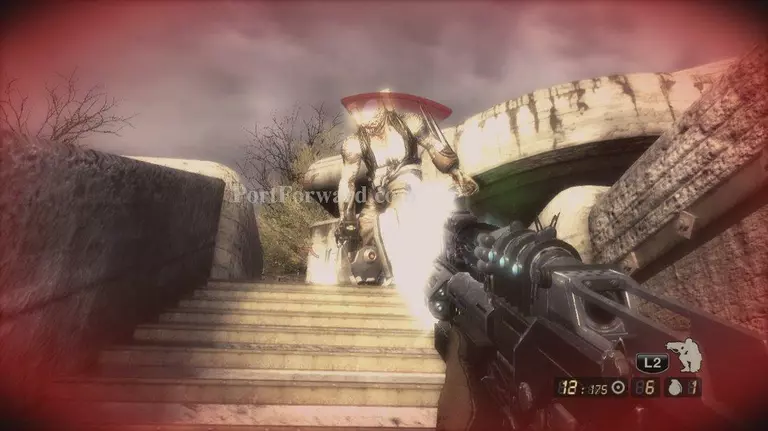
Then head over to the AAG and plant the demo charge in the scene

Resistance 2 Walkthrough - Resistance 2 0393

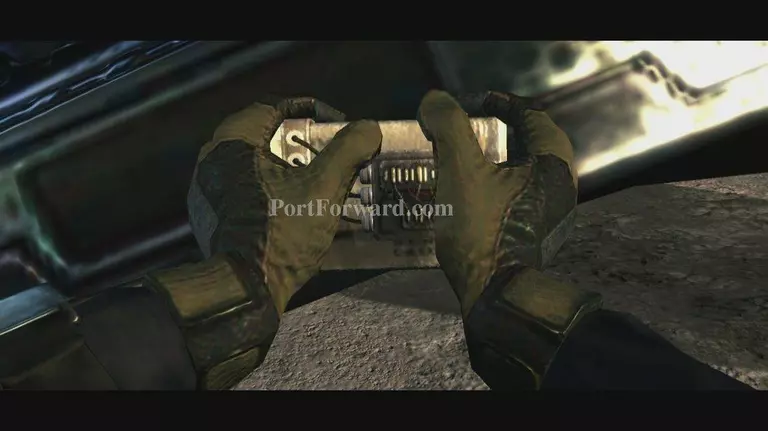
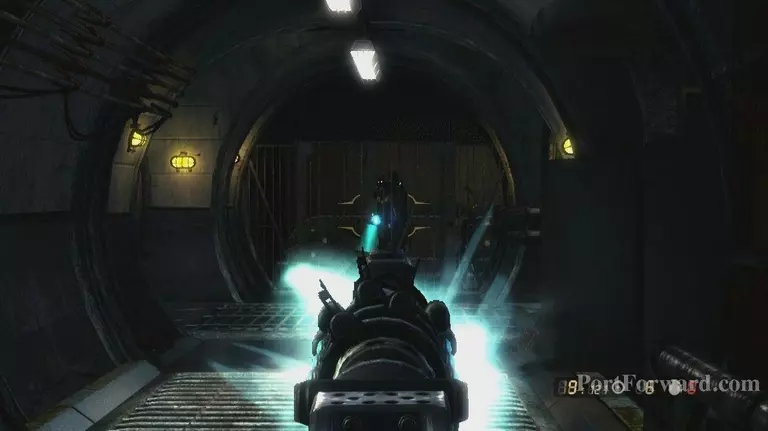
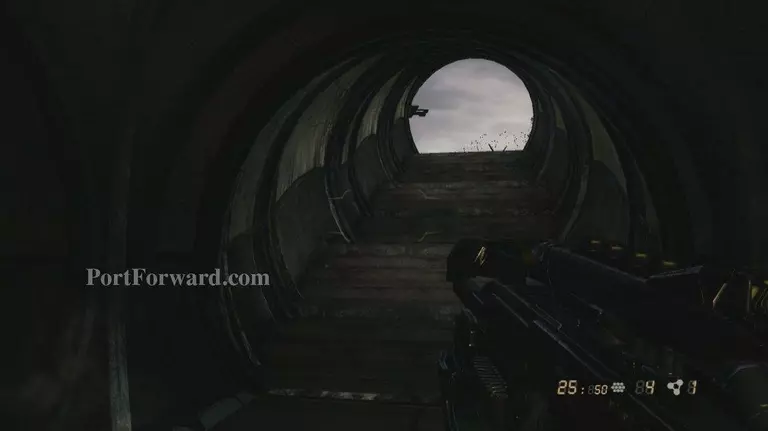
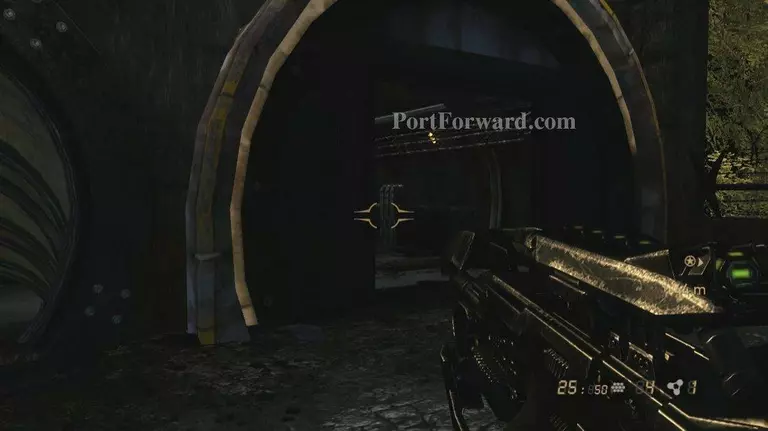
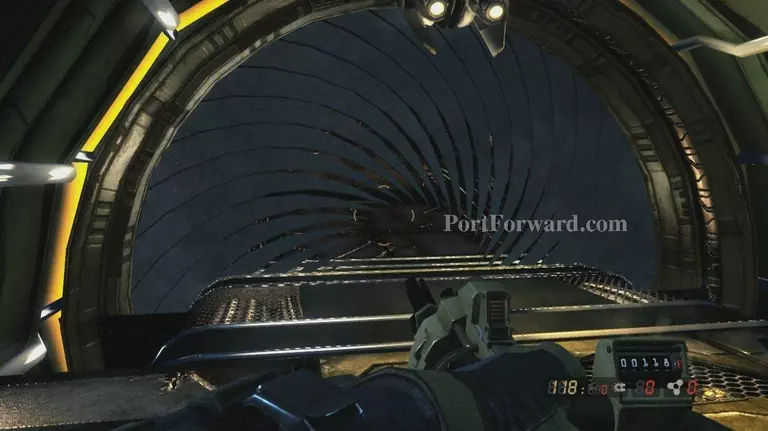
Then head into the tunnel behind it

Resistance 2 Walkthrough - Resistance 2 0394

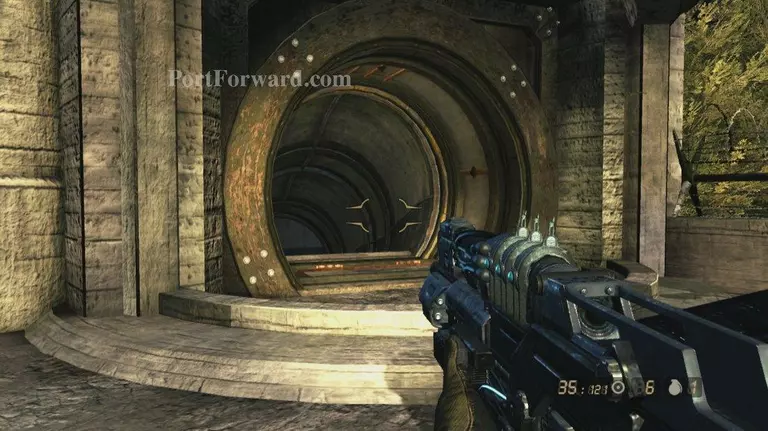
At the end it opens into a hallway with turrets on either side run across the hall

Resistance 2 Walkthrough - Resistance 2 0395

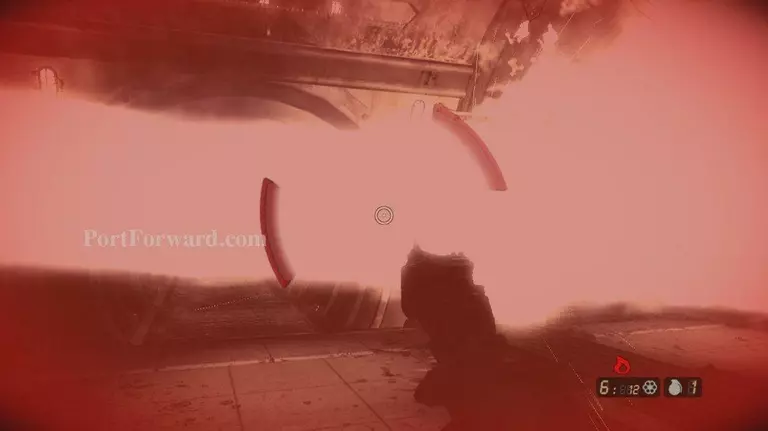
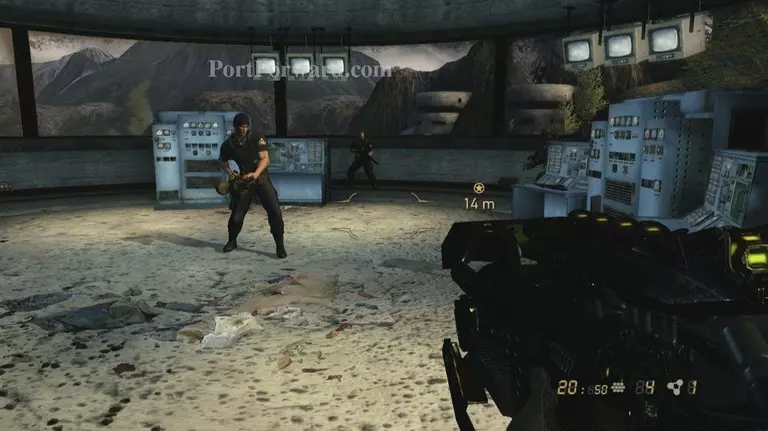
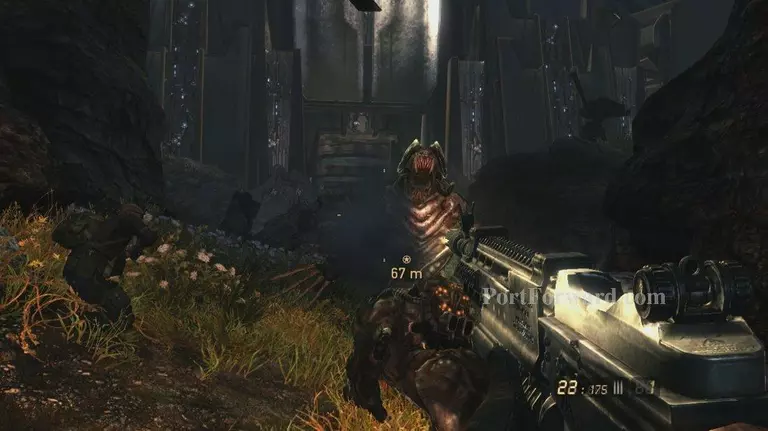
Once inside a ravenger and 3 chimera rush kill them off and move on

Resistance 2 Walkthrough - Resistance 2 0396

Around the corner an auger and 3 normal chimera rush in

Resistance 2 Walkthrough - Resistance 2 0397

After you dispose of them head into the locker room to your left

Resistance 2 Walkthrough - Resistance 2 0398

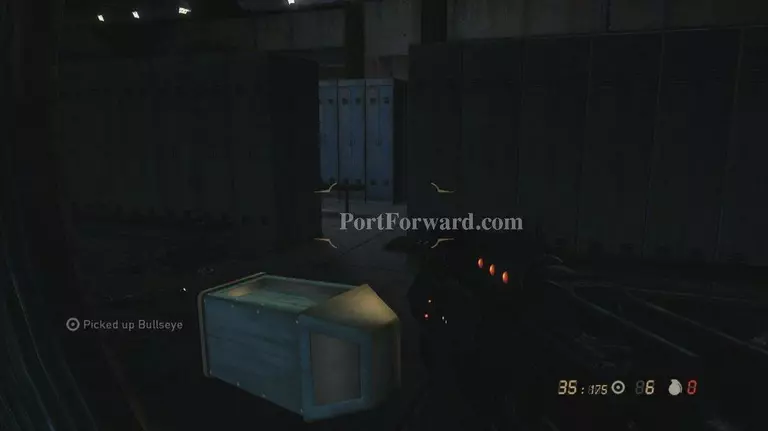
Take to nearest doorway and head down the hall

Resistance 2 Walkthrough - Resistance 2 0399

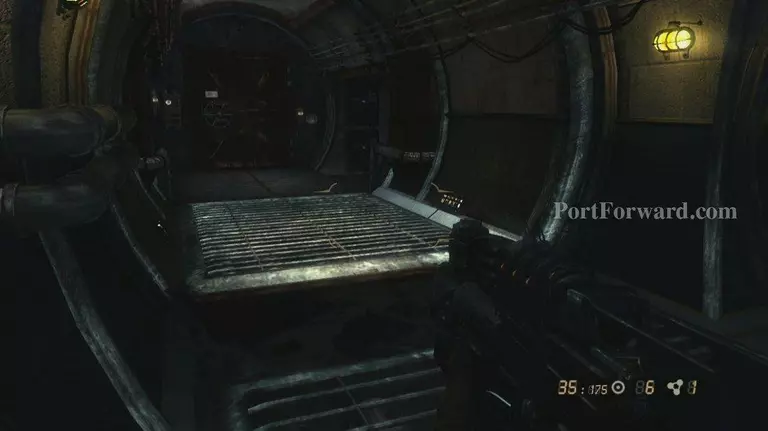
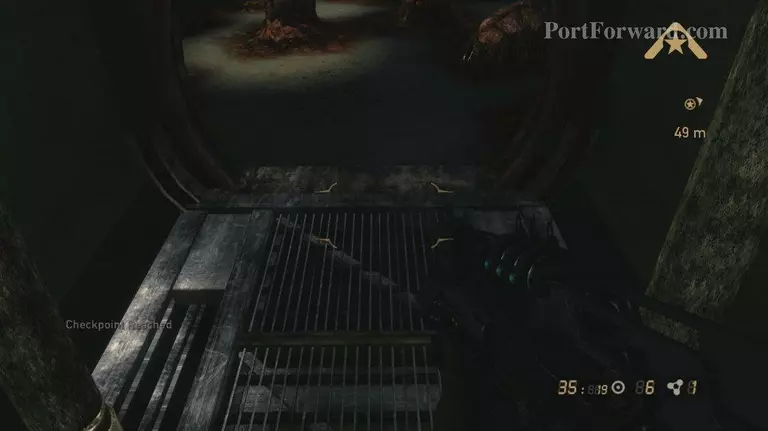
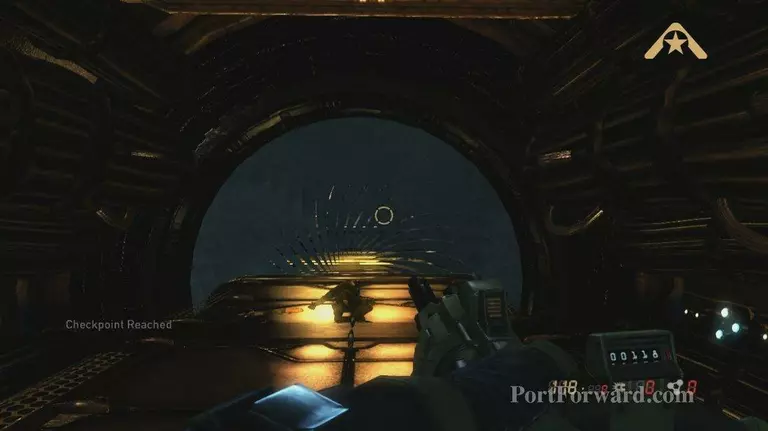
It will end in a room with a catwalk jump down for a checkpoint

Resistance 2 Walkthrough - Resistance 2 0400

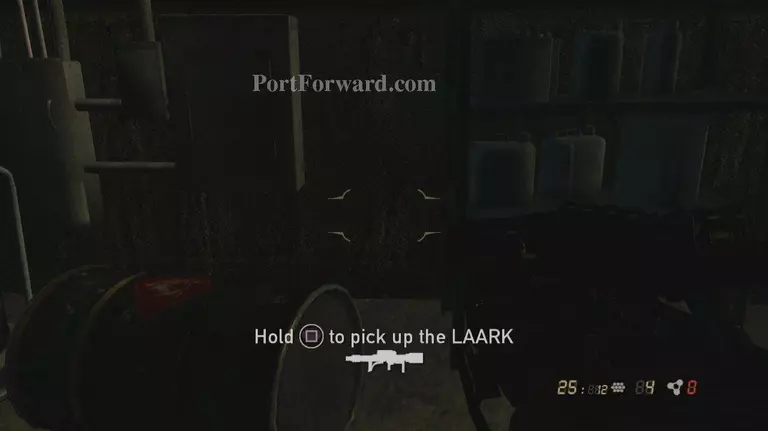
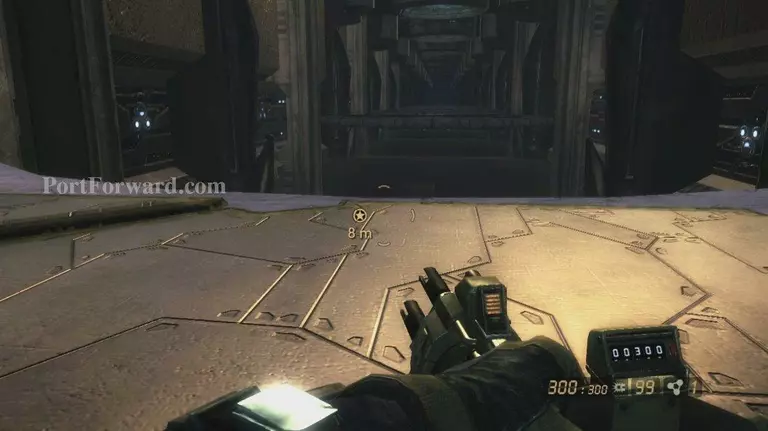
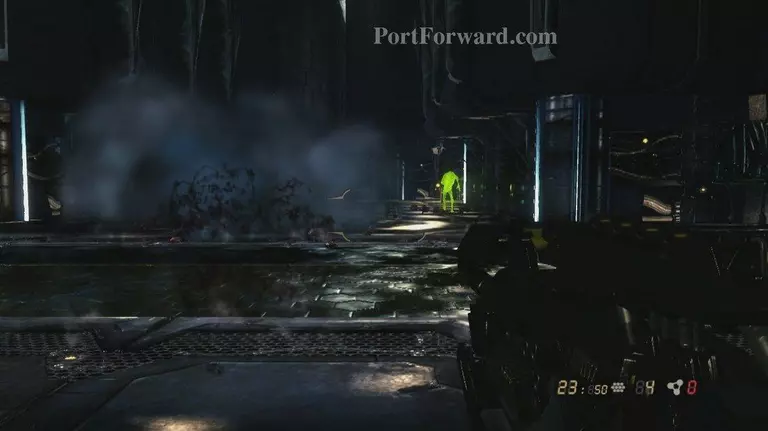
Head out the door and run straight for the opening in the ground

Resistance 2 Walkthrough - Resistance 2 0401

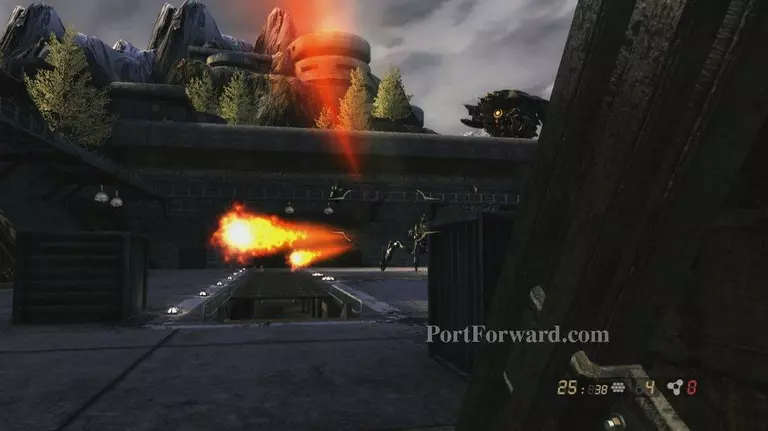
Hook a right and grab the LARK, and go give that Stalker a rocket or four

Resistance 2 Walkthrough - Resistance 2 0402

After he and the 2 chimera on the catwalks go down a checkpoint

Resistance 2 Walkthrough - Resistance 2 0403

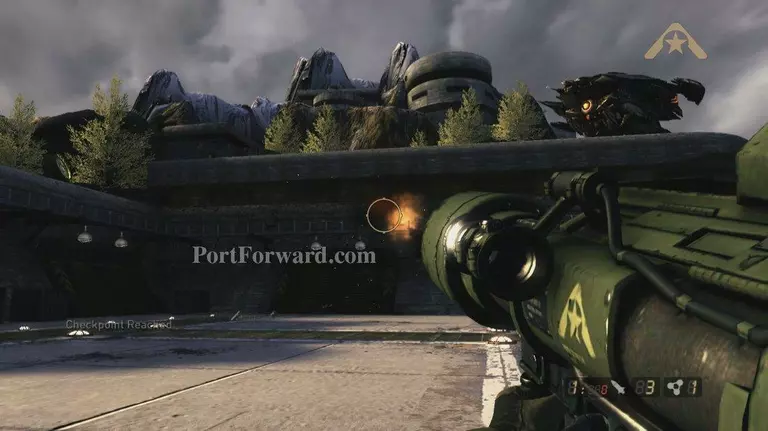
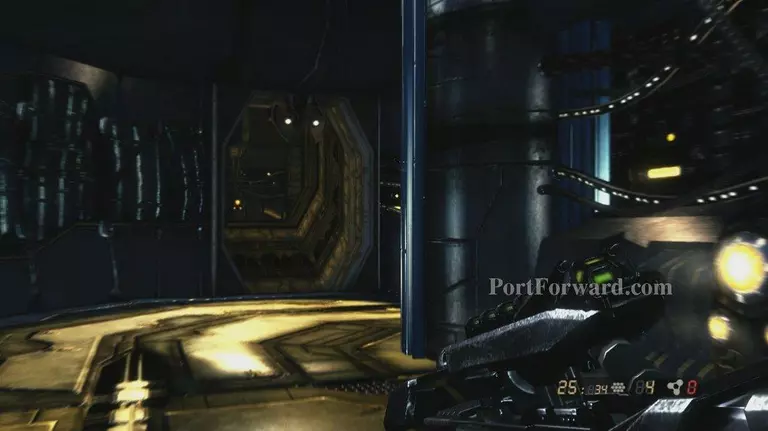
Head inside the open build here, and head up the stairs

Resistance 2 Walkthrough - Resistance 2 0404

At the top a scene planting another demo charge, after it head inside

Resistance 2 Walkthrough - Resistance 2 0405

Follow the path, you'll have to jump down here for a checkpoint

Resistance 2 Walkthrough - Resistance 2 0406

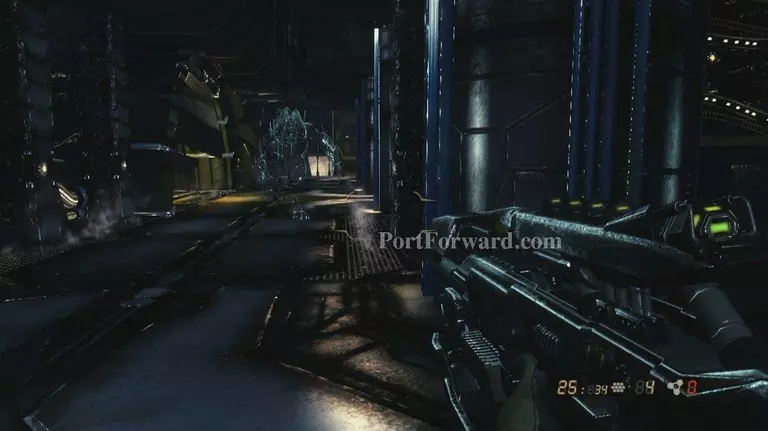
Continue through the sack filled room and exit out the other side

Resistance 2 Walkthrough - Resistance 2 0407

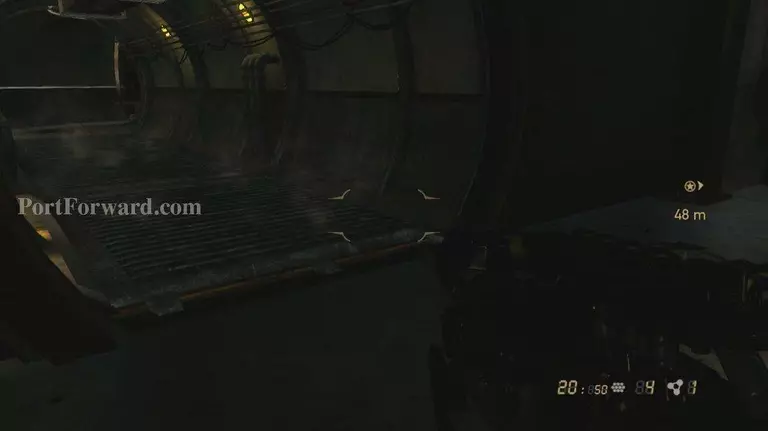
Follow the tunnel path here, linear can't get lost

Resistance 2 Walkthrough - Resistance 2 0408

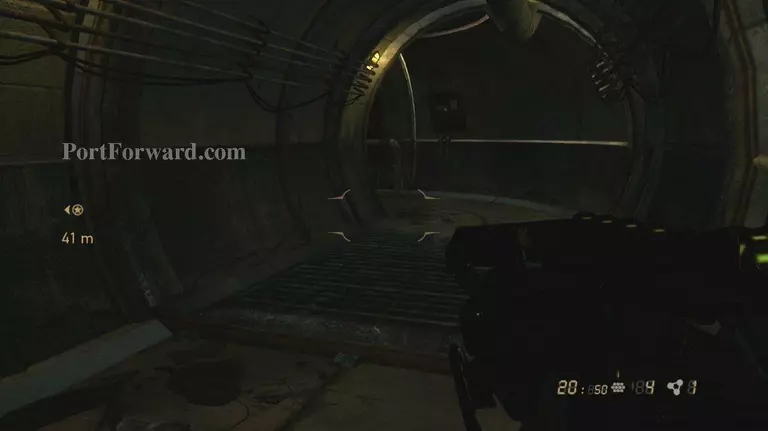
Soon you'll meet up with Echo, and get a scene

Resistance 2 Walkthrough - Resistance 2 0409

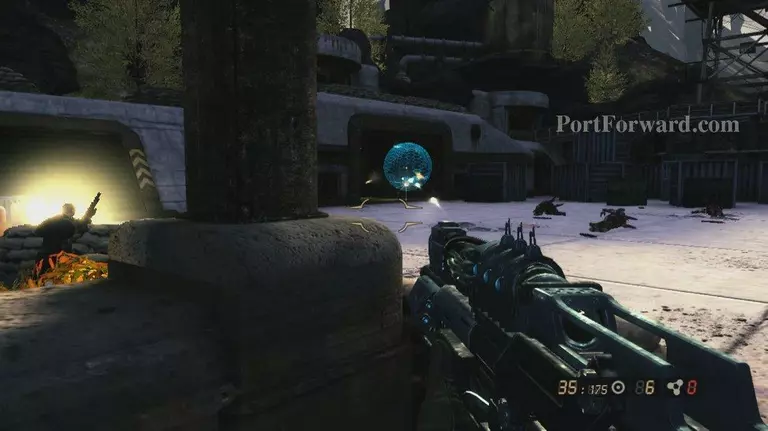
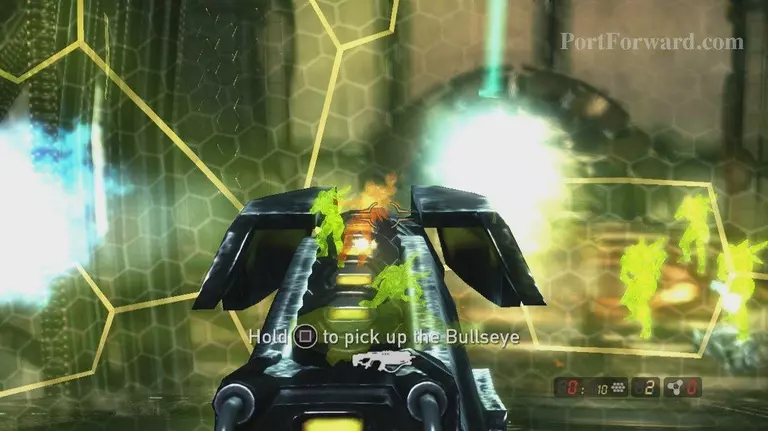
Then a large wave will flood in after a few drones

Resistance 2 Walkthrough - Resistance 2 0410

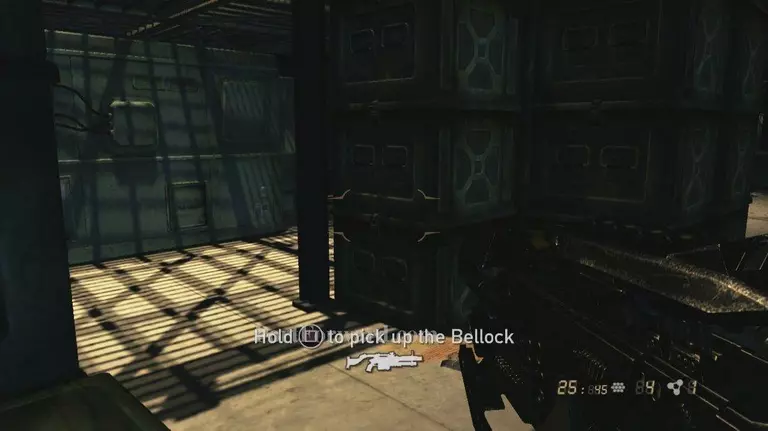
Grab the Bellock and go to town

Resistance 2 Walkthrough - Resistance 2 0411
Resistance 2 Walkthrough - Resistance 2 0412

After it is clear follow Echo to the checkpoint

Resistance 2 Walkthrough - Resistance 2 0413

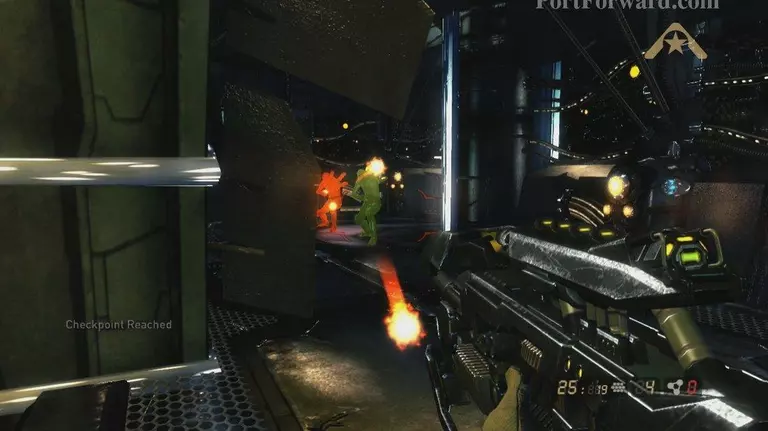
They'll lead you to the next battle just a short walk down the hallway

Resistance 2 Walkthrough - Resistance 2 0414

Here more chimera to kill, after all are dead a large drone shows up

Resistance 2 Walkthrough - Resistance 2 0415

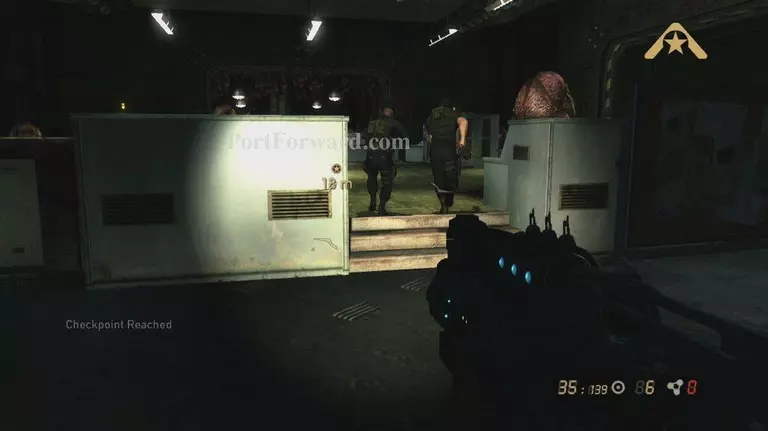
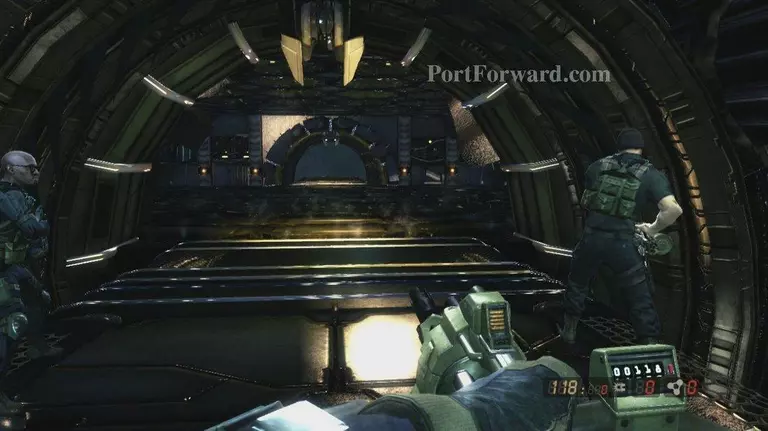
After it goes down head inside the building with Echo and wait at the door

Resistance 2 Walkthrough - Resistance 2 0416

After a bit of story it will open head inside for a checkpoint

Resistance 2 Walkthrough - Resistance 2 0417

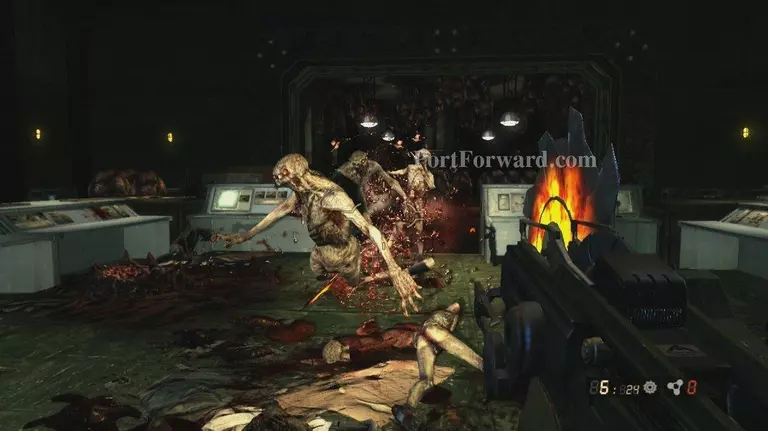
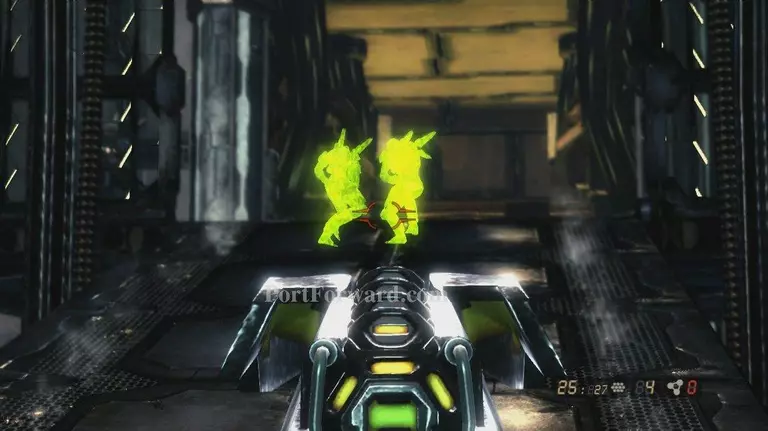
Lots of weak chimera will rush in, kill them off

Resistance 2 Walkthrough - Resistance 2 0418

Eventually Warner will shut the doors and call for the lift

Resistance 2 Walkthrough - Resistance 2 0419

When it arrives head onto it and ride it down

Resistance 2 Walkthrough - Resistance 2 0420

At the bottom a checkpoint, then continue to follow Echo

Resistance 2 Walkthrough - Resistance 2 0421

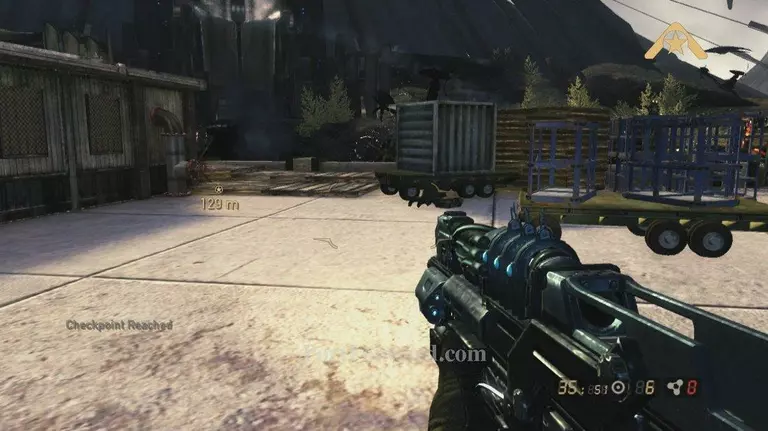
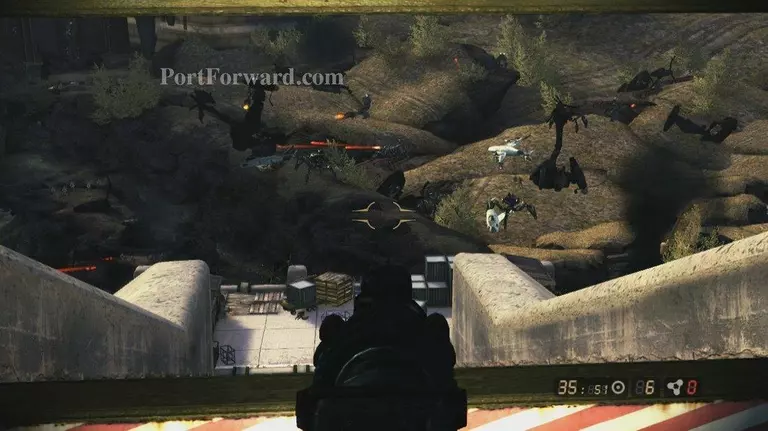
Follow Echo down into the canyon, and grab the rifle and snipe away

Resistance 2 Walkthrough - Resistance 2 0422

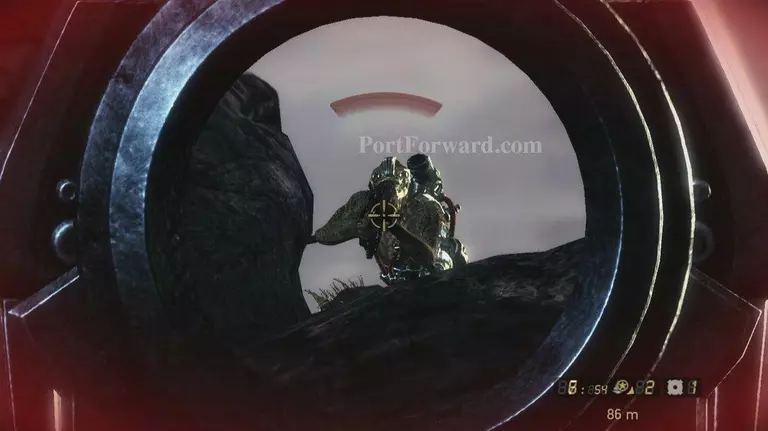
Keep pushing forward taking out the waves as they come

Resistance 2 Walkthrough - Resistance 2 0423

After quite a few waves you'll get a checkpoint

Resistance 2 Walkthrough - Resistance 2 0424

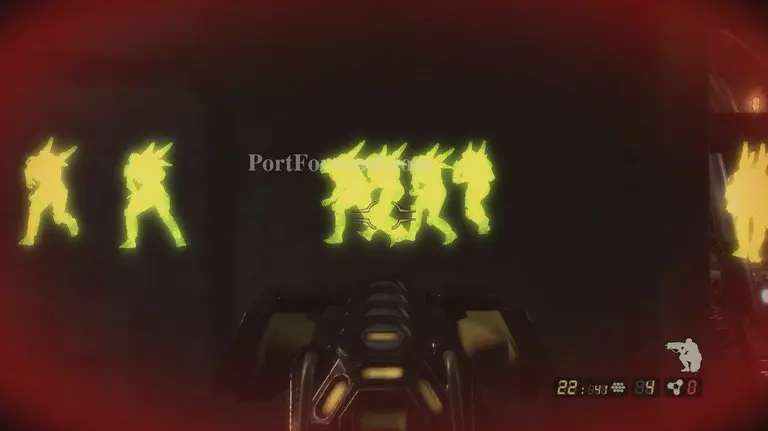
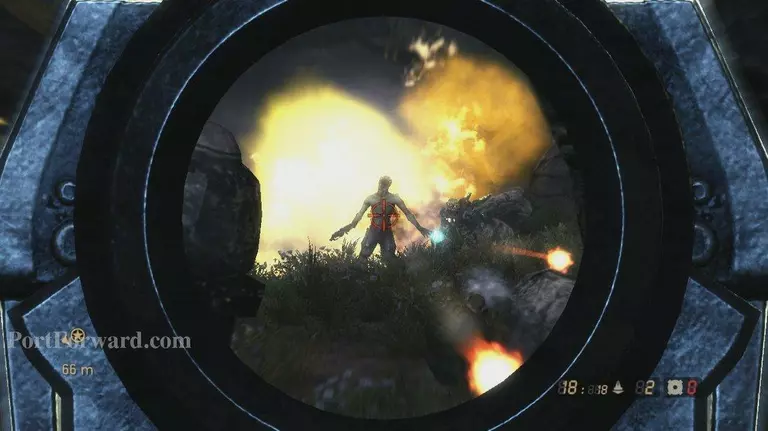
Follow echo and get ready to kill some chameleon

Resistance 2 Walkthrough - Resistance 2 0425

After you kill the 3 chameleon, push forward

Resistance 2 Walkthrough - Resistance 2 0426

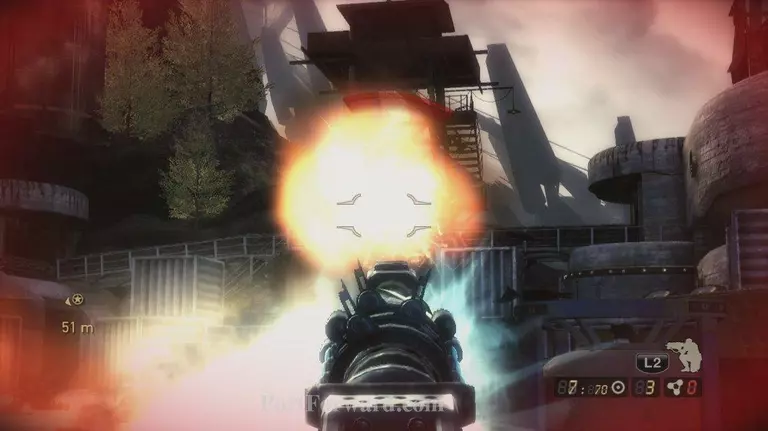
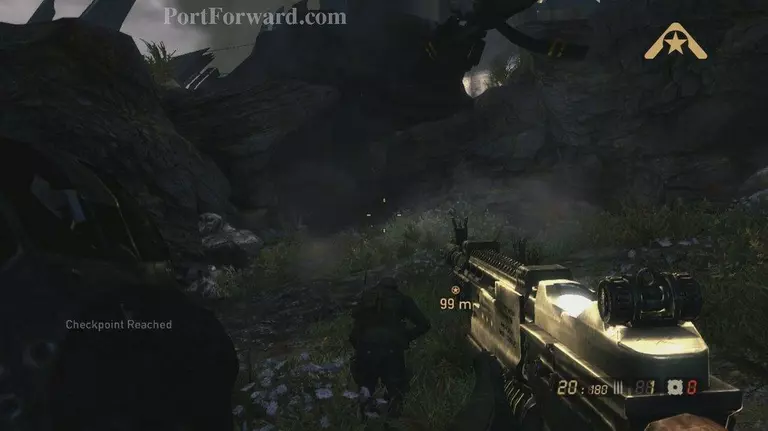
Run to the LARK and fire a couple rockets at the Giant

Resistance 2 Walkthrough - Resistance 2 0427

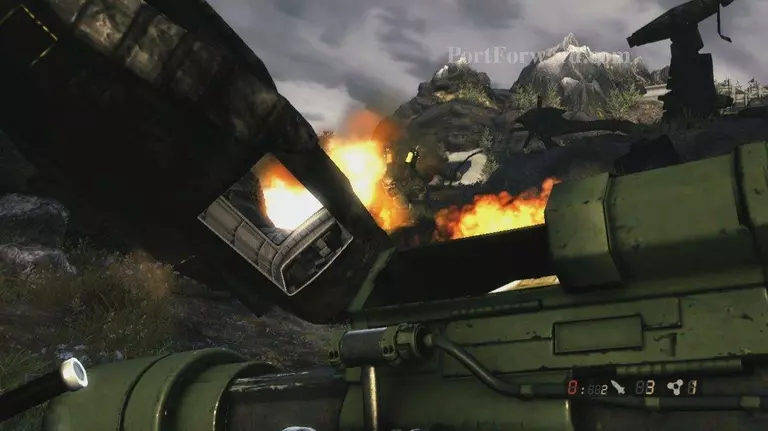
After the rest of the chimera are killed a checkpoint

Resistance 2 Walkthrough - Resistance 2 0428

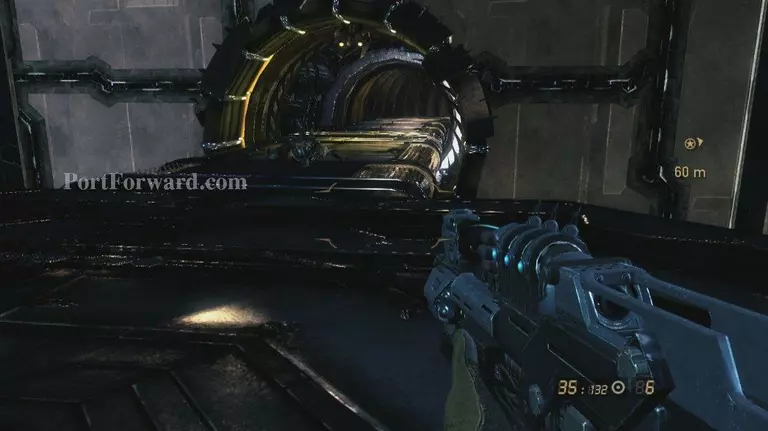
Head inside the tower to the marker on the screen

Resistance 2 Walkthrough - Resistance 2 0429

Soon a wave of leapers and a giant will spawn take them out and follow Echo

Resistance 2 Walkthrough - Resistance 2 0430

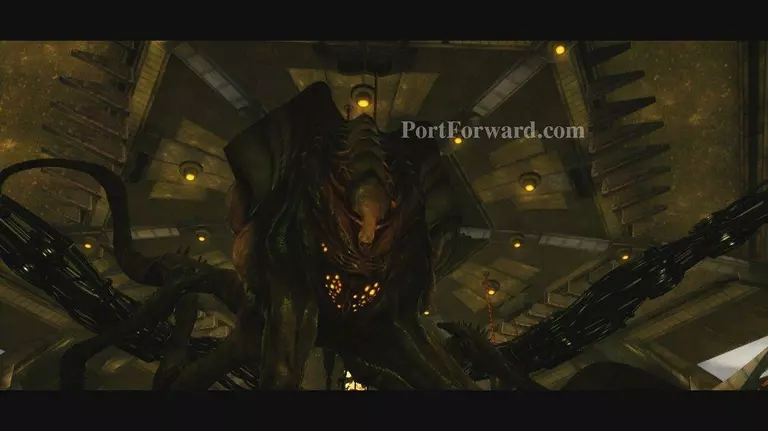
Ride the lift down, at the bottom a scene

Resistance 2 Walkthrough - Resistance 2 0431

After the scene a checkpoint, poor Hawthorne
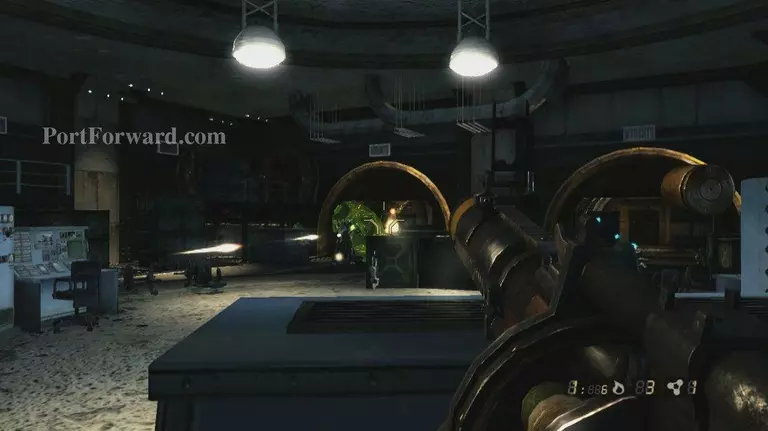
Resistance 2 Walkthrough - Resistance 2 0432

Follow Echo and grab the Wraith, you’re going to need it

Resistance 2 Walkthrough - Resistance 2 0433

Inside this next room is loads of chimera, use the Wraith's shield and go to town

Resistance 2 Walkthrough - Resistance 2 0434

After the room is cleared exit out the door in the back

Resistance 2 Walkthrough - Resistance 2 0435

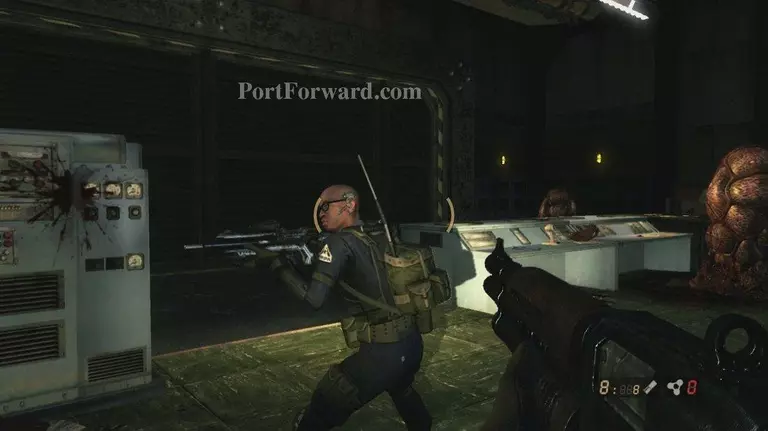
In the next room is just 1 auger troop, pull your auger out and kill him

Resistance 2 Walkthrough - Resistance 2 0436

Follow Echo down the hall and into the room for a scene

Resistance 2 Walkthrough - Resistance 2 0437

After the scene you'll split up and get a checkpoint

Resistance 2 Walkthrough - Resistance 2 0438

Head out the doorway and into the room in front of you, suicidal chimera will rush

Resistance 2 Walkthrough - Resistance 2 0439

After they are down head through the room and out either exit

Resistance 2 Walkthrough - Resistance 2 0440

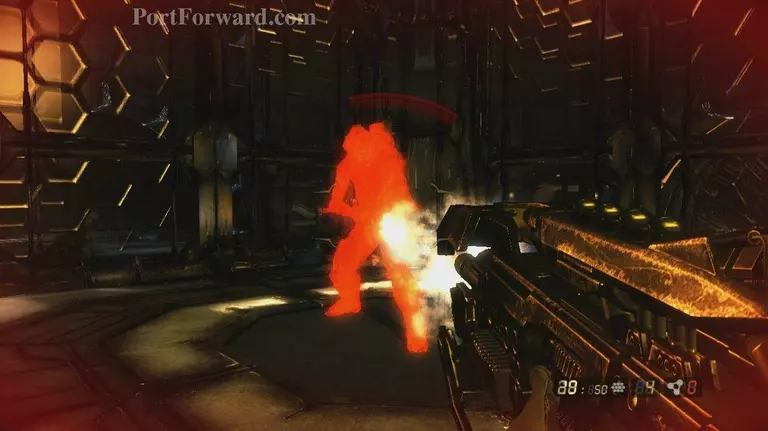
A chameleon will rush kill it, and continue down the path and into the room at the end

Resistance 2 Walkthrough - Resistance 2 0441

Checkpoint here, and a few chimera deal with them and move along

Resistance 2 Walkthrough - Resistance 2 0442

3 more as you exit this room kill them off, this will trigger a huge wave

Resistance 2 Walkthrough - Resistance 2 0443

Take them out with you auger and head back up the ramp

Resistance 2 Walkthrough - Resistance 2 0444

Soon the door to your right will open head inside

Resistance 2 Walkthrough - Resistance 2 0445

At the end a scene, this will End this Mission

Resistance 2 Walkthrough - Resistance 2 0446

More Resistance 2 Walkthroughs

This Resistance 2 walkthrough is divided into 11 total pages.

More From Portforward