Resistance 2 Walkthrough Bryce Canyon Utah

September 12, 2016 (Last Updated: ) | Reading Time: 6 minutes

This Resistance 2 walkthrough is divided into 11 total pages.

You can jump to nearby pages of the game using the links above.
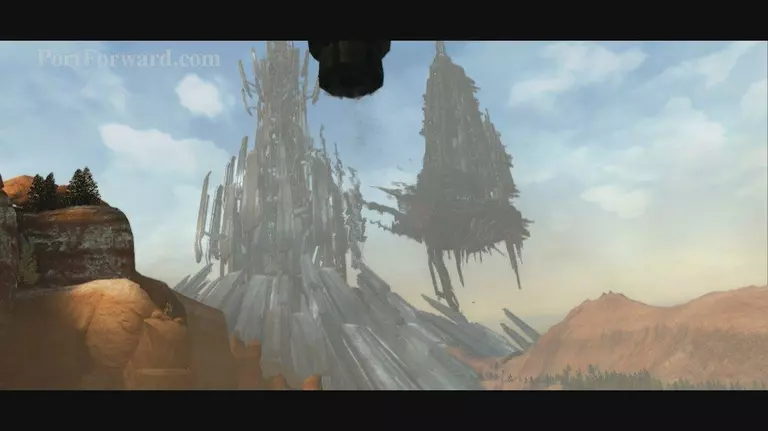
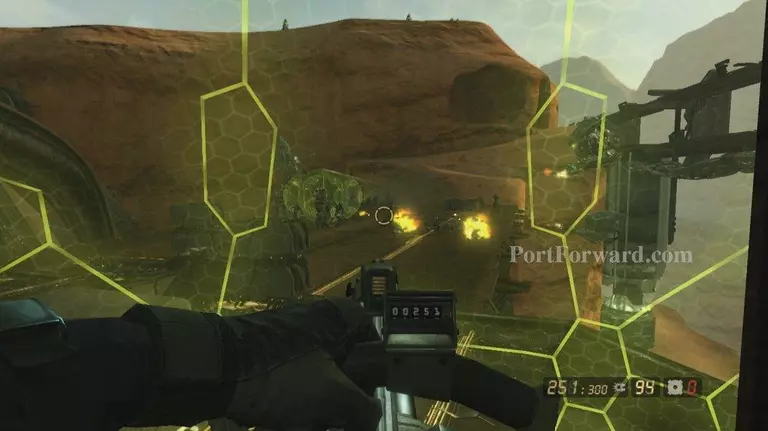
Bryce Canyon Utah

Resistance 2 Walkthrough - Resistance 2 0238

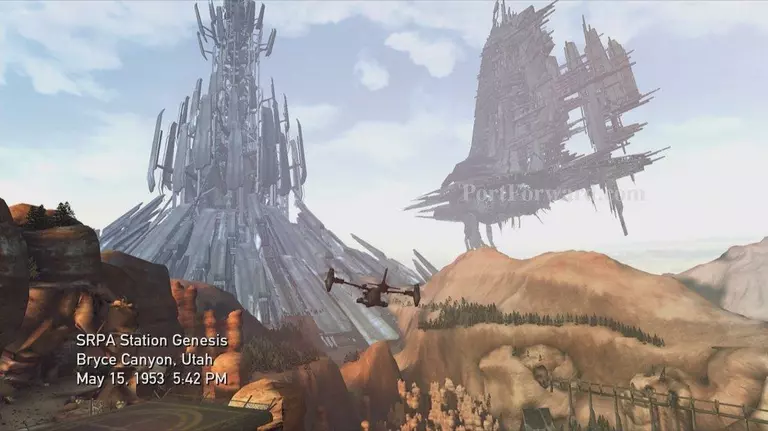
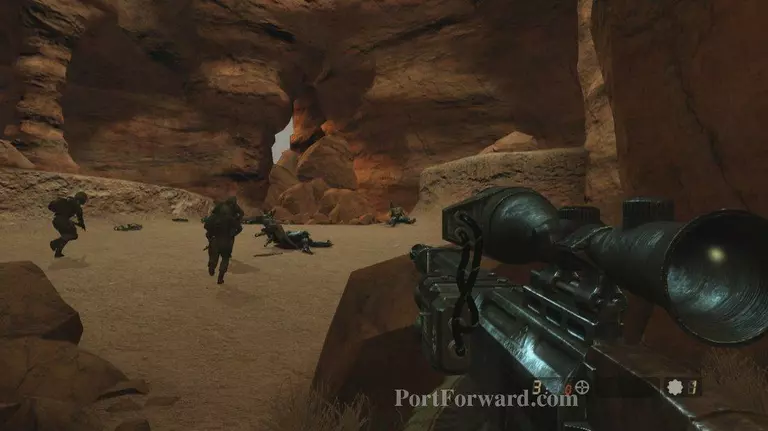
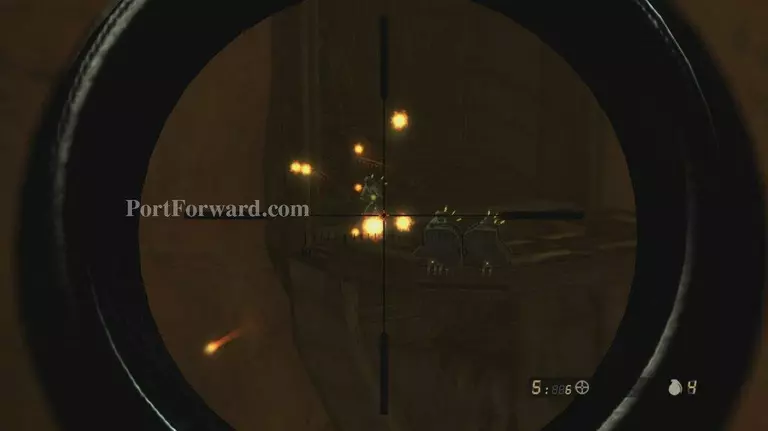
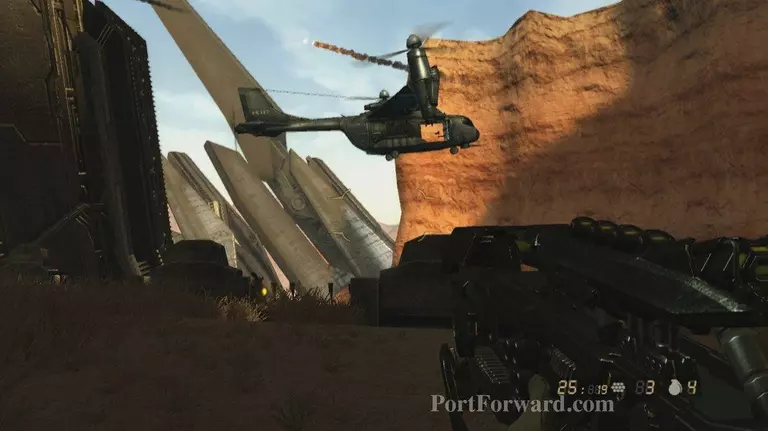
After the opening scene you'll be in a helicopter time to snipe some chimera

Resistance 2 Walkthrough - Resistance 2 0239

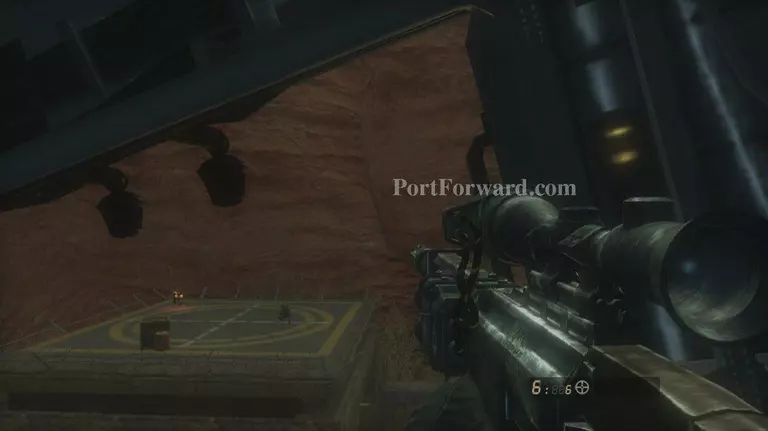
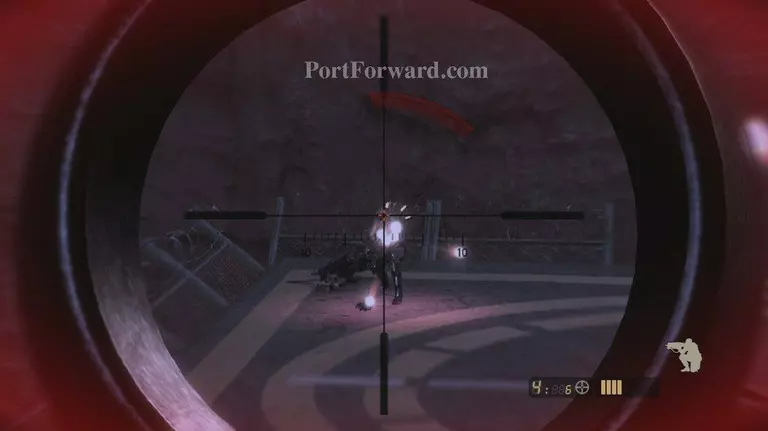
Try and get as many headshot's as you can

Resistance 2 Walkthrough - Resistance 2 0240

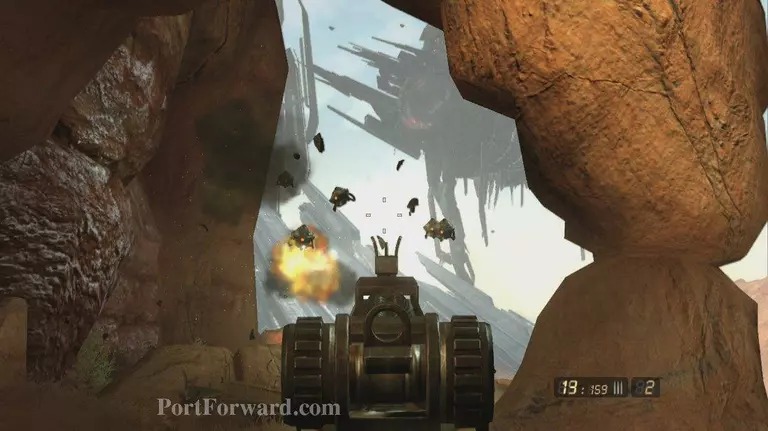
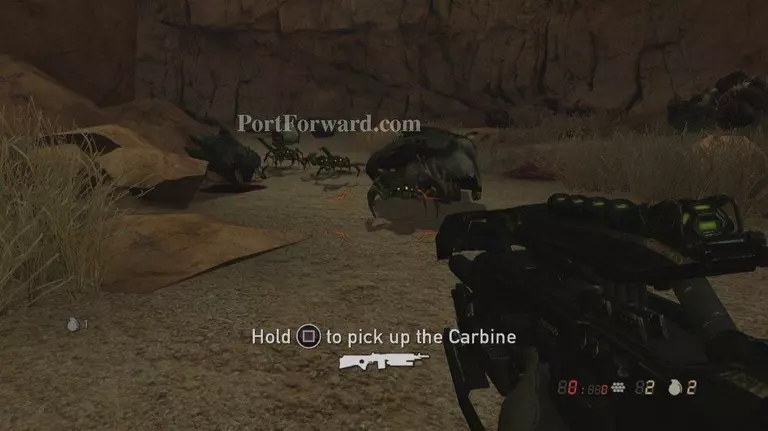
After most of them fall a wave of drones will spawn, kill them with your carbine

Resistance 2 Walkthrough - Resistance 2 0241

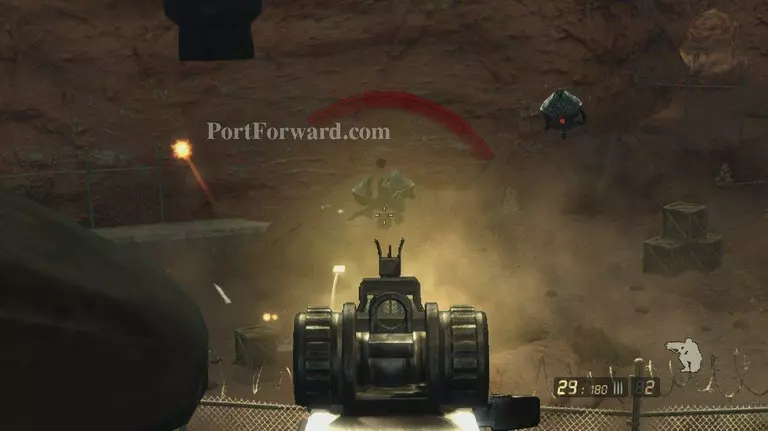
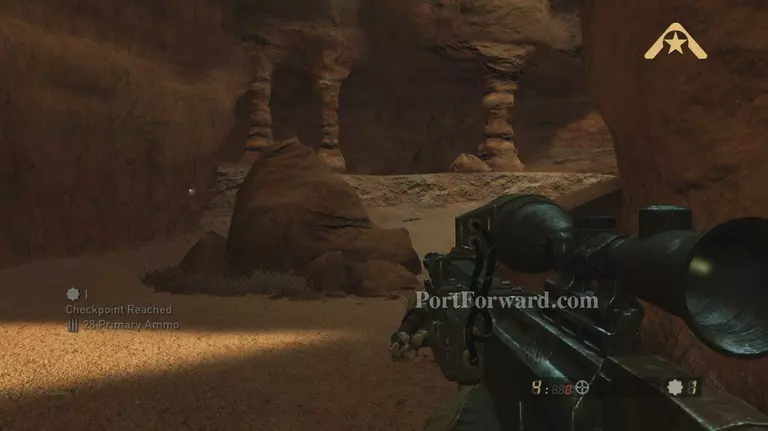
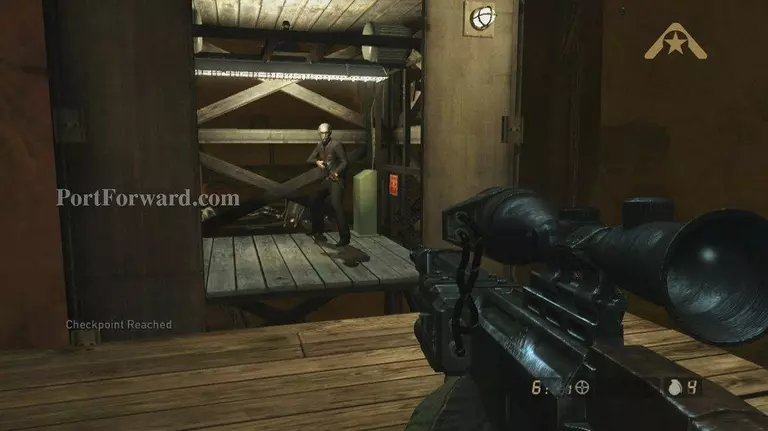
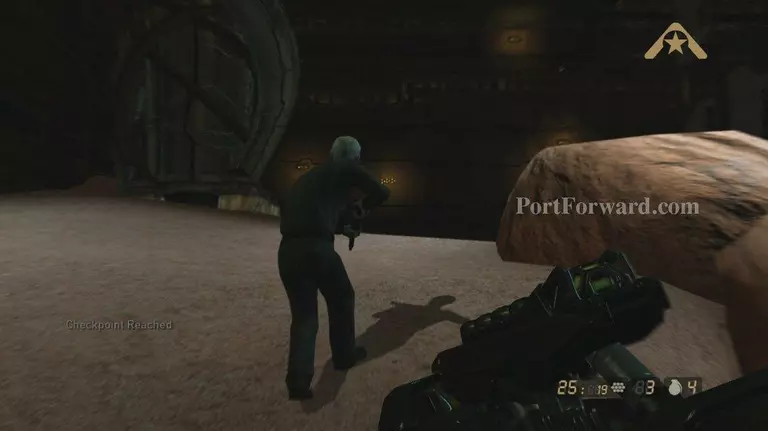
After the area is clear the "LZ" will be secured and you'll land

Resistance 2 Walkthrough - Resistance 2 0242

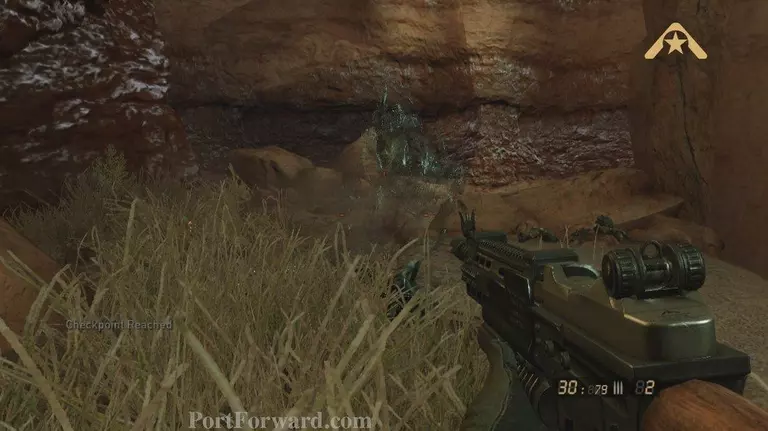
Follow the SRPA troops for a checkpoint which in turn spawns more drones

Resistance 2 Walkthrough - Resistance 2 0243

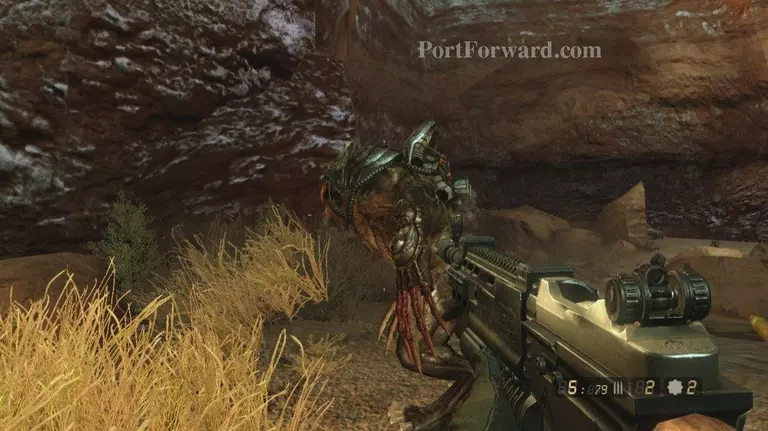
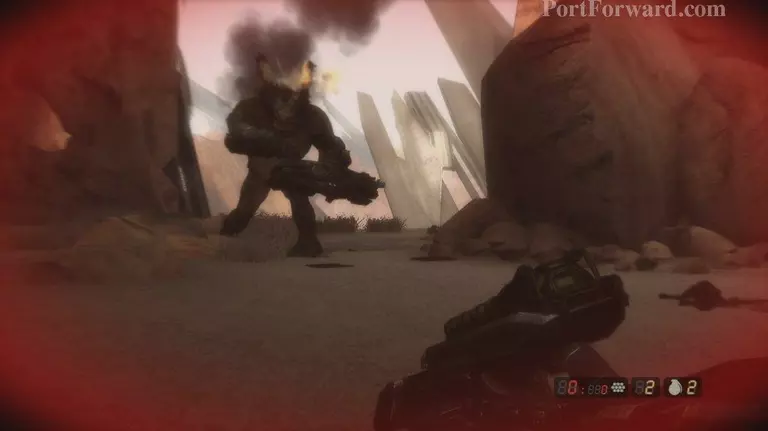
After this wave is done push forward to the next checkpoint here, a chameleon will come

Resistance 2 Walkthrough - Resistance 2 0244

More chimera will spawn in this area snipe them out from a far

Resistance 2 Walkthrough - Resistance 2 0245

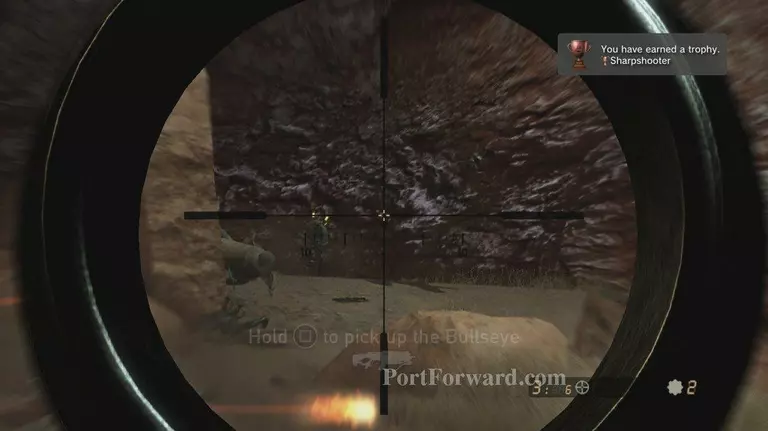
2 chameleon will also spawn

Resistance 2 Walkthrough - Resistance 2 0246

After the area is clear push forward to the checkpoint

Resistance 2 Walkthrough - Resistance 2 0247

After you kill the couple remaining chimera follow the SRPA guys

Resistance 2 Walkthrough - Resistance 2 0248

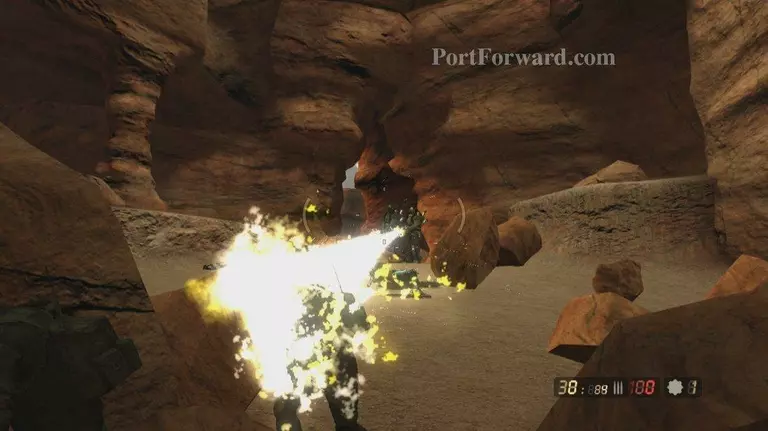
Soon two Ravenger's and a wave will burst through the wall dispose of them

Resistance 2 Walkthrough - Resistance 2 0249

Jump down here for a checkpoint and follow the troops
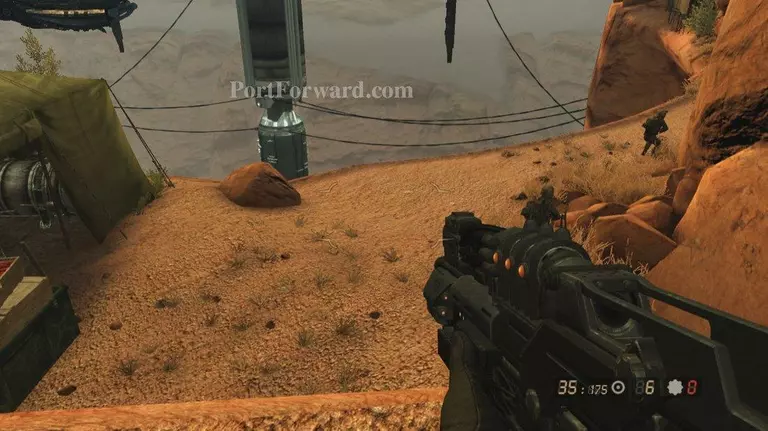
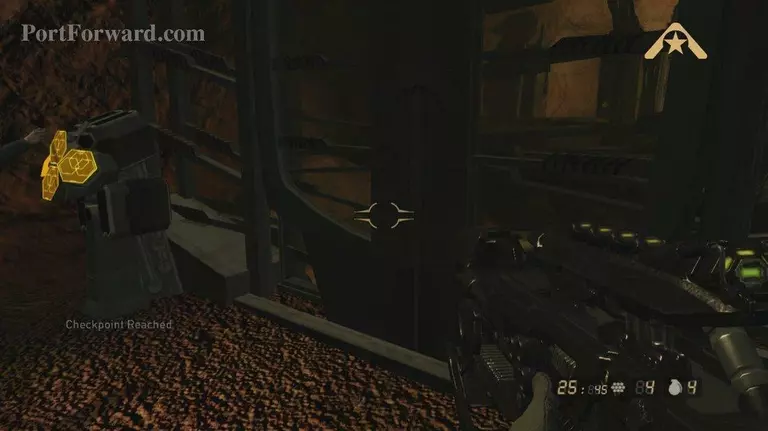
Resistance 2 Walkthrough - Resistance 2 0250

You’ll come to a cave and another checkpoint head inside

Resistance 2 Walkthrough - Resistance 2 0251

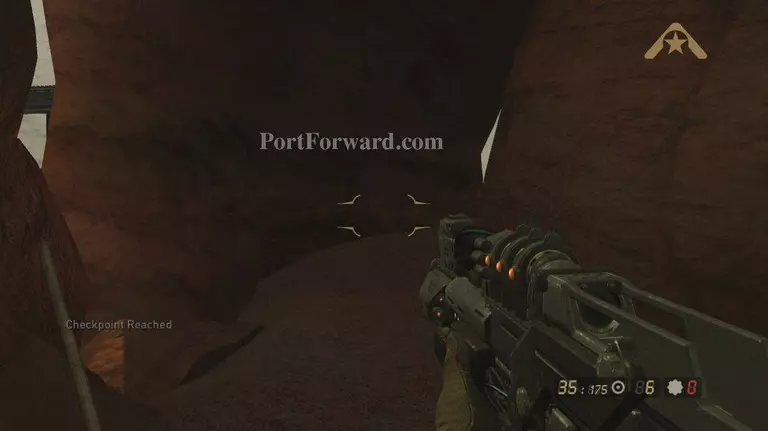
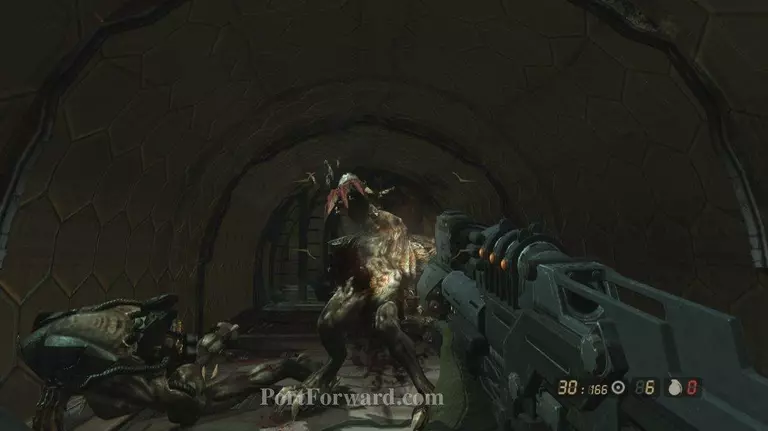
Two more ravengers will spawn this time with shields fall back and take them out

Resistance 2 Walkthrough - Resistance 2 0252

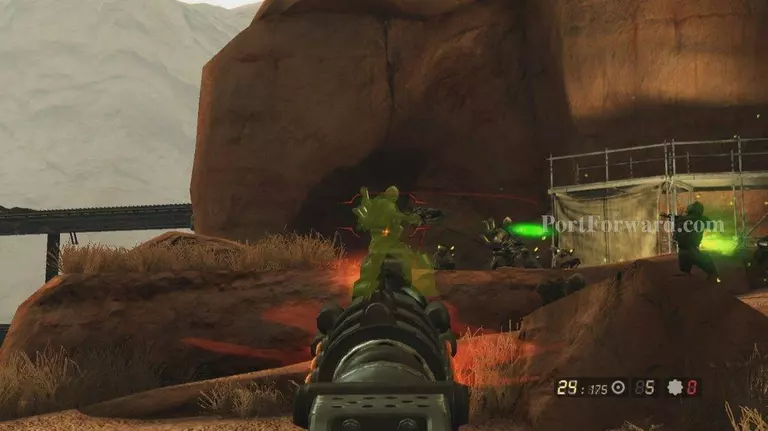
After they and the wave after them are down head back into the cave

Resistance 2 Walkthrough - Resistance 2 0253

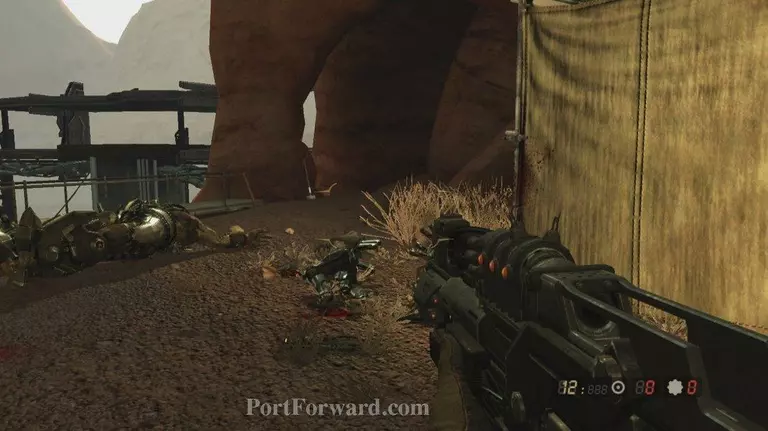
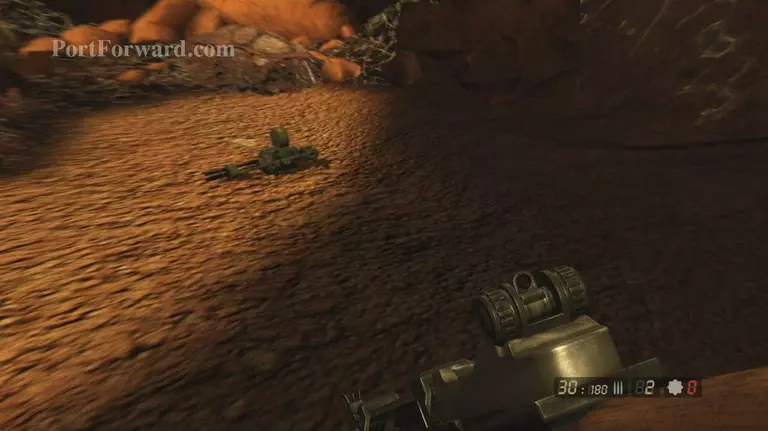
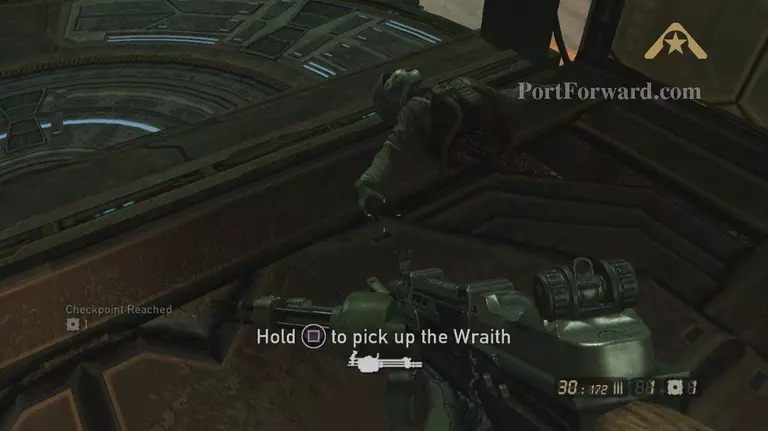
Jump down and grab the Wraith, then head back to the troops

Resistance 2 Walkthrough - Resistance 2 0254

Make your way up the path here, for a scene

Resistance 2 Walkthrough - Resistance 2 0255

After the scene take the path you talked about, soon a wave of leapers

Resistance 2 Walkthrough - Resistance 2 0256

After they are gone, head to this door, and head inside

Resistance 2 Walkthrough - Resistance 2 0257

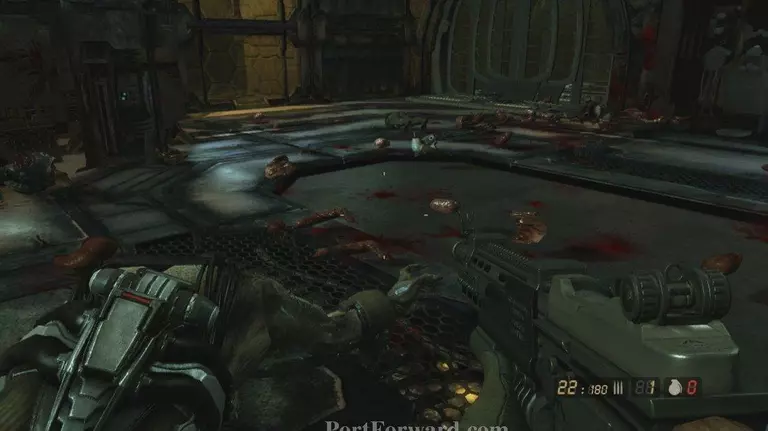
Inside the room in front of you are two ravengers and a wave grenade them down

Resistance 2 Walkthrough - Resistance 2 0258

Then head through the room they came from, Malikov will radio you

Resistance 2 Walkthrough - Resistance 2 0259

Continue down the path but be prepared 2 chameleon are waiting for you

Resistance 2 Walkthrough - Resistance 2 0260

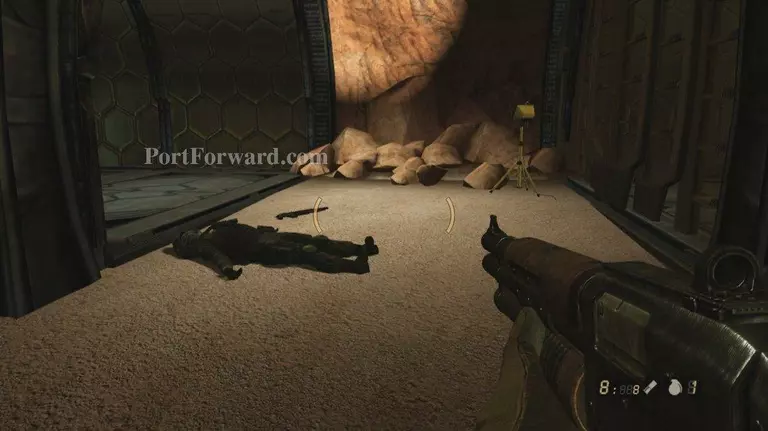
At the end grab the Wraith and head down the lift

Resistance 2 Walkthrough - Resistance 2 0261

4 ravengers loads of chimera and 4 drone gunships need to be killed here

Resistance 2 Walkthrough - Resistance 2 0262

After they are down follow the group of SRPA into the lift

Resistance 2 Walkthrough - Resistance 2 0263

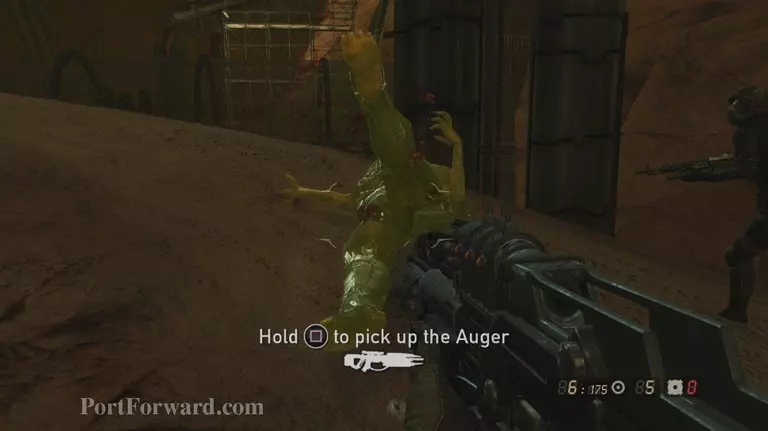
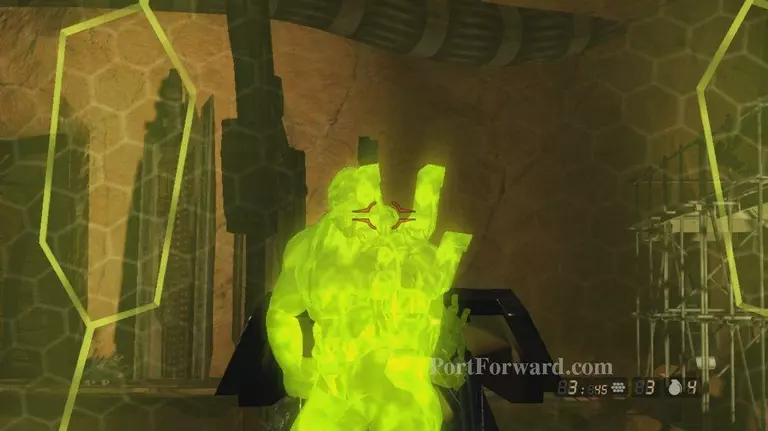
Once at the bottom quickly kill the Auger chimera and grab one

Resistance 2 Walkthrough - Resistance 2 0264

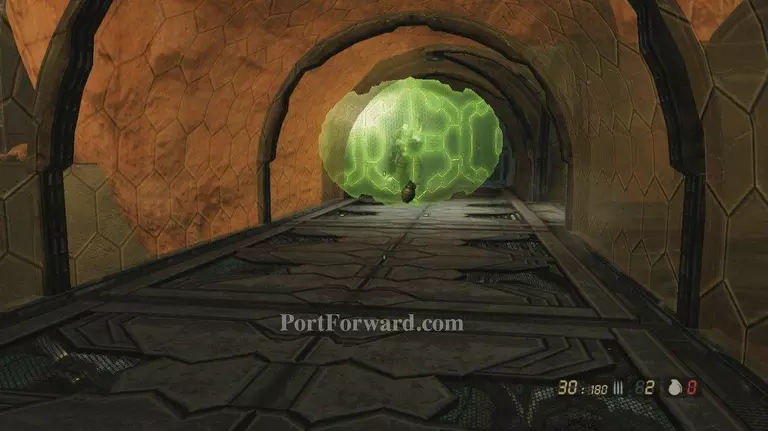
Then follow your team into the tubes
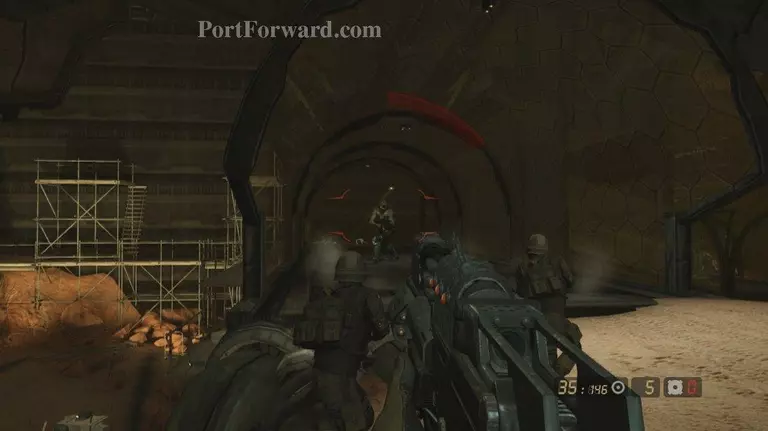
Resistance 2 Walkthrough - Resistance 2 0265

You’ll soon encounter 6 auger chimera kill them off with your own auger

Resistance 2 Walkthrough - Resistance 2 0266

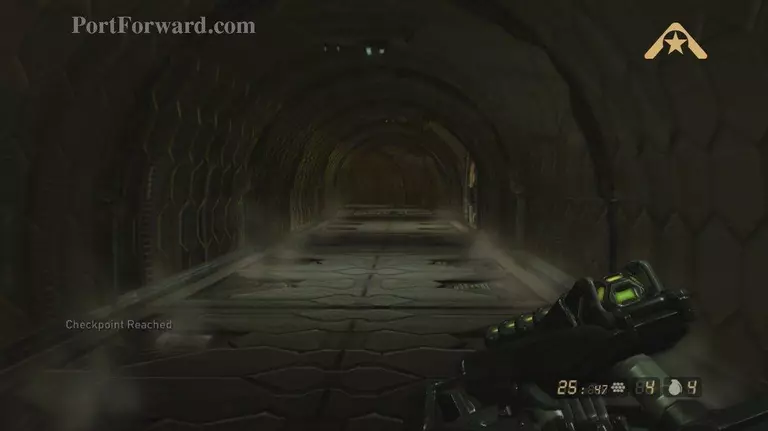
Then continue to follow your team, soon a checkpoint

Resistance 2 Walkthrough - Resistance 2 0267

Head down the tube a short distance and use the power switch

Resistance 2 Walkthrough - Resistance 2 0268

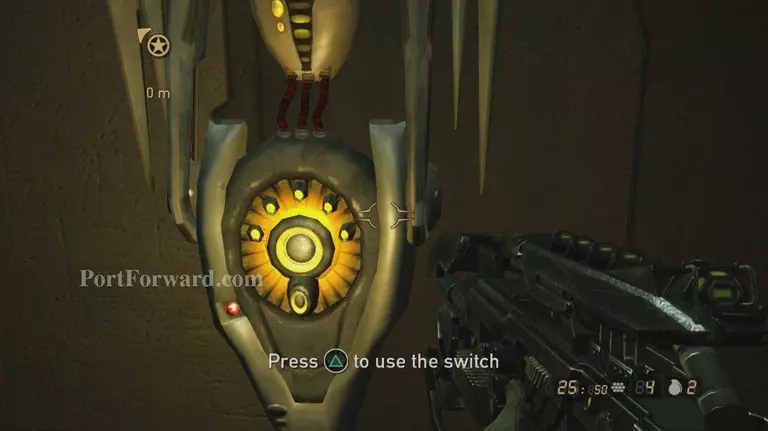
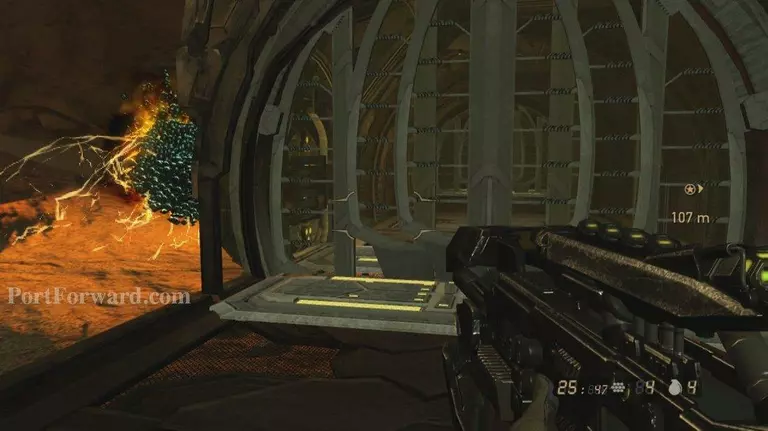
This will trigger a scene, it is time to RUN!

Resistance 2 Walkthrough - Resistance 2 0269

Follow the cable and do not look back at all!

Resistance 2 Walkthrough - Resistance 2 0270

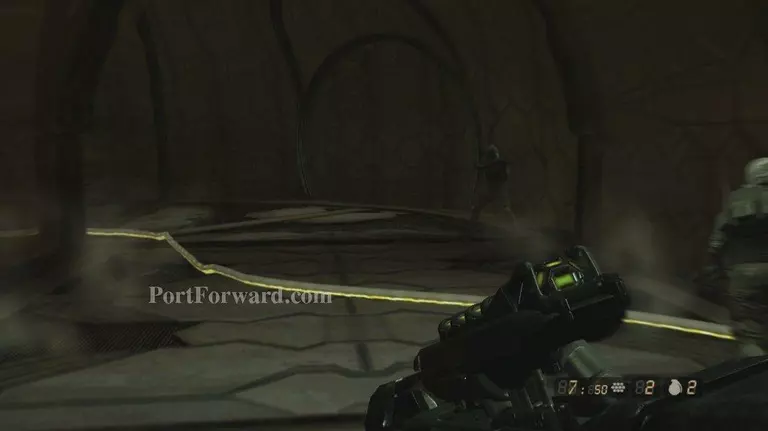
If you are lucky you'll reach the elevator in time, (the voice was right)

Resistance 2 Walkthrough - Resistance 2 0271

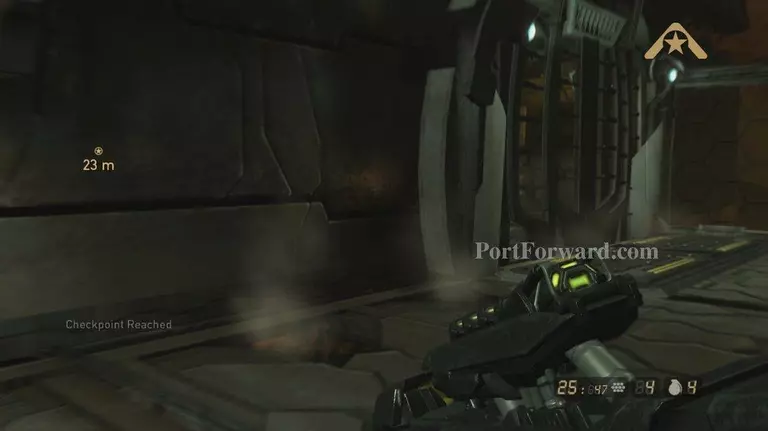
At the top a checkpoint, then head into the tubes

Resistance 2 Walkthrough - Resistance 2 0272

Soon a checkpoint and then time to run again

Resistance 2 Walkthrough - Resistance 2 0273

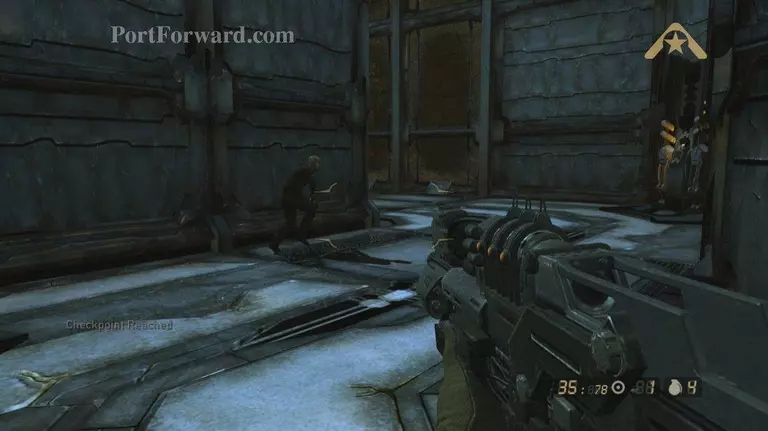
Run back into the previous room and wait for the "Swarm" to exit the tube

Resistance 2 Walkthrough - Resistance 2 0274

Then head back in and run like hell to the room at the end of the hall

Resistance 2 Walkthrough - Resistance 2 0275

Here a scene will play and you'll meet up with malikov

Resistance 2 Walkthrough - Resistance 2 0276

After it follow Malikov as he directs

Resistance 2 Walkthrough - Resistance 2 0277

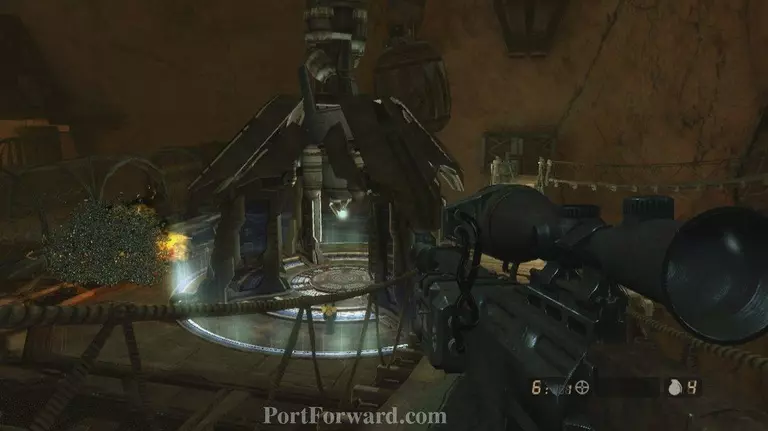
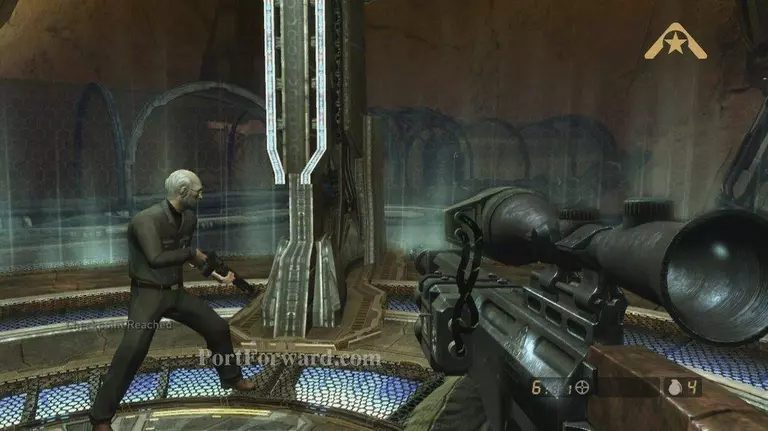
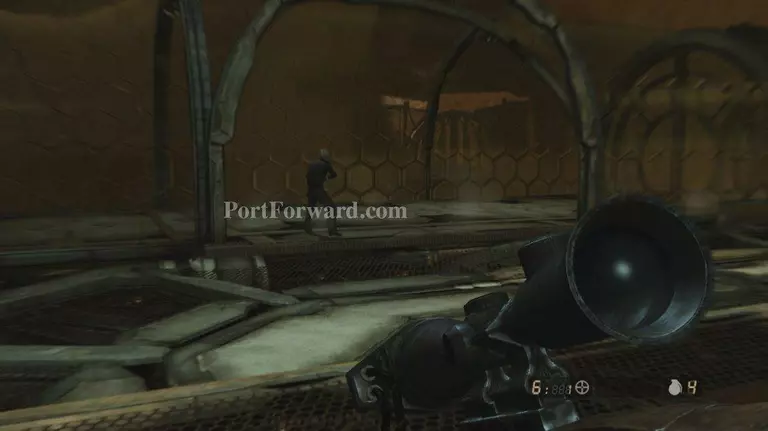
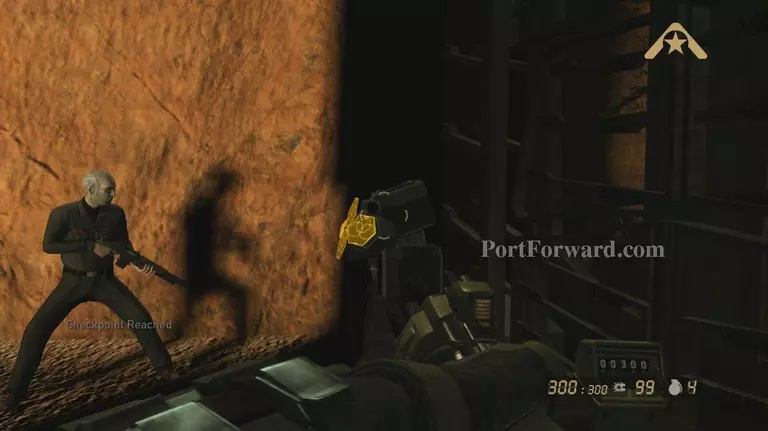
Soon a vast open room full of chimera, grab the rifle and snipe them out

Resistance 2 Walkthrough - Resistance 2 0278

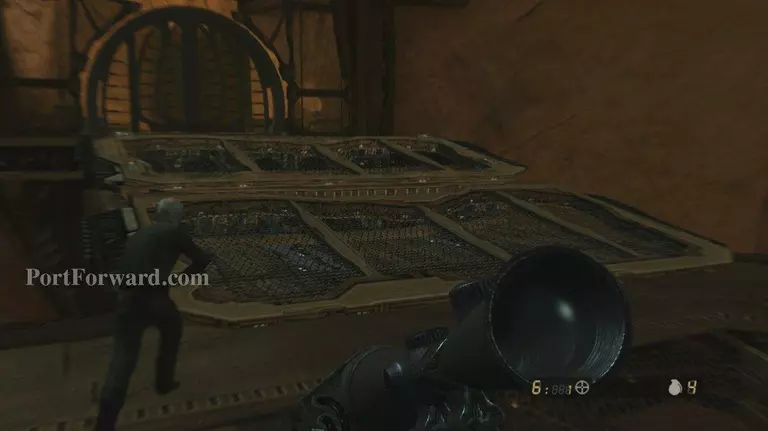
Then follow Malikov to this lift for a checkpoint

Resistance 2 Walkthrough - Resistance 2 0279

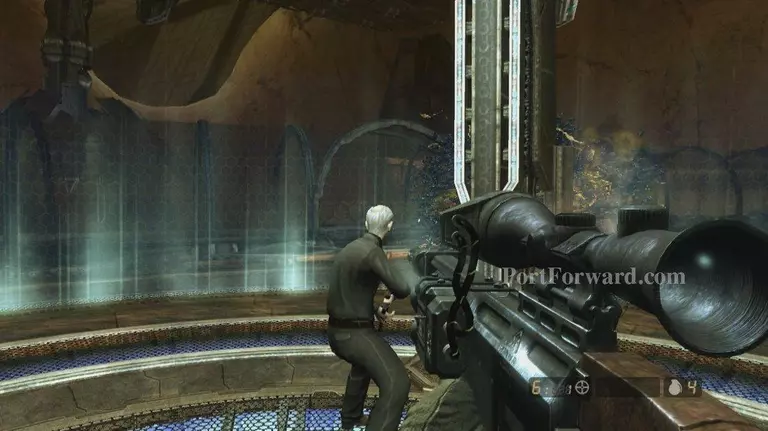
After a short scene you'll be at the bottom

Resistance 2 Walkthrough - Resistance 2 0280

Follow Malikov as he directs, he'll tell you to stop and explain the Swarm

Resistance 2 Walkthrough - Resistance 2 0281

Then follow him into the generator

Resistance 2 Walkthrough - Resistance 2 0282

Soon the swarm will leave and you'll get a checkpoint

Resistance 2 Walkthrough - Resistance 2 0283

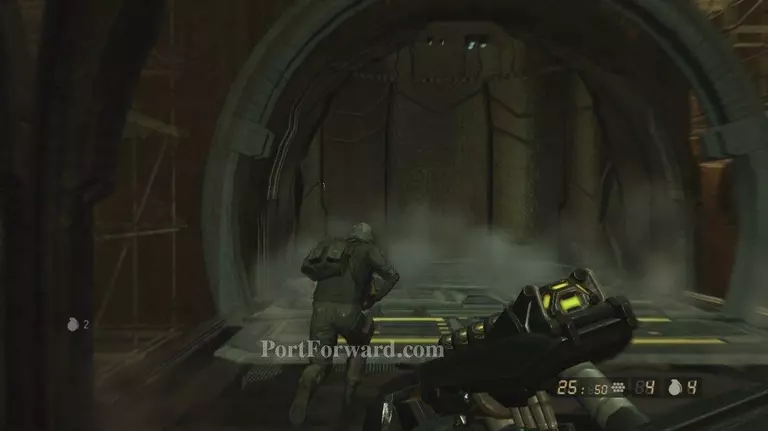
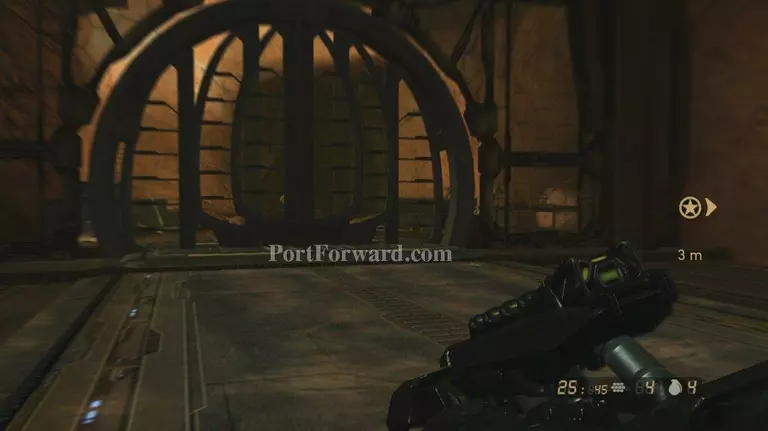
Follow Malikov into the tubes and to the next generator

Resistance 2 Walkthrough - Resistance 2 0284

Head towards the door and quickly run back to the generator

Resistance 2 Walkthrough - Resistance 2 0285

Soon Malikov will say you are going to have to run for it, do as directed

Resistance 2 Walkthrough - Resistance 2 0286

Once inside the door the Swarm will leave, follow Malikov

Resistance 2 Walkthrough - Resistance 2 0287

In this room a wave of chimera will rush kill them and continue to follow Malikov

Resistance 2 Walkthrough - Resistance 2 0288

Time to play lure the Swarm!

Resistance 2 Walkthrough - Resistance 2 0289

Take the lift down and jump onto the pipes here

Resistance 2 Walkthrough - Resistance 2 0290

Then across to the next pipe and follow it up to the platform

Resistance 2 Walkthrough - Resistance 2 0291

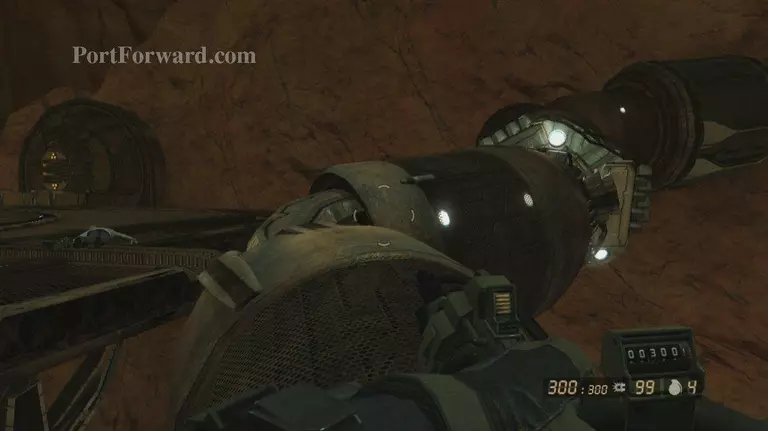
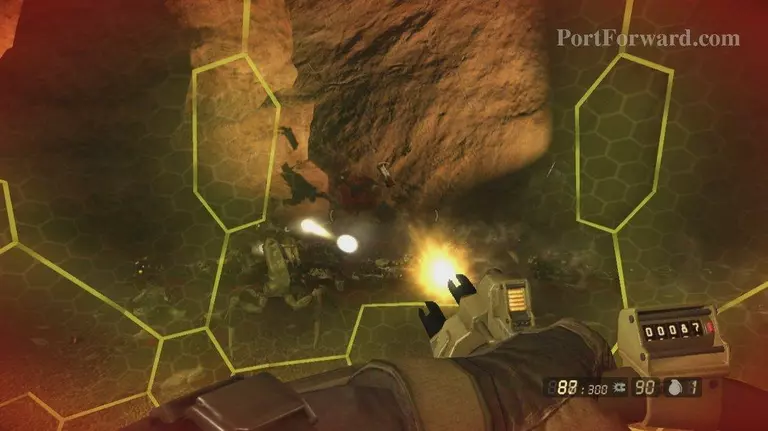
Stand in the generator and fire the pulse cannon at the swarm

Resistance 2 Walkthrough - Resistance 2 0292

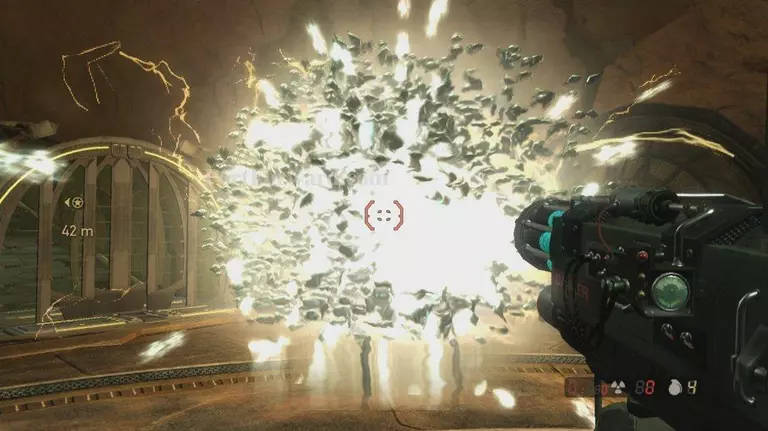
It will rush inside and Malikov will lock it in fire at it once more

Resistance 2 Walkthrough - Resistance 2 0293

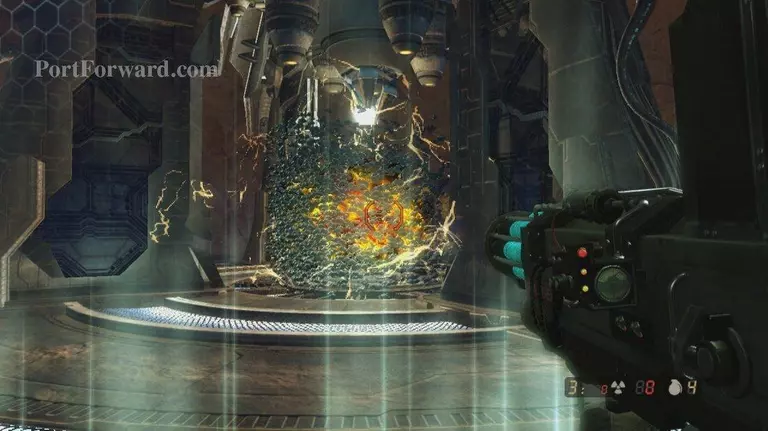
Then run to the next generator, once inside repeat the process

Resistance 2 Walkthrough - Resistance 2 0294

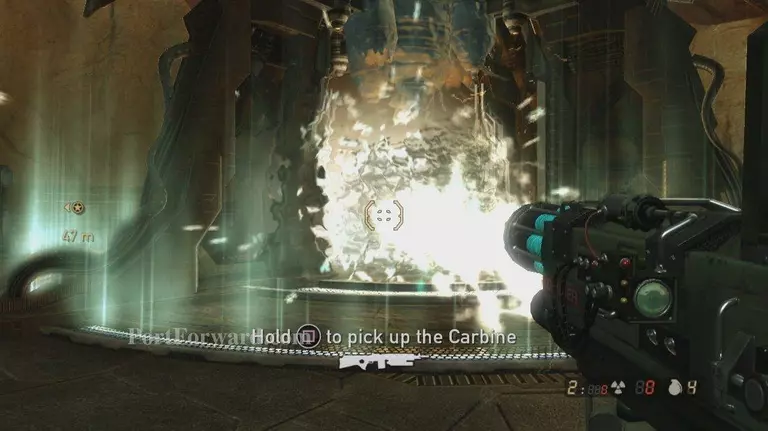
And then onto the third and final

Resistance 2 Walkthrough - Resistance 2 0295

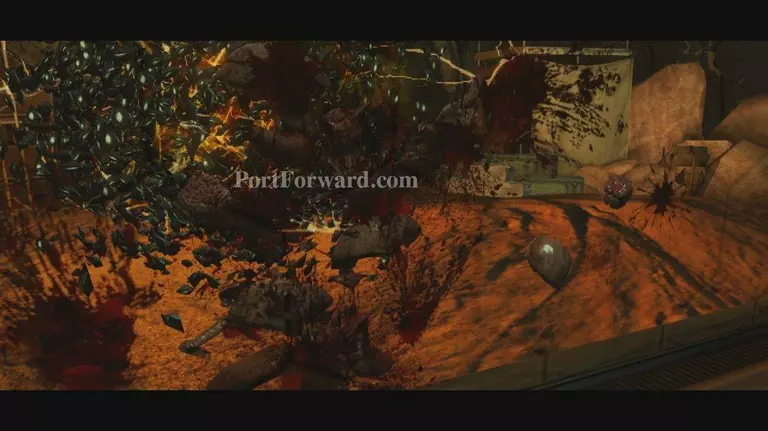
After you fire the last shot at this generator the Swarm is no more

Resistance 2 Walkthrough - Resistance 2 0296

Head up to Malikov and follow him onto the lift

Resistance 2 Walkthrough - Resistance 2 0297

Malikov will tell you a story on the ride up

Resistance 2 Walkthrough - Resistance 2 0298

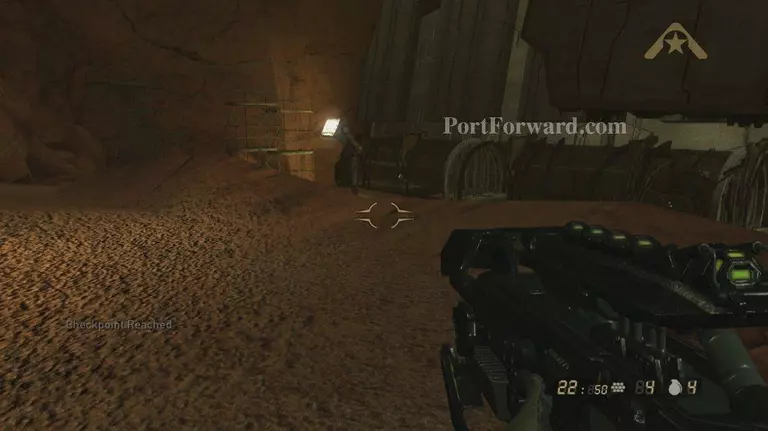
At the top a checkpoint just continue to follow Malikov

Resistance 2 Walkthrough - Resistance 2 0299

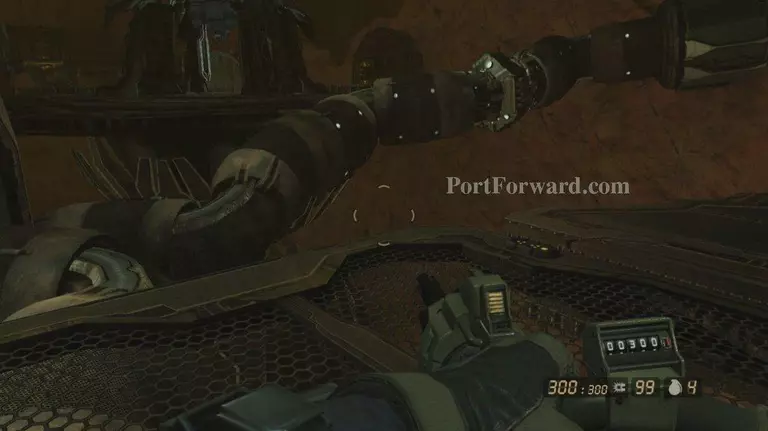
Soon the tilt rotor will go down, jump down the cliff for a checkpoint

Resistance 2 Walkthrough - Resistance 2 0300

2 Titans will spawn take them out

Resistance 2 Walkthrough - Resistance 2 0301

Then a wave of leapers, then follow malikov to the LZ for a scene

Resistance 2 Walkthrough - Resistance 2 0302

End Mission

More Resistance 2 Walkthroughs

This Resistance 2 walkthrough is divided into 11 total pages.

More From Portforward