Resistance 2 Walkthrough Chicago Illinois

September 12, 2016 (Last Updated: ) | Reading Time: 7 minutes

This Resistance 2 walkthrough is divided into 11 total pages.

You can jump to nearby pages of the game using the links above.
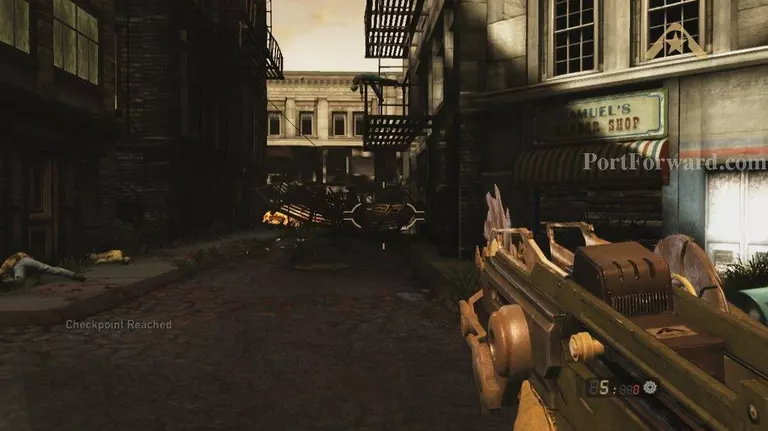
Chicago Illinois

Resistance 2 Walkthrough - Resistance 2 0303

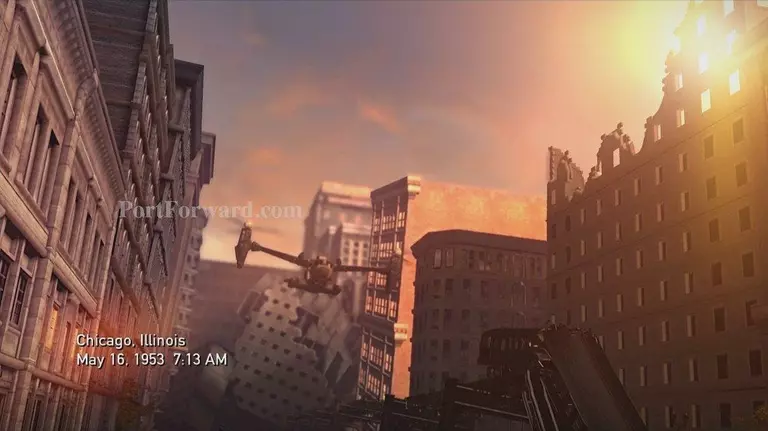
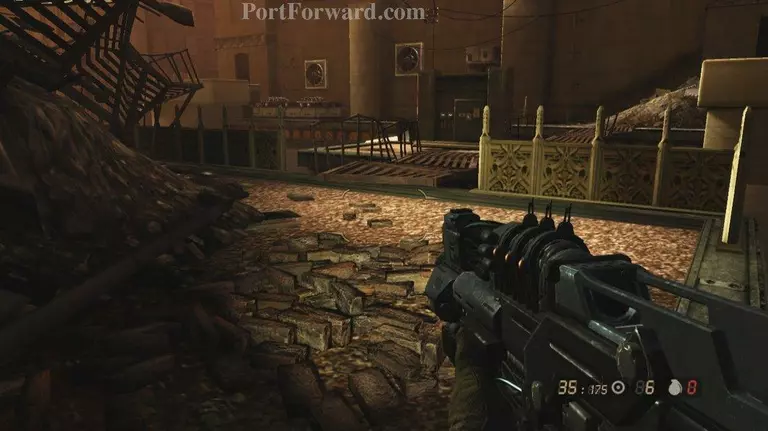
After a short scene you'll need to follow Echo into the alley

Resistance 2 Walkthrough - Resistance 2 0304

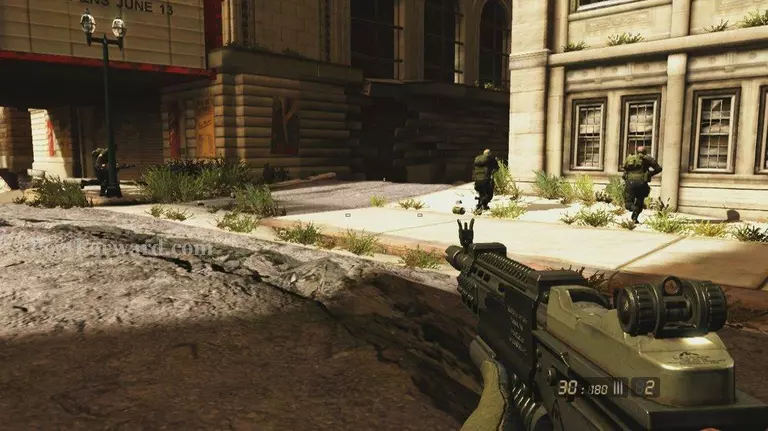
Soon you'll be directed to pick up the Splicer

Resistance 2 Walkthrough - Resistance 2 0305

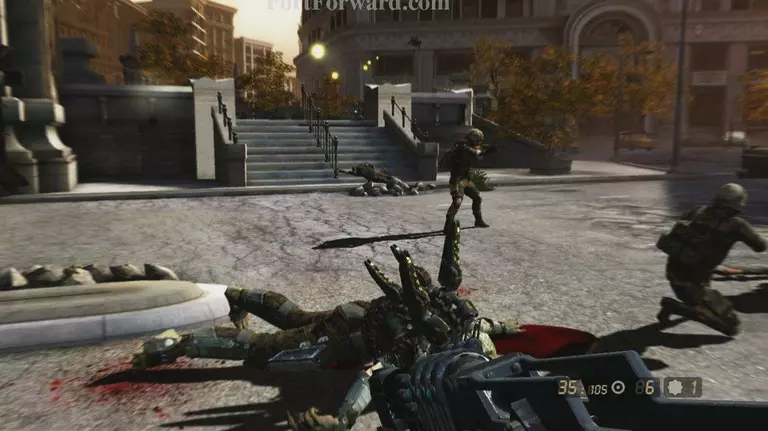
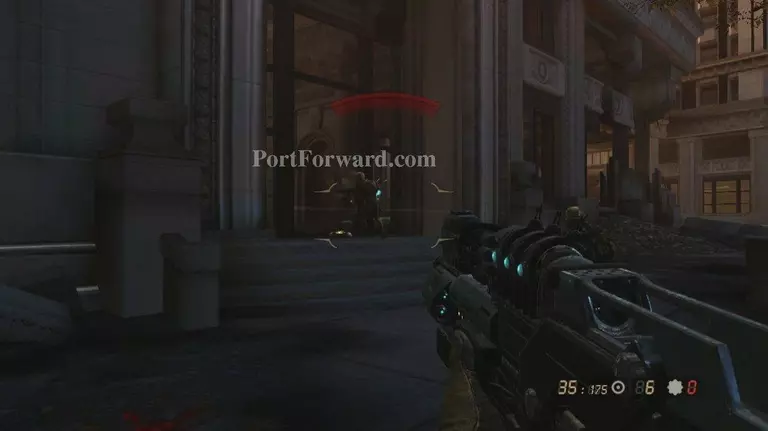
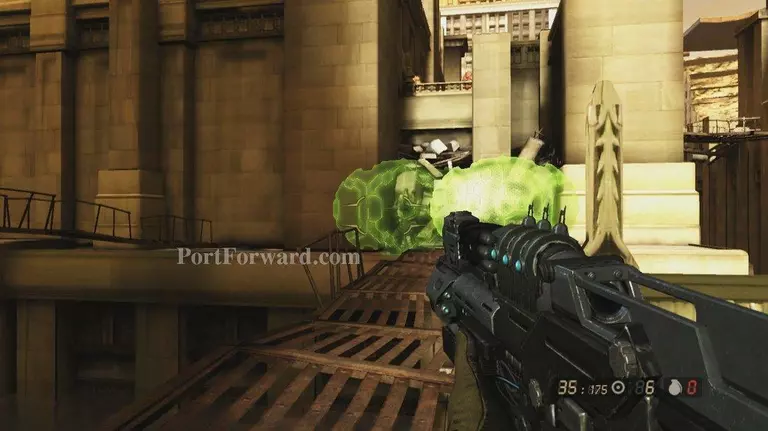
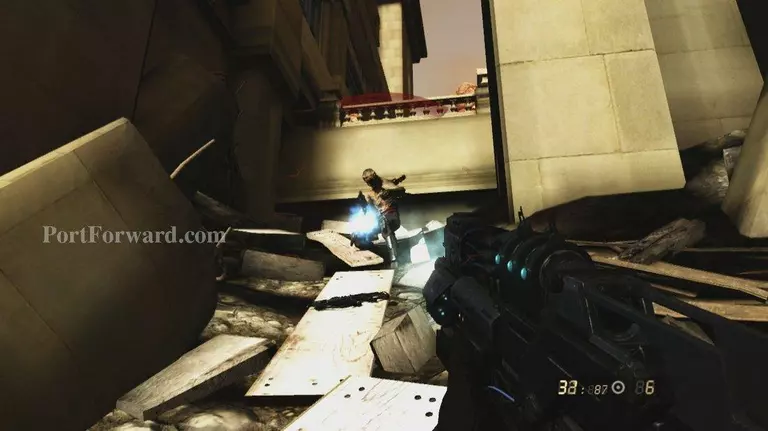
Shortly after a huge wave of turned chimera rush dismember them

Resistance 2 Walkthrough - Resistance 2 0306

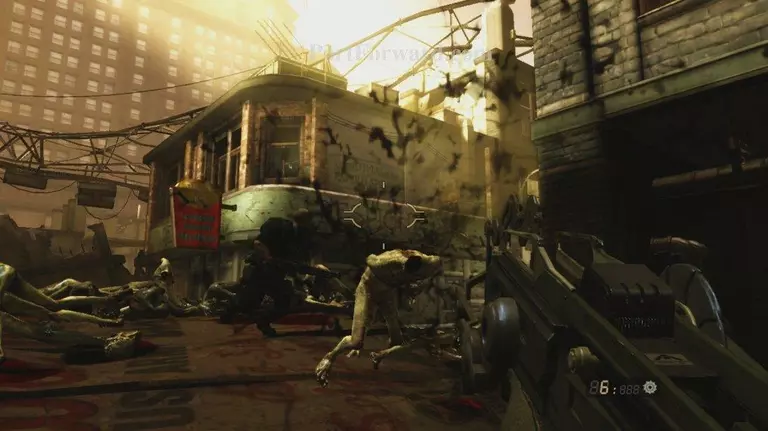
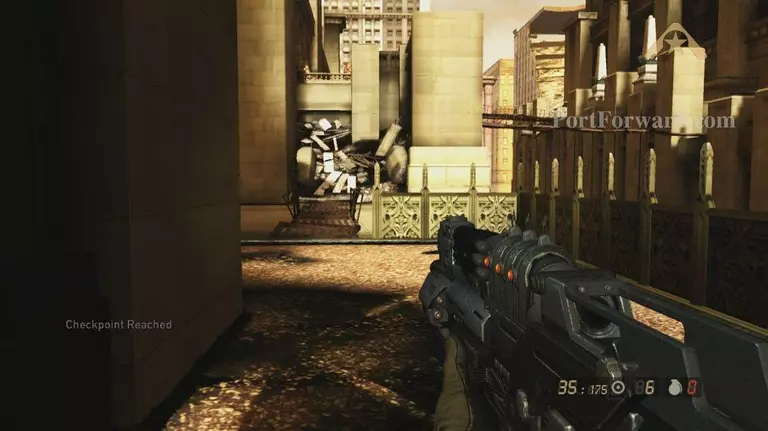
Then push forward down the alley they came from, more will come but not as many

Resistance 2 Walkthrough - Resistance 2 0307

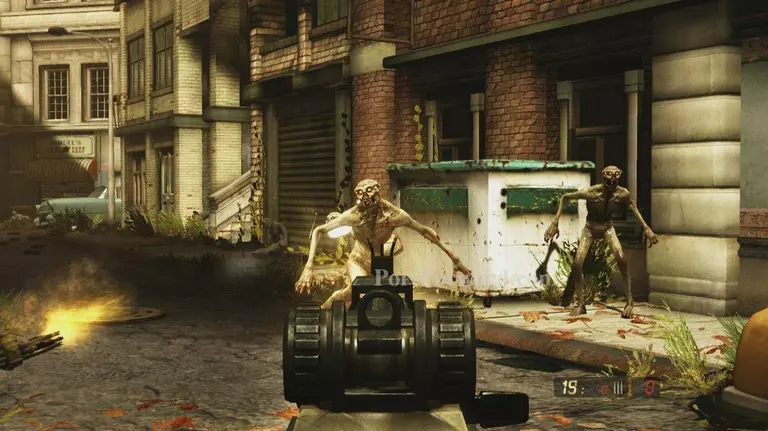
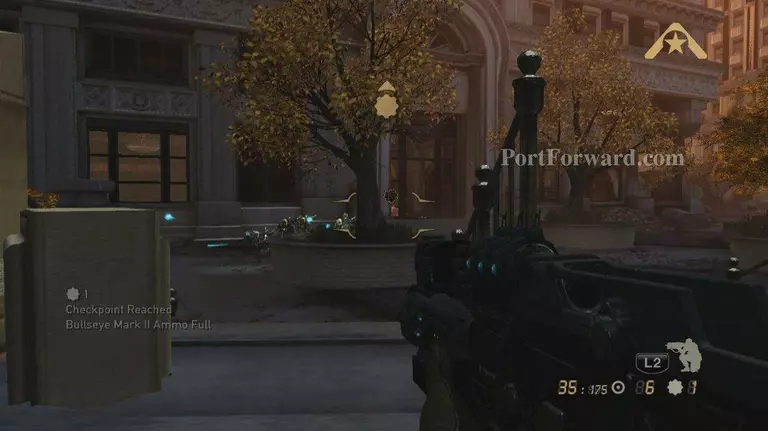
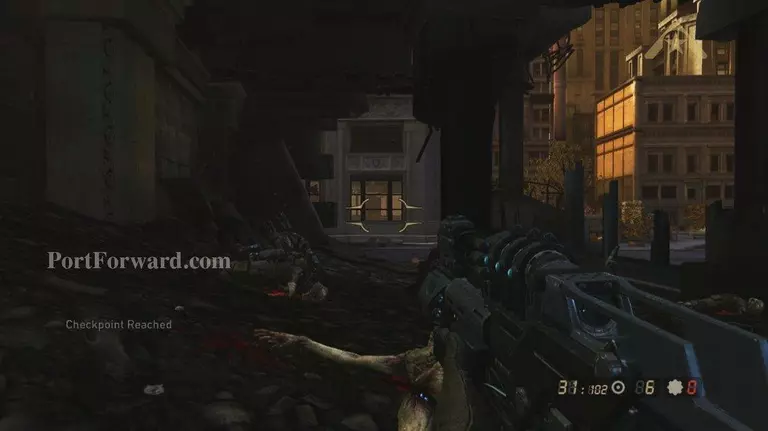
Near the end of the alley a checkpoint

Resistance 2 Walkthrough - Resistance 2 0308

Then head inside for a short scene

Resistance 2 Walkthrough - Resistance 2 0309

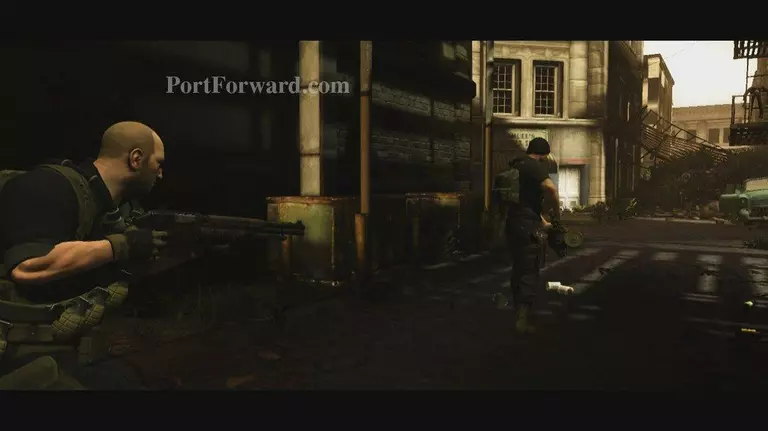
After it head up the fire escape in front of you

Resistance 2 Walkthrough - Resistance 2 0310

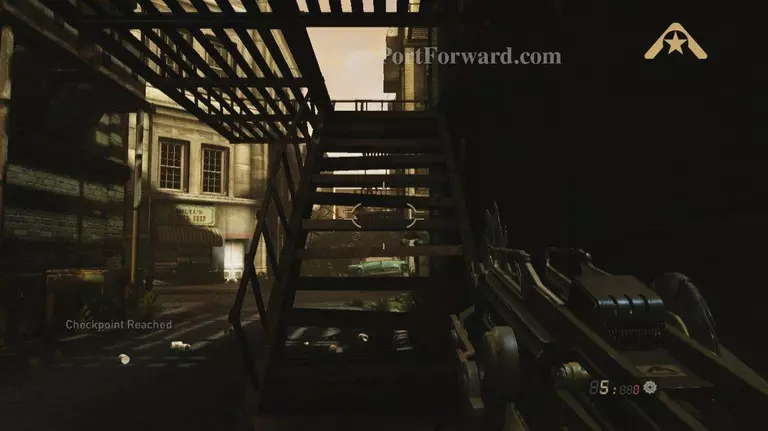
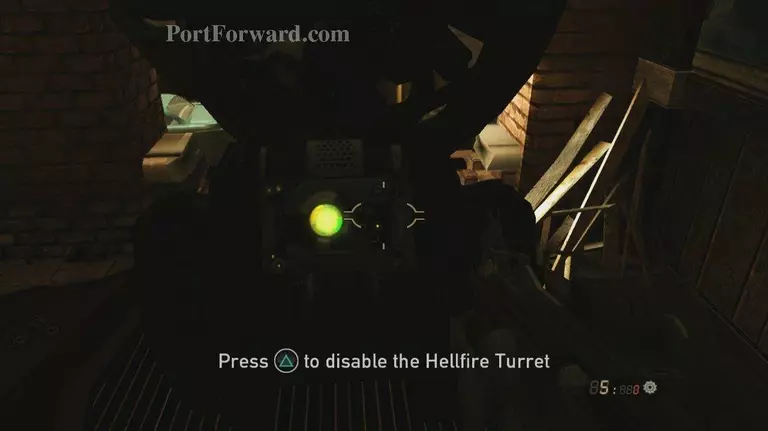
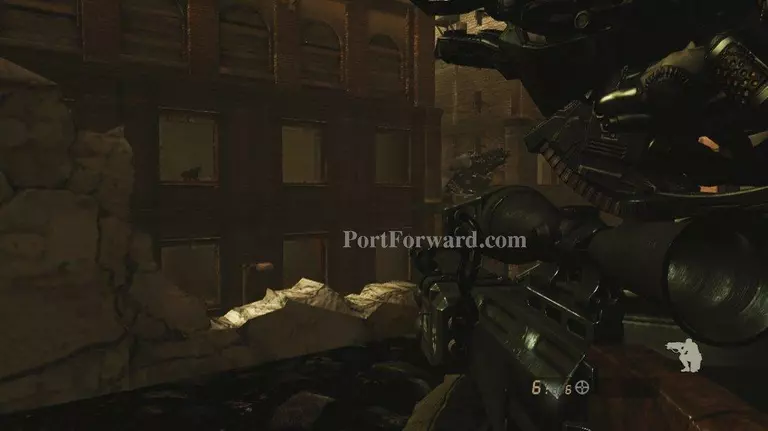
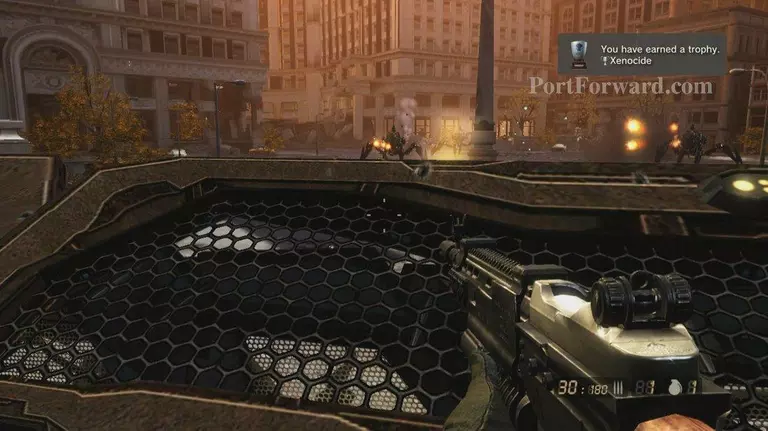
At the top head inside and jump down to the turret

Resistance 2 Walkthrough - Resistance 2 0311

Then disable it and wait for Warner, he'll need help

Resistance 2 Walkthrough - Resistance 2 0312

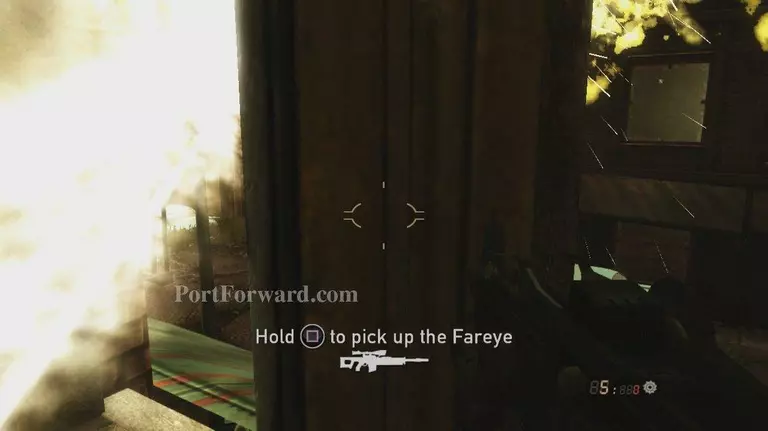
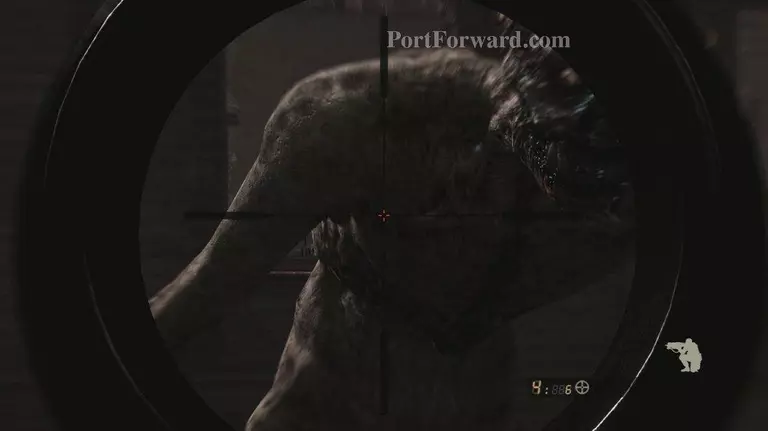
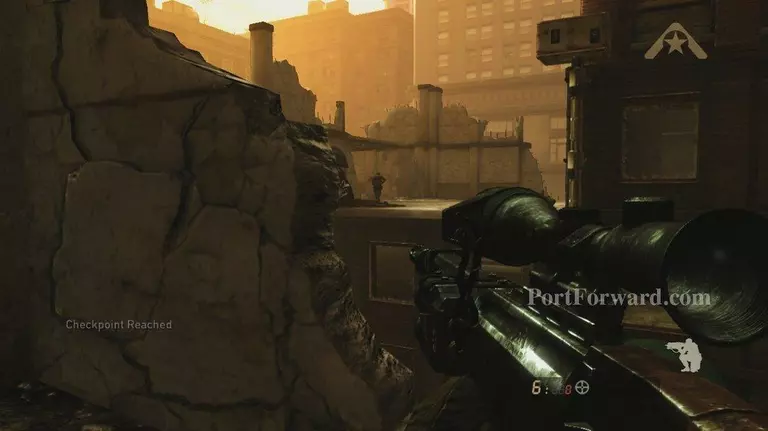
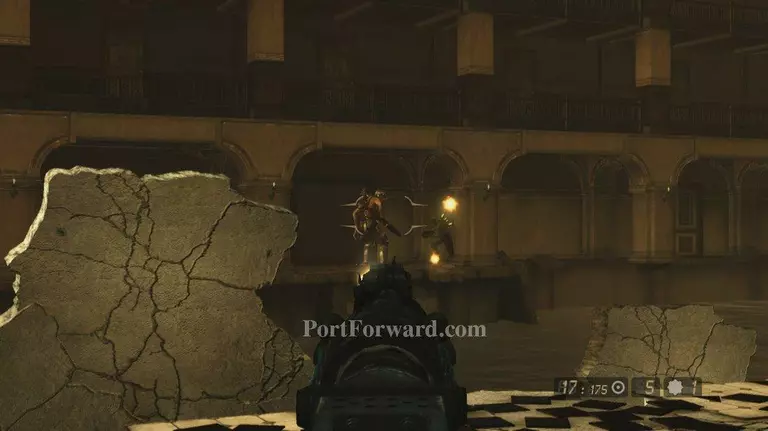
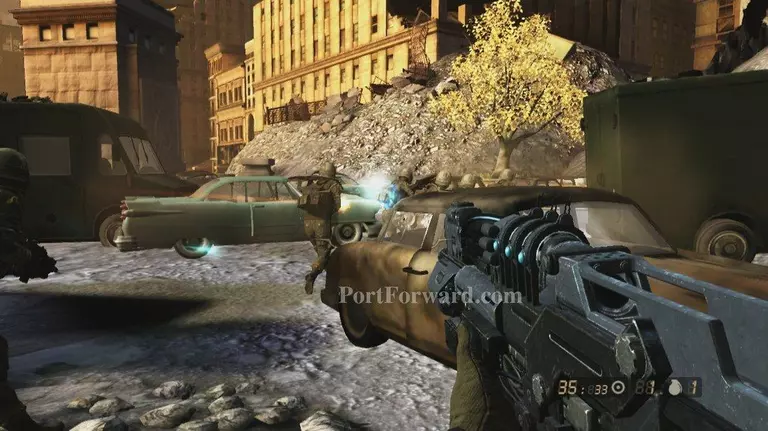
Pick up the Fareye and snipe the auger chimera, after they go down a checkpoint

Resistance 2 Walkthrough - Resistance 2 0313

Time to head to the next turret (linear path here just follow it)

Resistance 2 Walkthrough - Resistance 2 0314

Once through the building head around the catwalk and up the stairs

Resistance 2 Walkthrough - Resistance 2 0315

Then disable the turret and quickly get to cover here

Resistance 2 Walkthrough - Resistance 2 0316

Warner will be in trouble again and you'll have to help out

Resistance 2 Walkthrough - Resistance 2 0317

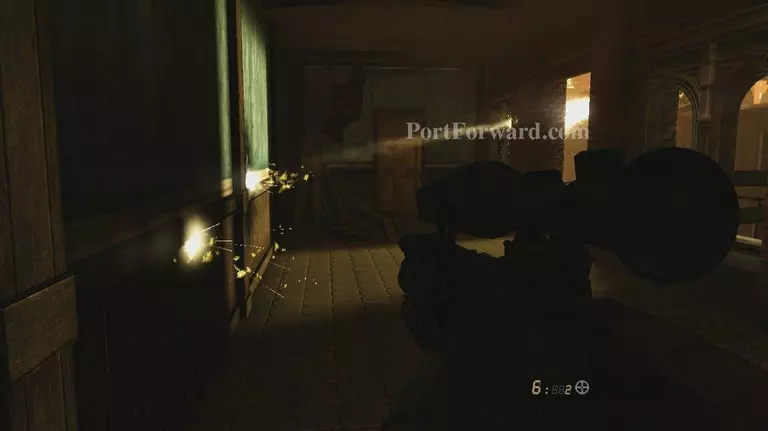
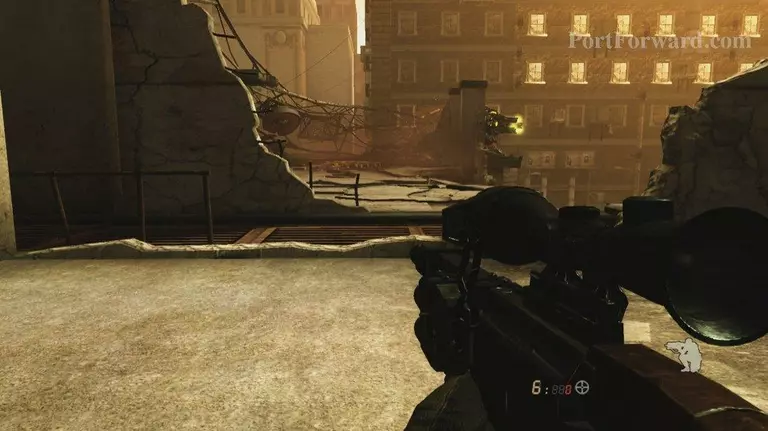
Snipe the chimera when they come to the windows, be aware of the one after you

Resistance 2 Walkthrough - Resistance 2 0318

When they are all cleared another checkpoint, continue to the next turret

Resistance 2 Walkthrough - Resistance 2 0319

You’ll have to run and jump to get to it, then run quickly to cover

Resistance 2 Walkthrough - Resistance 2 0320

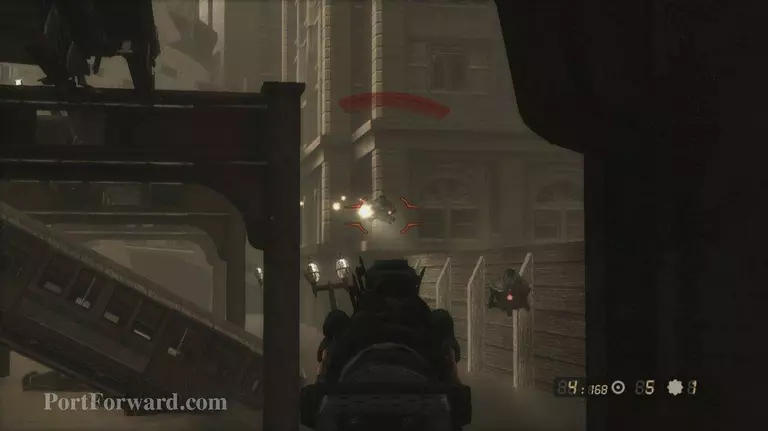
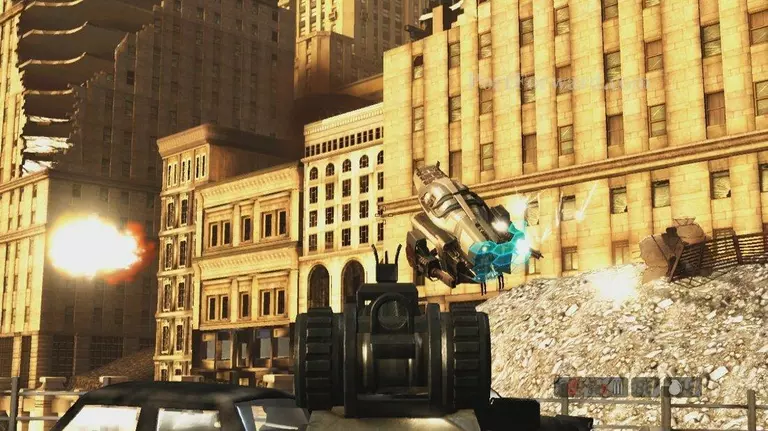
Disable the turret which will trigger 3 large drones take them out for a checkpoint

Resistance 2 Walkthrough - Resistance 2 0321

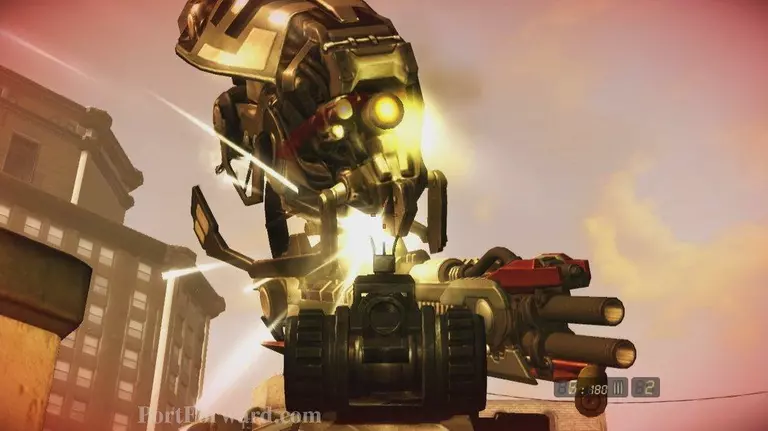
After Warner disables the last turret head across the fallen catwalk

Resistance 2 Walkthrough - Resistance 2 0322

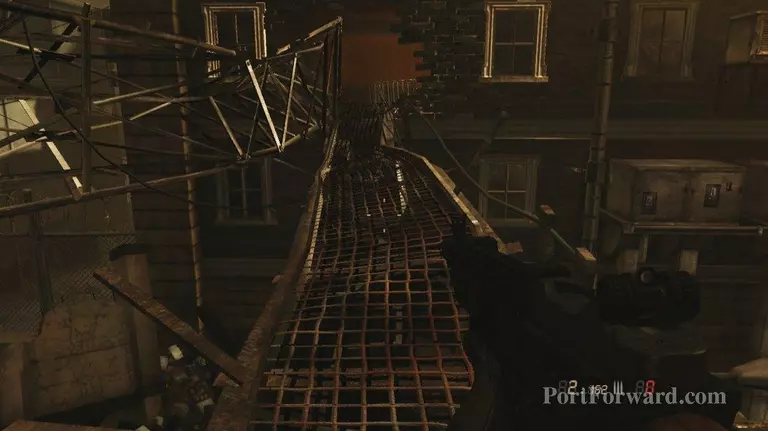
Then jump down into the room on the other side

Resistance 2 Walkthrough - Resistance 2 0323

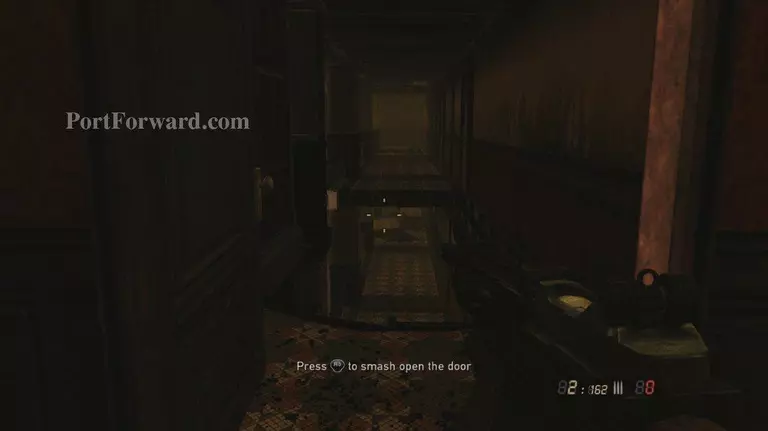
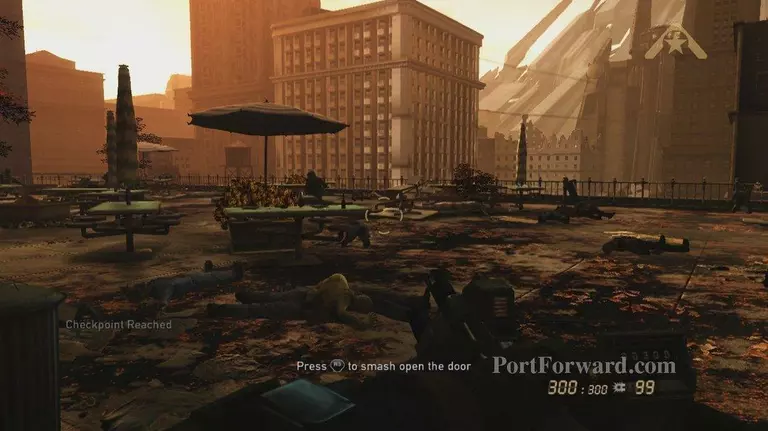
Smash through the door as directed (R3 Button) and jump down

Resistance 2 Walkthrough - Resistance 2 0324

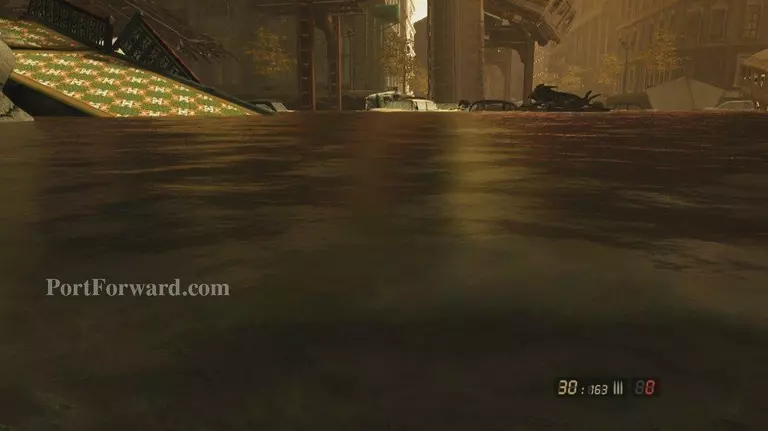
Head to the end and jump down into the water and swim to this walkway

Resistance 2 Walkthrough - Resistance 2 0325

Head up it and kill the chimera for a checkpoint, more will spawn kill them off

Resistance 2 Walkthrough - Resistance 2 0326

Soon a checkpoint, stock up on ammo before heading out, jump to the truck

Resistance 2 Walkthrough - Resistance 2 0327

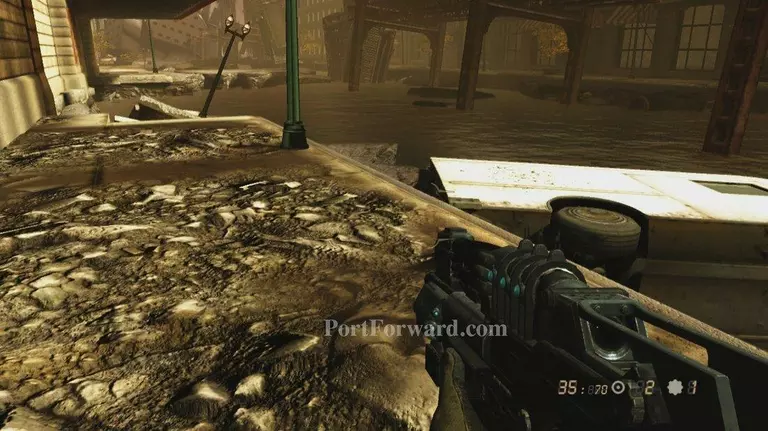
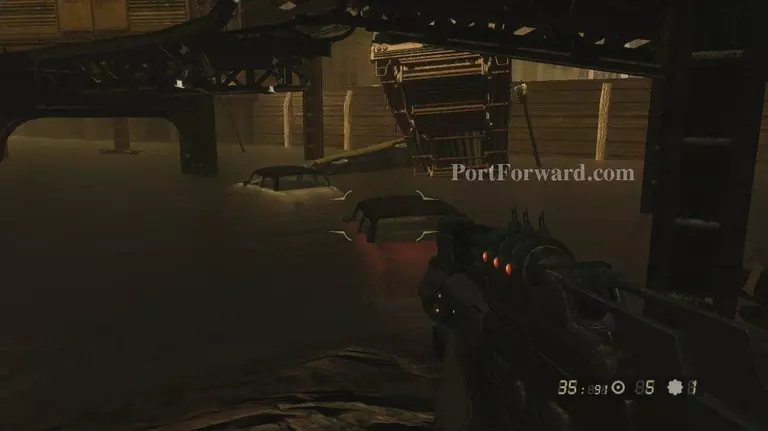
Then make your way across avoiding the water for obvious reasons

Resistance 2 Walkthrough - Resistance 2 0328

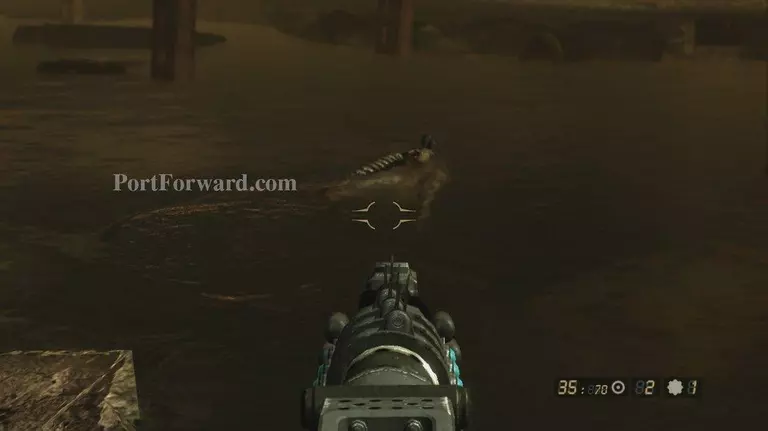
Soon a checkpoint, few drones spawn continue to land

Resistance 2 Walkthrough - Resistance 2 0329

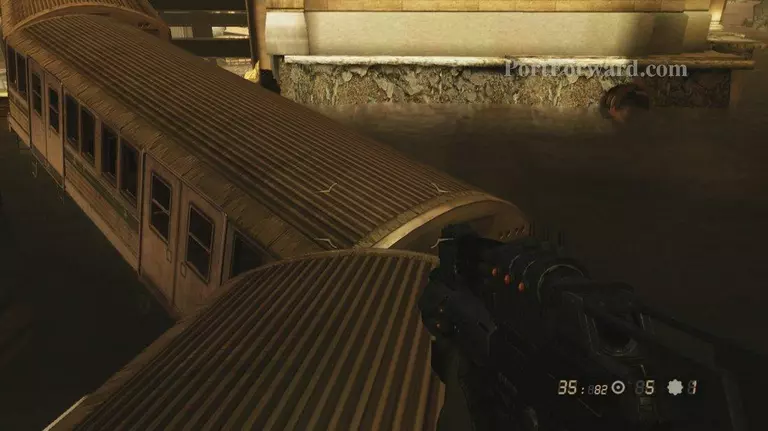
Then back on the cars and towards the train, head up it once there for a scene

Resistance 2 Walkthrough - Resistance 2 0330

Follow the track to the end and jump back onto a train cart, follow them until a scene

Resistance 2 Walkthrough - Resistance 2 0331

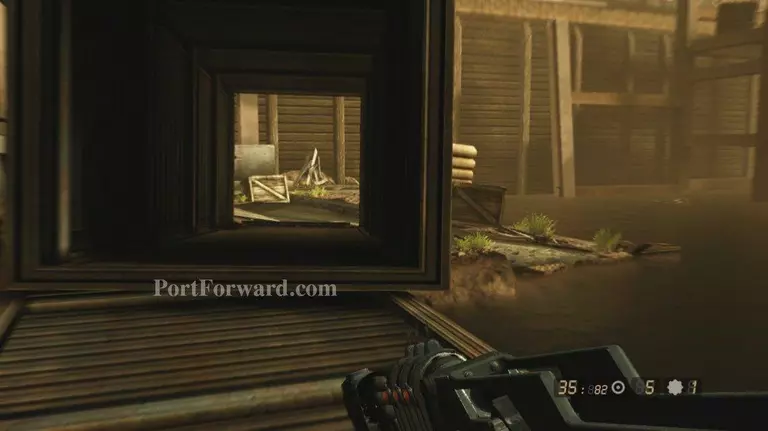
After the scene you'll need to run straight ahead and get out of the water

Resistance 2 Walkthrough - Resistance 2 0332

Continue to run following the path set out in front of you

Resistance 2 Walkthrough - Resistance 2 0333

You will get a checkpoint point around mid path, jump onto the I beam and continue along

Resistance 2 Walkthrough - Resistance 2 0334

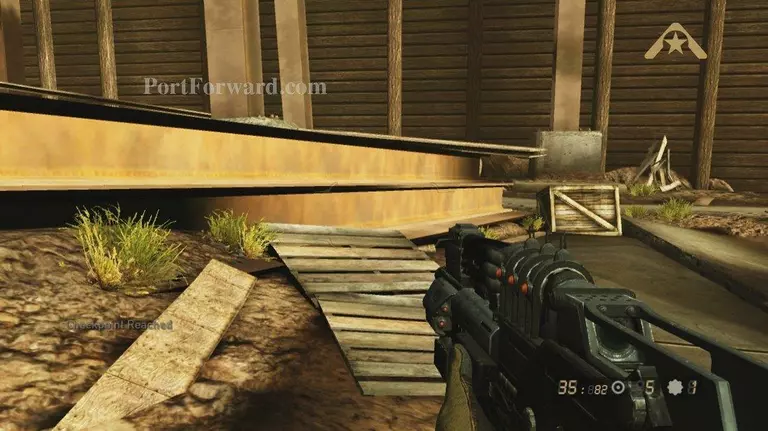
At the top a building and checkpoint, and head up the stairs inside

Resistance 2 Walkthrough - Resistance 2 0335

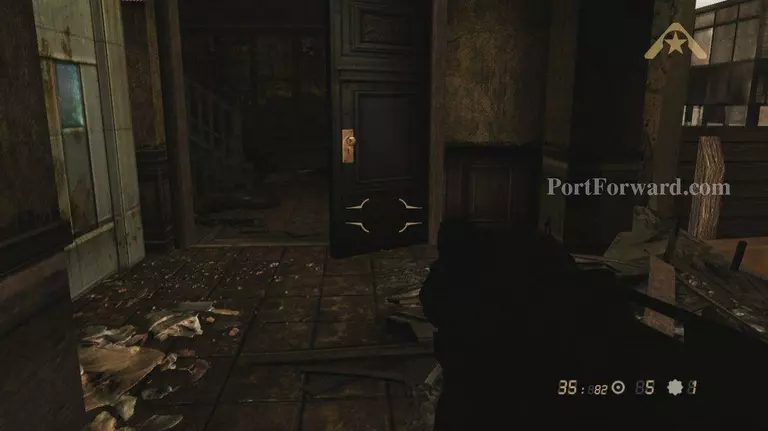
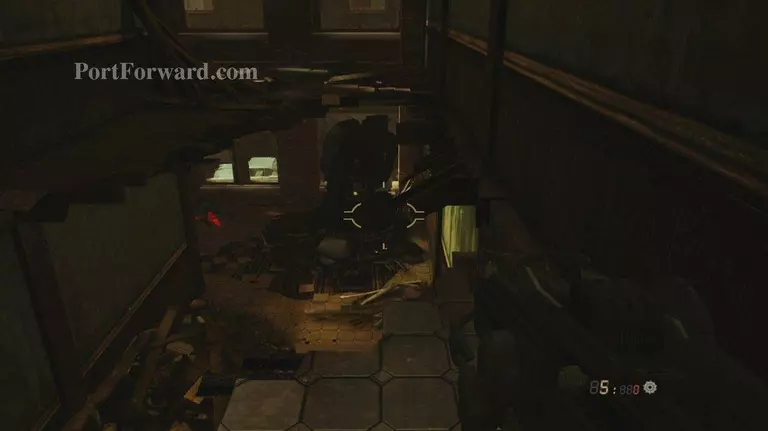
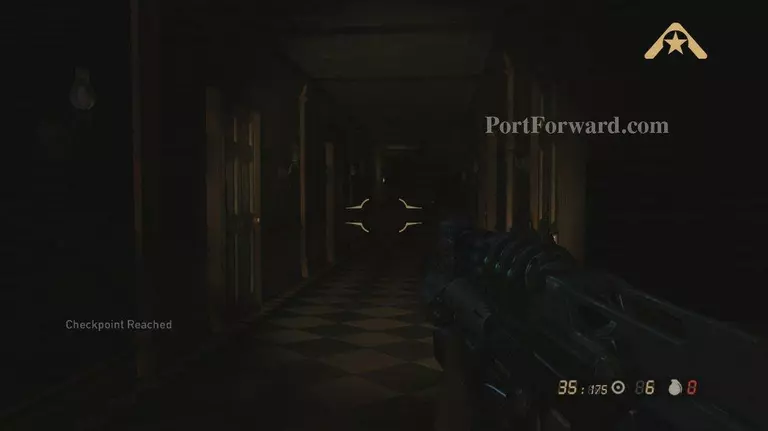
At the top drop into the hole in the floor and head down the hallway

Resistance 2 Walkthrough - Resistance 2 0336

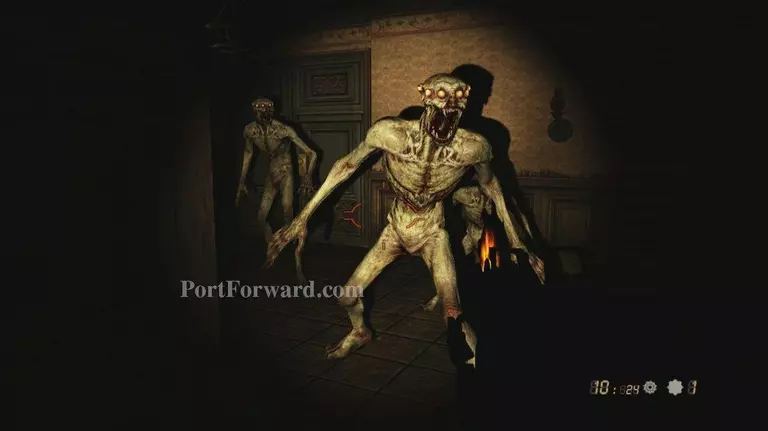
Some turned chimera will rush kill them off

Resistance 2 Walkthrough - Resistance 2 0337

This building is loaded with them, kill them off and push forward

Resistance 2 Walkthrough - Resistance 2 0338

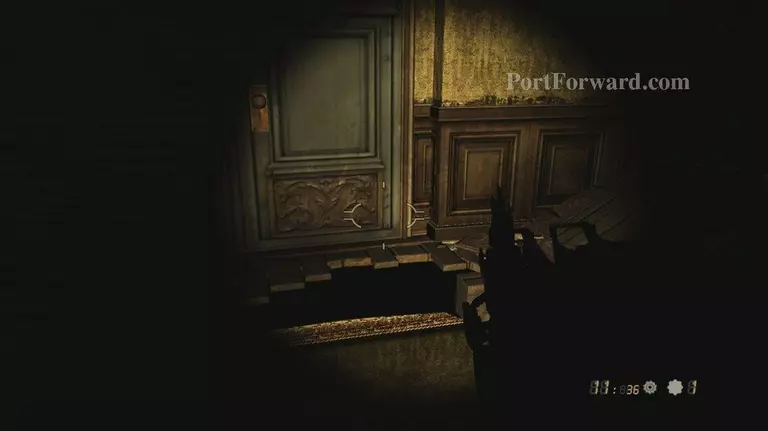
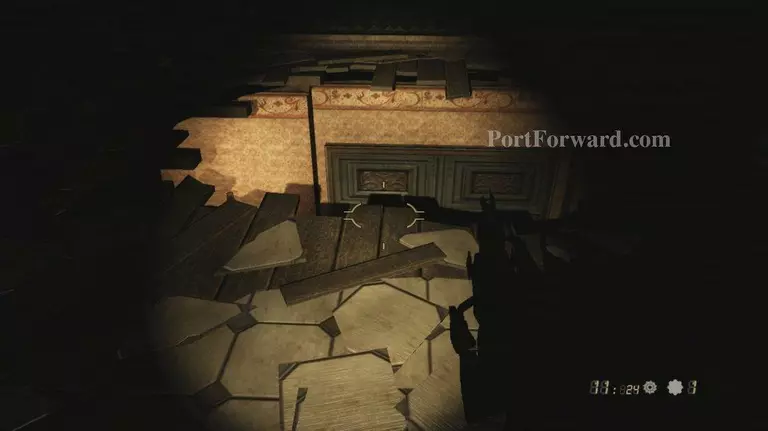
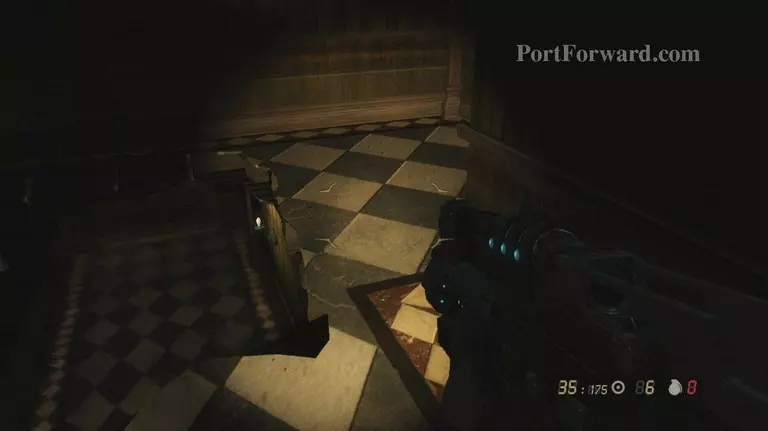
A checkpoint at the kitchen room here, head inside and down the hole in the floor

Resistance 2 Walkthrough - Resistance 2 0339

You’ll be in a room full of chimera after they are down head out the door in the back

Resistance 2 Walkthrough - Resistance 2 0340

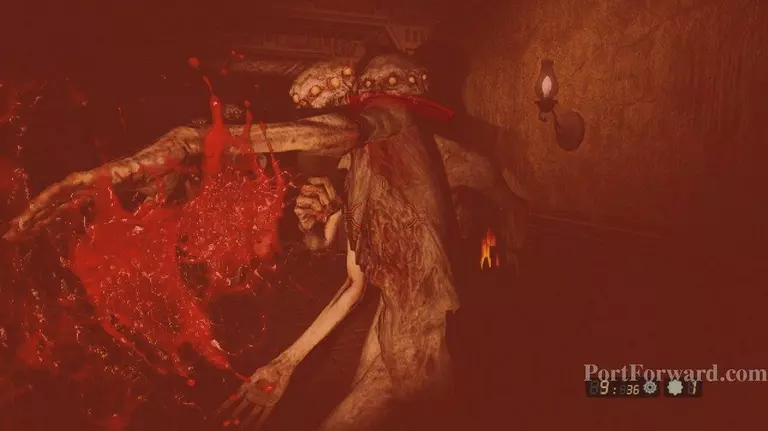
A checkpoint half way down the hall at the end a blocked path

Resistance 2 Walkthrough - Resistance 2 0341

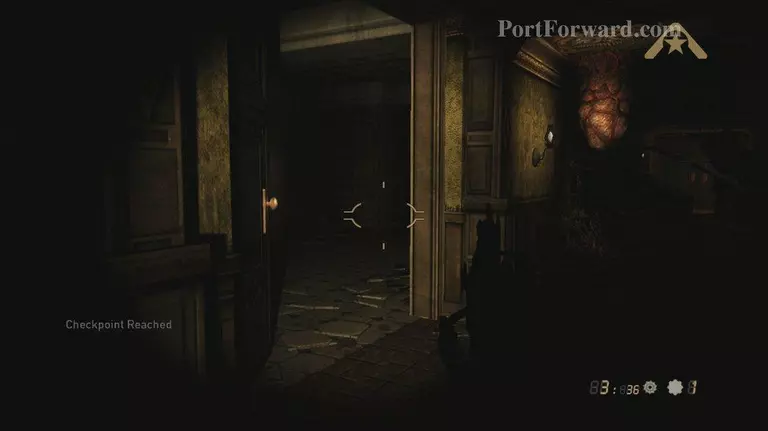
On the way back however chimera bust open a new pathway deal with them and head in

Resistance 2 Walkthrough - Resistance 2 0342

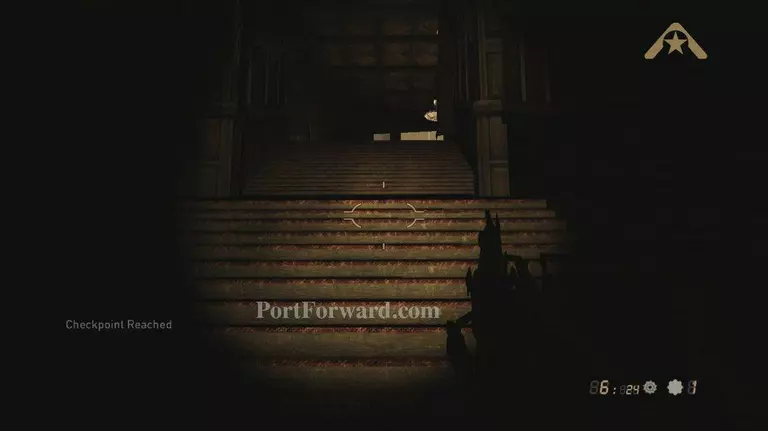
Near the stairs a checkpoint head up and drop down to the battle below you

Resistance 2 Walkthrough - Resistance 2 0343

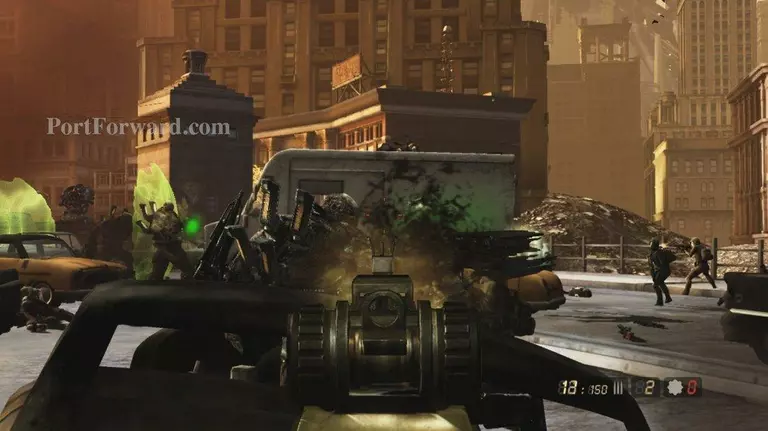
Clear the area of chimera and blow up the walking drone

Resistance 2 Walkthrough - Resistance 2 0344

After the area is clear follow the SRPA troops into battle

Resistance 2 Walkthrough - Resistance 2 0345

This is a large scale battle, at the end 6 ravengers spawn with shields

Resistance 2 Walkthrough - Resistance 2 0346

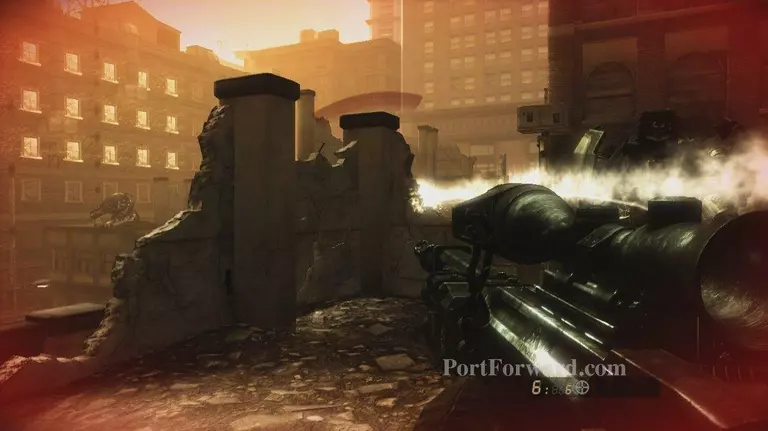
After they are down, head towards the bridge and take cover air support will wipe out the turrets

Resistance 2 Walkthrough - Resistance 2 0347

But first a wave of drones to play with, kill them off and head towards the bridge

Resistance 2 Walkthrough - Resistance 2 0348

Stop at the top and fire at the cars to get some quick kills

Resistance 2 Walkthrough - Resistance 2 0349

Jump down and head up the path to the left

Resistance 2 Walkthrough - Resistance 2 0350

Your team will follow, don’t mind the stalkers just follow the path

Resistance 2 Walkthrough - Resistance 2 0351

After you clear the area head into this building

Resistance 2 Walkthrough - Resistance 2 0352

Kill the remaining waves inside here and head down the hall for a checkpoint

Resistance 2 Walkthrough - Resistance 2 0353

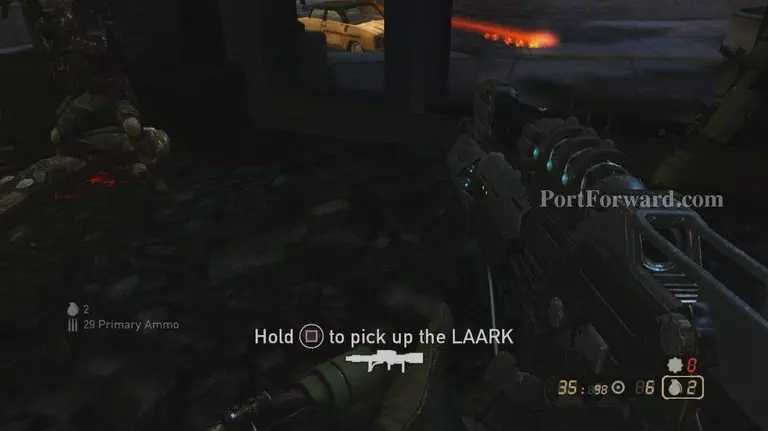
This is where you must drop the Stalkers grab a LARK and go to town

Resistance 2 Walkthrough - Resistance 2 0354

After all the drones and stalkers are dead follow the SRPA troops

Resistance 2 Walkthrough - Resistance 2 0355

Soon a scene, you'll be separated head down the hall for a checkpoint

Resistance 2 Walkthrough - Resistance 2 0356

Jump into the hole you come across and smash open the door

Resistance 2 Walkthrough - Resistance 2 0357

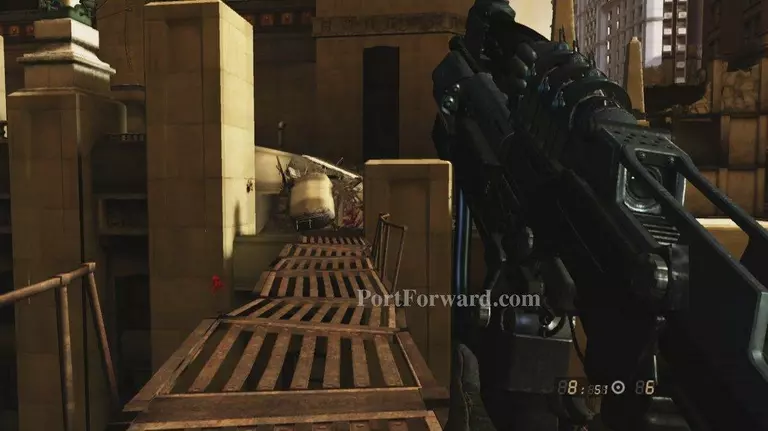
Head up the path to your left and across the catwalks

Resistance 2 Walkthrough - Resistance 2 0358

Then up the hill to your right for a checkpoint

Resistance 2 Walkthrough - Resistance 2 0359

Head towards the catwalk to trigger a wave, 2 Ravengers with shields

Resistance 2 Walkthrough - Resistance 2 0360

After they are down head across and up the path they came down

Resistance 2 Walkthrough - Resistance 2 0361

At the top more chimera to kill

Resistance 2 Walkthrough - Resistance 2 0362

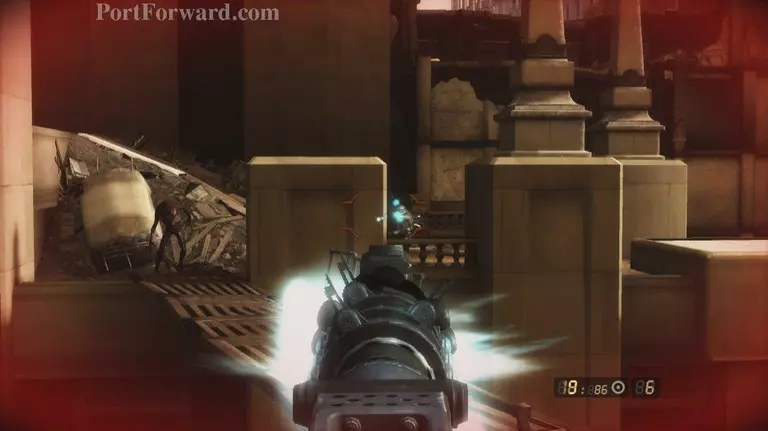
After they go down head down the path and across to where they were stationed

Resistance 2 Walkthrough - Resistance 2 0363

A checkpoint around halfway, continue up the path, auger chimera and a wave will rush

Resistance 2 Walkthrough - Resistance 2 0364

After they go down head inside the building

Resistance 2 Walkthrough - Resistance 2 0365

A wave of drones will spawn hide and auger them down

Resistance 2 Walkthrough - Resistance 2 0366

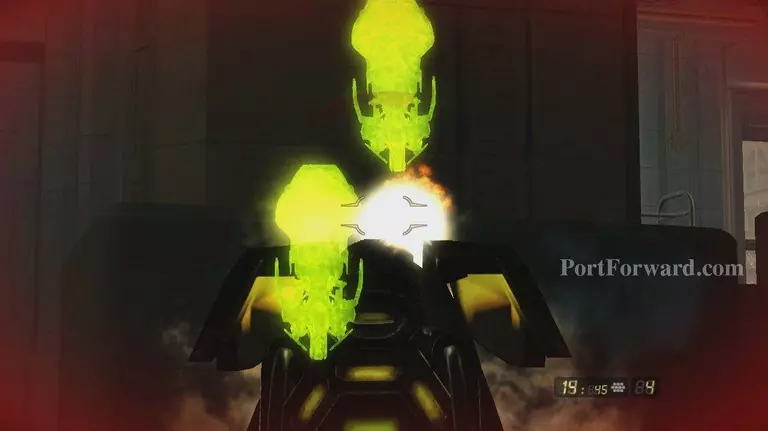
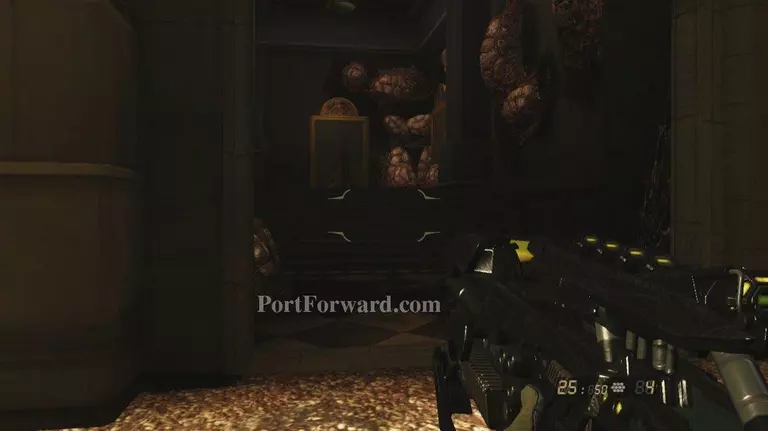
Continue along the path inside grab the Wraith and head out the exit in the back

Resistance 2 Walkthrough - Resistance 2 0367

Soon you have to jump down into a room full of sacks, head up the stairs in here

Resistance 2 Walkthrough - Resistance 2 0368

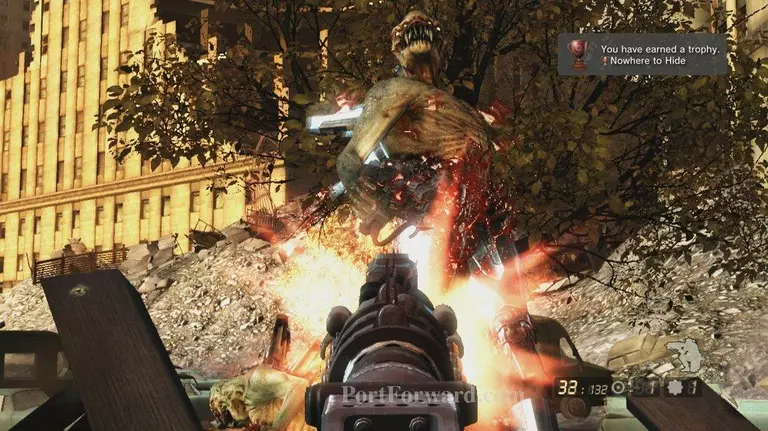
At the top smash open the door and head out for a checkpoint, and Boss Fight

Resistance 2 Walkthrough - Resistance 2 0369

More Resistance 2 Walkthroughs

This Resistance 2 walkthrough is divided into 11 total pages.

More From Portforward