
This Shank walkthrough is divided into 8 total pages.
You can jump to nearby pages of the game using the links above.
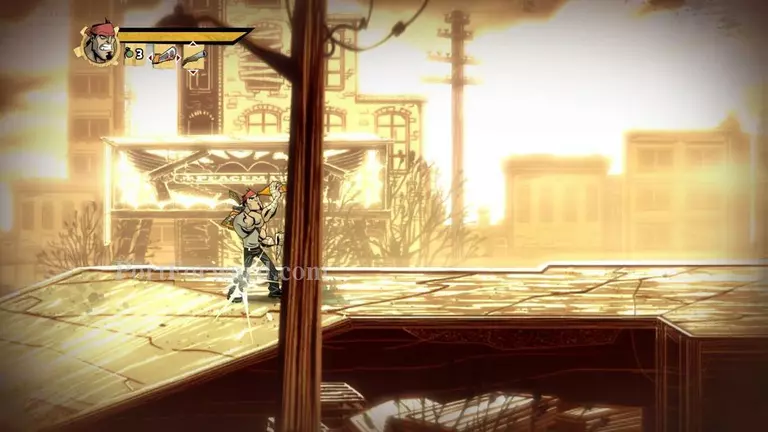
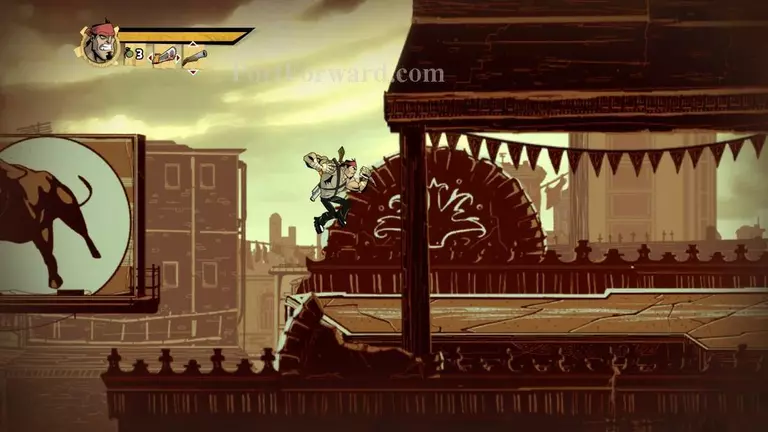
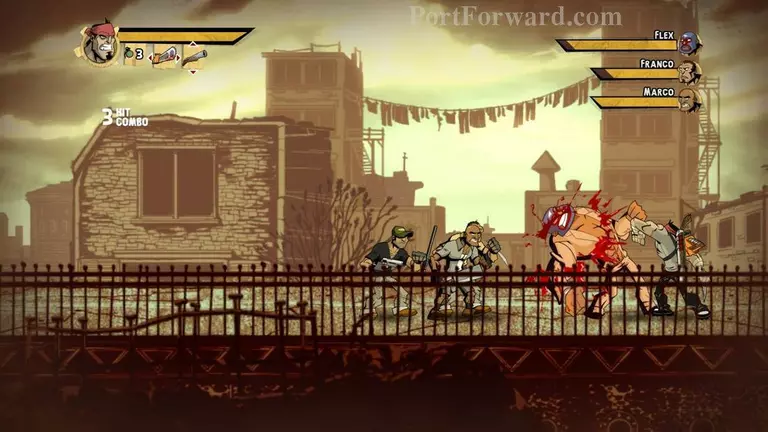
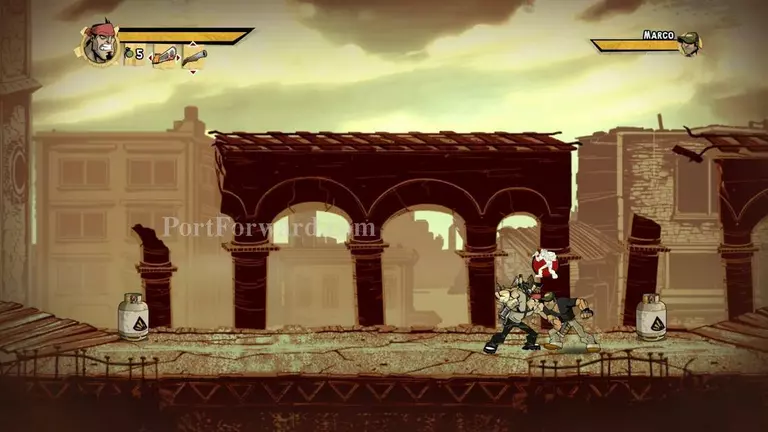
Boss 2!
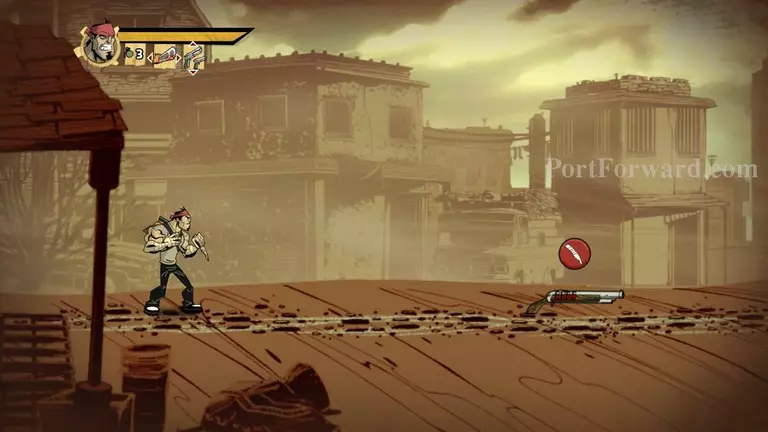
As soon as you start pick up the shotgun. You can switch to it by pressing 2
It does alot of damage close range but at long range it is useless
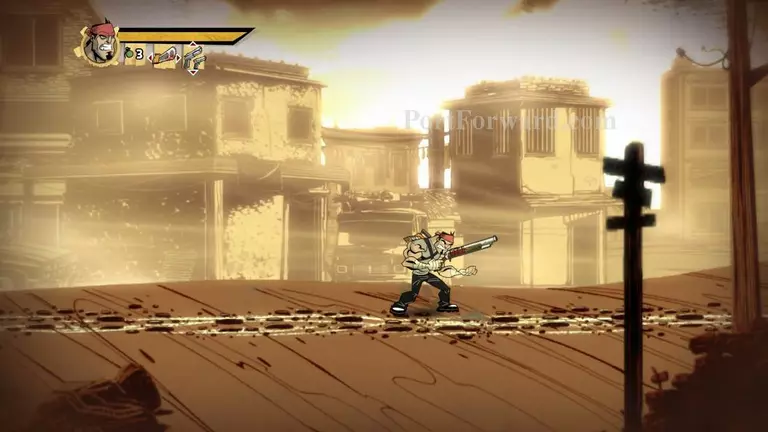
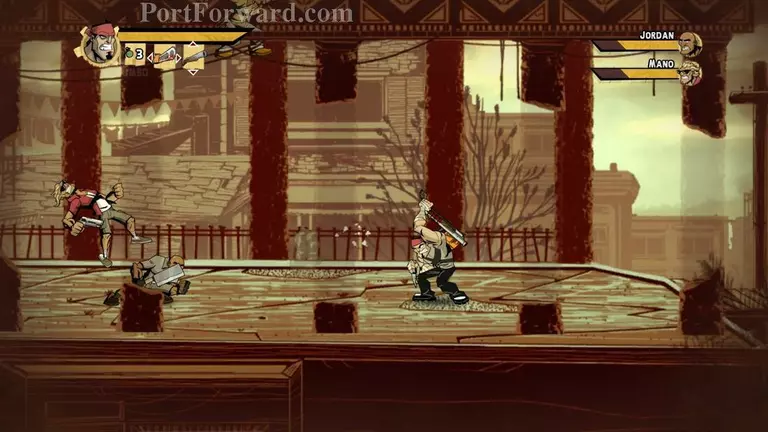
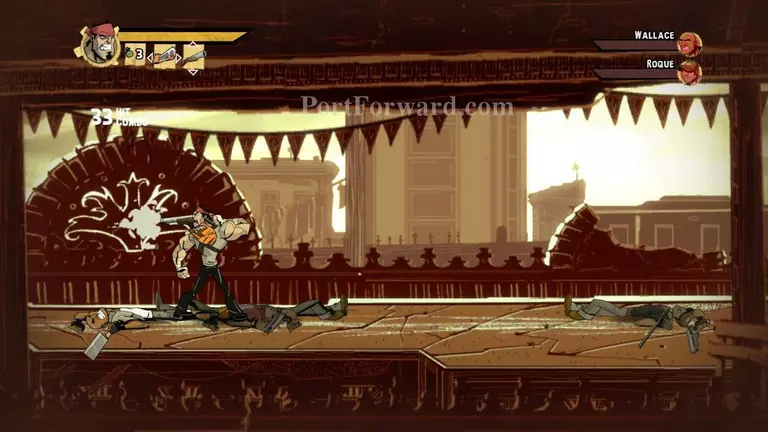
Use the shotgun to kill the dogs and the big guys at close range
Because of its high damage and your other combos it shouldn't be too difficult
Use the soadas on the ground to replenish your health
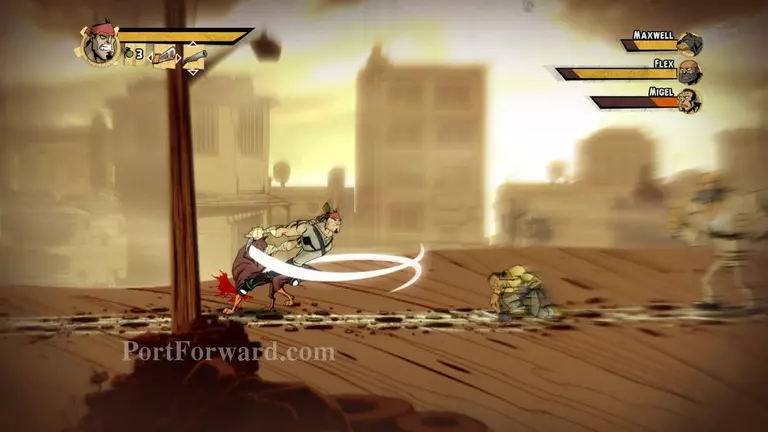
Continue along ahead by fighting the dudes as they come out.
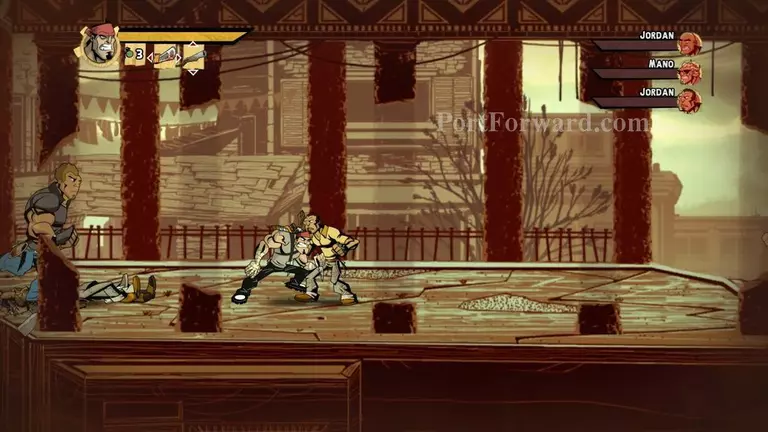
When you get pinned down by a dog just pres the Melee button as quick as possible
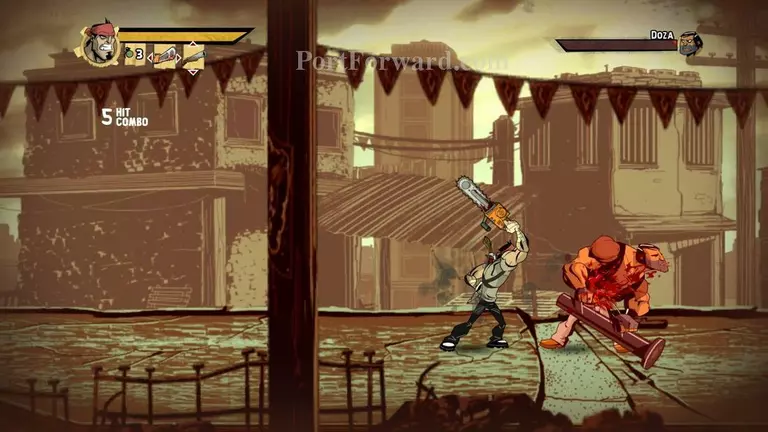
Same thing as before for the guy with the battering ram
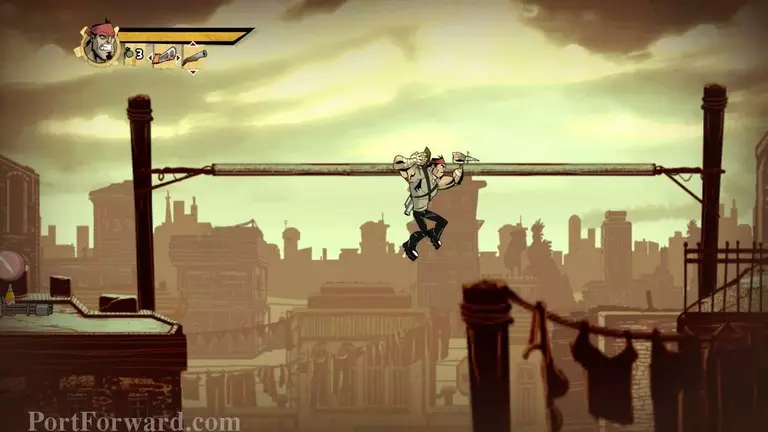
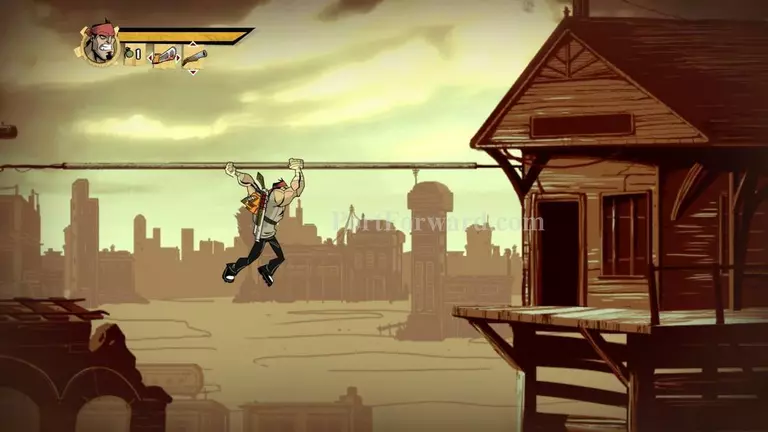
Do a wall run onto the next building
And kill the enemies on that building as they come out

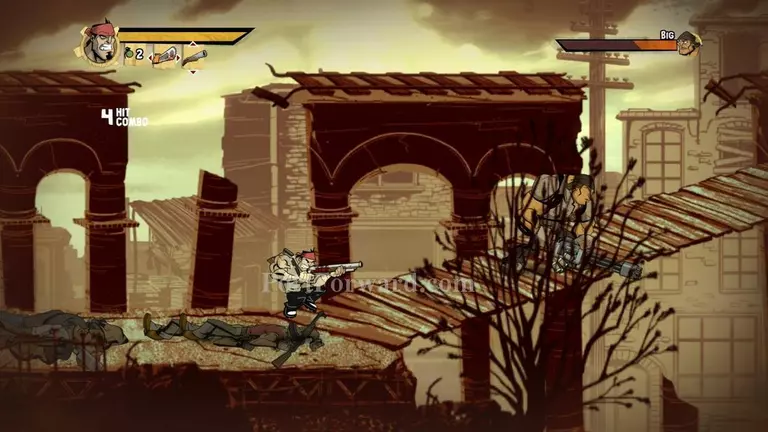
Kill the guy with the minigun as quick as possible because he can be pretty annoying
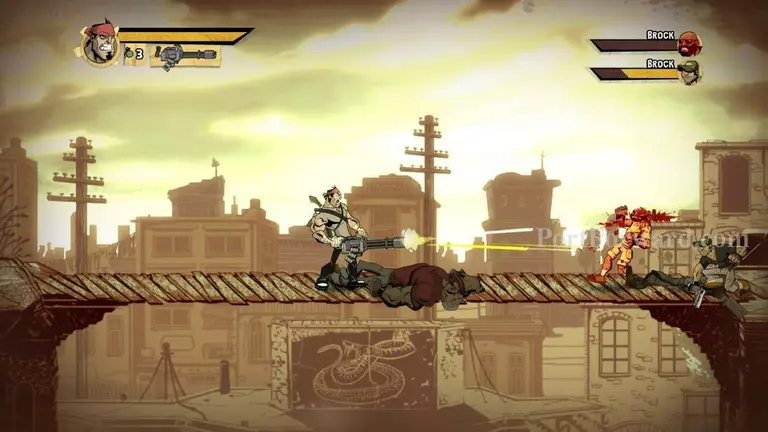
After you kill him you can pick it up and kill the upcoming enemies fairly quickly
Too bad you can't take it along with you
The big dude with the mask's special ability is that he can move really quickly so i suggest you use grenades on him
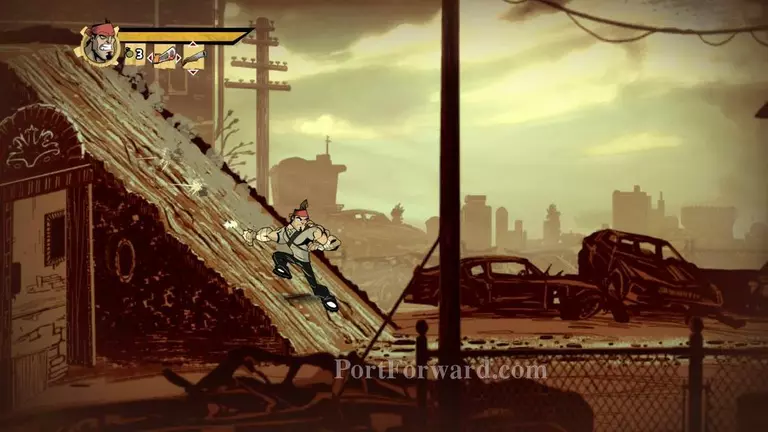
Slide on down to the next part
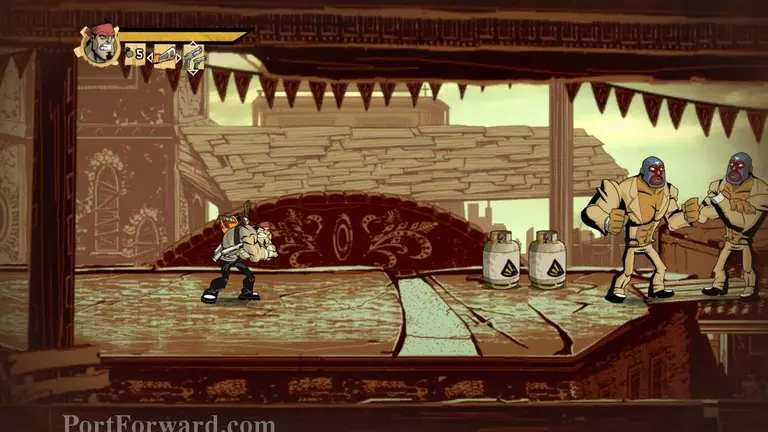
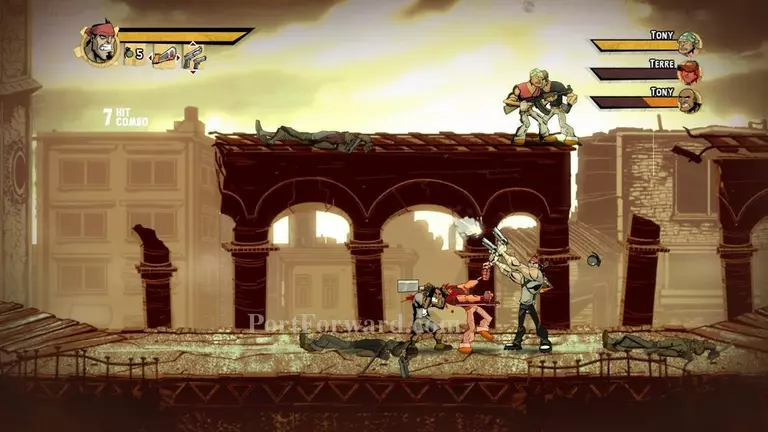
When you reach the area make sure you take out your pistols and get as close as possible without them noticing, than shoot the canisters that are close to them
"This will do alot of damage to them and will make them really easy to kill
When you reach this area be careful because it can get tricky. When an enemy grabs you make sure you press Caps Lock at once to avoid getting hit
"Also make sure you kill the dudes on the higher floor quick because they trow grenades and shoot at you until you do
Make sure you kill the guy with the minigun quckly, same as before. Don't forget to take it with you
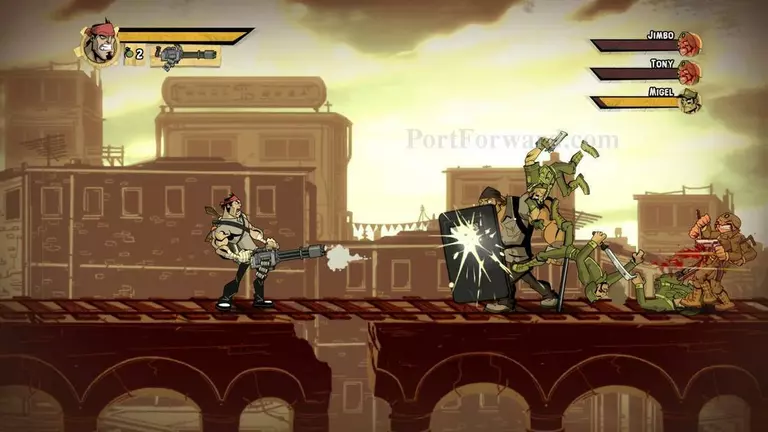
When the guy with a shield comes at you just throw a grenade because you can't shoot him down even with your minigun
After that just continue along by jumping on the beams
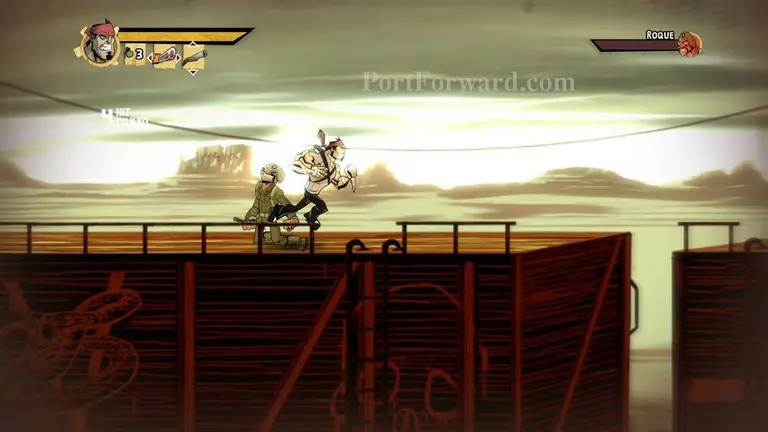
When you reach the train you'll have to be really careful. It can get really sketchy

If an enemy still hasn't noticed you make sure you kill him from behind
Just make sure you knock off as many enemies as you can with your shotgun and kill off the rest
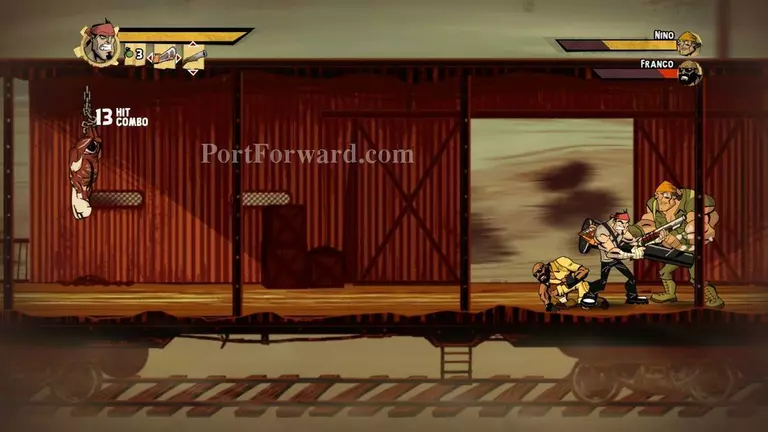
When an enemy grabs you hit LCtrl as quick as possible to knock yourself loose
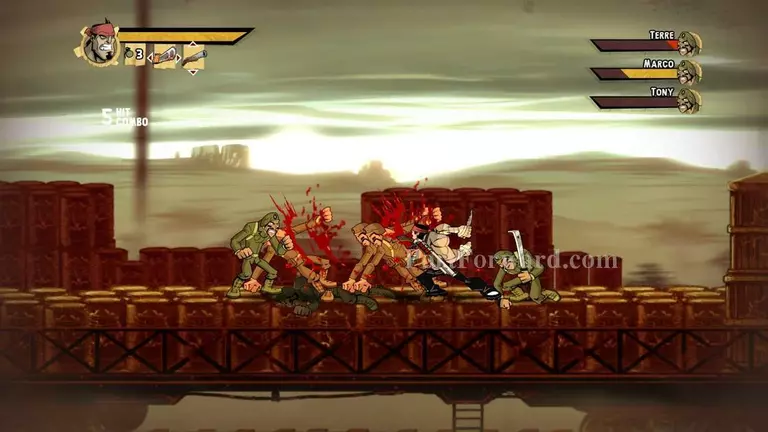
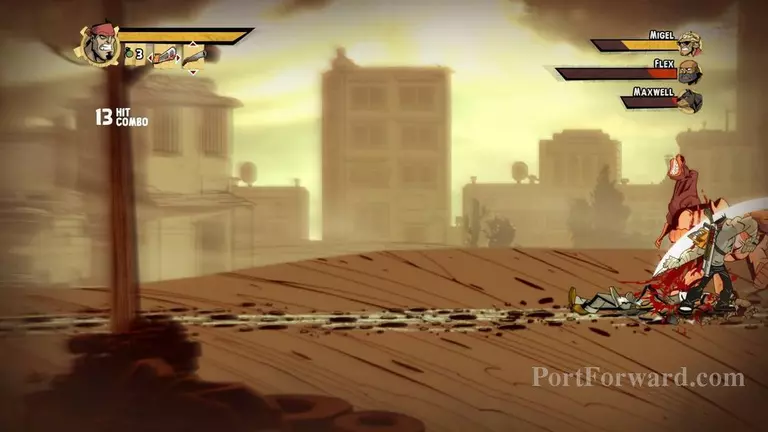
Getting high combos is always good
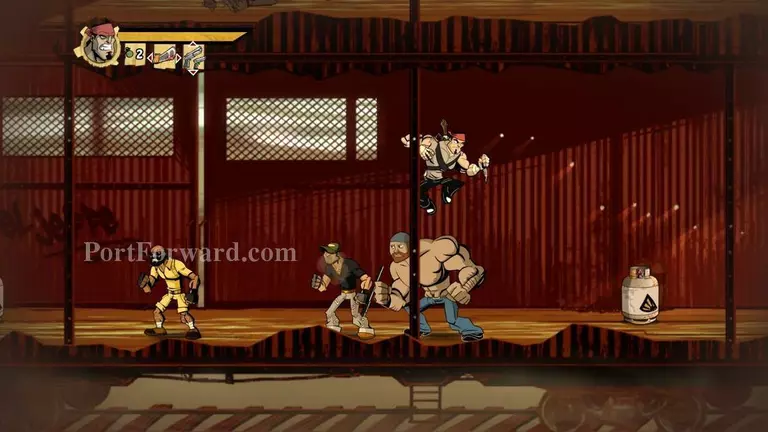
When you get here by jumping from skull to skull I suggest you throw a grenade on the propane tanks. This will do huge amount of damage to everyone in the area
After that continue along, same as before
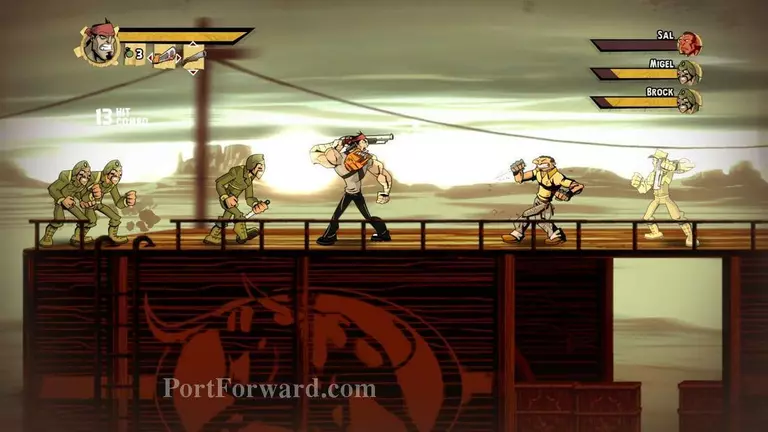
The shotgun is very good for whne there is a lrge group of enemies in one place
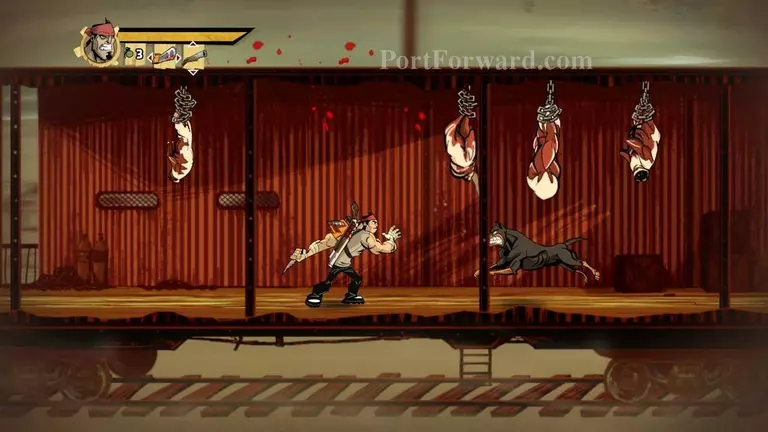
The meat that is hung from the ceiling can be used to preserve your combo
If you ever want to make your job easier just throw grenades on the big guys
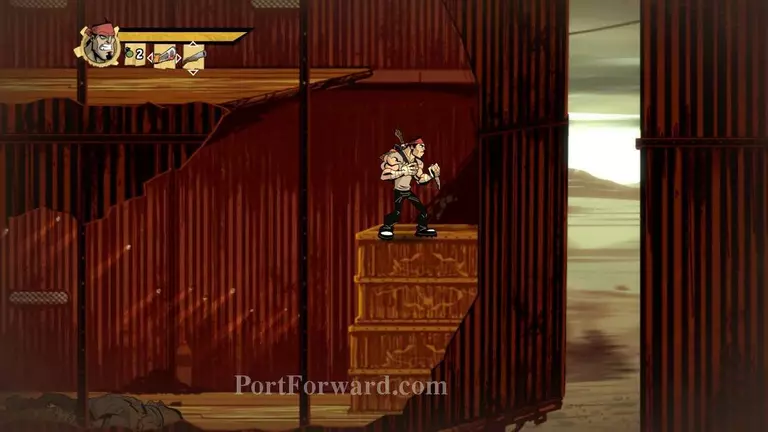
Go to the next floor of the cart by climbing up the crates and up the wall
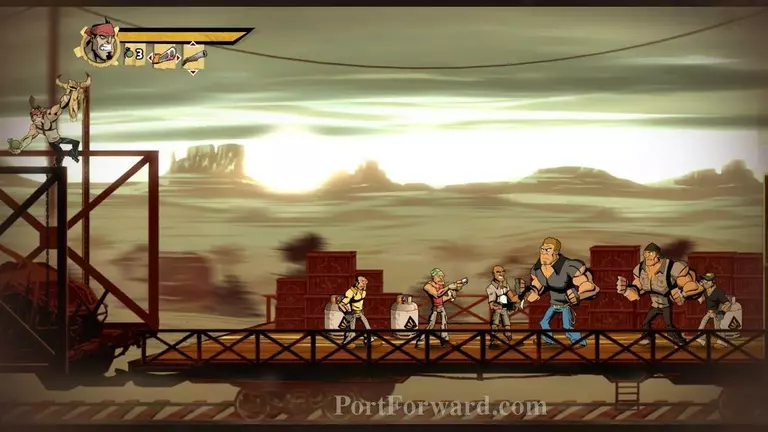
When you get outside make sure you are really careful not to fall down. Also make sure the enemies don't push you or throw you off as well
Propane tanks placed around the map can be really useful
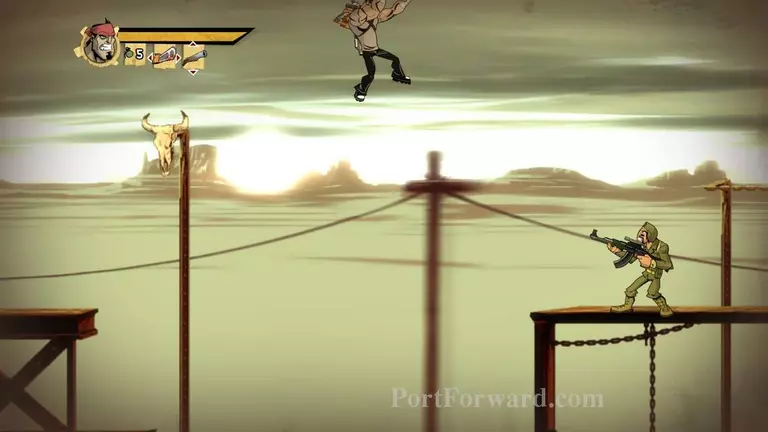
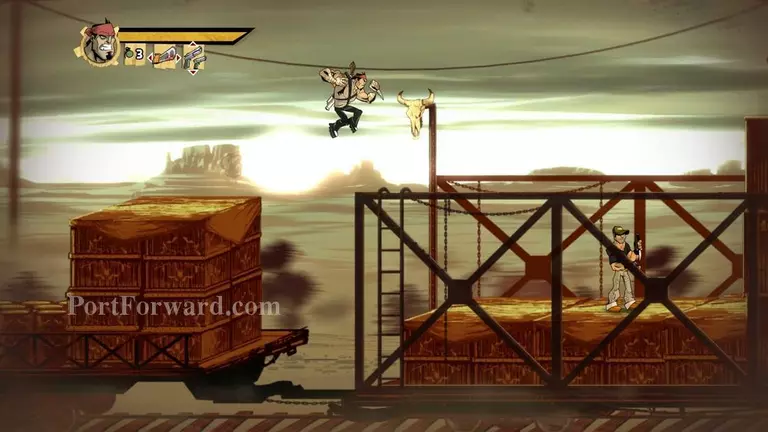
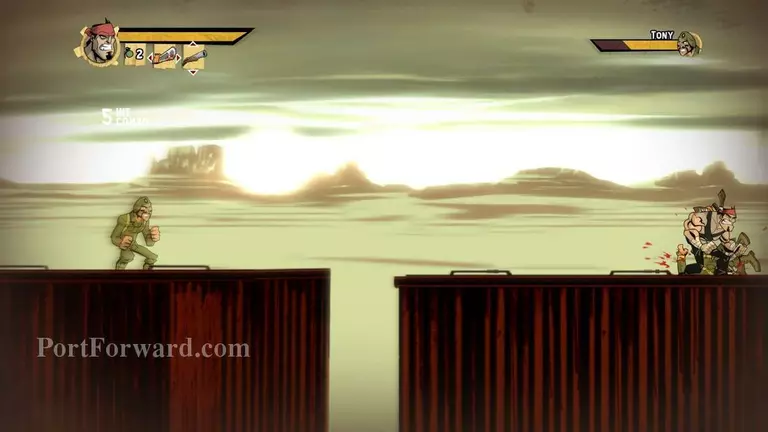
When you reach this guy make sure you don't jump directly at him (like I am doing right here) because he will shoot you down from the groun thus making you fall of the train. After that the boss is coming up

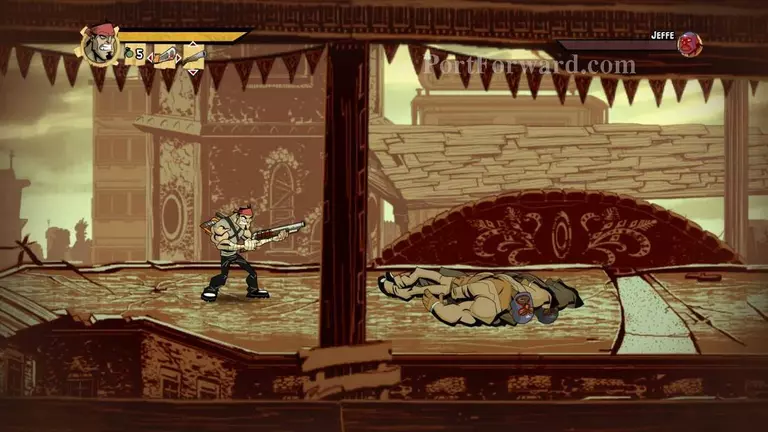
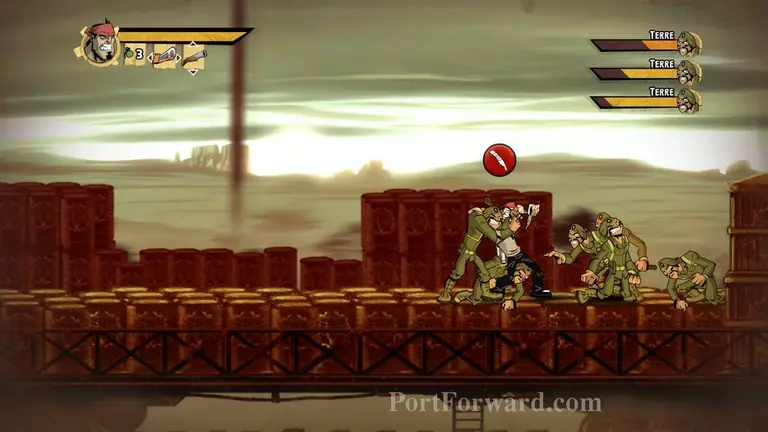
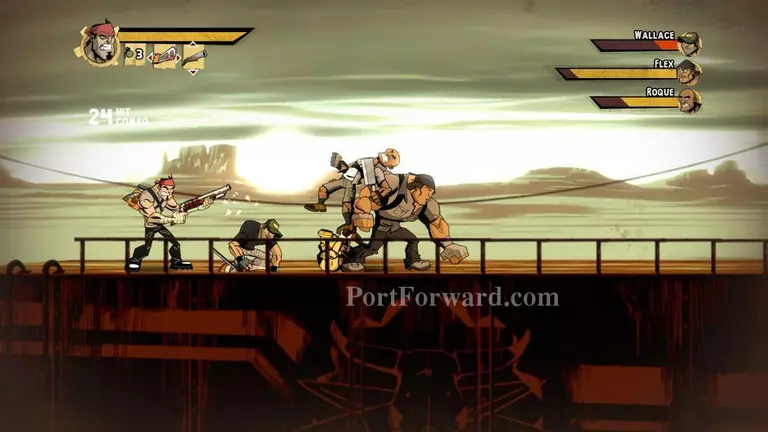
This one is fairly simple as well
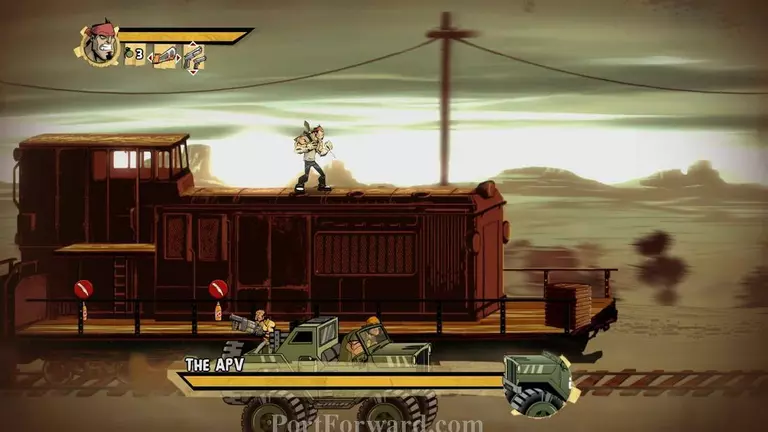
Just throw grenades at him and dodge the grenades he launches at you. He also kills his own guys with the grenades so you need not worry that much about them
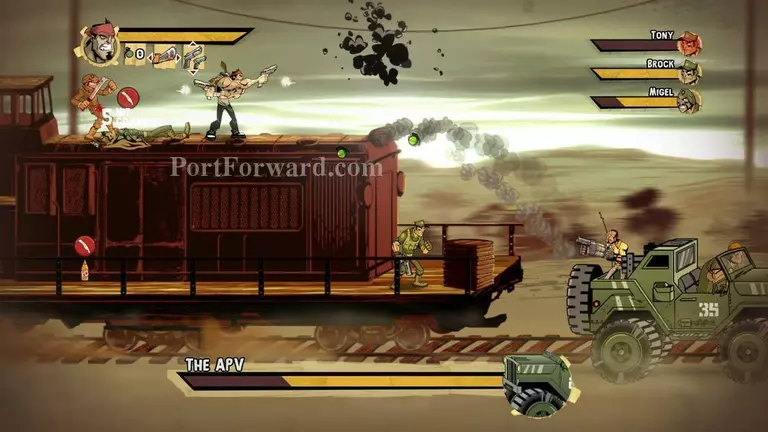
They people you kill do spawn with the grenades needed to kill the boss. Just throw grenades at him until he is dead
More Shank Walkthroughs
This Shank walkthrough is divided into 8 total pages.


