
This Shank walkthrough is divided into 8 total pages.
You can jump to nearby pages of the game using the links above.
Boss 1!
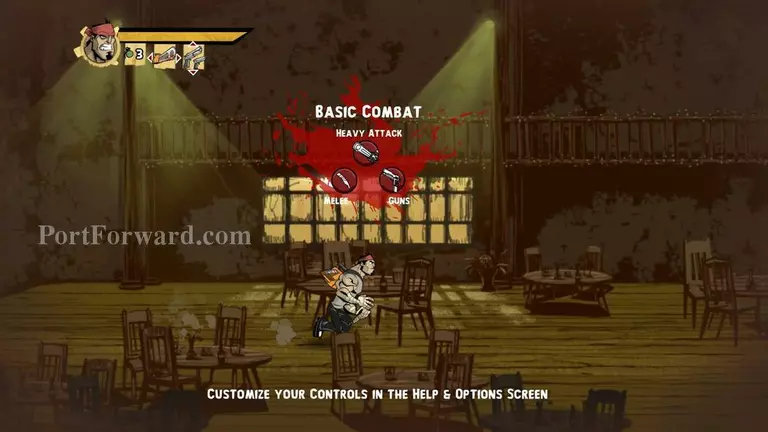
When you start the basic combat control will be displayed on your screen. For PC the default controls are LCtrl for melee, LShift for Heavy Attack and LAlt for Guns
Jumping is bound to Space by default
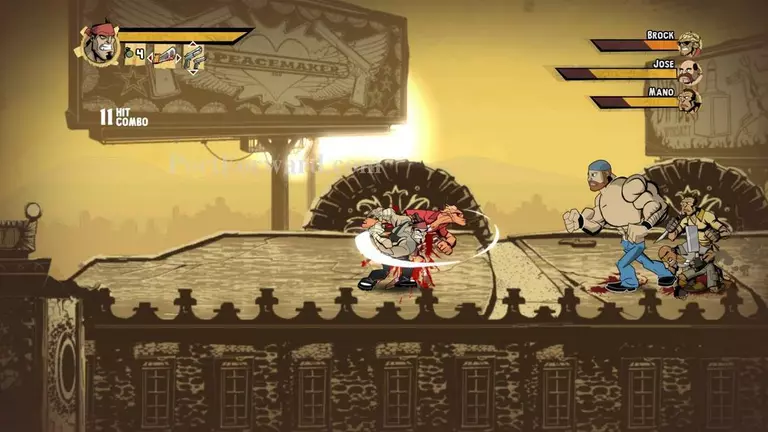
When you encounter your first enemies try combining weapons together to get better combos
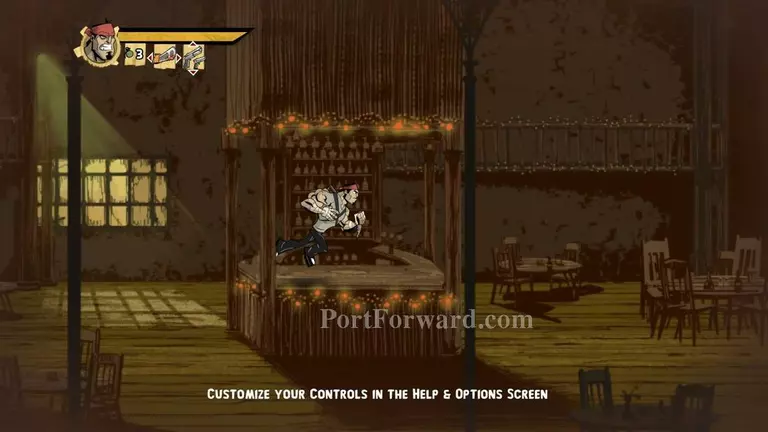
One you kill them continue outside
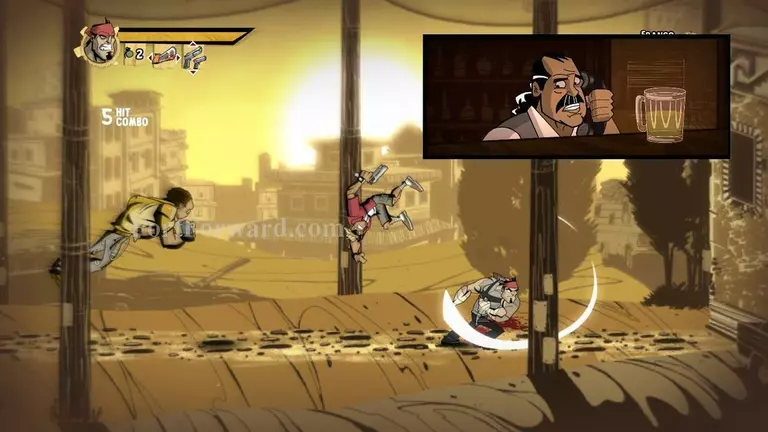
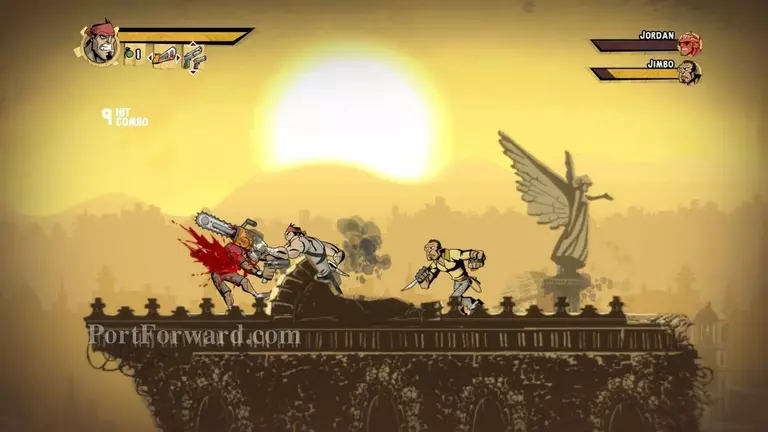
The bigger the combos are the more points you get
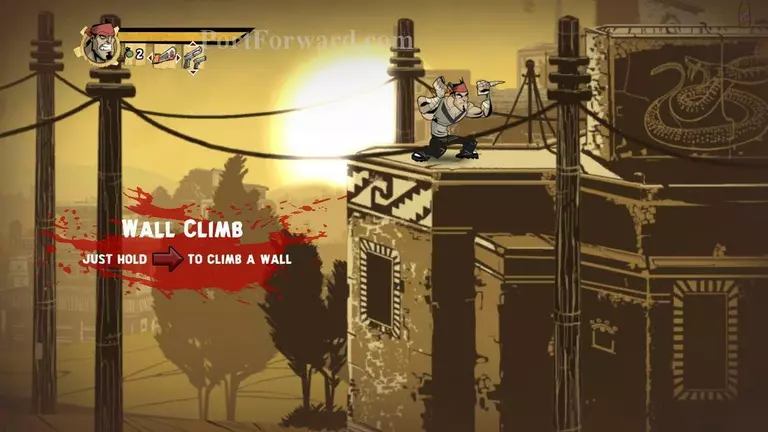
To climb the wall infront of you just walk towards it
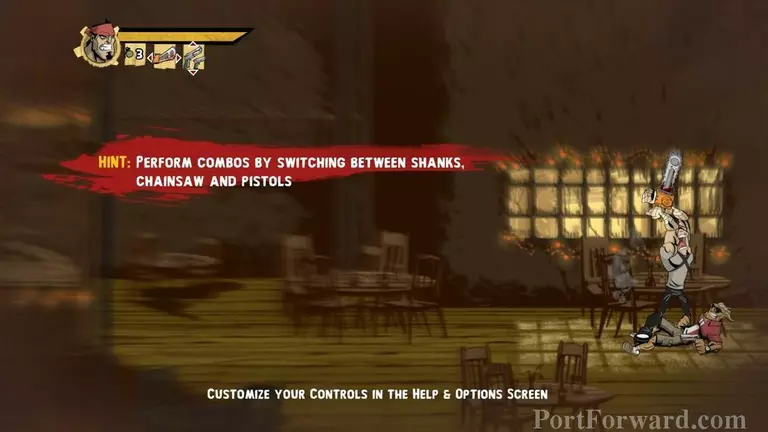
When an enemy has his back turned to you, you should stab him or shoot him from behind thus killing him instantly
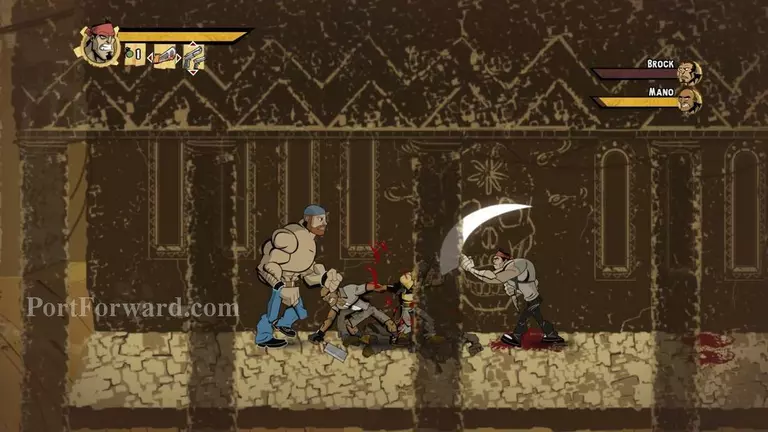
The bigger enemies are a bit harder to kill the rest and do a bit more damage. Each of them has a special ability so be careful
When you finish them off move along the wall
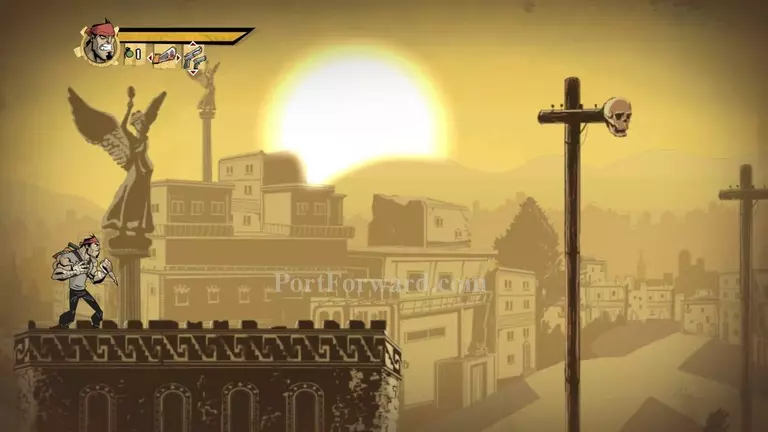
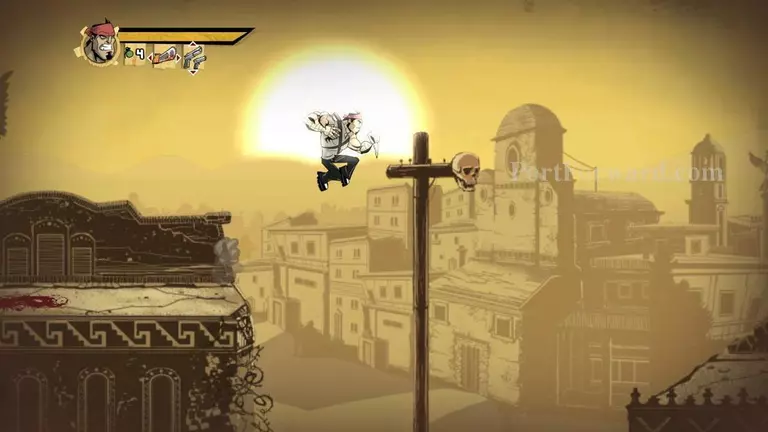
When you reach the top you are supose to grab the skull that is infron of use and jump on the other side
Make sure you don't fall down. Also knocking off enemies kills them instanly but you also lose the chance to make a bigger combo
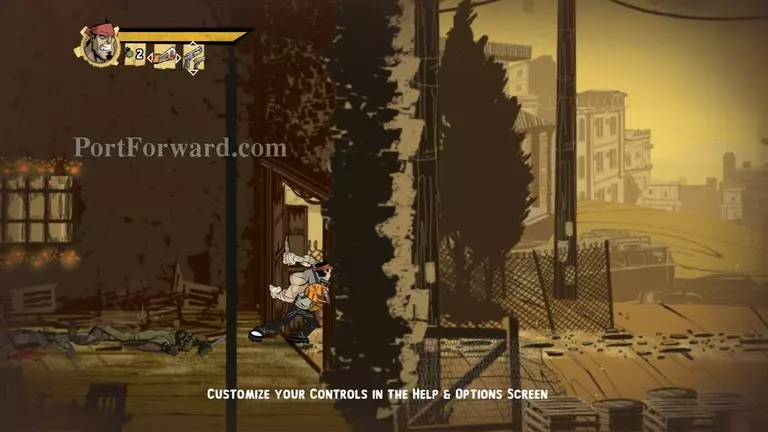
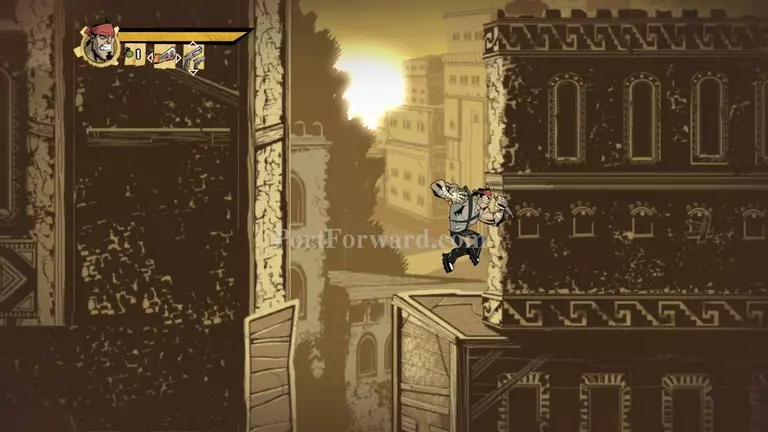
Jump in the building infront of you
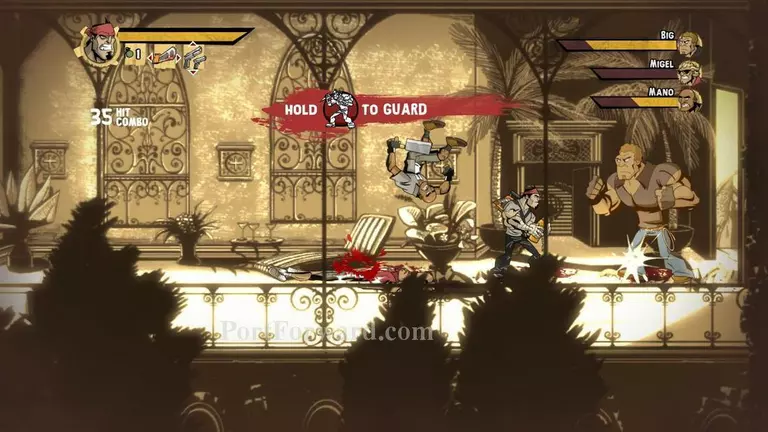
Press Caps Lock to raise your guard. You can also dodgle by pressing Caps Lock and the direction you want to dodge to. This is very useful
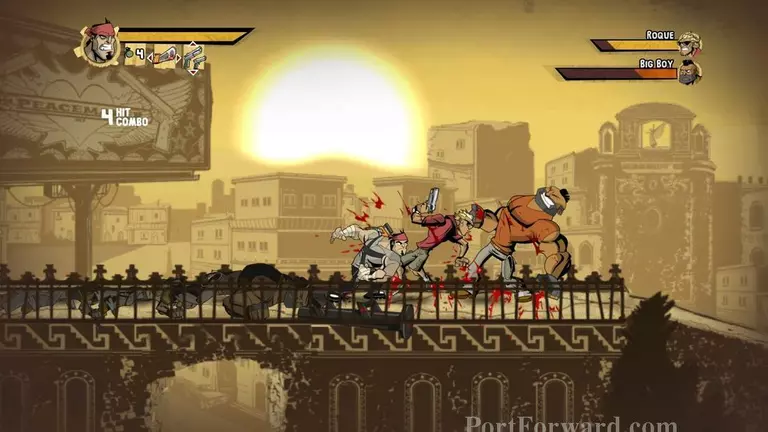
Once you reach the wooden bridge area fight off and kill any enemies you encounter
When you finish continue along ahead
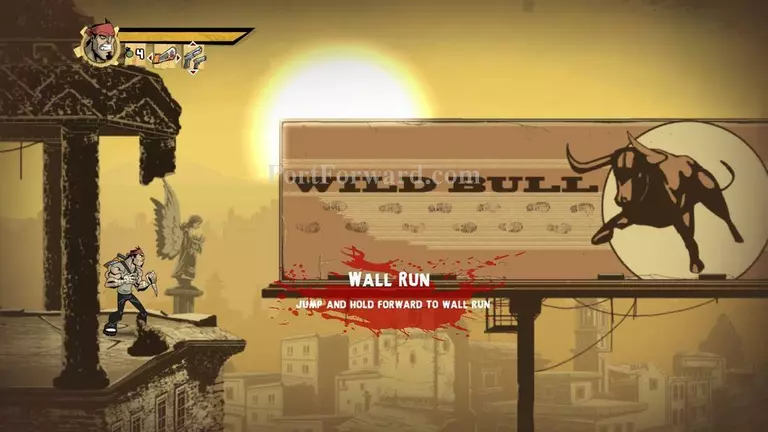
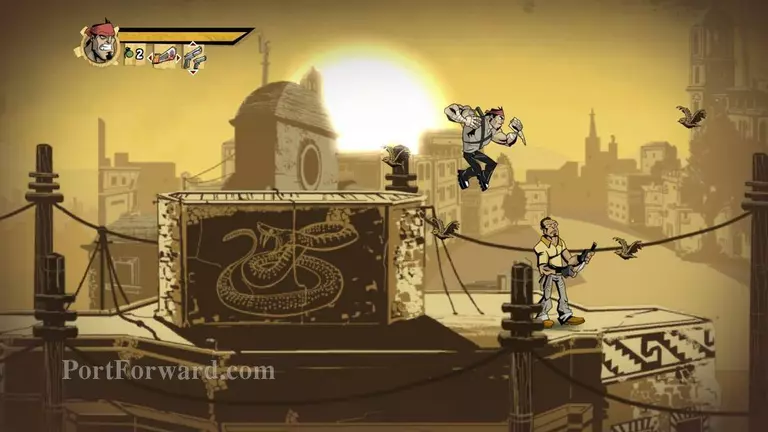
The wall run is fairly easy. Just jump and hold the dirrection you want to go to
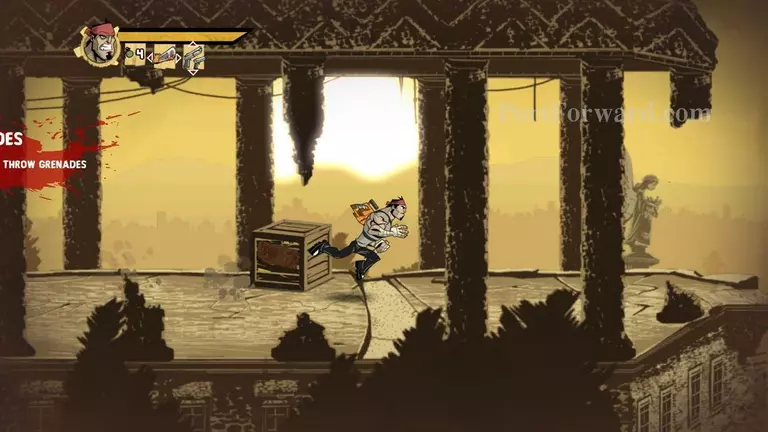
Remember the grenades. Throw grenades by pressing Enter
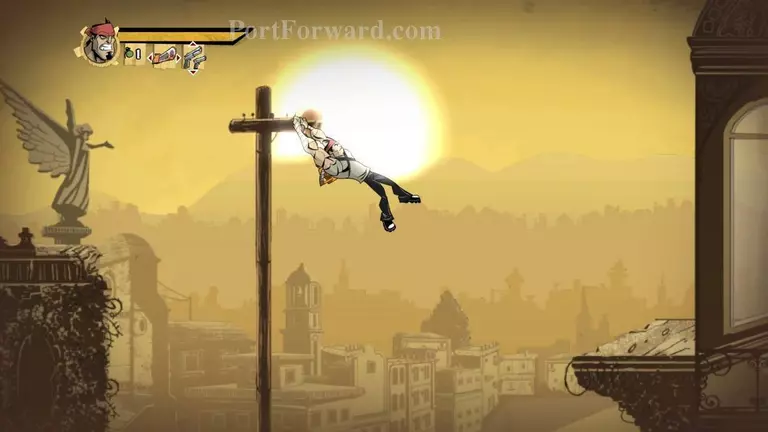
Do the same thing as before with the skulls
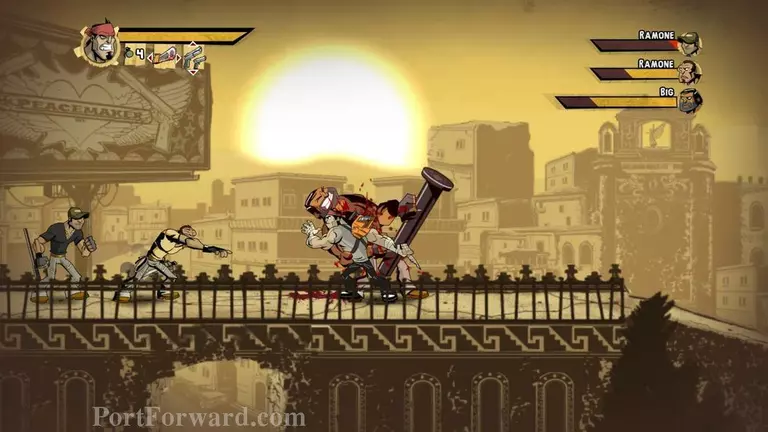
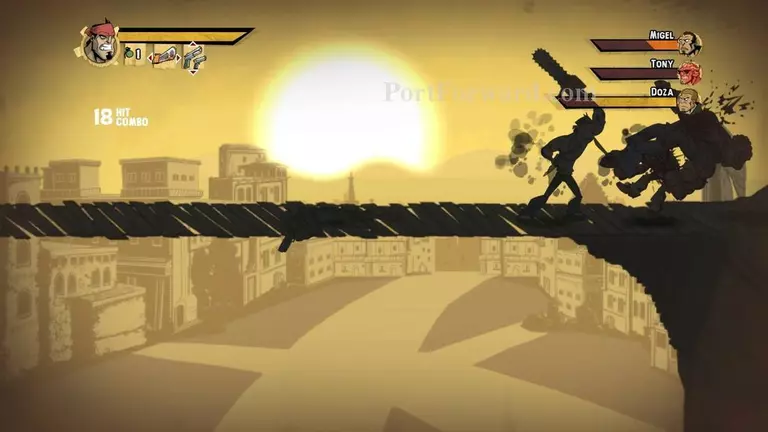
The guy named Big here has a battering ram. Make sure when he charges at you, you dodge his attack otherwise he'll do alot of damage
Grenades are very helpful with the big guys because they do lots of damage very quickly
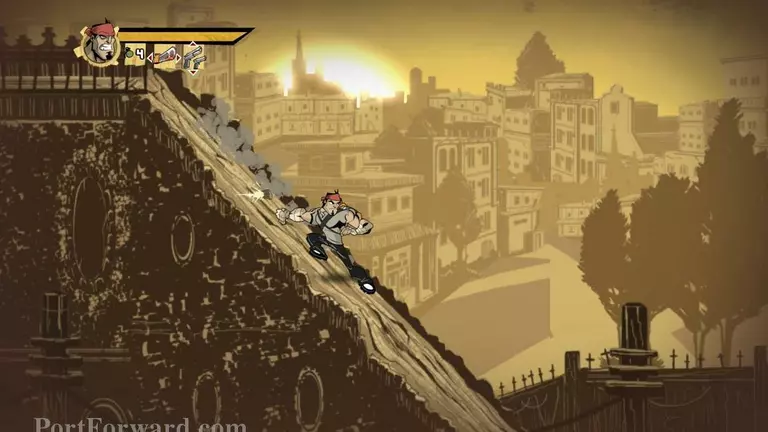
After you're finished you'll have to slide down in order to meet the first boss
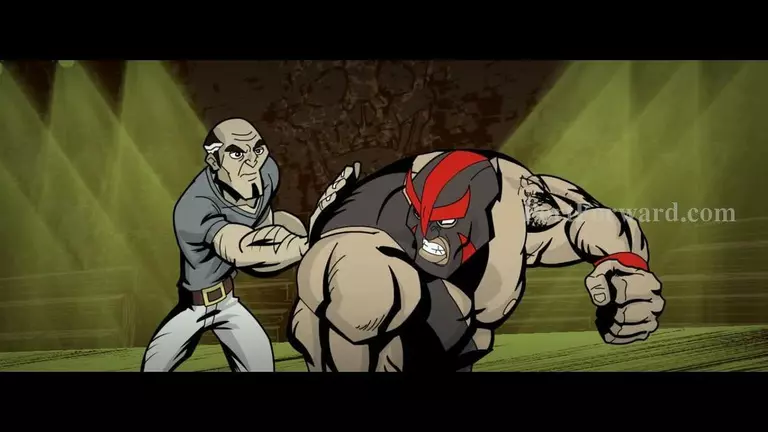
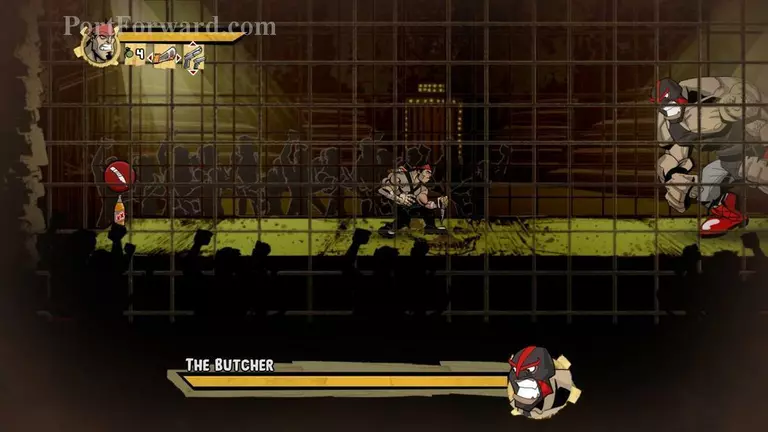
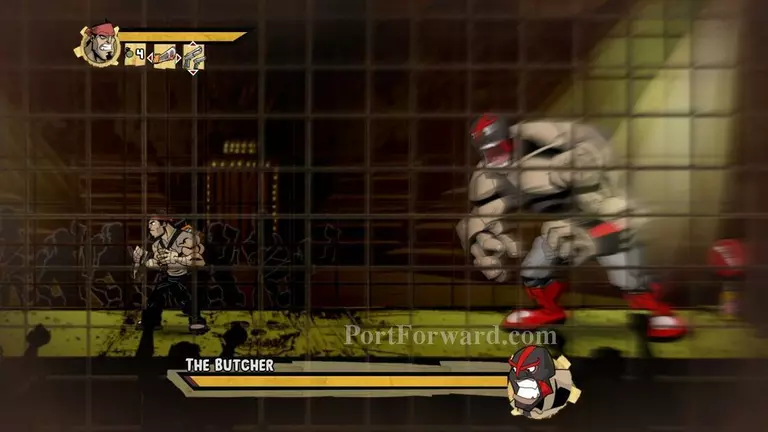
The (FAKE) Butcher
He is fairly easy and simple to kill
Just avoid his attack
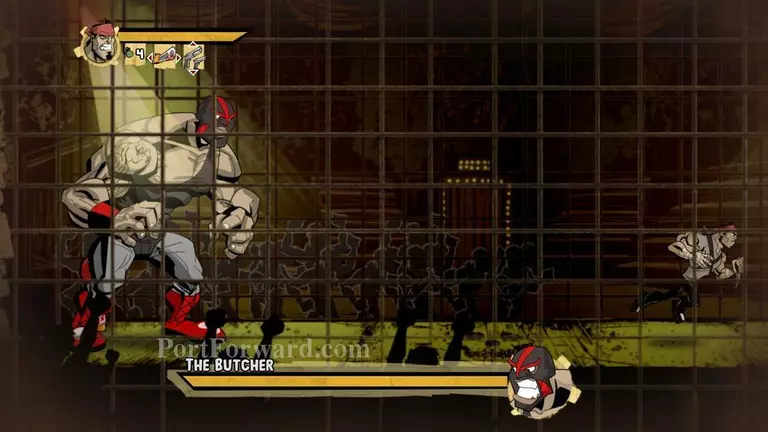
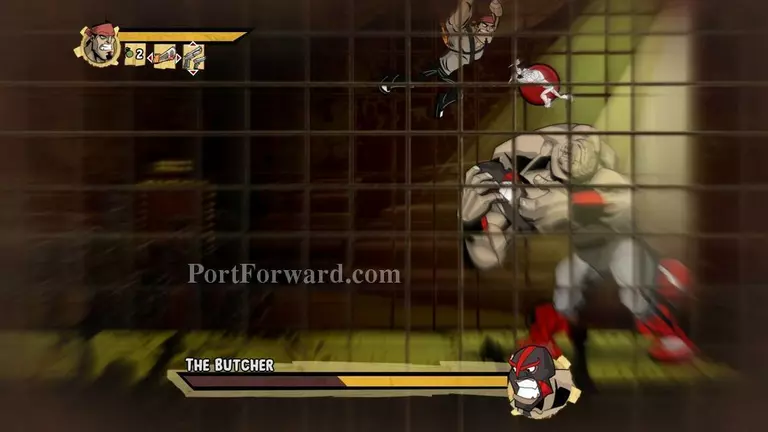
When he decides to charge you just jump out of his way
Once he's hit one of the walls just pounce at him
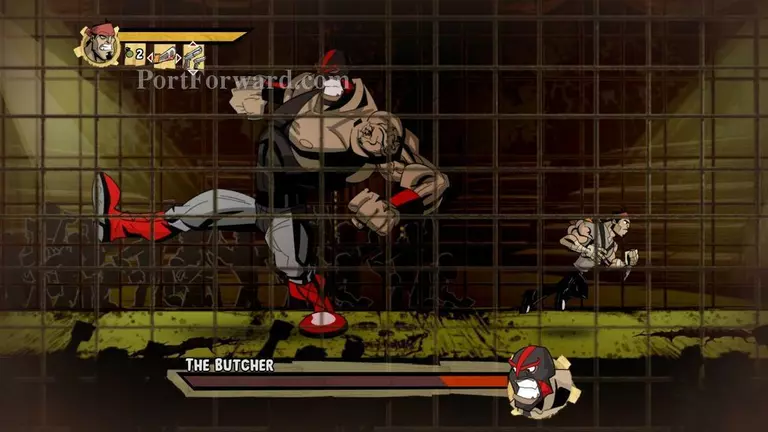
Make sure you avoid his kicks
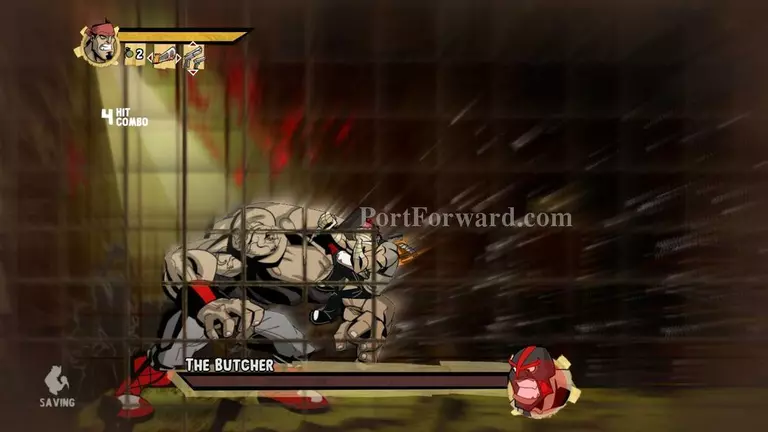
Do this until he is dead
More Shank Walkthroughs
This Shank walkthrough is divided into 8 total pages.


