Splinter Cell: Double Agent Walkthrough Cozumel

September 12, 2016 (Last Updated: ) | Reading Time: 7 minutes

This Splinter Cell: Double Agent walkthrough is divided into 11 total pages.

You can jump to nearby pages of the game using the links above.

Cozumel

Splinter Cell: Double Agent Walkthrough - Splinter Cell-Double-Agent 304

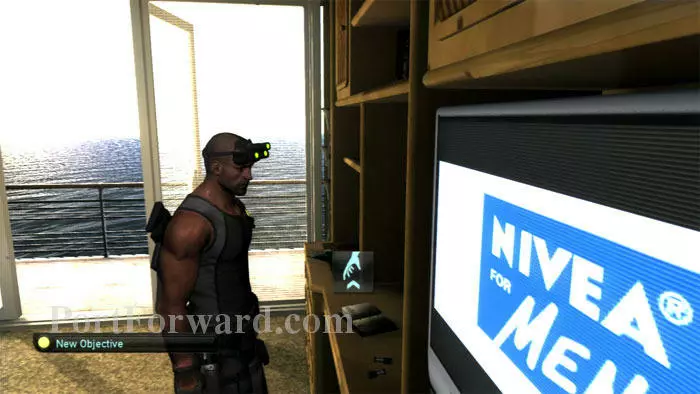
Find some sticky shockers here before heading out to the balcony.

Splinter Cell: Double Agent Walkthrough - Splinter Cell-Double-Agent 305

Hop over the railing and shimmy to the right.

Splinter Cell: Double Agent Walkthrough - Splinter Cell-Double-Agent 306

Climb up the pipe-like beam to the deck above, then shimmy along to the balcony on the right.

Splinter Cell: Double Agent Walkthrough - Splinter Cell-Double-Agent 307

Wait for the guards to leave the balcony then climb over the railing and enter the casino.

Splinter Cell: Double Agent Walkthrough - Splinter Cell-Double-Agent 308

Pause here until Enrica hacks the slot machines, drawing the guards' attention.

Splinter Cell: Double Agent Walkthrough - Splinter Cell-Double-Agent 309

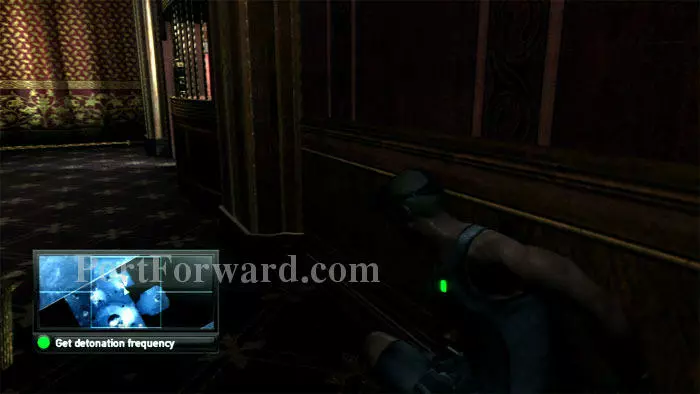
Scurry to the shadow along the left wall.

Splinter Cell: Double Agent Walkthrough - Splinter Cell-Double-Agent 310

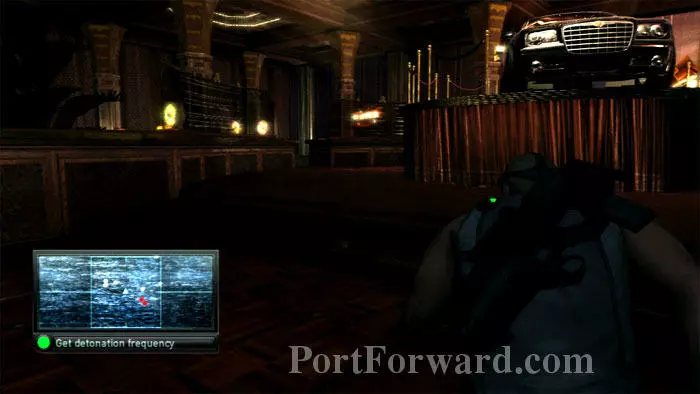
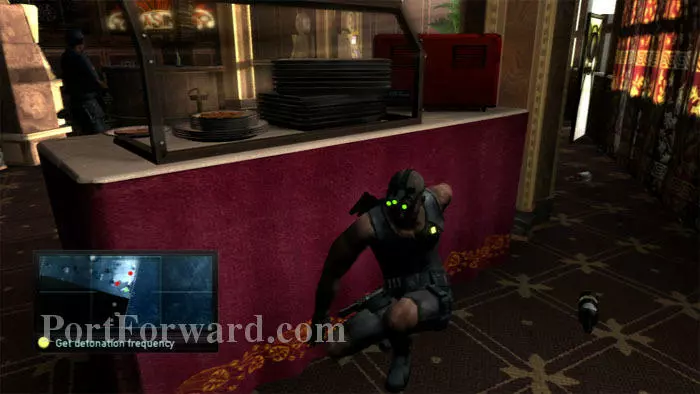
Cut through the car display, heading for the opening straight ahead.

Splinter Cell: Double Agent Walkthrough - Splinter Cell-Double-Agent 311

Find darkness along the right wall. Your immediate destination is the cashier area ahead.

Splinter Cell: Double Agent Walkthrough - Splinter Cell-Double-Agent 312

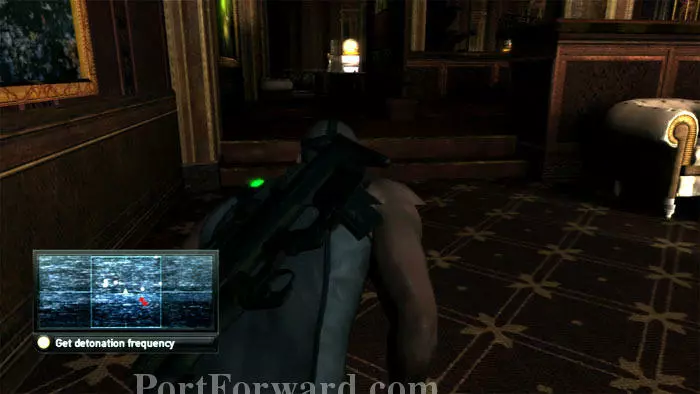
Disable the camera with your SC Pistol's alternate fire.

Splinter Cell: Double Agent Walkthrough - Splinter Cell-Double-Agent 313

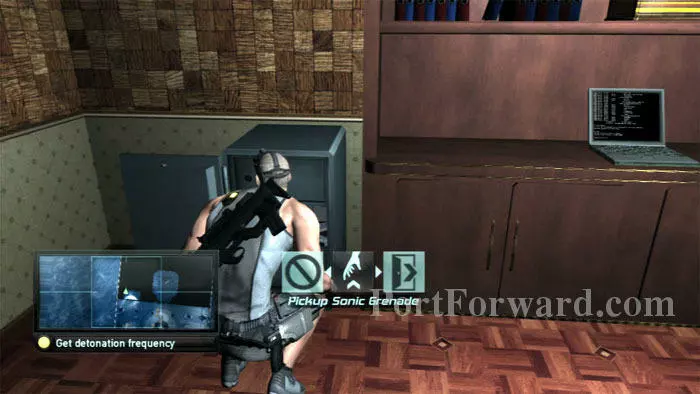
Sonic grenades are in the safe and the computer has emails concerning a cracked aquarium and a broken stairwell light. If you notice the guards talking about hearing the sound of money, get out -- they're on their way to crack the safe themselves. In fact, I recommend you skip these diversions entirely.

Splinter Cell: Double Agent Walkthrough - Splinter Cell-Double-Agent 314

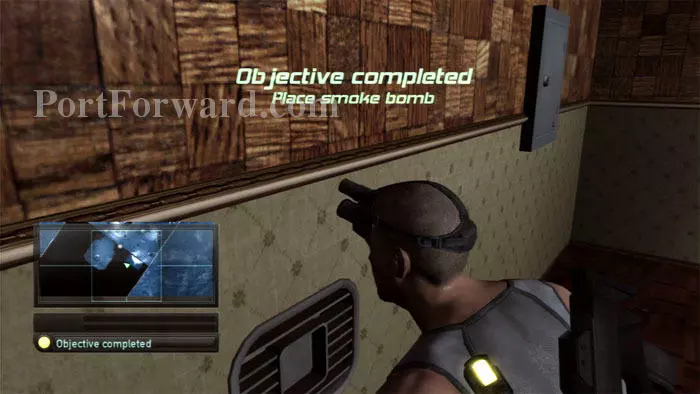
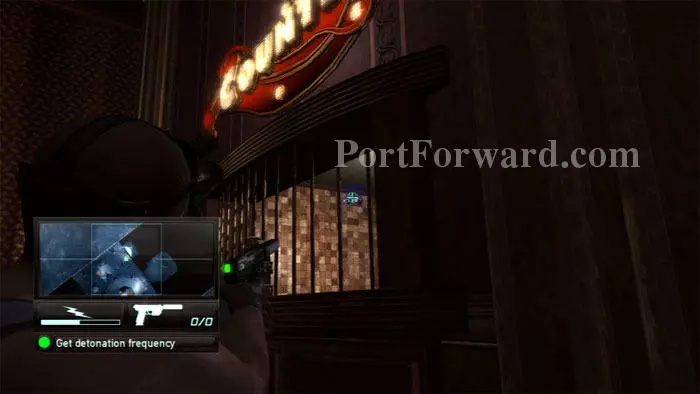
Instead, head right for this vent to complete the NSA primary objective. The panel on the right can be used to temporarily disable the casino lighting, and will attract the guards to this location.

Splinter Cell: Double Agent Walkthrough - Splinter Cell-Double-Agent 315

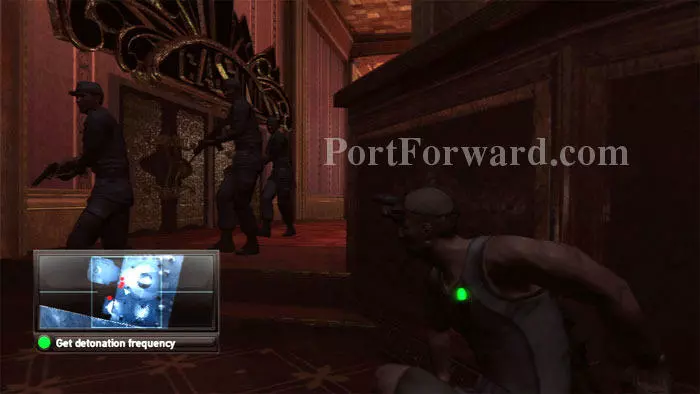
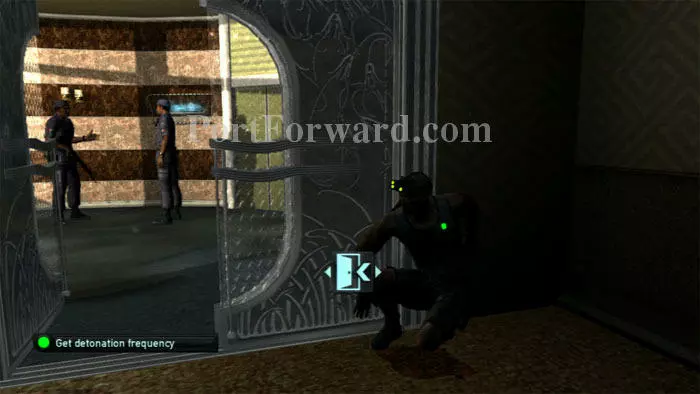
Exit the cashier and hide here while the guards investigate the blackout. The doors under the casino sign are your exit.

Splinter Cell: Double Agent Walkthrough - Splinter Cell-Double-Agent 316

Pick the lock and exit while the guards gather in the cashier room.

Splinter Cell: Double Agent Walkthrough - Splinter Cell-Double-Agent 317

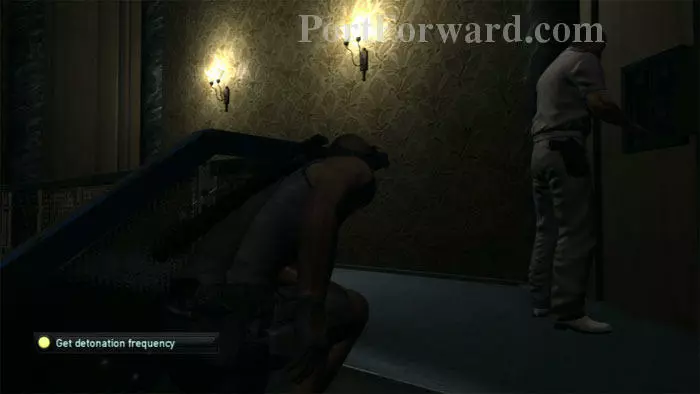
Sneak upstairs while the technician's back is turned.

Splinter Cell: Double Agent Walkthrough - Splinter Cell-Double-Agent 318

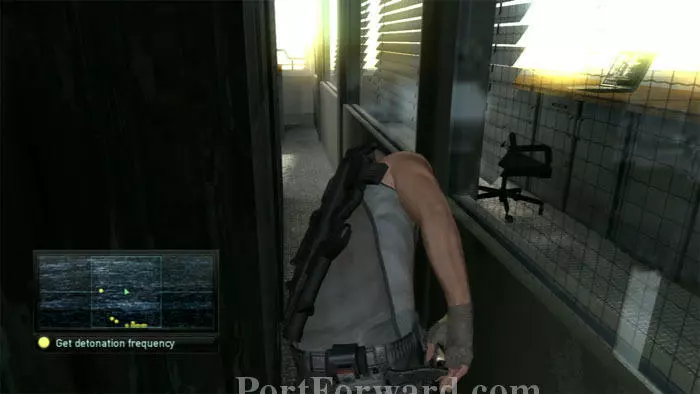
Quietly exit through this door at the top of the stairs.

Splinter Cell: Double Agent Walkthrough - Splinter Cell-Double-Agent 319

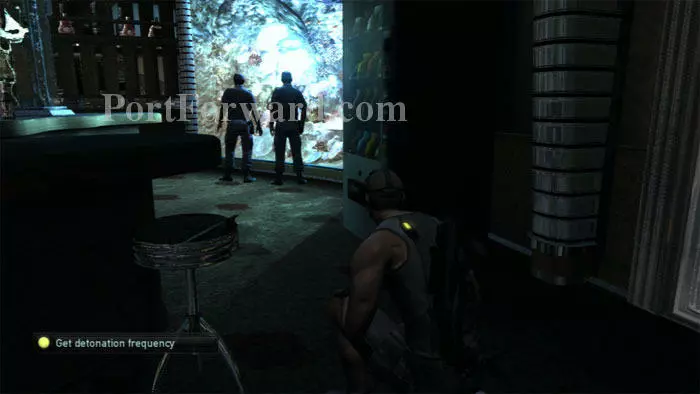
To the left is an alternate balcony route, but it's very touchy if you are trying to avoid the guards. The stealthier approach is here on the right. Wait for these guards to finish admiring the aquarium and walk away.

Splinter Cell: Double Agent Walkthrough - Splinter Cell-Double-Agent 320

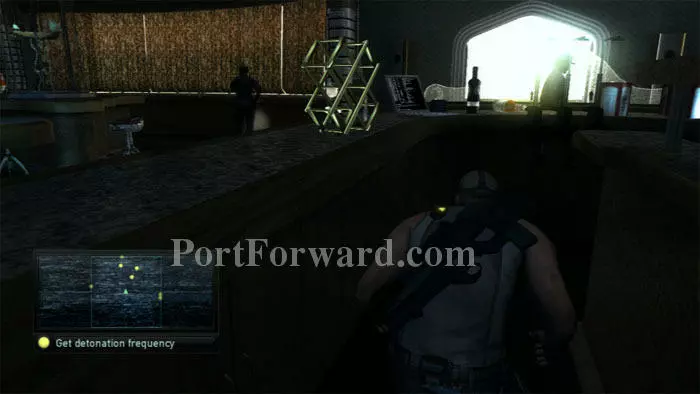
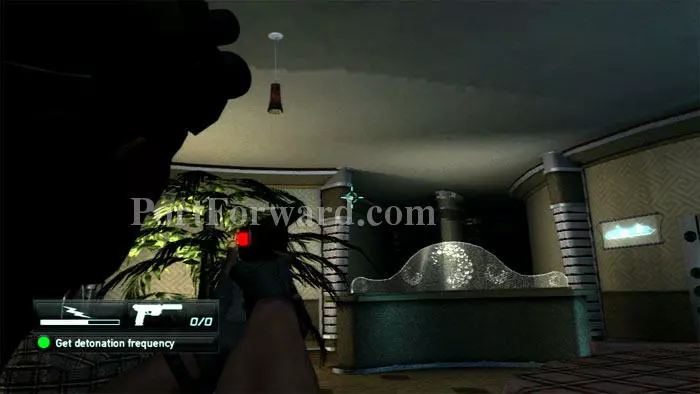
Scurry in front of the aquarium then duck into this U-shaped bar. The laptop has some background emails, including one about the aquarium crack. This is a hint that the aquarium can be smashed for a diversion.

Splinter Cell: Double Agent Walkthrough - Splinter Cell-Double-Agent 321

I'll be showing you a quieter route. Exit the bar area after this guard has moved away.

Splinter Cell: Double Agent Walkthrough - Splinter Cell-Double-Agent 322

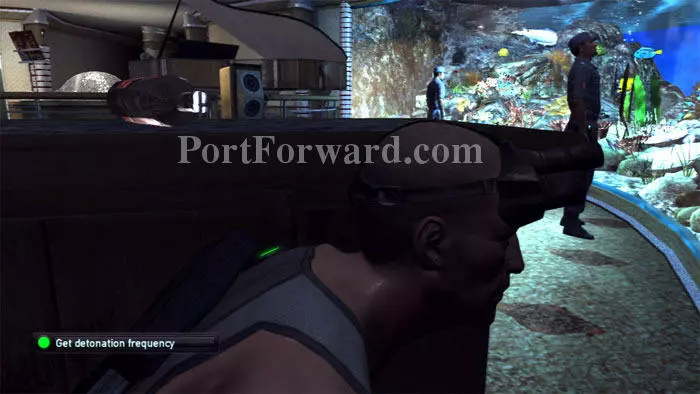
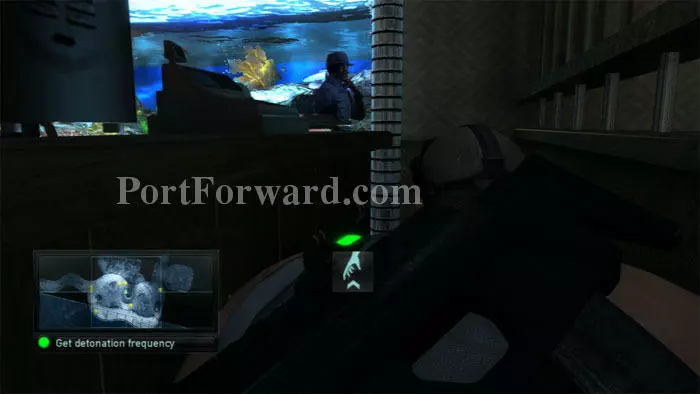
Another aquarium, more admiring guards. Head left around the bandstand while their backs are turned.

Splinter Cell: Double Agent Walkthrough - Splinter Cell-Double-Agent 323

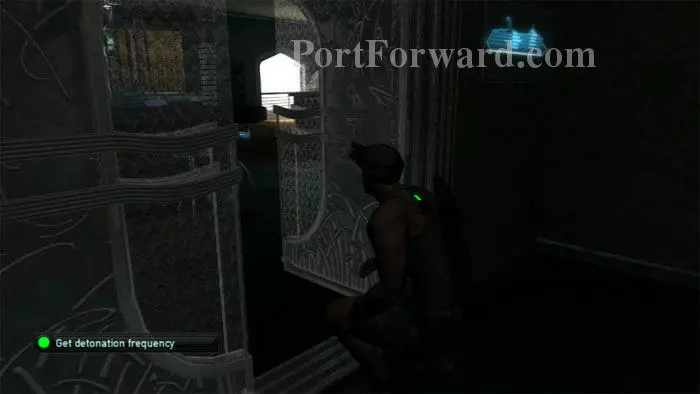
Zap this security camera with your SC Pistol's secondary fire. Head around the counter to the right, where you'll find another vent to drop a smoke grenade in case you missed it earlier.

Splinter Cell: Double Agent Walkthrough - Splinter Cell-Double-Agent 324

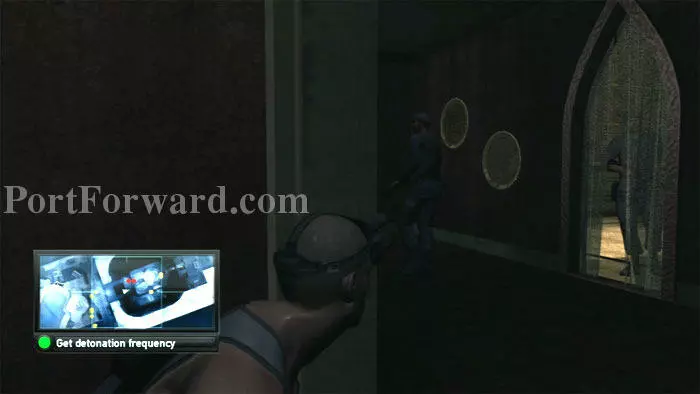
At the end of the hallway are these doors. Wait for the guards to finish their conversation, then move away from the doors before they pass through. Once the guards have left, call the elevator and step inside for the next checkpoint.

Splinter Cell: Double Agent Walkthrough - Splinter Cell-Double-Agent 325

Pull yourself through the ceiling trap before the guard arrives. Drop below once he's moved on.

Splinter Cell: Double Agent Walkthrough - Splinter Cell-Double-Agent 326

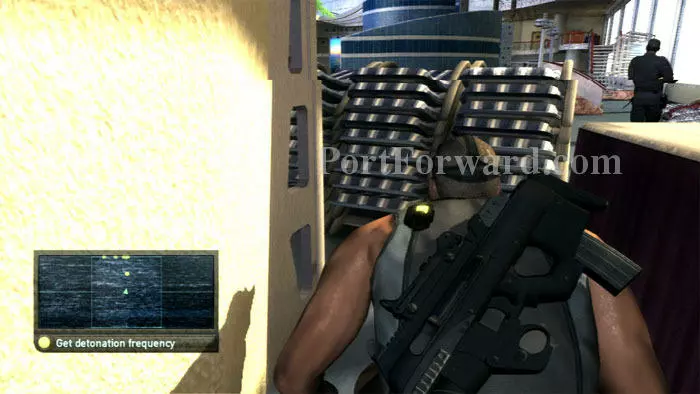
Head left and duck behind the stacked deck chairs.

Splinter Cell: Double Agent Walkthrough - Splinter Cell-Double-Agent 327

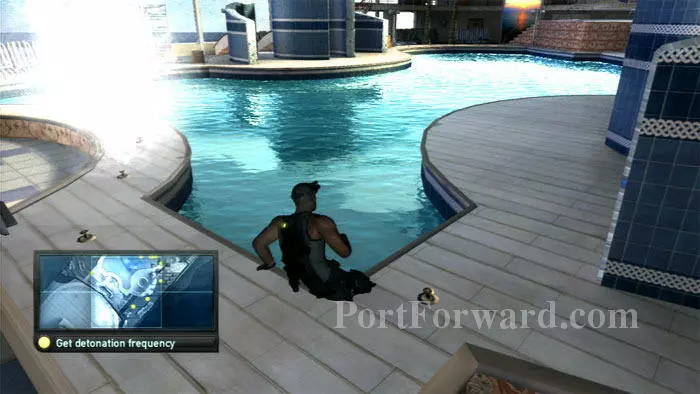
Enrica activates the fountains to provide you with some cover. This initially attracts the guards, so wait until they move away before slipping into the pool.

Splinter Cell: Double Agent Walkthrough - Splinter Cell-Double-Agent 328

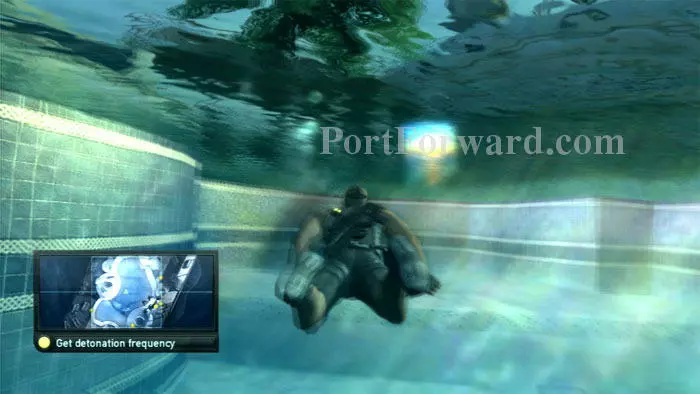
Swim forward, then press "B" to drop beneath the surface. Swim to the other side of the pool, towards the left.

Splinter Cell: Double Agent Walkthrough - Splinter Cell-Double-Agent 329

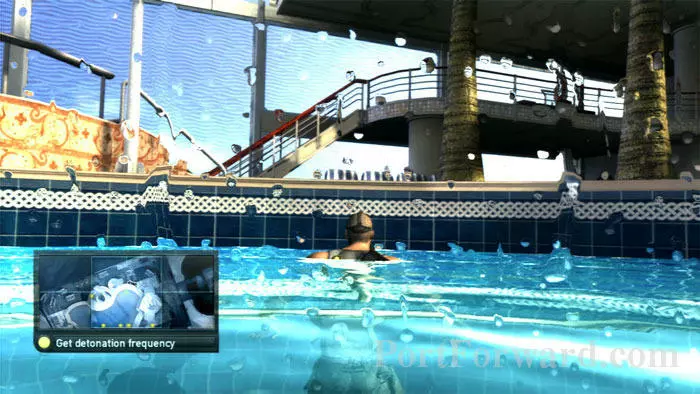
Surface here, exit the pool, then ascend the stairs ahead.

Splinter Cell: Double Agent Walkthrough - Splinter Cell-Double-Agent 330

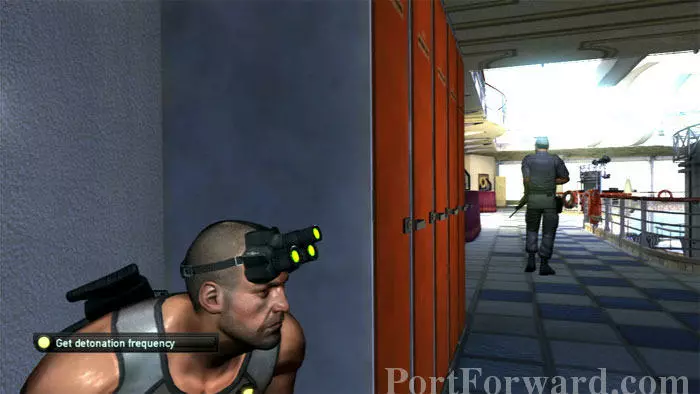
Hide here by (or inside of) these lockers until the guard has his back to you.

Splinter Cell: Double Agent Walkthrough - Splinter Cell-Double-Agent 331

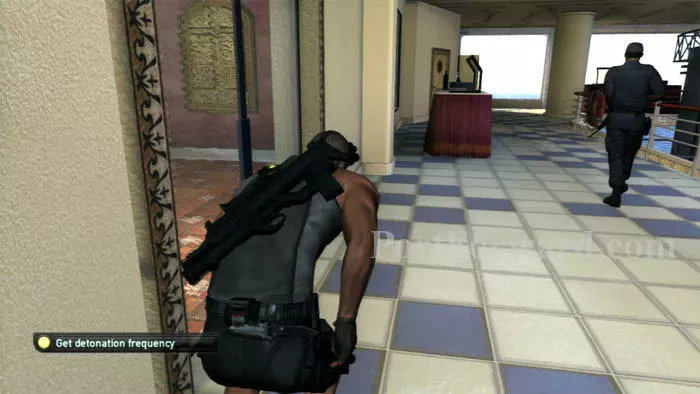
Shadow him, being careful to hide behind the table on the left when he turns around briefly. Duck through this door on the left, under a camera.

Splinter Cell: Double Agent Walkthrough - Splinter Cell-Double-Agent 332

Switch off the lights in the left hallway.

Splinter Cell: Double Agent Walkthrough - Splinter Cell-Double-Agent 333

Take the hallway on the right then slip into the steam room while the guards investigate.

Splinter Cell: Double Agent Walkthrough - Splinter Cell-Double-Agent 334

Scurry through the currently-empty steam room to the back wall.

Splinter Cell: Double Agent Walkthrough - Splinter Cell-Double-Agent 335

Climb onto this platform.

Splinter Cell: Double Agent Walkthrough - Splinter Cell-Double-Agent 336

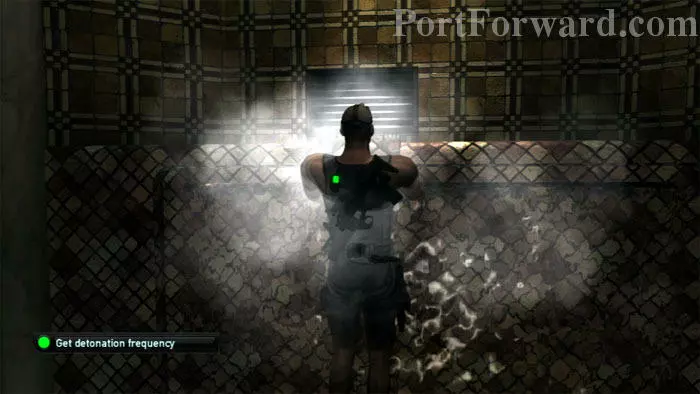
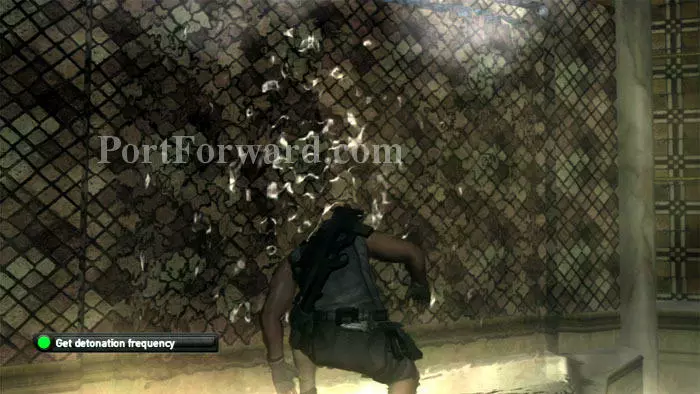
Pull yourself up, break the vent, and climb through. (A nearby pipe may also be climbed to reach this position, but with the place empty this is the most straightforward approach.)

Splinter Cell: Double Agent Walkthrough - Splinter Cell-Double-Agent 337

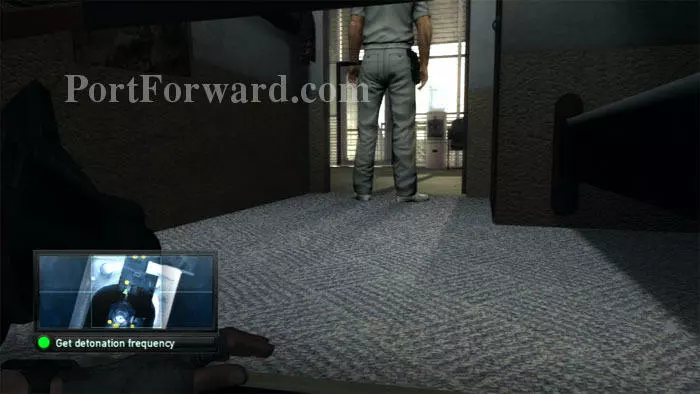
Wait for this officer to leave his quarters before exiting the vent. You can interrogate him to learn the navigation room code 2112 if you prefer.

Splinter Cell: Double Agent Walkthrough - Splinter Cell-Double-Agent 338

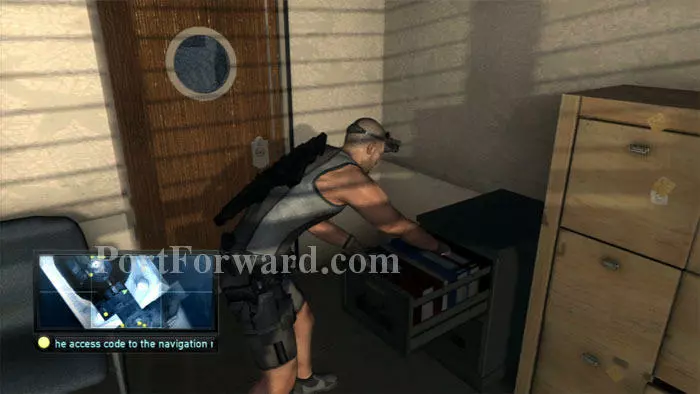
The code can also be found by searching this cabinet to the left. If you enter the door seen beside the cabinet you'll also find the code on a laptop, along with some background emails.

Splinter Cell: Double Agent Walkthrough - Splinter Cell-Double-Agent 339

Behind these shelves you'll find the officer has fallen asleep. The laptop on the left also has the code 2112. There's 5.7mm ammo on the shelf near the officer, and smoke grenades are through the door visible on the right.

Splinter Cell: Double Agent Walkthrough - Splinter Cell-Double-Agent 340

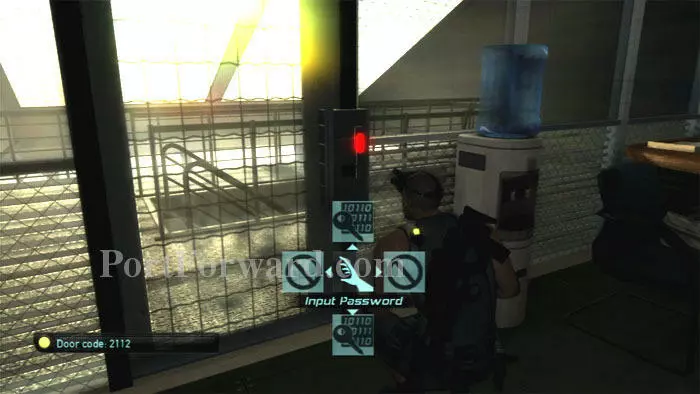
Exit through here with the code 2112.

Splinter Cell: Double Agent Walkthrough - Splinter Cell-Double-Agent 341

Quietly descend the stairs, turn right, then hide here while the officers talk. Afterwards, they'll head upstairs, leaving a single officer behind.

Splinter Cell: Double Agent Walkthrough - Splinter Cell-Double-Agent 342

The door visible straight ahead is where you'll exit. Sneak to the right wall while the officer's back is turned.

Splinter Cell: Double Agent Walkthrough - Splinter Cell-Double-Agent 343

Squeeze behind these cabinets.

Splinter Cell: Double Agent Walkthrough - Splinter Cell-Double-Agent 344

You won't be able to see the officer at all, so rely upon your radar to make your move when he walks to the back of the bridge.

Splinter Cell: Double Agent Walkthrough - Splinter Cell-Double-Agent 345

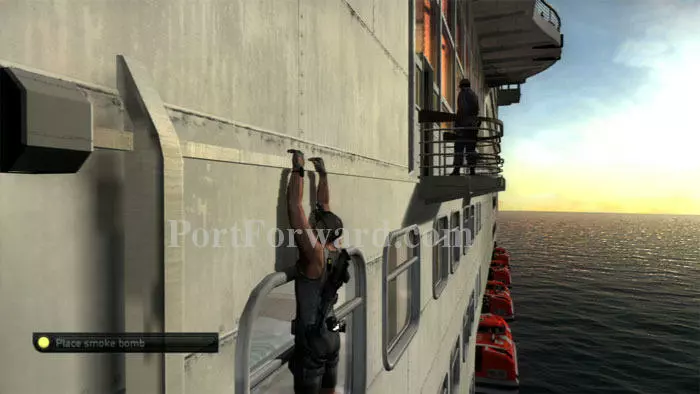
Freedom! Hurry out the door before he makes his rounds back to the front of the bridge.

Splinter Cell: Double Agent Walkthrough - Splinter Cell-Double-Agent 346

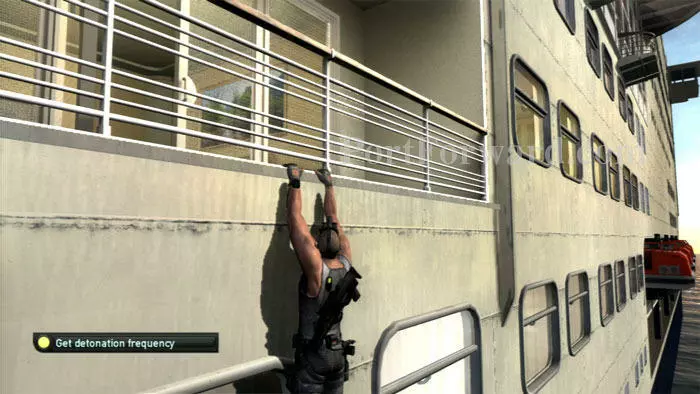
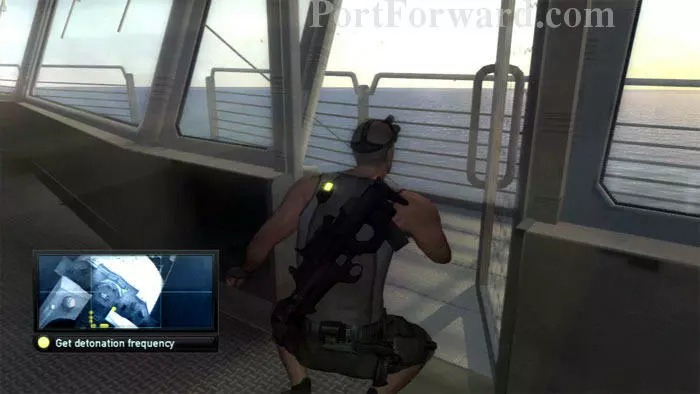
Grab the zip line and ride it across to the forward deck.

Splinter Cell: Double Agent Walkthrough - Splinter Cell-Double-Agent 347

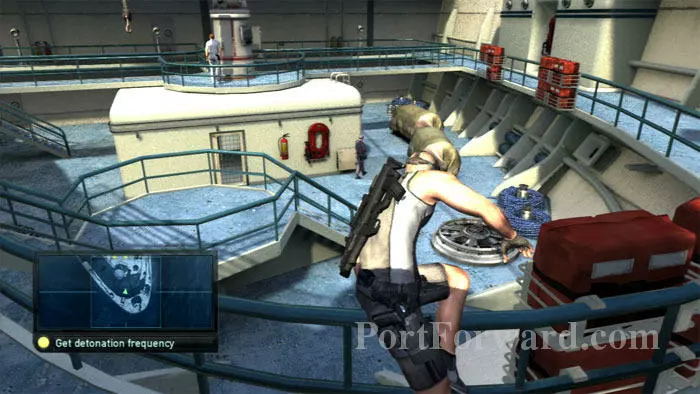
Hide while the officer and the guard talk. Head below once they split up and are in these positions, with the officer at the crane and the guard heading behind the building.

Splinter Cell: Double Agent Walkthrough - Splinter Cell-Double-Agent 348

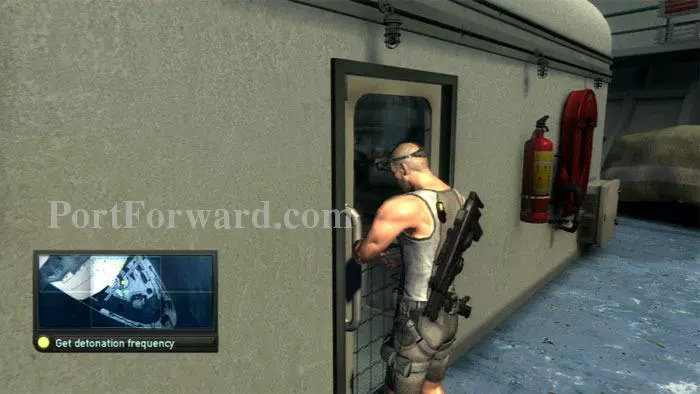
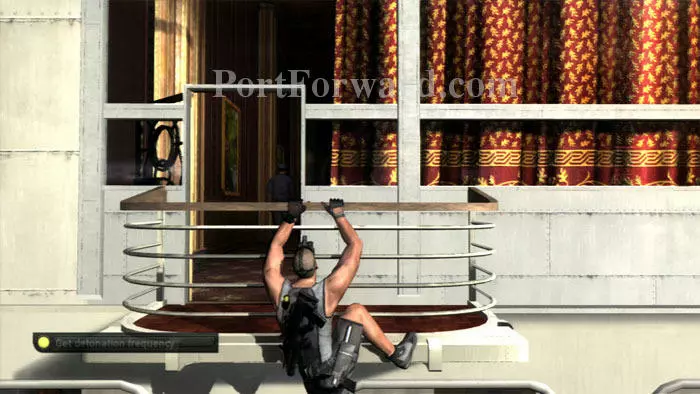
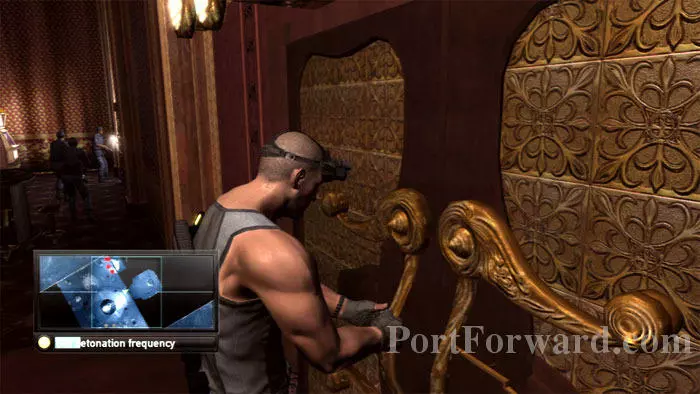
Pick the lock on the door and enter. Close the door behind yourself.

Splinter Cell: Double Agent Walkthrough - Splinter Cell-Double-Agent 349

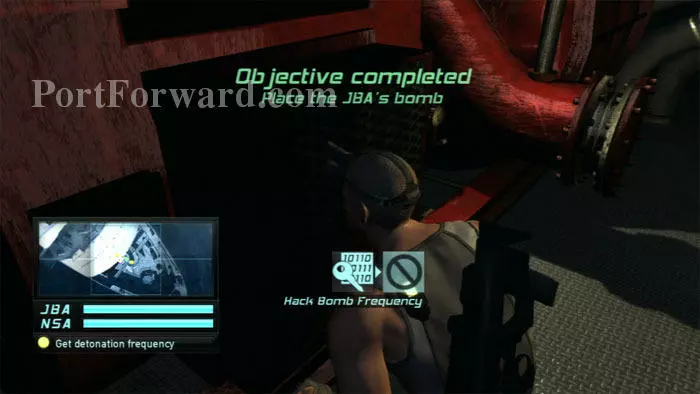
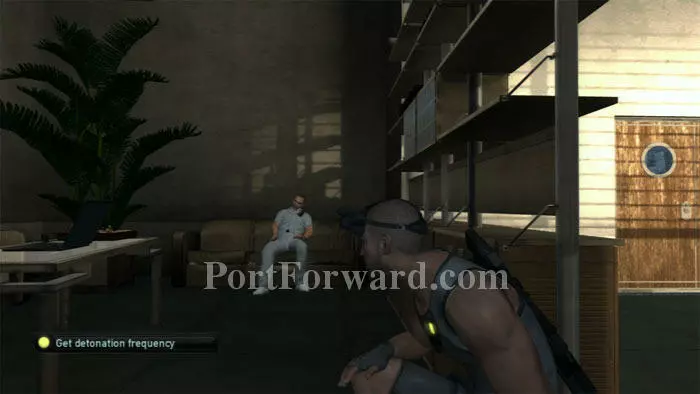
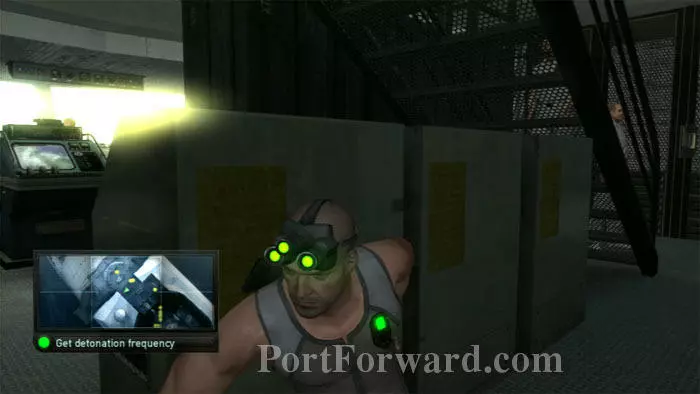
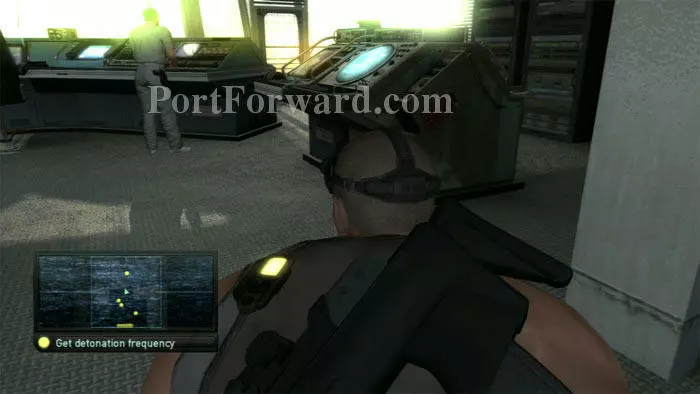
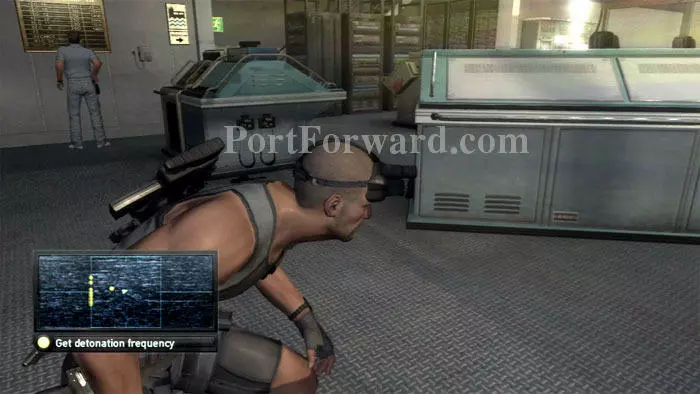
Plant the bomb here to complete the JBA objective, then hack the bomb frequency to complete the NSA objective.

Splinter Cell: Double Agent Walkthrough - Splinter Cell-Double-Agent 350

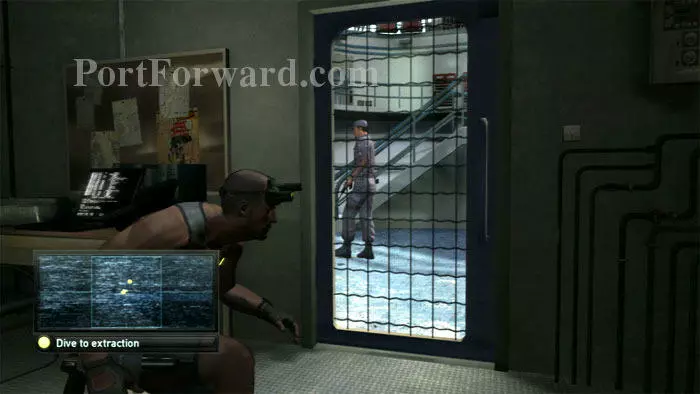
Wait for the guard to be headed away before exiting. The laptop to the left contains some background emails.

Splinter Cell: Double Agent Walkthrough - Splinter Cell-Double-Agent 351

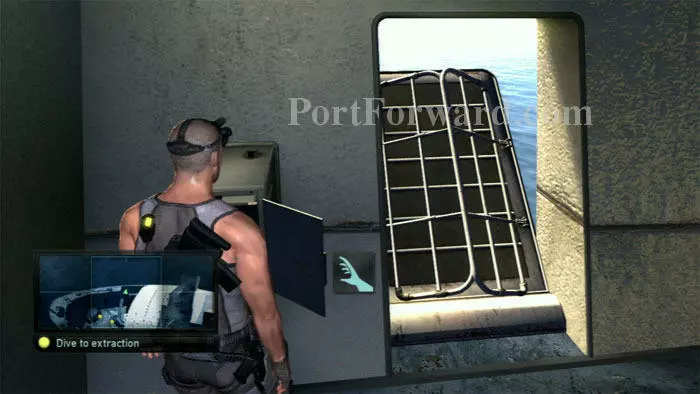
Scurry right to this console and pick the lock then use the computer to lower the platform.

Splinter Cell: Double Agent Walkthrough - Splinter Cell-Double-Agent 352

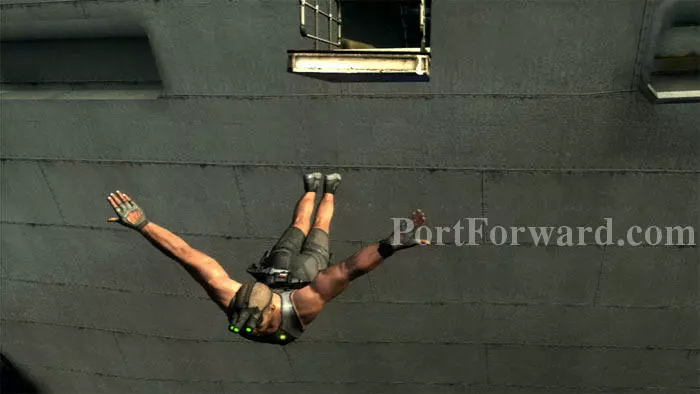
Dive off to end the mission.

More Splinter Cell: Double Agent Walkthroughs

This Splinter Cell: Double Agent walkthrough is divided into 11 total pages.

More From Portforward