Starcraft 2: Heart of the Swarm Walkthrough Kaldir 2: Shoot the Messenger

September 12, 2016 (Last Updated: ) | Reading Time: 4 minutes

This Starcraft 2: Heart of the Swarm walkthrough is divided into 27 total pages.

You can jump to nearby pages of the game using the links above.

Kaldir 2: Shoot the Messenger

Starcraft 2: Heart of the Swarm Walkthrough - Starcraft 2-Heart-of-the-Swarm 156

This is a mission where you have to protect key points.

Starcraft 2: Heart of the Swarm Walkthrough - Starcraft 2-Heart-of-the-Swarm 157

You will get a new unit, the hydralisk.

Starcraft 2: Heart of the Swarm Walkthrough - Starcraft 2-Heart-of-the-Swarm 158

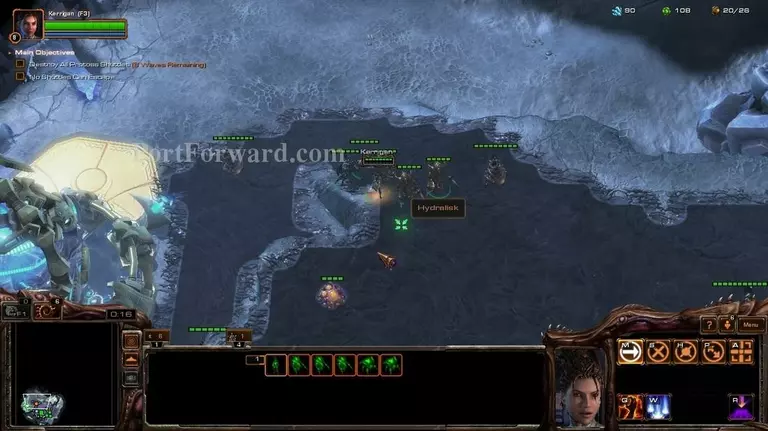
They are powerful range units, but not durable at all.

Starcraft 2: Heart of the Swarm Walkthrough - Starcraft 2-Heart-of-the-Swarm 159

Drone up for now.

Starcraft 2: Heart of the Swarm Walkthrough - Starcraft 2-Heart-of-the-Swarm 160

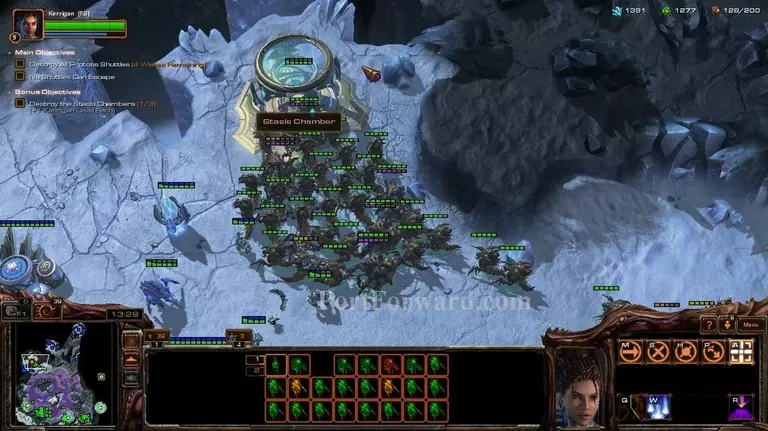
Around the whole level, you will find random hydralisks. Go near them to take control of them.

Starcraft 2: Heart of the Swarm Walkthrough - Starcraft 2-Heart-of-the-Swarm 161

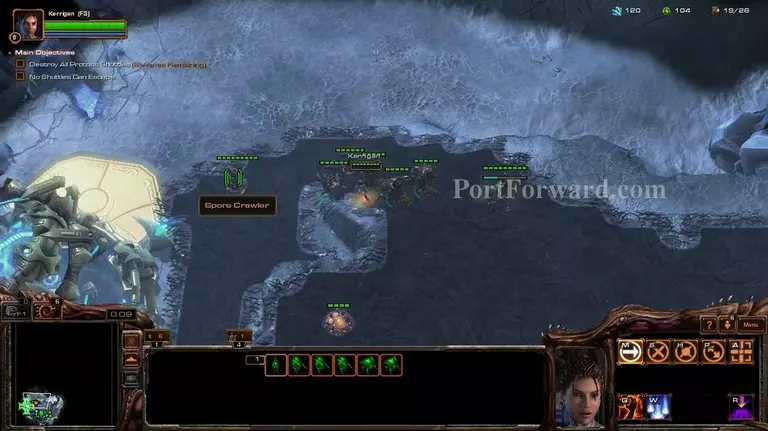
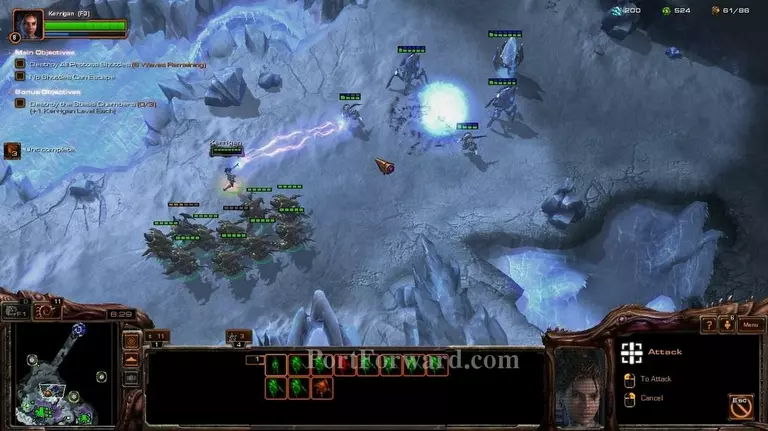
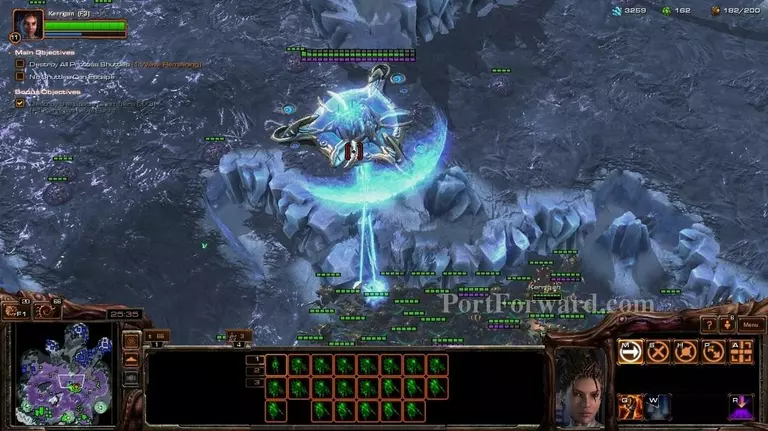
For the first wave, stand over here and wait for the shuttle to come closer.

Starcraft 2: Heart of the Swarm Walkthrough - Starcraft 2-Heart-of-the-Swarm 162

Make another hatchery while you're at it.

Starcraft 2: Heart of the Swarm Walkthrough - Starcraft 2-Heart-of-the-Swarm 163

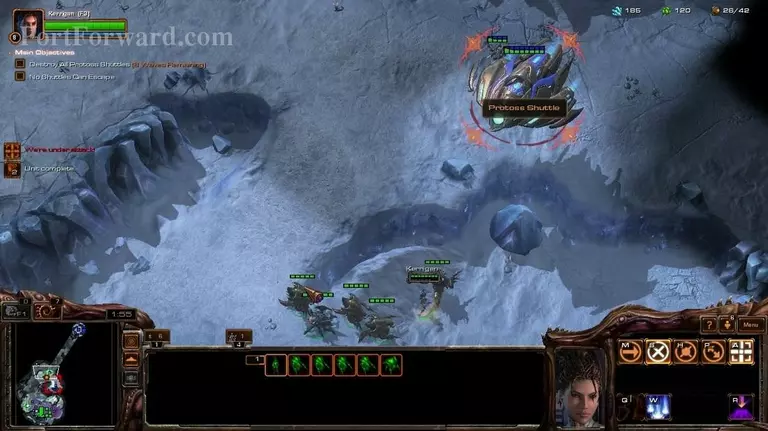
The Shuttles are a flying unit, so you need to make hydralisks or queens to destroy them, but i strongly recommend the hydralisks.

Starcraft 2: Heart of the Swarm Walkthrough - Starcraft 2-Heart-of-the-Swarm 164

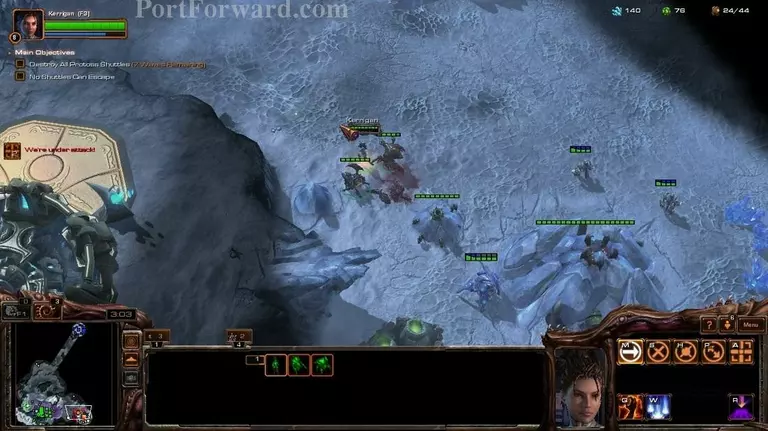
After dealing with the Shuttle, go to the east and you will find a frozen base. Destroy the enemy forces to take control of it.

Starcraft 2: Heart of the Swarm Walkthrough - Starcraft 2-Heart-of-the-Swarm 165

Be careful though, because the protoss will attack your base quite often.

Starcraft 2: Heart of the Swarm Walkthrough - Starcraft 2-Heart-of-the-Swarm 166

Make 2 drones per mineral patch and 3 drones per extractor, as per usual.

Starcraft 2: Heart of the Swarm Walkthrough - Starcraft 2-Heart-of-the-Swarm 167

Build a spine crawler or two at your bases, because the hydralisks are a bit slow.

Starcraft 2: Heart of the Swarm Walkthrough - Starcraft 2-Heart-of-the-Swarm 168

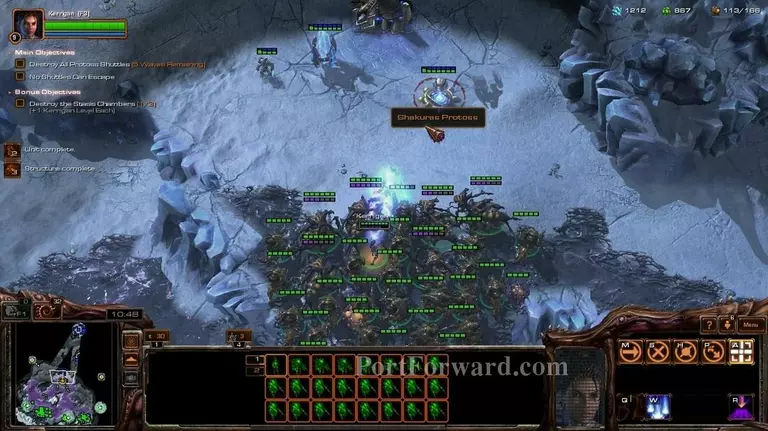
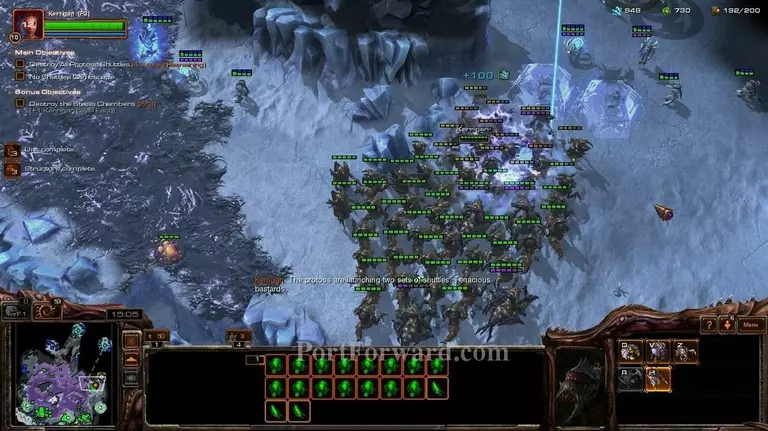
After you have a decent hydralisk force, you can attack small protoss outposts, but don't go all in and attack whole bases.

Starcraft 2: Heart of the Swarm Walkthrough - Starcraft 2-Heart-of-the-Swarm 169

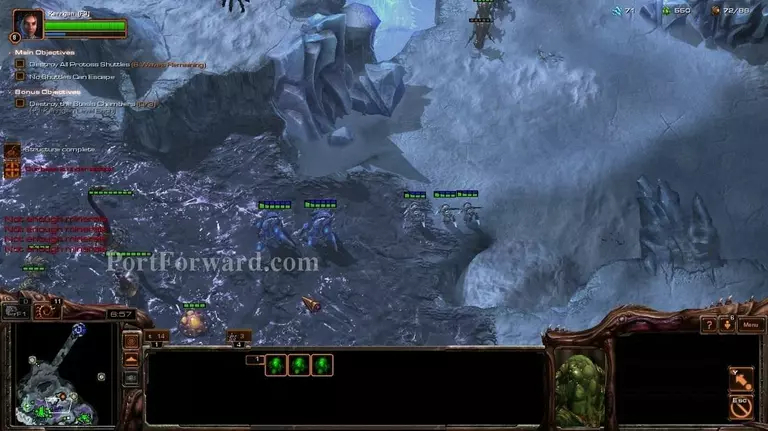
But be careful while you're at it, the protoss might attack your base.

Starcraft 2: Heart of the Swarm Walkthrough - Starcraft 2-Heart-of-the-Swarm 170

After you're sure you have enough time, do the optional objective.

Starcraft 2: Heart of the Swarm Walkthrough - Starcraft 2-Heart-of-the-Swarm 171

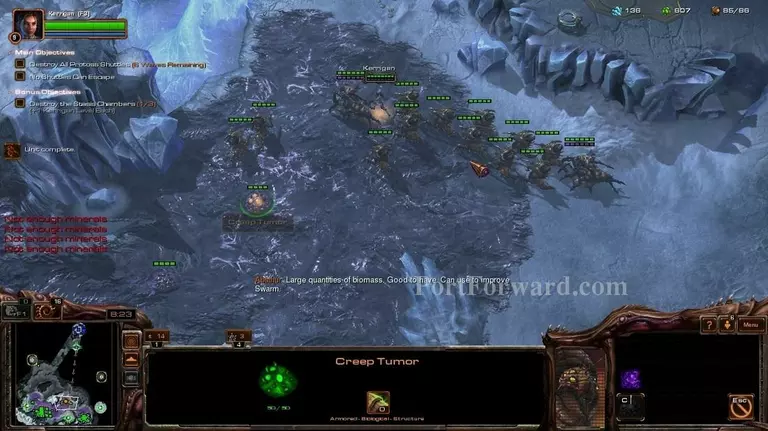
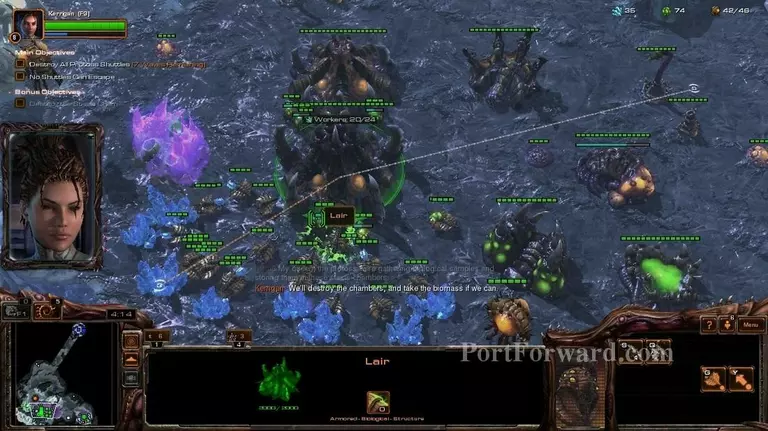
Make sure to build a few queens and make as many creep tumors as you can, the creep will be incredibly useful later on.

Starcraft 2: Heart of the Swarm Walkthrough - Starcraft 2-Heart-of-the-Swarm 172

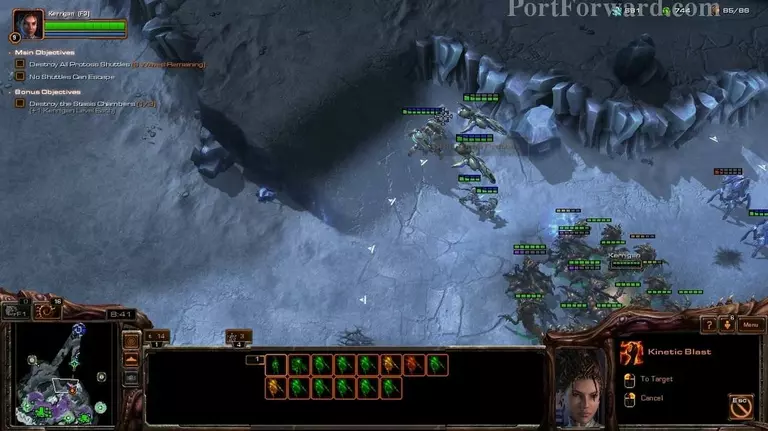
Always use Kinetic Blast on immortals if there are any nearby.

Starcraft 2: Heart of the Swarm Walkthrough - Starcraft 2-Heart-of-the-Swarm 173

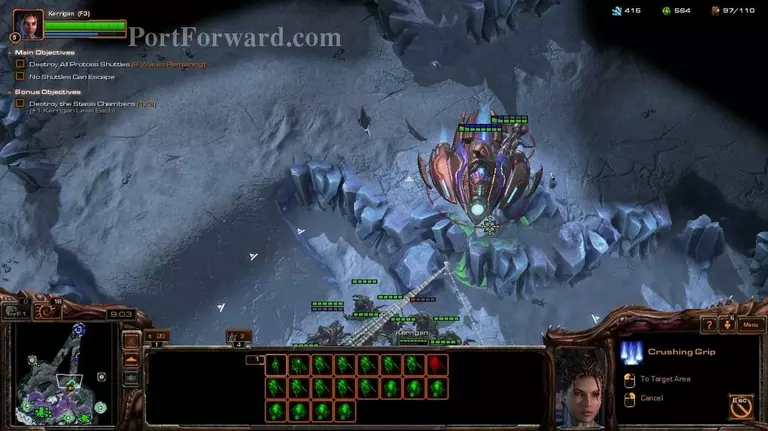
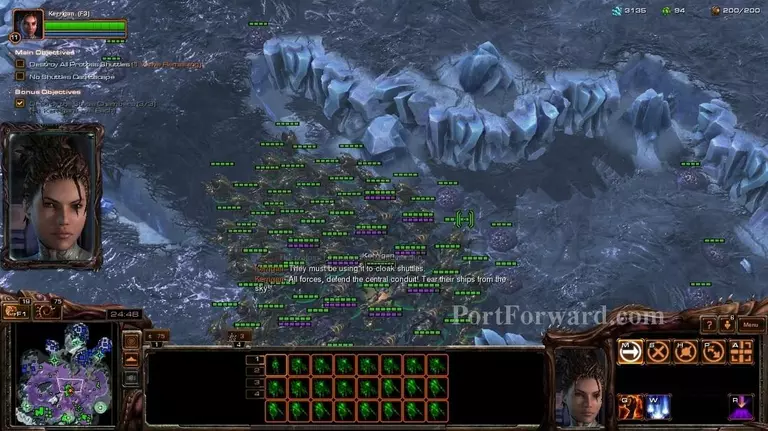
You can use Crushing Grip on the Shuttles to stun them, quite useful.

Starcraft 2: Heart of the Swarm Walkthrough - Starcraft 2-Heart-of-the-Swarm 174

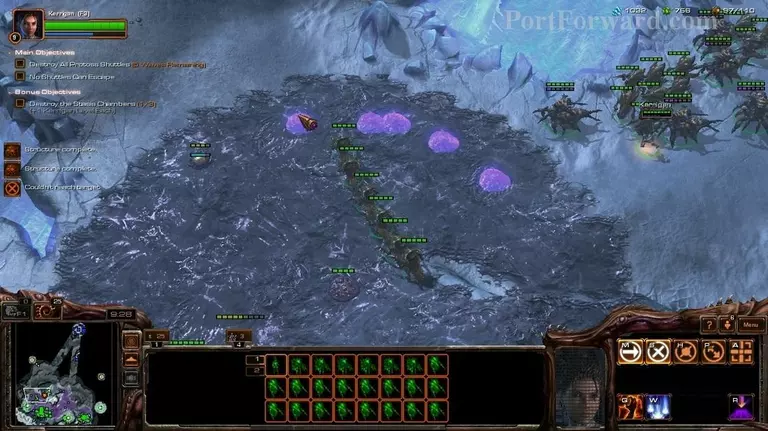
Make as many creep tumors as you can when spreading creep.

Starcraft 2: Heart of the Swarm Walkthrough - Starcraft 2-Heart-of-the-Swarm 175

Try to expand your teritory, but don't attack the big protoss bases.

Starcraft 2: Heart of the Swarm Walkthrough - Starcraft 2-Heart-of-the-Swarm 176

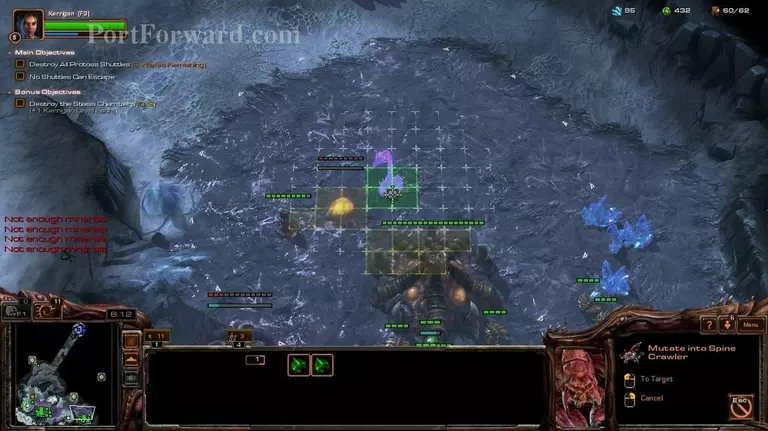
After you are sure you have enough free time, do the optional objective to the west.

Starcraft 2: Heart of the Swarm Walkthrough - Starcraft 2-Heart-of-the-Swarm 177

Just destroy the Chamber and leave the base alone to minimize losses.

Starcraft 2: Heart of the Swarm Walkthrough - Starcraft 2-Heart-of-the-Swarm 178

When doing the objective to the east, don't be silly like me and walk your hydralisks into the storms.

Starcraft 2: Heart of the Swarm Walkthrough - Starcraft 2-Heart-of-the-Swarm 179

Use Kinetic Blast on the templar and then attack.

Starcraft 2: Heart of the Swarm Walkthrough - Starcraft 2-Heart-of-the-Swarm 180

After you're done with that, there are a few hydras above the Chamber, make sure you get them.

Starcraft 2: Heart of the Swarm Walkthrough - Starcraft 2-Heart-of-the-Swarm 181

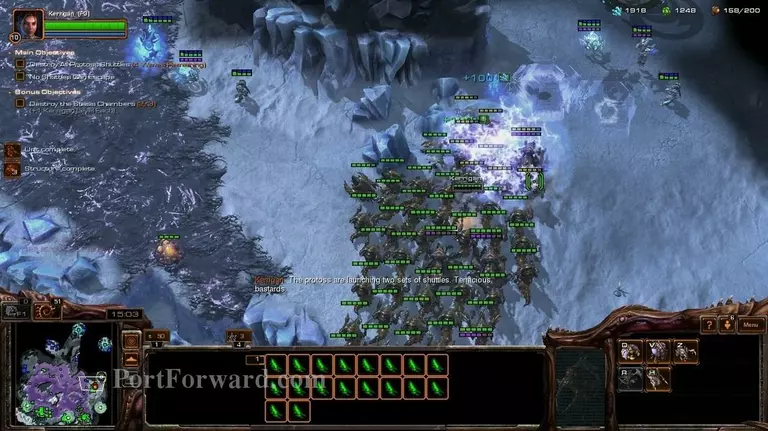
Make around 10 queens and the rest should be hydralisks only.

Starcraft 2: Heart of the Swarm Walkthrough - Starcraft 2-Heart-of-the-Swarm 182

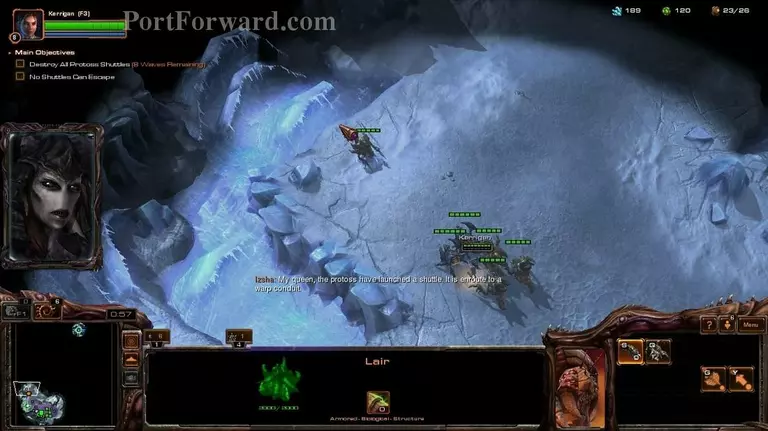
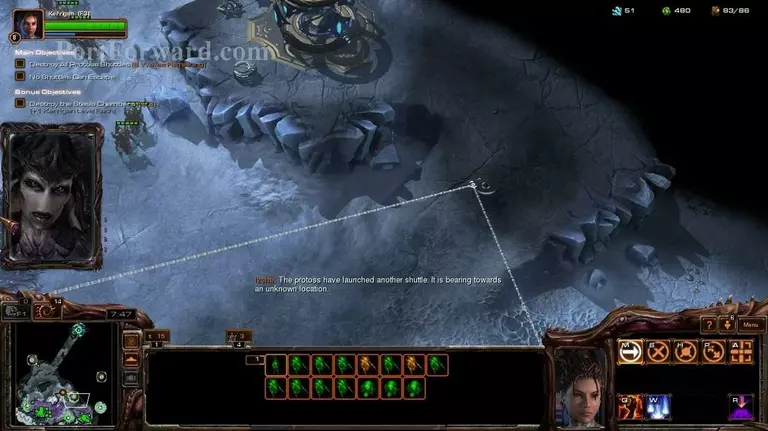
The last wave has a mothership, that turns units invisible.

Starcraft 2: Heart of the Swarm Walkthrough - Starcraft 2-Heart-of-the-Swarm 183

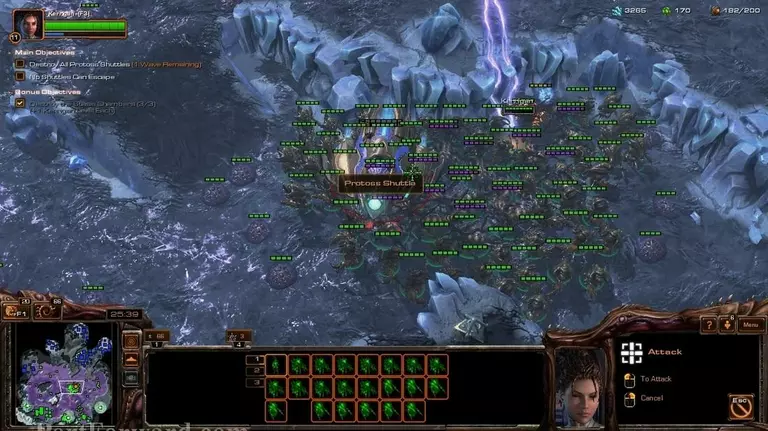
Destroy it to see the shuttle.

Starcraft 2: Heart of the Swarm Walkthrough - Starcraft 2-Heart-of-the-Swarm 184

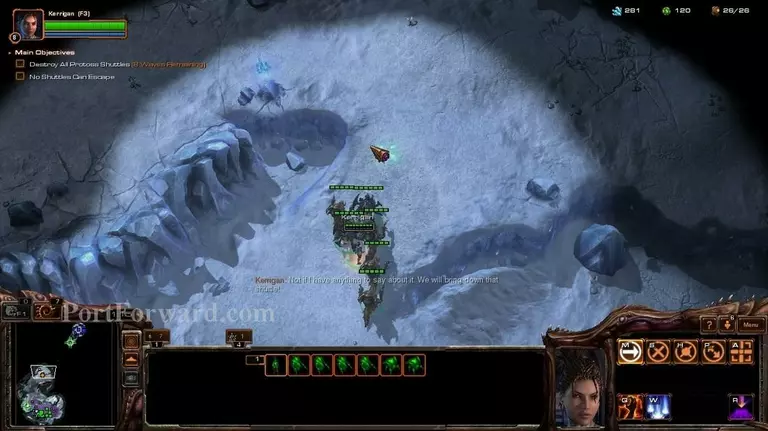
And after that is done, you've completed the mission.

More Starcraft 2: Heart of the Swarm Walkthroughs

This Starcraft 2: Heart of the Swarm walkthrough is divided into 27 total pages.

More From Portforward