This Super Mario Bros walkthrough is divided into 8 total pages.
You can jump to nearby pages of the game using the links above.
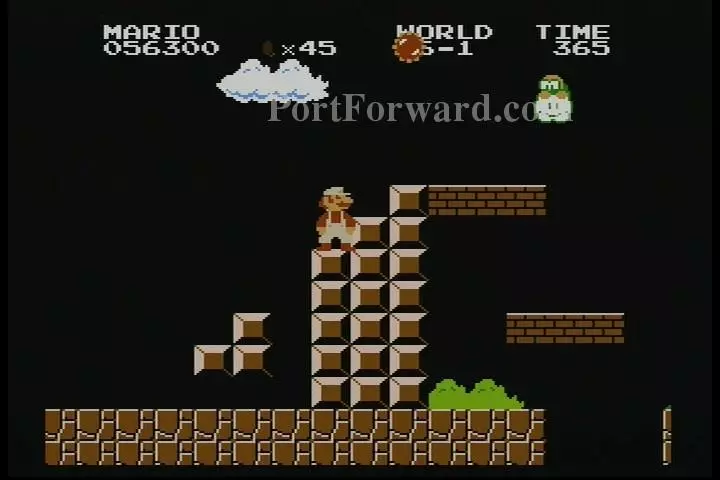
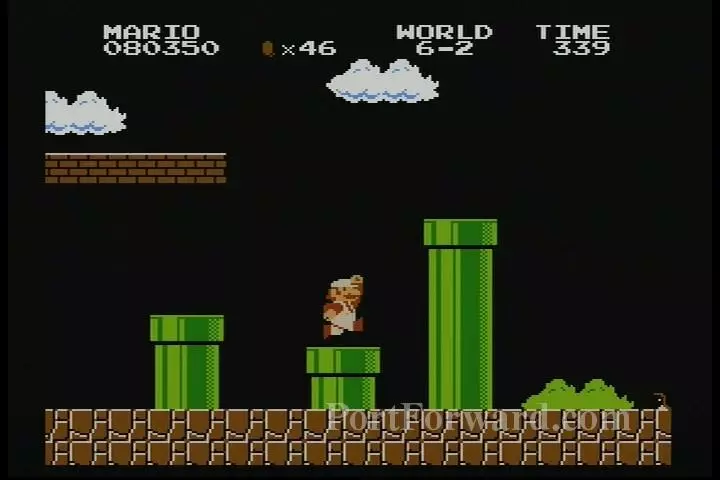
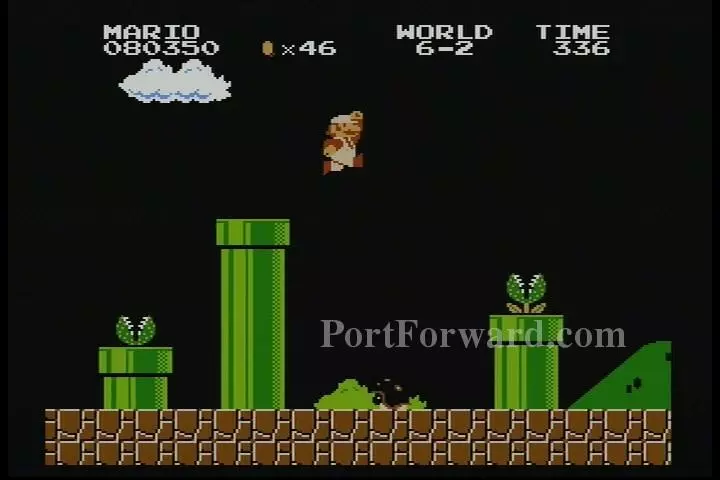
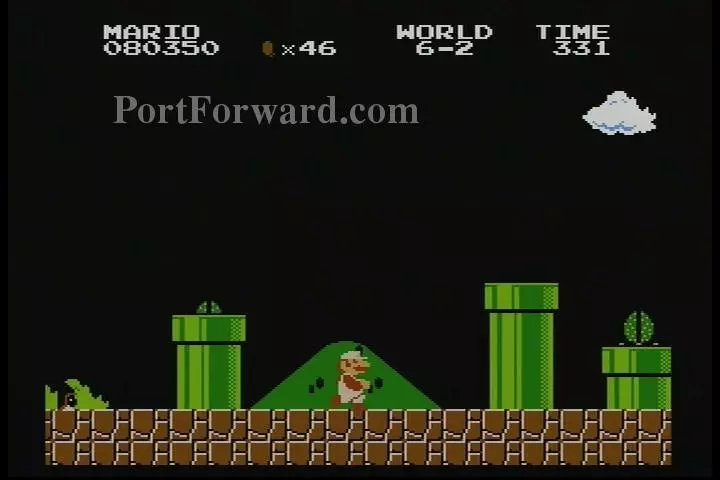
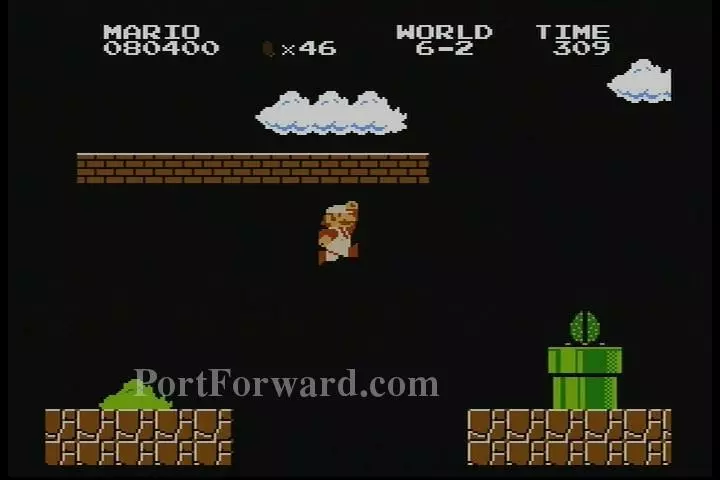
World 6
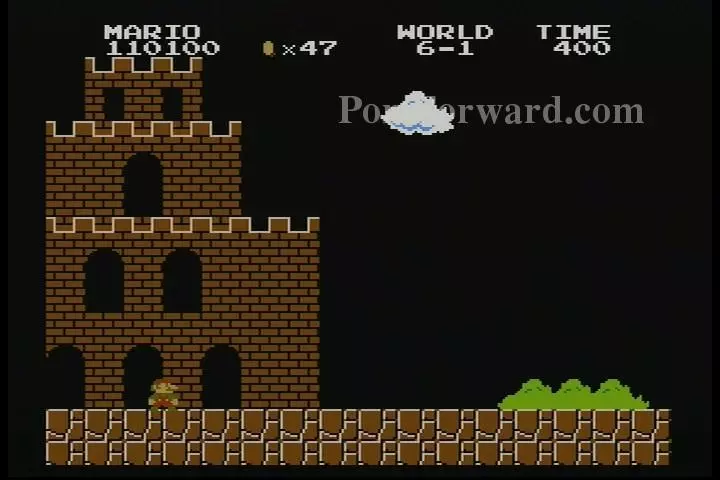
This level is another Lakitu level. It's a little bit harder than the first one, but so long as you know where everything is, it shouldn't be that big of a deal. (World 6 is like the calm before the storm, making it the easiest out of the last four worlds).

These two Q Blocks have coins. Get them if you want.

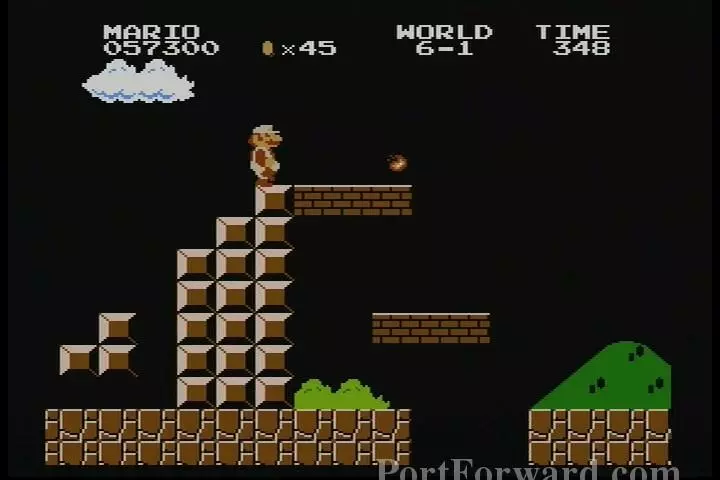
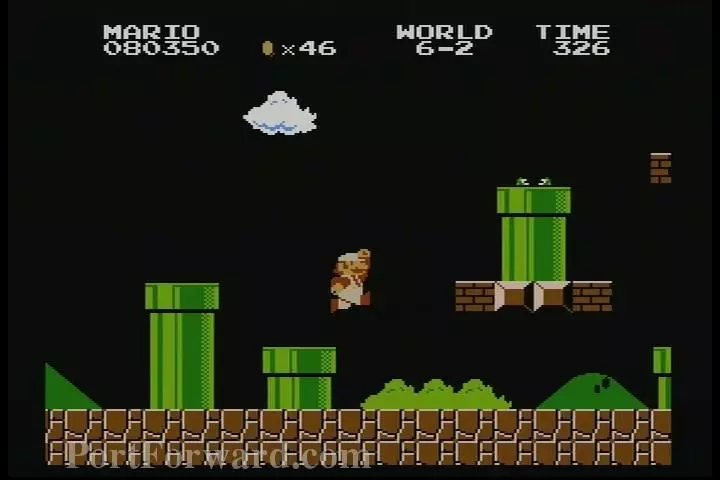
Lakitu doesn't appear until you get to this structure. You can take him out if you want by getting on top of the bricks, or you can ignore. The brick on the left contains a power up.

The brick on the right contiains 10 coins.
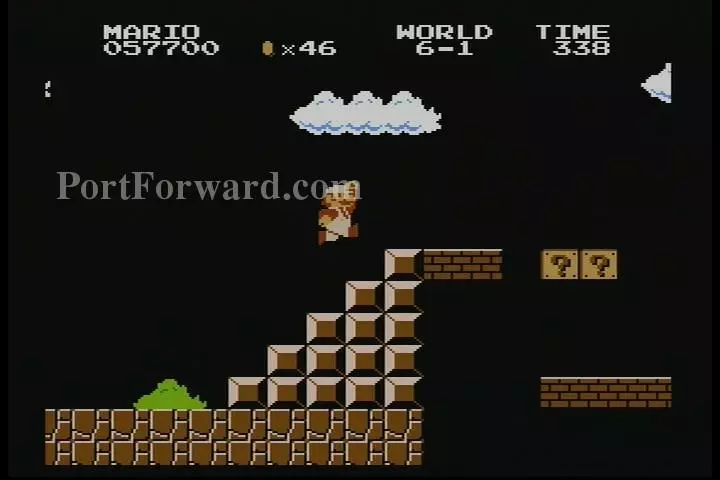
After a gap, you'll get to a set of stairs...
...with a gap right after that, so watch out.
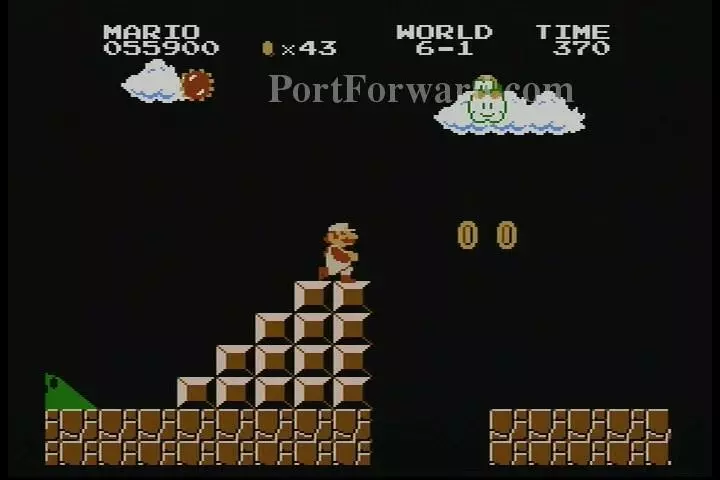
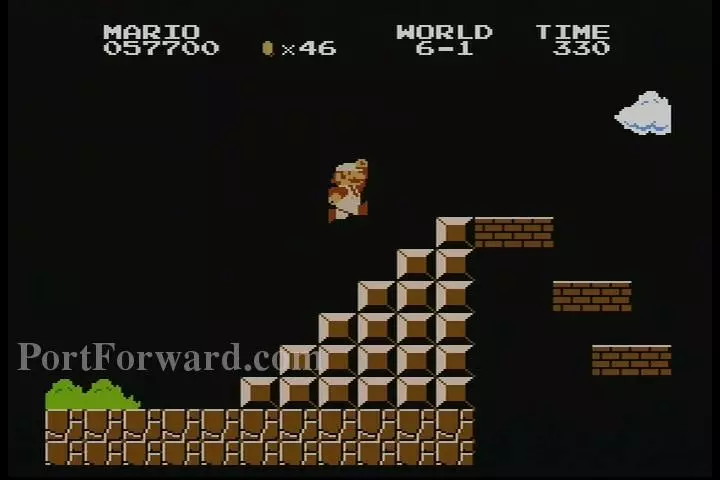
Another set of stairs here.
Right here is your best opportunity to take out Lakitu. Get on the bricks and then wait for him to be on your right. He'll slowly start to come your way, so time your jump so you can land on him and deal with this troublesome pest.
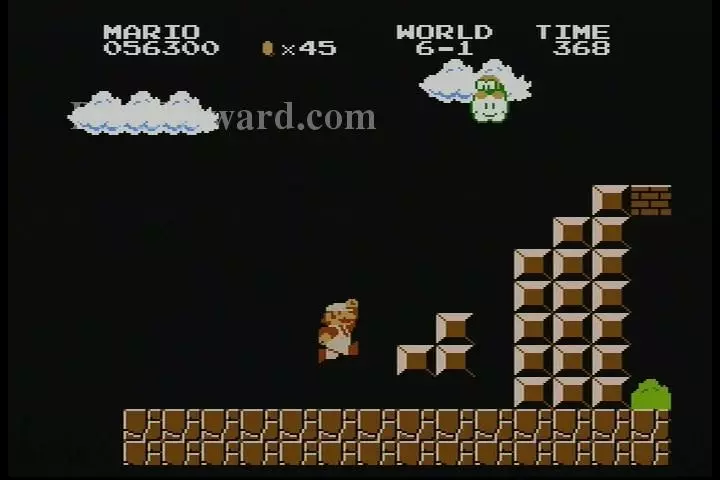
Underneath the brick next to Mario is a one up. in a hidden block.

The pipe here is nothing special.

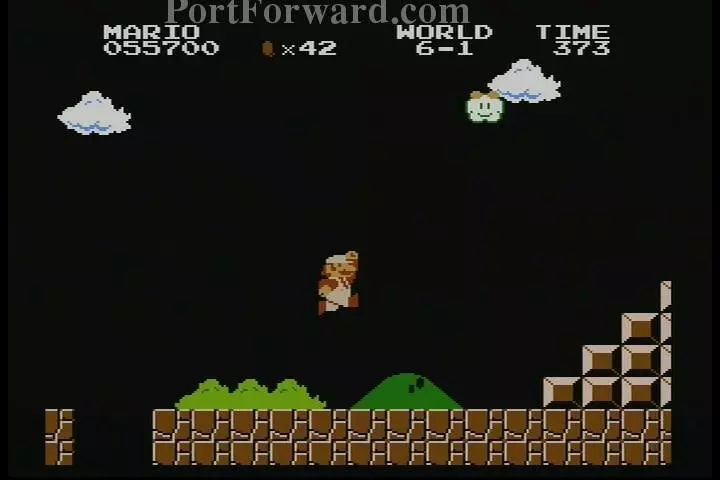
That little green hill in the background over there is actually a clue. If you jump while standing in the middle of it. You'll get a hidden coin block. Jump on top of the block, and jump again to get another one. There isn't anything all that special about it, other than just being there.
The Q Block on the left contains a power up, while the other one has a coin.
Another set of stairs right after that one leads over here. The right brick from the set of bricks in the middle has 10 coins. Get it either by being little or sliding underneath.

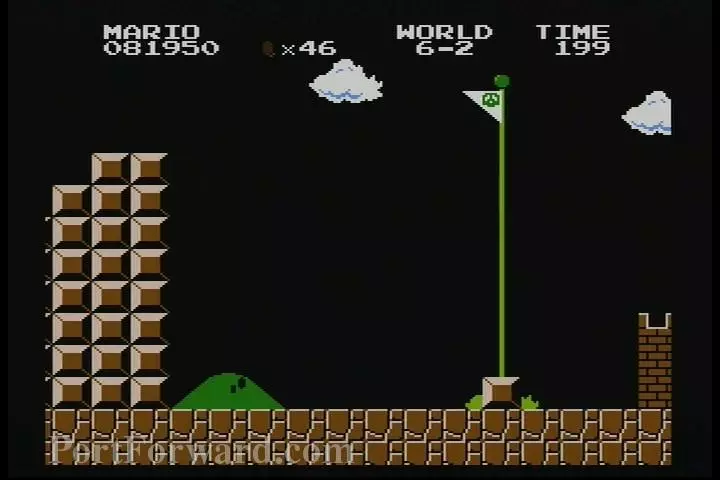
One last set of stairs will take you...
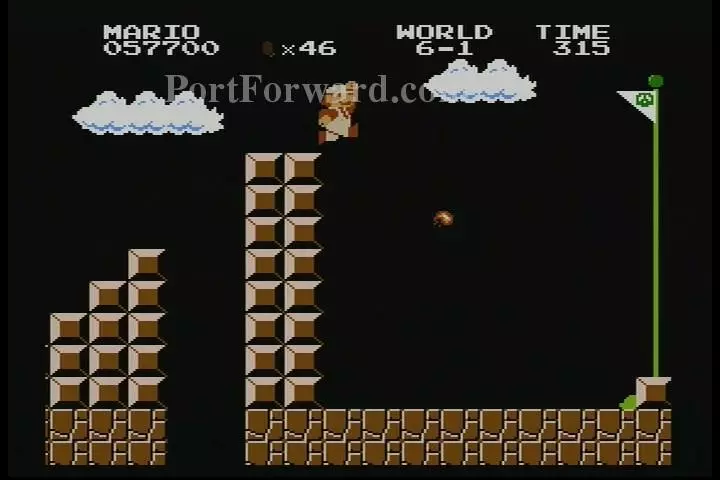
...to the end.
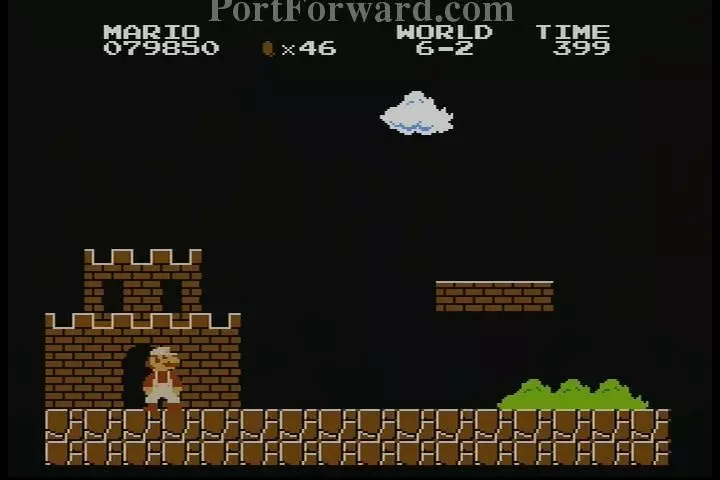
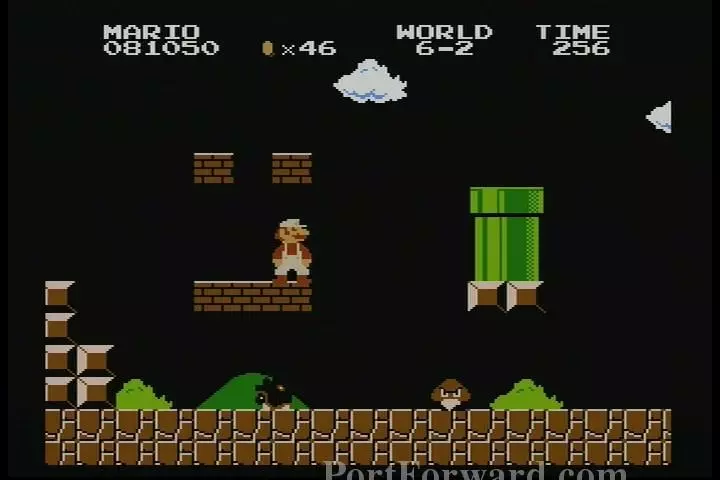
This next world is also an Overworld setting and has A LOT of pipes. So long as you're patient, it shouldn't be too bad.

Right here is your first pipe, there is another pipe just off screen, with a couple of bricks and a Troopa in between. Right about where the Troopa is standing, you can jump to get an invisible block. Jump on top of that to reach the middle brick and get 10 coins. (This pipe that Mario is next to will lead to Coin Room E).

A few more pipes after that, right here.
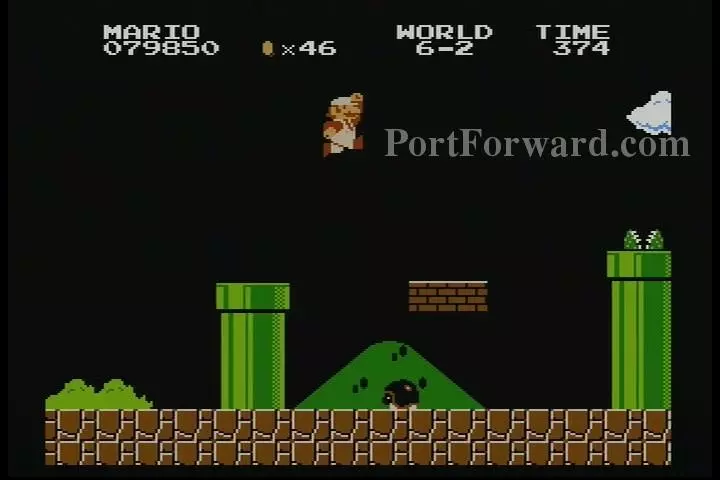
Another two pipes after that with a Buzzy Beetle in between. The right brick has a power up.
Use the bricks to jump on or over the pipe to continue onwards. (The pipe Mario is jumping over will take you to Swim Area B).

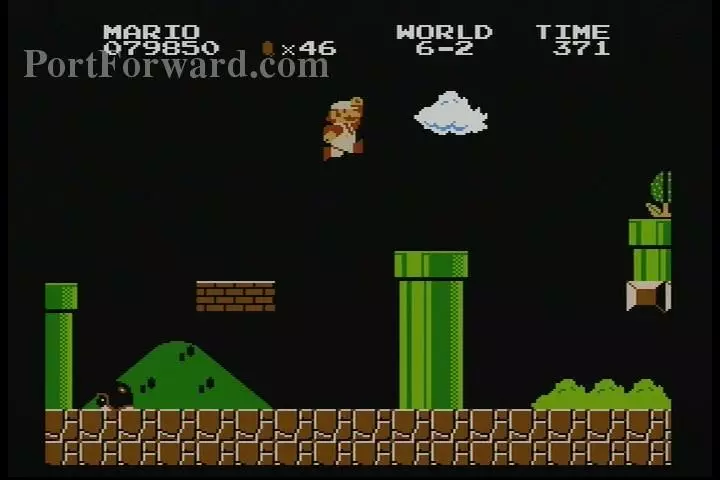
A Goomba will fall from those bricks, so watch out for it.

There is another set of bricks after the first one.

Jump from the pipe to the brick on the far right to reveal a vine. (The vine will take you to Coin Heaven C).
Mario should just barely be able to reach that pipe.
Watch where you land so you don't hit a Buzzy Beetle or one of the numerous Piranha Plants.
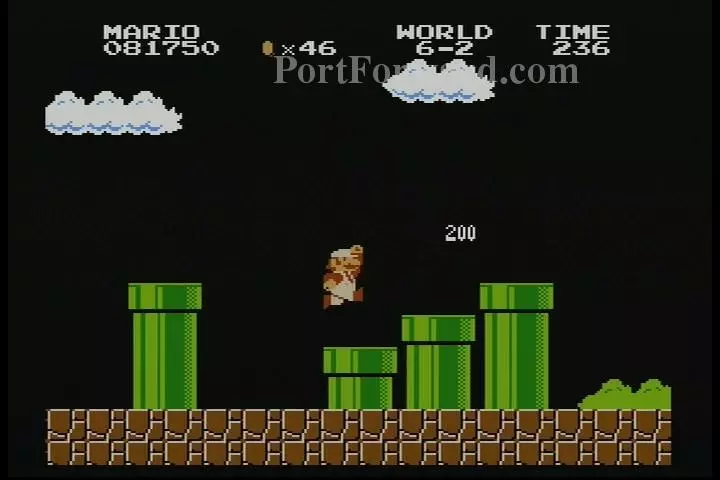
A few more pipes here.
Some pipes and a set of bricks. A Buzzy Beetle falls down from those bricks, so watch your step.
It's not ideal, but you can make the jump without hitting the bricks and falling down. If you see that you can get on top of the bricks, then by all means, get across this gap that way.

A couple more pipes, along with a couple gaps, and a few sets of bricks. On the top left set of bricks, the left brick contains a star.

A pipe here you can jump over.
These bricks serve no purpose, other than getting you on top of that pipe. (The pipe takes you to Coin Room D).
After that, a set of four pipes is in your way. Patiently wait for the Piranha Plants, or shoot them, before you proceed.

Another pipe...

...followed by the last pipe of the level (phew!).

Make sure you avoid the Paratroopa as you climb the stairs.
Now on to World 6-3.
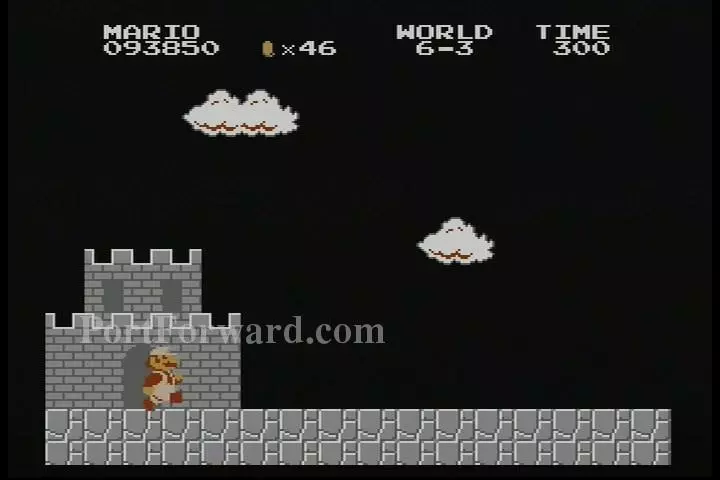
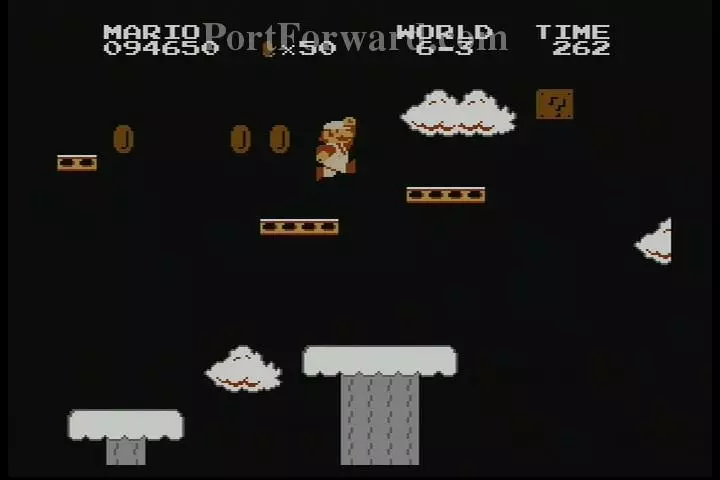
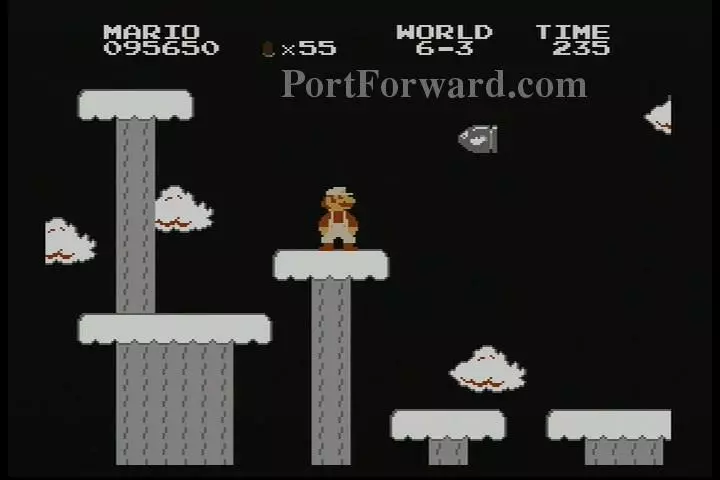
This is an Athletic setting, and also features a completely different color design.
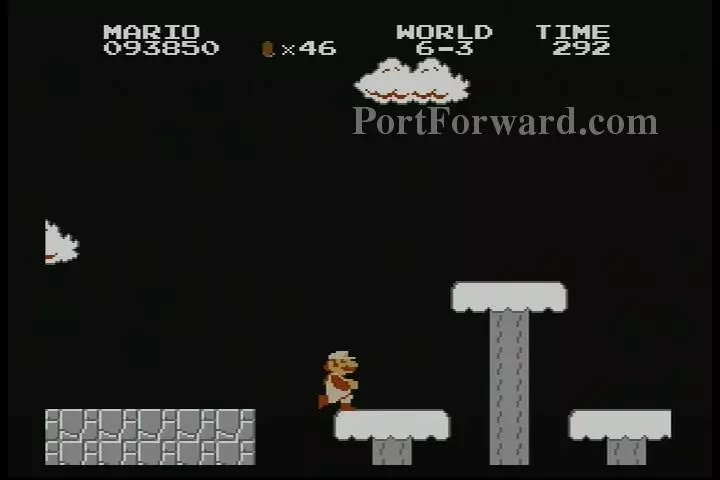
As you might have guessed, there are multple treetops to be passed.
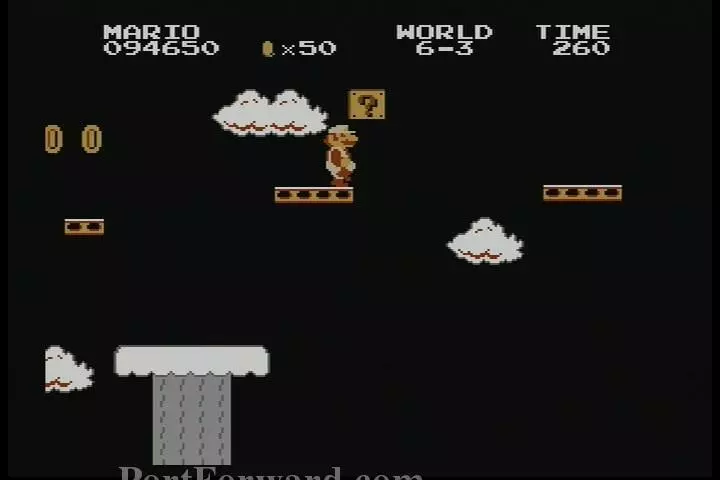
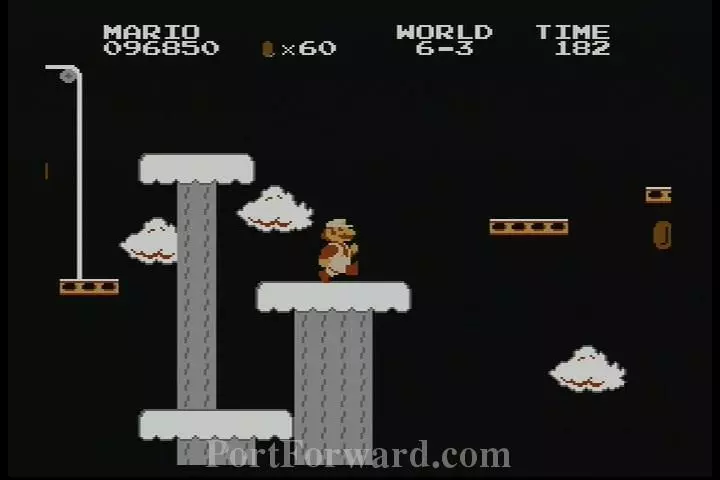
The identifying feature of this level is the precence of a bunch of lifts. These lifts move vertically, horizontally, or simply fall when stood upon.
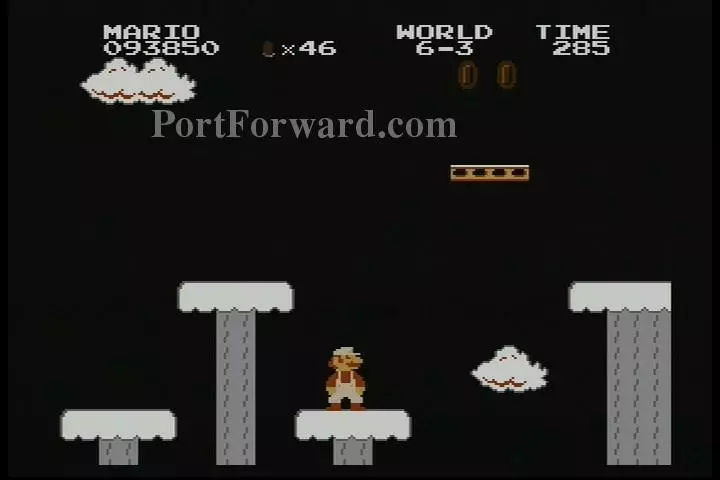
Just past the first platform comes this tricky setup. These two platforms move horizontally, so pay attention to where they are before you attempt to jump on on from the spring. The platform on the right is merely to save your life if you fall.
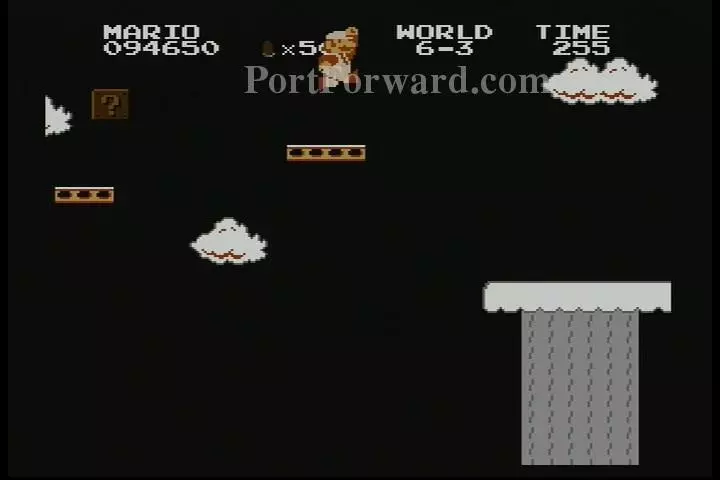
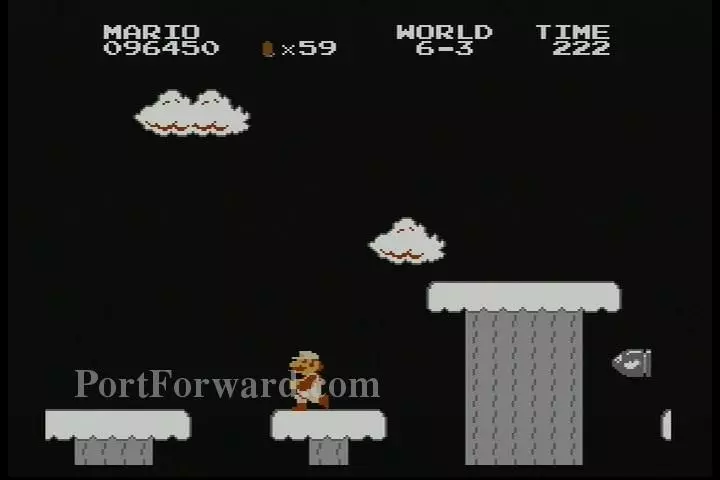
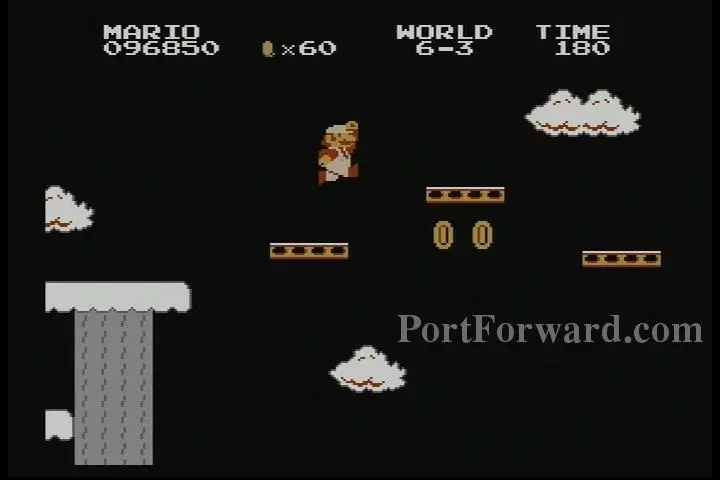
Try not to worry about the coins so much as getting from platform to platform. Try not to hesitate when making your jumps.
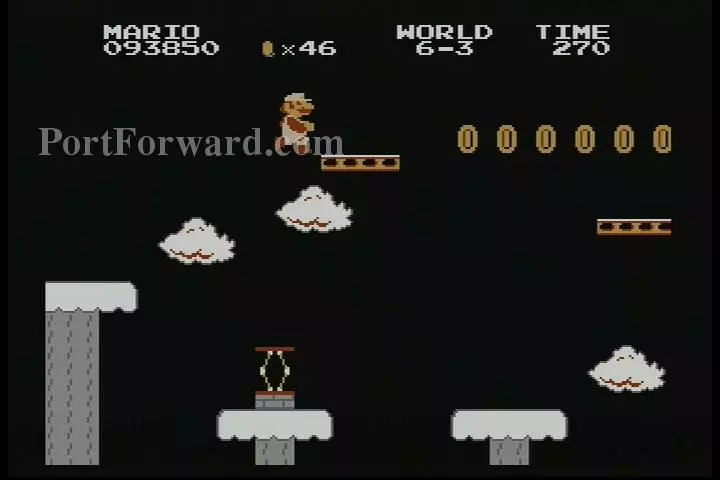
If you have to, or are simply interested to see how good your platforming skills are, that Q Block has a power up. Activate the Q Block on the first passthrough, then jump on top of it when you have passed it. Jump from the Q Block back to the platforms.
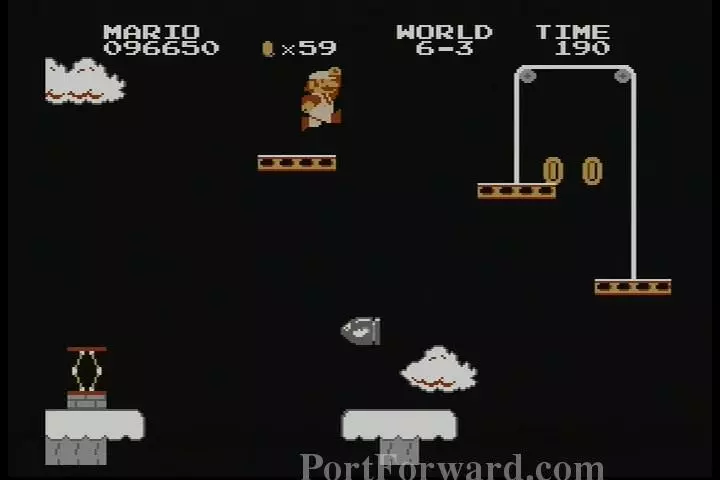
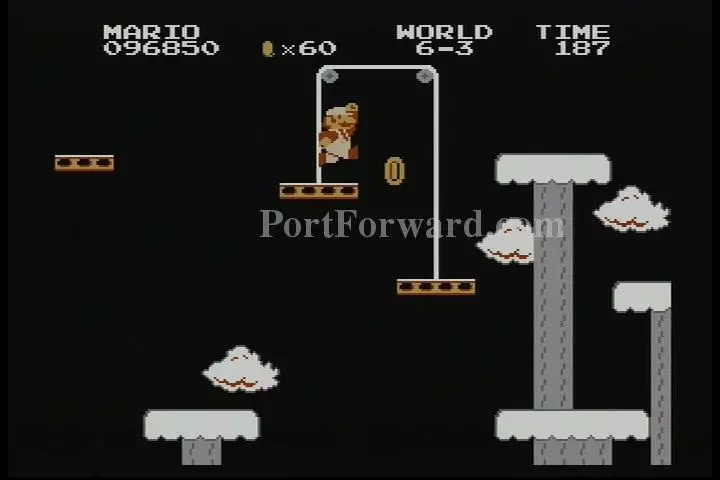
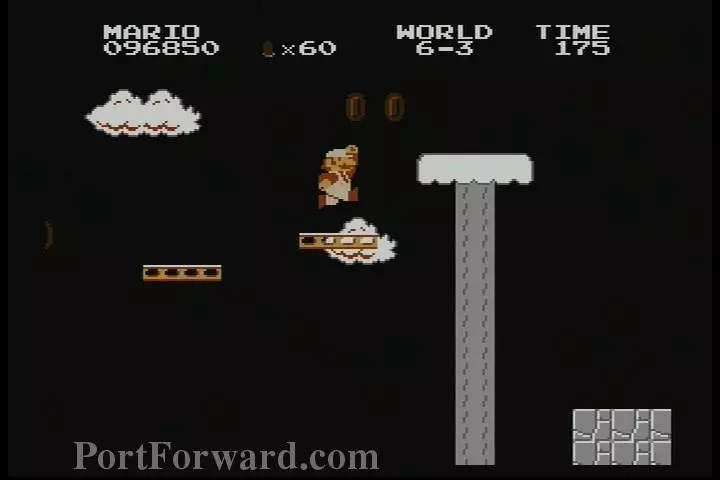
This platform over here moves vertically, so jump from it to the safety of the treetop.
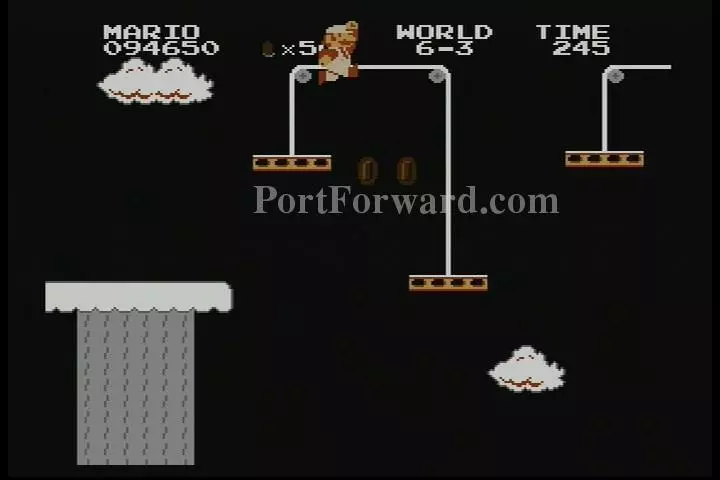
Here you have a set of two balancing platforms. Like the ones before it, stay on them as little as possible as you jump from platform to platform. Jumping from the middle one to the one on the right is indeed possible.

Head on over here after the platforms for a little bit easier platforming.
Be warned though, Bullet Bills will start to assault you at this little section of the level.
Wait for the Bullet Bill before jumping.
Take the springboard to the next platform, and from there, to the balancing platforms.
Quickly jump from the platforms to the treetops.
You're almost to then end. All you have to do is jump through a set of four platforms that fall as soon as you land on them.
It actually sounds harder than it is. Just jump from platform to platform without stopping...
...and you should make it to the end quite easily.

From there, jump to the flag.
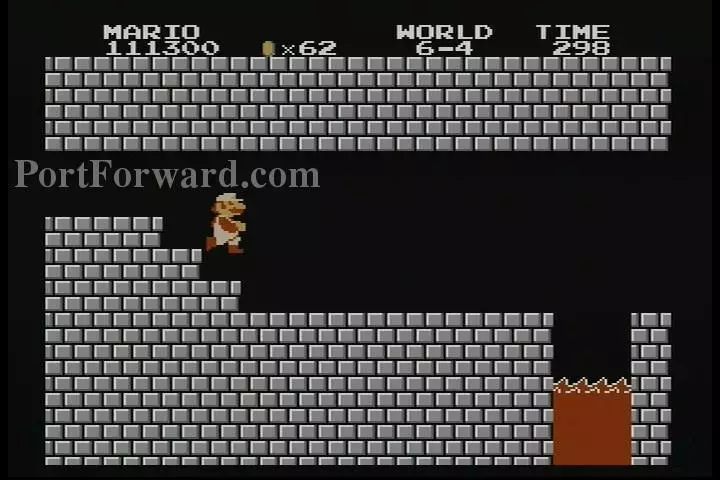
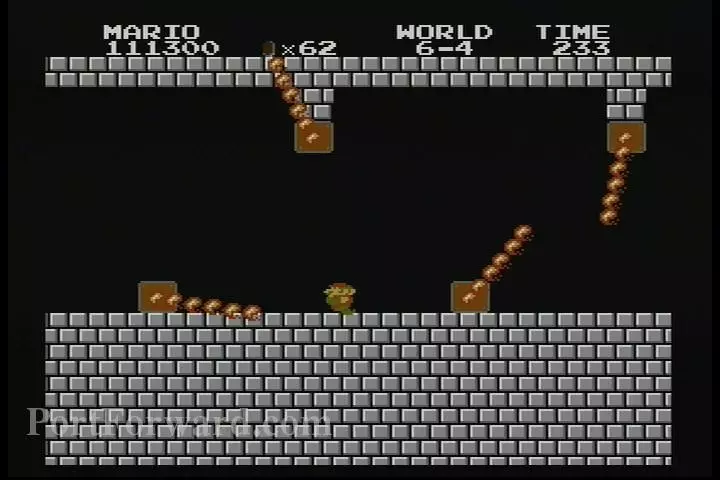
World 6-4 is almost identical to World 1-4, only slightly harder. This first pit can be troublesome if you aren't careful about your jumping. You could easily hit your head against the ceiling and fall if you are careless.
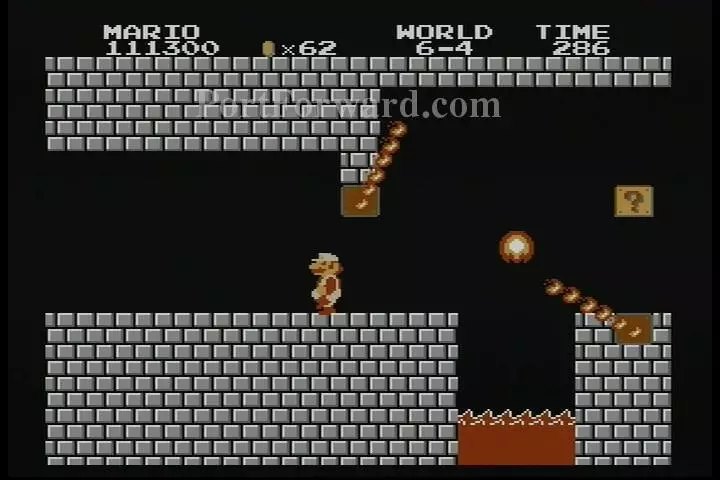
This seems familiar. Time your jumping when the fire bars are out of the way and the Podoboo is going back down to avoid getting hit.
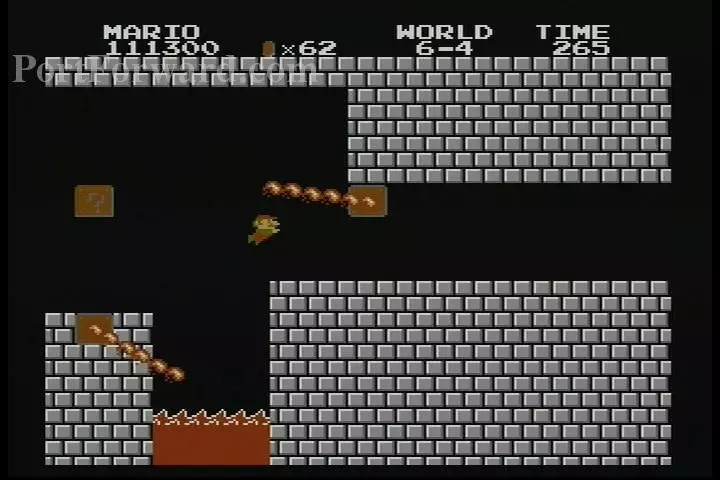
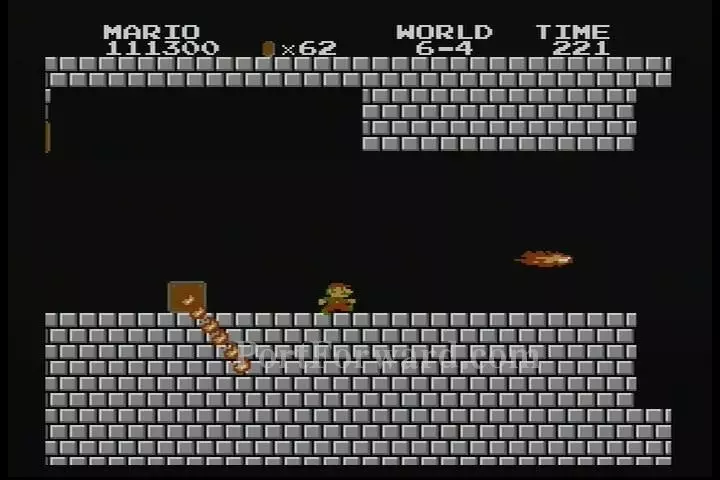
That Q Block has a power up, but it's usually not worth trying to get.
This hallway is long and has four firebars to get past.
They aren't all that close together though, so you shouldn't have too much trouble with them.

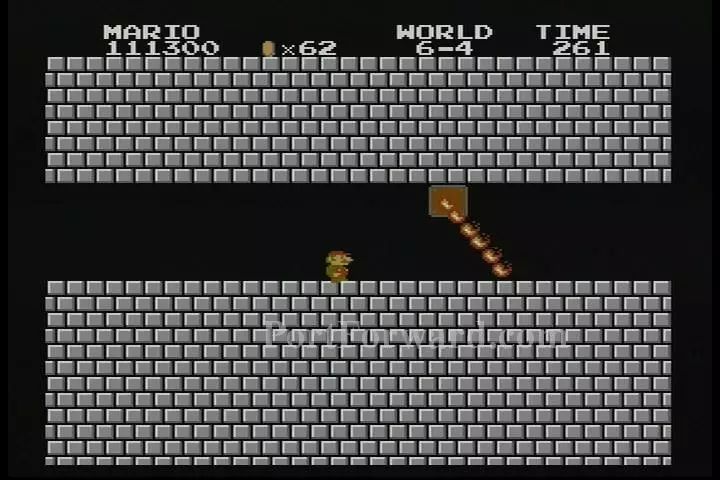
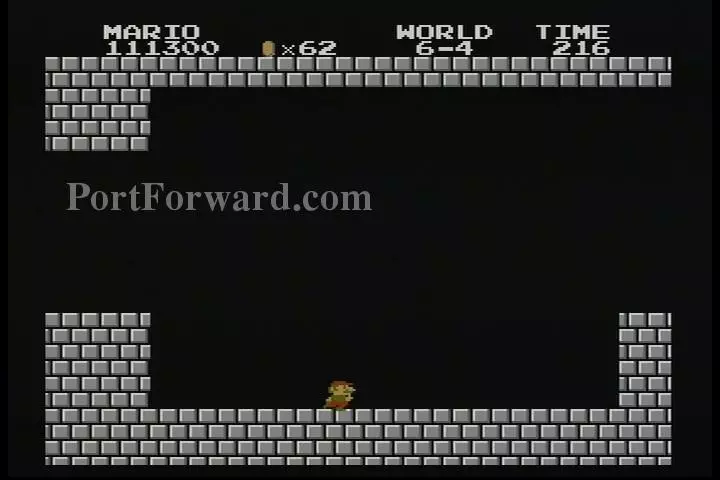
This next section is a little more tricky than the one we've seen before.
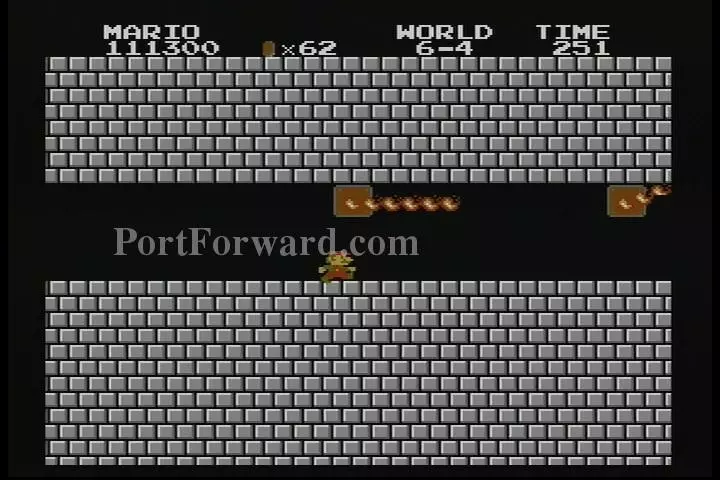
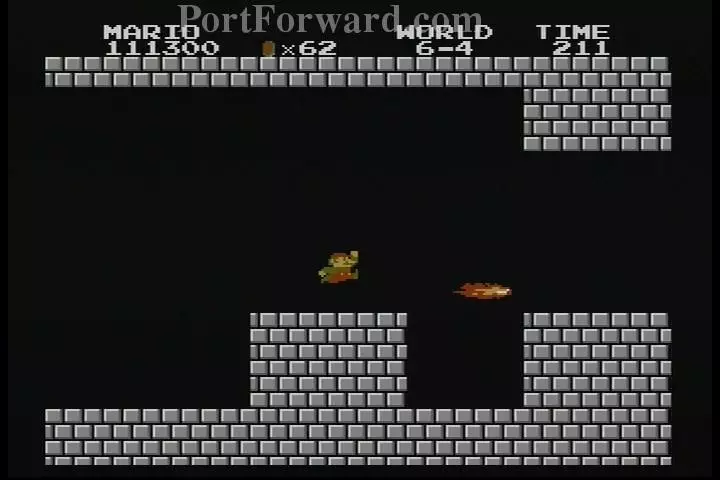
The firebars are a little closer together this time, so,first, jump over the first one when it's going down, then run a little past it while it's going up. Meanwhile, there is the second firebar to contend with, so as soon as it's safe, run back over to the first firebar to avoid getting hit by the second firebar and repeat the same process. Action is key here; hesitation will get you killed.
Once you've cleared that mess, you'll start seeing fireballs.
This are down here is identical to World 1-4.
A safe zone here.
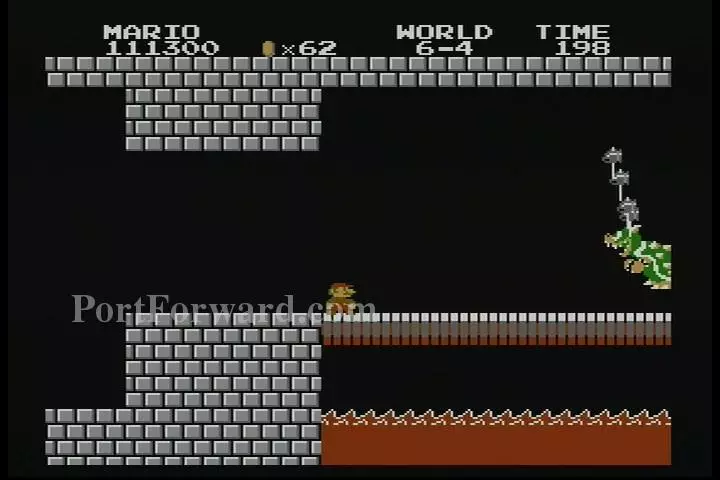
Bowser now comes equipped with a lot of hammers. This makes the platform above him exposed to hits as well.
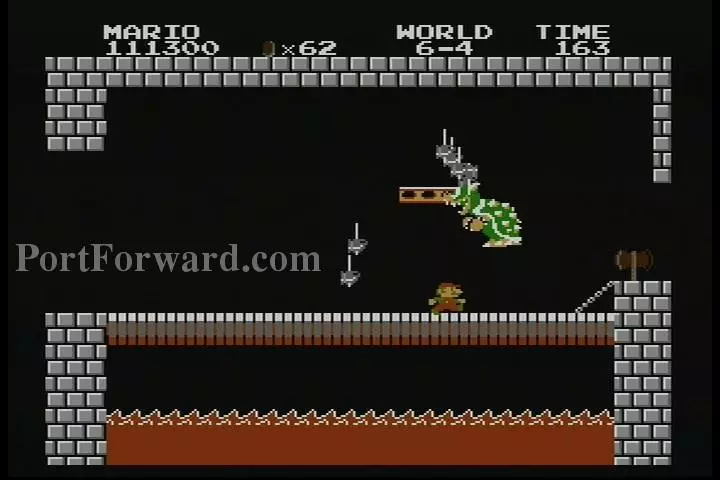
Despite this new complication, jumping over him, running under him, or hitting him with fireballs is still effective.

If only this easy-ish world could've been the end. Alas, no, there are two more juggernaut Worlds to conquer.
More Super Mario Bros Walkthroughs
This Super Mario Bros walkthrough is divided into 8 total pages.