
This Super Smash Bros Melee walkthrough is divided into 6 total pages.
You can jump to nearby pages of the game using the links above.
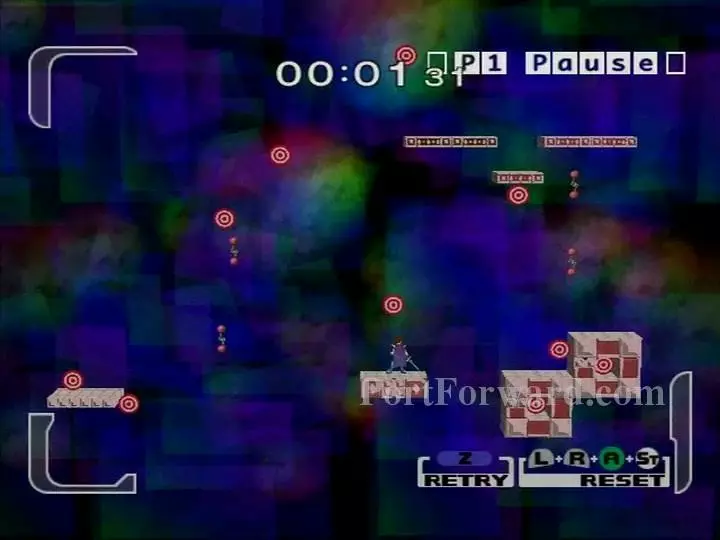
5 - Target Test and Home-Run Contest
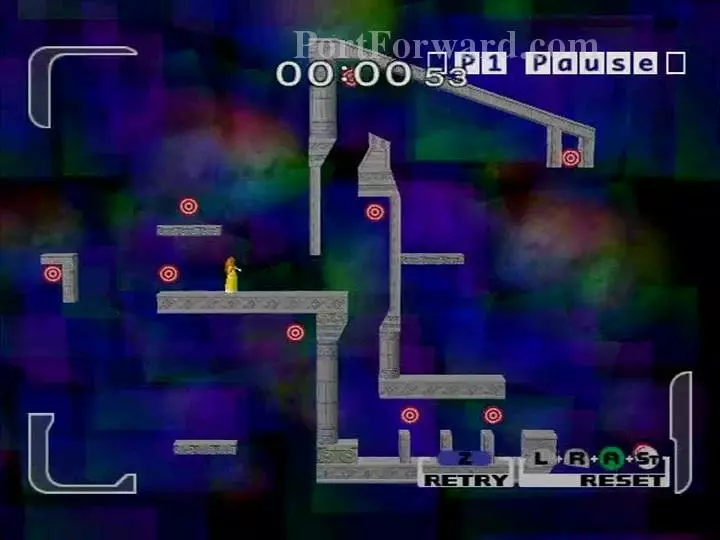
Dr. Mario: Fall down and Side-B or Up-B back to your starting spot to get the one below you. Jump and use pills (B) to get the on in that red enclosure to your right. The rest are more straightforward: follow the moving platforms up above you to get higher, and repeat this to get the targets on the left, middle, and right. The last one you get should be the one in the top-right, with Up-B.
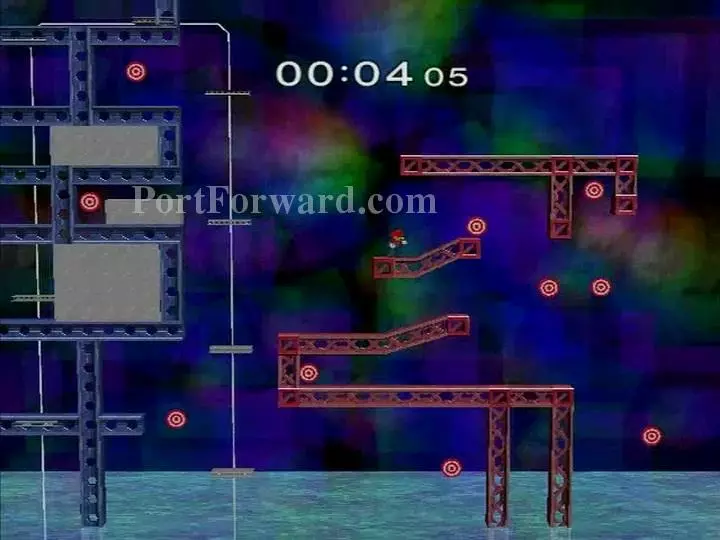
Mario: Most of these can be reached with fireballs, including the one in the narrow gap on the left and the one above the water in the lower middle section. Use a left-facing Up-B to get the one in the top right.
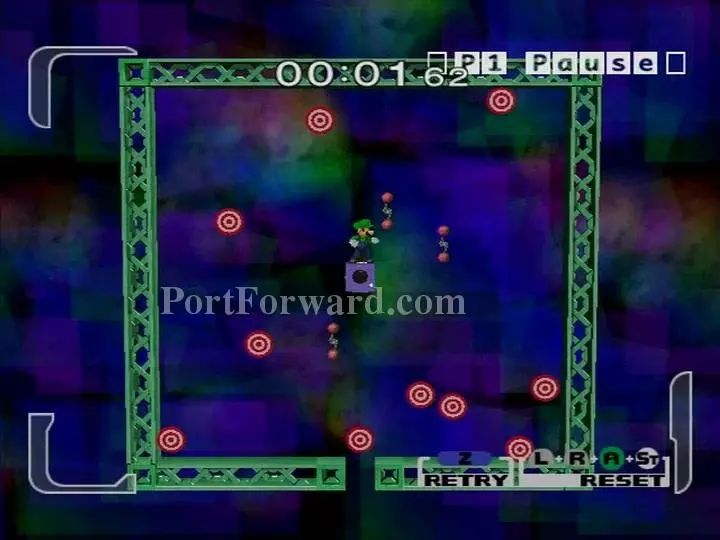
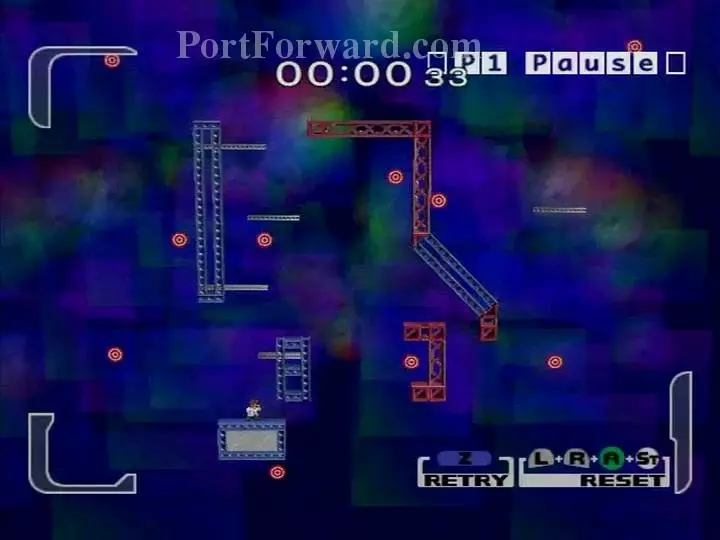
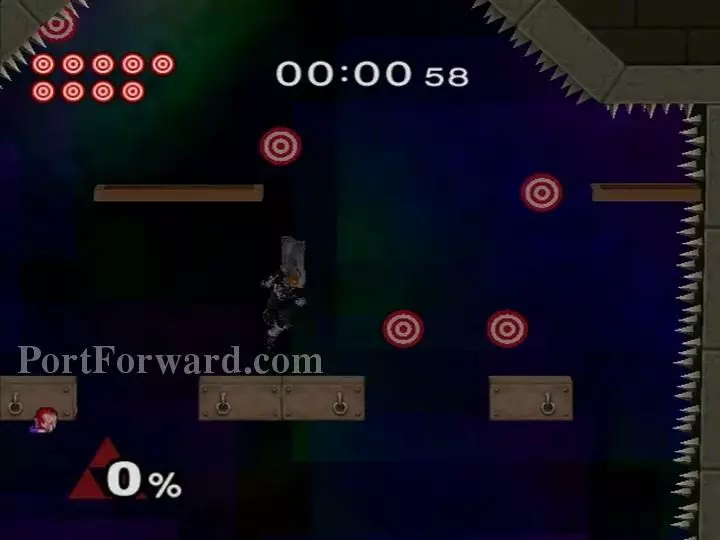
Luigi: There's really no strategy here. They're everywhere. Keep in mind that the GameCube in the center acts as a ledge you can grab onto and jump off of.
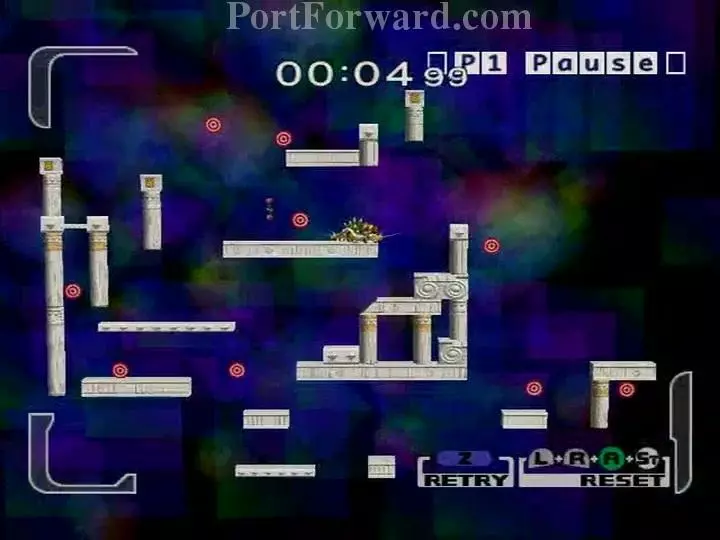
Bowser: Start by jumping to the pillar on your right and hitting the lowered target with fire breath (B). Then, go around the stage in a C-shaped arc, starting at the top. For the far left one, you can stand on the thin platform and roll left to push yourself through the pillar that's in the way.
Peach: Get the far left one with parasol (Up-B) first, then float over to the the lower middle one the same way. You'll also have to use her parasol to reach the one at the top and float rightward again to get the top right one. The bottom right one is at the perfect distance to be hit with a turnip (Down-B).
Yoshi: Go to the middle platform, then double jump and throw an egg (Up-B) to hit the top left target. Save the one underneath the log bridge for last, and be careful to jump once then delay your double jump slightly so you don't fall to your death. (Jumping up there seems easier to me than trying to aim an egg.)
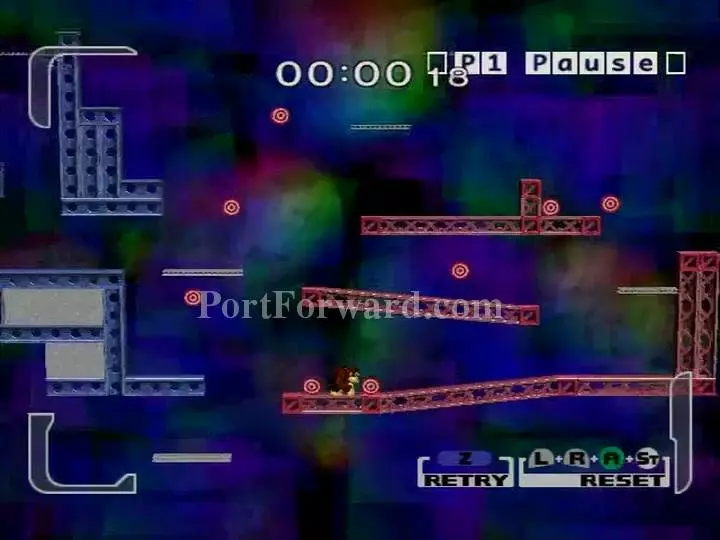
Donkey Kong: Nothing tricky here. Use his Up-B to reach the slightly out of reach targets more easily.
Captain Falcon: Start with the ones on the right side. You can use wall-jumps to get the upper right and upper left targets more easily. If that's too hard to control, take the slower route and Up-B on top of those areas instead.
Ganondorf: Ganondorf's targets mostly come to him. Jab to hit the two that pass by right away. and upair while jumping off the moving platform to get most of the ones above you. The last few should be on the left side. With good timing, you can fall down and hit the teleporting one on the bottom left if you haven't gotten it already.
Falco: Jab repeatedly to hit the one looping around the center area. Use lasers to hit the ones on the right side that keep teleporting around. You can stand inside the one-block gaps on the left side of the lower right enclosure. Or, fall down below it, Up-B inside, and use Falco's Forward-Tilt to hit the target in those blocks. Once the right side is cleared, Side-B through those fire blocks guarding the left side, then wall-jump or Up-B up to the left pillar to get the last one.
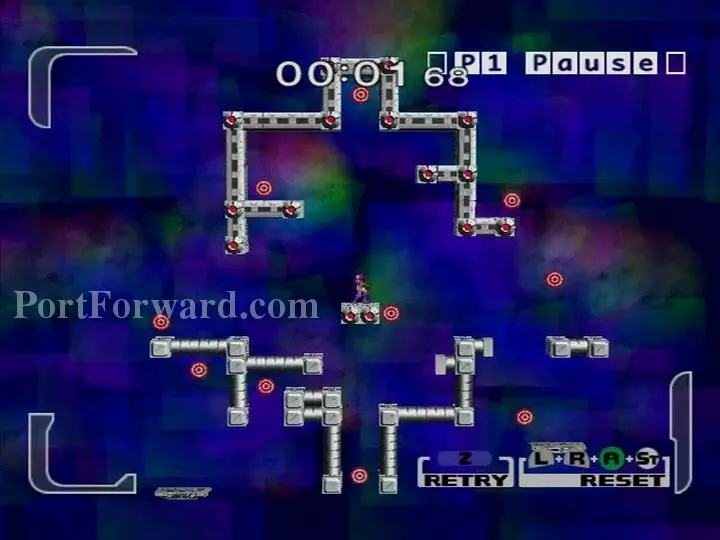
Fox: Fall down and Up-B or Reflector to hit the one below you, then get the two on your left with lasers. Continue up and over. Up-B into the top-right area. The targets along the right can also be shot with lasers, or you stand on the right side box to make it easier. Get to the bottom middle platform, roll to its right side, then Side-B to land perfectly on the single floating block by the last target.
Ness: The bottom right two can be saved for last or hit with two Up-B moves. The one in the bottom middle steel area will require you to turn your Up-B in a full spiral around the left side. On the left side, jump and Side-B to make one flaming platform fall onto the other one. Use the middle platform to reach the upper right side. Ness' Break The Targets section is probably the most tedious of all.
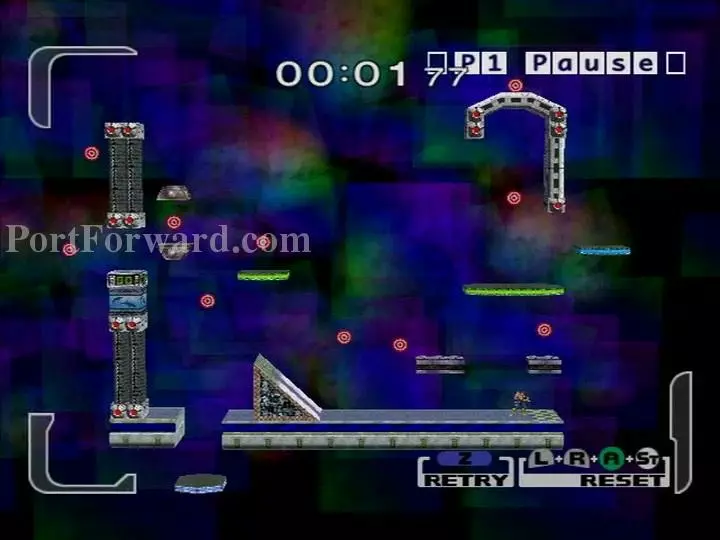
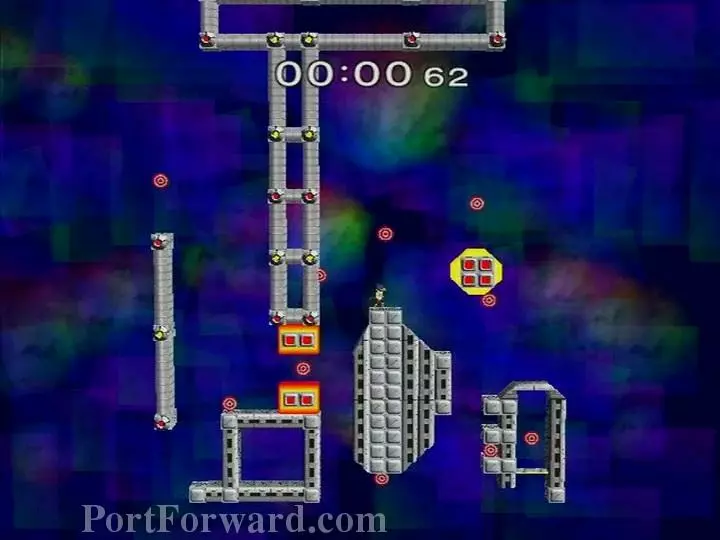
Ice Climbers: This one is a throwback to the original Ice Climbers game for NES. Choose your moves carefully, as the lower platforms are all breakable. Gradually ascend the tower, then jump with good timing to Up-Aerial the one carried by the bird on top.
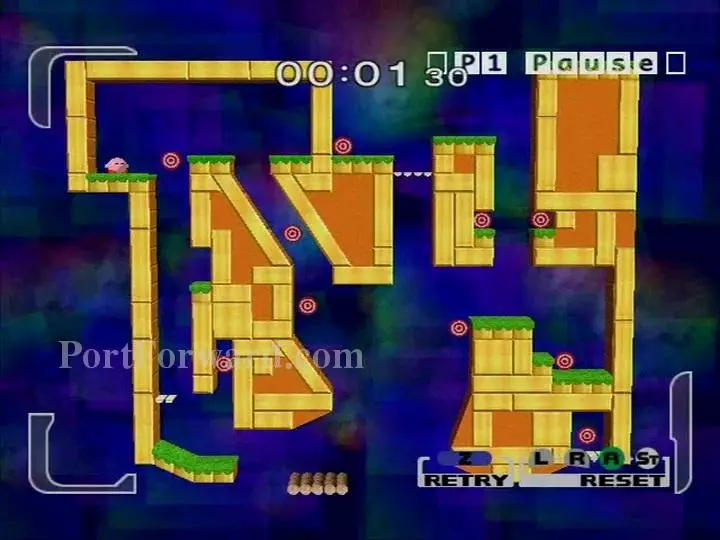
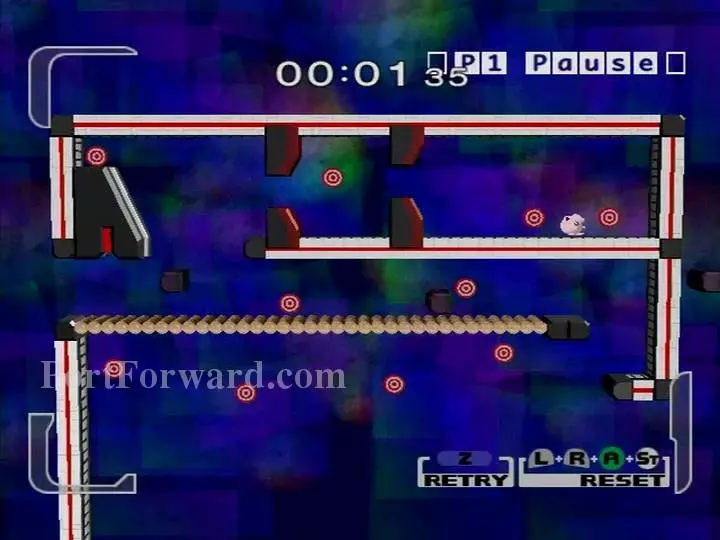
Kirby: Fall down the slide on your right with a Neutral-Aerial, then get the one on your left. Start with the middle right section, then the upper right, and finally fall down the right side to get the last target in the bottom right corner.
Samus: Head upward first, then right. Lay a midair bomb to hit the bottom right one without having to go down there. Likewise for the bottom middle target. Jump and shoot a missile or beam (B) to hit the target left of it, then continue left to get the last two.
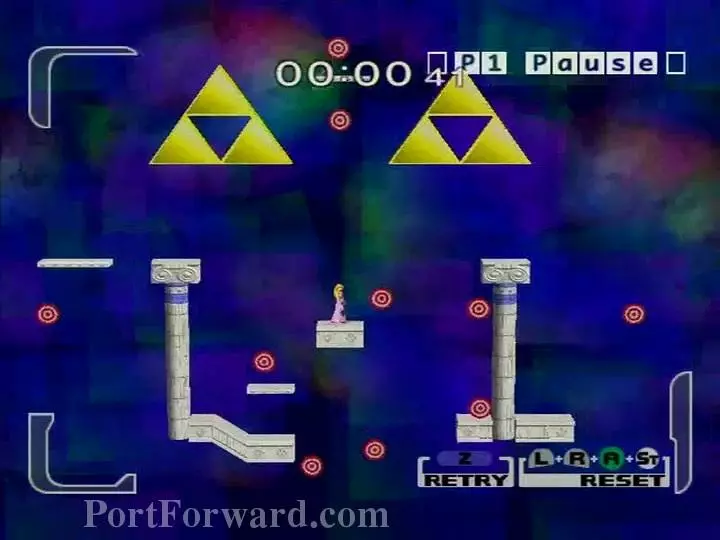
Zelda: Actually, this should all be done as Sheik, so transform (Down-B) right away. Jump and use Sheik's needles (B) to easily hit pretty much all the targets, including the offstage ones and those on the far sides.
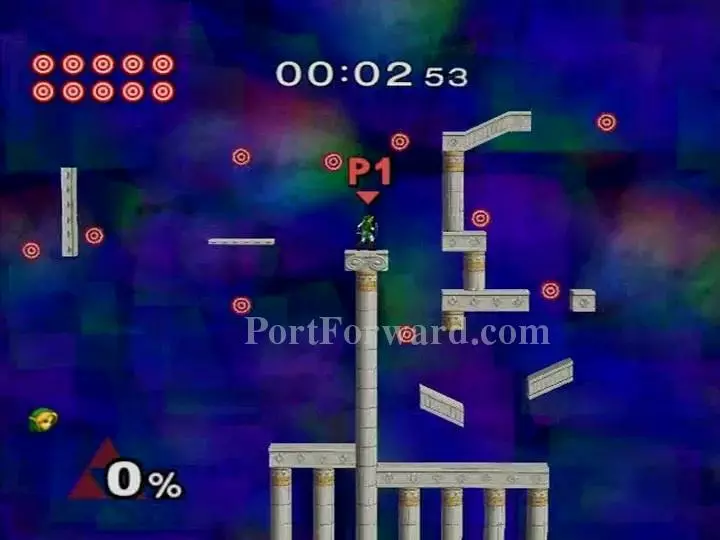
Link: Start with the right side, hitting the top right one with Up-B. Then go back to the starting position and use arrows (B) to hit the bottom middle target. Use more projectiles to hit the nearer one on the left side, then jump all the way over and use Up-B to hit the last one. Or, jump and press Z to use Link's midair grapple to hit the far left two at once. Fun fact: it's possible to complete this in under four seconds (using a much harder strategy).
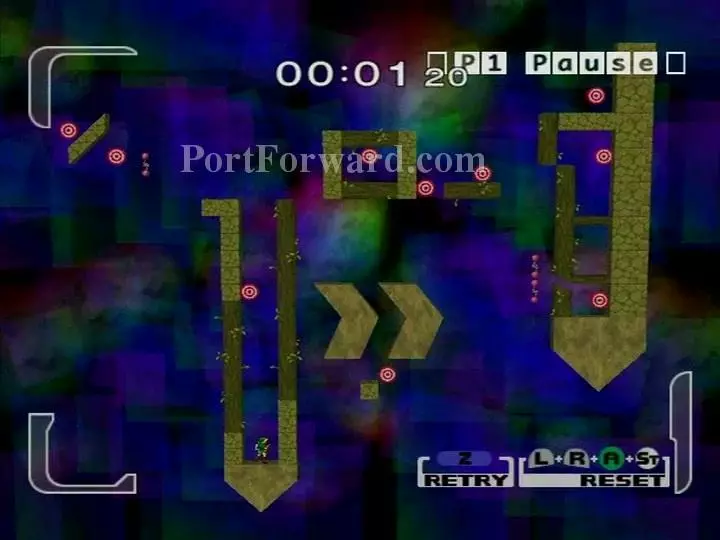
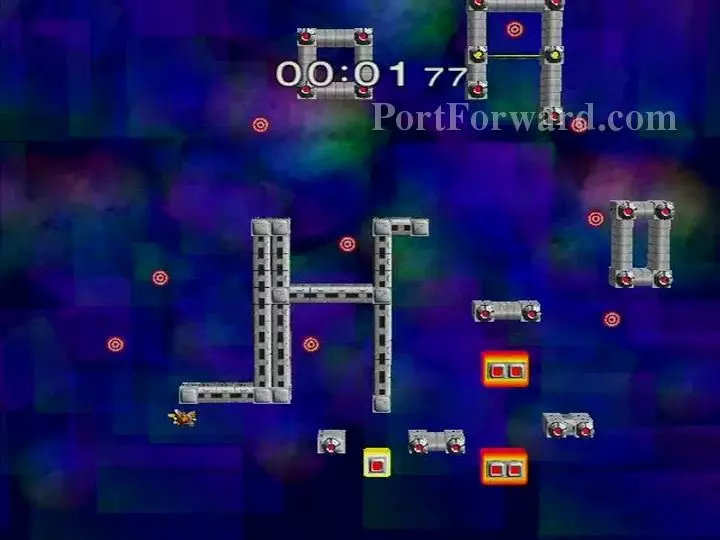
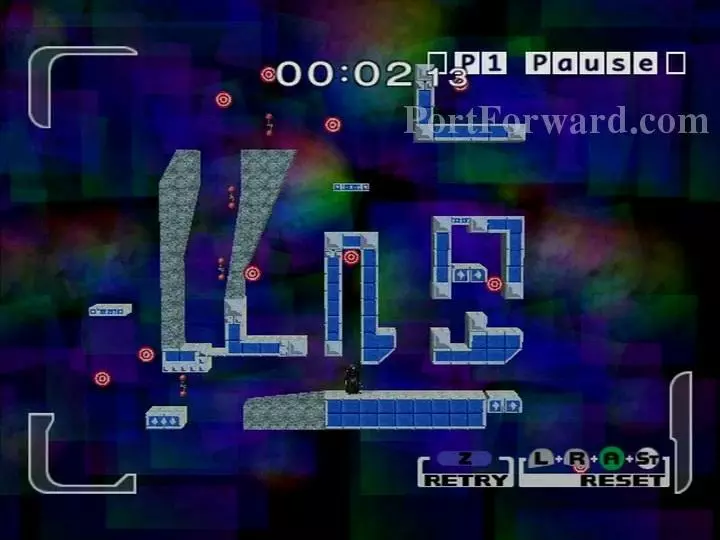
Young Link: Definitely one of the trickier Break The Targets stages. Repeatedly wall-jump to get to the top of the starting area, then use bombs (Down-B) or arrows (B) to hit the left two targets. You can also throw a boomerang (Side-B) at the wall down and to the right, then jump over it to make it hit the far left one behind you. Head over to the top right and use the reverse boomerang trick to hit the enclosed targets up here, then fall down between the two ">" to get the lowest target. Next, stand on top of the right ">" and charge an arrow slightly to hit the last target behind the spinners.
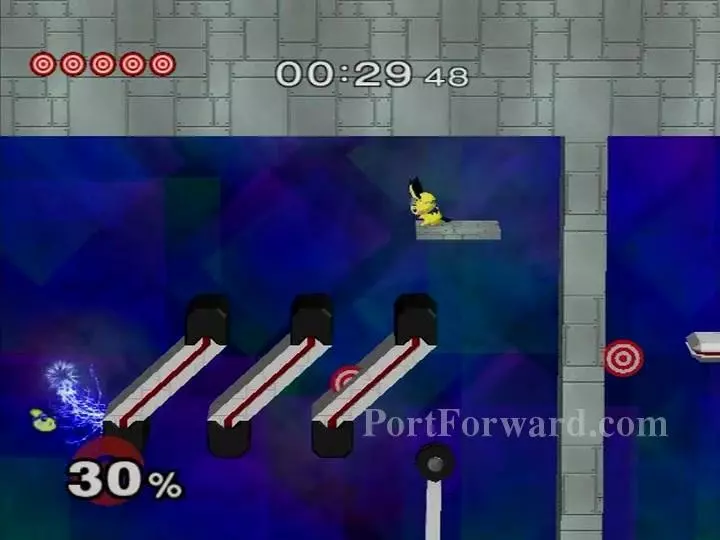
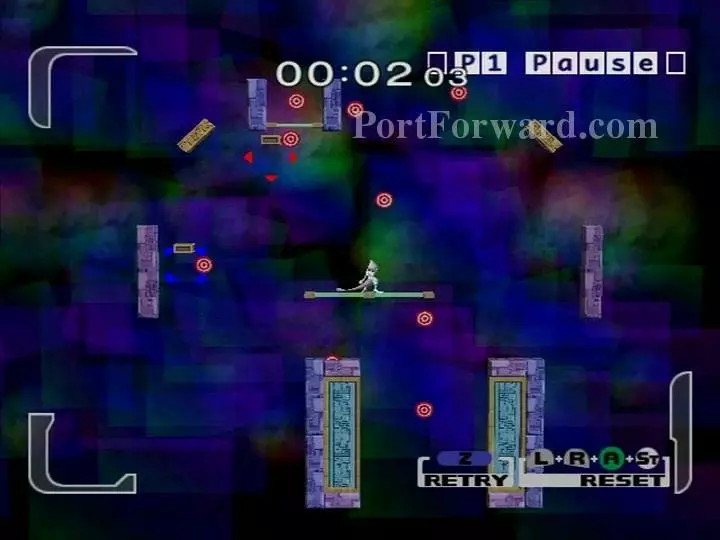
Pichu: Use Thundershock (B) to hit the one on the pendulum platform, then jump over to the upper left one. Time another Thundershock to hit the rising platform, then jump and use Up-B to get to the upper middle platform and shoot more electricity down between the angled blocks. Fall down and Up-B over to the platforms on the right, then slowly climb up them to reach the last few targets.
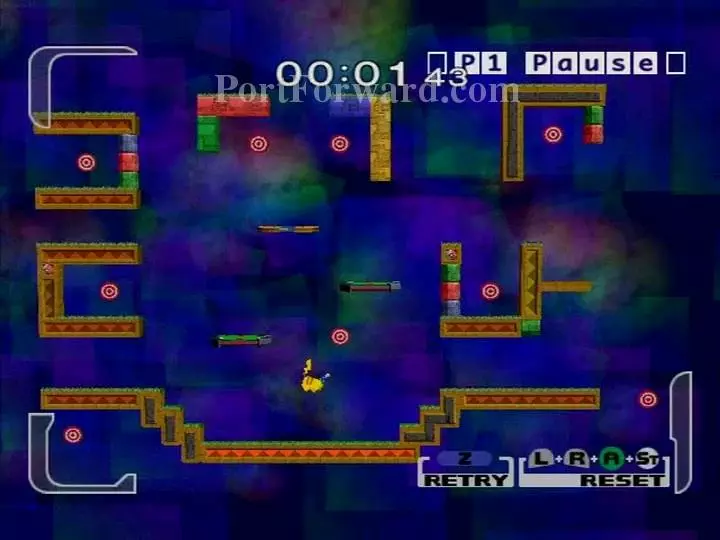
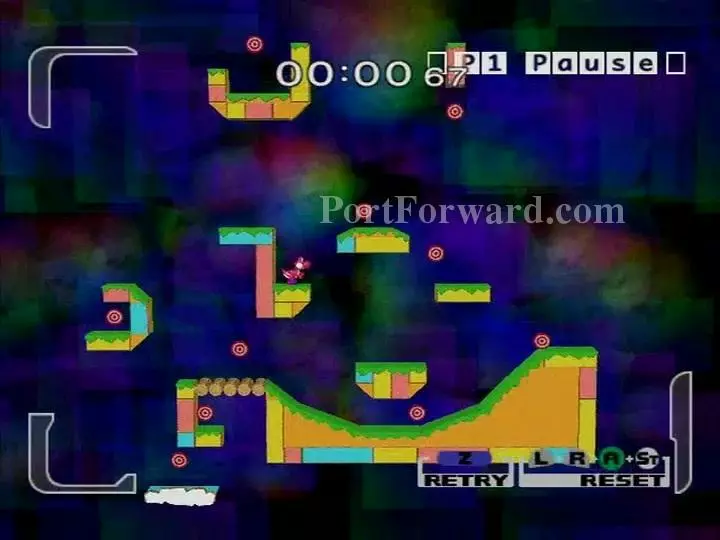
Pikachu: Use Thundershock (B) to hit the bottom left one, then get the two above it. Down-B will hit the one in the U-shaped area while standing below it. Use another Thundershock to safely hit the bottom right target, or just throw your body at it with any moves if you saved it for last.
Jigglypuff: Her floatiness makes all of these easy to reach. Jump through the heated barriers toward the upper left one, dodge the moving blocks as you progress right, then time your jumps with Forward- or Back-Aerials to get toward the bottom left one. Use Pound (Side-B) to extend your horizontal reach if need be.
Mewtwo: Use a combination of Neutral-Aerial and Up-B to hit all the targets here. They move around a lot, so timing is key. Take a moment to learn the targets' movement patterns before chasing after them.
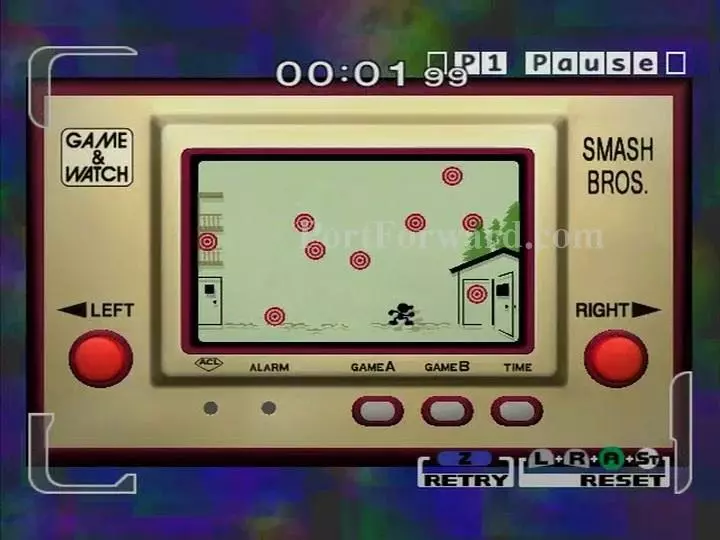
Mr. Game&Watch: As with Luigi's stage, all the targets are clearly visible in one place. They just like to jump around all over the place. Throw out moves in all directions until most of them are gone, then wait for the last one or two to reappear.
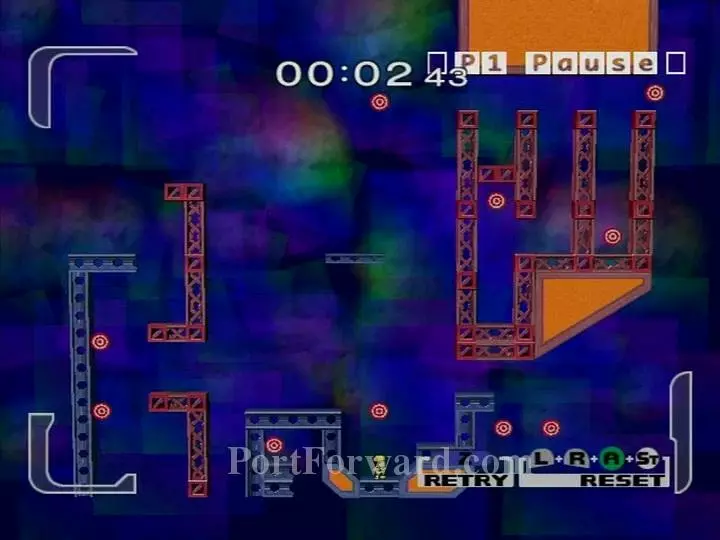
Marth: Run down to the bottom right one and hit it with Up-B, which also brings you back to the stage. Jump while holding the edge to get into the middle right area, and use Up-Aerial to hit the one in the top right corner through the blocks. Use Forward-Aerial to do the same on the center target, get the middle left one, then go to the top left. Finish by heading over the top to the leftmost platform then falling through and hitting the last two.
Roy: Fall down to the right and Up-B to hit the lower target inside the block. Use both jumps and Up-B to get to the top right, then head left while hitting targets, and finish with the bottom left two.
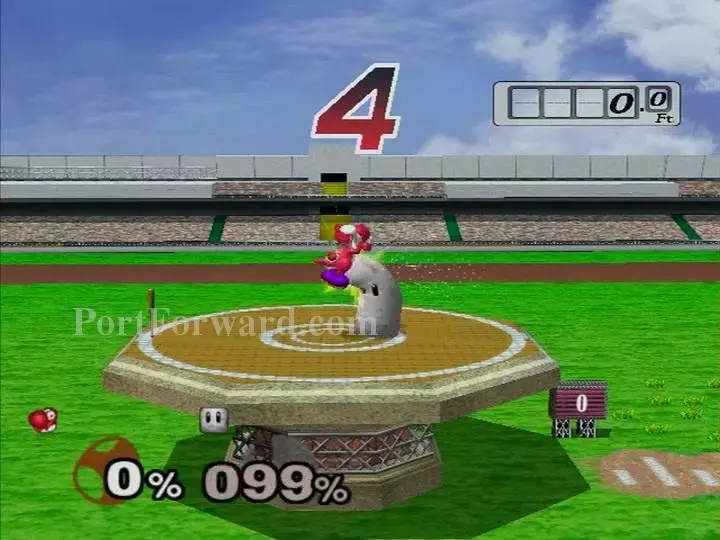
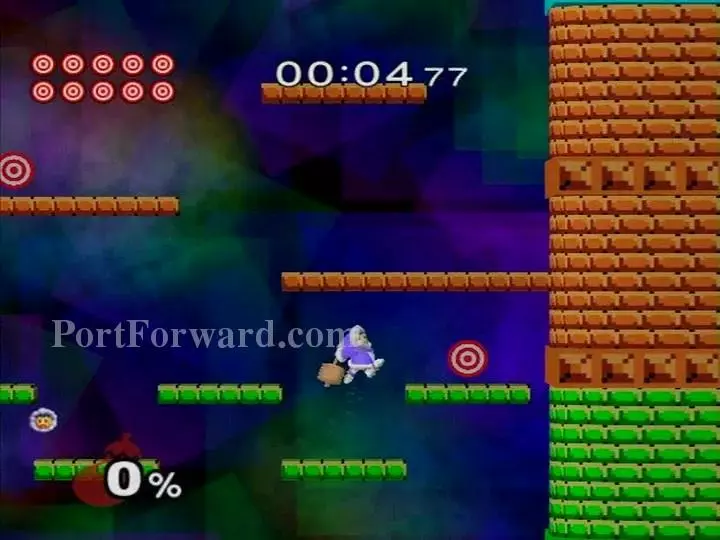
Home-Run Contest: Rack up damage on the sandbag without knocking it off the platform, then send it flying as far as possible. The easiest way to get a decent score in this mode is to use Yoshi. Yoshi's Down-Aerial will raise the sandbag's percent while keeping it stationary. Do this until the timing runs down to around 3, then pick up the Home-Run Bat and hit it to the right. If done correctly, you should get over 1350 feet, which is enough to unlock the Yoshi's Island stage.
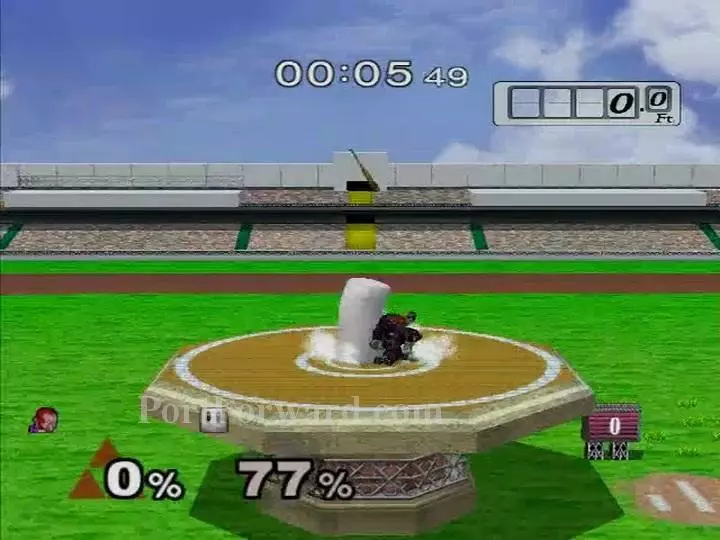
But, there is a better way to deal lots of damage that works with many characters: Bat-Dropping. Grab the Home-Run Bat, jump over the sandbag, drop it with Z, then use a downward-hitting aerial attack. The bat will damage the sandbag and the attack will hold it in place while raising its percentage even more. The effect is very noticeable when using Ganondorf's Down-Aerial.
More Super Smash Bros Melee Walkthroughs
This Super Smash Bros Melee walkthrough is divided into 6 total pages.


