This System Shock 2 walkthrough is divided into 15 total pages.
You can jump to nearby pages of the game using the links above.
Operations
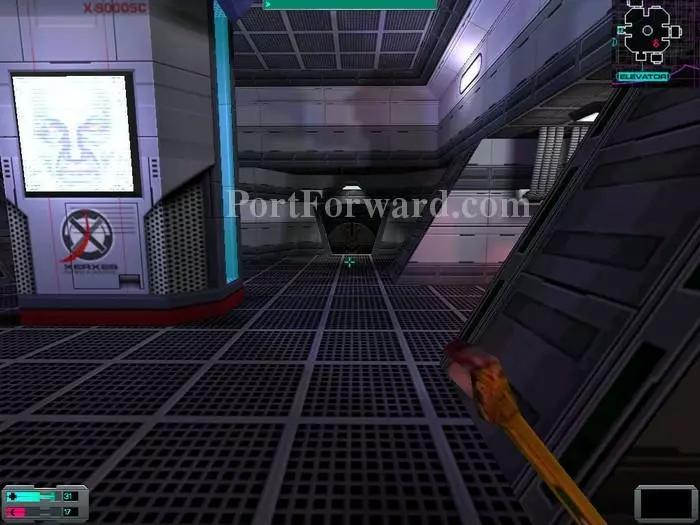
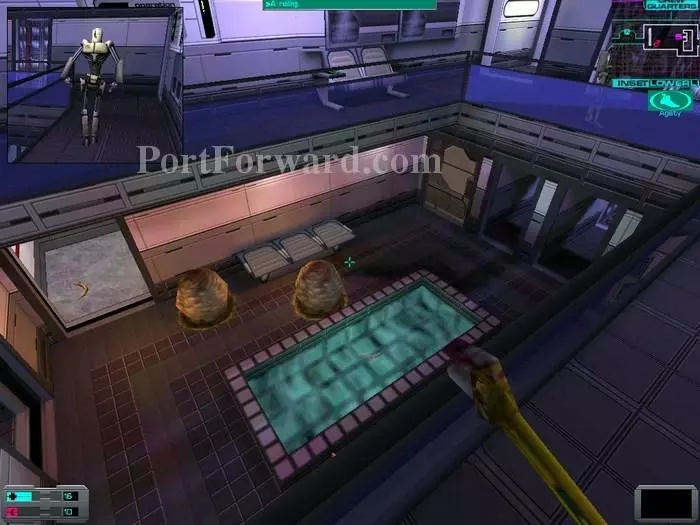
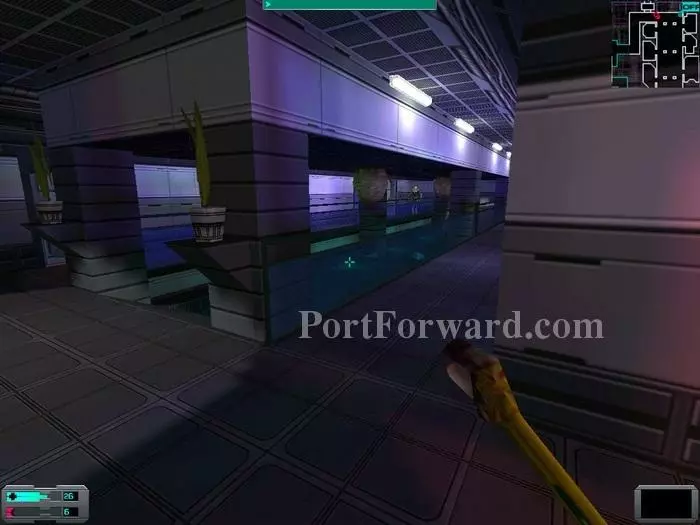
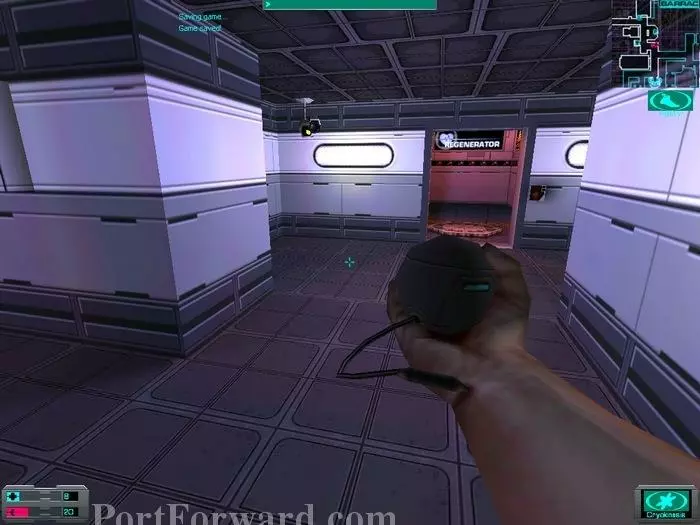
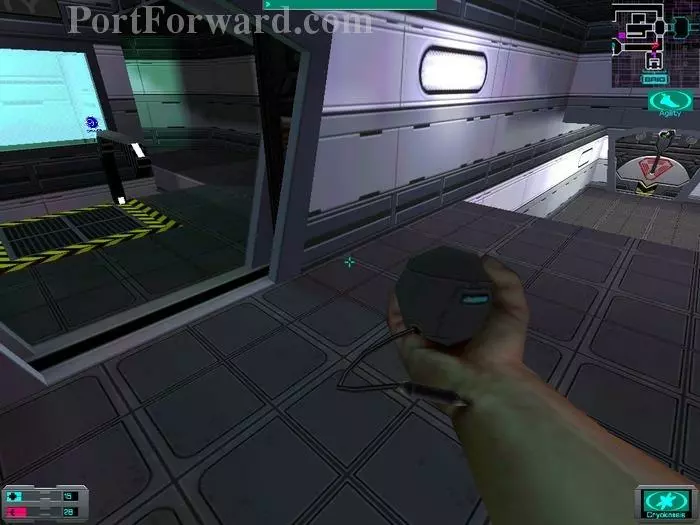
Exit the elevator and turn right toward the crates. Grab a log from Yount, version 2 repair software and a maintenance tool from the crates. Exit through the bulkhead to your right, the only one unlocked. We finally meet poor Polito... Listen to the cutscene and meet your Master, insect! Once you are done poking around Polito's empty office, exit and head for the door straight ahead but do not enter right away. Instead pick the log from Malik from the floor. You learn of some special "friends" dressed in red. Before actually starting on this level it might be worth mentioning that it is a much more challenging level than all the game has offered us so far. I mean it! Get ready for tons of traps, but also plenty of rewards!
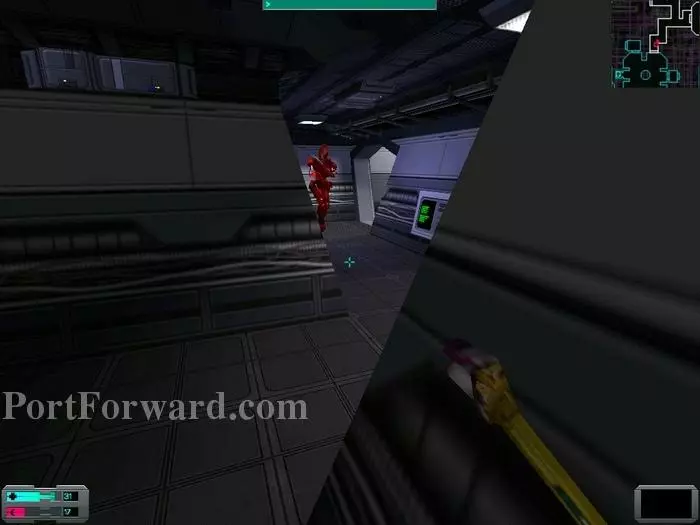
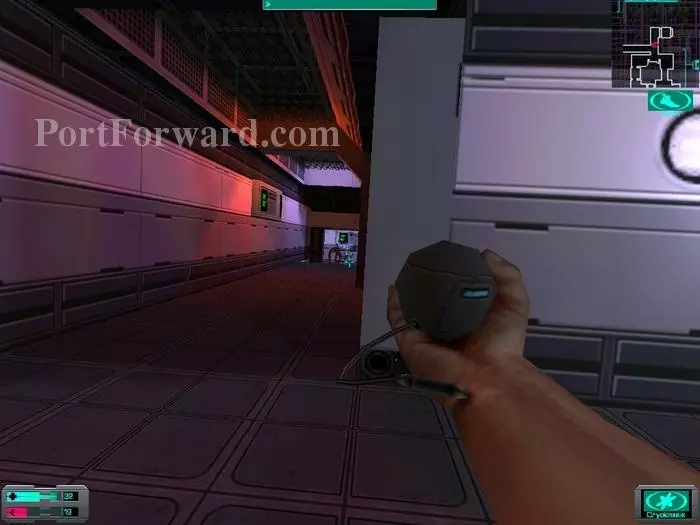
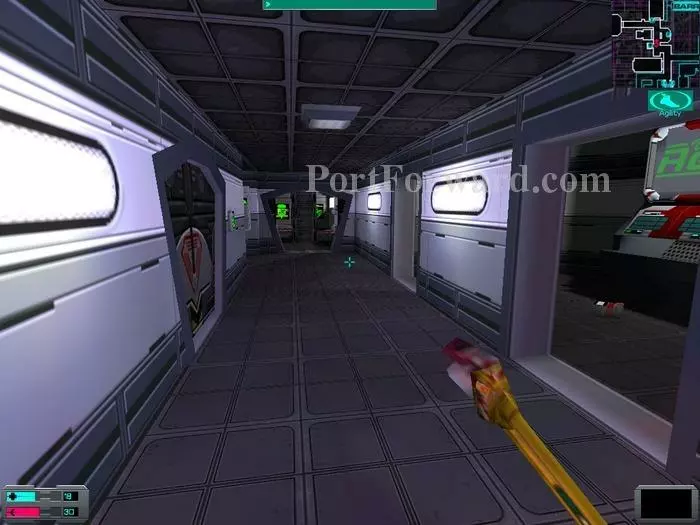
As I go forward and open the door I'm startled to see one of those red guys right off the bat! He won't move or attack as long as you don't get too close, but when you do he'll run like hell! I decide not to follow as I fear I was being led in a trap.

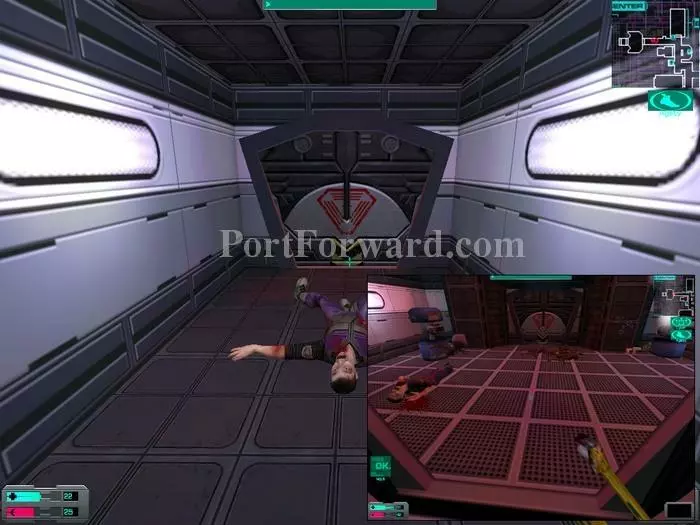
I follow the corridor past the intersection and end up entering crew quarters. Near the door I pick a log from Suarez and can hear monkeys on the other side. I walk carefully through the door and find 6 rifled slugs on the body. On the other side of the wall I take the gravshaft up.
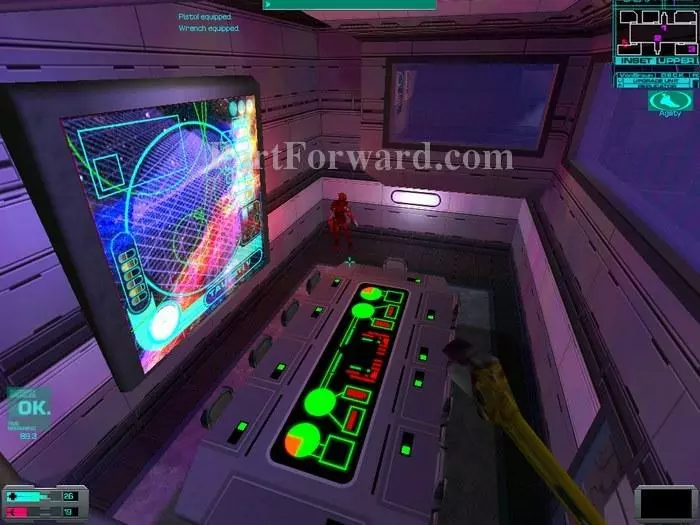
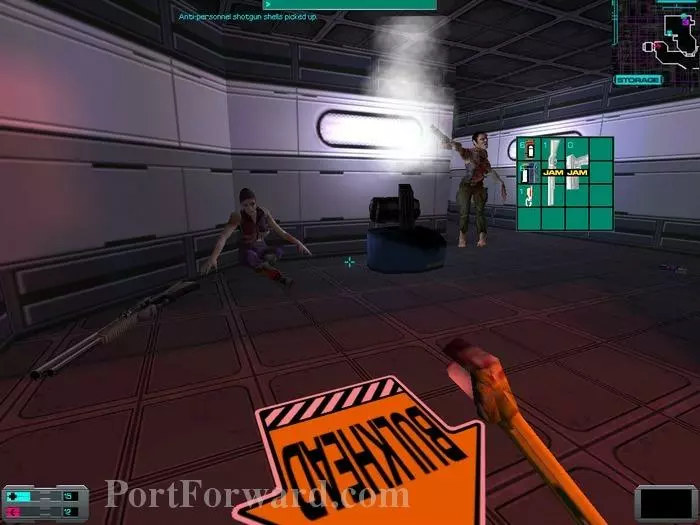
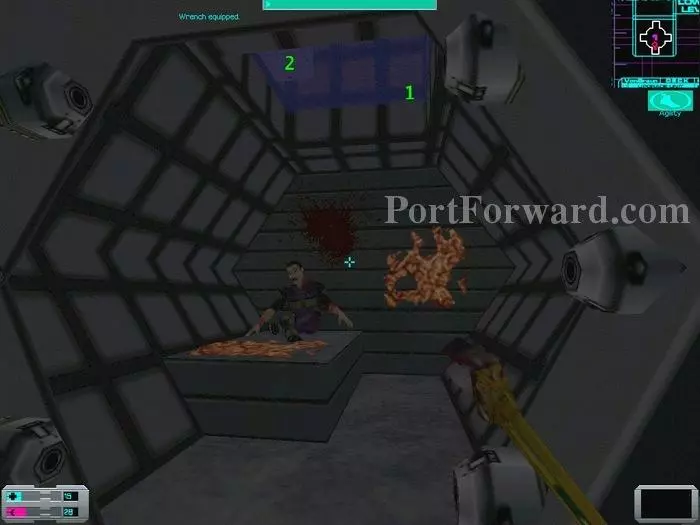
The gravshaft offered me good protection as I single-handedly dispatched one monkey and two shotgun hybrids. This is the lounge and there is a recharger as well as four upgrade stations.
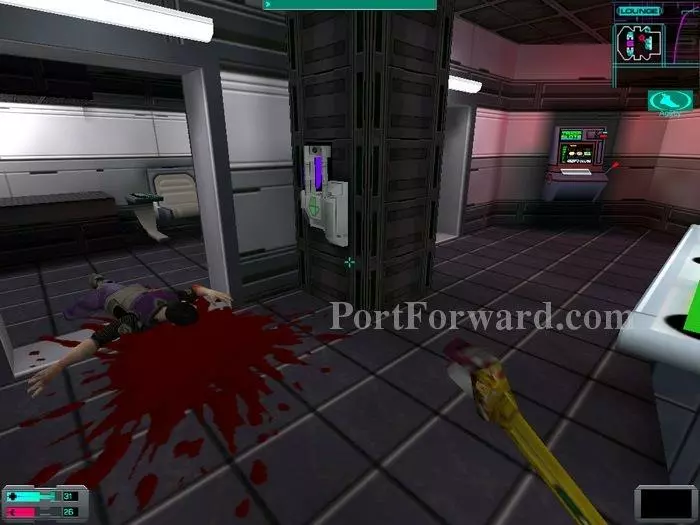
The body to my left contains 3 cyber modules, but what a bloody mess! And why not take a break from hybrid-bashing and try your hand at the slot machine! Just don't hope to get-rich-quick, or even win at all for that matter...

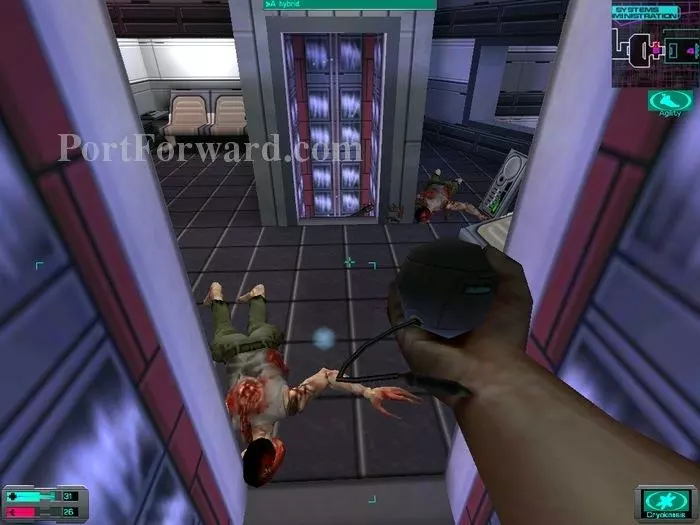
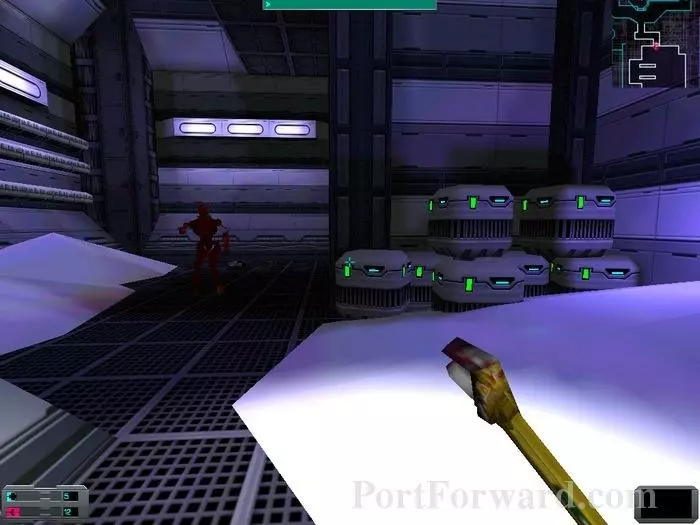
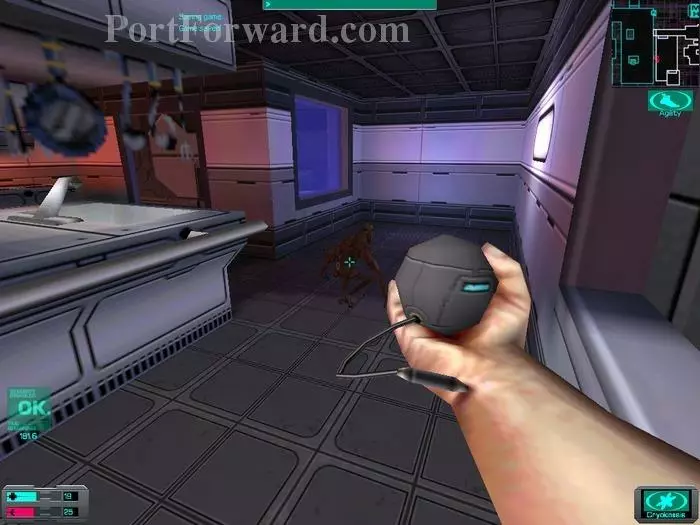
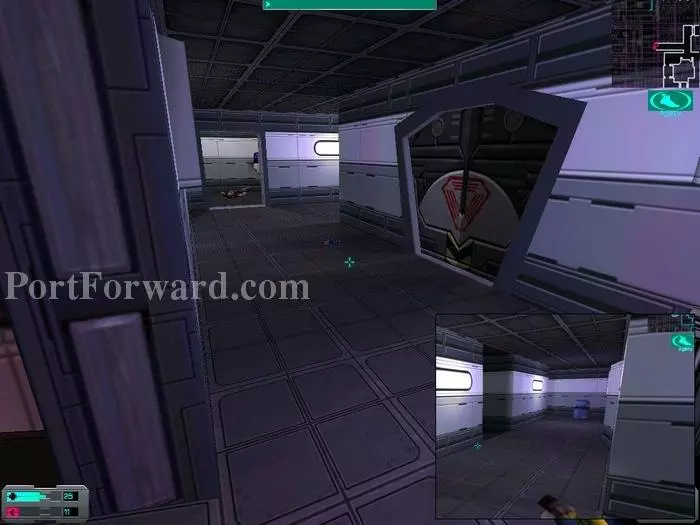
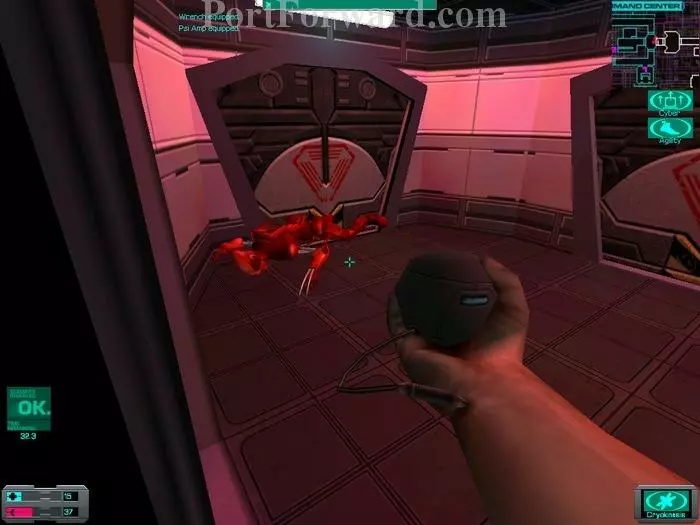
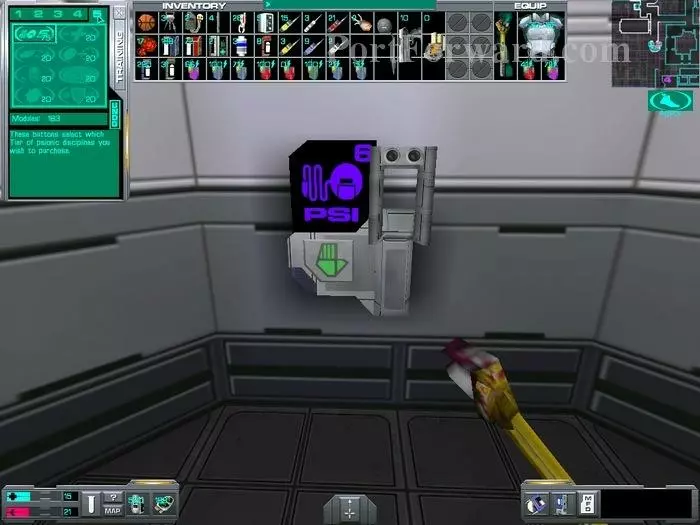
Firm in my resolution not to spend my cyber modules until I can afford some level 5 psi abilities, I pull myself from the upgrade stations and go back down where I hear a hybrid pacing. Here I engage a grenade launching hybrid. While scary and able to deal some significant damage, they are pretty easy to kill. When I try to get close they mostly back away in order to throw their grenades safely. During that time they are vulnerable and I can easily kill them. The closed door in the picture had no loot in it.

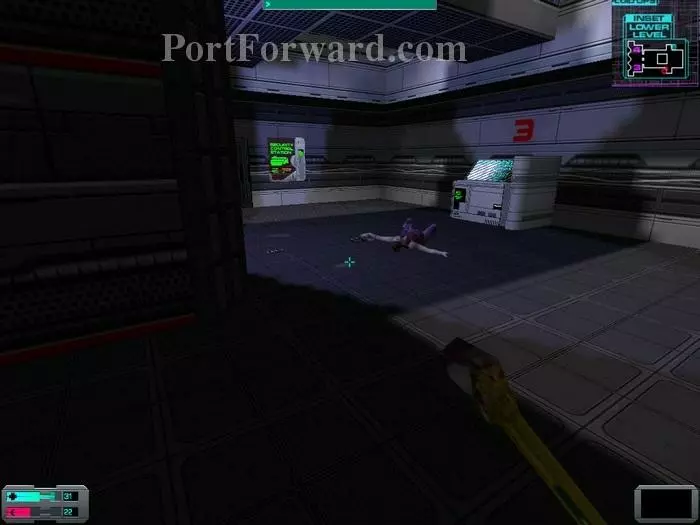
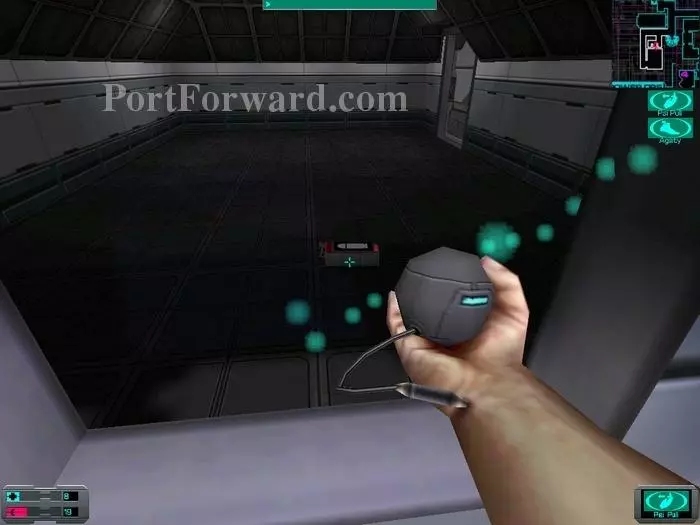
I turn left as I cross the doorway and spot nanites to my right. I continue forward as I pass some gravshafts and come to a replicator and a dead body.

Searching the dead body reveals 12 anti-personnel bullets as 3 worms jump from the dead guy and attack. The replicator is broken. I repair and hack it only to find bullets and grenades. I hear a camera as well as more worms so I continue forward.
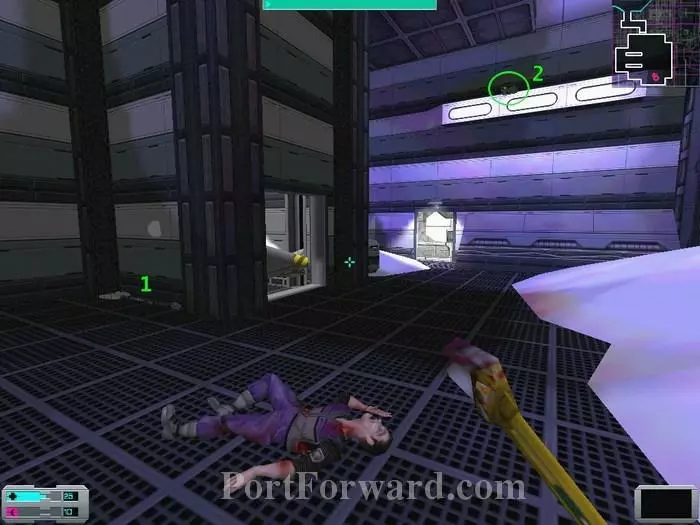
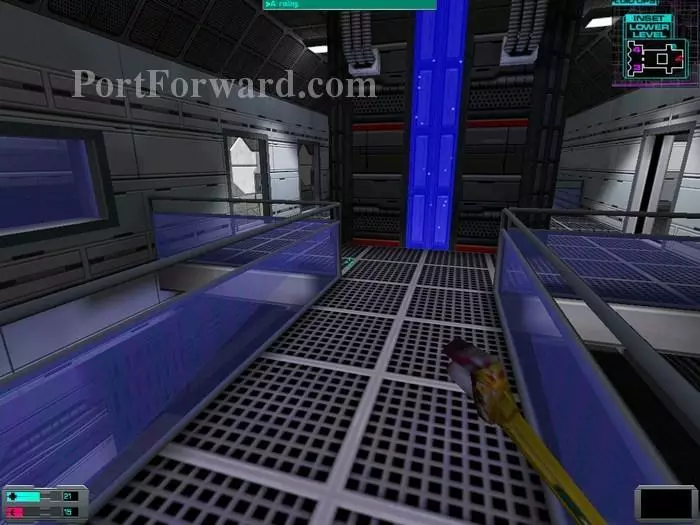
Past the camera I find myself overlooking the first floor whose denizens are of The Many genus. Before I have time to decide how I'll exterminate the infesting vermin, a protocol droid does a decent kamikaze impression and charges. Once dealt with I ignore the gravshafts once more and go around the corner and pick-up a log from Siddons.
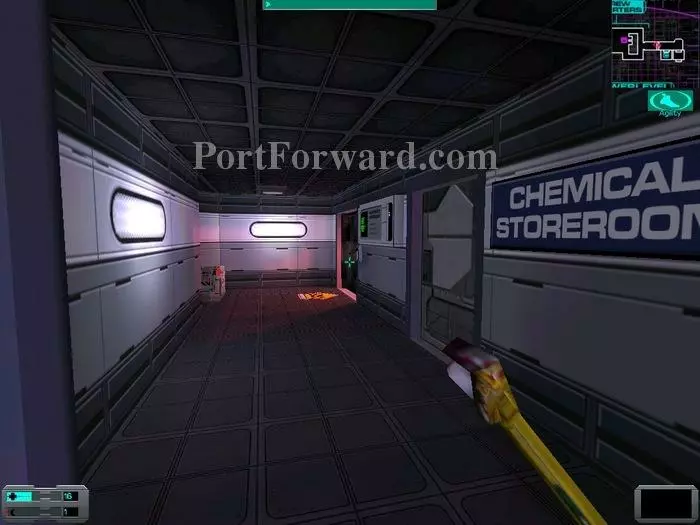
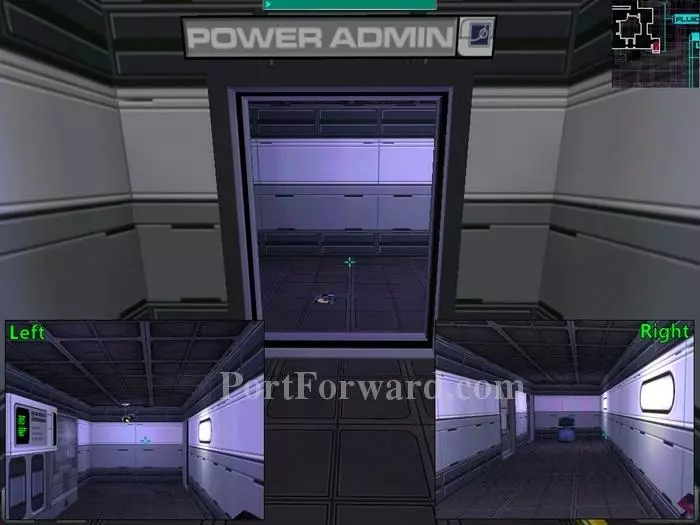
Just past the last door on this upper floor I find the chemical storeroom where I can finally get some Na to complete research on that weird-looking hypo. At the end of the corridor is a security crate which I hack open for my second EnduroBoost implant. The bulkhead goes to power admin but I want to check out the first floor first.
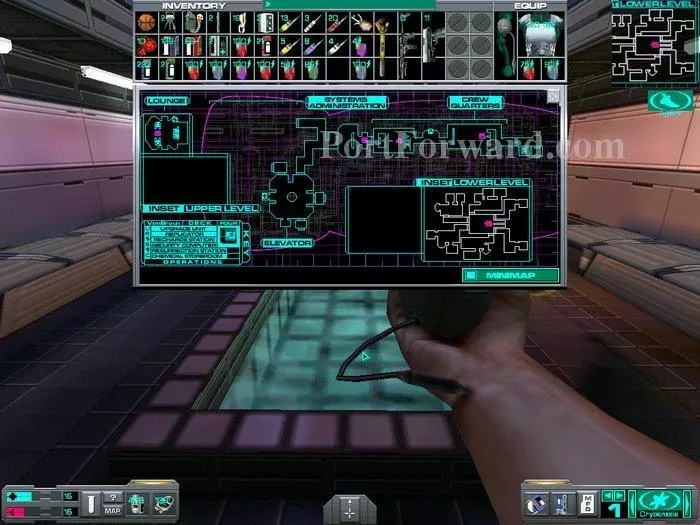
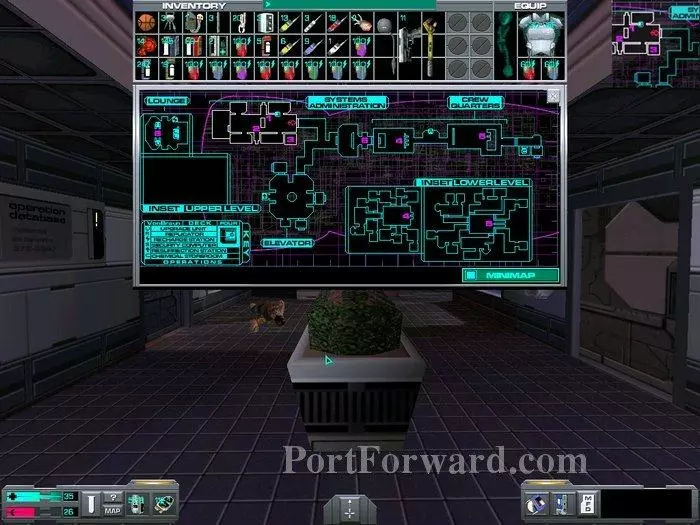
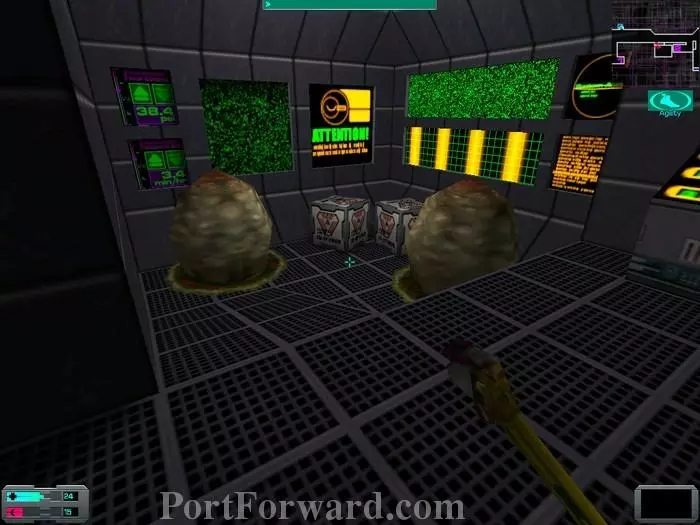
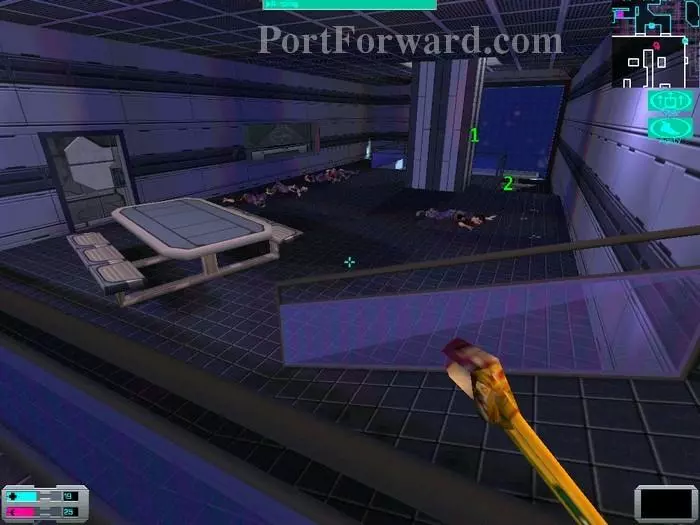
Turning back I take the first gravshaft down to arrive at this location shown on the above map. I will explore the rooms in a clockwise manner, starting from the room to my left. In room 1 I find an annelid gland and a maintenance tool. Room 2 has 6 armor piercing bullets in the bathroom and 3 cyber modules in one of the lockers. Room 3 is pretty challenging as a midwife is there with 3 eggs blocking the way. I find a speed booster, 20 nanites, 3 cyber modules, 6 rifled slugs and finally a gland. Neat-o! Room 4 spits out a few worms from the broken ceiling and rewards my determined looting with an annelid psi organ, a psi hypo and a beaker. In the locked crate I score 20 more nanites and a brand spanking new French-Epstein device! Room 5 scared the hell out of me as a shotgun hybrid silently came running at me shouting "Hurry, run!". I grabbed a SwiftBoost implant as well as 10 nanites and a psi hypo before getting the hell out of there! Finally in room 6 I dispatch a fireball monkey and get 12 armor piercing bullets and a med kit.
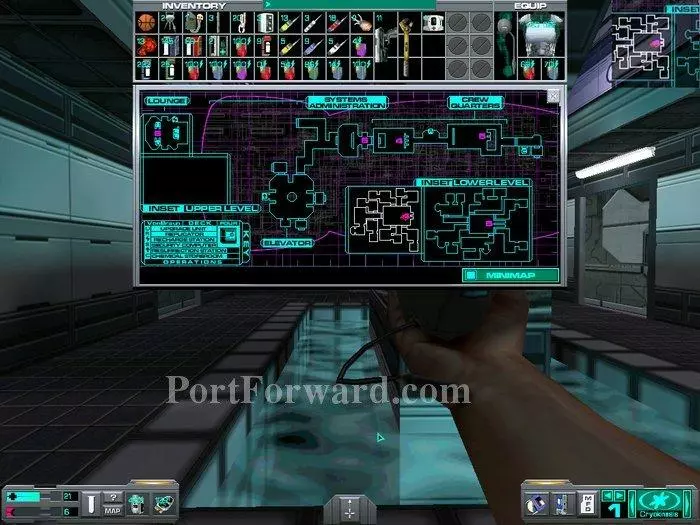
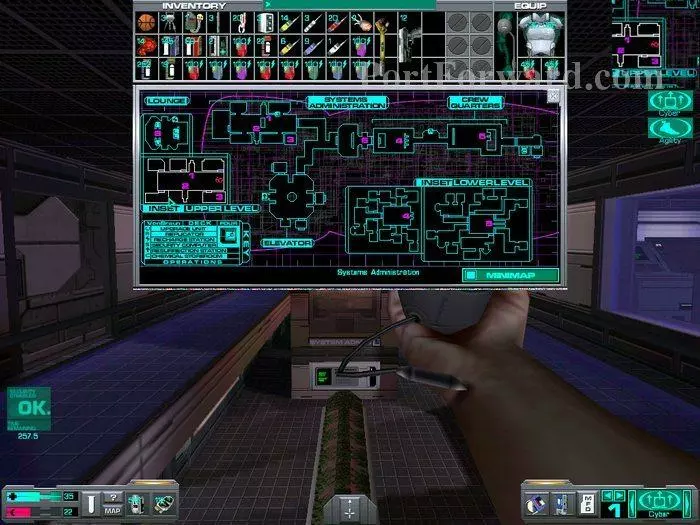
I take the gravshaft up and continue left toward the one I previously went by to finally arrive at the location above. The area contains only five rooms that I'll be exploring as I did above. Starting to my left, room 1 has a log from Malik and 6 anti-personnel slugs. In room 2 I got a standard suit of armor, 12 standard bullets and a log from Korenchkin. Room 3 is a trap and an auto-repair unit is the bait. As I walk to grab it, previously locked doors open and a spider is released! They are pretty resilient but I still managed to get the upper hand as well as 3 cyber modules and 30 nanites. Room 4 has a burning leaking pipe as well as 20 nanites and an anti-toxin hypo. Aside from a pipe hybrid, room 5 only has a med hypo.
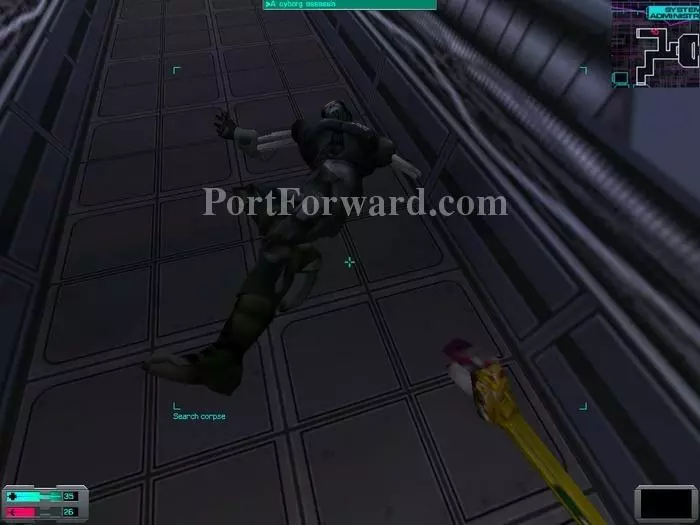
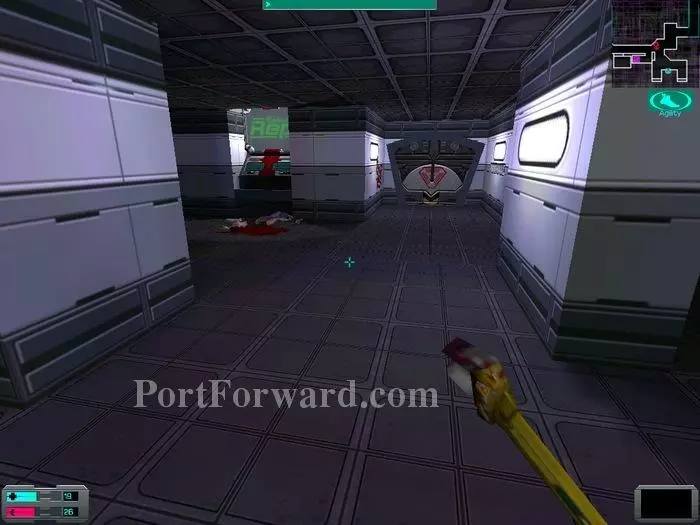
It's now time to go deal with the red cyborg so I go back to the intersection I passed at the start of this level and head for System Admin. Besides, that red cyborg has the chip needed to reprogram one of the sim units. But on the way there are several cyborg assassins that I had to dispatch. They are nasty and I ended up using most of my psi hypos and a med kit. Aside from the cyborg shown above, two others were waiting in the elevator area!
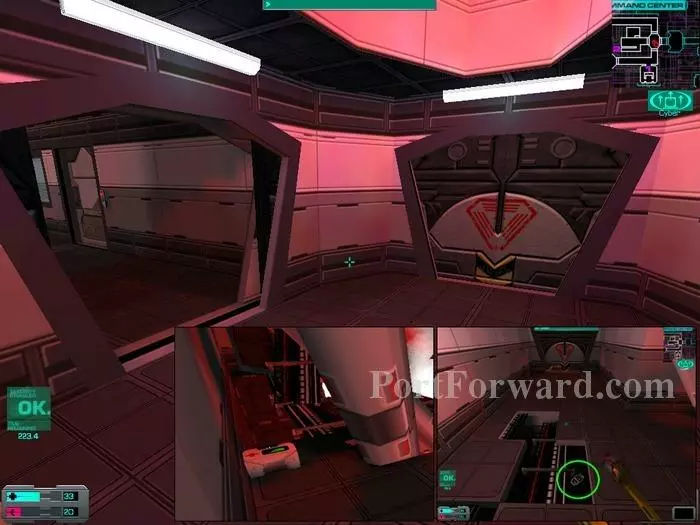
After dealing with the camera and listening to The Many, I enter in an area that is pretty similar to the others on this level. A large two floors room comprised of several smaller rooms as you can see on the above map. I'm starting to my left and going clockwise again. The first room contains a desk with an anti radiation hypo and a log with the continuing love story of Rebecca and Tommy. There are also two nasty eggs that will release way too many worms should you get too close! What's even nicer about this is that if you destroy the eggs the worms will still drop down on you! The second office contains a med hypo and 15 nanites. I'm skipping the third office (conference room) and go straight to the fourth where I find a pistol in perfect condition and 12 standard bullets. The last office contains 6 anti-personnel bullets.
Now for the second floor, and no! I didn't forget about the third room downstairs. Read on! the first room contains 15 nanites and 2 cyber modules in a pretty well laid-out trap. As I climb down the ladder some kind of steam gets released and burns me. I grab the loot and climb up while Xerxes advertises a droid poetry reading! The second office contains 20 nanites and a version 2 modification software. Note the large windows opening on the conference room below. All the other offices are empty on this level. Time for some cyborg bashing!
See why I didn't want to enter the conference room from the first floor? Dispatching this tough cyborg is much easier from this good vantage point. Whenever he shoots some of those ninja stars, simply crouch or move out of the way.
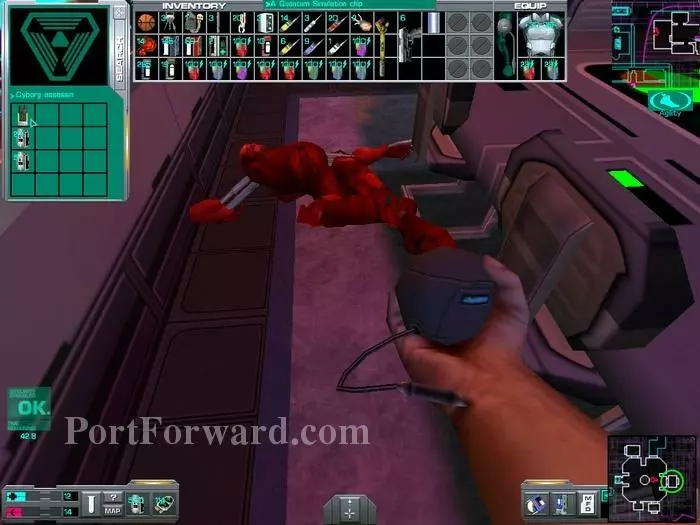
The reward is the Quantum simulation chip. You can also expect a boon from Shodan, in the form of 10 cyber modules. I go back to the hub and leave through bulkhead 42 (inset).
As I arrive in the next section, a hybrid attacks me. It's the first time I see a hybrid with so much loot on him! The dead body contains 2 cyber modules and 6 rifled slugs and I found a battery in the destroyed turret. A log from Bronson is on the ground nearby. Going around the bend I find 3 crates containing 6 standard bullets as well as 6 rifled slugs. I then decide to chase the cyborg into Data Storage. I pass the empty dead body, the steam and the camera and enter the room.
Talk about another elaborate trap... The bravest amongst you might want to lure the cyborg out of the room to teach him some manners. Brave I am not, so I decide to hide behind the crates and watch the show! Calm is restored as soon as the cyborg dies. I cowardly come out from behind the crates and pick a log from Wood on one of the crates and the interpolated chip from the dead cyborg. Shodan probably didn't see me hide as she proceeds to reward me with 10 cyber modules and congratulate me on my skills!
The dead body in the middle of the room contains 20 nanites and a version 1 modification software. Behind the broken elevator (1) is a med kit, an EMP rifle in good condition and an unresearched object. Before I leave I spot nanites, twenty, hidden pretty high in the room (2). I leave Data Storage to continue acting-out my Xenophobic urges.
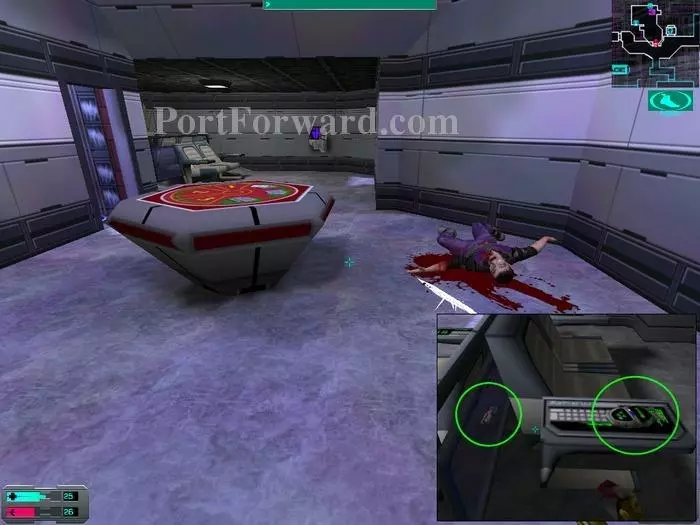
Leaving Data Storage I enter the door straight ahead while Shodan briefs me on the crystal shard. As my inventory is full I'll pass on picking it up; I'm pretty sure I'll have the opportunity to get another one later. I instead desecrate the dead and steal an anti-toxin hypo and 10 nanites from the body. Looking around I spot 2 cyber modules resting on the arm of a chair and a maintenance tool on the floor (inset 1)! Taking the gravshaft up I find another dead body (med hypo plus maintenance tool) and worms crawling out of it. Gross!
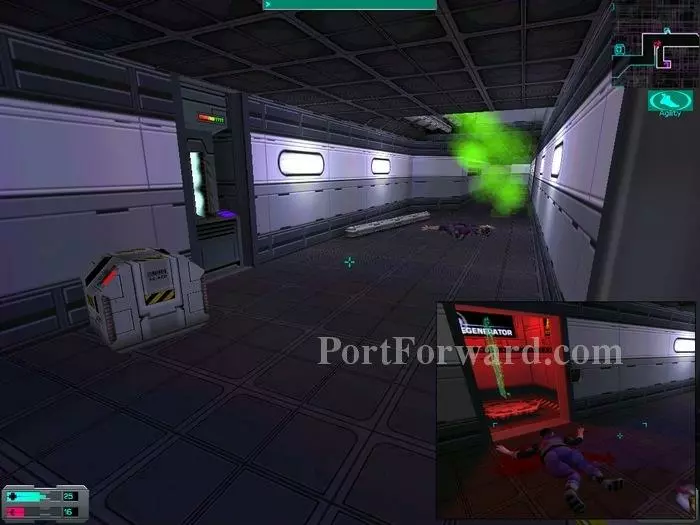
I leave the lounge and turn to my left where I pass a body in front of a reconstruction machine. That poor guy was just a couple of feet away from endless resuscitation (for a price)! I search him and get 6 standard bullets and 3 proximity grenades. I go around the bend to arrive near a recharge station. I hear a hybrid mumbling nearby. The security crate contains 20 nanites and 6 armor-piercing bullets while 3 more proximity grenades plus an anti-toxin hypo are on the dead body under the green smoke.
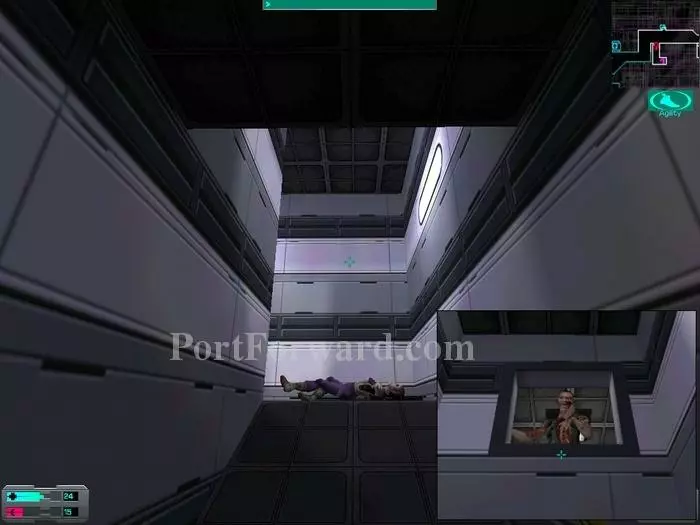
I decide to go around the green smoke and turn toward the ramp in front of the security crate. Beware as a hybrid is watching through a window right above the ramp (inset)! The dead female body contains 6 rifled slugs and 20 nanites. There was another hybrid past the bend and I found a log from Bronson in the hybrid's cozy two window apartment.
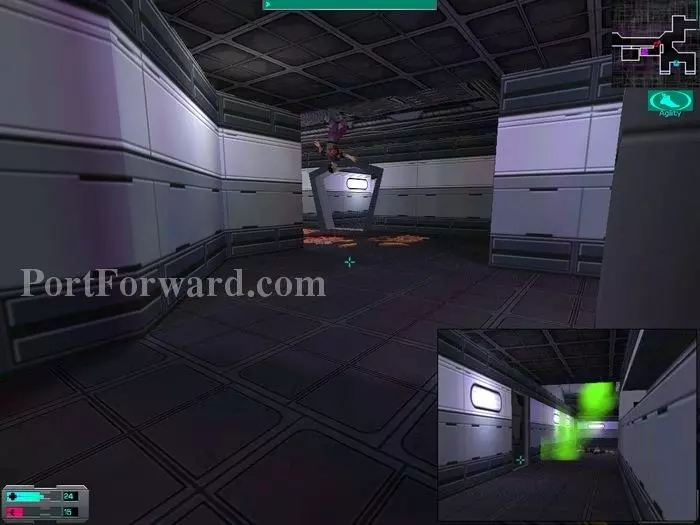
Making my way past the toxic smoke I come down and look right for a pretty gruesome scene. But I first turn left and investigate the door closer to the toxic smoke (inset).
More eggs! And worth it too; in one of the eggs I find a healing gland and 3 cyber modules were in one of the crates. The second crate wasn't bad either with an ICE pick and 6 rifled slugs. Ok, time to see what's up with our hanging dude.
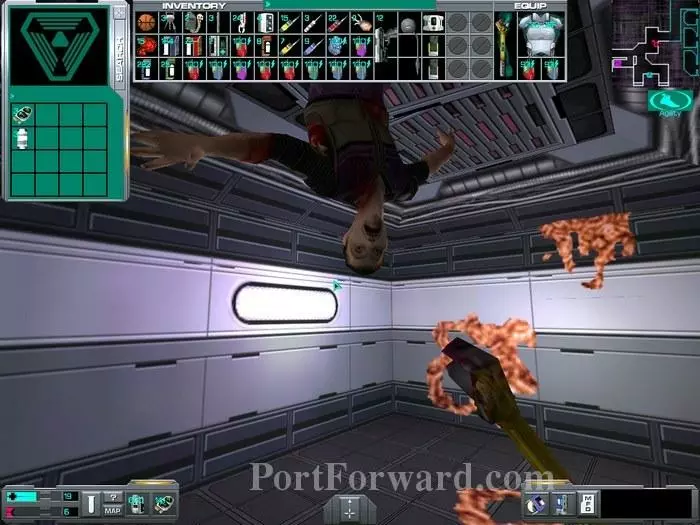
As I get close to the body, no less than 6 worms attack! Yes, I was as surprised as this guy! And they were at least ten feet long and could swallow a man whole... 3 cyber modules were in the guy's pockets as well as 3 proximity grenades. On the ground near the helpless bodies of the slain worms I collected a psi hypo. Argh, matey! 'tis a true story, I swear!
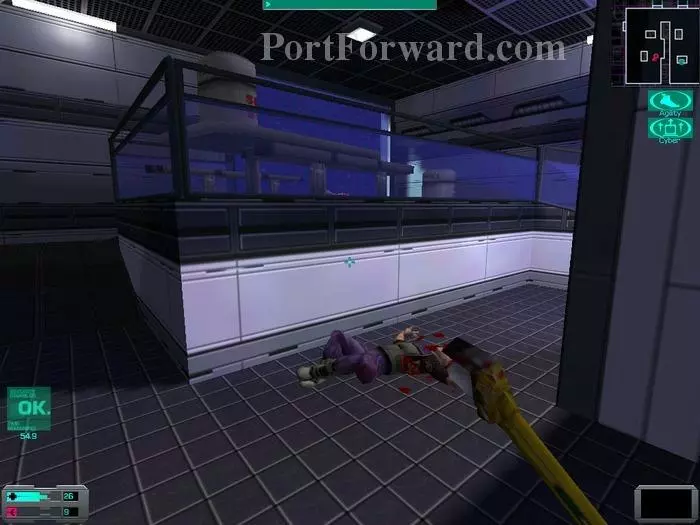
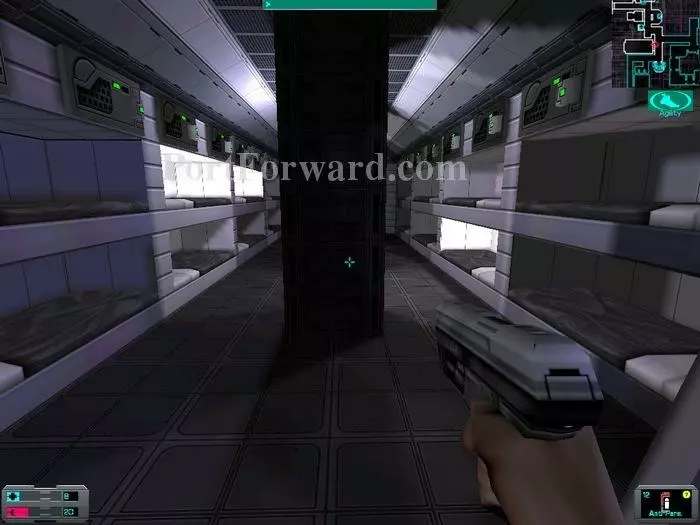
I won't go forward right now but instead go back and turn left to find a body in front of a replicator. Note the two doors leading to the mess hall. The body contains 6 anti-personnel bullets and no worms this time! I hack the replicator for some psi and med hypos and there's also medkits available.
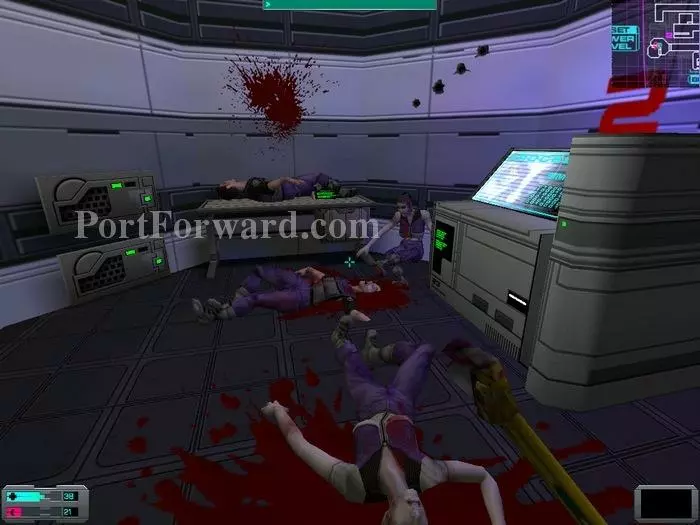
I decided to enter the mess hall from the leftmost door. Quite a carnage took place here... As I start walking toward the dead bodies - all empty - a "ghost cut-scene" takes place. At the far end of the room, behind the column, I find a security console (1). By the way, did I mention almost everything in this level is a freakin' trap? A maintenance droid appears as I was hacking the console. While cowardly running to hide under the tables nearby I found a log from Bayliss (2) and... hey! He's talking about me!
Having dealt with the droid in a manner I can't possibly divulge, I enter the galley/pantry area. Turning right as I enter, I sneak close to a monkey and gently pet him on the head solid-wrench style! In the backroom I find 3 cyber modules, 10 nanites and a whole lotta chips!
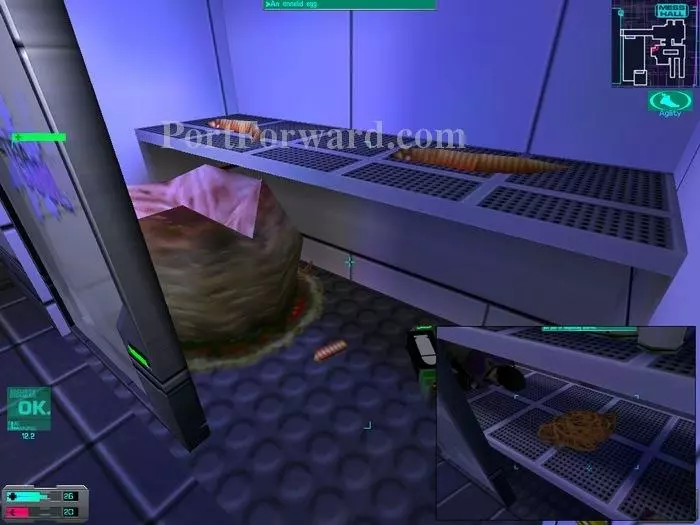
In the other room I found some pretty gross stuff... Their fridges are filled with all type of goodies, like dead bodies, eggs, annelids and disgusting worms. Yummy! The dead body had 15 nanites on it and the other body you'll find close by has a med hypo. As you can see in this image, 6 armor-piercing bullets are on the ground here.
I leave the pantry, head for the hall and make my way to the second section. I quickly discover the reason for having a security station in this hall! Out of view to my right is also a camera. I hack the two turrets and under their protection search the dead bodies. I find 25 nanites on one and a maintenance tool plus a laser pistol (in fair condition) on the other. The doors nearby lead to the bathrooms where you'll find some eggs, a hybrid and 25 nanites in one and 6 armor piercing bullets, 20 nanites and an egg in the other.
I'm done with this area and go back past my hanging friend on my way to the Power Admin offices. On my way I find a dead body with the Street Hog game (off camera to the right). The camera in the distance doesn't leave me a chance and I'll have to get rid of it. I could sure use remote hacking right about now, but a good cryo blast will have to suffice.
This is another office area and - after I get that droid off my back - I'll enter the room in my usual clockwise fashion, starting from the one at my left. The first office is empty. The second one contains the quantum sim unit and placing the chip in it gets me 15 cyber modules! The third office has a pretty lame security crate I hack to find a LabAssistant implant and 15 nanites. The fourth office has a log from Malik. The fifth has a dead body with a psi hypo and a crystal shard.

There's a pretty nasty surprise (read: trap) if you happen to walk near the nanites. The two openings in the ceiling (1 & 2) contain hidden eggs that will drop worms as you get close! Okay, I'm done. It's hybrid-fest as I head back to the hub, but I get there pretty quickly thanks to my SwiftBoost implants and psi-boosted agility.
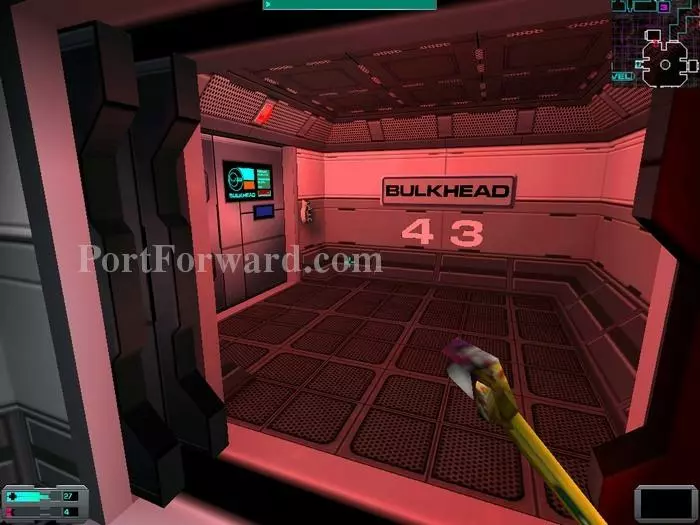
Back at the hub I leave through bulkhead 43.
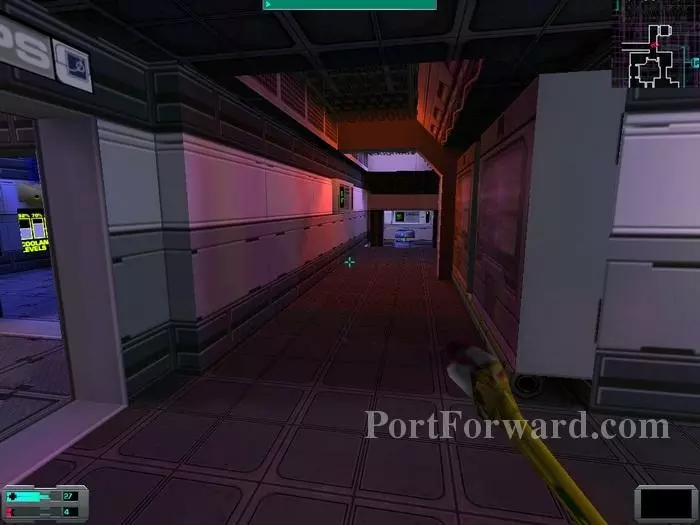
I turn left and find a turret blocking the way down this corridor. I'll skip this fight and continue ahead, minding the hybrid I hear pacing about.

While looking around the rooms I found this dead body, empty, and an auto-repair unit next to it. Going further south I found a ladder (inset) and went up. Good thing too, the number of monkeys and hybrid moving around was getting pretty insane!
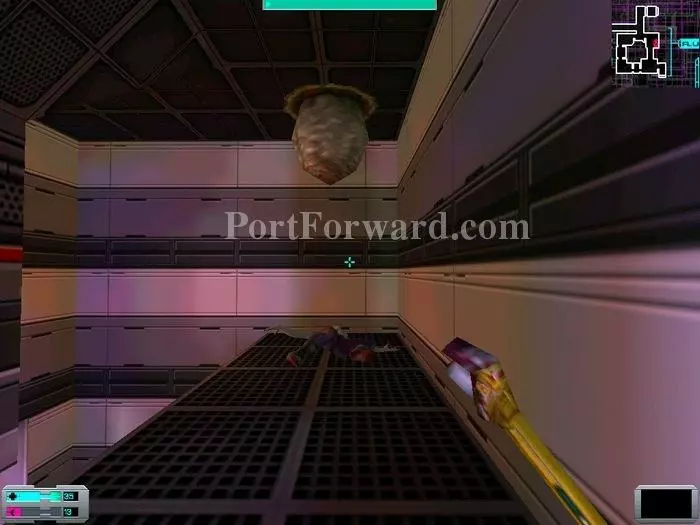
What's this then! In the egg I found a healing gland and the dead body had 3 cyber modules and the stasis field generator! The weapon is broken but we can make good use of the auto-repair unit we just found!
We'll now investigate the door to Power Admin. Hmmm, that log from Malik looks awfully like bait! And what do you know, it is (inset)! Going left might be a better idea, but only slightly (inset)! I'll go for the lesser of these two evils and turn left.
Cool, more offices! Starting from my left and going clockwise. Office 1 is empty. Office 2 has a desk with a version 2 repairing software. Office 3 is not really an office and has two ladders to go down. DON'T! Office 4 has a desk with 15 nanites and the cool ExpertTech implant!
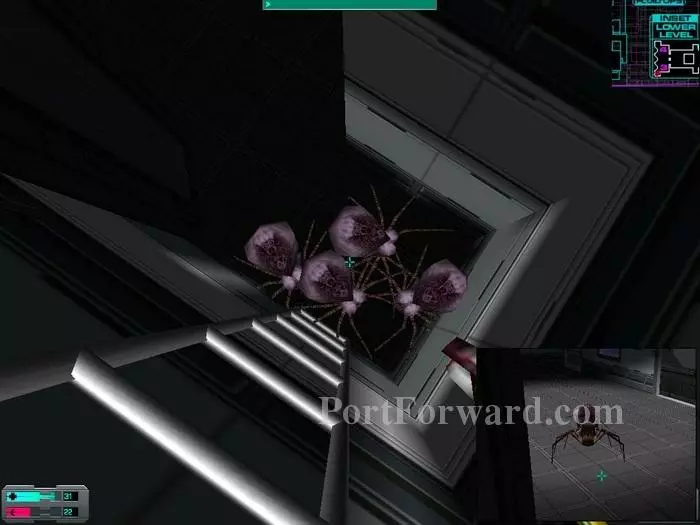
Once down I took care to avoid the eggs on the ceiling and made my way close to the sim unit. The trap that freak Malik was talking about is four spiders that will get released when I get close to the unit. The dead body contains a laser rapier and 6 standard bullets and there's a French-Epstein device here as well. And the security station won't prevent the spiders from coming after you, if that's what you were thinking! My strategy here is to grab the loot safely then stick the chip in the sim unit and run like hell! Let's see how that goes...
It worked. I had time to run back to the ladder but, oh surprise, see what was waiting for me upstairs (inset)! I swear I'm not making this up! Ok, I have enough of these distractions and head back to the entrance to deal with that turret.
With my current armament I see no choice but to destroy the turret with some cryo blasts. If that ain't cute, a monkey is coming straight for me! And it's the fireball-type, awww....
The turret had a battery in it. Looking left I See upgrade stations, a dead body (3 cyber modules) and a log from Suarez. As I head toward the upgrade stations, two monkeys and a grenade hybrid get in the way. I'm not sure what is wrong with this gaming session, but there are so many hybrids and spiders spawning that I'm starting to think it's a bug in the game! Oh, and check out for that turret when you head for the upgrade stations (inset)!
Next to the turret in this area is a shooting range where you can get 12 anti-personnel bullets. Pretty handy against the hordes of monkeys and hybrids that keep respawning in this God forsaken place! Maybe my constant reloading while taking these screenshots is messing up the game somehow?
Backtracking a bit I enter the barracks where I find 10, 15 and 20 nanites, a speed booster hypo and a BrawnBoost implant. While I was searching a monkey, a spider and two hybrids rushed in the room!
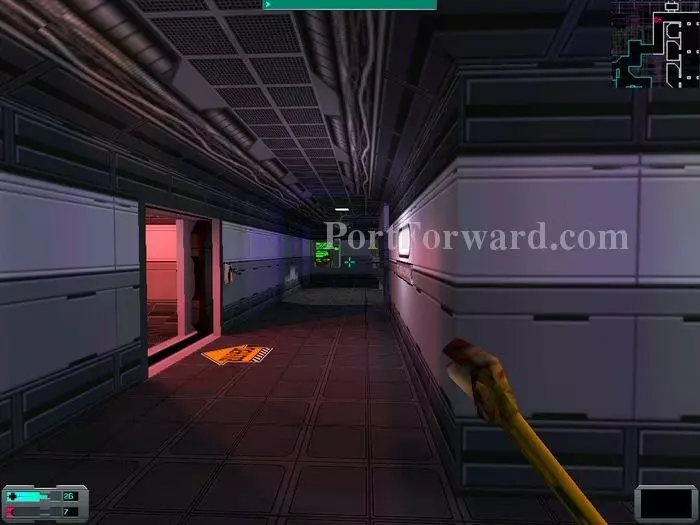
Leaving the barracks I turn left and head for the next section. Uncle Xerxes' watchful eye spotted me as I rushed past the bend...
Now, the replicator to my right is one of the few places on this ship where you can get a recycler! Go get one and get rid of all the junk you're carrying! To the left is an armory and a droid is inside. Open at your own risk but you'll still get a perfect assault rifle and some grenades if you do. More barracks are straight ahead and I find 20, 25, 15 and 15 nanites, 3 cyber modules and a log from Bronson. I hack both the security station and turret and prepare to enter the final area of this level.
I hacked the security station before going forward. The body in front of the door is empty and only serves to draw you close to the door where a droid and more hybrids are waiting. In the next room (inset) I find a dead body with 6 armor-piercing bullets and a working turret I hacked. I'm pretty glad I did as more spiders and monkeys kept pouring in. Look at this mess...
Past the next door is our target: the last red cyborg! In a strange turn of events he was really easy to kill. As more hybrids got in the way the cyborg was unable to get a clear line of sight and I was able to dispatch him with a few blasts while taking only minimal damage!
I turn left and take another left to visit the good folks in the brig. That should allow me to catch my breath!
Before entering this cell make sure to break the ceiling glass (1) and destroy the junction box (2). If you do not, you are in for a surprise! Nothing dangerous however. Don't forget to to pick the unresearched item from your dead cellmate.
I turn left as I exit the brig and get rid of the camera. This is a spawning location for the bad guys and I have to fight a spider, two hybrids and a monkey. Past the door I finally find the last of the sim units and one hell of a carnage... In total I find a log from Bronson and Diego, 12 standard bullets, 6 anti-personnel slugs, a maintenance tool, a laser pistol, a psi hypo and 40 nanites. Overriding the sim unit gives me 15 more cyber modules.
Past the close door is a log from Delacroix, a med kit (inset) and 2 hidden cyber modules (inset). I turn left and rush past the camera downstairs. Remember this location as we'll need to come back later. Oh joy... Downstairs are four rooms and I find a surgical unit, 6 rifled slugs, a maintenance tool, plenty of disgusting worms, a dead body with 2 cyber modules, a log from Bronson hidden behind a chair in the same room and a psi booster guarded by a monkey in the last room.
That's it! I'm making a quick stop at the upgrade stations and then I'm going back to the hub! How do I spend all those modules now... With my 225 modules I increased my Psi stats to the max. I also upgraded my strength and my maintenance skill. Upgrading maintenance gives all the energy-based items more charge. I still have more than 100 modules left and I'll keep them to see how my new abilities pan out. On to recreation!
More System Shock 2 Walkthroughs
This System Shock 2 walkthrough is divided into 15 total pages.