
This System Shock 2 walkthrough is divided into 15 total pages.
You can jump to nearby pages of the game using the links above.
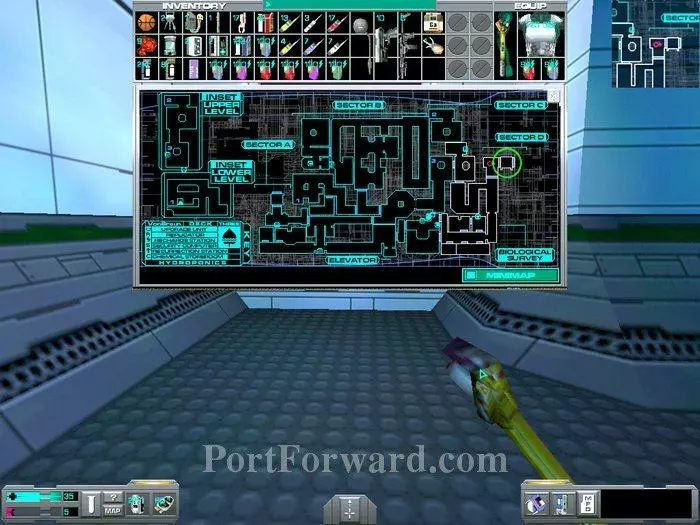
Hydroponics

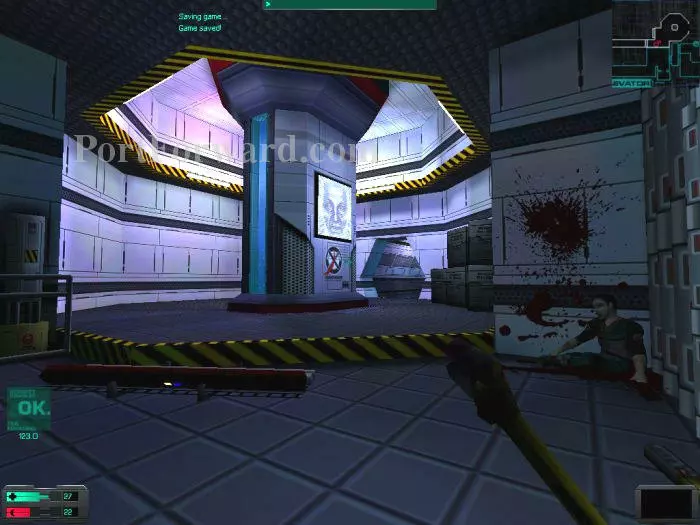
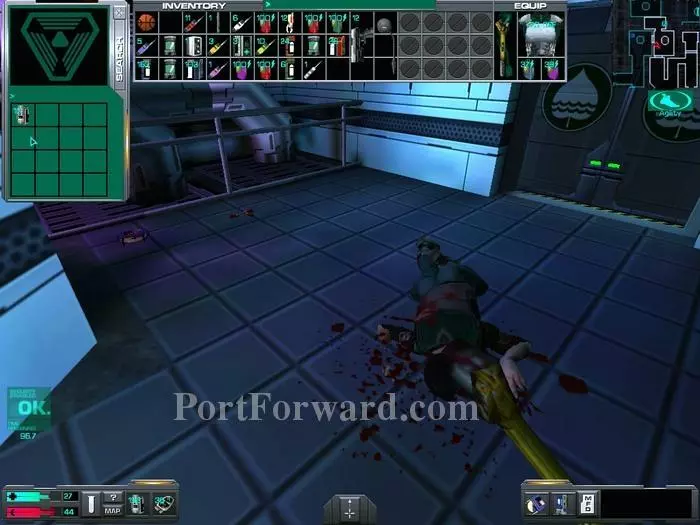
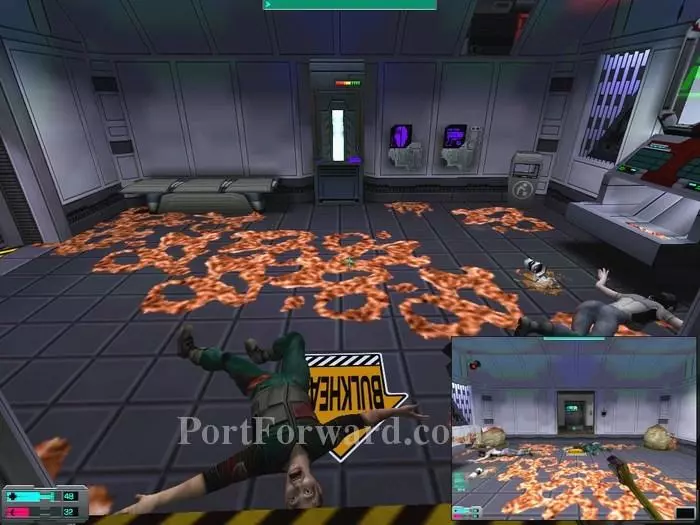
Arriving on Hydroponics, Polito tells me that I'll need to clean the bio-material from the elevator's shaft, but she has no clues yet on how to do that. Exit the elevator and grab the log from Miller at the far left of the room to learn about the creatures they discovered. Going left in the corridor leads to a fair deal of combat. Instead, coward that I am, I exit through the door to my right.
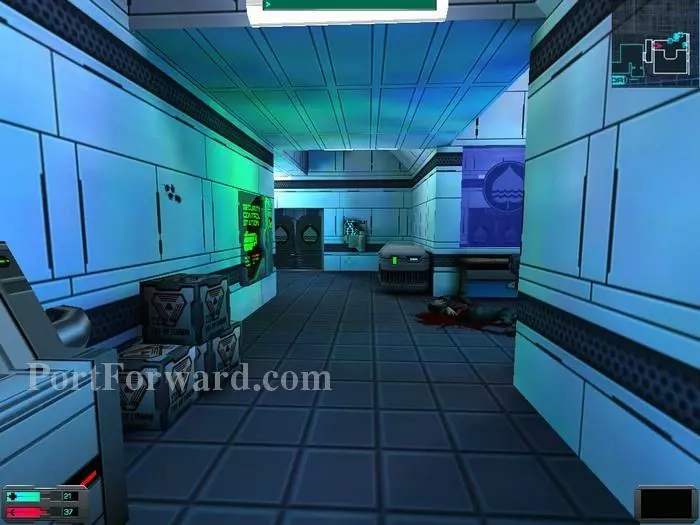
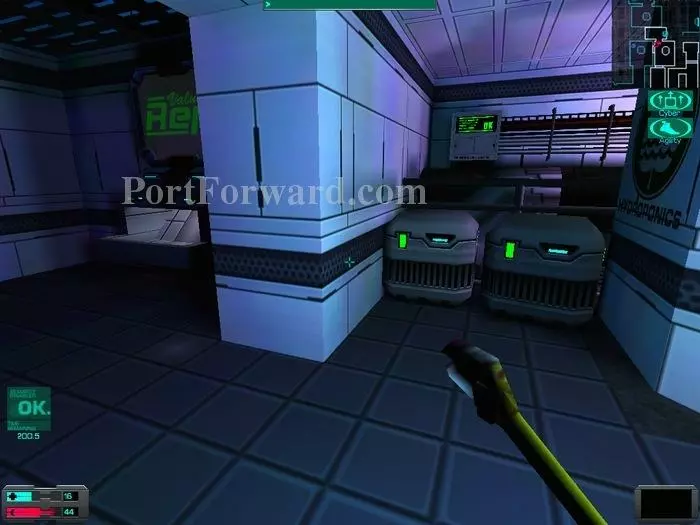
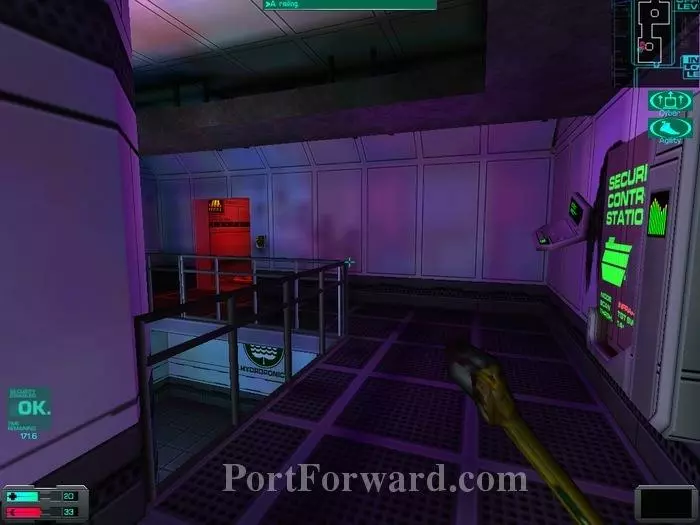
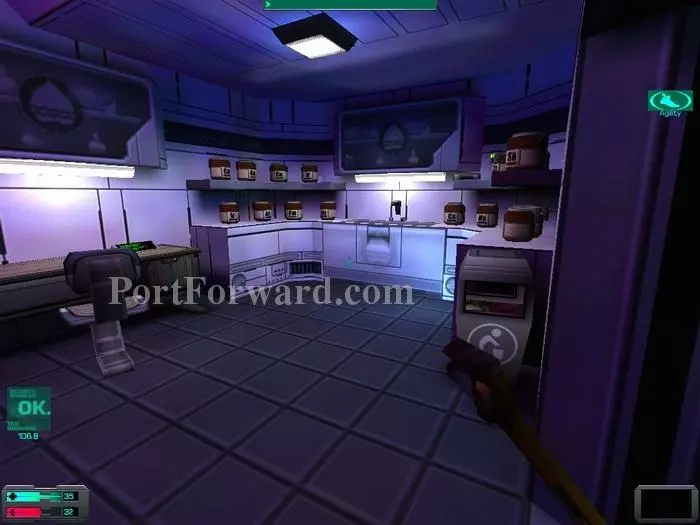
I follow the corridor up to this room. Lots of loot in here! Note the OS upgrade machine at the far end and the scary humming. Was Doom 3 ever this scary?
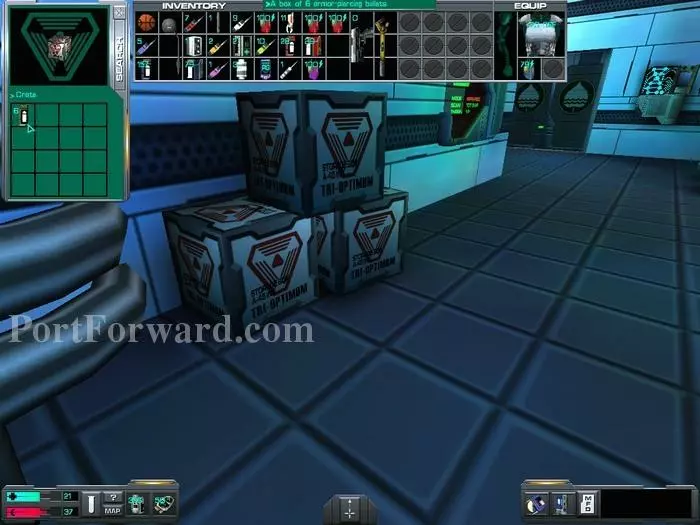
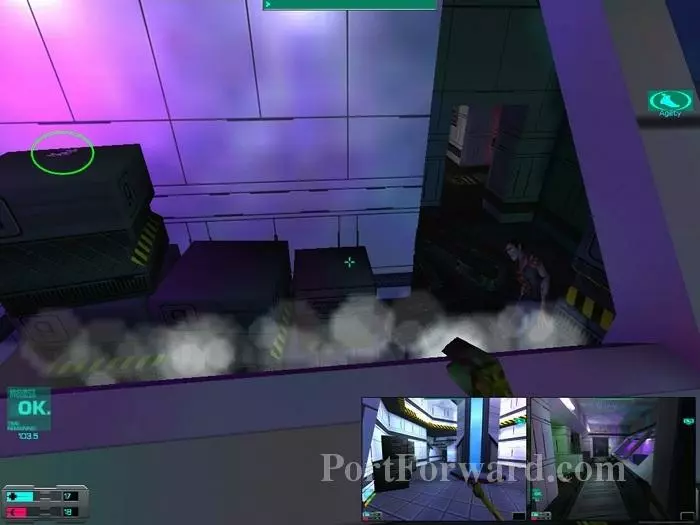
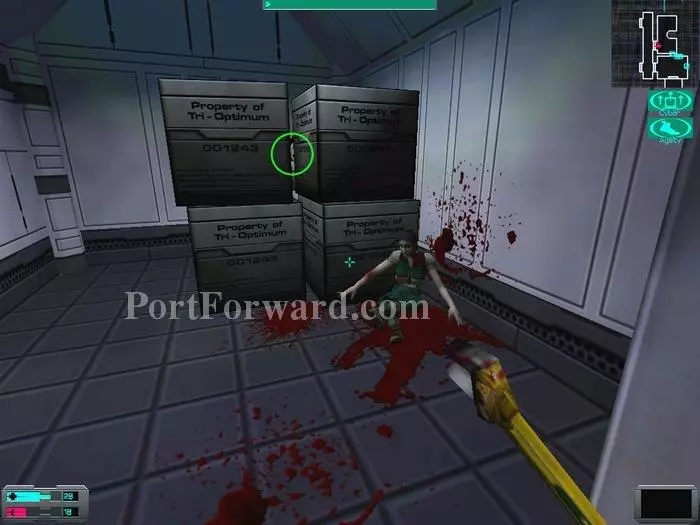
Don't rush in. Walk carefully near the crates and stay away from the windows or you'll get spotted by the camera and shot at by turrets. From the crates I get 6 standard and 6 armor-piercing bullets as well as 12 anti-personnel bullets. The dead body has no loot, so equip your SwiftBoost implant and run straight for the upgrade machine.
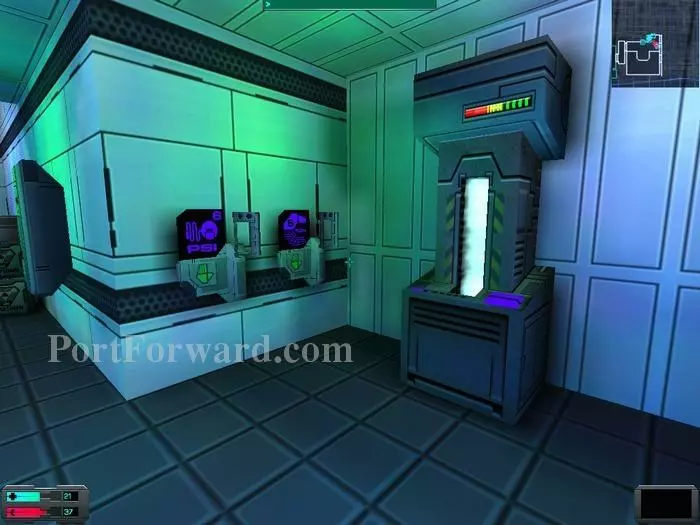
I discover a recharge station as well as a psi and tech upgrade stations to my left. I decide to get Psychogenic Agility here. It makes me faster and it also reduces kickback from weapons.
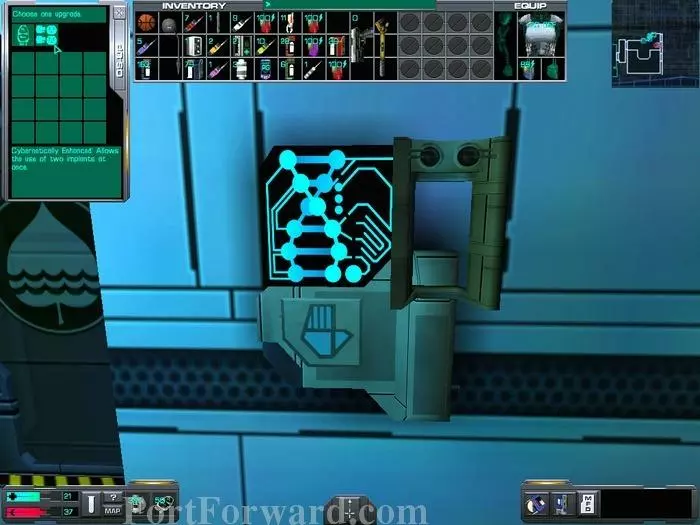
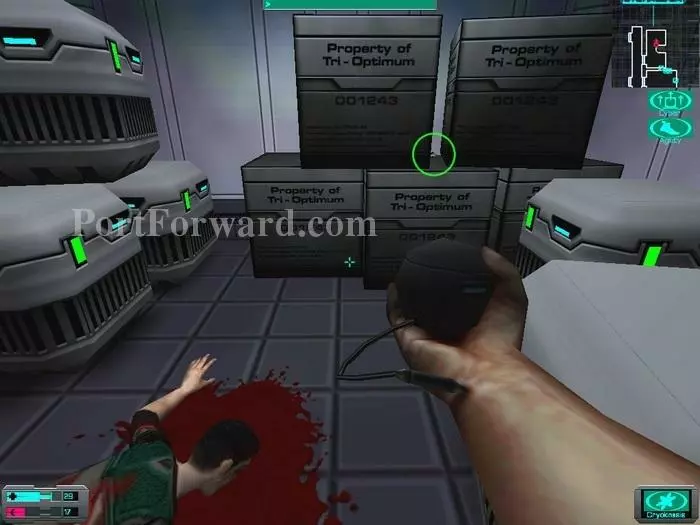
At the OS Upgrade machine I get the Cybernetically Enhanced upgrade, allowing me to use two implants simultaneously. Sweet! To your right there's a light armor in one of the crates.
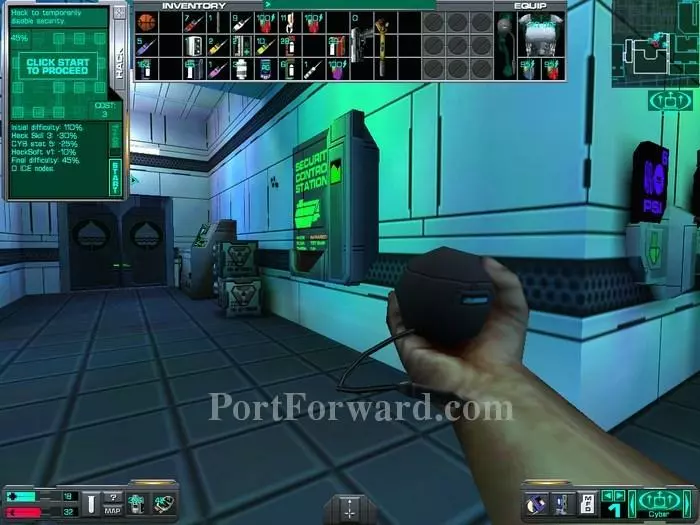
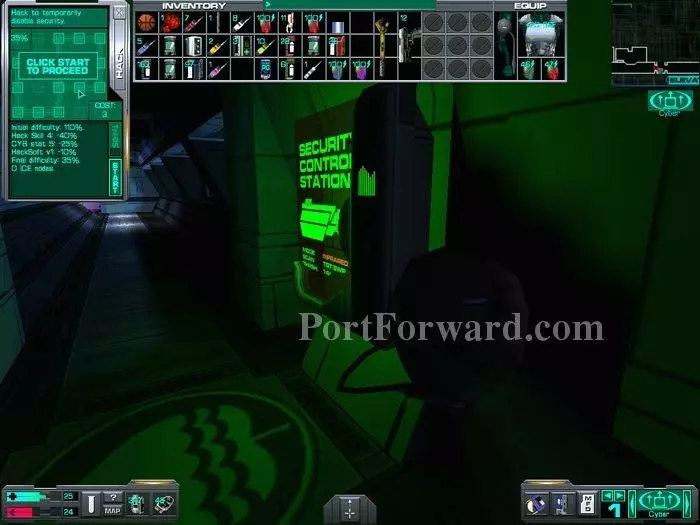
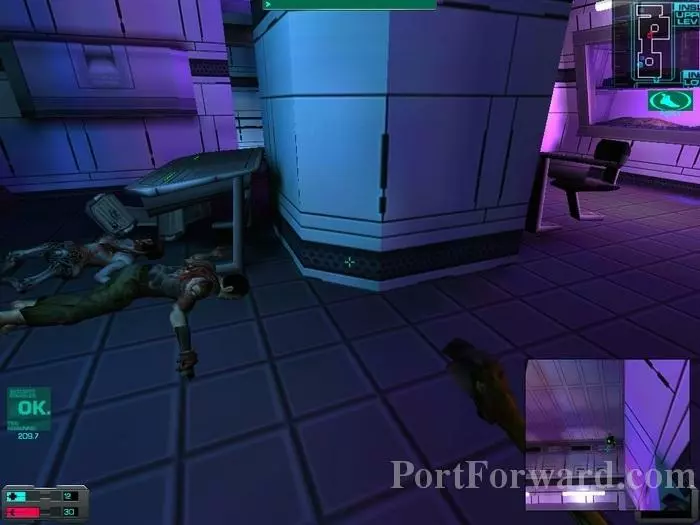
Now to use the security station to hack the camera and turrets on the other side of the windows. I get as close to the station as I can without getting spotted but it's still too far for me to use. The trick here is to quickly lunge forward, right-click on the station to open its interface and walk a bit backward to get back to cover. I previously used Cyber Affinity to give a boost to my hacking abilities.
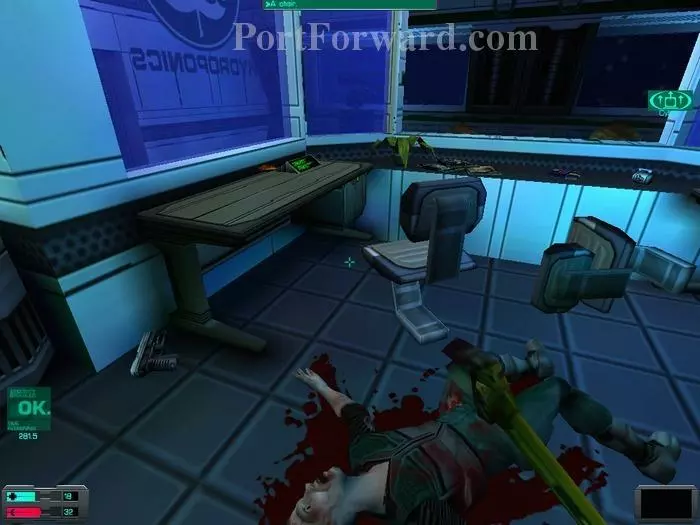
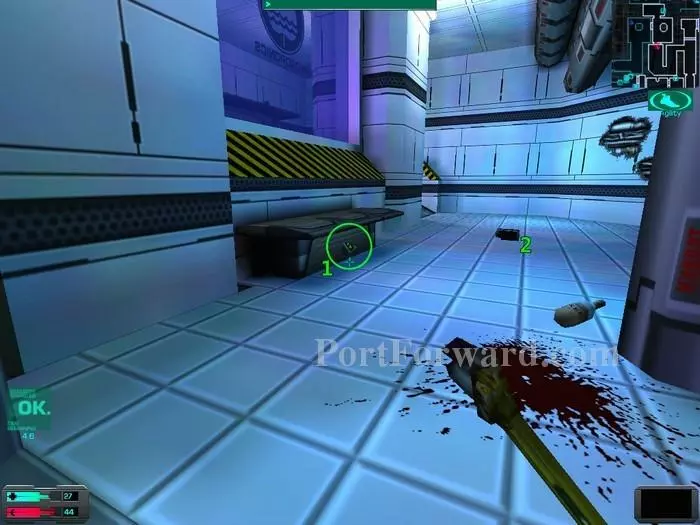
With the security systems disabled I have plenty of time to look around. Note the pistol in excellent condition on the floor and a log from Korenchkin in front of the broken window. Both desks are empty. There's also a "Jack Leather" magazine next to the log... If that's your thing.
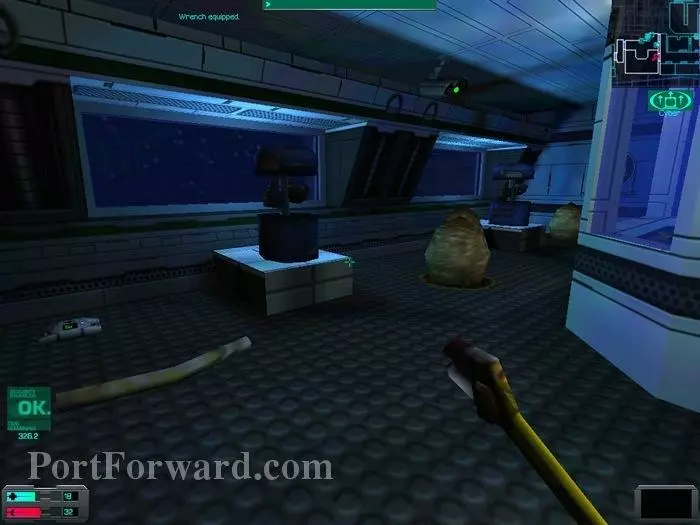
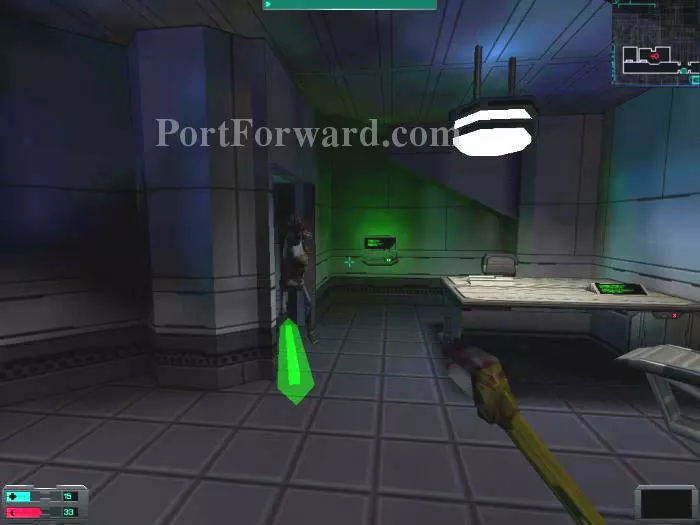
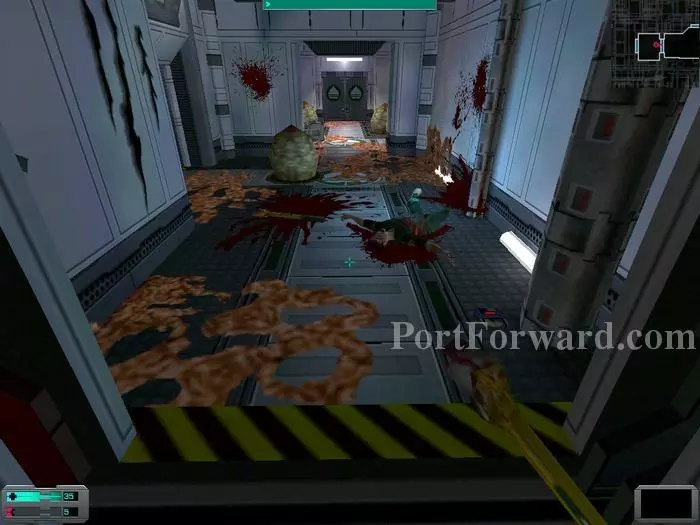
Don't jump through the window unless you want to fight some annelids. Instead exit through the door next to the upgrade machine and take the first door to your right to safely enter the room. I spot a medkit to my left as The Many tries to brainwash me some more. Be careful not to get too close to the Aliens' eggs - sorry - annelid's eggs or you'll wake up the babies. Deja Vu...
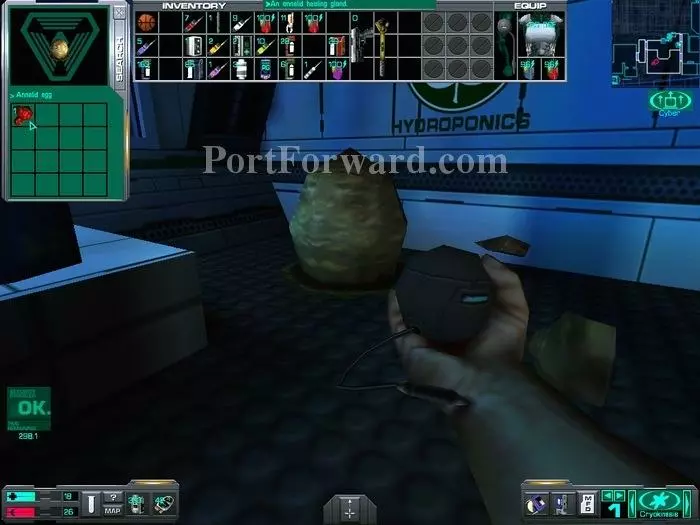
The egg at the far end of the room contained an annelid healing gland and there's a pile of disgusting worms off camera to my right. Be sure to pick up an unresearched item from one of the destroyed eggs. I hack the turrets before leaving the room.
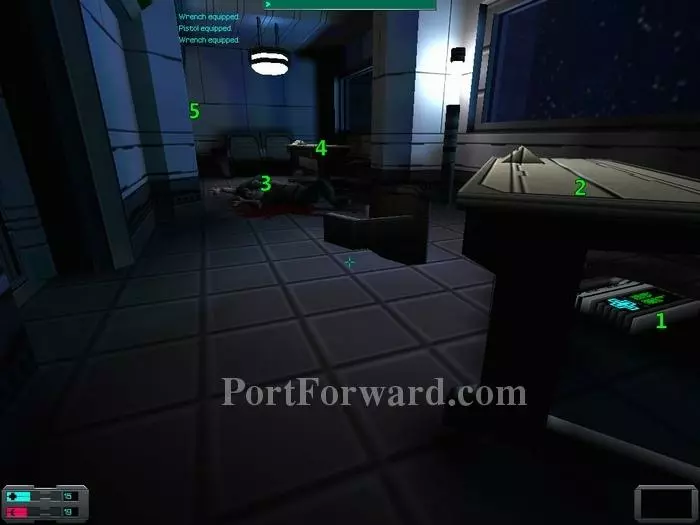
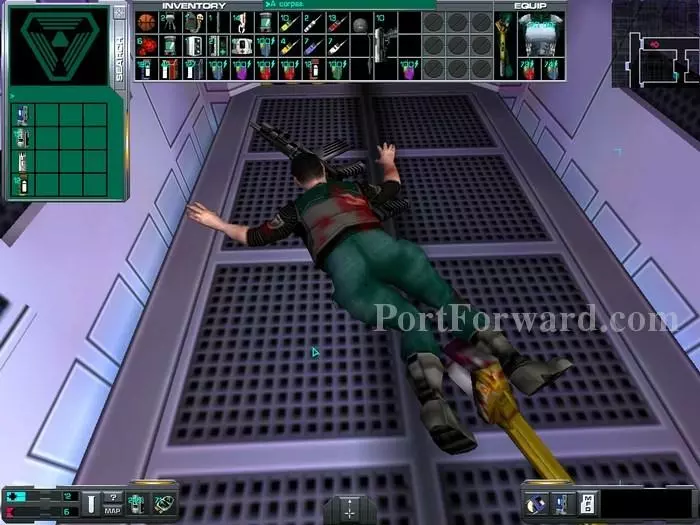
I move carefully as a shotgun hybrid patrols close by. The first office on the right contains a research software update and a Swine Hunter game. The second office (shown above) contains a surgical unit key (1), a log from Delacroix in the desk (2), a med hypo and 19 nanites in one of the bodies (3) and three cyber modules in the other desk (4). I exit through the far door (5) as I listen to Delacroix for some info about Toxin A.
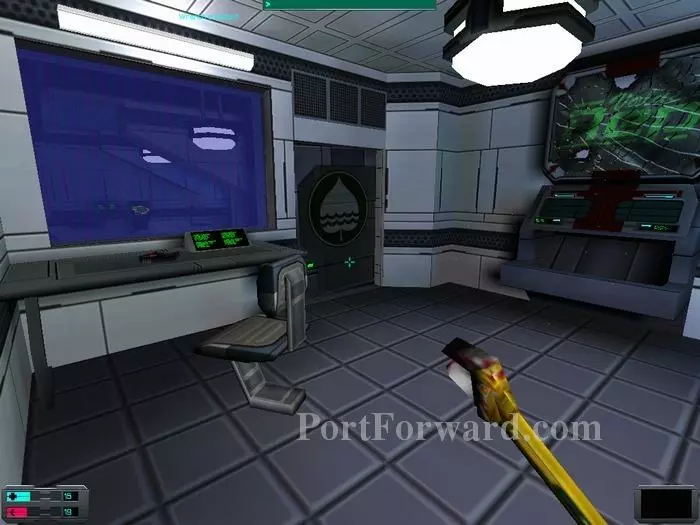
I enter the office right in front of the one I left and find a destroyed replicator, a jammed door and on the desk another log from Delacroix. The office next door can only be reached through this window, so I whack it and jump through.
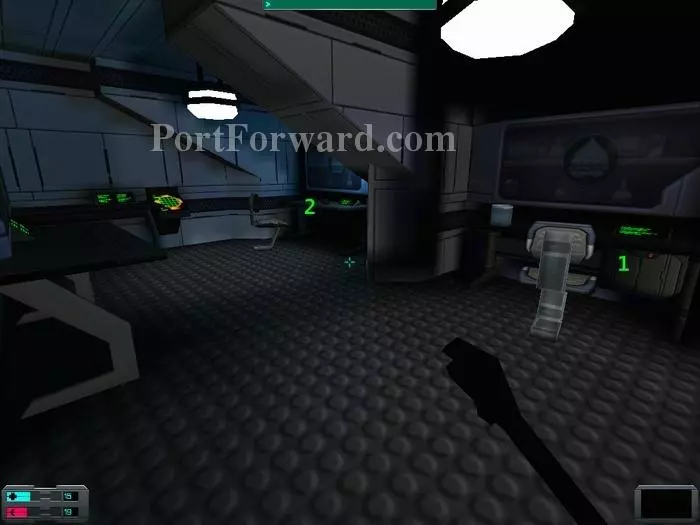
Polito chimes in again with ten cyber modules and instructs me to research the vial of Toxin A found in the desk at my right (1). A LabAssistant implant is on the far desk (2) as well as a second vial of the toxin inside the desk. Polito's pretty chatty and now tells me that I should place one vial into each of the regulators found on this deck. Sounds like a good opportunity to get me some cyber moola, so why not!

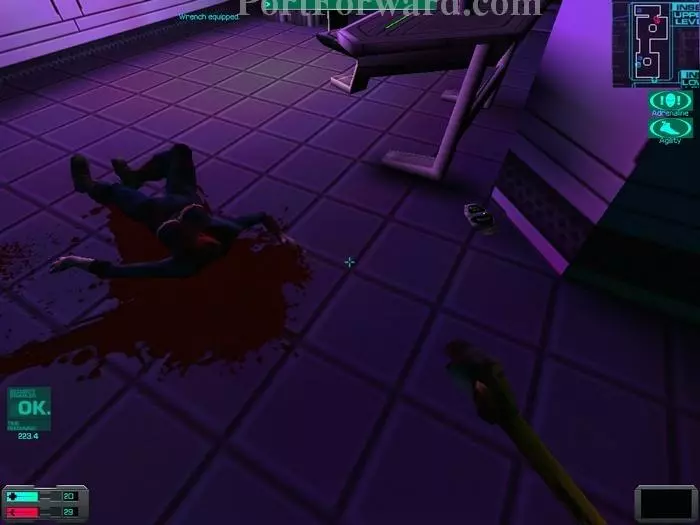
I exit the office and backtrack to the elevator room where I came in, recharging on my way. Armed with my trusty wrench, I'll now explore the end of this corridor in search of more toxin.

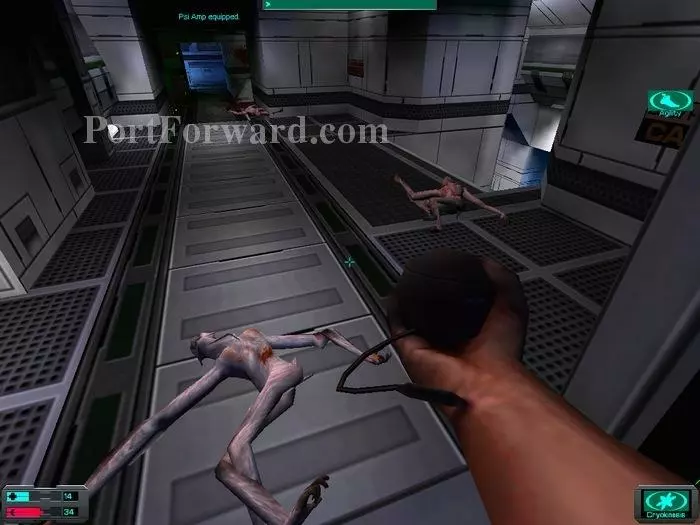
As two hybrids rush at me I'm scared straight and switch to my psi-amp. I unleash some brain juice on them.

I enter the office at the far end of the corridor and find 6 rifled slugs as well as a log from Miller, describing what is happening to him and an implant he created. That was probably the Lab Assistant implant we picked up earlier.
I leave and enter the next office. I immediately spot a vial of toxin...
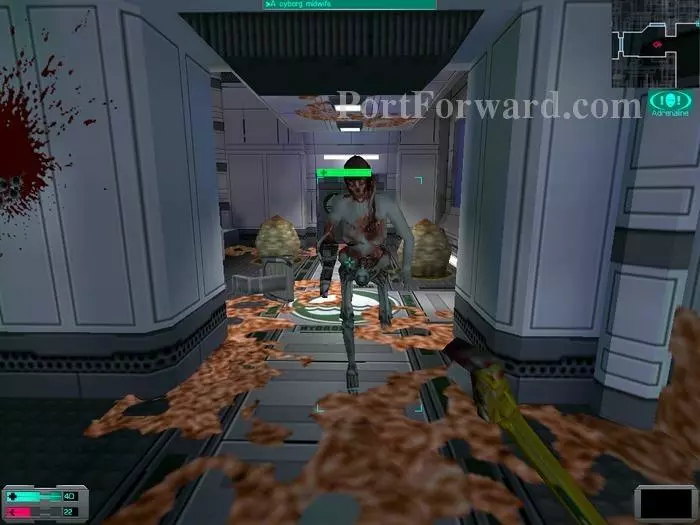
... and as I walk toward it a midwife cries and charges through the door. Nhaa... She didn't scare the hell out of me, why do you ask?
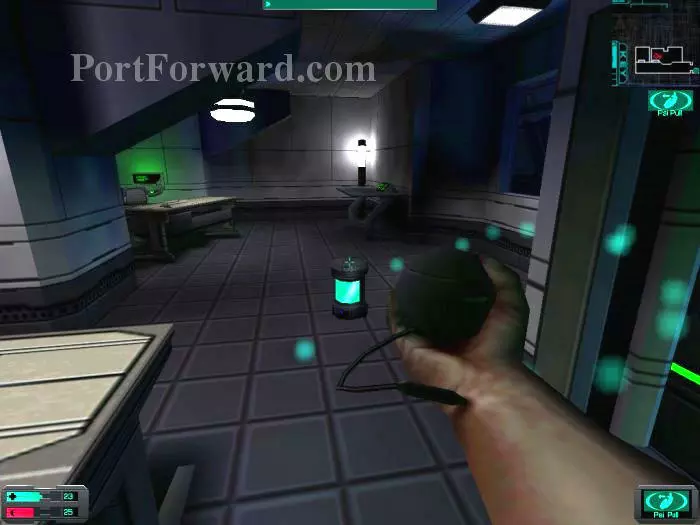
Since the desks are empty and there's only the vial to loot from this room, you're better off using Psi-Pull than to walk around and have to fight the midwife. You may need to pull the vial a few times as it seems to stick to the table. Only one vial left to find.
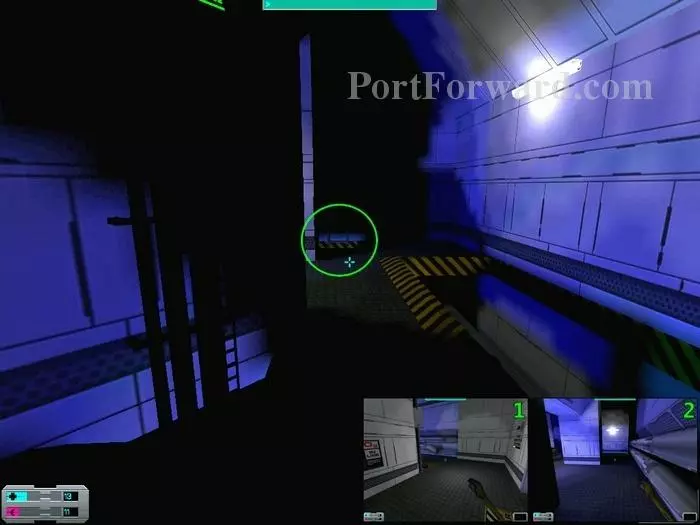
Heading back I decide to hack the security station. I turn left and tiptoe my way up the small ramp.

My hacking skills paid off as a camera was waiting for me at the end of the corridor.
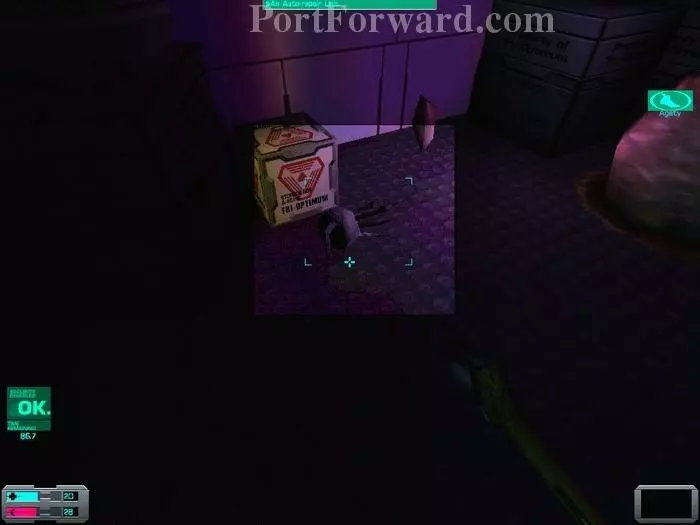
I turn right. The dead body contains 10 nanites and a Psi Boost implant. The trashcan contains a few beverages, which I presume are fresh and unopened.
Moving forward, the corridor opens to a room with our old pal Xerxes and a dead body containing a disposable maintenance tool and 17 nanites. Above my head I hear another camera and I spy a wrench, solid, to my right.

I exit east through the only way out of this room and deal with a hybrid along the way. Past a door I find a log from Korenchkin and an anti-toxin hypo on the body. I note a ladder at the far left. I leave through the door and plan to come back to check upstairs later.

As I open the door a hybrid jumps me. I'm in pretty bad shape but still manage to whack him but good.
In the new room I find a replicator to my left, which I hack for a repair software version 2 and some med hypos. Be sure not to miss out on these two crates. They're empty, but they really add to this level.
Moving along I find a body with 10 nanites and a log from Delacroix.
Past the door I hear a midwife as well as Xerxes playing dumb for The Many. I spot some nanites caught under the bench (1) and some rifled slugs (2). Psi-Pull doesn't seem to work on the nanites, so I'll need to get closer to collect them.

The midwife spots me, so I rush to take cover and wait for her. At close range the wrench does a solid job. I grab the unresearched item I find on her to get a cool 25% bonus against midwives. Best of all, no chemicals are needed for this one. Moving forward I find a locked door to Sector D and continue to come full circle with the offices I explored earlier.
I decide to backtrack to the ladder I previously dismissed. I climb and find a resuscitation chamber and a security station. I use them both and continue through the door behind me.
I pump my adrenaline up and dispatch both a midwife and a shotgun hybrid waiting for me in the room. In the desk to the right I find a log from Miller. This guy really gets around! Note the camera to your right (inset).
Easily missed, 3 cyber modules are on the floor next to the desk containing the log. The body has a version 1 repairing software.

Going down the ramp I find the first regulator surrounded by eggs. The body to my right contains 12 nanites. I stuff a vial of Toxin A in the regulator while trying not to get too close to the eggs. Polito rewards me with 13 modules and tells me to do the same with the other regulators.
Before leaving make sure to look under the strobing light (epileptics beware!). The crates are empty but there's a handy auto-repair unit hidden in the shadows (highlighted above). Pick it up if instantly repairing a weapon tickles your fancy.
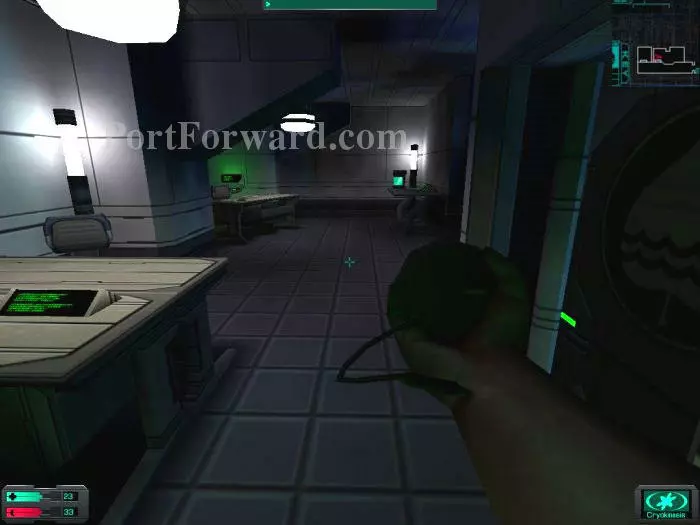
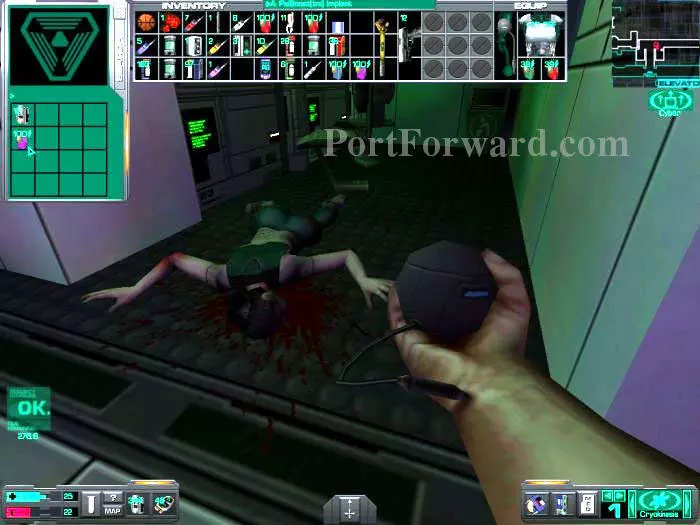
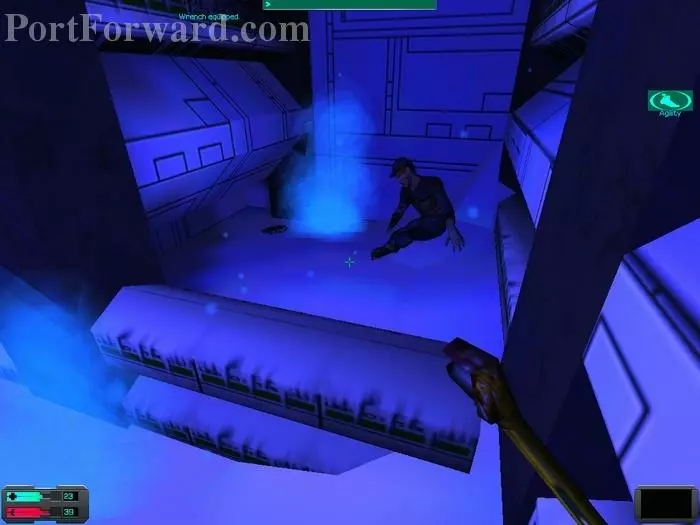
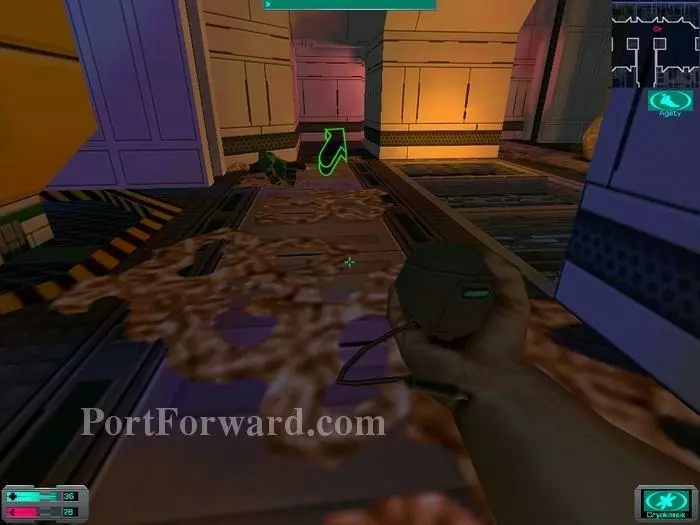
Up the ramp I jump across the window to find a body on the other side with 20 nanites and a SwiftBoost implant. Be careful not to step on the broken glass floor, or you'll fall in a bunch of very pissed annelids. I then track back through the Xerxes room (inset), past the door and to the window (inset). Greet the pipe hybrid with a couple of cryokinesis blasts. Note the cyber modules on the crates. Time to jump in!
I exit the room and go left (1) then straight ahead (2). When I turn left I spot a ladder in the darkness.

I climb down and notice a midwife and a hybrid patrolling the area. The midwife doesn't notice me. Dispatch her as you see fit, but a good whack of my wrench did wonders.
Tread lightly as the area is filled with eggs, some of which are toxic. This body has nice loot; 18 nanites, an ICE pick for instant hacking and a keycard to Hydroponics Sector A.
I turn right and go straight ahead to find two bodies with more loot and another regulator. I find nanites, a version 1 modification software, a log from Miller (again!), 6 standard bullets and a speed hypo. I get 13 more cyber modules for placing a vial of toxin in the regulator. Hmm, Polito doesn't chime in this time...
Think the loot-fest is over? Think again! Before going back up I turn right and dispatch the eggs to find this poor sap, frozen, and 3 cyber modules beside him. I reluctantly search the dead to find 38 nanites and 6 armor-piercing bullets. Rest in peace... As for me, I'm going back up. It's freezing in here!
I go back toward the room I came in from and follow the corridor to my left up to a door. A monkey prepares to do its brain-thing while I do mine. I find a grenade launcher and some ammo, as well as a door to Sector C.
I teach a quick evolution theory class to three more monkeys. Once that's done, I find a log from Loesser and 3 cyber modules down the stairs to the right. Nothing in the water.

Moving forward there's a body with the access card to Sector B and 6 rifled slugs. A camera to the right spotted me and there's a shotgun, broken, to my left. There's nothing behind those doors so I move forward.
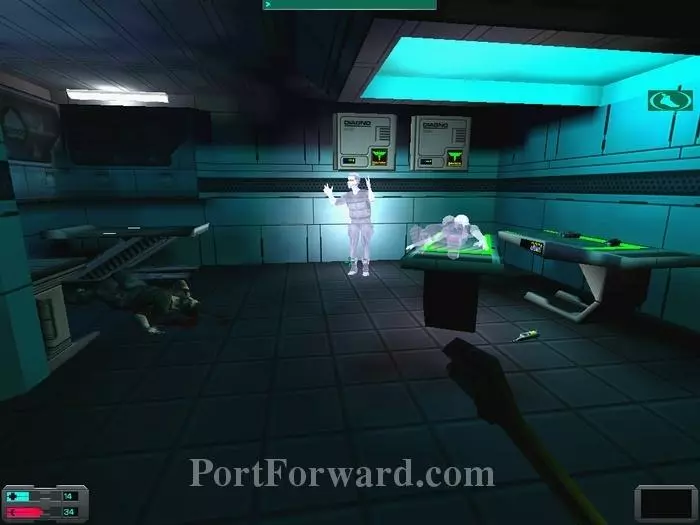
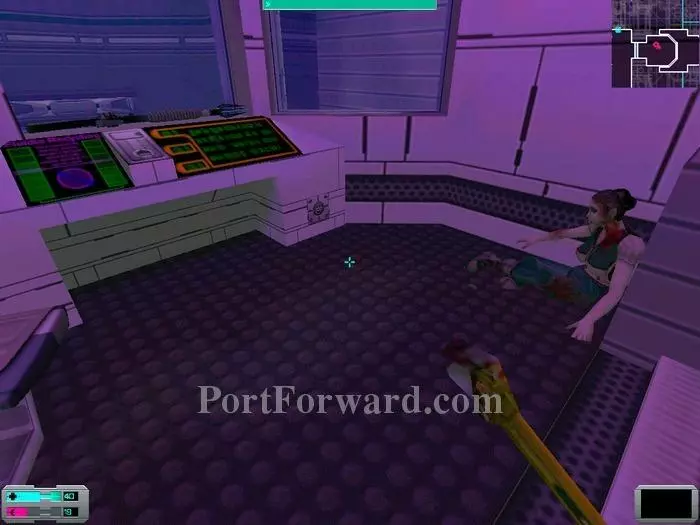
I turn left then left again. More monkeys, so I shock them. I continue forward and end up witness to this scene, gruesome in its implications. I pick up two med and one anti-toxin hypos, plug a key into the surgical unit for healing and search the nearby body. It has a rapier, 12 standard bullets and 16 nanites. The desk is empty. I turn back and enter the door to my left.
The chemical storage area contains some loot. A medkit is on the shelf next to the chemicals, the desk has the chemical manifest and in the trash I find 3 cyber modules!

Behind the doors hides a midwife, unsuspecting. A good whack results in a med hypo and a log from nurse Bloome. The desk contains the final vial of precious Toxin A, along with some chemicals I drop here in case I need them later. Outside the storage room are three more empty crates, useful for quickly filling large areas. The body has 16 nanites.
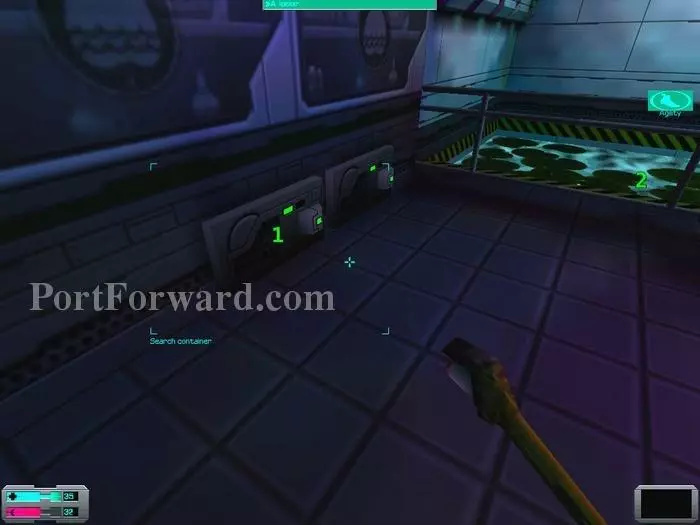
The next room has two med hypos in a container (1) and another hypo, anti-toxin, in the water (2). Beware as Uncle Sam is watching from the far corner of the room (not shown here).

I move back to the intersection as a midwife, and a monkey behind her, race toward me.
At the end of the corridor to the right I see a body between some eggs. You know what they say: you can't get to the dead body without breaking a few eggs! Well... You probably could, but where would the fun be in that! Next to the empty body is a nice find; a superb laser pistol! Go around the bend to hear more of The Many's many threats and get ready to fight a midwife or two and a shotgun hybrid.
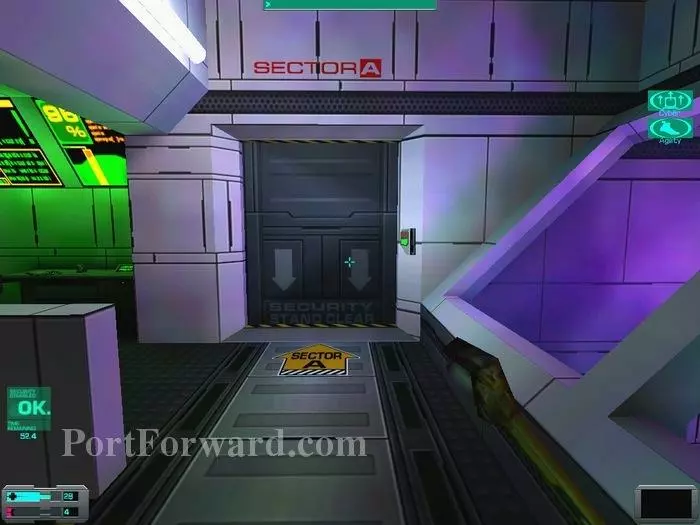
Time to move on as we've pretty much seen all of this place. I trackback for a quick recharge and was met with some serious respawning of hybrids and midwives. I head back for the door to Sector A. Opening the door reveals a camera and a broken replicator that's not worth repairing. On to Sector A!
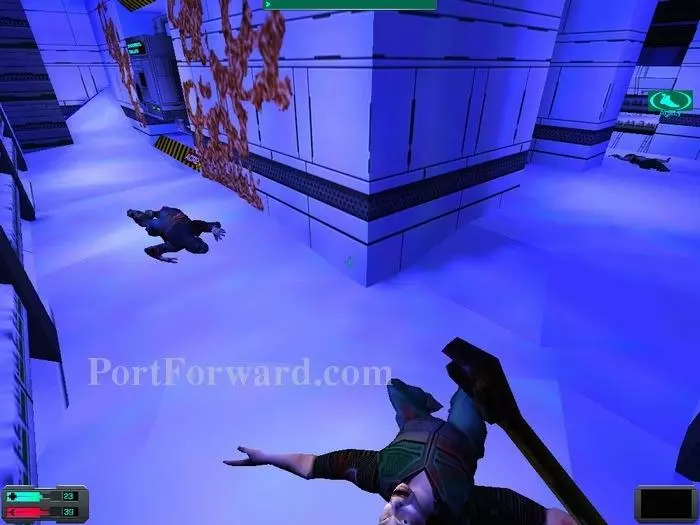
The entrance to Sector A presents a pretty vivid scene. What's even more impressive is this same entrance viewed from the inside of the room (inset), where we can clearly see a camera and two eggs forming one deadly trap! I dispatch the camera by leaning and I rush forward. The egg to my right bursts open and releases a single annelid. The egg itself contains a healing gland. Don't get too close to the other egg as it spits out toxic material.

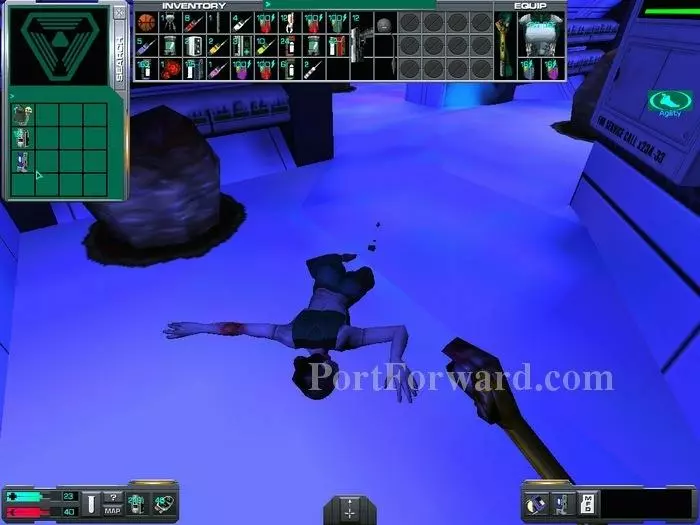
Before doing anything else I spot and psi-pull 3 cyber modules from the opening. The woman's body contains an extra vial of Toxin A, in case you misplaced one, while the man's body has a Swift Boost implant and 19 nanites. As I hear some droids patrolling I decide to hack the replicator and get some psi hypos.

I decide not to use the upgrade stations so that I can unlock some of the more costly psi abilities later on. Leaving the room I see a log from Polito as well as a security and two normal crates at the end of the corridor. The security crate contains an auto-repair unit. 6 rifled slugs plus a speed boost hypo are in the other crates.
I turn right and take the first door to my right. More disturbing than this scene is the fact that I first spotted the stripes of a security crate between the two larger ones and not the dead woman. From the crate I get 6 anti-personnel bullets and 19 nanites from the body. The normal crate contains a hazard suit.
The other body has nothing but again my little eye spies some hidden loot. 3 cyber modules are squeezed between the crates. When I move to collect an annelid spawns behind me and attacks. An anti-toxin hypo is all I could find in the remaining containers.

Time to cross the corridor ahead. Note the camera, there's one in each corridor. There are several ways to resolve this problem. First you can hammer the droids with cryokinesis blasts, but a trickier way to dispatch them is to first have the droid spot you and then hug the wall left of the doorway (1). The droid will come for you but won't be able to shoot since the frame of the doorway blocks his weapon (inset)! It's pretty scary to see a droid this close, but you can dispatch it easily using your weapon of choice. Pull back on the last hit as the explosion will damage you a bit. Repeat for the second droid.

While you can expect nanites, hypos and/or maintenance tools from the dead droids, you may decide to sneak past them. You can hide half-way across the corridor and also loot two dead bodies. The man's body has 3 incendiary grenades and 12 standard bullets and some nanites can be found on the woman. Various loot can be gathered from the local fauna (insets).
The real jackpot is on the dead body found at the end of the right corridor. An assault rifle in very good condition, the access card to Hydroponics D, hacking software version 2, 15 nanites and 12 armor-piercing bullets. My inventory is pretty full and since I can't bring myself to throw anything away, I'm seriously considering upgrading my strength to get more room.

I open the door and turn left. Before moving on I search the dead body and find a Psi-Amp and a psi hypo on it. Behind the door I hear a hybrid patrolling. To be on the safe side I go back and hack security before opening the door.

I was able to convince the hybrid to take a power nap while Polito tells me to get to it already. She seems to be in a pretty bad mood. Windows Futurista? probably crashed on her again. This section is one of two identical, although the second one (just forward) contains another droid patrolling. Here, the left room contains two eggs, one healing gland, 6 rifled slugs and 6 anti-personnel bullets. Two more eggs and a gland were in the right room.

The droid does not even notice me so I can discretely sneak into each room. For the more intrepid, may I suggest repeating the wall hugging trick for destroying the droid while taking no damage? The left room contained two eggs, 16 nanites, a maintenance tool, an anti-rad hypo and one of those still unresearched hypos. The other room had an unresearched item in one of the 3 eggs (chemicals Ga and Y needed), 14 nanites, 2 anti-rad hypos and 3 cool cyber modules! Keching!

I walk through the door and find the regulator as well as a midwife, oblivious to my presence. To my right I hear a camera I fear would not be so unforgiving. I manage to find a way to sneak under the camera to my right without being detected. Aside from a droid patrolling, there is nothing else to find in this area so I plug the vial and leave, unseen! Going back to the entrance I encounter a few hybrids and a midwife. A hybrid with a log from Turnbull is waiting for me near the exit. I extract the log with extreme prejudice, recharge and leave this section.
I backtrack and find the door to Hydroponics D, which I can now open. I enter Sector D with 80 cyber modules.
Sector D and more eggs. And the most unsettling background humming I have heard yet. I pick up another log from Garr... err... Captain Diego, who is loosing his marbles at an alarming pace. The body here contains 20 nanites, 3 proximity grenades and a nice EnduroBoost implant! Note the large door to the left.
As I move forward a midwife hears me and charges as I rush backward. As she tries to land a few close-range attacks she yells "How does this feel!". My wrench kicked the smugness right out of her. Twice.

In the desk I find a psi hypo, a beaker and a log from Loesser. The replicator doesn't help me much, even after a good hack.

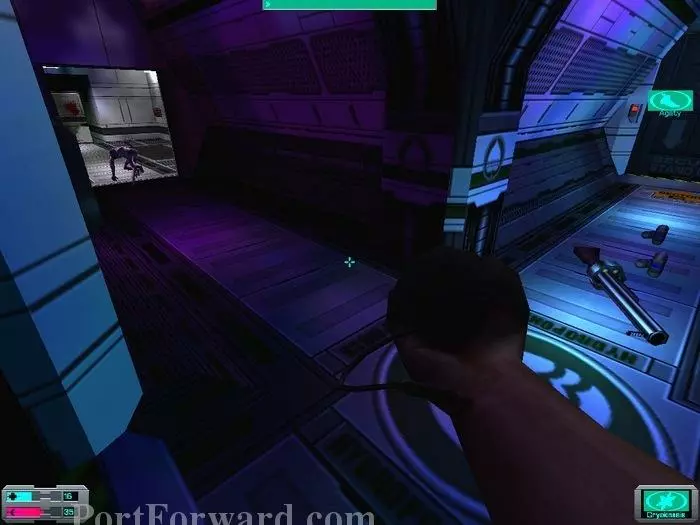
I turn right and climb the ramp to a small room where I find 3 precious cyber modules, a log from Korenchkin, a maintenance tool in one of the crates and a French-Epstein device in the security crate. I leave this room -- John Wayne style through a broken window -- and take the door to my right.
This looks like a control room of sort. There's a broken EMP rifle on the console to my left and a dead women with a suit of powered armor, 65 nanites plus med and speed hypos. Hoping to one day play in a western movie, I again break the window straight in front of me and throw myself out. I make sure to land on the small ledge outside.
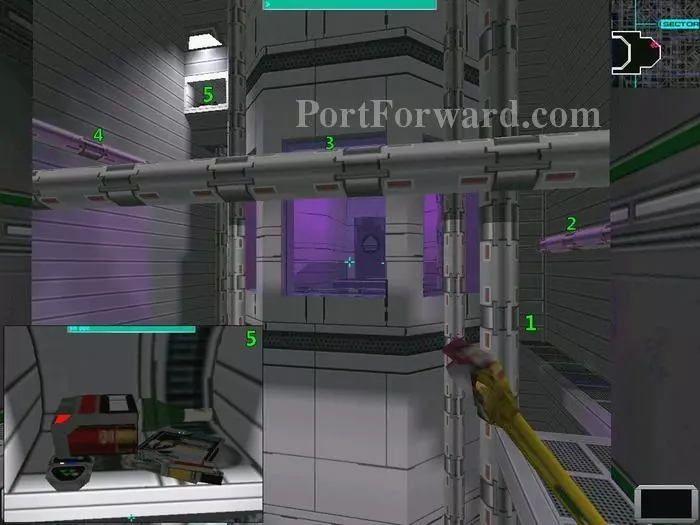
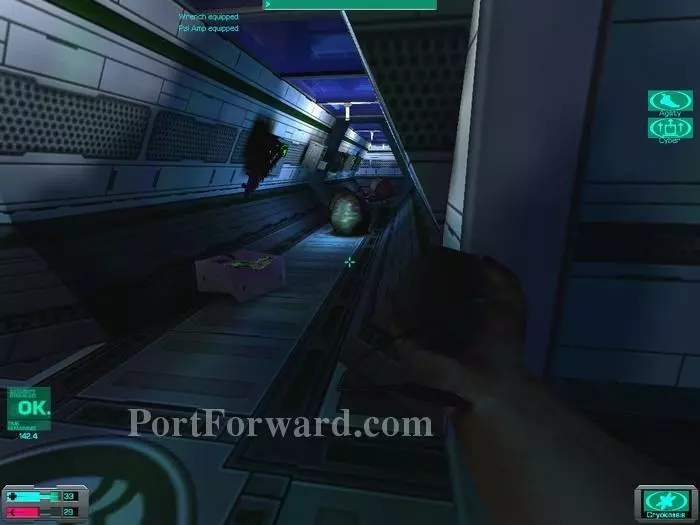
There's loot high in a vent of some sort (5). I rush for the ladder (1), jump on the pipes (2,3,4) to finally get to that vent. Beware, certain death awaits you if you fall in the steaming water. My reward is 3 cyber modules, 6 anti-personnel shells, a maintenance tool, a bottle of bubbly and a magazine depicting some tropical paradise. I carefully jump back down and head toward the exit.

I turn right at the large door next to the exit. I spot eggs downstairs and hear the articulators of a midwife. After I dispatch the midwife, spiders join the party! (if you suffer from arachnophobia, be sure to Google for the "No Spider" patch)
After killing a couple more eight-legged you-know-what, I turn right and head for the red light blinking in the distance. I look down and find 3 cyber modules. The nearby body has 20 nanites and 12 anti-personnel shells on him. Be sure to pick up the remains of at least one spider for research.

I go back, past the entrance, and duke it out with another spider before finally gazing upon my objective: the regulator! As I advance, carefully, I question my sanity as I hear The Many speak again. I get ready for one more spider.

Two bodies are next to the regulator. I search them and find 12 standard bullets, a version 2 repairing software, 6 armor-piercing bullets, an anti-toxin hypo and 20 nanites. Placing the vial of Toxin A in the regulator, I score 14 modules as Polito tells me the elevator is now operational and to come up and pay her a visit. I leave and head back for the elevator.
More System Shock 2 Walkthroughs
This System Shock 2 walkthrough is divided into 15 total pages.


